Watering
From seedling to harvest, the quality of the water you provide will determine how well your plants grow, how efficiently they take in nutrients, and how much they yield. Although it’s commonly believed that water safe for drinking is also safe for plants, this isn’t always true for cannabis. Factors like pH levels, electrical conductivity (EC), and dissolved solids can make a big difference in the health of your plants. Understanding and managing these factors is crucial in optimizing the growing environment.
Why Water Quality Matters
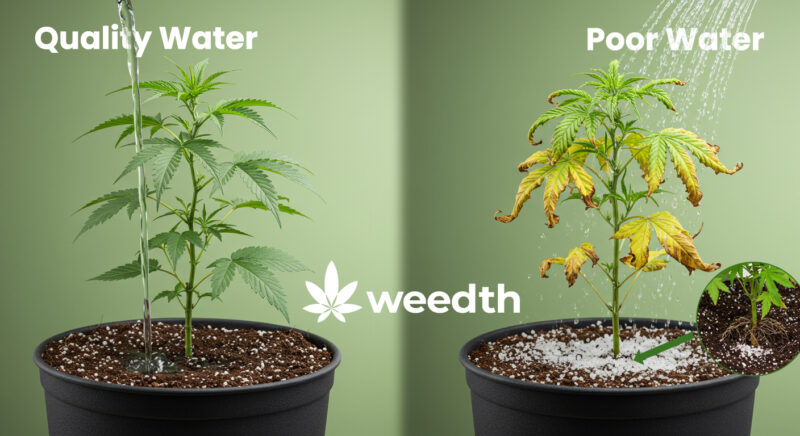
The chemical makeup of water influences the uptake of nutrients and the plant’s health throughout its lifecycle. Cannabis plants, in particular, are sensitive to fluctuations in water pH and dissolved solids. Using untreated tap water or hard water with high levels of minerals like calcium or sodium can lead to nutrient lockout, poor growth, and imbalanced pH.
pH Balance
pH measures the acidity or alkalinity of a substance, with a scale ranging from 0 to 14. A pH of 7 is neutral, anything below is acidic, and anything above is alkaline. Every point on the pH scale represents a tenfold change in acidity or alkalinity. This means that even a small shift in pH can have a significant impact on your plants.

In cannabis cultivation, maintaining the correct pH is essential because it directly affects nutrient absorption. Plants grown in soil prefer a pH range of 6.0 to 7.0, while those grown hydroponically thrive in a pH range of 5.5 to 6.5. When the pH falls outside of these ranges, essential nutrients become unavailable to the plant, leading to nutrient lockout. This can result in visible deficiencies, stunted growth, and poor overall health.
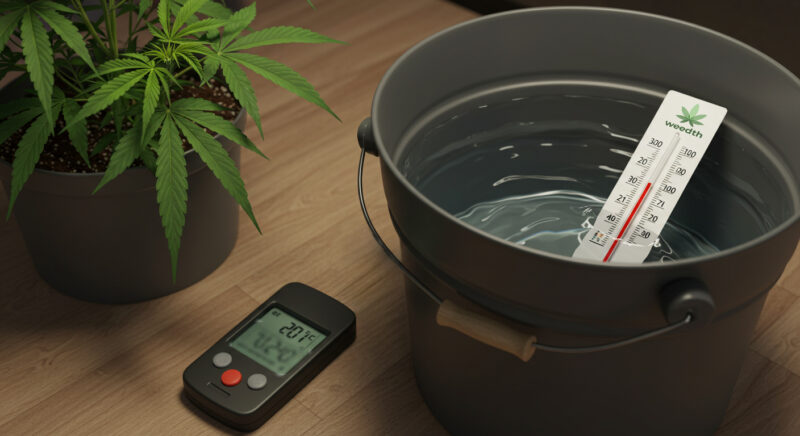
Note: Water temperature also plays a critical role in plant health. Always use water that is room temperature, as extremes in water temperature can damage plant roots and stunt growth. Keep the water’s pH between 6 and 8 to support optimal nutrient uptake. If your pH falls outside this range, use amendments to correct it.
Managing pH in Soil
In soil-based cannabis cultivation, maintaining the right pH ensures that your plants can absorb essential nutrients. A pH between 6.0 and 7.0 is ideal for cannabis grown in soil. When the pH drifts outside of this range, nutrients such as nitrogen, phosphorus, and potassium become less available, even if they are present in the soil.
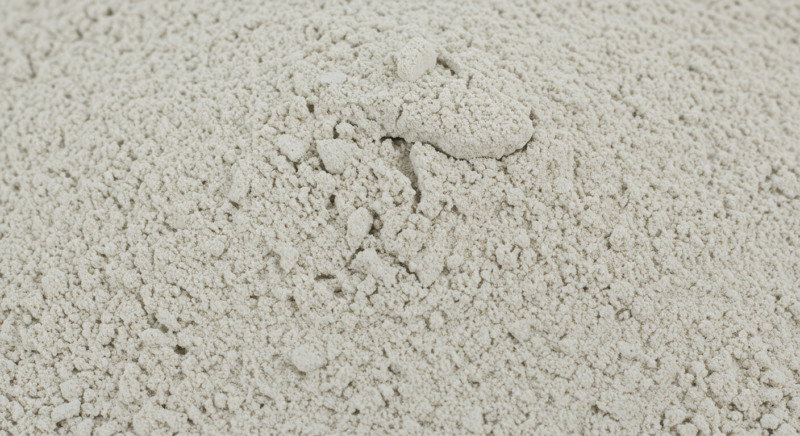
To keep soil pH stable, many growers add dolomite lime before planting. This natural amendment helps buffer pH fluctuations and keeps the soil environment balanced. A good rule of thumb is to add 1 cup of dolomite lime per cubic foot of soil. This stabilizes pH and provides essential minerals like magnesium and calcium that cannabis plants need.
For regular pH monitoring, use a reliable pH meter. If the pH is too high or too low, correct it using pH Up or pH Down solutions before watering your plants or adding fertilizers. Consistent monitoring and adjustments will ensure that your soil-grown cannabis stays healthy throughout its life cycle.
Hydroponic pH Control
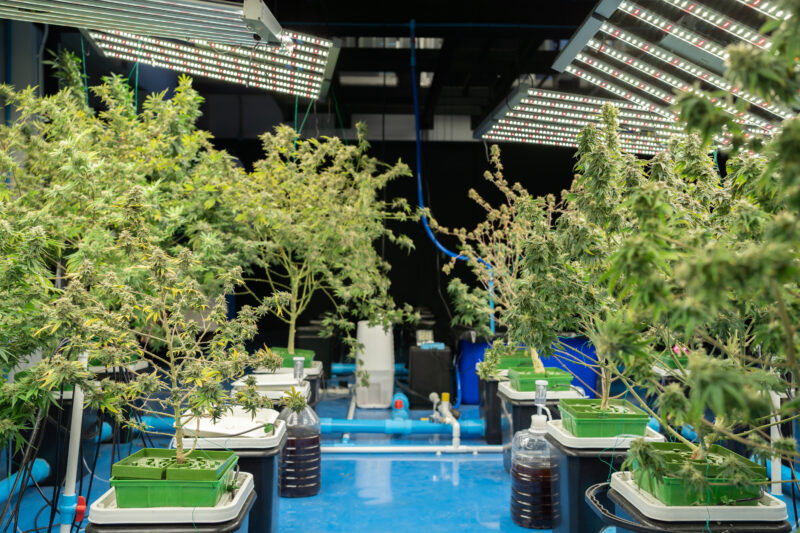
Hydroponic systems, where cannabis plants are grown without soil, pH control is even more critical. Hydroponic plants rely directly on nutrient solutions for their sustenance, and pH fluctuations can quickly lead to problems because there is no buffering effect like in soil. The optimal pH range for hydroponically grown cannabis is 5.5 to 6.5. Nutrient availability is compromised when the pH drifts outside this range, and plants may suffer from nutrient deficiencies or toxicities.
Hydroponic growers should check the pH of their nutrient solution daily to prevent sudden drops or spikes that can harm plants. When adjustments are needed, growers use phosphoric acid or citric acid to lower pH and potassium hydroxide to raise it. However, care must be taken when handling these chemicals to avoid harming plants or the grower.
pH Adjustment in Organic Solutions
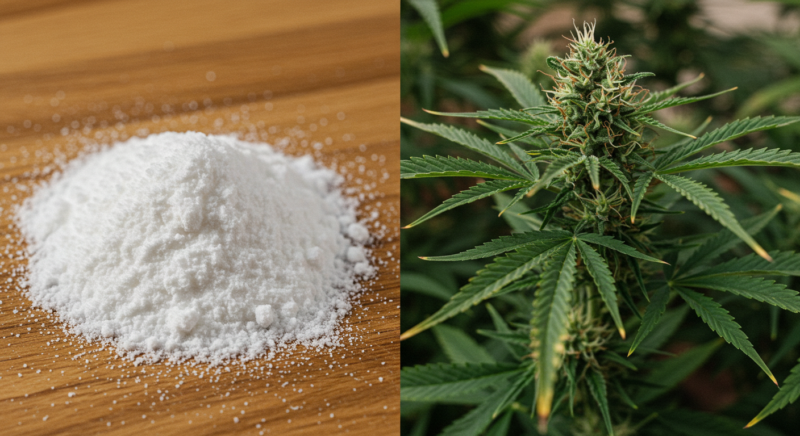
In organic growing, adjusting pH requires a slightly different approach. To lower pH, growers often use natural acids like acetic acid (vinegar) or citric acid, which can also help facilitate plant metabolic processes such as the Kreb cycle. Small amounts of sodium bicarbonate (baking soda) or lime are added to raise pH.
It’s important to monitor pH closely to ensure that plants can access all available nutrients, as organic matter affects the pH over time.
How Fertilizers Affect pH
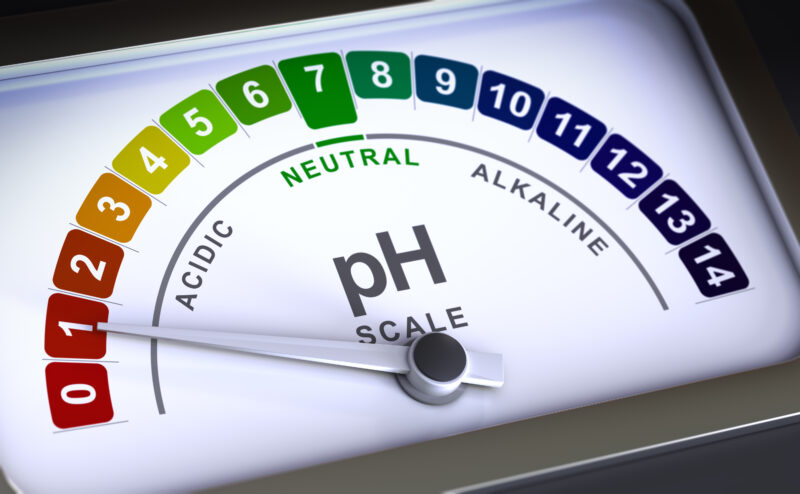
Most fertilizers cause a change in the pH of your soil or nutrient solution. Generally, adding fertilizers results in a more acidic pH. Over time, the salts produced by the breakdown of fertilizers accumulate in the soil, making it more acidic. This gradual shift can stunt plant growth, cause nutrient deficiencies, and lead to foliage browning. As the plant matures, its roots may become less effective at nutrient uptake.
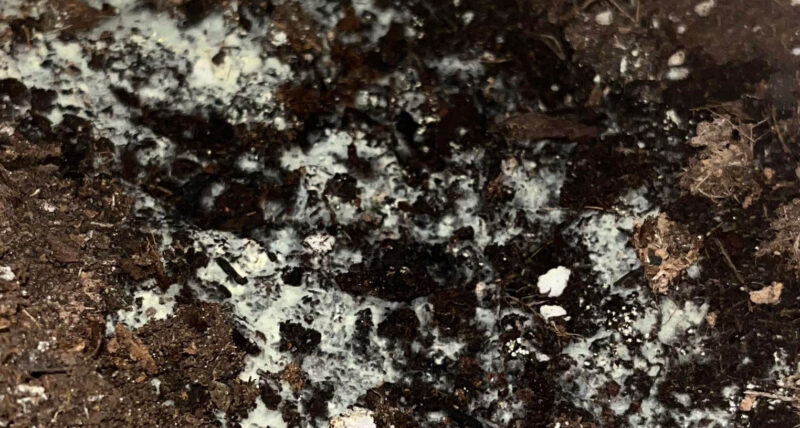
It’s important to make sure you adjust the pH of your nutrient solution before you add it to your growing medium. Hydroponics aims for a pH between 5.5 and 6.5; in soil, the optimal range is 6.0 to 7.0. If the pH is too high, use phosphoric acid to bring it down. If the pH is too low, lime or potassium hydroxide can raise it.
Note: To prevent the accumulation of salts in the soil, consider leaf feeding your cannabis plants. Leaf feeding involves dissolving fertilizer in water and spraying it directly onto the foliage. The leaves absorb the nutrients, bypassing the root system. This method can be especially useful once the plant is about 1.5 months old. However, be careful not to overfeed, as too much fertilizer can cause nutrient burn.
Please read the article about leaf feeding and do not apply it without having detailed knowledge.
Electrical Conductivity (EC) and Parts Per Million (PPM)
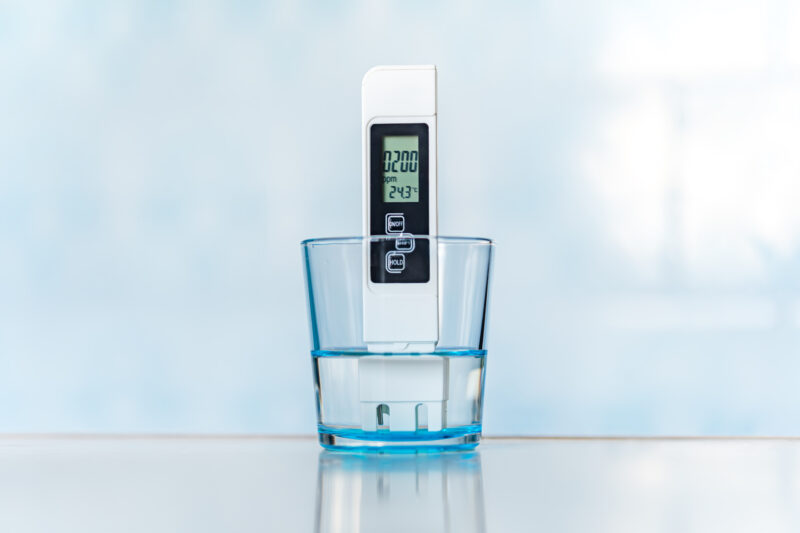
Besides pH, growers must also monitor electrical conductivity (EC) and parts per million (PPM), which measure nutrient strength. EC indicates how well your solution can conduct electricity, which is determined by the amount of dissolved salts (nutrients) in the water. PPM is a measure of how many parts of nutrients per million parts of solution are present.
Cannabis plants require different levels of nutrients at different stages of their life cycle. For example, seedlings do best with an EC of 300-400 PPM, while mature, flowering plants can handle 1500-2000 PPM. Maintaining the right nutrient levels is crucial for healthy growth and high yields.
To prevent nutrient buildup, it’s important to drain 10-20% of the nutrient solution from the growing medium after each watering. This helps flush out excess salts, which can accumulate in the soil or hydroponic medium over time and cause a nutrient lockout.
Dealing with Hard Water: If Your Tap Water Isn’t Good Enough
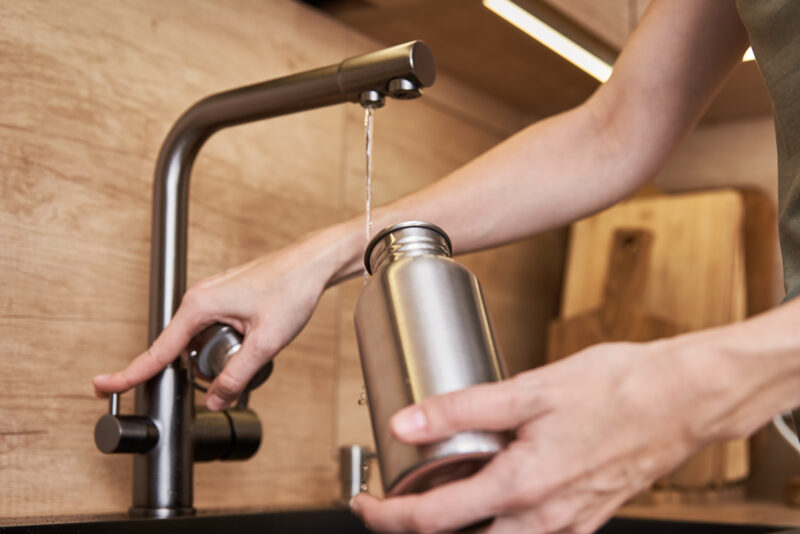
Some areas have tap water that contains high levels of dissolved salts and minerals, making it unsuitable for any plants. Water with a PPM above 300 or excessive sodium levels is considered hard water. Hard water can interfere with nutrient uptake and cause salt buildup in the soil or hydroponic medium, leading to nutrient deficiencies and poor plant health.
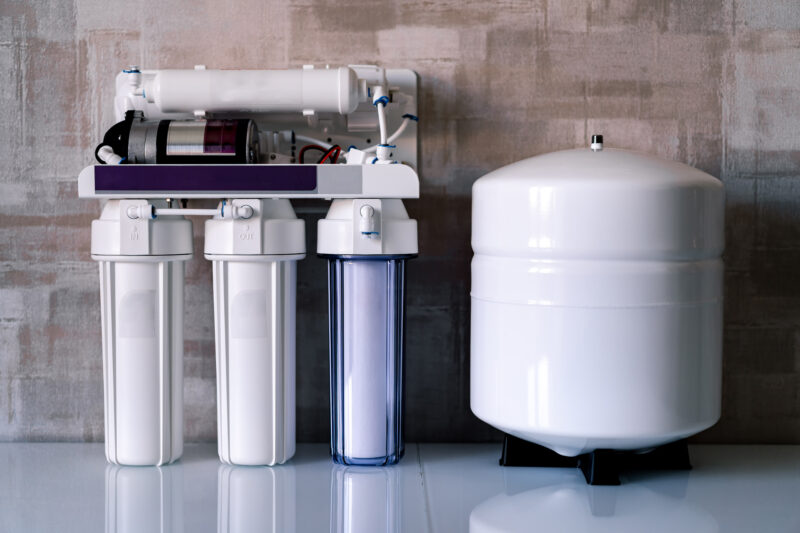
One solution to hard water is to use a reverse osmosis (RO) system. These systems filter out up to 95% of dissolved solids, leaving you with pure water that’s ideal for growing cannabis. However, reverse osmosis systems can be inefficient, producing more waste than usable water. To reduce this waste, many growers install a permeate pump, which increases the system’s efficiency without needing electricity.
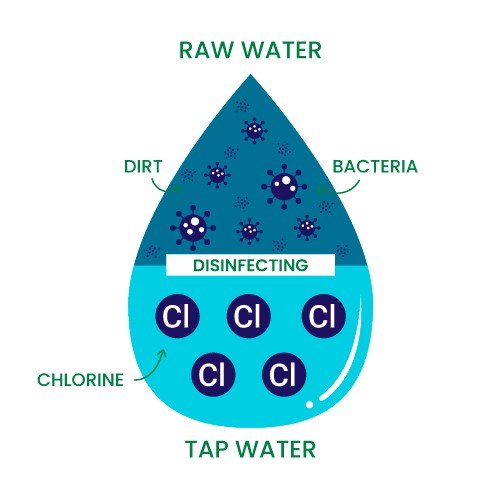
Some growers also consider using raw water sources like spring water or collected rainwater. While raw water can seem like a natural and healthy option, it often contains contaminants such as dirt, bacteria, or even harmful microorganisms. Without proper filtration or testing, raw water may introduce unwanted pathogens into your grow, affecting root health and overall plant development.
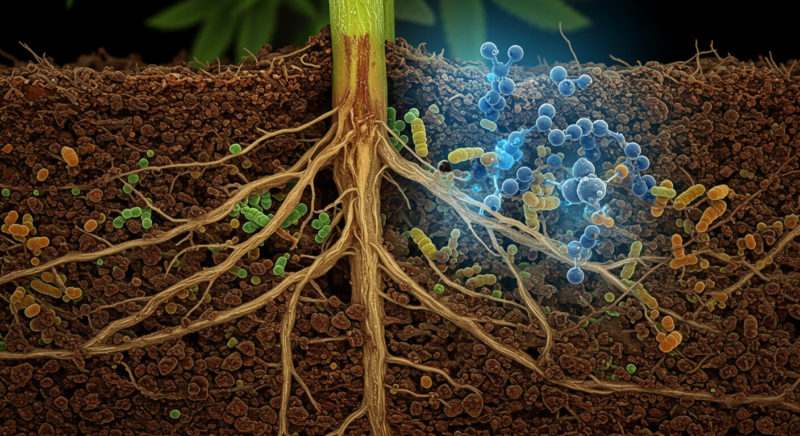
Additionally, tap water in some regions is treated with chlorine or chloramine to kill bacteria. While this makes the water safe for human consumption, it can be harmful to cannabis plants. Chlorine disrupts the microbial life in the root zone and can negatively impact nutrient availability. If your water contains chlorine, letting it sit out for 24–48 hours before use can help it evaporate. For chloramine, however, a carbon filter is typically required to remove it effectively.
Note: If your water contains chlorine, let it sit for at least 24 hours or 48 hours to ensure all the chlorine has fully evaporated.
How to Properly Hydrate Your Plants
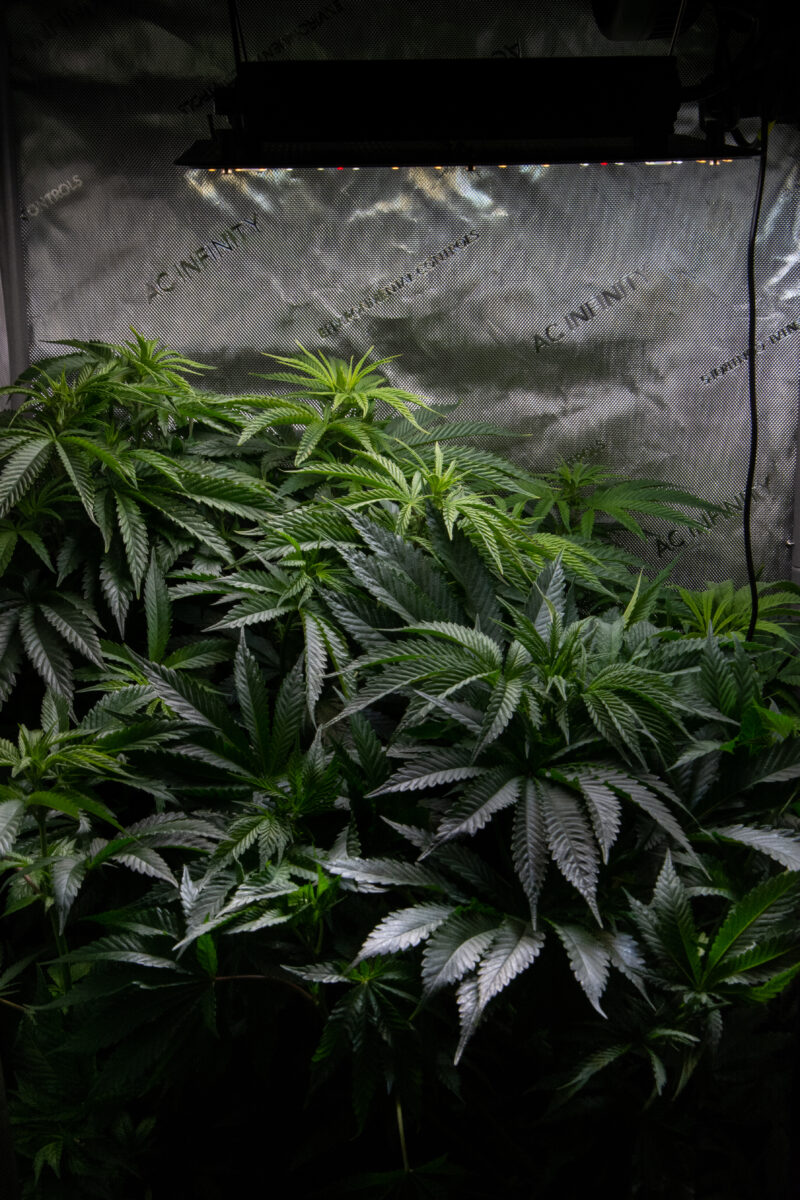
Watering your cannabis plants might seem simple, but improper watering can lead to issues like root rot, overwatering, or underwatering. Cannabis plants should be watered when the top layer of soil has dried out, typically every two to three days. However, watering schedules can vary greatly depending on environmental factors such as:
- Light intensity: High-intensity lighting (e.g., HPS or LED) can cause water to evaporate faster, requiring more frequent watering.
- Temperature: Hotter environments dry out soil quicker.
- Humidity: In low humidity environments, plants lose more water through transpiration, increasing their water needs.
Overwatering can suffocate the roots, while underwatering can deprive the plant of nutrients and moisture, causing stress.
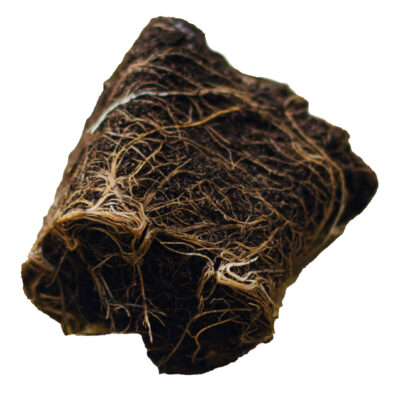
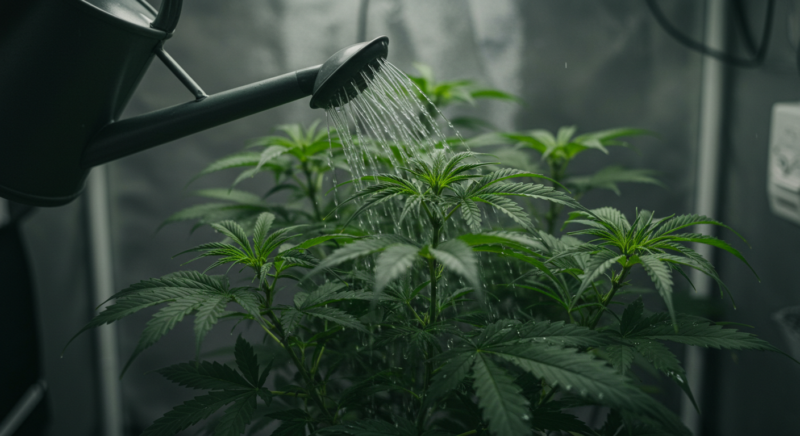
When watering, make sure the water penetrates the soil deeply to encourage root growth. Avoid allowing water to pool at the base of the plant for long periods, as this can lead to root rot. Instead, ensure that your pots have adequate drainage so that any excess water can escape.
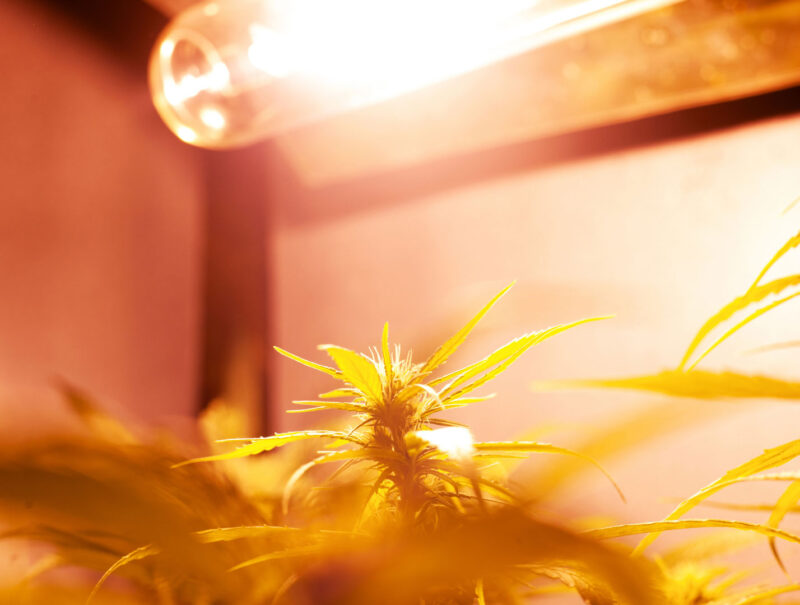
WARNING: Never get even a single drop of water on a hot bulb, as it may cause the bulb to burst, potentially damaging your plants and your grow setup.
The “Lift the Pot” Method
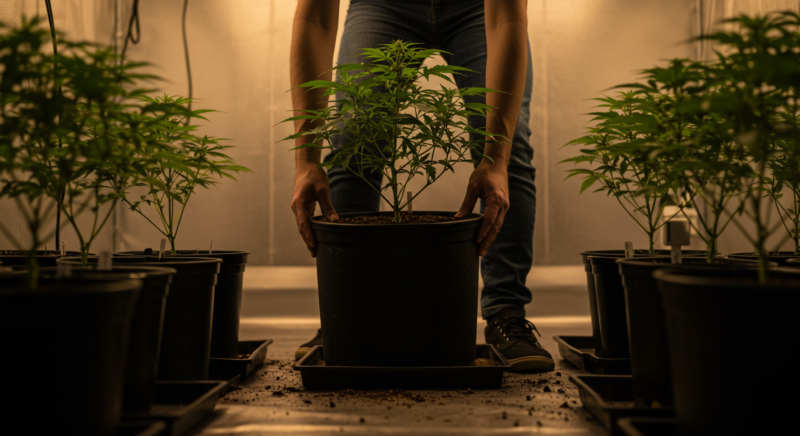
The “Lift the Pot” method is an easy and reliable way to determine when your cannabis plants need water. Lift the pots when the soil is dry, and then after watering, you can gauge the difference in weight, letting you know when it’s time to water again.
Here’s how to use the “Lift the Pot” method:
- Start by watering one of your pots thoroughly and lifting it to feel its weight when fully watered.
- After a couple of days, lift the pot again when the soil is dry. The difference in weight will indicate whether the plant needs watering or not.
- Over time, you’ll develop an instinctive sense of when to water based on the weight of your pots.
This method is simple but effective, helping to prevent overwatering or underwatering, two common mistakes in cannabis cultivation.
Watering Drooping Plants: Diagnosing Overwatering and Underwatering
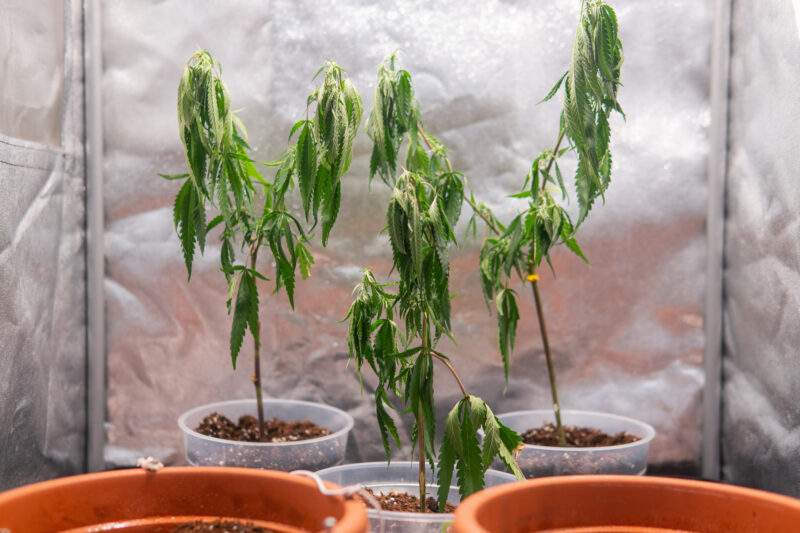
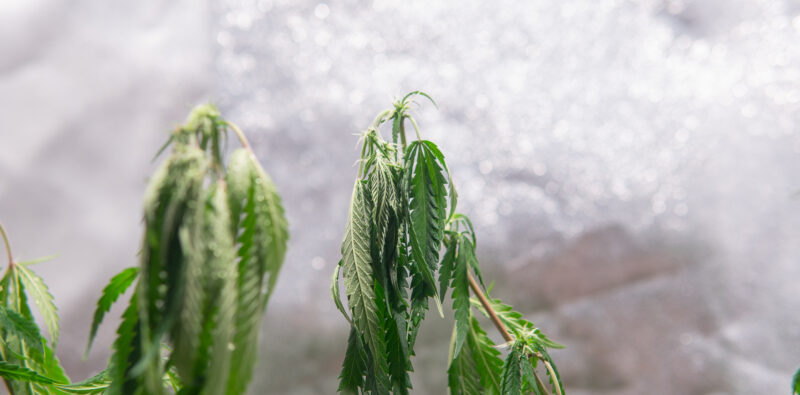
Cannabis plants can droop for a variety of reasons, but the two most common culprits are overwatering and underwatering. While drooping might look similar at first glance, knowing the subtle differences can help you quickly identify the issue and take corrective action. Proper diagnosis is crucial because overwatering and underwatering require opposite remedies, and confusing the two could make the problem worse.
Understanding the Symptoms:
- Underwatered Plants: When cannabis plants don’t receive enough water, the cells within the plant lose turgidity, which is the pressure that keeps the plant upright. Without sufficient water, the plant’s cells collapse, causing the plant to look limp and lifeless. The leaves typically droop, hang loosely, and appear deflated, lacking the stiffness they would normally have when properly hydrated. You might notice the leaves turning yellow or brown at the tips or edges, indicating the plant is desperately pulling moisture from its leaves to survive.
- Overwatered Plants: On the other hand, too much water suffocates the plant’s roots, depriving them of the oxygen they need to thrive. Overwatered plants have a distinct drooping pattern where the leaves remain firm, but they curl downward from the stem, resembling claws. You may also notice that the soil remains soggy for longer than usual. Over time, overwatering leads to root rot, a fungal condition that further inhibits the plant’s ability to absorb nutrients and oxygen, potentially leading to more serious long-term damage if not corrected.
Why Overwatering is More Harmful
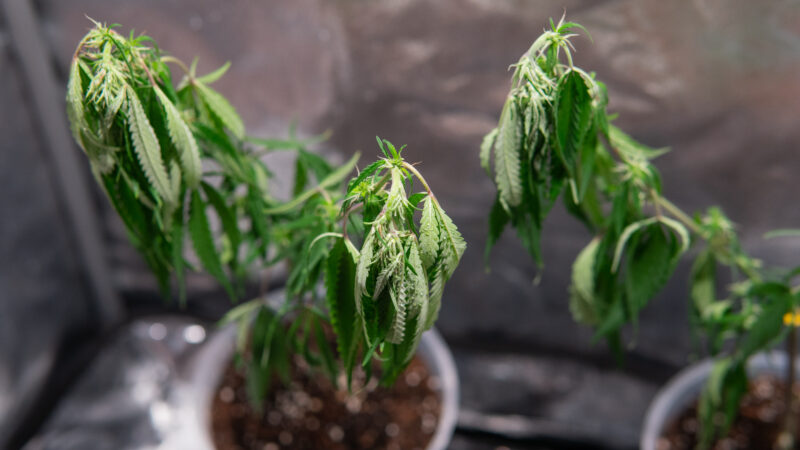
Overwatering is often more dangerous to cannabis plants than underwatering because it directly affects the root zone. Cannabis roots need oxygen to “breathe,” and overwatering essentially drowns them by filling the air pockets in the soil with water. This leads to root rot, a fungal disease that breaks down the roots, making it nearly impossible for the plant to absorb nutrients and water effectively. In advanced cases of root rot, the damage may be irreversible, and the plant could die.
Consistent overwatering creates a perpetually anaerobic (low-oxygen) environment even if the roots haven’t rotted. This leads to slow plant growth, wilting, and a higher susceptibility to pests and diseases like powdery mildew or fungus gnats. On the flip side, underwatering usually gives you a clearer signal to act since the plant will wilt, but it recovers more quickly once rehydrated.
Correcting the Issue:
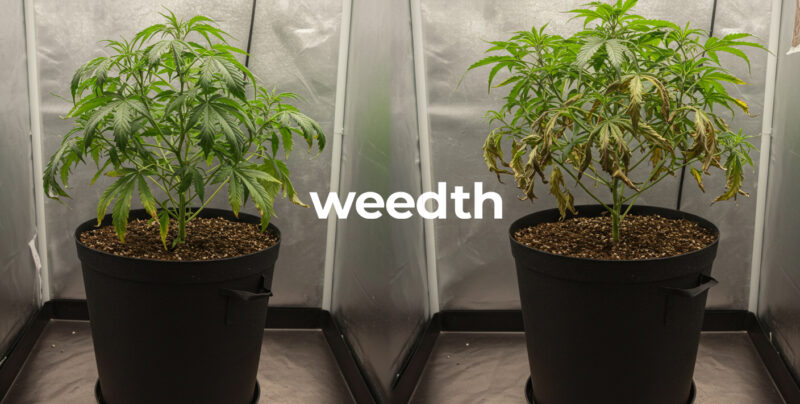
For Underwatering: If you think your cannabis plants are underwatered, the solution is straightforward: water them thoroughly. Make sure you evenly saturate the entire root zone, but be cautious not to overcompensate by drowning the plants. After watering, the plant should start to perk up within a few hours to a day, depending on how long it has been without adequate moisture.
A helpful tip is to adopt the “Lift the Pot” method to prevent future underwatering. Simply lift your pots when they are dry and light, and after watering, lift them again to feel the weight difference. Over time, this method will become intuitive and help you keep track of when your plants need water.
For Overwatering: Correcting overwatering is a bit more involved and requires patience. If your plants are drooping due to overwatering, the first step is to allow the soil to dry out. Depending on the severity, you may need to go several days without watering. You can also help speed up the drying process by improving the aeration of the root zone. Use a thin dowel or pencil to poke small holes into the soil, allowing more oxygen to reach the roots and promoting quicker evaporation of excess moisture.

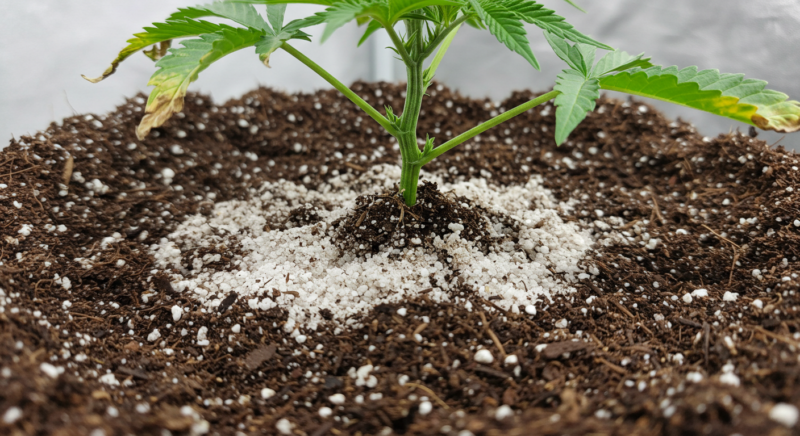
Improving the drainage of your pots is also crucial for preventing overwatering in the future. Make sure your pots have sufficient drainage holes, and avoid using overly compacted or water-retentive soils that can trap moisture around the roots. You might also consider placing a layer of perlite or pebbles at the bottom of your pots to enhance drainage.
In extreme cases of overwatering where root rot has set in, you may need to carefully remove the plant from its pot, trim away any damaged or rotted roots, and replant it in fresh, well-aerated soil. After transplanting, water lightly, ensuring the plant has time to recover.
Preventative Measures
Create a Watering Schedule: The most effective way to avoid both overwatering and underwatering is to stick to a consistent watering schedule. Cannabis plants generally need water every 2-3 days, but this can vary depending on the size of your pots, the stage of growth, and environmental conditions like temperature and humidity. Smaller pots dry out faster, while larger pots can retain moisture longer.
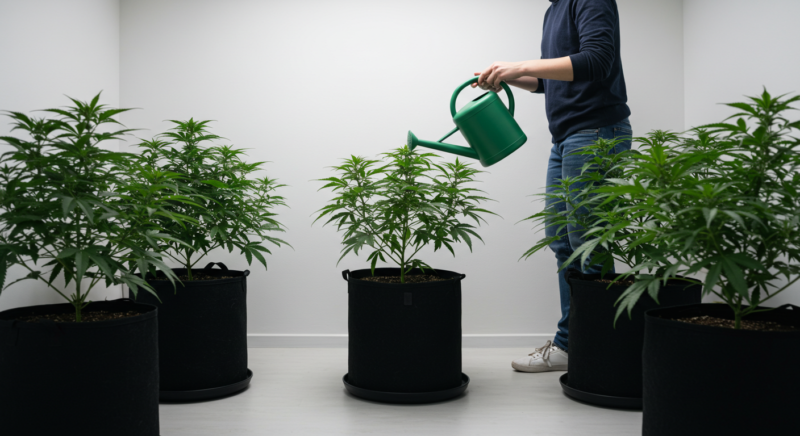
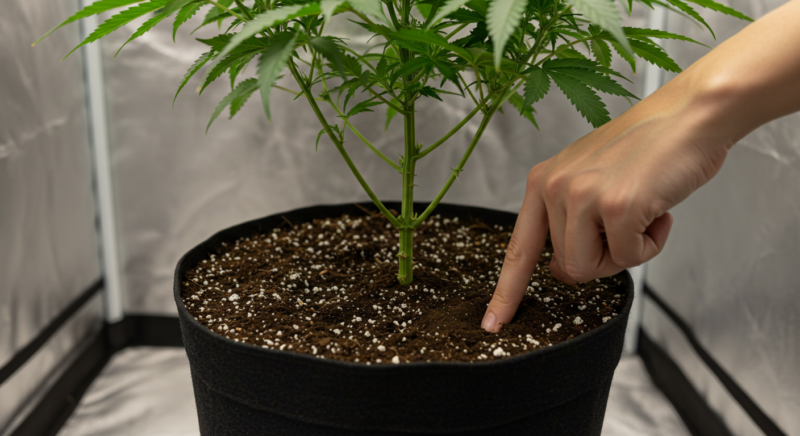
Check Soil Moisture: Don’t rely solely on how the surface of the soil looks—soil can appear dry on top but still be saturated below. Use your finger or a moisture meter to check if the soil is dry a few inches below the surface before watering again.
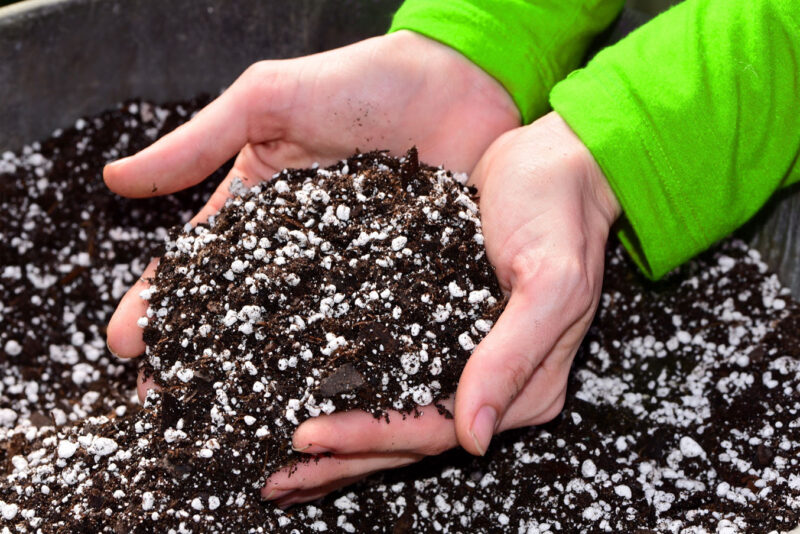
Choose the Right Soil: Ensure that your growing medium is well-aerated and drains properly. A mix containing perlite, vermiculite, or coco coir helps maintain moisture balance, allowing the roots to access both water and oxygen efficiently. Heavy soils like clay or overly compacted soils will hold too much water and contribute to overwatering problems.
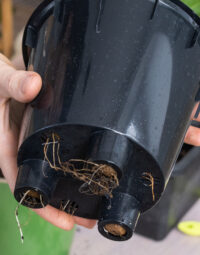
Adequate Drainage: Ensure that your pots have ample drainage holes. If water is pooling at the bottom of your pots, the roots may be sitting in water, leading to root rot. You can add a layer of gravel or pebbles at the bottom of your pots to facilitate better water flow.
Environmental Control: Control the environment where your plants are growing. High humidity levels can cause water to evaporate slower, while lower humidity levels can increase evaporation and lead to underwatering. Maintaining the right temperature and humidity is essential for keeping the watering needs of your cannabis plants balanced.
Long-Term Effects of Overwatering and Underwatering:
While both underwatering and overwatering cause immediate stress to cannabis plants, their long-term impacts differ:
- Underwatering primarily causes the plant to slow down in growth. While plants can generally recover from brief periods of dehydration, chronic underwatering will lead to smaller, weaker plants with reduced yields.
- Overwatering, leads to root diseases and stunted growth and can be fatal if left unchecked. Repeated overwatering often results in root rot, and once this condition sets in, it can be very difficult to reverse. If root rot is left untreated, it can cause irreversible damage, and the plant will slowly die from the bottom up, showing yellowing leaves and progressively more drooping until the plant collapses.
pH Meters
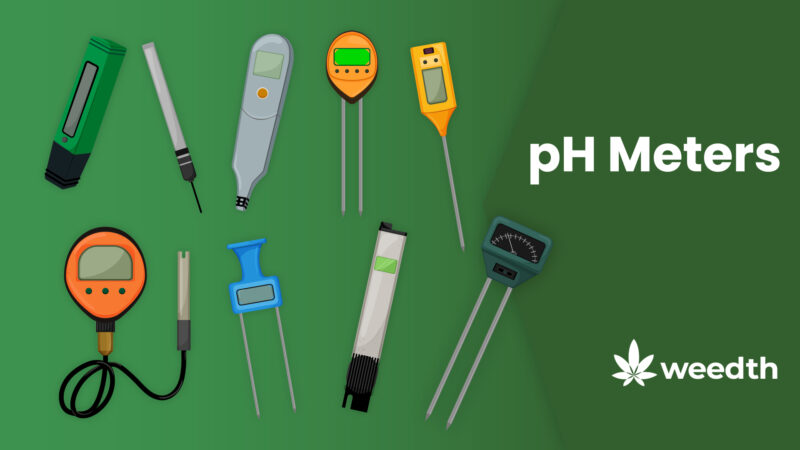
Monitoring the pH of your water and nutrient solution is one of the most important aspects of cannabis cultivation. A reliable pH meter helps ensure that your plants consistently receive water and nutrients with the correct pH levels. There are several types of pH meters available, each with unique features suited for different growing setups. Choosing the right type of meter can make a big difference in maintaining plant health.
Types of pH Meters
pH Test Strips:
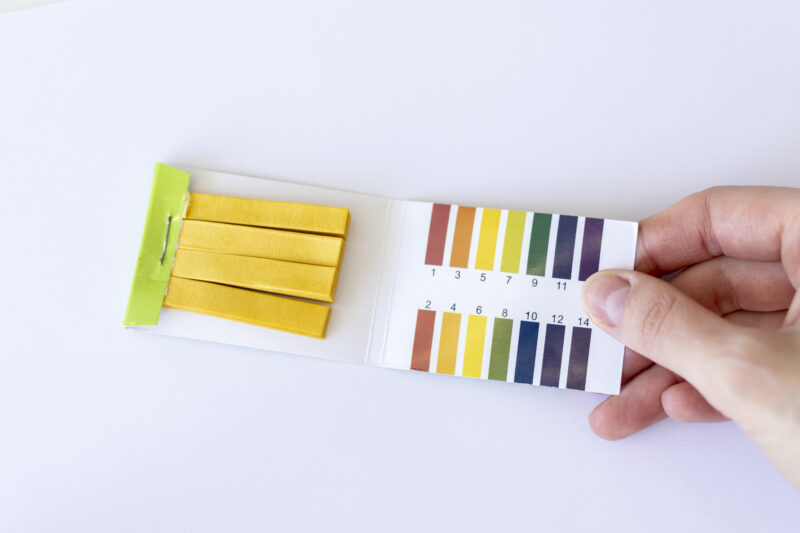
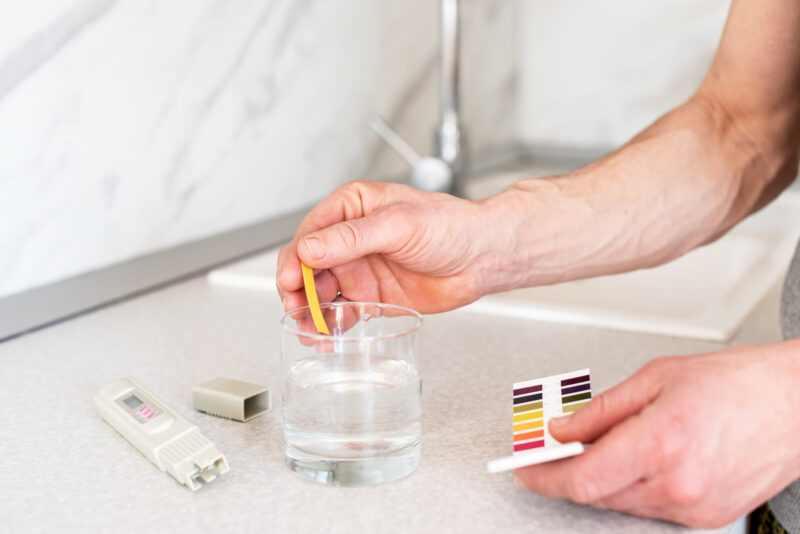
These are the most basic and affordable method of testing pH. pH strips change color when exposed to water or nutrient solutions, with the color indicating the pH level. While cheap and easy to use, they are not very accurate and are better suited for quick, rough estimates.
Best for: Beginners or growers with small setups who are looking for an affordable way to monitor pH, but not ideal for hydroponic systems or advanced grows where precision is key.
pH Drops:
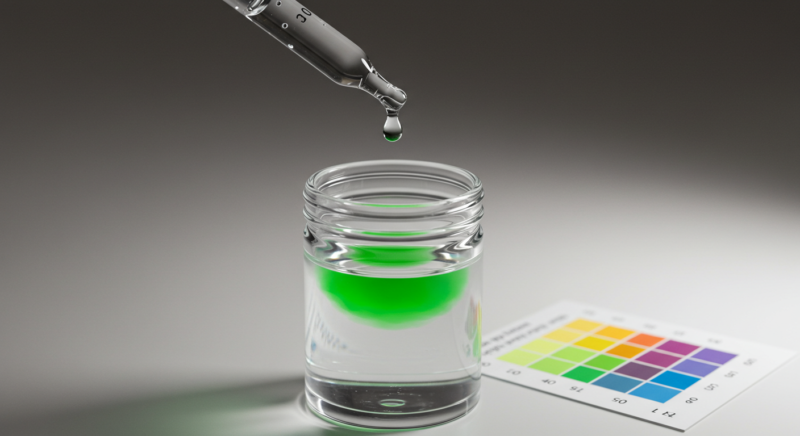
pH drop kits involve adding a few drops of an indicator solution to your water or nutrient mix. The liquid changes color, allowing you to match it to a pH color chart. These are slightly more accurate than test strips but still lack precision.
Best for: Small-scale soil growers looking for a simple, cost-effective solution, but not recommended for high-precision needs like hydroponics.
Pen-Style Digital pH Meters:
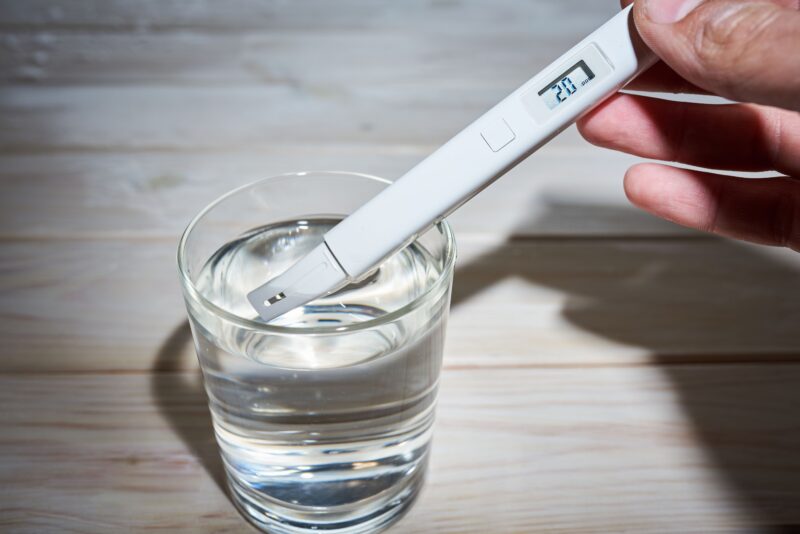
These portable devices are among the most popular tools for growers. Pen-style meters are small, affordable, and provide digital pH readings with much greater accuracy than strips or drops. These meters often come with replaceable or recalibratable probes to ensure consistent accuracy. However, they require regular calibration and care to maintain their precision.
Best for: Both soil and hydroponic growers who need a convenient, portable option for regular pH checks with moderate precision.
Handheld pH Meters:
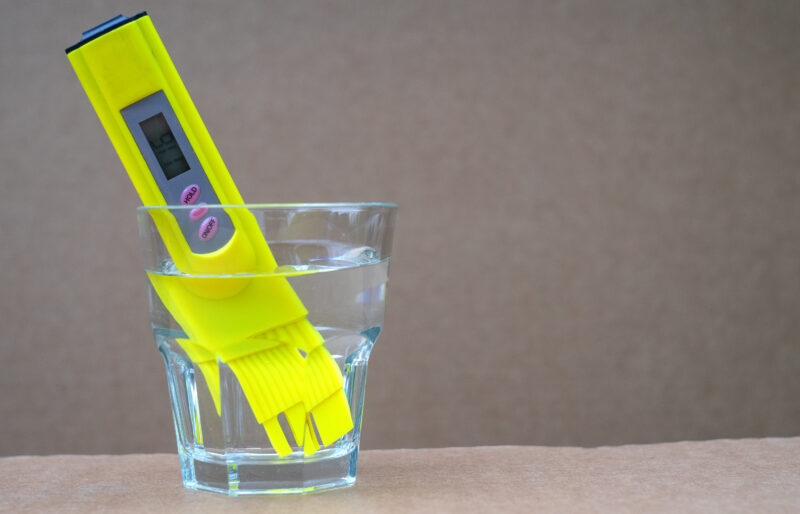
These are more advanced than pen-style meters and offer higher accuracy and durability. Handheld pH meters often come with replaceable probes, large displays, and waterproof designs, making them ideal for hydroponic setups where they may come into contact with water. They provide highly accurate readings and are ideal for large-scale or more advanced growers who need precise monitoring.
Best for: Experienced growers or those managing larger hydroponic or soil systems that require highly accurate and consistent pH monitoring.
Continuous Monitoring Systems:
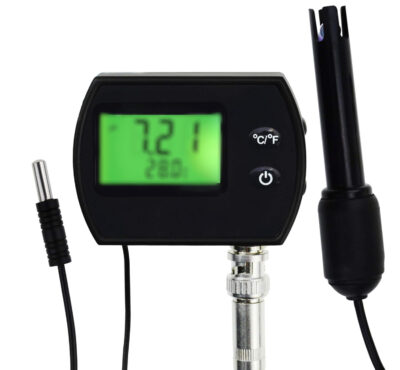
These systems offer real-time pH monitoring by placing a probe directly in the water or nutrient reservoir. Continuous pH meters are often used in automated hydroponic systems, where keeping pH within a tight range is critical. They display live readings and can sometimes be connected to automated dosing systems that adjust pH automatically when it drifts outside the desired range.
Best for: Hydroponic growers with automated systems or large-scale operations where constant monitoring and fine-tuned control of pH are necessary.
ISFET pH Meters:
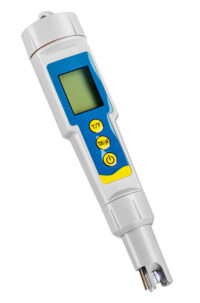
Ion-Sensitive Field-Effect Transistor (ISFET) meters are more advanced than traditional glass-electrode meters. They are highly accurate, fast, and durable, as they don’t use the fragile glass electrodes found in other digital meters. ISFET meters are a great option for growers looking for long-term precision, though they tend to be more expensive.
Best for: Advanced growers seeking the most accurate and durable meters for continuous or frequent pH testing.
Calibration and Maintenance
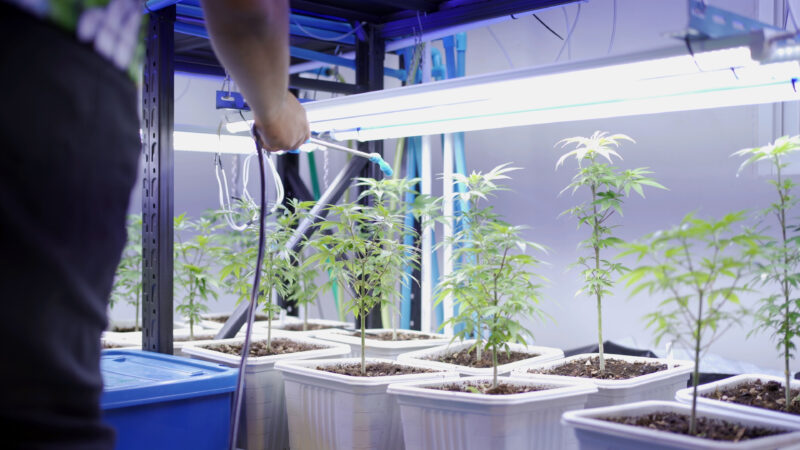
Regardless of the type of pH meter you choose, regular calibration is essential for maintaining accuracy. pH meters should be calibrated with buffer solutions (typically at pH 4.0, 7.0, and 10.0) to ensure precise readings. Additionally, digital meters with probes require regular cleaning and proper storage to avoid contamination or damage, which could lead to inaccurate readings.
Why Investing in a Quality pH Meter is Important
A good pH meter is well worth the investment, especially in cannabis cultivation, where precise control of pH directly affects nutrient absorption. Maintaining the correct pH levels allows your plants to thrive at every stage of growth, preventing nutrient lockout, deficiencies, or toxicities. Whether you’re growing in soil, coco, or a hydroponic system, ensuring accurate pH levels will improve your overall yields and plant health.
Flushing Your Plants
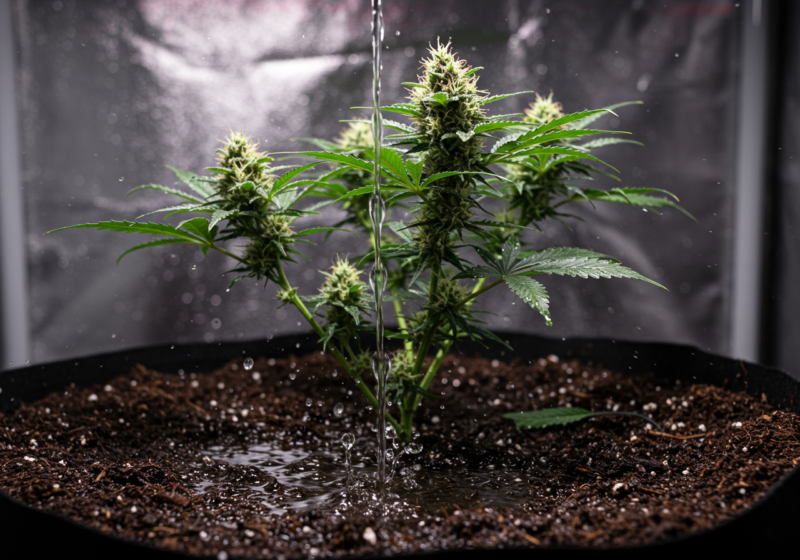
Flushing refers to the process of giving your plants pure water (without nutrients) to “flush” out excess salts, nutrients, or contaminants from the growing medium. This practice is essential for maintaining healthy cannabis plants, especially towards the end of their life cycle or when encountering nutrient problems.
Why Flushing is Important
Over time, salts and nutrients can build up in the soil or hydroponic medium, leading to nutrient lockout, imbalanced pH levels, or nutrient toxicity. Flushing your plants can help remove this buildup, ensuring that the plant can continue to absorb water and nutrients efficiently. Additionally, flushing before harvest helps improve the taste and smoothness of the final product by removing any residual nutrients or chemicals from the plant’s tissues.
When to Flush Cannabis Plants
There are two main times when flushing is necessary:
1.Before Harvest
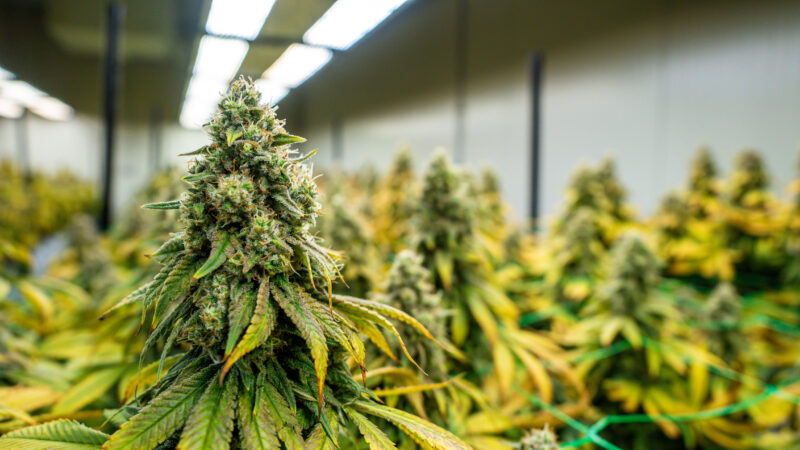
Flushing is critical in the final stages of the cannabis plant’s life cycle. Most growers flush their plants about 1-2 weeks before harvest. This allows the plant to use up any stored nutrients in its tissues, resulting in cleaner, smoother-tasting buds. It can also help eliminate any residual chemical flavors, which can negatively affect the taste and aroma of the final product.
2.During Nutrient Imbalances
If your cannabis plants are showing signs of nutrient toxicity or nutrient lockout (such as yellowing leaves, burnt tips, or other deficiencies), flushing can help reset the medium. By giving the plants plain water, you’re effectively washing away the excess nutrients or salts, giving your plants a fresh start. After flushing, allow the medium to dry out slightly, then resume feeding with a lower concentration of nutrients.
How to Flush Your Plants
Flushing is a simple process but requires attention to detail:
- Water Only: Use plain, pH-balanced water (around 6.0 for soil and 5.8 for hydroponics). Make sure the water is free of any added nutrients, as the goal is to wash away any residual salts or chemicals.
- Saturate the Medium: For soil, slowly pour the water over the soil until you see about 20-30% runoff coming out of the drainage holes. This runoff ensures that salts and excess nutrients are being flushed from the root zone. For hydroponic setups, simply run plain water through the system for a few hours or until EC and PPM levels drop to near zero.
- Check Runoff pH and PPM: During flushing, it’s important to monitor the pH and PPM (parts per million) of the runoff water. This gives you an idea of whether excess salts are being washed away and whether the medium’s pH is balanced. Your target is to get the runoff PPM as low as possible (below 100-200 PPM) and the pH back within the optimal range (6.0-6.5 for soil, 5.5-6.5 for hydroponics).
- Repeat if Necessary: If your runoff PPM remains high after the initial flush, you may need to flush again in a few days to remove more of the buildup.
Flushing in Organic Grow
For organic growers, flushing may not be as critical since organic soil or living soil setups rely on natural microbes and slow-release nutrients. In these cases, flushing could potentially harm beneficial microbes. Instead of a full flush, organic growers may reduce or stop feeding nutrients in the final weeks before harvest to allow the plants to naturally use up stored nutrients.

