- Outdoor Basics
- How to Outdoor Growing
- Introduction to Outdoor Growing
- Planning Your Outdoor Grow
- Choose a site you can manage daily
- Plant in the first hidden corner you find
- Before choosing the final spot, confirm:
- Strong wind can dry plants faster than heat alone
- Visibility can create legal and security risk
- “My hidden spot gets good sun, but I avoid checking it because it is hard to reach. Is that a problem?”
- Microclimate
- Prepare covers, stakes, and shade early
- Wait until the storm starts
- “Should I choose the highest-yielding outdoor strain if my fall season is short?”
- Resistant genetics still need inspection
- Preparing the Site
- Before transplanting outdoors, confirm:
- “My outdoor plant looked droopy after rain even though the soil was full of water. Was it thirsty?”
- Soil Testing and Amendment
- Do not chase pH with panic adjustments
- Soil pH
- “Can I mix a lot of fresh compost right before transplanting outdoors?”
- Outdoor Soil for Cannabis Cultivation
- Build a balanced root zone
- Fix everything with more fertilizer
- Waterlogging can mimic nutrient deficiency
- “My soil dries out fast even after I water deeply. Would compost help?”
- Amendment
- Use structure amendments for a clear purpose
- Add random amendments because they sound useful
- Container vs. Ground Planting
- “Is a fabric pot better than planting straight in the ground?”
- Prepare the native soil before planting
- Assume the ground is automatically better
- Containers can dry out quickly outdoors
- “Would a raised bed help if my yard soil is heavy clay?”
- Pest and Disease Management in Outdoor Cannabis Cultivation
- Check these areas once or twice a week:
- “I only saw a few tiny dots under the leaves. Should I wait before doing anything?”
- Treating without identification can backfire
- Scout early and keep the area clean
- Wait for visible damage everywhere
- “Why did my outdoor buds look fine outside but smell musty inside?”
- Airflow is prevention, not decoration
- Chemical products need strict label discipline
- “Can I spray an organic treatment whenever I see bugs?”
- Avoid applying sprays or solids directly to buds
- “What is the safest habit I can build for outdoor pest control?”
- How to Outdoor Growing
Outdoor Basics
How to Outdoor Growing
Introduction to Outdoor Growing
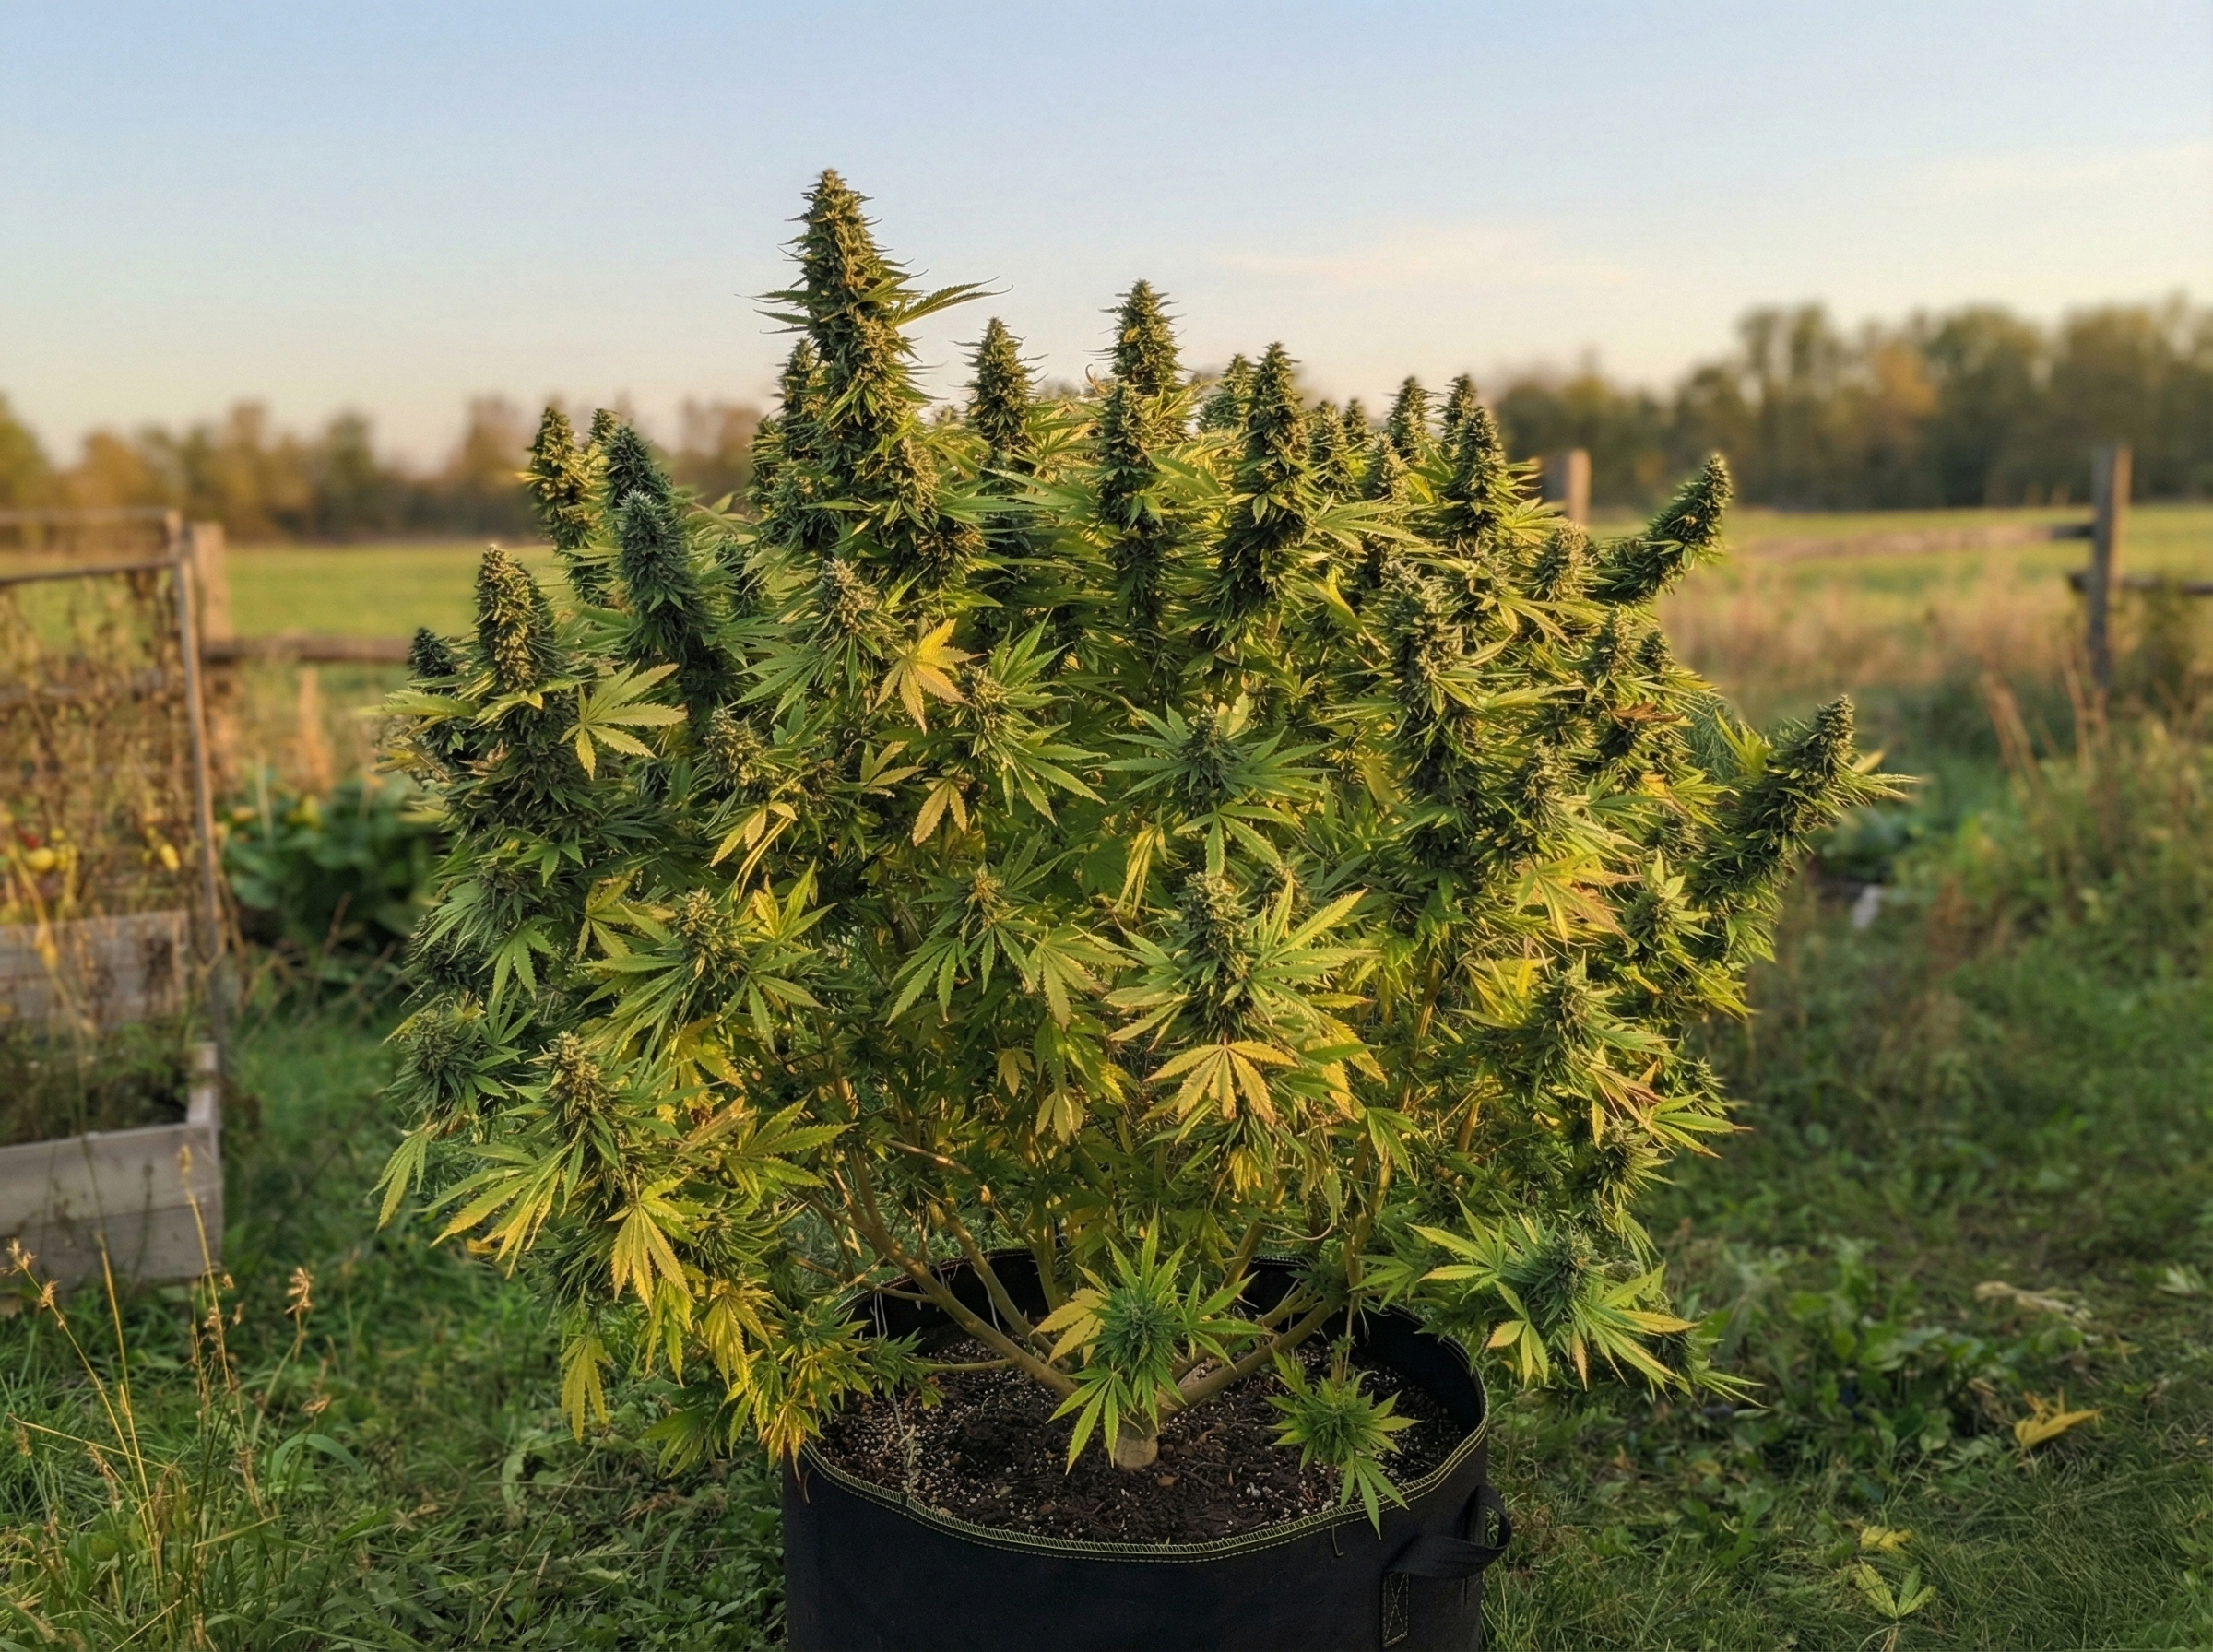
Outdoor growing taps into nature's resources like sunlight, open space, fresh air, and natural soil conditions making it an eco-friendly and cost-effective option for novice and experienced growers. It offers unique advantages and challenges compared to indoor cultivation. Using sunlight—the best light source for photosynthesis—reduces costs and gives plants a broad spectrum of light that encourages strong, healthy growth and aligns with their natural growth cycles, potentially leading to richer yields.
Tip: Think of outdoor growing as a site-management project first and a plant project second. Sun, water, privacy, drainage, and airflow decide more than most beginners expect.
One of the most compelling aspects of outdoor growing is the use of sunlight as the primary light source. Sunlight, unmatched in its spectral quality by any artificial light source, provides the broad spectrum of light that plants use for photosynthesis. This reduces the costs associated with artificial lighting and promotes strong plant growth and healthy development. The natural light cycle, governed by the sun, also encourages plants to follow seasonal growth patterns, which can lead to more natural and robust yields.
One of the primary benefits of outdoor growing is the abundant space, which enables plants to reach their full genetic potential. Unlike indoor cultivation, where space and light can be limiting factors, outdoor plants can grow taller and bushier, leading to larger yields.
Outdoor growing also promotes biodiversity, as the plants interact with the surrounding environment. This interaction can enhance the plants' resilience to pests and diseases, reducing the need for chemical interventions. Additionally, growing cannabis in a natural environment can boost the cannabis's terpene profile, improving its aroma and flavor—a quality highly prized by enthusiasts.
However, outdoor growing presents its own set of challenges. Growers must consider factors such as climate, weather patterns, length of growing season, and local wildlife in their region. Dependency on natural weather conditions means that growers must be attentive and adaptable, ready to protect their plants from extreme weather such as frosts or heatwaves. Selecting the right strain that suits the local environment is crucial for success. Furthermore, outdoor plants are more exposed to pests, wildlife, and potential theft, requiring diligent monitoring and protective measures.
Understanding the fundamentals of outdoor cannabis growing is essential for achieving the best outcomes. This involves preparing the growing site, selecting suitable strains, and implementing proper planting, watering, and feeding techniques. By mastering these basics, growers can take advantage of the many benefits of outdoor growing while effectively managing its risks.
Planning Your Outdoor Grow
Choosing the Right Location
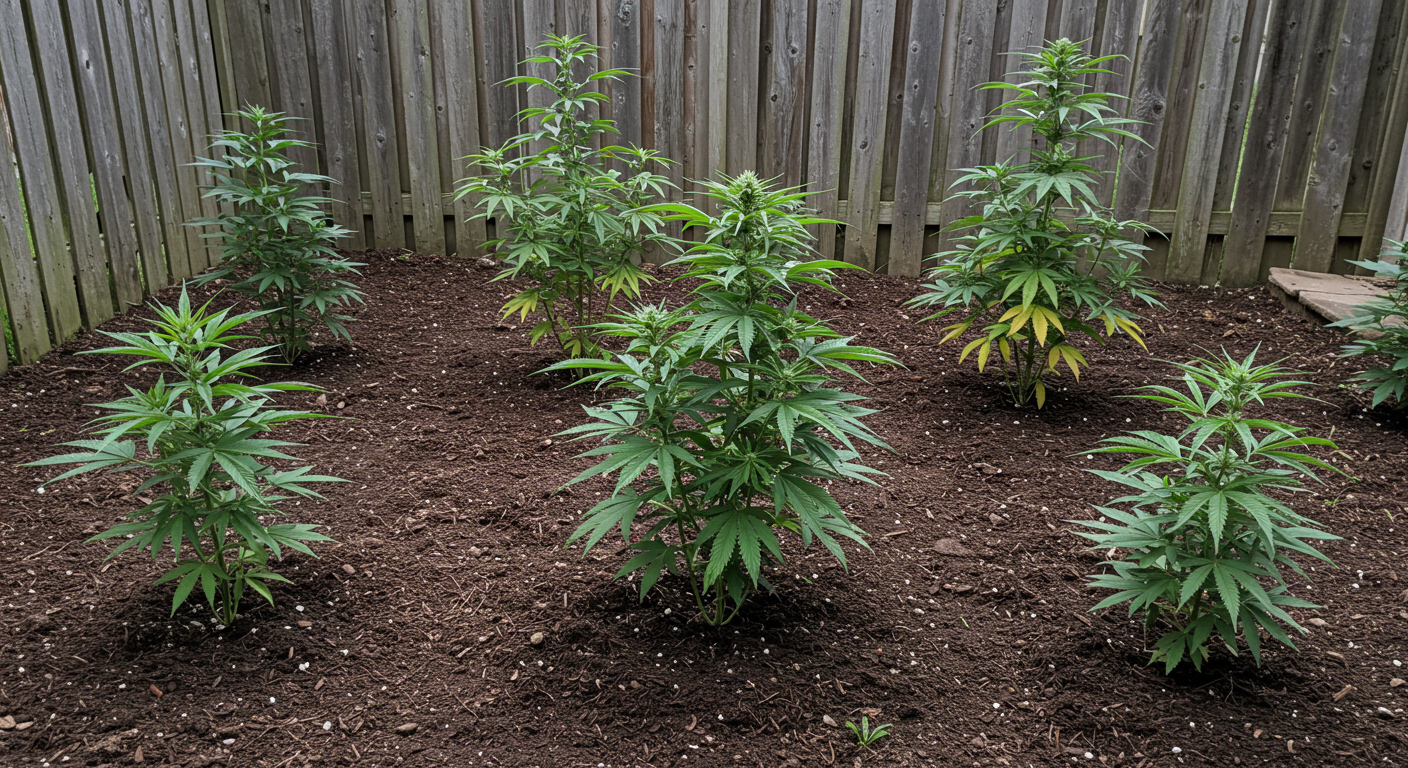
Sunlight Requirements
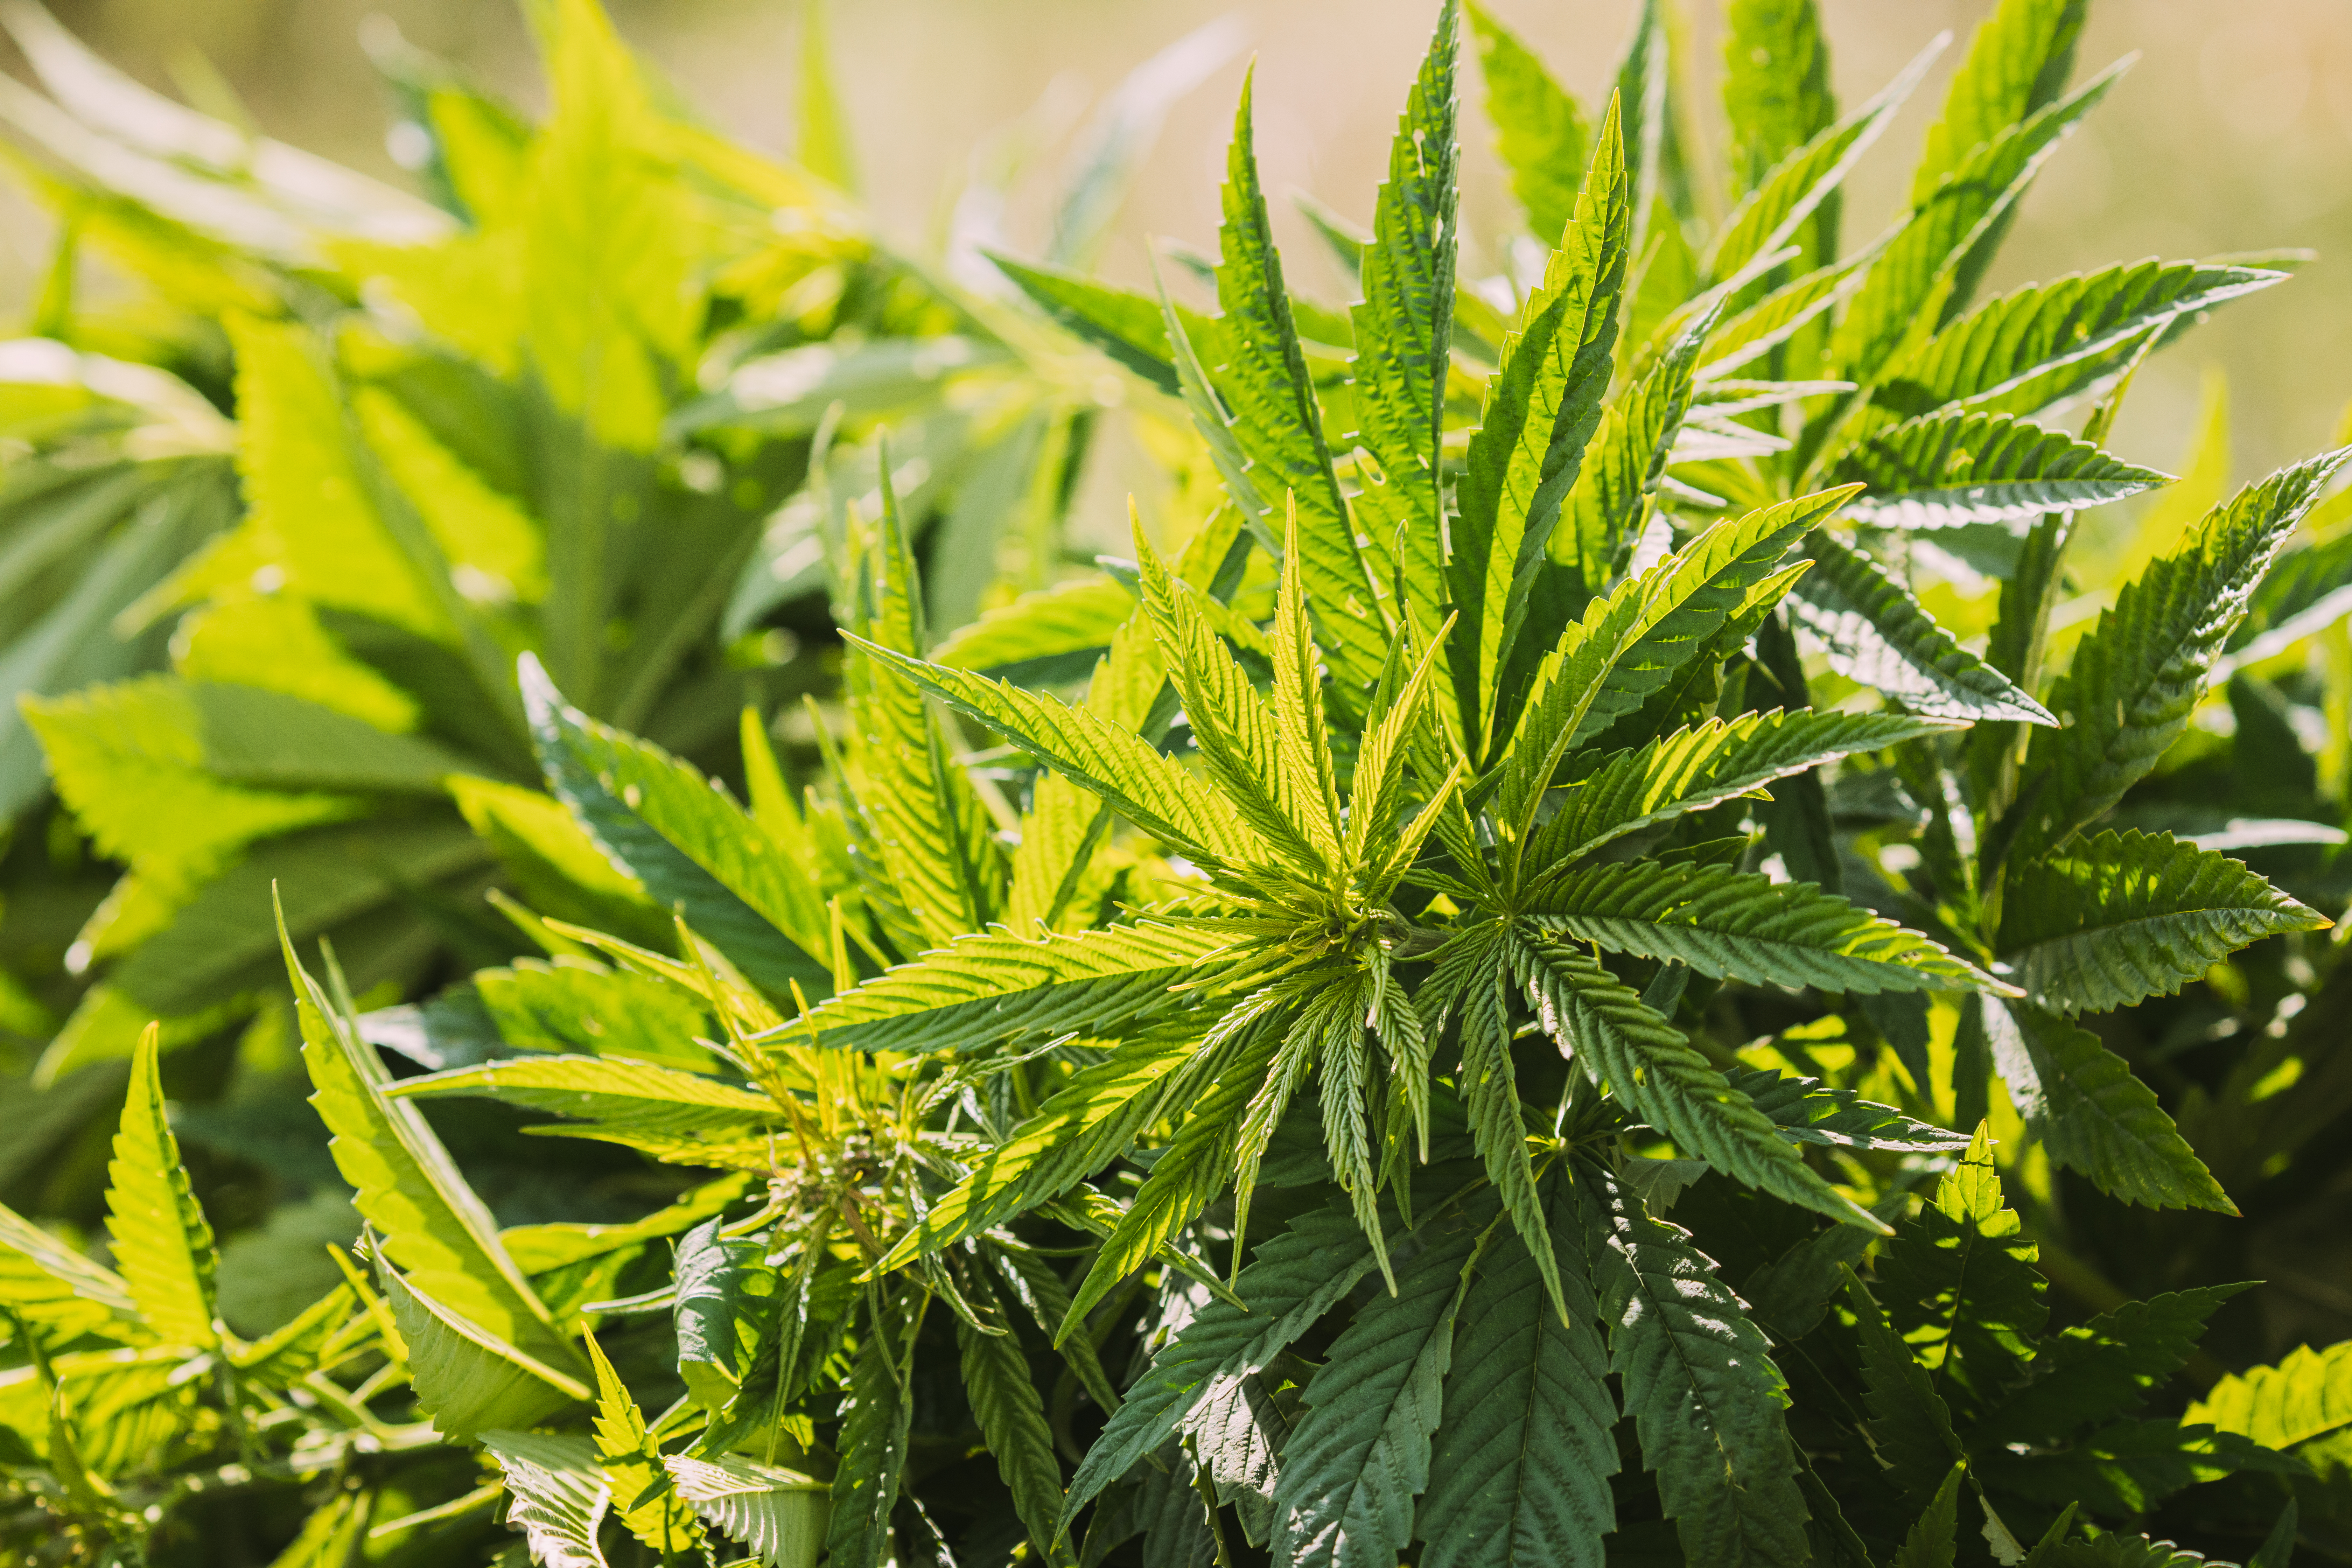
Sunlight is called the source of sustenance for our planet and it’s not hard to see why because it provides the energy for life. Almost all life forms on earth, especially plants depend on it for growth and survival. Understanding direct sunlight’s importance in gardening and agriculture seriously enhances plant care practices. When it comes to growing outdoors, direct sunlight is extremely important factor. You will explore why direct sunlight is important for plants and how it impacts their growth and health. Let’s start!
| Site Factor | Strong Sign | Red Flag |
|---|---|---|
| Sunlight | Direct light reaches the plant for the main part of the day | Shade covers the site during the strongest growth window |
| Water Access | Water is close enough for daily use | Watering requires long carries or awkward hoses |
| Privacy | Plants are screened from public view | Plants are visible from streets, neighbors, or shared areas |
| Drainage | Water moves away after rain | Water pools or soil stays wet for days |
| Airflow | Leaves move lightly and dry after dew | Still, humid air sits around the plant |
Do
Choose a site you can manage daily
Prioritize sunlight, privacy, water access, airflow, and a route you can use comfortably.
Plant in the first hidden corner you find
A secret spot with poor drainage, no light, or bad access usually becomes harder to manage than it is worth.
Remember: A good outdoor plan removes problems before they become plant problems. Walk the space at morning, noon, and late afternoon before choosing the final spot.
| Growth Stage | Outdoor Light Priority | What To Watch |
|---|---|---|
| Seedling | Gentle, steady light | Avoid harsh heat and drying wind |
| Vegetative | Long, strong direct sun | Watch moisture demand as growth speeds up |
| Flowering | Reliable sun plus dry airflow | Protect dense flowers from trapped moisture |
Importance of direct sunlight

Cannabis is known for high light needs, it grows under the intensity of direct sunlight. This natural light fuels growth and supports various plant processes essential for healthy development. Sunlight drives photosynthesis in plants and this a process plants use to convert light into energy. Direct sunlight boosts the rate of photosynthesis, allowing cannabis plants to grow faster and stronger. Direct sunlight also ensures plants receive the right light intensity throughout the day. This intensity measured in lumens, greatly surpasses what most artificial light setups can deliver, driving photosynthesis more efficiently and promoting vigorous growth.
Important: Direct light drives outdoor vigor, but heat stress still matters. In hot climates, strong morning sun with some late-afternoon relief can be better than all-day exposure in a heat pocket.
When exposed to ample sunlight, plants can perform photosynthesis more effectively and for longer periods each day than indoor plants or in partial shade. This means quicker vegetative growth, bigger plants, and broader leaves set the stage for a successful flowering phase.
Sunlight is the most balanced source of light for cannabis plants offering a full spectrum of light wavelengths that are required during different stages of plant growth. Unlike artificial lights that often require adjustments to mimic sunlight’s comprehensive range but the sun naturally provides these varied spectra. During the vegetative stage, blue wavelengths of sunlight promote strong and healthy leaf growth, while red wavelengths in sunlight are more prevalent in the later flowering phase, encouraging budding and flowering in cannabis plants.
Before choosing the final spot, confirm:
- At least several strong hours of direct light during the main growing window
- No surprise afternoon shade from fences, trees, or buildings
- Enough airflow that heat does not sit around the canopy
- A backup plan for extreme heat or late-season storms
Advice: The best location is not always the most hidden one. It should also be reachable, well-drained, and easy to inspect without disturbing the plants.
Sunlight improves the quality of buds, particularly ultraviolet (UV) light. Sunlight includes ultraviolet (UV) light, although invisible to the human eye significantly affecting cannabis plants. It increases the production of cannabinoids like THC and CBD. These compounds are what make the cannabis plant valuable for both medicinal and recreational use. This happens because when plants are exposed to UV light, they get a little bit stressed and produce more cannabinoids to protect themselves. More sunlight exposure means more potent buds.
However, while direct sunlight can greatly benefit cannabis growth, too much UV light can damage plant tissues but too little UV might not trigger the desired increase in cannabinoids and terpenes. Outdoor growers must find a balance to ensure their plants get enough sunlight to boost bud quality and potency without causing stress or harm. Check plants regularly and adjust their exposure based on growth stage and environmental conditions.
The natural progression of light throughout the seasons perfectly supports the life cycle of cannabis. Long summer days encourage vegetative growth, while shorter days in autumn signal the plants to start flowering. This natural rhythm helps outdoor cannabis plants develop according to their genetic programming which can be more challenging to replicate with indoor lighting schedules.
Pro Tip: Track direct sunlight with your phone for a full day. Guessing sun hours from memory often leads to plants sitting in more shade than expected.
Wind Protection

Protecting plants from intense wind is crucial for maintaining healthy growth and maximizing yield. Strong winds can physically damage plants, exacerbate frost damage by causing rapid heat loss from plant surfaces and rapid soil dehydration, and increase the risk of stress-related problems. Successful cannabis growers must know how to assess and control wind patterns with effective windbreaks.
Strong wind can dry plants faster than heat alone
Outdoor containers and exposed beds may lose moisture quickly when wind is constant. Check soil moisture more often after windy days and support branches before they lean or split.
The first step is understanding the local wind patterns. This includes knowing the prevailing wind directions across different seasons, the average wind speeds, and the occurrence of any seasonal strong winds or storms. Local weather stations or meteorological websites can provide historical wind data and forecasts to help you gauge the wind conditions specific to your location.
Knowing these patterns allows growers to strategically position their cannabis plants to minimize wind exposure. It also helps decide on the best type and placement of windbreaks, making sure they are effective in the right location.
Natural Windbreaks: Trees and Bushes
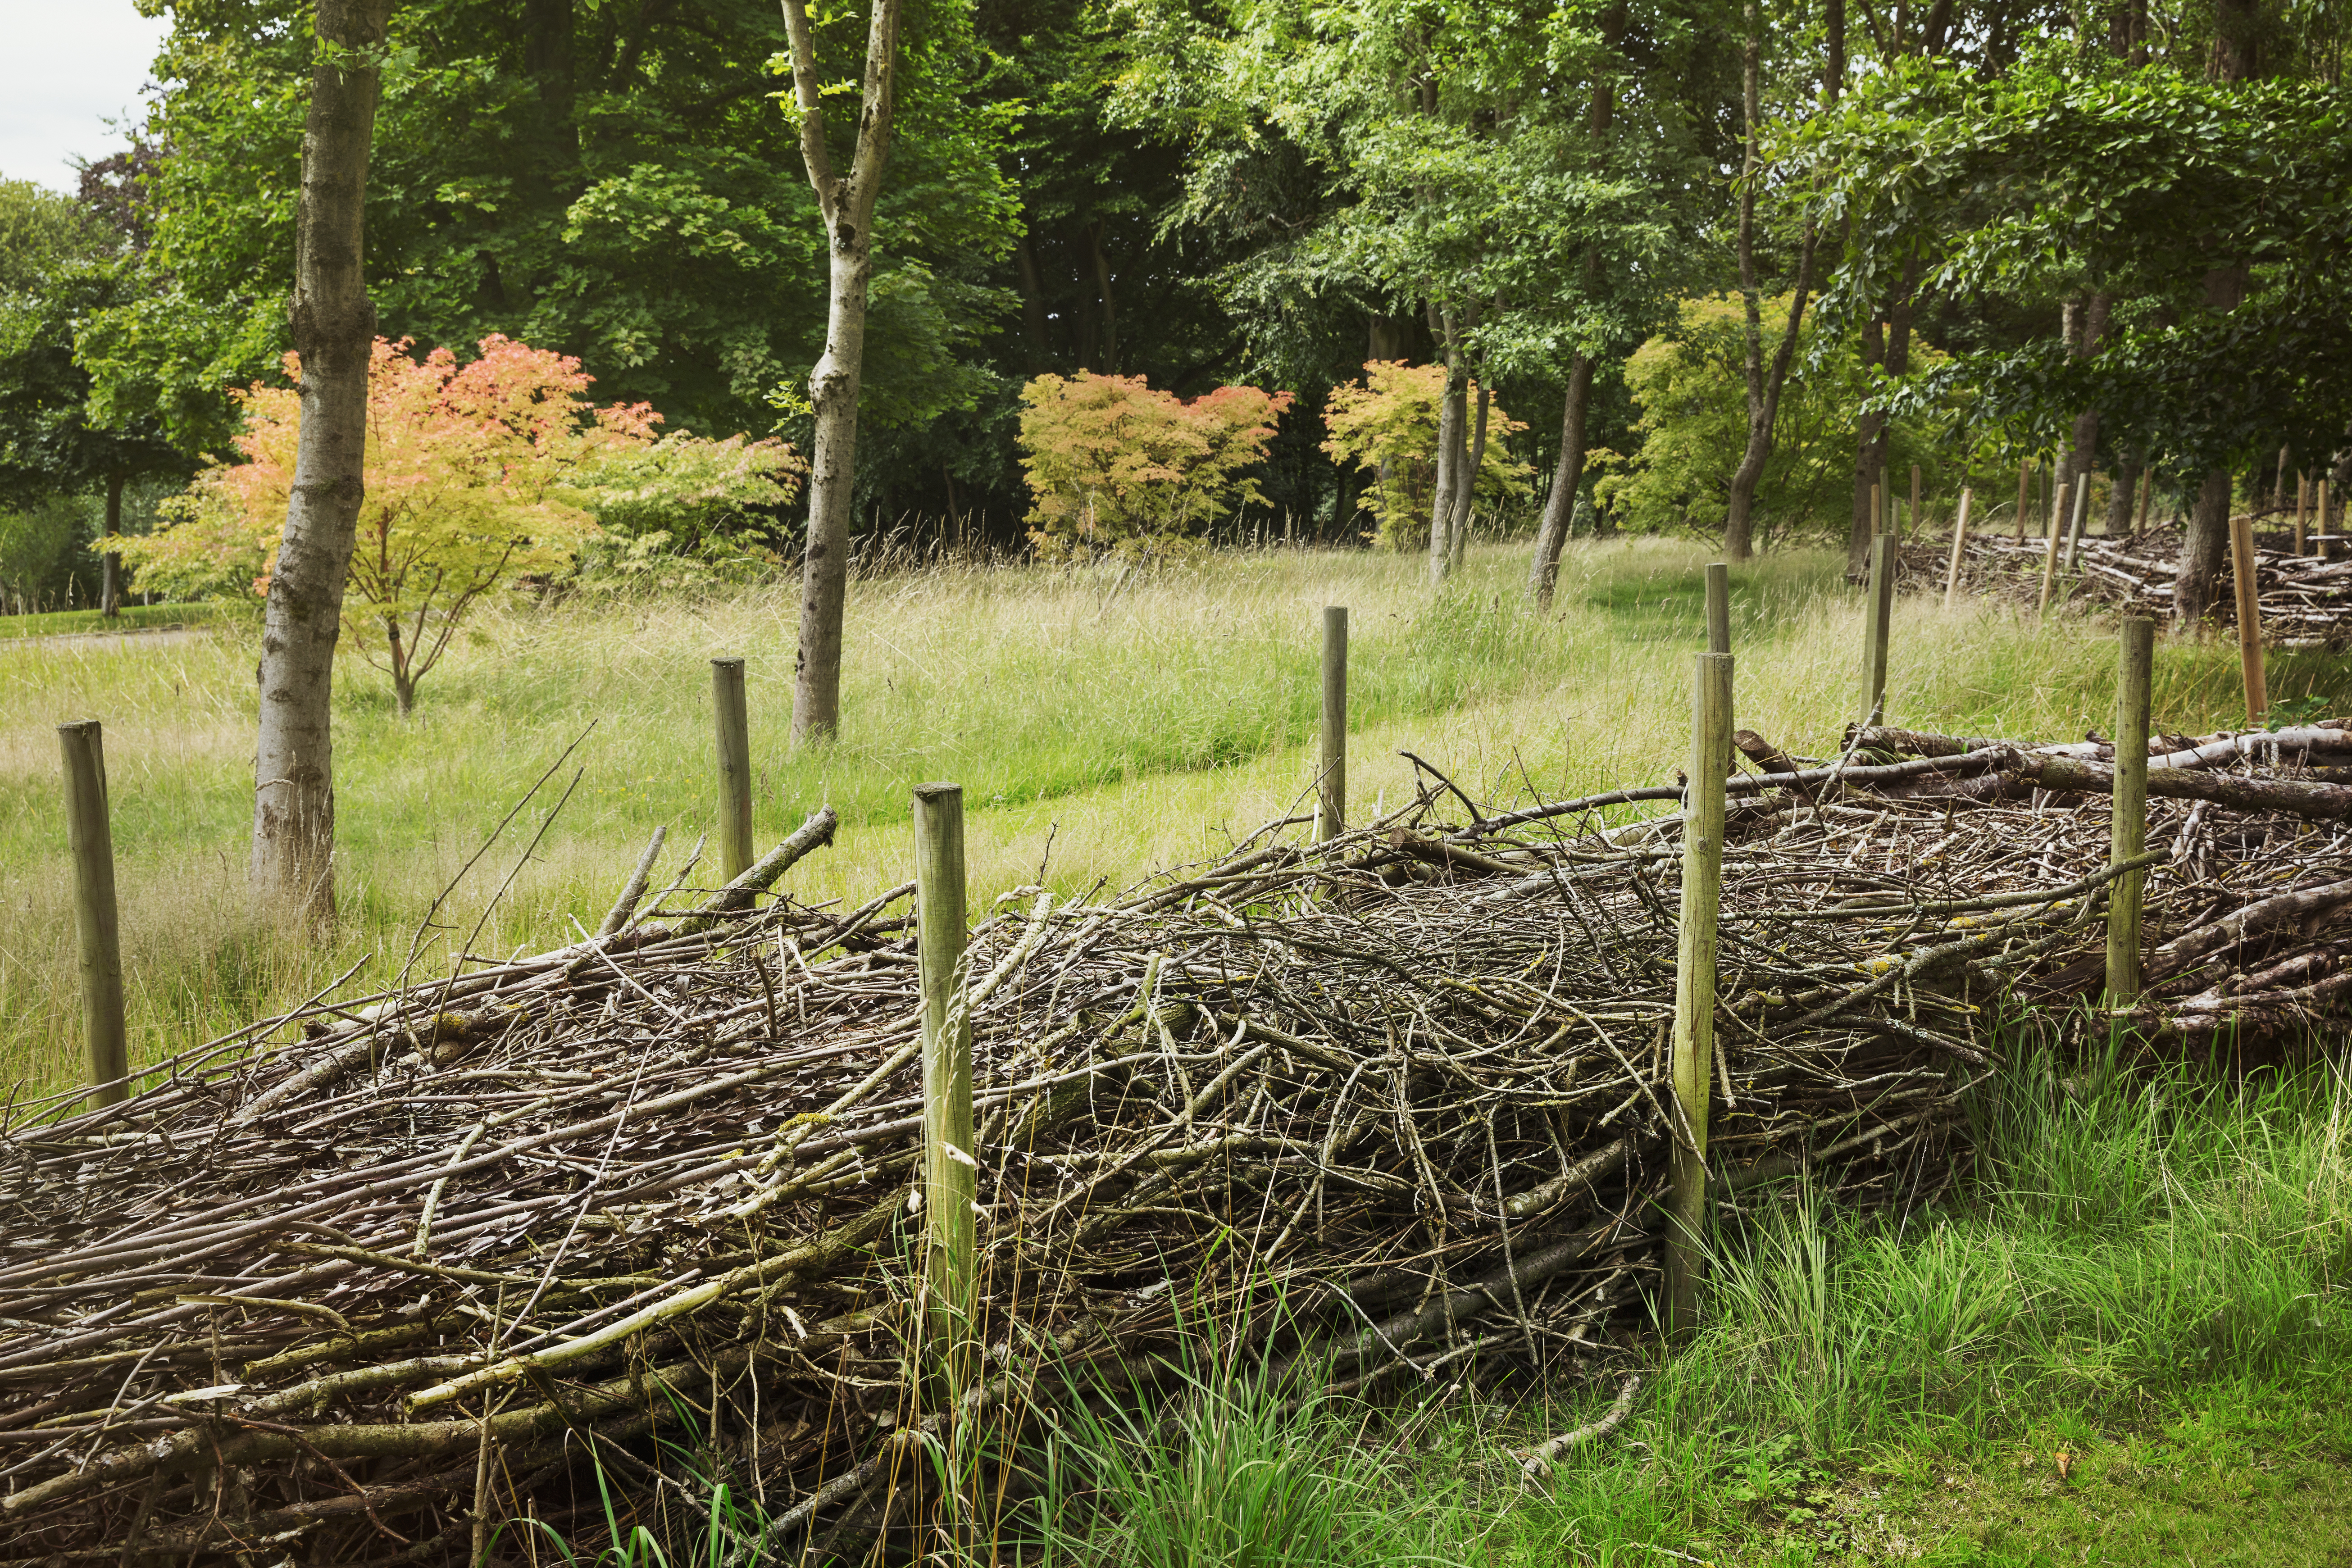
One of the most effective and environmentally friendly ways to protect cannabis plants from wind is by using natural windbreaks such as trees and bushes. These not only block and slow down the wind but also integrate seamlessly into the landscape, providing additional benefits like supporting local wildlife, enhancing soil health, and improving the overall aesthetics of the area.
Tip: A living windbreak should slow wind without trapping stagnant air. Dense, closed walls can create humid pockets around flowering plants.
When choosing trees and bushes for windbreaks, consider species that are native to your area because they will be better adapted to the local climate and soil conditions. For example, Evergreen trees are great for year-round wind reduction. The placement is important; trees and bushes should be planted at a distance from the cannabis crop to avoid shading while still effectively blocking the wind.
Artificial Windbreaks: Fences and Screens
Artificial windbreaks such as fences and screens can be used in areas where natural windbreaks are not enough or not possible. You can strategically place these structures to protect plants from strong winds. Materials like burlap, netting, or even specially designed windbreak screens can be used to create barriers that reduce wind speed without completely blocking airflow, which is essential to avoid creating microclimates that could foster humidity-related issues.
Remember: Temporary screens are easiest to adjust. If wind changes direction in your yard, portable protection can save a young plant fast.
Height and length of artificial windbreaks should be proportional to the area of the plants they are protecting. It’s important to ensure that these structures are securely anchored, as they will need to withstand the very winds they are meant to block.
Artificial windbreaks can enhance security for outdoor gardens. They can hide crops from public view and prevent unauthorized access or theft. Sturdy fences can protect your grow area from animals and human intruders alike.
Master Advice: Aim for airflow, not exposure. Light movement strengthens stems; harsh wind strips moisture, tears leaves, and can snap unsupported branches.
Privacy and Security
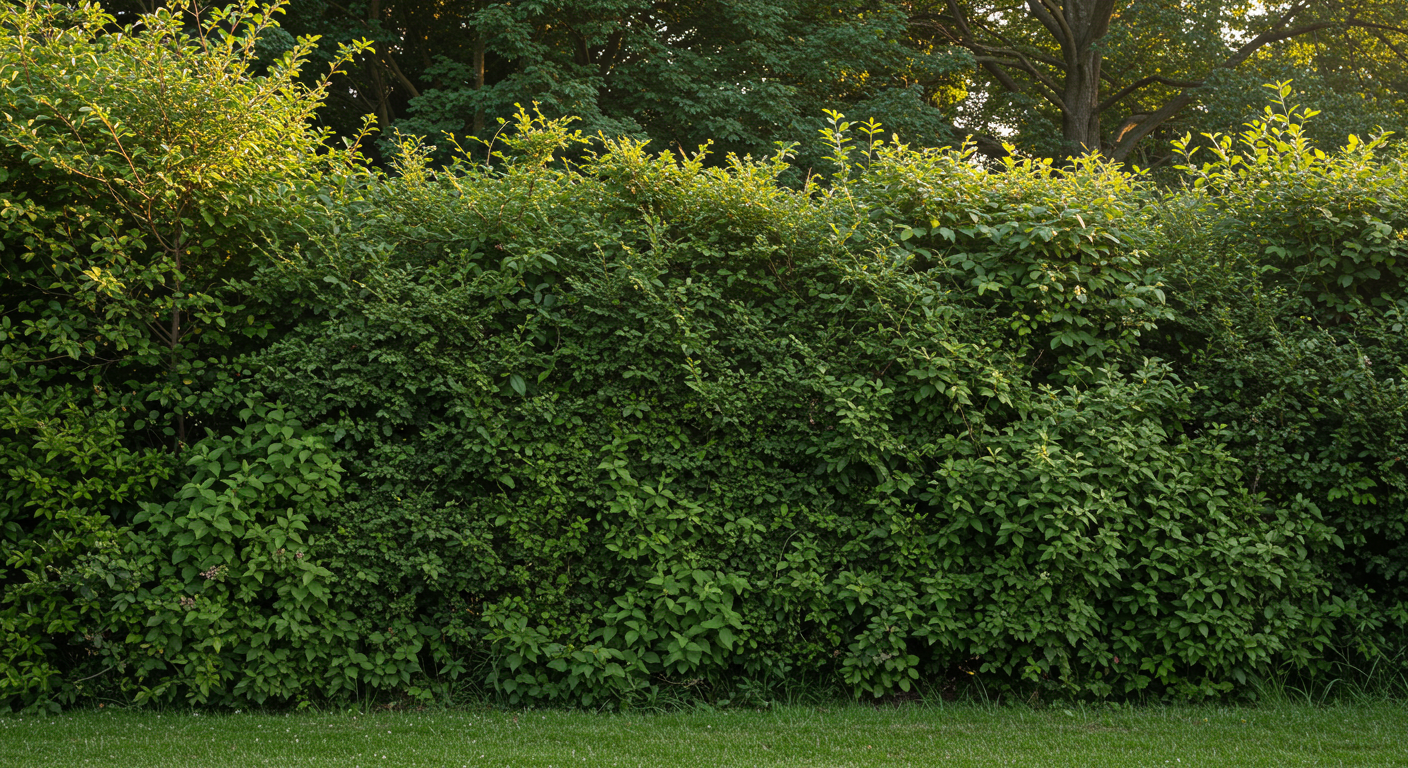
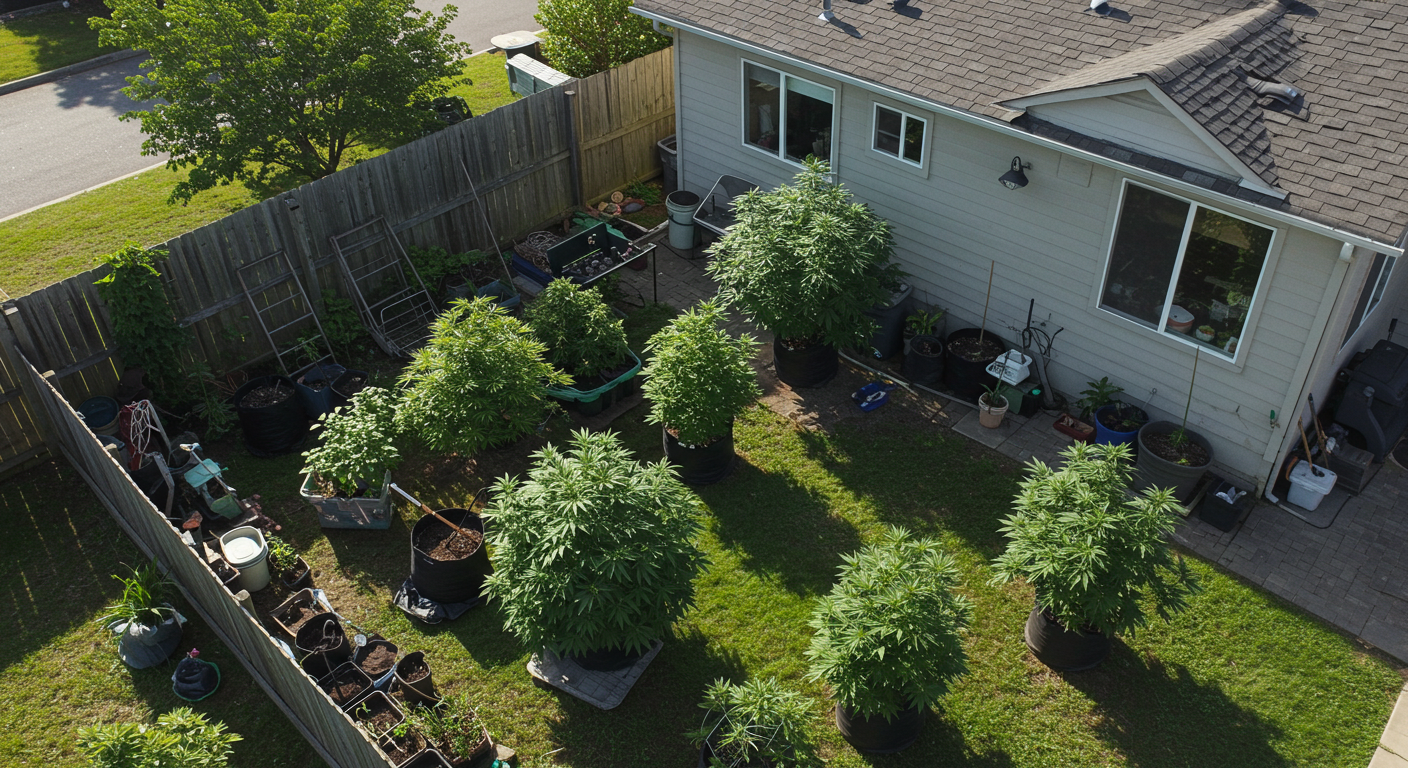
Keeping your crop safe and secure is really important not only for security reasons but also to comply with legal regulations. Choosing a grow site that is not easily visible or accessible to general public is the first step in safeguarding your plants. Ensuring that the grow site remains protected from public view not only complies with legal requirements but also minimizes the risk of theft or wild animals. This involves strategic placement, the use of physical barriers and understanding legal implications of plant visibility and site access.
Visibility can create legal and security risk
A plant that is easy to see is also easy to complain about, damage, or steal. Keep visibility, access, and local rules in mind before the plant becomes large.
Ensuring Grow Site is Hidden from Public View
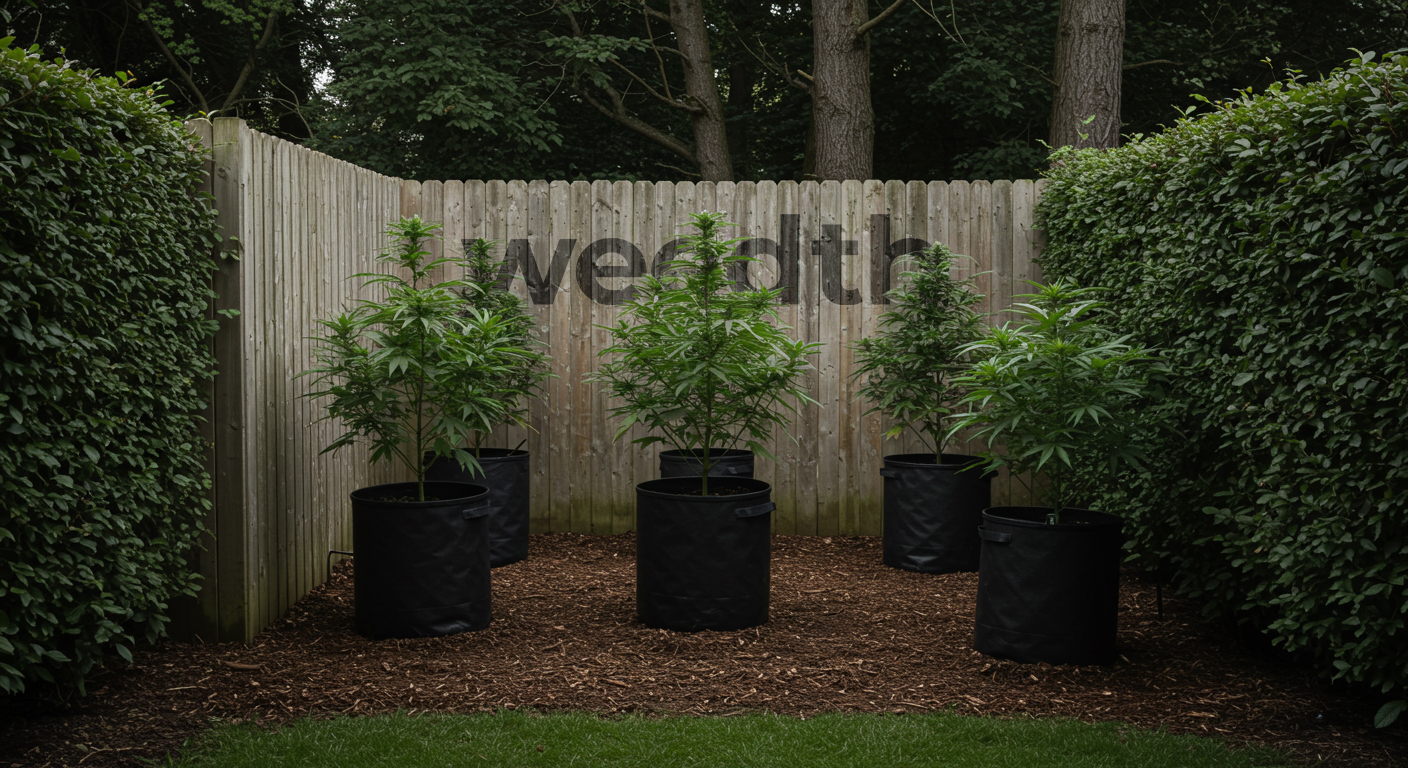
The location of your outdoor cannabis garden significantly impacts its privacy. Choosing a site that is naturally shielded by the landscape such as behind hills or in dense vegetation can help keep the plants out of sight. Additionally, the strategic use of tall plants or trees can obscure the view from prying eyes, making your grow area less noticeable to passersby or from neighboring properties.
Advice: Use ordinary garden structure as camouflage: fencing, vegetable beds, trellises, and shrubs usually look more natural than a single isolated plant in an open yard.
Physical Barriers: Fences and Walls
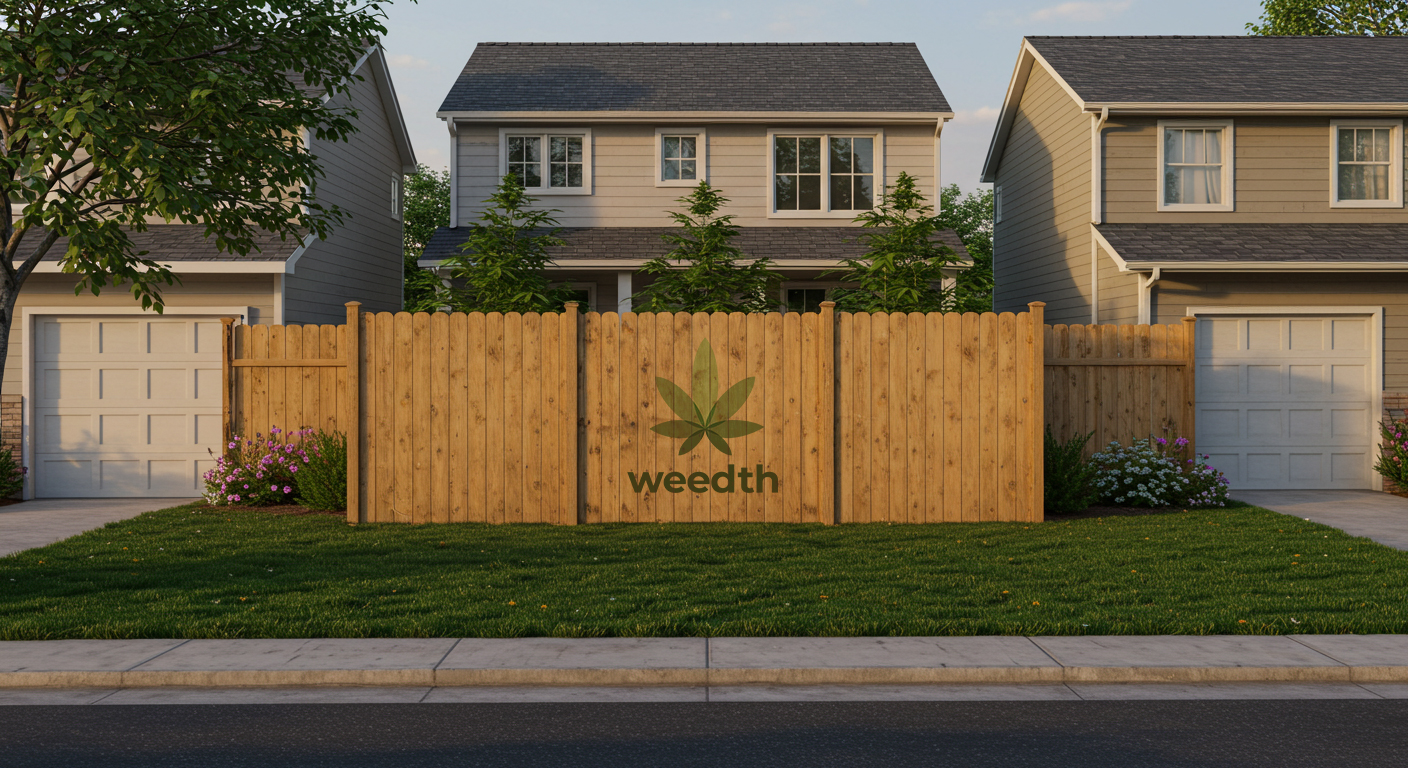
Physical barriers such as fences and walls are effective tools for enhancing privacy and security of your grow site. These structures serve multiple purposes: they prevent unauthorized access, reduce visibility, and can also windbreaks, providing an extra layer of environmental protection. When installing fences or walls, it’s important to consider materials that blend with the environment and meet any local zoning laws or community standards. Security enhancements like locks, barbed wire, or alarms can also be added for additional protection.
Pro Tip: A barrier is better when it controls sightlines without blocking every breeze. Stale air behind a wall can increase disease pressure later in flower.
Legal Considerations Regarding Visibility and Access
Many regions have specific regulations about the visibility of cannabis plants from public spaces and the security measures that must be in place to restrict unauthorized access. Make sure you know these laws to ensure your growing practices are legal. These may include mandatory fencing heights, the use of opaque screening materials, or particular setback distances from property lines. Compliance with local laws protects you legally and helps promote responsible cultivation practices within the community.
Important: Keep privacy practical and legal. Outdoor visibility rules vary by location, so always check local requirements before setting plants outside.
Remember: Legal compliance is part of site planning. Treat visibility, access, plant count, and storage rules as design constraints, not afterthoughts.
Accessibility
Accessibility influences daily operations and overall productivity. Ensure that the grow site is easy to access for routine maintenance. It’s important to have access to essential resources like water and well-equipped with pathways and infrastructure to seriously enhance the efficiency and effectiveness of cannabis growing.
“My hidden spot gets good sun, but I avoid checking it because it is hard to reach. Is that a problem?”
Question sent by: Dylan Parker, via email.
Yes. A difficult site often becomes a neglected site. Outdoor plants need frequent checks for water, pests, storms, branch support, and late-flower disease. If access is a pain now, it usually feels worse once the plant is large.
If you are reading this, you are likely to grow your plants in your home garden. However, if you plan to plant them far from your home, make sure to read this article carefully. This section will be beneficial for you.
Ease of Access for Daily Maintenance

Regular access to the cannabis grow site is essential for effective maintenance including watering, pruning, monitoring for pests, and applying nutrients. An easily accessible grow site allows for quick and frequent checks, which are crucial for catching and addressing potential issues early. Growers should consider creating a grow site near their residence or main working area to reduce travel time and ensure regular care. This proximity allows for better responsiveness to the plants’ needs, potentially leading to healthier plants and higher yields.
Tip: Leave enough room to inspect all sides of each plant. Crowded access makes pest checks and branch support much harder.
Proximity to Water Sources and Utilities
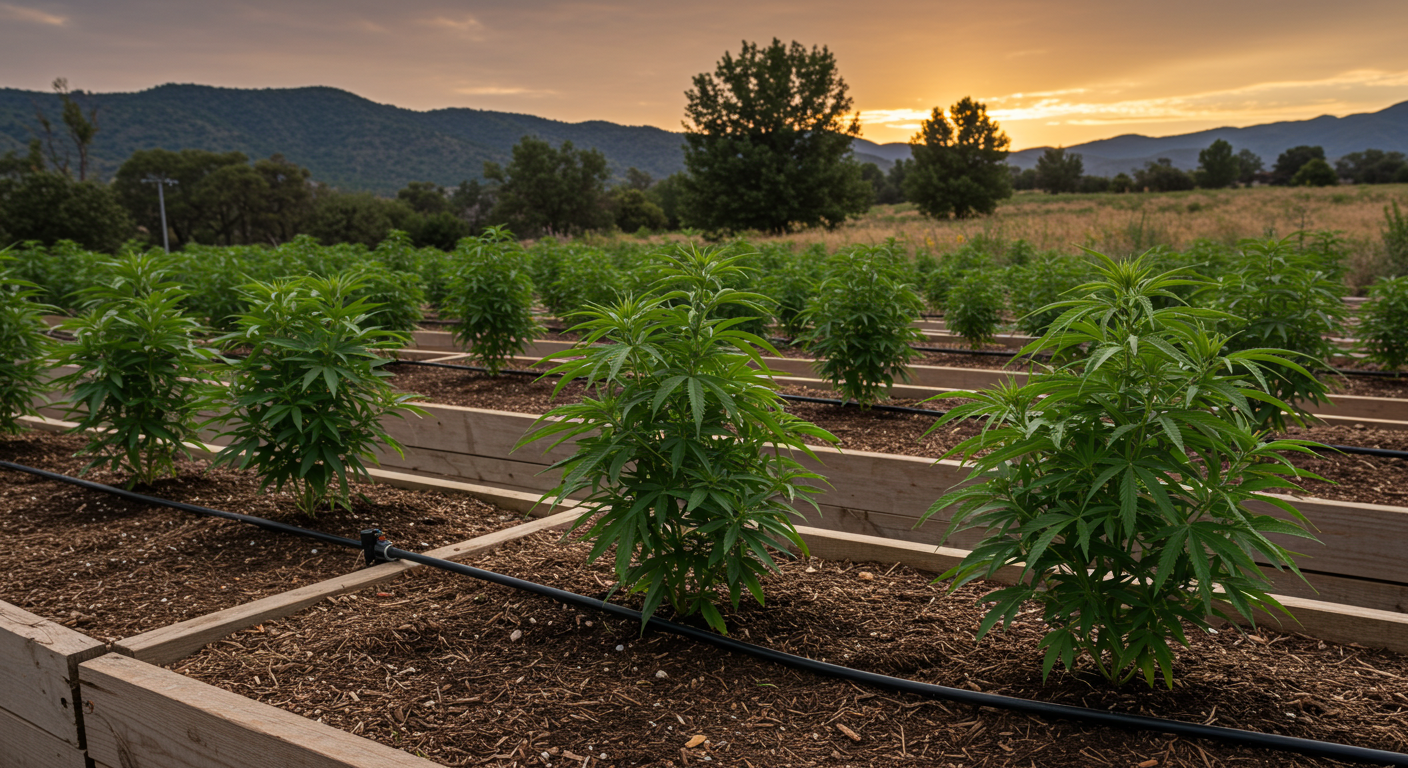
Planning an outdoor cannabis grow site requires careful consideration of the location of water sources and utilities. Cannabis plants require a consistent and ample water supply, especially during the hotter and drier parts of the growing season. Having a water source nearby such as a well or a natural body of water that can legally and sustainably be used for irrigation, greatly simplifies watering logistics. Access to other utilities like electricity is also important, especially if the grow operation uses supplemental lighting or needs power for water pumps and other cultivation equipment.
Pro Tip: Measure the real watering route before planting. A site that looks perfect can become a daily burden if every watering requires a long carry.
Pathways and Infrastructure for Moving Supplies
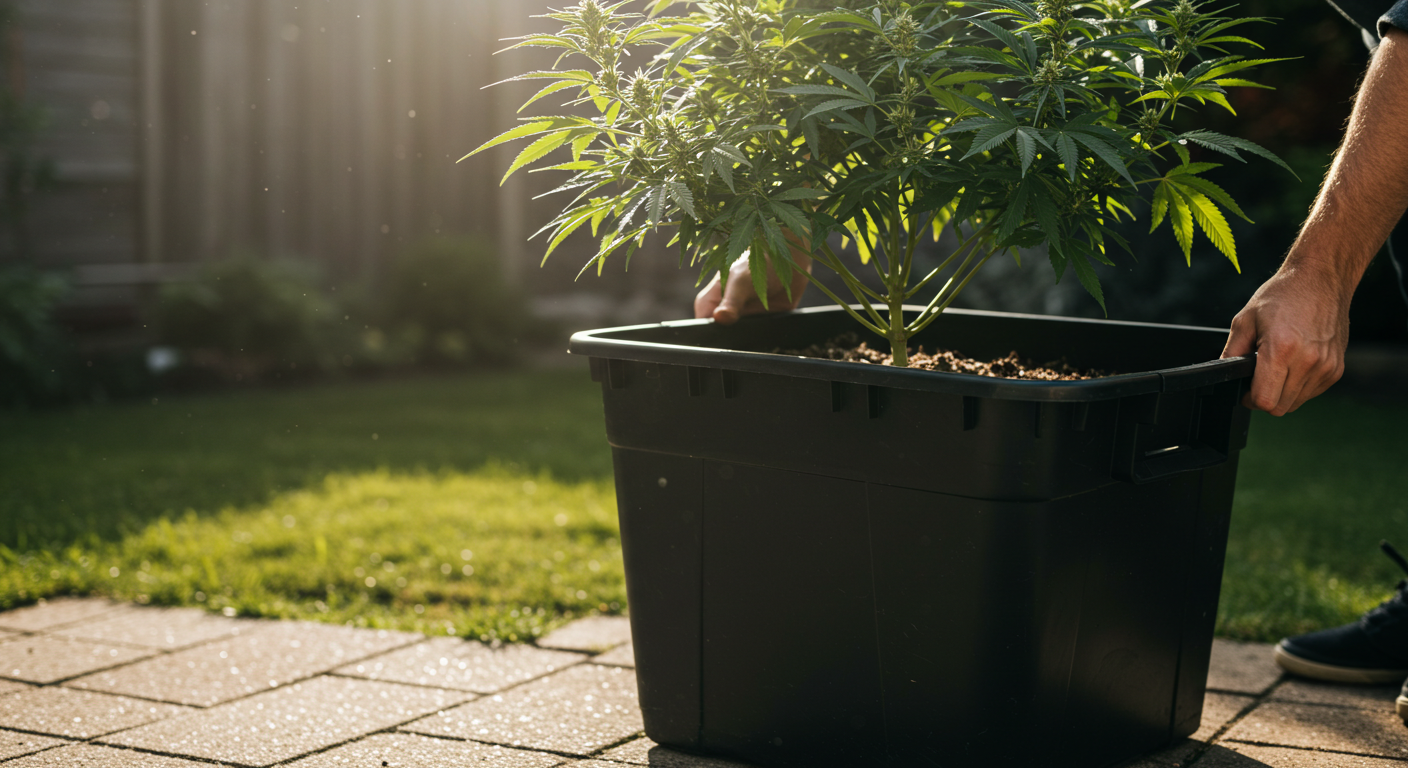
Efficient pathways and infrastructure are essential for easy movement of equipment and supplies to and from the grow site. This includes clear, stable paths that can support foot traffic as well as heavier loads, such as soil amendments, harvest bins or even vehicles in some cases. Good infrastructure ensures that all necessary materials can be transported efficiently, reducing labor and minimizing the risk of injury or plant damage during transport. For larger grow operations, this might also include designated storage areas for tools and supplies to keep the site organized and operational tools within easy reach.
Advice: If the spot is annoying to reach, it will be neglected. Outdoor plants need frequent checks during heat, storms, pest pressure, and late flower.
Remember: Plan the path for your heaviest day, not your easiest day. Soil, compost, water, stakes, and containers are much harder to move once plants are established.
Climate Considerations
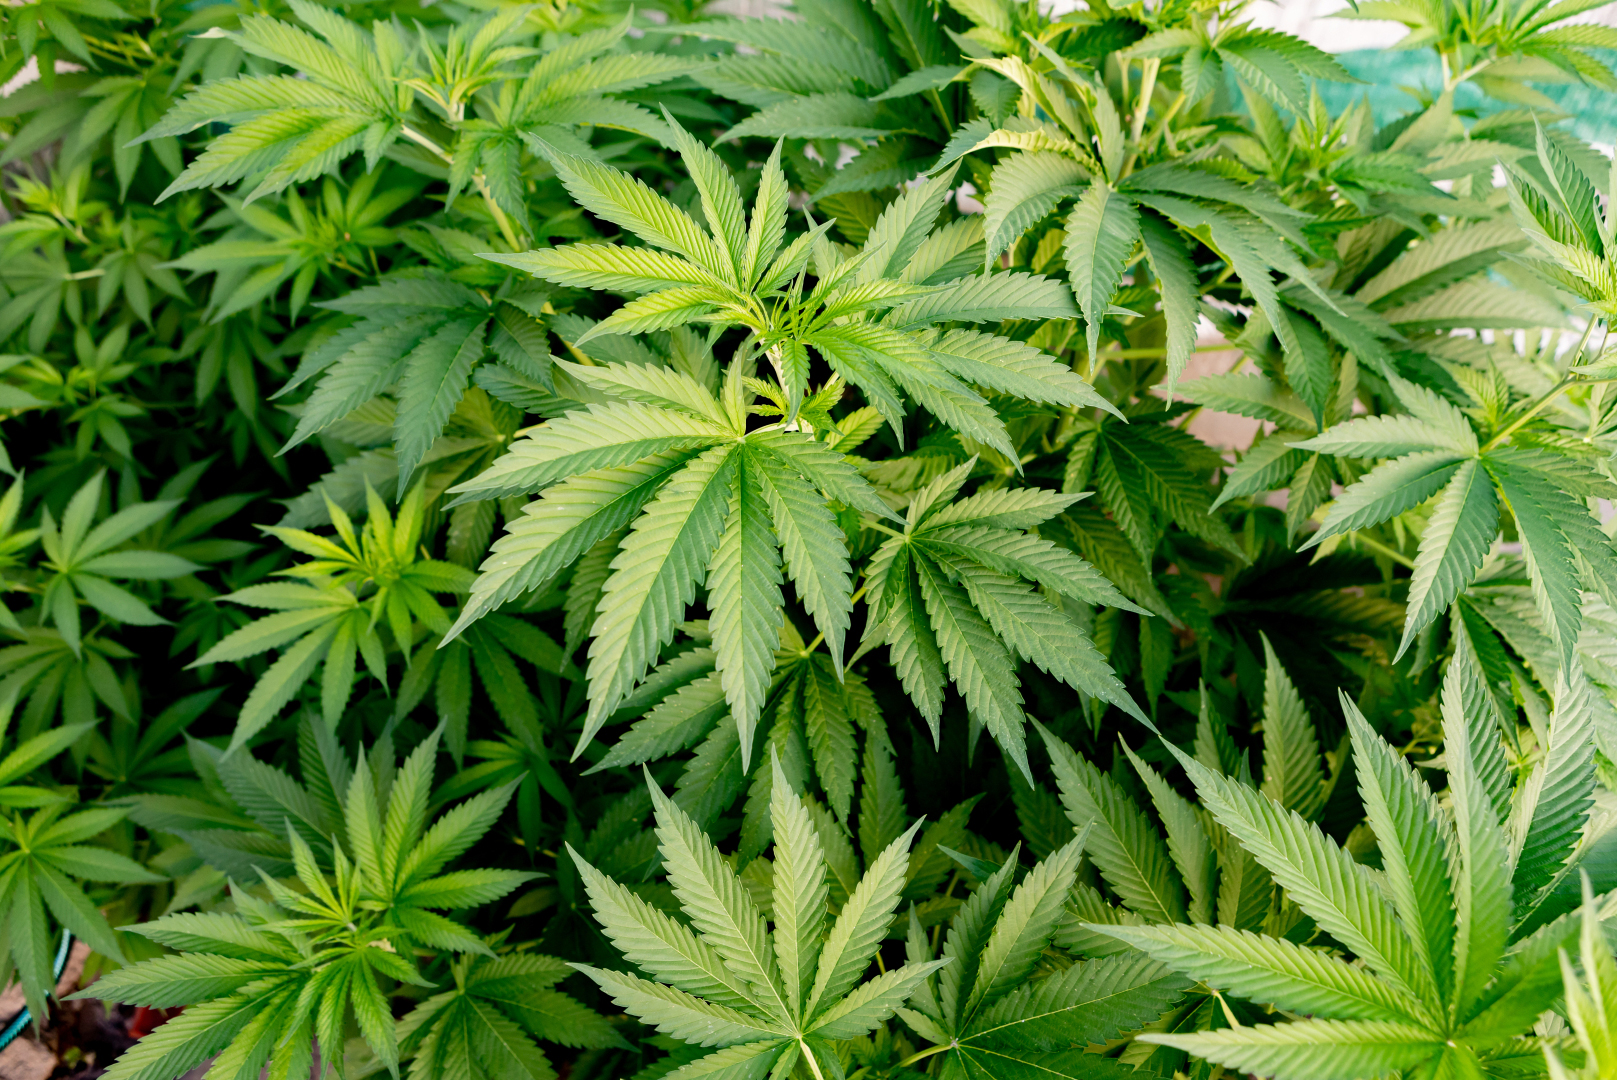
Specific climatic conditions of an area greatly impact how well cannabis can grow. It affects everything from deciding about planting schedules, strain selection, pest management, and watering the plants. Successful cannabis growers know that each climatic factor, such as temperature fluctuations, rainfall patterns, and seasonal changes are crucial to plant health and productivity. Understanding these environmental factors deeply, growers can adapt how they grow plants to match natural conditions and help plants grow better and produce more yield while minimizing environmental stress and resource waste. This is why a comprehensive grasp of your local climate is indispensable and how it can seriously affect the outcomes of your cannabis cultivation efforts.
Microclimate
A microclimate is the small, local climate around the plant. A corner beside a wall, a low wet dip, or a windy open edge can behave differently from the rest of the yard.
Your Local Climate
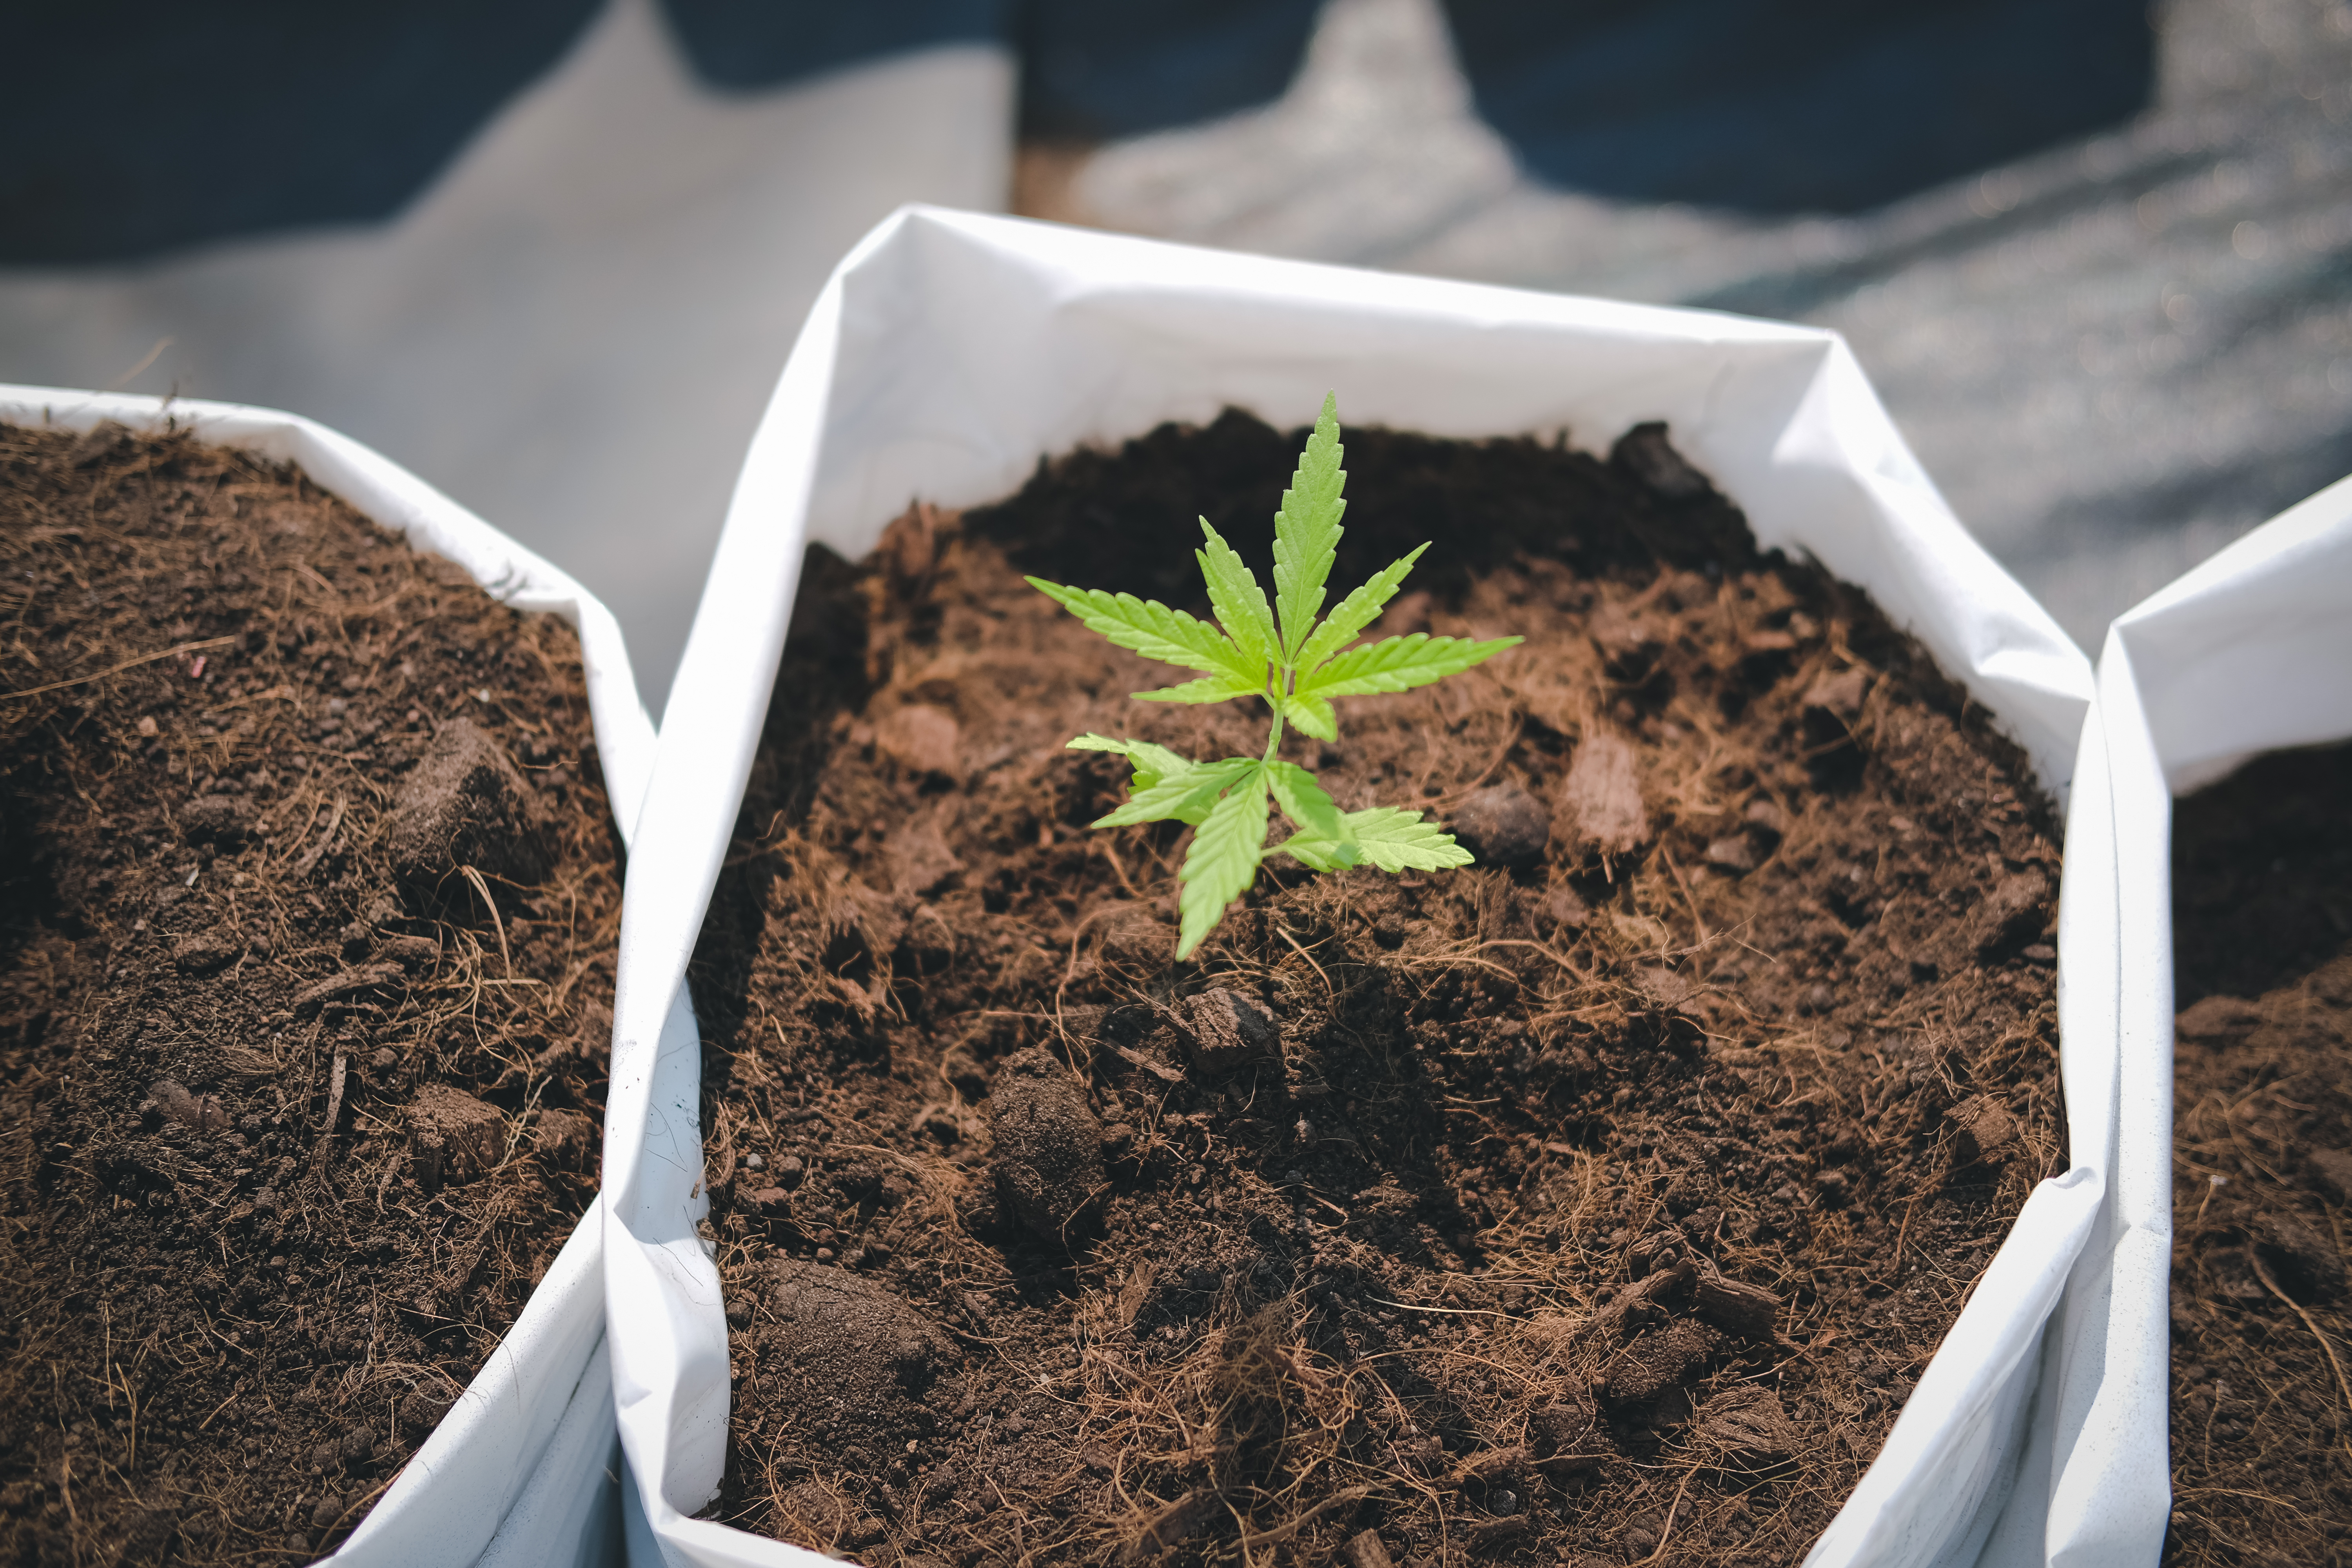
Climate factors such as temperature, sunlight hours, humidity, and precipitation can all significantly affected the growth cycles and yield of cannabis. You need to know your local climate and how to use it to make your plants grow better.
Tip: Use nearby garden observations as data. If tomatoes, basil, or peppers struggle in a corner, cannabis probably will not love that corner either.
The local climate determines the best planting times, frequency of watering, and need for protection against weather extremes. For instance, in regions that have long sunny days and mild temperatures, cannabis plants can grow well without needing much help. However, in areas with high humidity and frequent rains, growers must take good care of their plants and may have to protect them from mold and mildew in a greenhouse.
Temperature is one of the critical climate factors affecting cannabis growth. Cannabis plants generally prefer a temperate range of about 70°F to 85°F. Temperatures above or below this range can stress plants, slow their growth or even cause damage. Growers need to know their local temperature patterns throughout the growing season to plan their planting and harvesting accordingly.
Cannabis plants grow in warmer temperatures during the vegetative stage to support crucial processes like photosynthesis and transpiration. During the flowering stage, slightly cooler temperatures can help the plant produce better-quality cannabinoids and terpenes, thus improving the final product’s quality and potency. Understanding the seasonal temperature patterns helps growers protect their plants from unexpected cold snaps or heatwaves that can significantly harm the plants and their yield.
The amount of rainfall and the prevailing relative humidity levels in a region are significant factors in outdoor grow. Excessive rainfall can lead to waterlogged soil conditions that promote root rot and other fungal diseases. It’s important to have a good watering system to keep the soil moist when it doesn't rain much. Understanding when and how much rain your area receives can help you plan for adequate drainage and decide whether protective coverings or indoor drying spaces are necessary during the wetter parts of the year.
Humidity and precipitation are important because cannabis is sensitive to fungal diseases in moist conditions. Knowing your local humidity levels and rainfall patterns can help you take preventive measures such as adjusting plant spacing for better air circulation or putting up protective coverings during heavy rainfalls.
Humidity control is crucial during the flowering phase when buds are susceptible to mold and mildew. High humidity levels can create a conducive environment for fungal growth, which can devastate an entire crop. Strategic planning such as planting in raised beds, using mulch to keep the soil moist, and making sure that air can circulate around your plants. These strategies can help lower the risk of problems in your garden.
In humid regions, growers may need to use greenhouse covers or retractable roofs during the wettest months to control the microclimate around the cannabis plants. These structures can reduce prolonged moisture exposure while still allowing enough ventilation.
The local climate dictates the types of pests and diseases likely to pose a problem. Some pests thrive in dry conditions, while others increase in damp environments. Understanding the specific challenges of your climate can help you prepare and implement effective organic pest control measures that safeguard your plants without compromising their natural quality.
Extreme weather events such as unexpected frosts, prolonged droughts, or heavy storms must be anticipated. Knowing the likelihood of these events can help you develop contingency plans, such as installing frost cloths, setting up irrigation systems, or reinforcing structures to withstand storms.
Another crucial factor for cannabis growers is the duration of the growing season, which is defined by the frost-free period between the last spring frost and the first autumn frost. This period dictates which strains are suitable for cultivation and impacts management practices such as pruning and pest control.
Regions with longer growing seasons allow for strains that require extended periods of vegetative growth or have longer flowering times, potentially leading to higher yields. Conversely, growers might choose auto-flowering or fast-flowering strains in areas with shorter growing seasons to ensure the plants complete their life cycle before negative weather conditions set in.
Knowing the local growing season helps growers time their cultivation practices accurately. You need to know the best time to do things like cutting the tops off plants(called topping) or training plants to maximize light exposure must be scheduled precisely to optimize plant health and productivity before the onset of flowering.
Microclimates
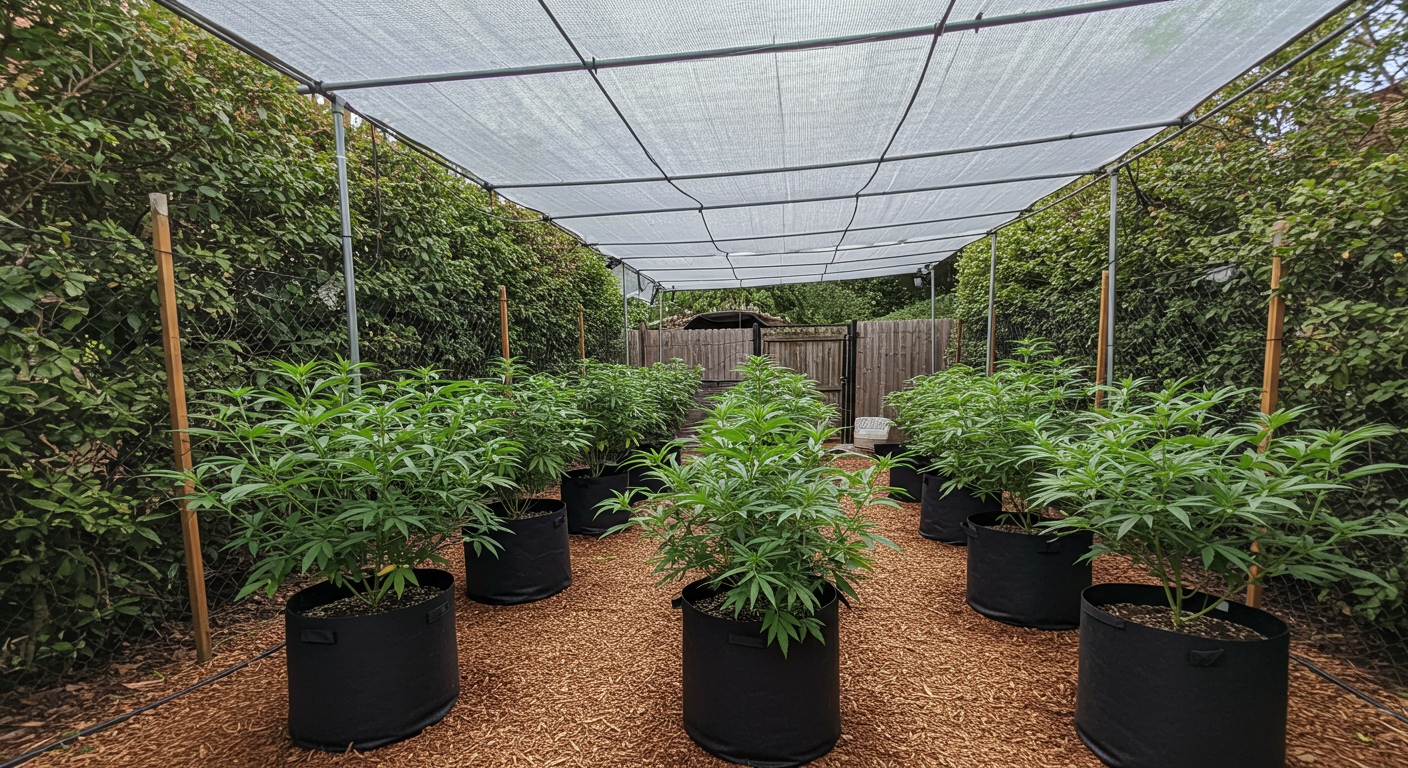
Microclimates refer to small areas within larger climatic zones where the weather conditions differ from the surrounding area. These variations can be due to differences in altitude, orientation, vegetation, water bodies, or artificial structures. Identifying and understanding the microclimates in your growing area can lead to more informed decisions about where and how to plant your cannabis to leverage these unique conditions.
Pro Tip: Microclimates can be only a few steps apart. A south-facing wall, low dip, or fenced corner can change heat, wind, and humidity dramatically.
When you identify microclimates, observe the local environment closely throughout the year. Notice areas that receive more sunlight remain drier or are protected from prevailing winds. Tools like thermometers and humidity sensors can help quantify these observations by providing data on temperature and moisture variations within different parts of your growing area.
Weather Extremes

Weather extremes such as heatwaves, frosts, and heavy rainfall pose significant risks to cannabis plants, potentially leading to stress, disease, or crop failure. Preparing for these possibilities is important to your plants.
| Weather Risk | Possible Plant Response | Preparation Move |
|---|---|---|
| Heatwave | Wilting, dry containers, slowed growth | Shade cloth, morning watering checks, mulch |
| Heavy rain | Waterlogged roots, mold risk, leaning branches | Drainage routes, support stakes, removable cover |
| High wind | Torn leaves, broken stems, fast drying | Windbreaks, branch ties, heavier containers |
| Early frost | Leaf damage and stalled growth | Frost cover, container mobility, strain timing |
Preparing for Heatwaves, Frosts, and Heavy Rainfall
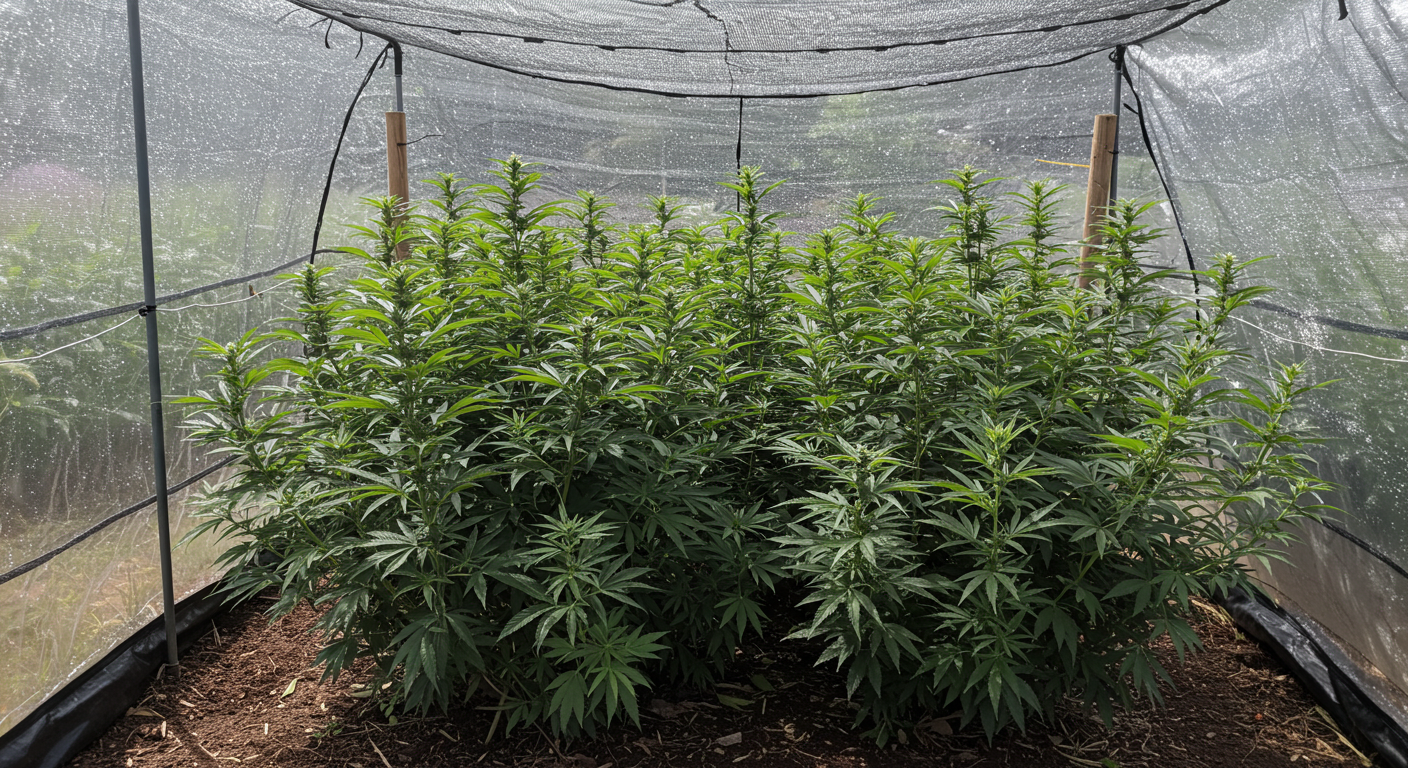
Preparation involves understanding the historical weather patterns of your area and closely monitoring local weather forecasts. This knowledge helps forecast extreme events and implement strategies on time to protect the plants.
Advice: For outdoor plants, sudden swings are often more damaging than normal seasonal conditions. Watch rapid changes in night temperature, storm timing, and humidity.
Strategies for Protecting Plants from Extreme Weather Conditions

Heatwaves: During heatwaves, cannabis plants can suffer from heat stress that leads to wilted leaves and reduced photosynthetic efficiency. Ensure adequate soil moisture through additional irrigation, and consider temporary shade solutions to reduce heat exposure and protect plants. Mulching can also help retain soil moisture and keep the root environment cooler.
Do
Prepare covers, stakes, and shade early
Keep simple weather tools ready before heat, frost, or heavy rain is forecast.
Wait until the storm starts
Trying to support branches or improve drainage during bad weather is slower, messier, and riskier.
Master Advice: Local climate beats general strain hype. Choose the plant and setup around your real season length, rain pattern, humidity, and first-frost risk.
Tip: Build protection that can be removed quickly. Covers that stay on too long may trap humidity and create new disease risk.
Frosts: Especially unexpected late spring or early fall frosts, use frost cloths or plastic sheeting to cover the plants overnight to protect against frost. Installing windbreaks can also reduce cold wind exposure and keep the microclimate around the plants slightly warmer.
Heavy Rainfall: Heavy rains can lead to waterlogged soil and increased humidity that foster root diseases and fungal infections. Improve soil drainage by adding organic matter or sand, and consider raised beds to prevent water accumulation. For areas frequently experiencing heavy rains, constructing a simple greenhouse or hoop house can offer an additional layer of protection.
Important: Extreme weather planning should happen before the forecast turns ugly. Stakes, shade cloth, covers, and drainage routes are easier to prepare early.
Selecting Strains for Outdoor Growing
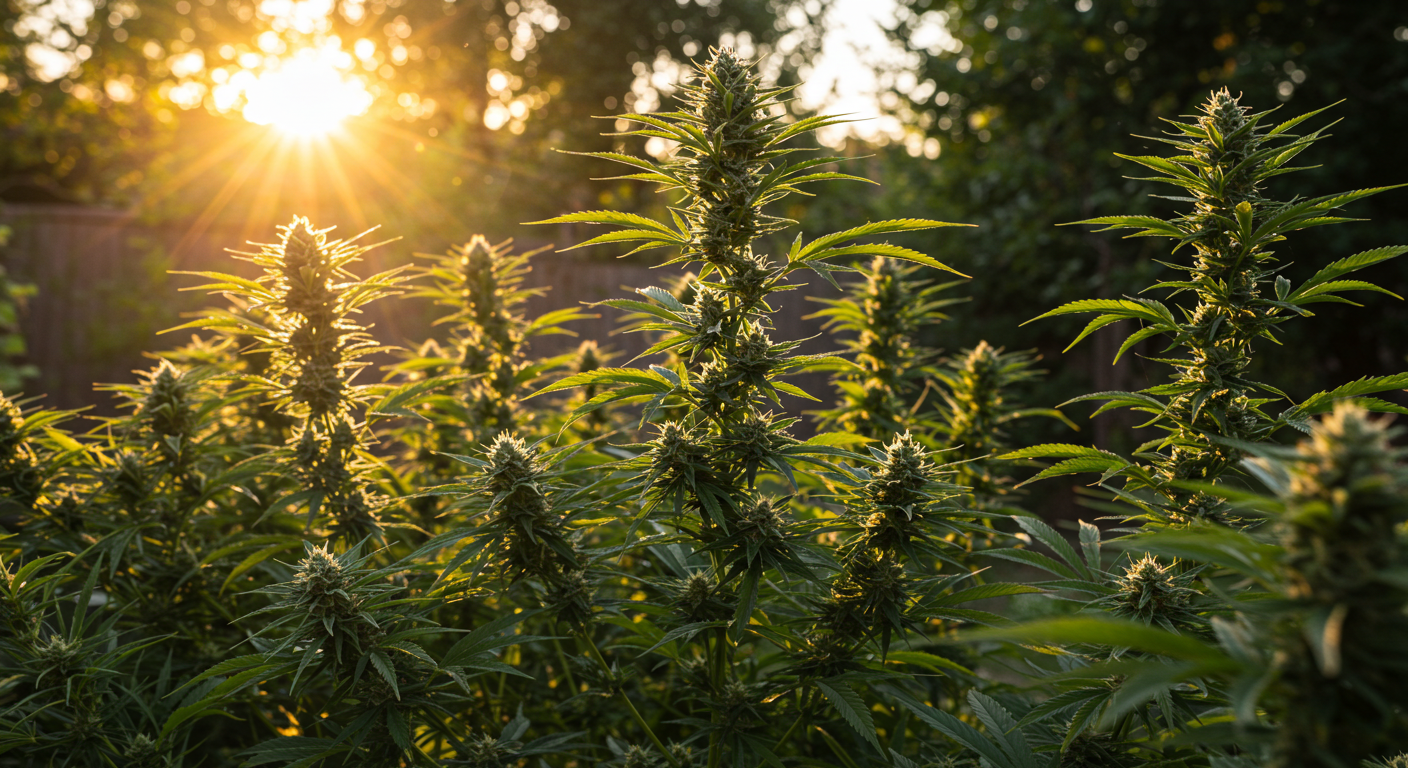
Choosing the right cannabis strains for outdoor growing is a crucial decision that can greatly impact the success of your growing season. Ideal strain selection depends on several factors, including climate adaptability, disease and pest resistance, and genetic factors like size, yield, and flowering time. You should learn how to choose the right cannabis strains for your outdoor conditions and know the advantages of Indica, Sativa, and Hybrid varieties.
“Should I choose the highest-yielding outdoor strain if my fall season is short?”
Question sent by: Brandon McLeod, via Facebook page.
Not automatically. In a short or wet fall, a slightly lower-yielding plant that finishes earlier and resists disease can produce better real-world results than a huge plant that cannot finish cleanly.
Strain Selection Criteria
Advice: Match genetics to the problem you expect most: short season, humid flower, hot summer, pest pressure, or limited space.
Strains Suitable for Your Climate
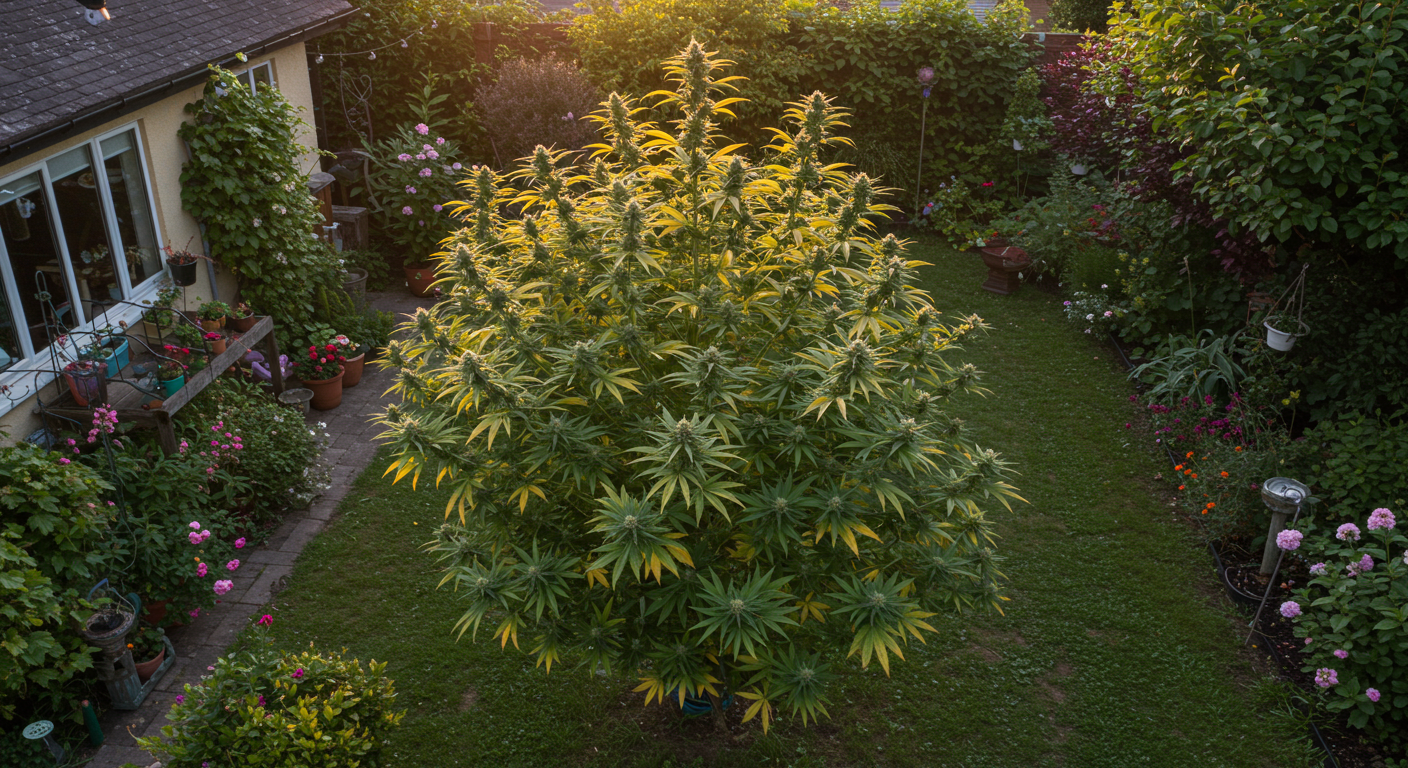
Some strains are strong and can grow well in different types of weather conditions, while others may require a specific range of temperatures and humidity levels to grow nicely. For example, strains from northern latitudes have higher cold tolerance and are better suited to cooler climates with shorter growing seasons. Conversely, Strains from equatorial regions are accustomed to year-round warmth and abundant sunlight making them ideal for hotter climates.
Tip: If fall weather is wet, prioritize earlier finishing and disease resistance over maximum advertised yield.
When selecting a strain, consider your local temperature ranges, humidity levels, and the typical length of the growing season. These factors will help you choose strains that are naturally equipped to thrive in your environmental conditions.
Disease and Pest Resistance
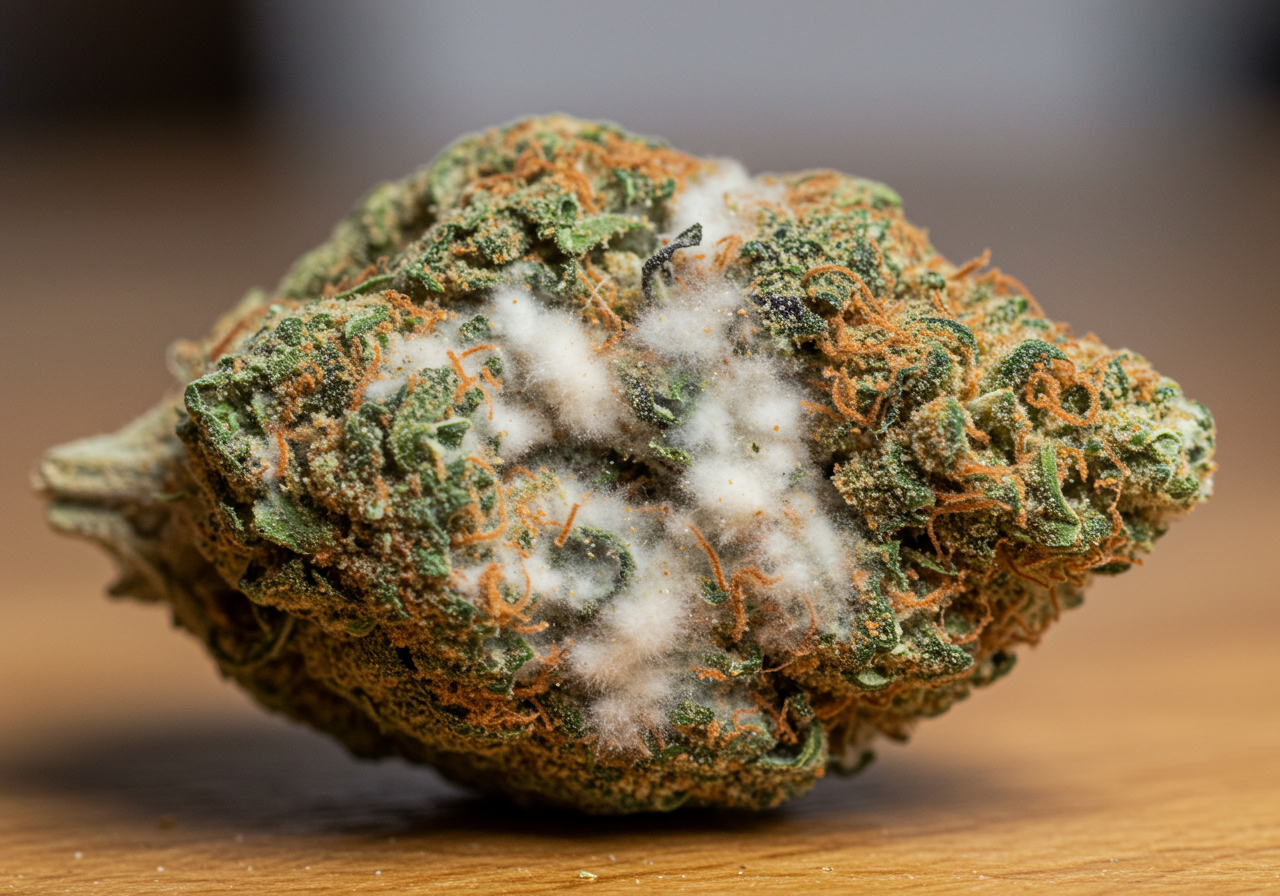
Outdoor cannabis plants are more exposed to environmental stresses such as pests and diseases than indoor plants. Some strains have been genetically developed or naturally evolved to resist common fungal diseases like powdery mildew and botrytis (bud rot), which are prevalent in damp or humid climates. Others may have robust defenses against pests like spider mites or aphids.
Resistant genetics still need inspection
Disease and pest resistance reduces pressure, but it does not replace airflow, spacing, sanitation, and regular scouting.
Important: Outdoor strain choice is about finishing cleanly in your climate. A high-yield cultivar that finishes too late can lose more than it gains.
Choosing disease and pest-resistant strains can reduce the need for chemical interventions, making your cultivation process more organic and sustainable while ensuring the health and productivity of your plants.
Remember: Resistance does not mean immunity. It simply buys time and forgiveness when weather or pests become difficult.
Growth Characteristics (Size, Yield, Flowering Time)
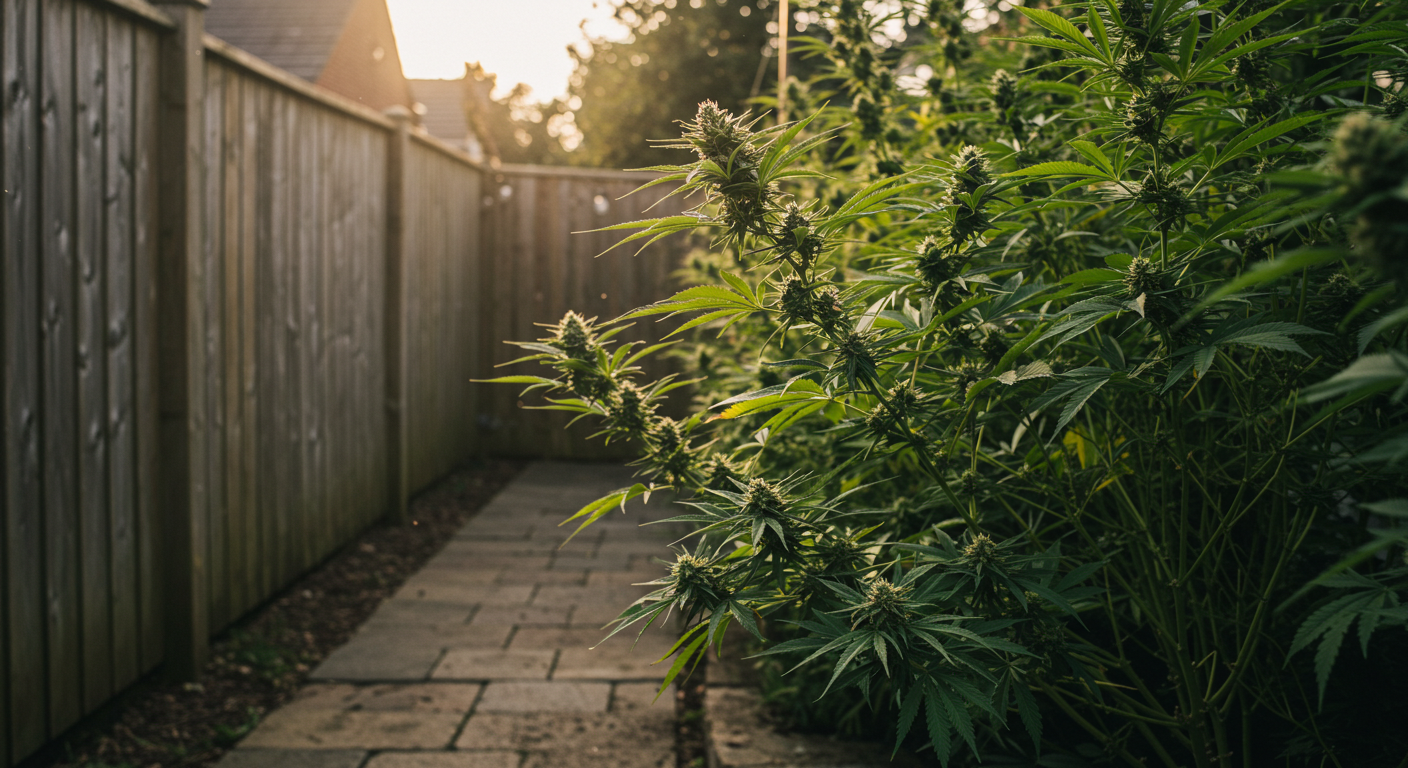
The physical growth characteristics of a strain are important to consider. These factors include plant size, which affects how much space each plant will need. Yield predicts the volume of produce you can expect, and flowering time determines when the plants will be ready for harvest.
Pro Tip: Outdoor size can surprise you. Plan support, spacing, privacy, and harvest access around the mature plant, not the seedling.
Size: Some strains, especially sativa-dominant strains generally grow taller and require more space and care, whereas Indica-dominant strains look bushier, shorter, and more compact and are easier to manage, especially in limited spaces.
Yield: Higher-yielding strains might be preferable if the goal is large production, but this can often come with longer flowering times and increased care needs. Sativa-dominant strains are known for their high yields due to their tall and vigorous growth. However, their longer flowering periods and greater space requirements necessitate more intensive care, including regular pruning, training, and support to manage their height and ensure optimal light exposure. Indica-dominant strains, while typically yielding less per plant, have shorter flowering times and are easier to manage, making them suitable for growers seeking a balance between yield and maintenance, especially in climates with shorter growing seasons.
Flowering Time: Strains with shorter flowering times are suitable in regions with brief summers and early frosts, ensuring you can harvest before adverse weather damages the crop. Indica-dominant strains, known for their quick maturation, are ideal for such climates. They typically have a flowering period of 7-9 weeks, allowing growers to complete their harvest before the onset of cold weather. On the other hand, Sativa-dominant strains generally have longer flowering periods, often taking 10-14 weeks to fully mature. This extended growth cycle means Sativa strains are better suited for regions with long, warm growing seasons where they can benefit from extended periods of sunlight and warmth. However, some Sativa strains have been bred to flower more quickly, making them viable options for growers in regions with shorter growing seasons.
Popular Outdoor Strains

- Blue Dream
Blue Dream is a sativa-dominant hybrid known for its adaptability and high yields, making it a favorite among outdoor growers. Originating from California, this strain thrives in sunny, Mediterranean-like climates but can also perform well in less ideal conditions. Blue Dream’s resistance to mold and mildew, coupled with its vigorous growth, makes it a reliable choice. Growers can expect large, dense buds with a sweet berry aroma and a balanced high that offers both cerebral stimulation and body relaxation.
Advice: Use popular strain lists as a starting point, then filter them through your region and skill level.
- White Widow
White Widow is a balanced hybrid that has earned a reputation for its hardiness and consistent performance in various climates. This strain is particularly resilient to pests and diseases, making it an excellent option for outdoor cultivation. White Widow flourishes in moderate climates and can handle fluctuations in temperature and humidity. The plants produce thick, resin-covered buds with a pungent, earthy aroma and a potent, euphoric high.
- Northern Lights
Northern Lights is an indica-dominant strain celebrated for its ease of growth and impressive resistance to adverse conditions. This strain is ideal for regions with shorter growing seasons, as it has a relatively quick flowering time and can withstand cooler temperatures. Northern Lights plants are typically short and bushy, producing dense, frosty buds with a sweet, spicy aroma. The effects are deeply relaxing, making it a popular choice for evening use.
- Durban Poison
Durban Poison is a pure sativa originating from South Africa, known for its resilience and ability to thrive in warm, sunny climates. This strain grows tall and vigorous, producing long, spear-like buds with a distinctive sweet, anise-like aroma. Durban Poison is renowned for its high THC content and energizing, uplifting effects, making it perfect for daytime use. Its natural resistance to mold and pests makes it a reliable choice for outdoor growers.
- Amnesia Haze
Amnesia Haze is a sativa-dominant strain that excels in sunny, Mediterranean climates. It requires a longer growing season due to its extended flowering period, but the reward is a high-yielding plant with potent, aromatic buds. Amnesia Haze produces large, dense flowers with a citrusy, earthy aroma and a powerful, cerebral high. Its resilience to pests and diseases further enhances its suitability for outdoor cultivation.
- Gorilla Glue #4 (GG4)
Gorilla Glue #4 also known as GG4, is a hybrid strain celebrated for its high resin production and potency. This strain performs well in various climates thanks to its robustness and resistance to common pests and diseases. GG4 produces dense, sticky buds with a pungent, earthy aroma and a powerful sedative high. Its versatility and resilience make it a popular choice among outdoor growers seeking a high-yielding, potent strain.
- Jack Herer
Named after the famous cannabis activist, Jack Herer is a sativa-dominant hybrid that combines the best qualities of sativa and indica. This strain is highly valued for its robust growth and adaptability, making it suitable for a variety of outdoor climates. Jack Herer produces dense, resinous buds with a spicy pine aroma. The effects are well-balanced, providing an uplifting and clear-headed high that is perfect for daytime activities. Its resistance to pests and mold makes it a reliable choice for outdoor cultivation.
- Super Silver Haze
Super Silver Haze is a sativa-dominant hybrid known for its vigorous growth and high resistance to mold and pests. This strain thrives in warm, sunny climates with long growing seasons. It produces large, frosty buds with a sharp, citrusy aroma and an energetic, euphoric high. Super Silver Haze is a high-yielding strain, making it a favorite among outdoor growers looking for a potent and productive plant.
- Pineapple Express
Pineapple Express is a hybrid strain celebrated for its tropical aroma and robust growth. This strain performs exceptionally well in warm, humid climates and is resistant to common pests and diseases. Pineapple Express plants produce dense, fruity buds that offer a balanced high, combining cerebral stimulation with physical relaxation. Its relatively short flowering time and high yields make it an attractive option for outdoor cultivation.
- Afghan Kush
Afghan Kush is a pure indica strain originating from the Hindu Kush mountain range. Known for its hardiness and ability to thrive in harsh conditions, Afghan Kush is an excellent choice for outdoor growers in cooler climates. This strain produces short, bushy plants with dense, resinous buds that have a pungent, earthy aroma. The effects are deeply relaxing and sedative, making it ideal for evening use. Afghan Kush’s resistance to mold and pests, coupled with its robust nature, makes it a dependable choice for outdoor cultivation.
Preparing the Site
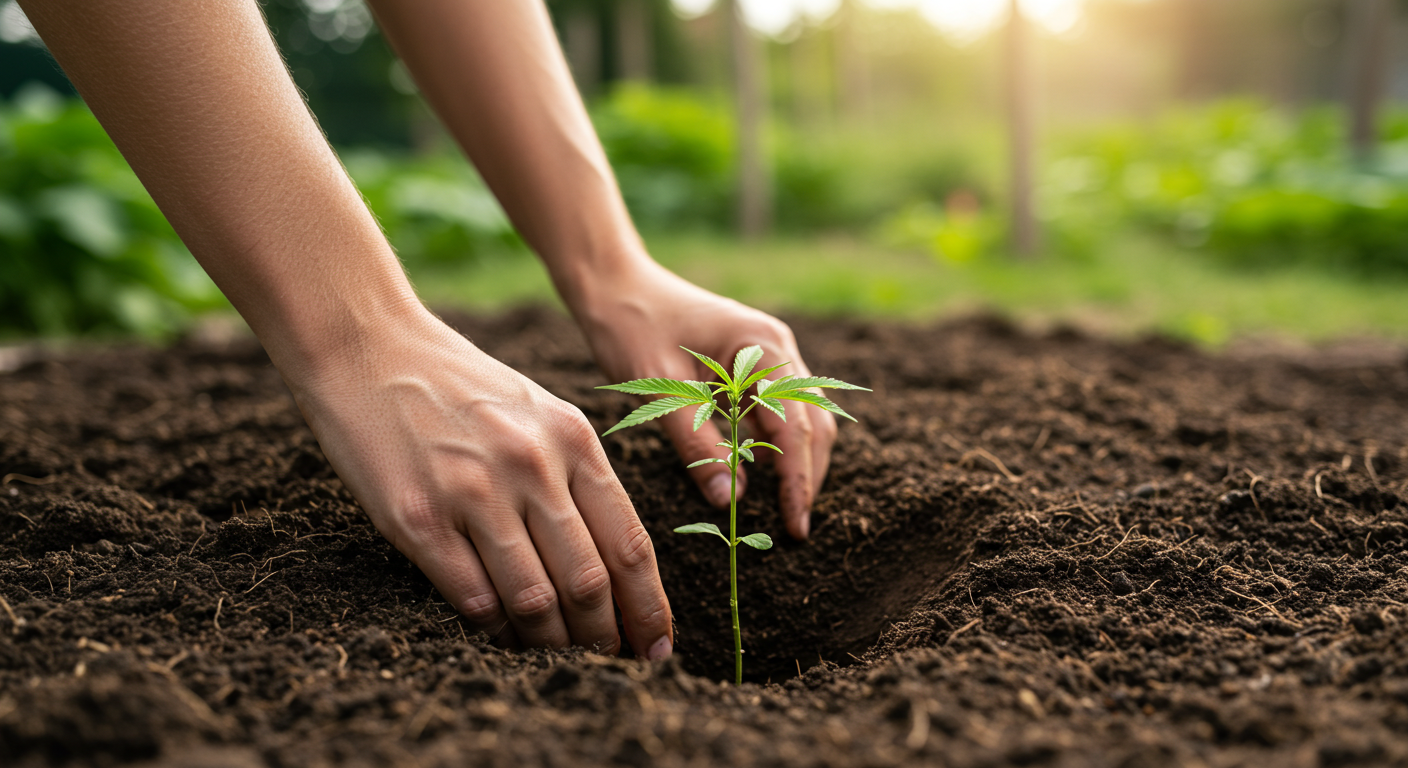
A successful outdoor cannabis grow starts with meticulous site preparation. This involves clearing and leveling the ground, which sets the foundation for a healthy growing environment. Proper preparation ensures that cannabis plants will have the best possible conditions for root development and access to water and nutrients. Here’s a detailed look at how to effectively prepare your site for planting.
Before transplanting outdoors, confirm:
- The area drains after heavy watering or rain
- Weeds, roots, rocks, and debris are cleared from the root zone
- The walking path is stable and usable with supplies
- Support points or stakes can be added without damaging roots later
Choosing a suitable location is the first step. Ideally, your site should have good natural drainage properties. Avoid low-lying areas where water tends to accumulate after rainfall. Instead, look for a spot with a gentle slope that facilitates natural water runoff. Once you’ve selected the location, assess the soil type and structure. Sandy soil drains quickly but may need amendments to retain moisture. Clay soil retains water and may need improvements for better drainage. Loam soil, a mix of sand, silt, and clay, is often ideal for cannabis cultivation.
Clearing and Leveling the Ground

Before planting, it’s important to clear the area of any debris, rocks, and unwanted vegetation that could hinder plant growth or make conditions bad.
Tip: Level does not mean flat and lifeless. The goal is stable footing, predictable water movement, and no hidden pockets where water sits.
Removing Debris, Rocks, and Unwanted Vegetation
The first step in preparing your site is to clear it of any debris, rocks, and unwanted vegetation. This process is crucial because debris and rocks can hinder root growth and water distribution in the soil, potentially stressing the plants. Similarly, existing vegetation must be removed to eliminate competition for nutrients and water and to prevent the infestation of pests and diseases that could transfer to your cannabis plants.
Remember: Old roots, thick weeds, and buried debris can hide pests and restrict young cannabis roots. Clean the planting zone wider than the root ball.
Start by conducting a thorough sweep of the area and picking up any trash, old plant material, or other debris. This can include plastic, glass, metal, or organic matter that doesn’t belong in the garden. Removing debris reduces the risk of pests and diseases and creates a cleaner, safer environment for your cannabis plants.
Removing debris reduces the risk of pests and diseases and creates a cleaner, safer environment for your cannabis plants. Remove large rocks and branches manually. For smaller debris and rocks, you might consider using a garden rake or a rototiller to help loosen the soil and bring buried debris to the surface for easier removal. Rocks can also create microclimates that are either too hot or too cold for plants, so it’s important to remove them to ensure uniform soil conditions.
Clearing unwanted vegetation is crucial to prevent competition for nutrients, water, and light. Weeds and other unwanted plants can also harbor pests and diseases. When clearing vegetation, manually pulling weeds can be effective for small plots and make sure to remove the entire root system to prevent regrowth and competition with your cannabis. Use a hoe or tiller to cut through the roots and disturb the soil, making it harder for weeds to reestablish. Applying a thick layer of organic mulch can suppress weed growth by blocking sunlight. In larger areas, you may consider using herbicides, but be cautious and choose products that are safe for the environment and your future cannabis plants.
After the initial clearing, it’s a good practice to conduct a soil test to assess nutrient levels and pH, which will inform any amendments you might need to add to create the optimal growing environment for cannabis.
Ensuring the Site is Level and Well-Drained
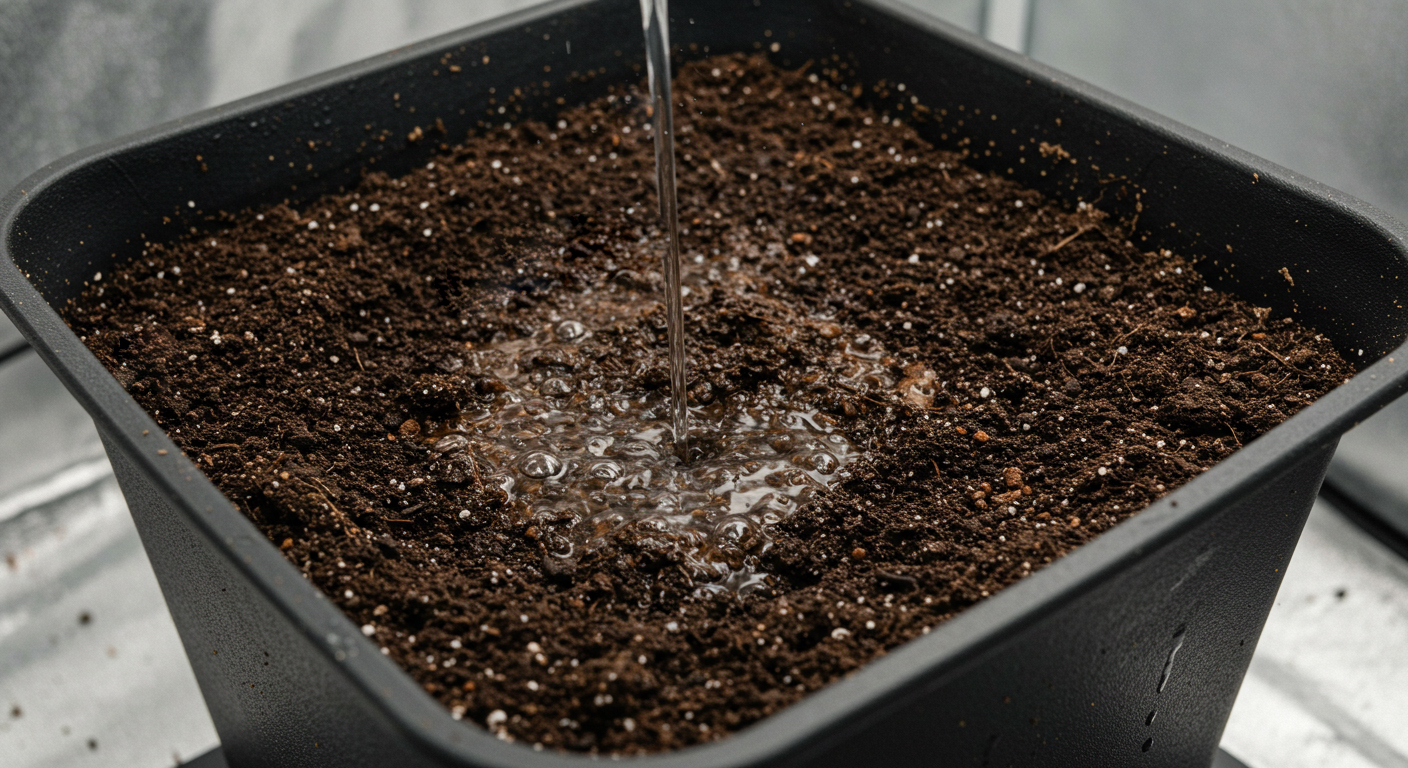
Once the site is cleared, the next step is leveling and improving drainage. A level and well-drained site promotes healthy root development, prevents waterlogging, and ensures uniform growth across your garden. Achieving this requires a thorough understanding of your soil, meticulous ground preparation, and strategic drainage planning.
“My outdoor plant looked droopy after rain even though the soil was full of water. Was it thirsty?”
Question sent by: Emily Carter, via email.
Probably not. Droop after heavy rain often points to poor root oxygen rather than thirst. When soil stays saturated, roots struggle to breathe, and the plant can look wilted even while the root zone is wet.
Important: Site preparation is easiest before planting. Fix compaction, drainage, and access before roots occupy the space.
Leveling the ground is essential for preventing water from pooling and ensuring even water distribution. Use a landscape rake for smaller areas or consider renting a piece of heavy equipment like a bobcat for larger areas, which can save time and labor. Gather the necessary tools, including a shovel, rake, wheelbarrow, string line level, stakes, and a tamper or roller. Use stakes and string to outline the boundaries of your planting area. This provides a visual guide to help you achieve an even surface. To determine the high and low points of your site, use a string line level. Attach the string to stakes at either end of the site, ensuring it is taut and level. This will highlight areas that need to be filled or graded.
Remove soil from high spots and redistribute it to lower areas. Use a shovel and wheelbarrow to transport soil. This process may need to be repeated several times to achieve a uniform surface. Add soil to low spots to bring them up to the desired level. Use a garden rake to spread the soil evenly and ensure it blends smoothly with the surrounding area. After leveling, use a tamper or roller to compact the soil slightly. This helps to prevent future settling and maintains the stability of the planting surface. Reassess the levelness of the site using the string line level and make any necessary adjustments to ensure the surface is even. A final pass with a garden rake can help smooth out any minor imperfections.
Ensuring proper drainage is vital to prevent root rot and other water-related issues. Start by improving soil drainage through the incorporation of organic matter such as compost, peat moss, or well-rotted manure. These amendments enhance soil structure, increasing its ability to retain moisture while allowing excess water to drain away. For clay soils, adding sand or perlite can improve drainage.
In sites with persistent drainage issues, consider constructing raised beds. Raised beds elevate the root zone above ground level, providing better control over soil quality and drainage. Fill the beds with a well-draining soil mix tailored to cannabis cultivation. For significant drainage problems, installing French drains can be an effective solution. A French drain is a trench filled with gravel and a perforated pipe that redirects excess water away from the planting area. This system helps to prevent water from pooling around the roots. Ensure that the overall slope of your site allows water to flow away from the plants. A gentle slope of 1-2% (1-2 feet of drop per 100 feet of length) is typically sufficient to facilitate natural drainage. Use the string line level to verify the slope direction and make any necessary adjustments.
Applying a layer of mulch around your plants can help improve soil structure and water retention. Organic mulches, such as straw or wood chips, decompose over time, adding beneficial organic matter to the soil and enhancing its drainage capabilities. Once the site is level and well-drained, perform final preparations to ensure optimal growing conditions. Conduct a soil test to determine pH levels and nutrient content. Adjust the pH as needed to create an optimal environment for cannabis growth, as cannabis prefers a slightly acidic to neutral pH, typically between 6.0 and 7.0.
Use stakes and string to mark out planting rows or beds. This helps maintain organization and ensures proper spacing between plants, facilitating easy access for watering and maintenance. Install an irrigation system that provides consistent and even watering. Drip irrigation systems are particularly effective for cannabis cultivation, delivering water directly to the root zone and minimizing water waste.
Improving drainage is also crucial, especially in areas prone to heavy rains. If your soil test reveals heavy clay content, which tends to retain water, consider amending it with sand or organic matter like compost to enhance its structure and drainage capability. In extreme cases, installing a French drain or creating raised beds might be necessary to ensure that water properly drains away from the plant roots.
For added precision in leveling and drainage, some growers opt to use laser leveling tools or consult with landscaping professionals to ensure the ground preparation meets specific requirements for optimal plant growth.
Pro Tip: After heavy watering or rain, inspect where water actually goes. Real drainage behavior is more useful than how the site looks when dry.
Soil Testing and Amendment
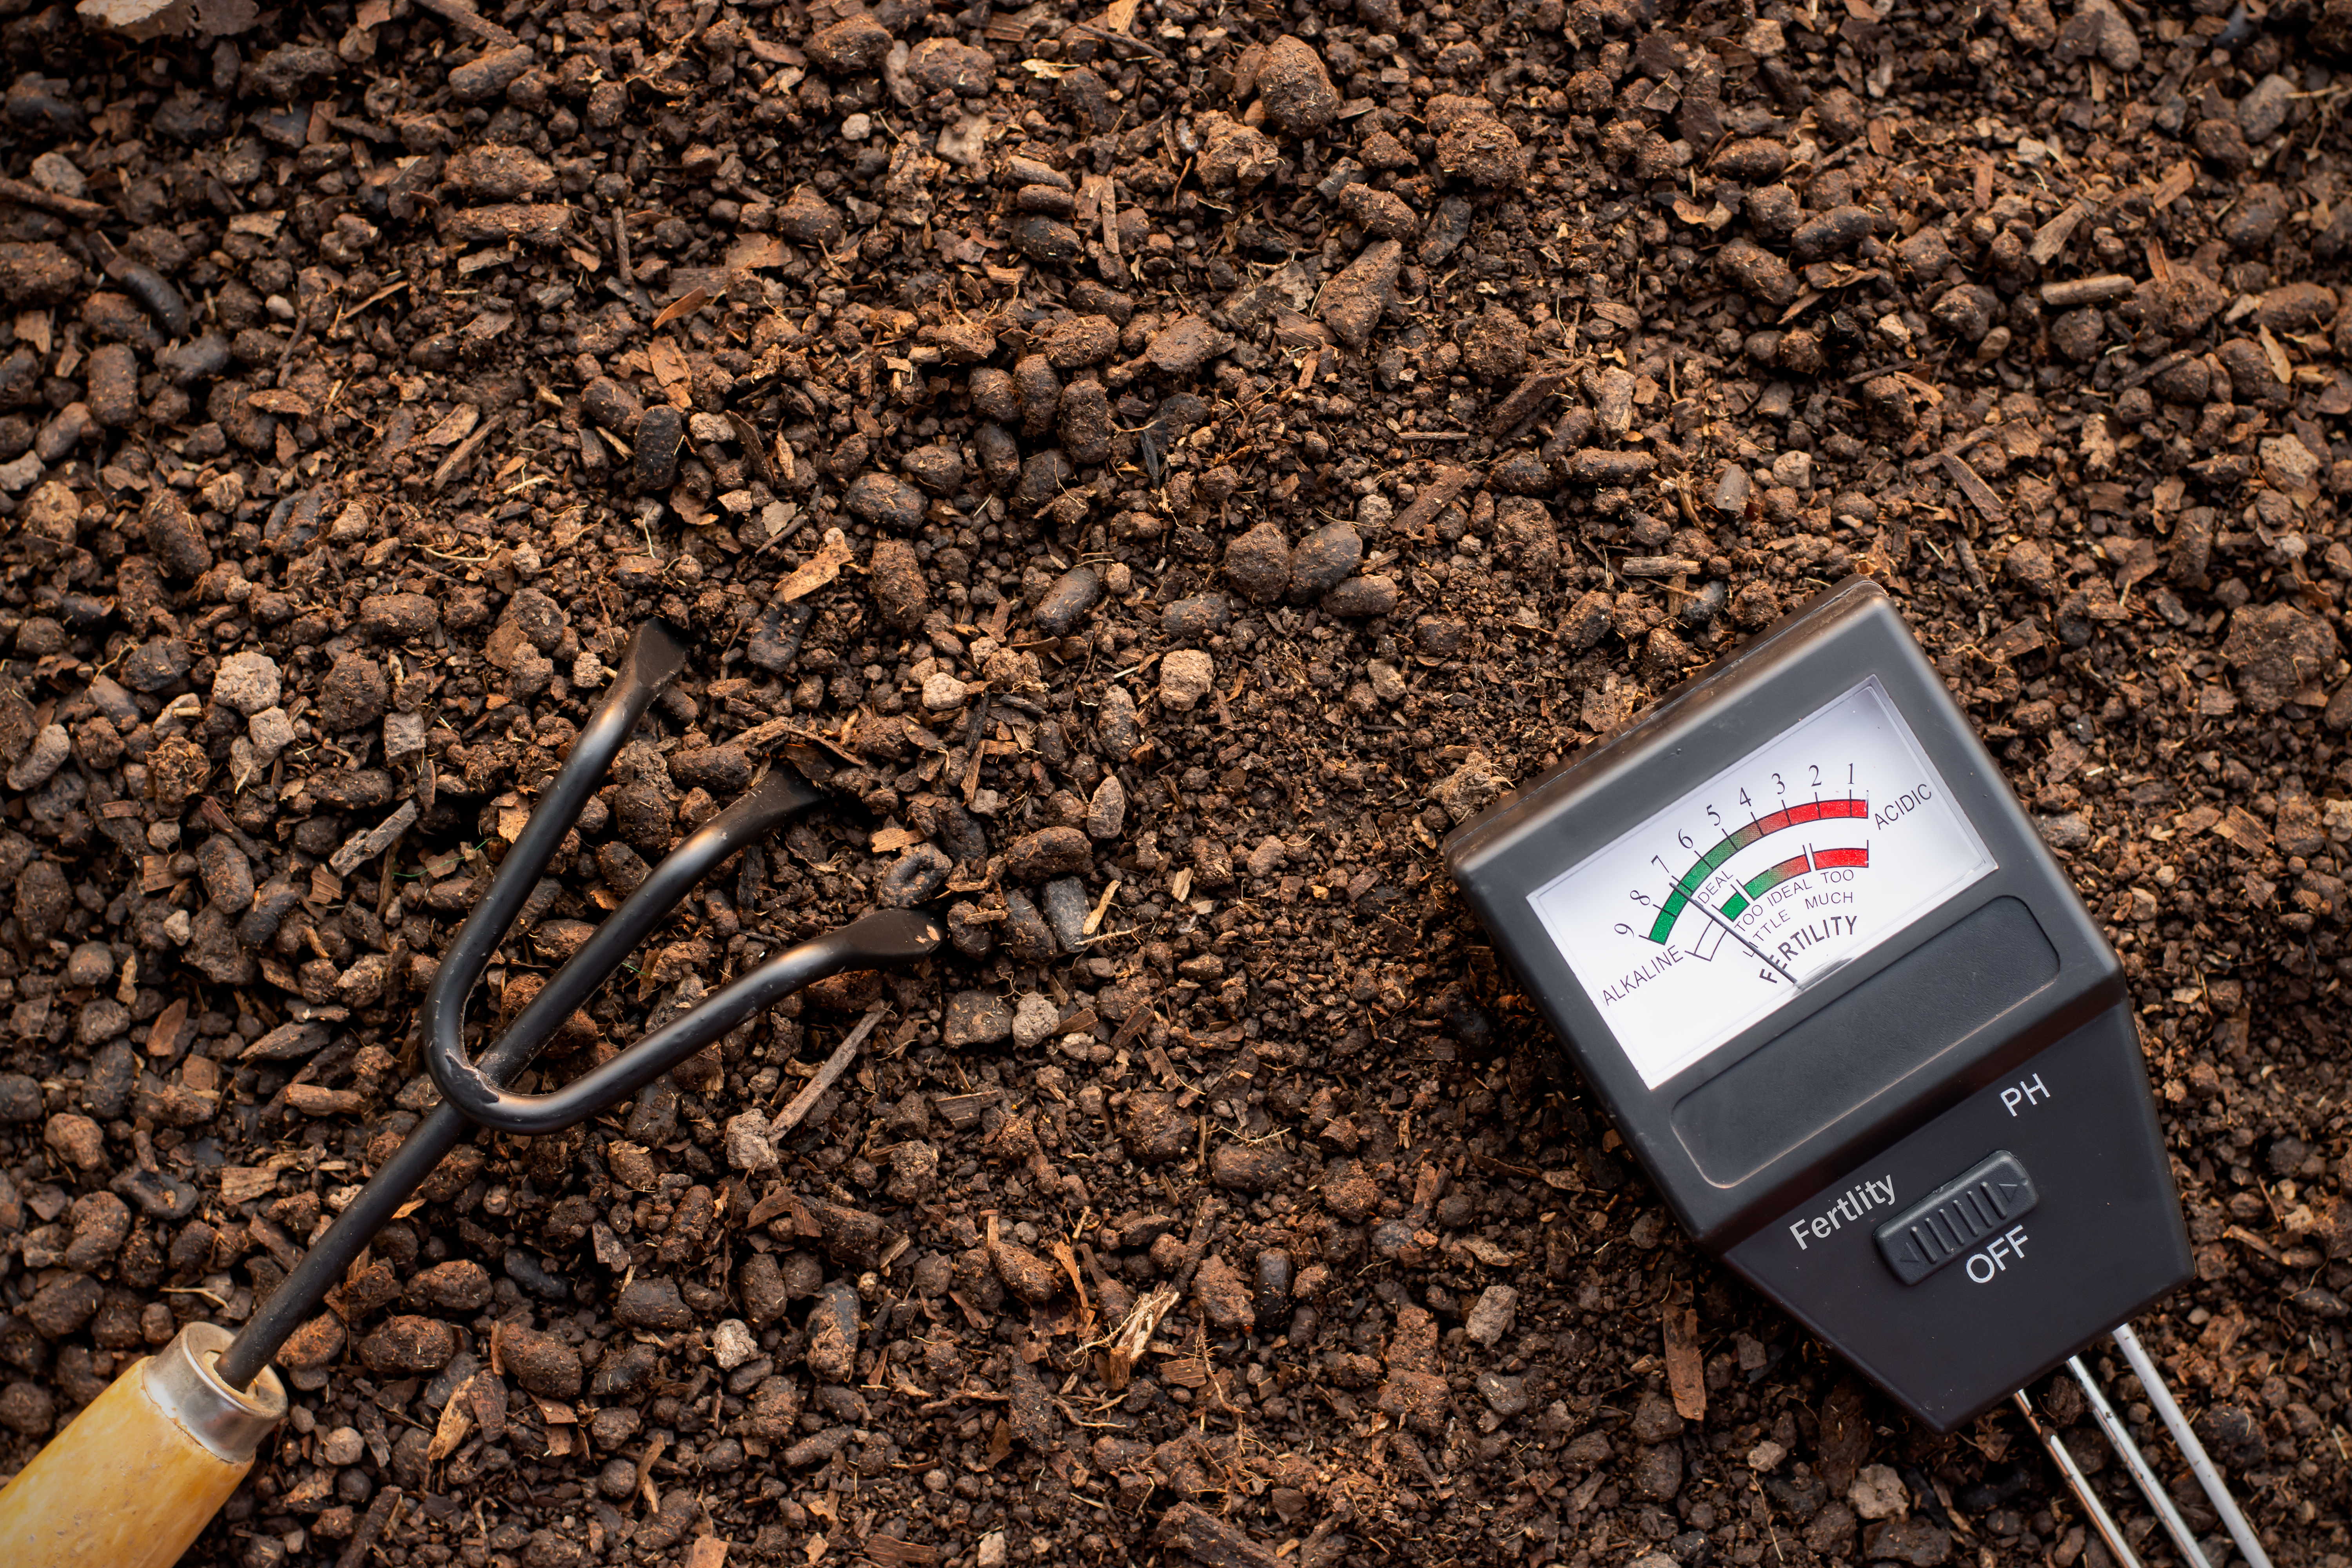
Understanding and optimizing soil environment is crucial for outdoor growers to ensure healthy plant growth and maximize yield. The process begins with comprehensive testing of soil pH and nutrient levels, amending the soil with compost, manure, and organic matter, and using techniques to improve soil structure and fertility.
| Test Result | Likely Meaning | Next Move |
|---|---|---|
| Low pH | Soil is too acidic for easy uptake | Confirm reading, then adjust gradually |
| High pH | Soil is too alkaline for ideal uptake | Retest and correct slowly |
| Low organic matter | Soil may dry fast and feed poorly | Add mature compost and mulch strategy |
| Compaction | Poor oxygen and weak root expansion | Loosen soil and improve structure before planting |
Testing Soil pH and Nutrient Levels

The first step in preparing your soil for cannabis cultivation is to conduct a thorough soil test. This test should measure the soil’s pH level and its primary nutrient contents, including nitrogen (N), phosphorus (P), and potassium (K), along with secondary nutrients and micronutrients like calcium, magnesium, and iron which are vital for cannabis growth.
Do not chase pH with panic adjustments
If a test result looks strange, retest with a clean sample and calibrated meter before making major changes. Over-correction can create a bigger problem than the original reading.
Master Advice: Test first, amend second. Adding nutrients blindly can create excesses that are harder to fix than a mild deficiency.
Soil pH is a critical factor because it affects the plant’s ability to absorb nutrients. Cannabis generally prefers a slightly acidic to neutral pH, typically between 6.0 and 7.0. If the pH is outside this range, the plants may not efficiently uptake nutrients, even if those nutrients are abundant in the soil. Testing your soil’s pH will help you determine if you need to make adjustments using lime (to increase pH) or sulfur (to decrease pH) to create an optimal growing environment.
You can use a soil pH meter, pH test strips, or a liquid pH test kit to test soil pH. Here’s how to do it:
- Collect Soil Samples: Take soil samples from different parts of your garden to get an accurate reading of the overall pH. Dig down about 6 inches to collect the samples.
- Prepare the Samples: Mix the soil samples together in a clean container to create a composite sample. Remove any debris or organic material.
- Test the Soil: Follow the instructions on your pH testing kit. If using a pH meter, insert the probe into the soil. If using test strips or a liquid kit, mix the soil with distilled water and dip the test strip or use the provided solution to measure the pH.
Quick DefinitionSoil pH
Soil pH measures how acidic or alkaline the root zone is. For cannabis, pH matters because it changes how easily roots can access nutrients already present in the soil.
- Interpret the Results: Compare the results to the ideal pH range for cannabis. If your soil pH is outside the optimal range, it will need to be adjusted.
Testing for nutrient levels (such as nitrogen, phosphorus, and potassium, along with essential micronutrients like magnesium and calcium) will inform you about what your soil is lacking or has in excess. Simple soil test kits can be purchased at garden centers or online, or you can send a soil sample to a laboratory for a more comprehensive analysis. Nutrient testing kits are available to help you determine the levels of these elements in your soil.
Understanding your soil’s nutrient profile is essential for determining which amendments will be necessary to meet cannabis’s specific nutritional needs.
Important: pH is not just a number; it controls nutrient availability. A rich soil can still feed poorly if the pH range is wrong.
Amending Soil with Compost, Manure, and Organic Matter

If you understand your soil’s pH and nutrient levels, the next step is to begin amending it to create the ideal growing environment for cannabis. Organic amendments such as compost, well-rotted manure, and other organic matter are excellent for improving soil fertility and texture.
“Can I mix a lot of fresh compost right before transplanting outdoors?”
Question sent by: Hannah Wilson, via Facebook page.
Use caution. Mature compost is helpful, but too much fresh or unfinished material can create heat, salts, or unstable nutrient release. Blend amendments early when possible and keep the root zone gentle for young plants.
Organic amendments such as compost, manure, and other organic matter are excellent for improving soil fertility and structure. These materials enrich the soil with nutrients and improve its texture and water-holding capacity, which are crucial for healthy root development.
Compost provides a balanced mix of essential nutrients, improves soil aeration, and enhances moisture retention. It also introduces beneficial microorganisms that help break down organic material into nutrients that plants can absorb.
Well-rotted manure is another rich source of nutrients. It’s especially high in nitrogen, which is essential for the vegetative growth of cannabis. However, ensure the manure is well-composted to avoid burning the plants or introducing pathogens to your soil.
Adding organic matter such as leaf mold, peat moss, grass clippings, or straw can also improve soil fertility and structure over time, particularly if your soil is too sandy or clayey. These materials help retain moisture and slowly release nutrients as they decompose.
Tip: Blend amendments early when possible. Freshly amended soil often performs better after it has had time to settle and become biologically active.
Techniques for Improving Soil Structure and Fertility
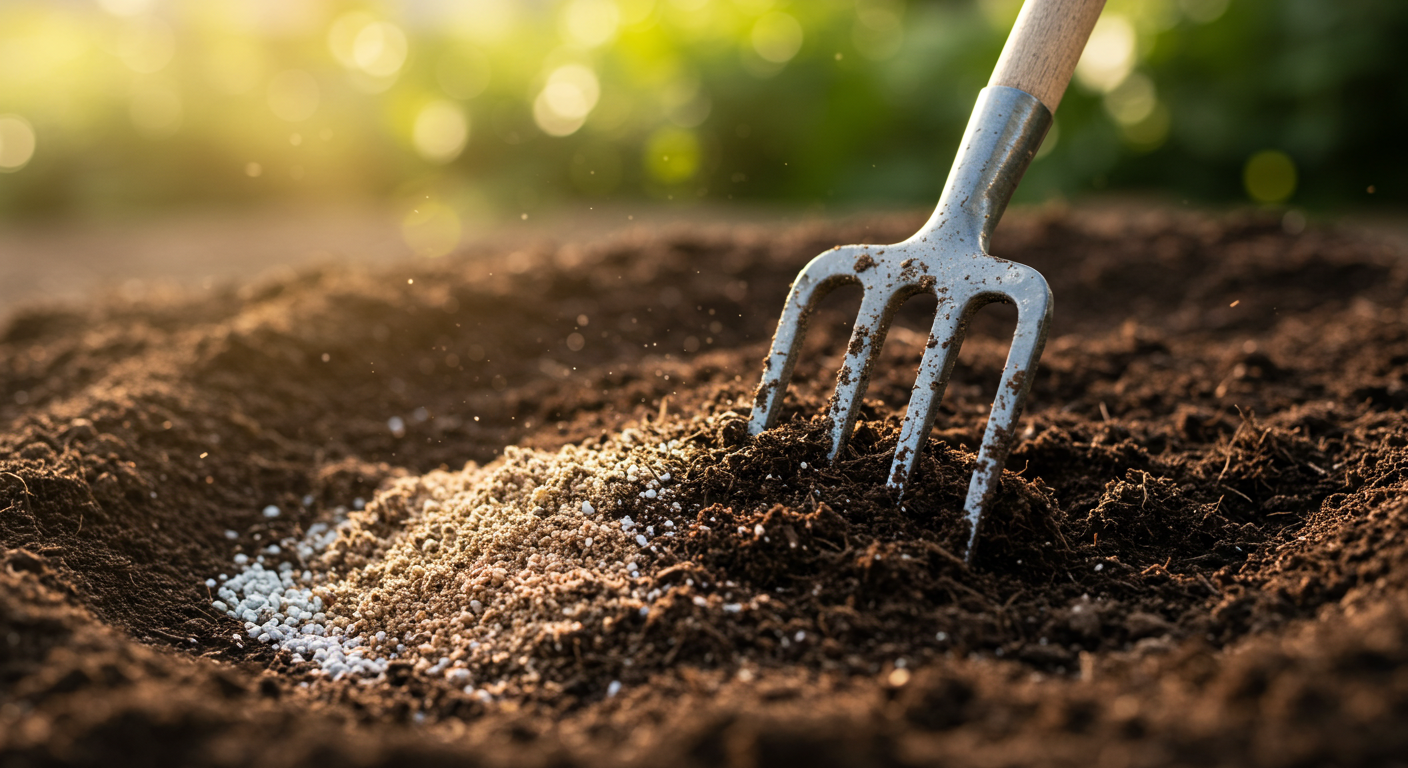
Improving soil structure and fertility is an ongoing process that requires careful management and periodic reassessment. In addition to adding organic amendments, techniques such as cover cropping and crop rotation can be highly beneficial.
Advice: Improve structure gradually. The goal is a living, airy root zone, not a heavy mix overloaded with every amendment at once.
Cover crops such as clover, vetch, or alfalfa can be planted before the cannabis growing season. These plants help fix nitrogen in the soil, improve soil structure, and prevent erosion. After they are tilled into the soil, they decompose and enrich the soil with organic matter, improving its overall fertility and structure.
Crop rotation, on the other hand, involves alternating the types of crops grown in a particular area from one season to the next. This practice helps prevent soil depletion, reduces the build-up of pests and diseases, and can improve soil structure and fertility over time.
Outdoor Soil for Cannabis Cultivation
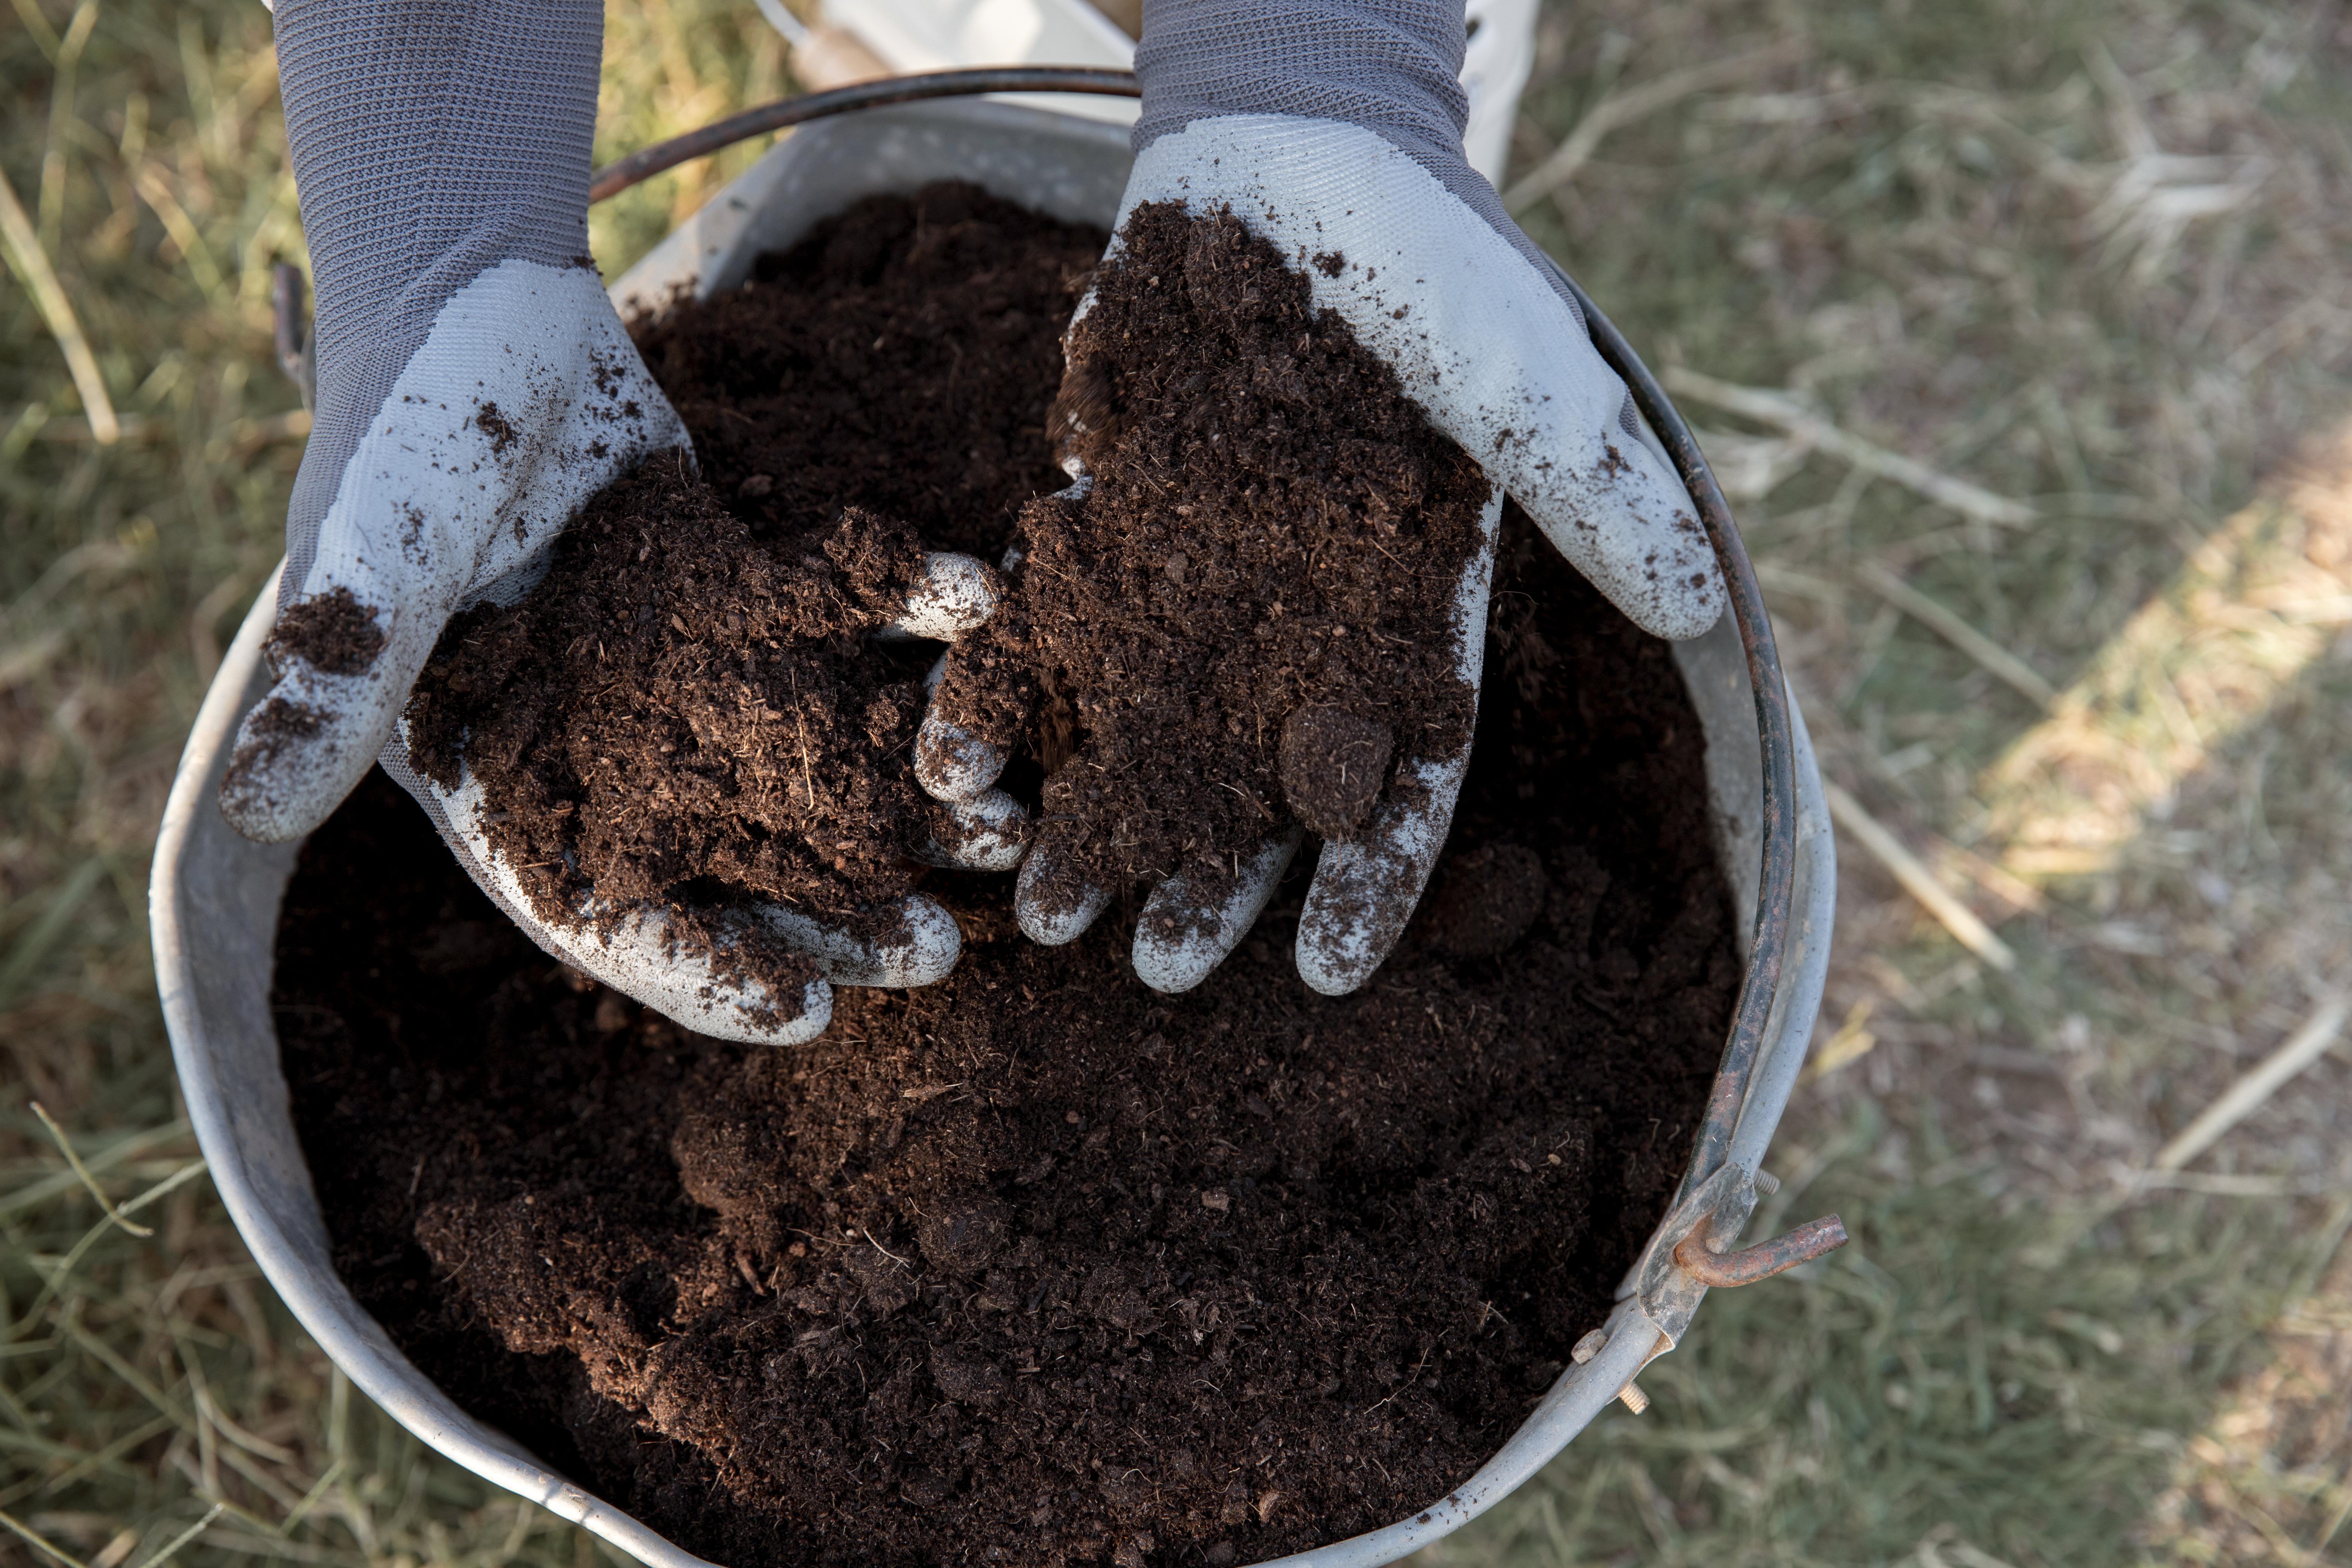
Cannabis plants thrive in well-prepared soil that meets their nutritional and physical needs. This article explores the characteristics of ideal cannabis soil, including its texture, drainage, organic matter content, and nutrient profile. Additionally, we’ll discuss the use of organic versus inorganic amendments to enhance soil quality.
Build a balanced root zone
Aim for moisture retention, drainage, aeration, organic matter, and steady fertility.
Fix everything with more fertilizer
Many outdoor soil issues are physical first: compaction, waterlogging, low organic matter, or poor aeration.
Characteristics of Good Cannabis Soil
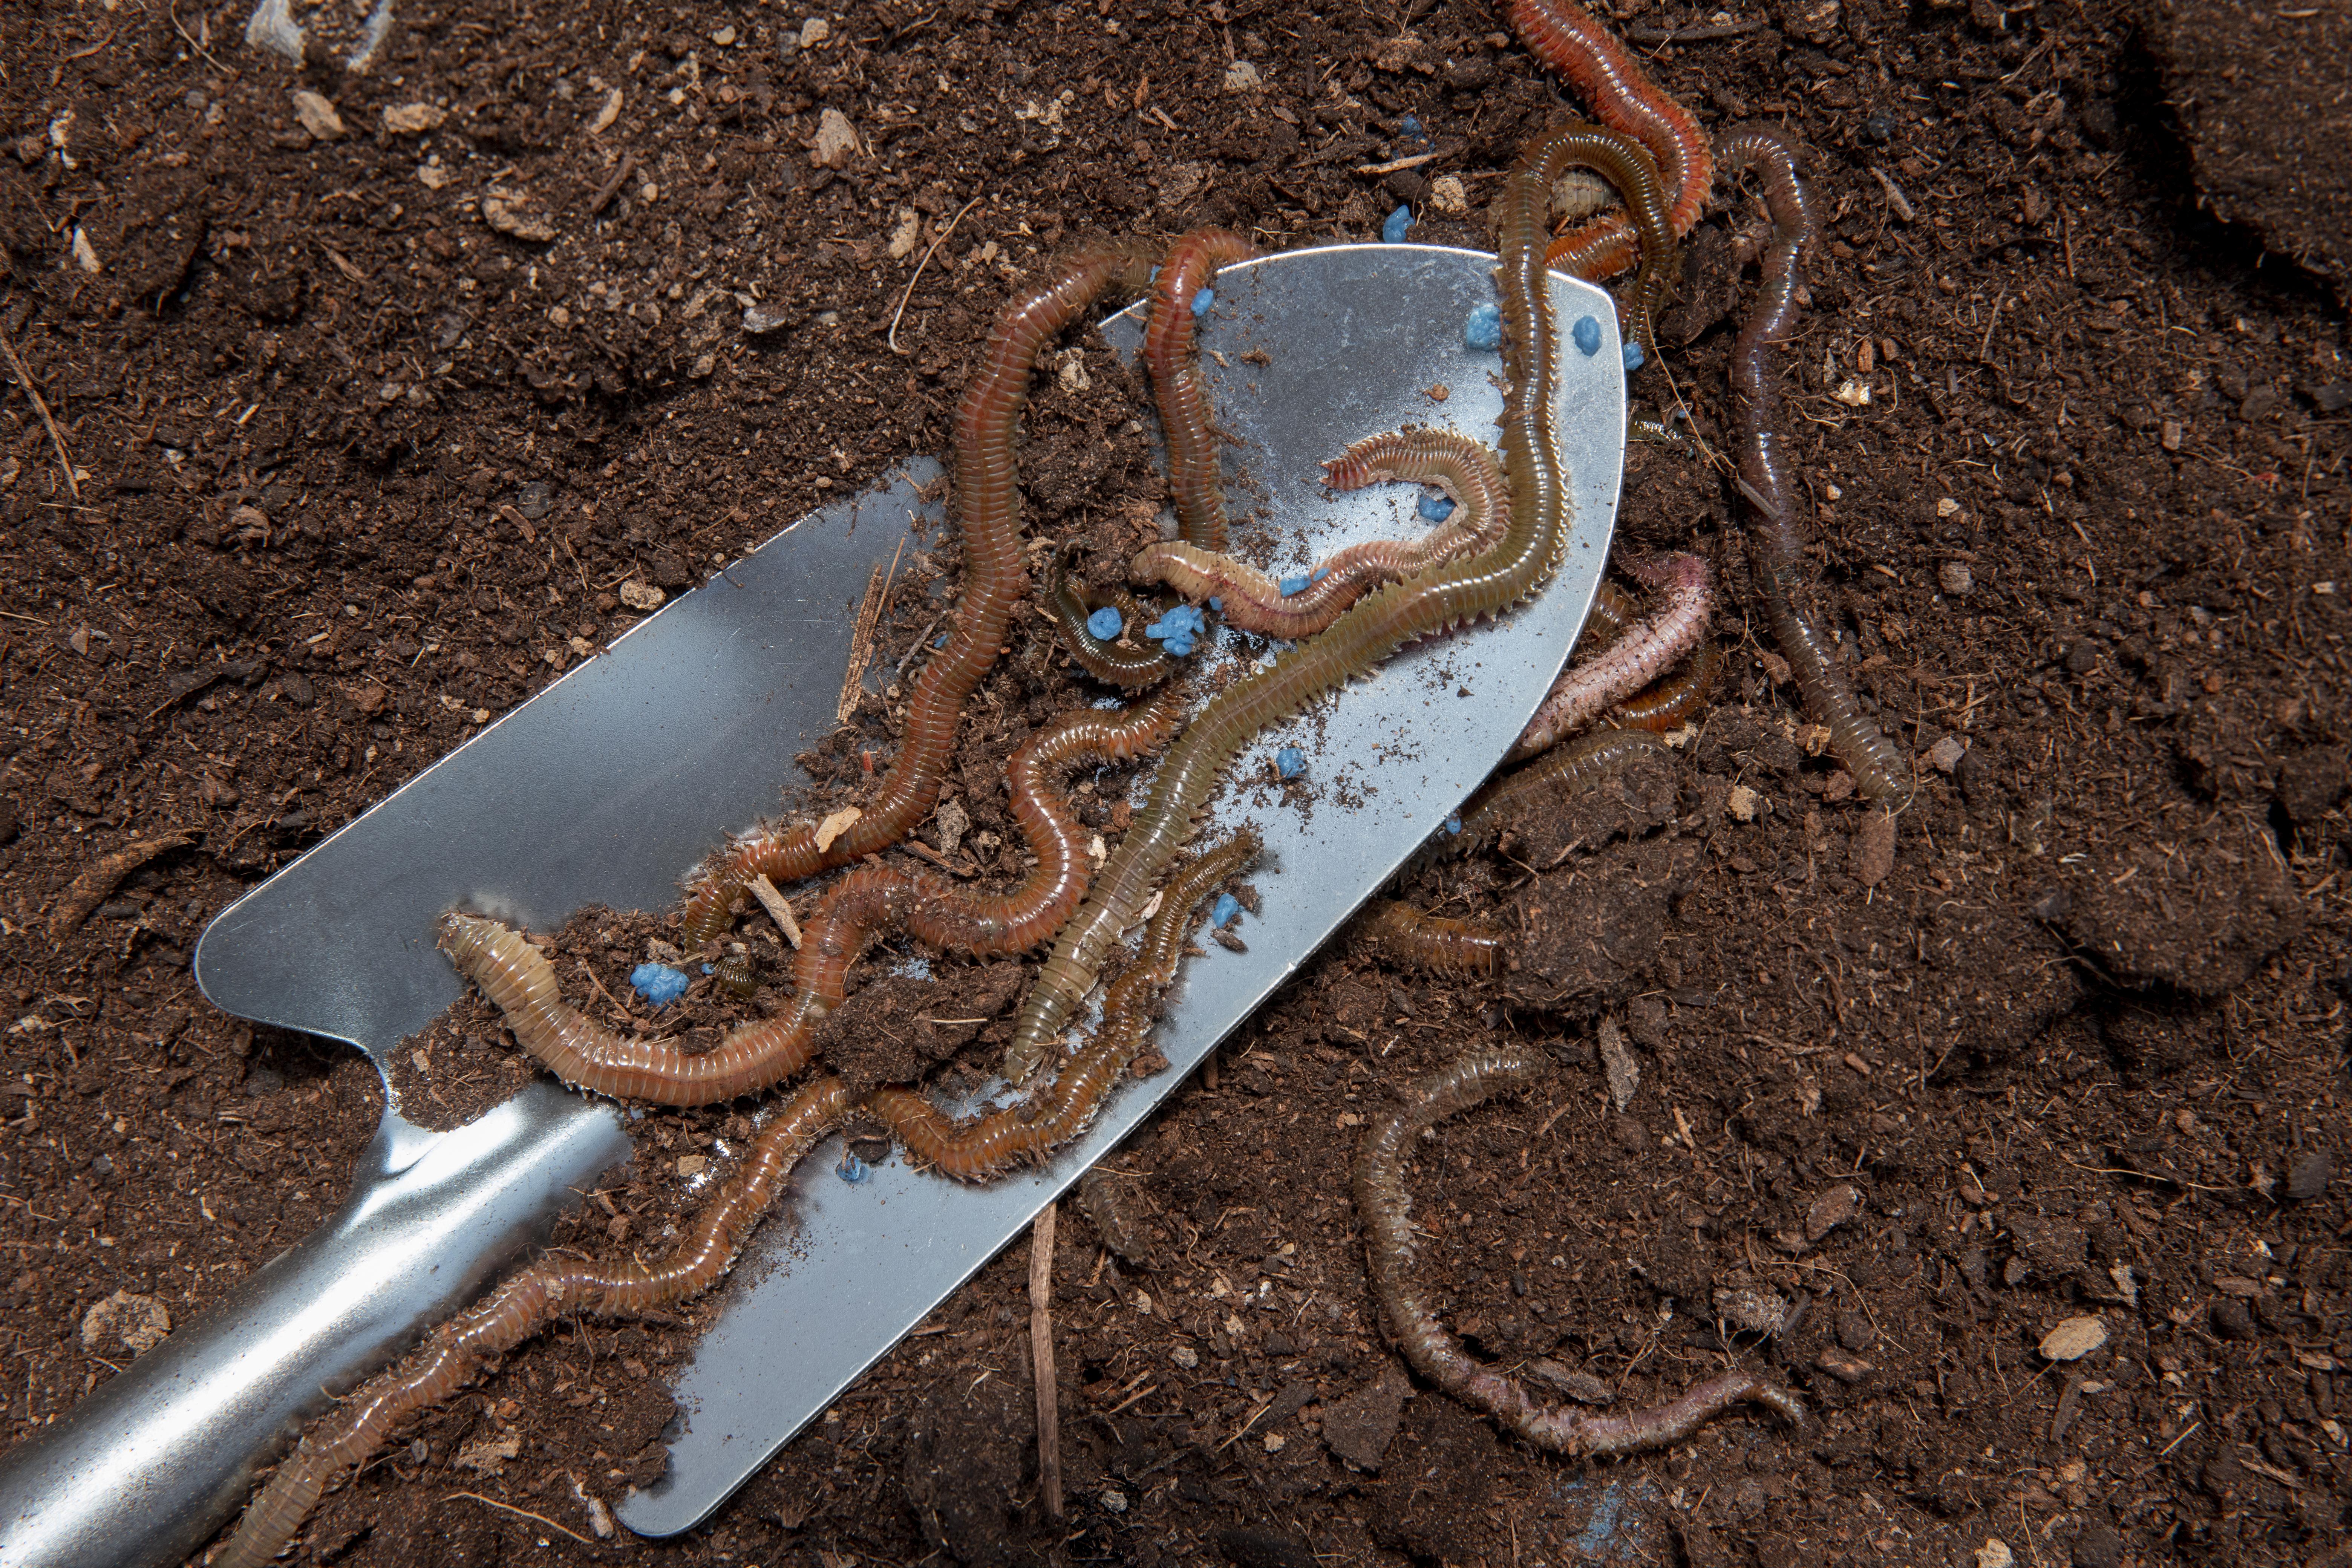
Texture and Structure: Loamy Soil Preference

Cannabis plants perform best in loamy soil, which is an ideal balance of sand, silt, and clay. This type of soil structure supports robust root growth due to its balanced water retention and drainage capabilities. Loamy soil is also typically rich in nutrients and provides good aeration, which is crucial for healthy root development. The friable texture of loamy soil allows roots to penetrate deeply and spread out, which supports stable plant growth and nutrient uptake.
Pro Tip: Good cannabis soil usually feels alive but not muddy: loose enough to crumble, moist enough to hold together, and airy enough for roots to breathe.
Tip: Loam is a balance, not a brand name. If the soil packs like clay or drains like beach sand, it needs structure correction.
Drainage and Aeration: Importance of Preventing Waterlogging
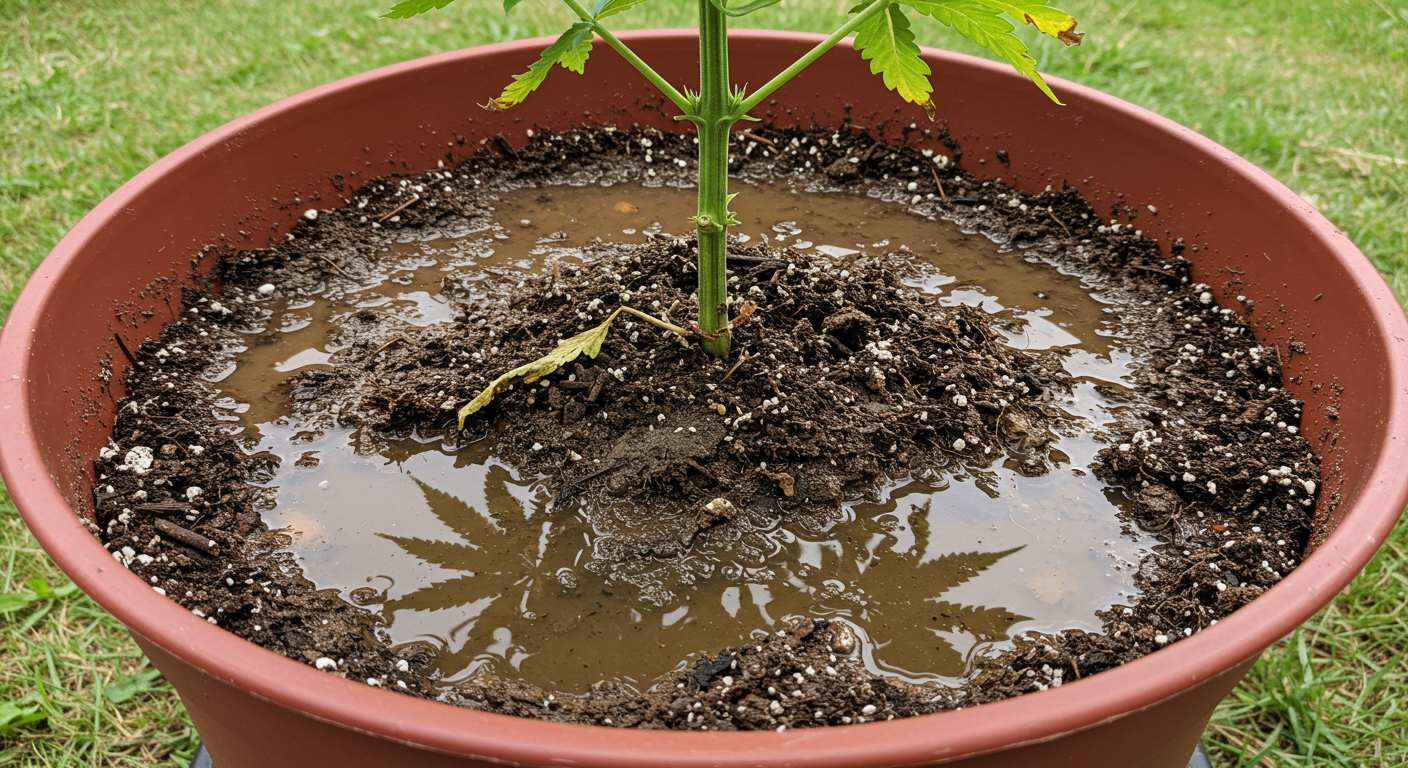
Proper drainage and aeration are essential to prevent waterlogging, a condition that can lead to root rot and other fungal diseases. Cannabis plants require well-drained soil that allows excess water to pass through while retaining enough moisture to sustain plant needs. Incorporating materials like perlite or coarse sand can improve soil drainage and create air pockets that help oxygenate the root zone. This ensures roots can breathe, leading to more vigorous and healthy plant growth.
Remember: Outdoor soil is both nutrition and habitat. Roots, microbes, oxygen, and moisture balance all matter at the same time.
Important: Waterlogged roots cannot breathe. Many outdoor issues that look like nutrient problems begin as oxygen problems in the root zone.
Waterlogging can mimic nutrient deficiency
Yellowing, droop, and slow growth can appear when roots lack oxygen. Always check drainage and moisture before adding more nutrients.
Organic Matter Content: Role of Compost and Humus
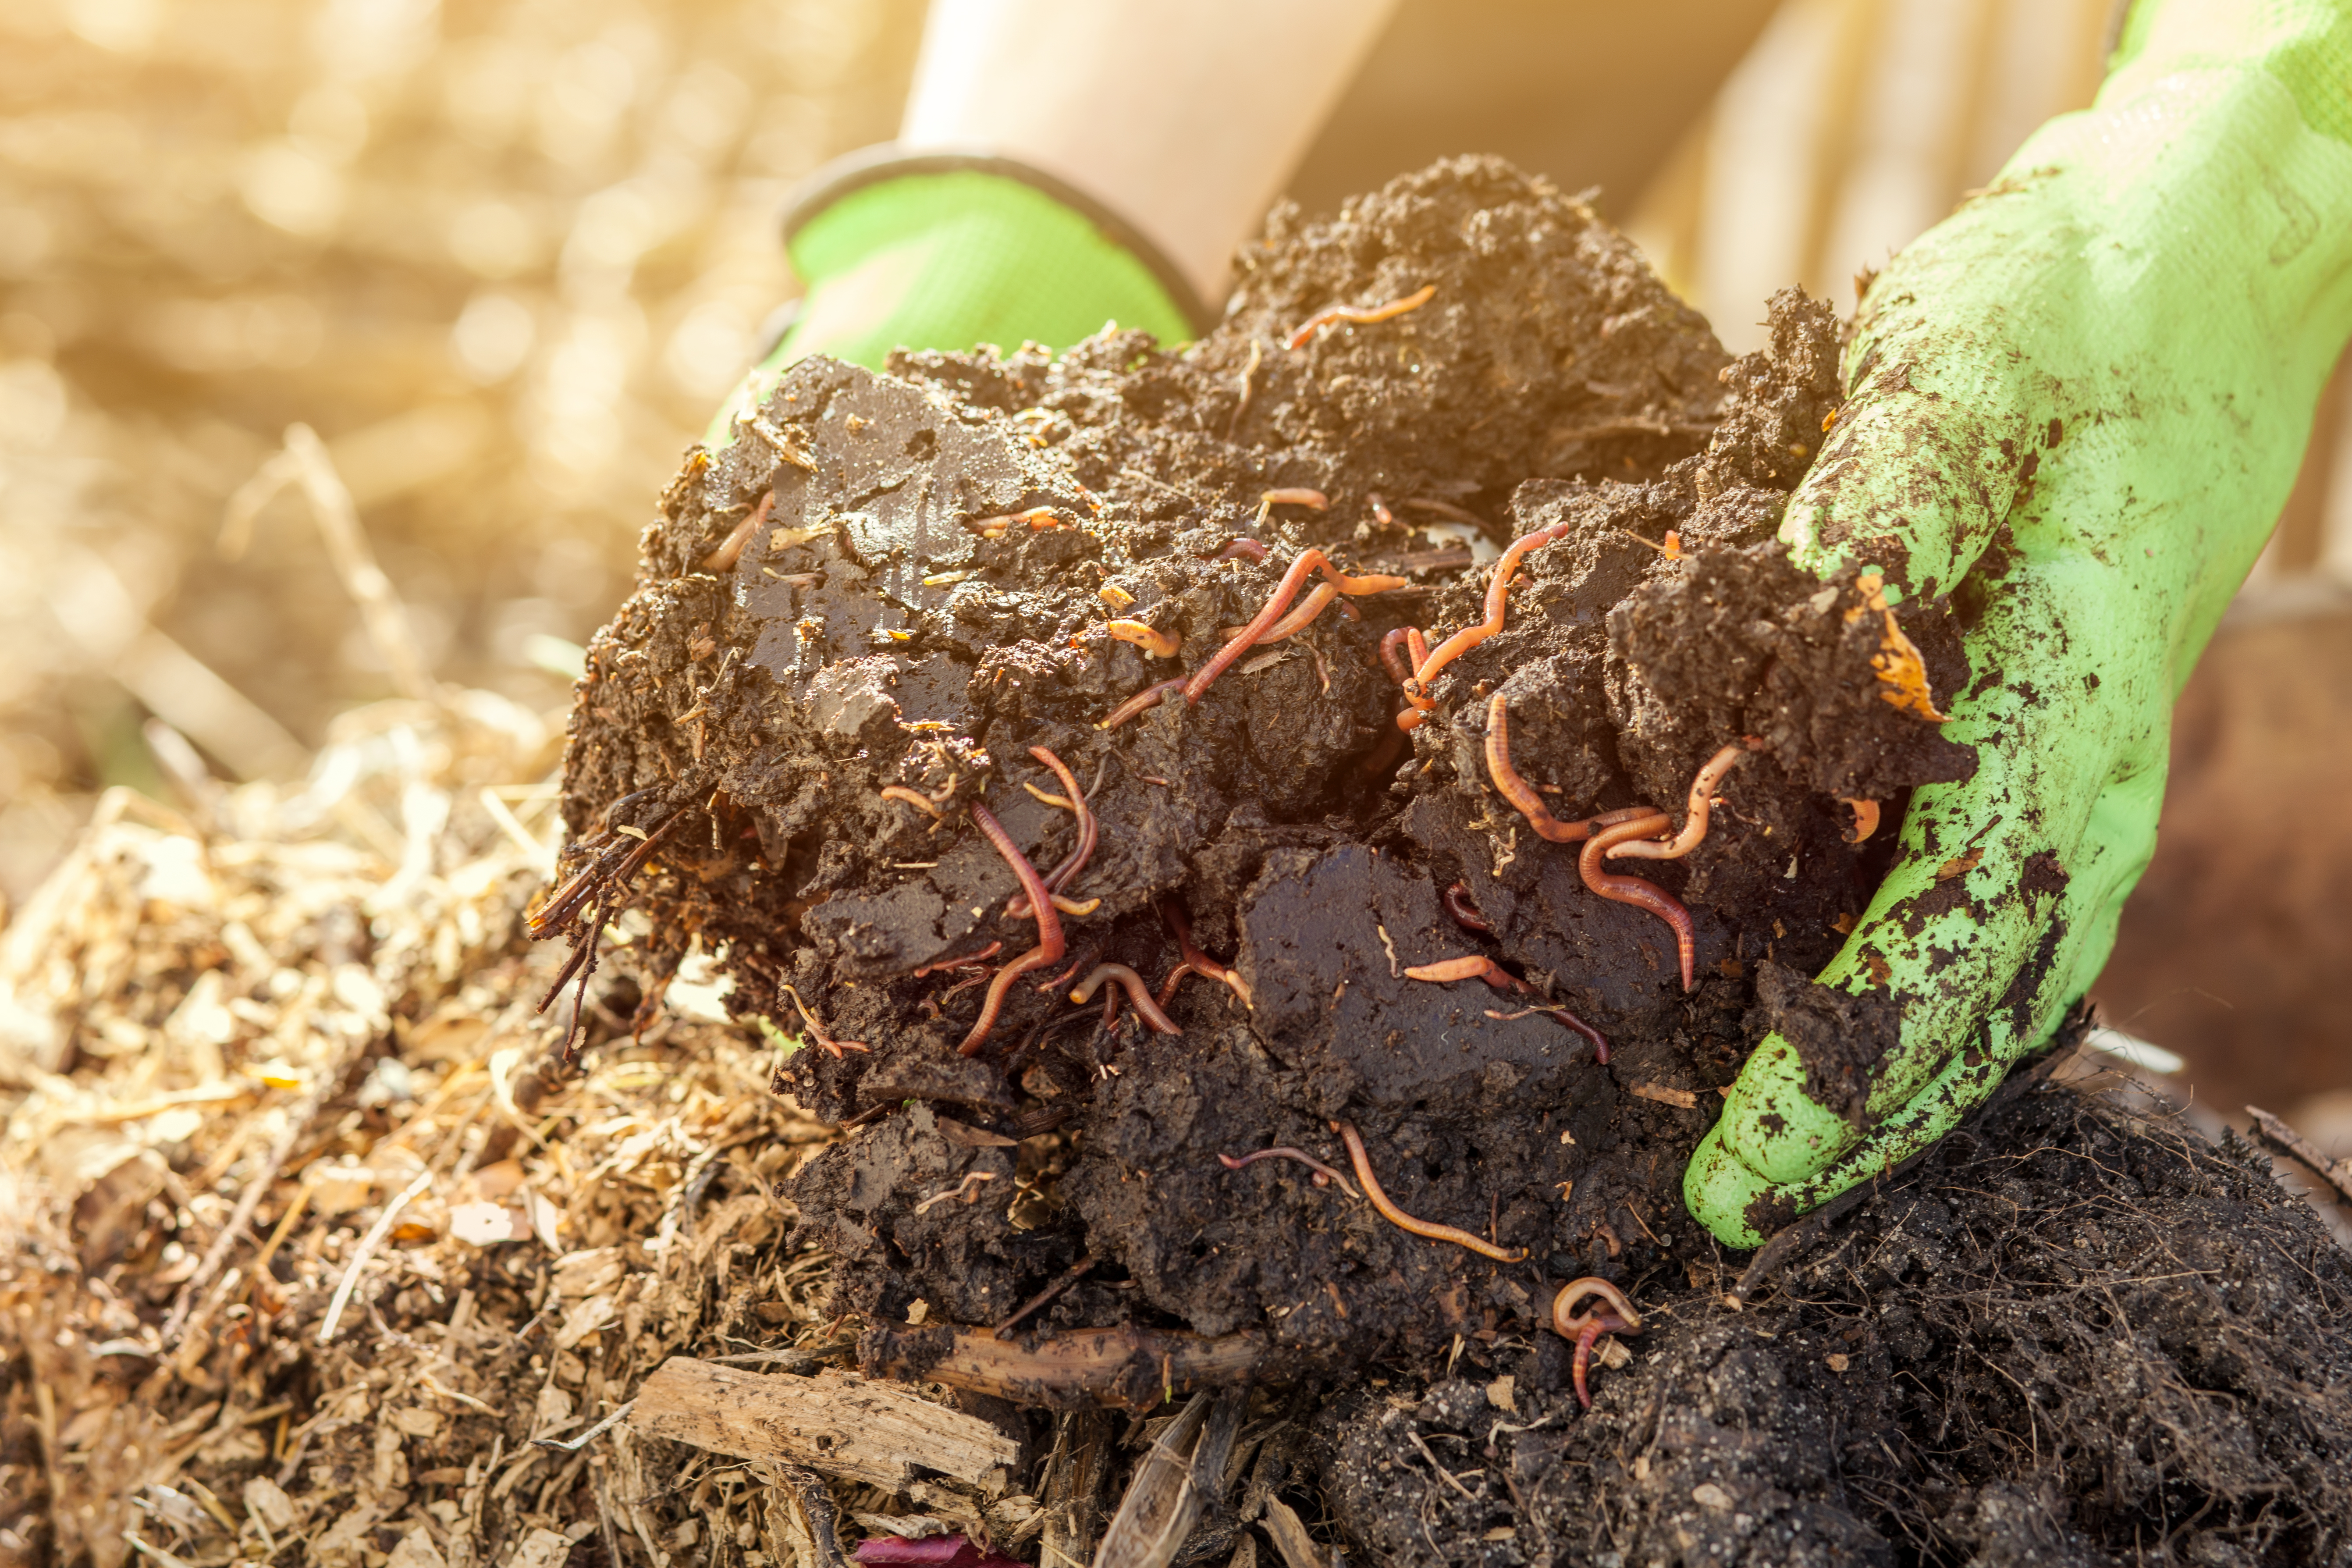
Organic matter, such as compost and humus, plays a critical role in enhancing soil fertility and structure. Compost provides a wide range of nutrients and introduces beneficial microorganisms that help break down organic matter into usable forms for plant roots. Humus, the decomposed residue of organic matter, improves soil moisture retention and nutrient holding capacity. High organic matter content also helps buffer the soil against pH fluctuations and provides a slow-release source of nutrients throughout the growing season.
Remember: Organic matter improves the soil over time. Compost supports moisture balance, microbial life, and a steadier nutrient release.
“My soil dries out fast even after I water deeply. Would compost help?”
Question sent by: Noah Bennett, via email.
Often, yes. Organic matter helps soil hold moisture more evenly while supporting microbial life. If the soil is very sandy or lifeless, compost and mulch can improve the moisture rhythm over time.
Nutrient Profile: Essential Nutrients for Cannabis Growth
A balanced nutrient profile is crucial for optimal cannabis growth. Cannabis plants require a variety of macro and micronutrients, with nitrogen, phosphorus, and potassium being the primary macronutrients. A soil test can reveal deficiencies in the soil’s nutrient profile, which can then be corrected with appropriate amendments. Maintaining a balanced nutrient profile not only supports vigorous growth but also enhances the plant’s ability to resist diseases and produce high-quality buds.
Advice: Outdoor nutrients should be steady rather than dramatic. Slow, balanced fertility is usually easier to manage than sharp feeding swings.
Organic vs. Inorganic Amendments
Organic Amendments: Compost, Manure, Worm Castings
Organic amendments include materials like compost, manure, and worm castings, which enrich the soil with nutrients and improve its physical properties. These amendments enhance soil fertility naturally and support beneficial microbial activity. They also improve soil structure, which enhances water retention and root development. Organic amendments generally provide a slow-release of nutrients, which ensures a steady supply throughout the growing season.
| Amendment Type | Best Use | Watch Out For |
|---|---|---|
| Compost | Biology, moisture balance, slow fertility | Unfinished compost can be too active |
| Worm castings | Gentle fertility and microbial support | Too much can make mixes heavy |
| Perlite | Aeration and drainage | Very light mixes dry faster |
| Vermiculite | Moisture retention | Too much can hold excessive water |
| Sand | Texture adjustment in specific mixes | Fine sand can worsen compaction |
Tip: Use mature compost and aged manure. Hot, unfinished material can burn roots or create unstable nutrient release.
Inorganic Amendments: Perlite, Vermiculite, Sand
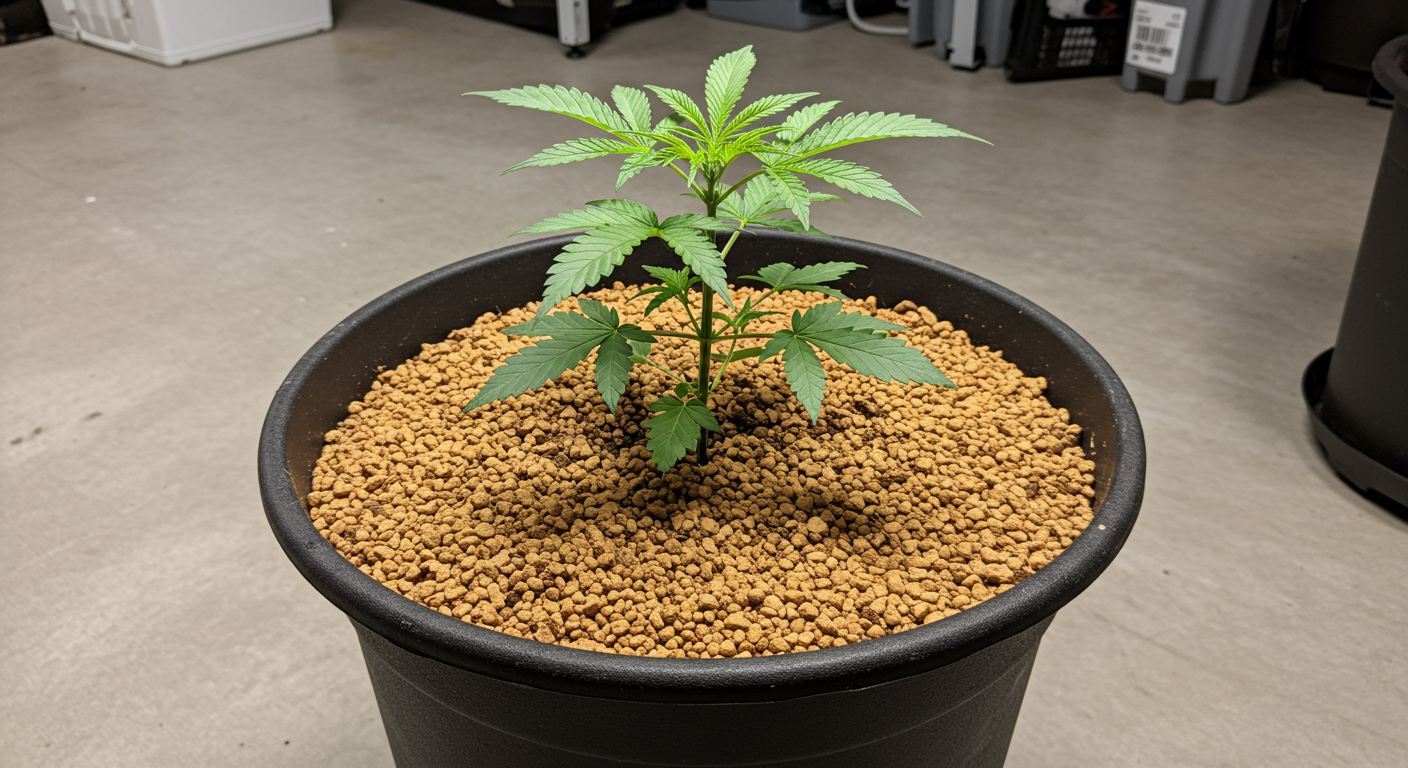
Inorganic amendments such as perlite, vermiculite, and sand are used to improve soil structure and drainage. Perlite and vermiculite enhance aeration and moisture retention without compacting, making them ideal for ensuring that the root environment remains oxygen-rich and evenly moist. Sand, particularly coarse sand, can help improve drainage in heavy soils that retain too much water.
Pro Tip: Organic and inorganic amendments can both be useful. Choose by the problem you are solving: biology, structure, drainage, moisture, or immediate correction.
Amendment
An amendment is anything mixed into soil to improve structure, biology, drainage, moisture behavior, or nutrient availability. It is not always the same thing as fertilizer.
Remember: Perlite, vermiculite, and sand change structure; they do not replace soil fertility. Pair structure amendments with the right nutrient strategy.
Use structure amendments for a clear purpose
Perlite improves aeration, vermiculite holds more moisture, and coarse sand can change texture when used correctly.
Add random amendments because they sound useful
Too many ingredients can make soil unpredictable, especially for beginners.
Benefits and Drawbacks of Each Type
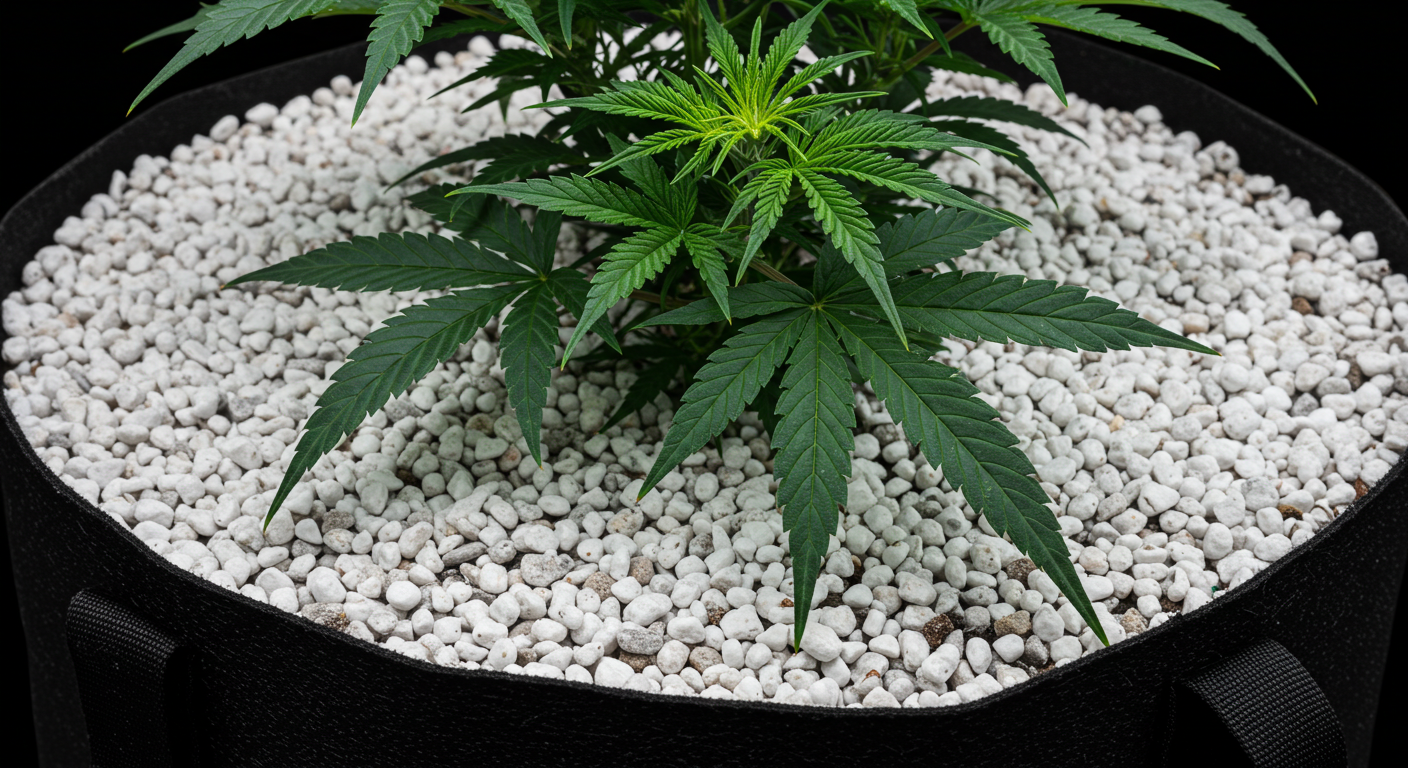
Organic amendments are beneficial for their ability to improve soil fertility and structure while supporting a healthy ecosystem within the soil. However, they can vary in nutrient content and may require time to decompose fully before their benefits are realized. Inorganic amendments provide immediate improvements to soil structure and aeration but do not supply any nutrients. They can also permanently alter the physical properties of the soil.
Advice: Every amendment has a tradeoff. Before adding more, ask whether you need drainage, water retention, nutrition, or biological activity.
Container vs. Ground Planting
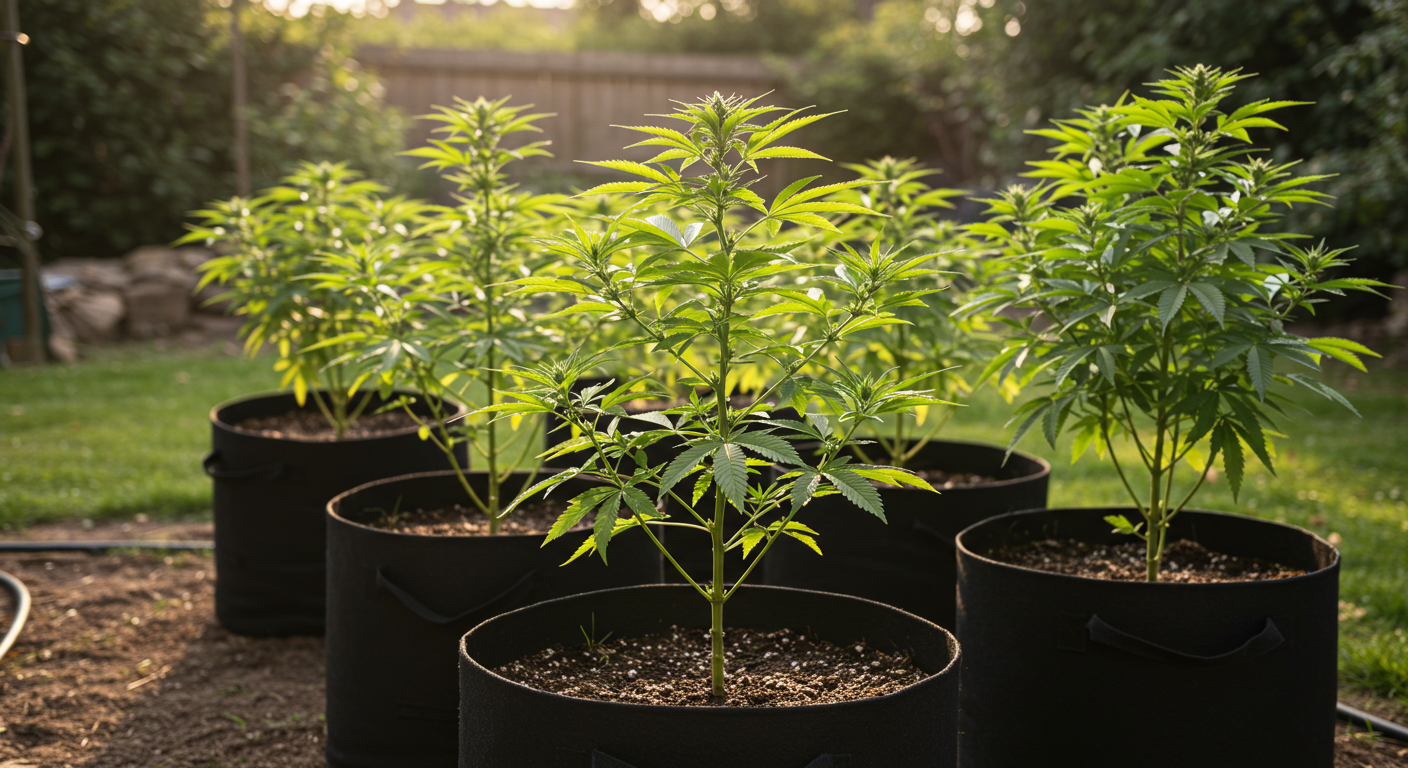
When cultivating cannabis outdoors, growers often face the decision between planting directly in the ground or using containers. Each method offers distinct advantages and challenges that can impact the growth, health, and yield of cannabis plants. Understanding the pros and cons of each can help growers choose the option that best suits their specific conditions and cultivation goals.
| Method | Best For | Main Tradeoff |
|---|---|---|
| Fabric pots | Control, mobility, aeration | Dry faster outdoors |
| Plastic containers | Moisture retention and easy movement | Can hold heat and need drainage holes |
| Raised beds | More root volume with soil control | Requires setup and soil volume |
| In-ground planting | Maximum root expansion | Depends heavily on native soil quality |
Container Growing Outdoors
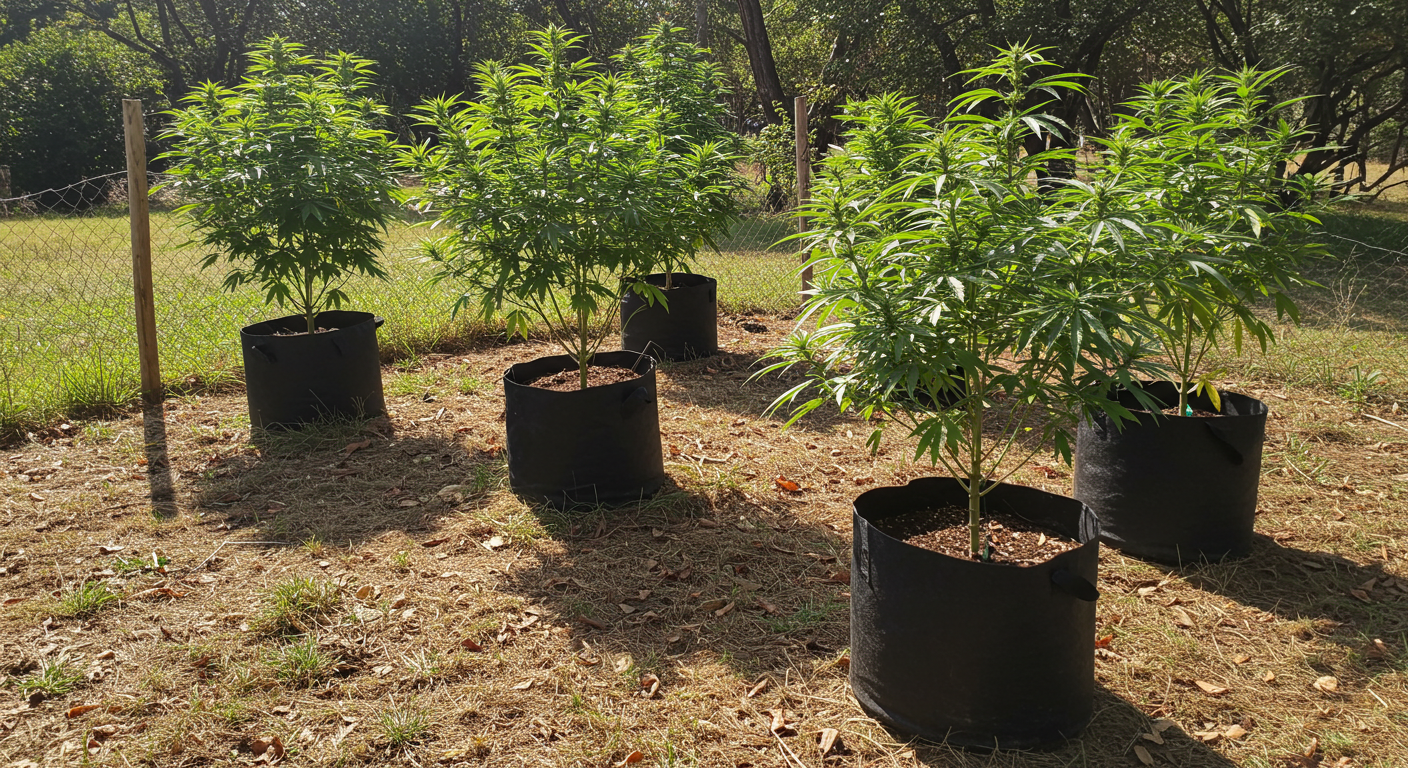
Container growing involves planting cannabis in pots or other containers rather than directly in the ground. This method provides growers with greater control over the plant’s environment and can be particularly useful in areas where the native soil is poor or contaminated. Containers can range from traditional pots and fabric grow bags to more sophisticated self-watering and air-pruning containers. The choice of container can significantly impact the health and productivity of cannabis plants.
“Is a fabric pot better than planting straight in the ground?”
Question sent by: Tyler Morgan, via email.
It depends on your site. Fabric pots offer control and mobility, but they dry faster. Ground planting gives roots more space, but it depends heavily on native soil quality, drainage, and pest pressure.
Prepare the native soil before planting
Test, loosen, amend, and confirm drainage before roots expand.
Assume the ground is automatically better
Poor native soil can restrict roots more than a well-built container mix.
Containers can dry out quickly outdoors
Hot sun and wind can pull moisture from containers fast. Check moisture at root depth, not only at the surface.
Master Advice: Containers give control; ground planting gives root freedom. Pick the method that solves your biggest constraint, not the one that looks easiest online.
Remember: Ground planting rewards preparation. Once roots expand into native soil, correcting poor drainage or compaction becomes much harder.
Pros of Container Growing:
- Mobility: One of the primary advantages of using containers is mobility. Pots can be moved to optimize sunlight exposure throughout the day or to protect plants from adverse weather conditions like strong winds or heavy rainfall. This flexibility can be crucial in regions with variable weather patterns.
- Controlled Environment: Containers allow growers to customize the soil for each plant. By using a tailored soil mix, you can ensure that the soil has the ideal structure, pH, and nutrient mix for cannabis, leading to healthier plants and potentially higher yields.
- Pest Management: Containers can help reduce the risk of soil-borne diseases and pest infestations. By elevating the plants off the ground and using sterile potting mix, you can minimize the likelihood of pests and diseases transferring from the ground to your plants.
Cons of Container Growing:
- Limited Root Space: The major drawback of containers is limited root space. Restricted root growth can limit the plant’s size and overall health, which might reduce yield. Choosing the right size container is critical to ensure that plants have enough room to develop robust root systems.
- Frequent Watering: Container plants often require more frequent watering than ground-planted ones. The limited soil volume can dry out quickly, especially in warm weather. This necessitates vigilant watering practices to keep the soil consistently moist but not waterlogged.
- Soil Temperature Fluctuations: Soil in containers can heat up and cool down much faster than ground soil. These fluctuations can stress plants if not carefully managed. Using light-colored containers, positioning them away from heat-reflecting surfaces, and mulching can help mitigate rapid temperature changes.
Tip: Outdoor containers dry faster than many growers expect. Fabric pots especially need consistent moisture checks in hot wind.
Ground Planting
Ground planting is the traditional method for cultivating cannabis and remains a popular choice among growers who have access to suitable land and soil. This approach involves planting cannabis seeds or clones directly into the earth, allowing them to tap into the vast resources that the natural ground environment offers. By integrating directly with the ecosystem, cannabis plants benefit from the complex interplay of soil microorganisms, natural nutrients, and the buffering capacity of the earth, which can lead to robust growth and potent yields. This method is particularly favored in regions where the climate and soil conditions are naturally conducive to cannabis cultivation, allowing growers to utilize the land's inherent fertility and expansive space to cultivate their crops without the constraints of containers. Ground planting not only roots the plants firmly in their natural setting but also invokes traditional agricultural practices that have been honed over centuries, providing a deep connection to the growing process.
Pros of Ground Planting:
- Larger Growing Space: Ground planting offers virtually unlimited space for root development, allowing cannabis plants to grow larger and potentially produce more yield than those grown in containers.
- Reduced Maintenance: Plants in the ground typically require less frequent watering than those in containers. The larger volume of soil in the ground can hold moisture longer and doesn’t dry out as quickly.
- Temperature Stability: The ground maintains a more stable temperature compared to container soil, protecting roots against extreme heat and cold. This stability can promote healthier root development and plant growth.
Cons of Ground Planting:
- Less Control Over Soil Conditions: When planting directly in the ground, you have less control over the soil conditions unless significant amendments are made. If the native soil is poor, it can take considerable effort and resources to improve its suitability for cannabis.
- Potential for Pest and Disease Issues: Soil-borne pests and diseases pose a greater risk to ground-planted cannabis. Without the physical barriers provided by containers, it can be more challenging to manage these threats.
- Permanence: Once established, ground-planted cannabis cannot be easily moved. Growers must carefully consider the location before planting to ensure optimal exposure to sunlight and protection from winds.
Creating Raised Beds or In-Ground Plots for Cannabis Cultivation

When planning an outdoor cannabis garden, one of the primary decisions you’ll need to make is whether to use raised beds or in-ground plots. Both methods have specific advantages and considerations. Understanding these can help you choose the best option for your specific growing conditions and needs.
“Would a raised bed help if my yard soil is heavy clay?”
Question sent by: Lauren Mitchell, via Facebook page.
It can help a lot, especially if drainage is the main issue. A raised bed gives you more control over structure and aeration while still offering more root volume than many pots.
Raised beds have become a popular choice for many cannabis growers, particularly in areas where soil quality is poor or drainage is an issue. One of the key benefits of raised beds is the ability to control the soil composition. This control allows growers to create a nutrient-rich, well-draining growing medium tailored to the needs of cannabis plants. Raised beds also provide excellent drainage, which is crucial for preventing waterlogging and root rot. The elevated structure allows excess water to drain away quickly, ensuring that roots receive adequate oxygen.
The loose, well-aerated soil in raised beds helps roots grow better, making plants healthier and stronger. Another advantage is the ease of maintenance; raised beds reduce the need for bending and kneeling, making tasks such as planting, weeding, and harvesting more comfortable. They also help in maintaining a more organized and aesthetically pleasing garden layout.
To set up raised beds, select a sunny location that receives at least six to eight hours of direct sunlight daily. Construct the bed frames using durable, rot-resistant materials like cedar, bricks, or recycled plastic. The beds should be at least 12 to 24 inches deep to allow sufficient root space. Once the frames are built, fill them with a high-quality soil mix. A typical mix might include equal parts of compost, topsoil, and a well-draining component like perlite or coarse sand. Thoroughly mix the soil and water it to settle any air pockets before planting.
In-ground plots are a more traditional method of cultivation and can be highly effective if the native soil is of good quality. One of the primary advantages of in-ground plots is the natural soil ecosystem, which includes beneficial microorganisms and earthworms that can enhance plant health. In-ground plots are also cost-effective, as they require minimal initial investment compared to constructing raised beds. They allow for larger cultivation areas beneficial for growers looking to produce high yields. However, in-ground plots do come with their challenges. Soil quality and drainage can vary significantly, so it’s essential to test the soil pH and nutrient levels before planting. This testing helps in identifying any deficiencies or imbalances that need to be corrected.
Preparing an in-ground plot involves selecting a suitable location with good sunlight exposure and avoiding low-lying areas prone to water accumulation. After selecting the site, clear it of any debris, rocks, and unwanted vegetation. Till the soil to a depth of at least 12 inches to improve aeration and root penetration. Based on soil test results, amend the soil with compost, aged manure, or other organic fertilizers to enhance fertility. If drainage is a concern, planting in mounds or raised rows can help prevent waterlogging by allowing excess water to drain away from the roots.
Both raised beds and in-ground plots require consistent watering, but the frequency and method may differ. Raised beds tend to dry out faster and may need more frequent watering, while in-ground plots generally retain moisture longer. Implementing a drip irrigation system can ensure even moisture distribution and reduce water waste for both methods. Regular weeding and nutrient management are essential for maintaining healthy plants. Mulching can help suppress weeds and retain soil moisture. Monitoring nutrient levels and adding organic fertilizers as needed will support robust growth and high yields. Pest control is also crucial; employing integrated pest management practices, such as using beneficial insects and organic pesticides, can protect your plants from harmful pests.
Choosing between raised beds and in-ground plots depends on your specific growing conditions, soil quality, and personal preferences. Raised beds offer controlled soil quality, improved drainage, and easier maintenance, making them ideal for areas with poor native soil or drainage issues. In-ground plots provide a natural growing environment with potentially larger cultivation areas and lower initial costs. By carefully preparing your site and maintaining it throughout the growing season, you can create an optimal environment that supports healthy cannabis plants and maximizes yields.
Pro Tip: Raised beds can split the difference: more root space than pots, better control than poor native soil, and easier drainage management.
Pest and Disease Management in Outdoor Cannabis Cultivation

Effective management of pests and diseases is crucial for maintaining the health and productivity of outdoor cannabis gardens. Given the variety of pests and pathogens that can affect cannabis, understanding how to identify and control these threats is key. Here we explore common outdoor pests that target cannabis, methods for treating these pests, and preventive measures to reduce the likelihood of infestations.
Check these areas once or twice a week:
- Undersides of leaves for mites, eggs, and small insects
- New growth for curling, spotting, or sticky residue
- Dense inner canopy for stale air and moisture
- Lower stems and soil surface for chewing damage or trails
- Flowers in late season for mold, rot, or dead patches
Common Outdoor Pests
Outdoor cannabis plants can be susceptible to several pests, which not only damage the plants but can also severely impact the quality and size of the harvest. Some of the most common pests include spider mites, aphids, and caterpillars.
| Pest | Early Sign | First Response |
|---|---|---|
| Spider mites | Fine speckling and webbing under leaves | Inspect undersides and act early |
| Aphids | Clusters, sticky residue, curled growth | Identify colonies and reduce spread |
| Caterpillars | Chewed leaves or bud damage | Inspect flowers and remove visible larvae |
| General pressure | Repeated leaf damage or stress | Improve scouting, airflow, and sanitation |
- Spider Mites: These tiny arachnids are less than 1mm in size and can be difficult to see with the naked eye. They typically live on the undersides of leaves and can cause significant damage by sucking the sap from the plant. This results in yellowing leaves, speckled foliage, and if untreated, can lead to plant death.
- Aphids: Small, soft-bodied insects that cluster on the stems and under the leaves, aphids excrete a sticky substance known as honeydew which can attract other pests and promote mold growth. They weaken the cannabis plant by sucking the sap, reducing its vigor.
- Caterpillars: These larvae of moths and butterflies can be particularly destructive as they feed on the leaves and buds of cannabis plants. They not only cause physical damage but can also lead to the development of mold in the buds.
?Grower Question“I only saw a few tiny dots under the leaves. Should I wait before doing anything?”
Question sent by: Michael Brooks, via email.
Do not ignore early signs. Small pest populations are much easier to manage than established colonies. Identify the pest, remove heavily affected material if needed, and improve airflow and inspection frequency.
Important: Pest management is a routine, not a rescue mission. Small weekly inspections prevent many late, expensive interventions.
Identifying and Treating Pests
Effective pest management starts with regular monitoring. Inspecting your plants frequently helps catch infestations early before they become severe. When pests are identified, several treatment options can be considered:
Treating without identification can backfire
Different pests require different responses. Spraying blindly can stress the plant, miss eggs, harm beneficial insects, or leave the real issue untouched.
Tip: Look under leaves, along stems, and inside dense growth. Many outdoor pests hide where casual top-down checks miss them.
- Physical Removal: For low levels of infestation, physically removing pests such as caterpillars can be effective.
- Organic Insecticides: Products like neem oil, insecticidal soaps, and horticultural oils are effective against a broad range of pests and are safe for use on cannabis as they leave minimal residue and are less harmful to beneficial insects.
- Biological Controls: Introducing natural predators of these pests, such as ladybugs for aphids and predatory mites for spider mites, can help manage and reduce pest populations.
Advice: Identify before treating. The wrong treatment can waste time, stress the plant, and leave the original pest problem untouched.
Preventive Measures

Prevention is always better than cure when it comes to pest management. Several strategies can help minimize the risk of pest infestations:
Scout early and keep the area clean
Remove dead plant matter, improve spacing, and inspect before populations explode.
Wait for visible damage everywhere
By the time damage is obvious across the canopy, the pest population may already be established.
- Companion Planting: Growing certain plants alongside cannabis can help repel pests. For example, marigolds deter aphids and other insects with their strong scent, while basil can help repel thrips and flies.
- Beneficial Insects: Encouraging or introducing beneficial insects that prey on common pests can help keep the pest population under control. Ladybugs, lacewings, and predatory mites are excellent allies in managing aphids, mites, and other pests.
- Sanitation: Keeping the growing area clean and free of debris can reduce hiding spots for pests and decrease the likelihood of infestation. Removing any weak or dead plants promptly can also help prevent pests from being attracted to the area.
Managing pests and diseases requires vigilance and proactive strategies. By understanding the common pests that affect cannabis and implementing both reactive treatments and preventive measures, growers can protect their plants from significant harm. Regular monitoring, timely intervention, and organic and biological control methods help maintain healthy plants and ensure a cleaner, more sustainable cultivation practice.
Pro Tip: Prevention is mostly environment: airflow, cleanliness, spacing, healthy soil, and early scouting.
Common Diseases
While pests can pose significant risks to cannabis plants, diseases are equally capable of disrupting a crop. Common diseases like powdery mildew, root rot, and bud rot can devastate outdoor cannabis plants if not promptly identified and managed. Understanding these diseases, their symptoms, treatment options, and prevention strategies is essential for maintaining a healthy cannabis garden.
| Disease Risk | Common Trigger | Prevention Focus |
|---|---|---|
| Powdery mildew | Humidity and poor airflow | Spacing, airflow, dry leaves |
| Bud rot | Dense flowers plus trapped moisture | Dry canopy, inspect inner buds |
| Root problems | Waterlogged soil | Drainage and oxygen in root zone |
| Leaf spots | Wet foliage and plant debris | Sanitation and early removal |
Powdery Mildew
This fungal disease is easily recognizable by its telltale white, powdery spots that appear on leaves and stems of plants. It thrives in warm, humid conditions, especially when the days are warm and the nights are cool. If you don’t treat it, powdery mildew can quickly spread and reduce the plant’s photosynthetic ability, weakening the plant overall.
Treating Powdery Mildew: At the first sign of powdery mildew, remove affected leaves and apply a fungicide approved for use on cannabis. Organic options like neem oil or a solution of baking soda and water can also be effective.
Root Rot
Often a result of overwatering or poor drainage, root rot affects the root system of cannabis plants, leading to brown, mushy roots that cannot effectively absorb nutrients or water. Symptoms include yellowing leaves, stunted growth, and a general decline in plant vigor. Root rot can be fatal if not addressed, as it compromises the plant’s foundation.
Treating Root Rot: Improve drainage in your pots or beds immediately. Consider transplanting affected plants into fresh, well-draining soil and adjusting your watering schedule to allow the soil to dry out between waterings.
“Why did my outdoor buds look fine outside but smell musty inside?”
Question sent by: Caleb Anderson, via Facebook page.
Dense flowers can trap moisture internally. The outside may look healthy while the inner bud stays damp. Late-flower airflow, careful spacing, and checking inside thick buds help catch problems earlier.
Bud Rot
Also known as botrytis, bud rot is a serious fungal infection that attacks the cannabis buds in humid conditions. It typically appears as a gray or white mold on the buds and can cause significant crop loss if the infected parts are not removed and environmental conditions are not adjusted.
Managing Bud Rot: Remove and destroy all affected buds to prevent the spread of the mold. Improve air circulation around the plants and reduce humidity levels if possible.
Prevention Strategies

The best approach to disease management is prevention. By creating an environment that discourages the development of diseases, you can safeguard your cannabis plants against significant losses.
Airflow is prevention, not decoration
Outdoor growers often focus on sprays, but spacing and airflow do more quiet work than almost anything else. A plant that dries evenly after dew or rain usually has fewer disease problems.
Important: Outdoor disease risk rises when humidity, dense foliage, and poor airflow overlap. Prevention becomes critical as flowers thicken.
Proper Spacing: Ensure that your cannabis plants have sufficient space between them. This spacing helps promote good air circulation, vital for keeping the foliage dry and reducing the risk of fungal diseases.
Enhancing Air Circulation: Alongside proper spacing, using fans or enhancing natural airflow can help maintain an environment less conducive to mold and mildew growth.
Environmental Control: Regularly check and adjust your growing area’s humidity and temperature levels. Use dehumidifiers if necessary, especially in regions with high humidity to keep the air around your plants dry.
Integrating these disease identification and prevention strategies into your regular garden management practices can effectively reduce the risk of disease and ensure that your outdoor cannabis plants remain healthy and productive throughout the growing season.
Tip: Prune for airflow carefully and gradually. Removing too much at once can stress the plant, but leaving a dense interior can invite disease.
Organic and Chemical Treatments

Outdoor cannabis growers effectively protect from pests and diseases by using a blend of organic remedies and, If necessary chemical treatments. Understanding when and how to use these treatments can help ensure that they are effective and safe for the plants, the environment, and consumers.
Chemical products need strict label discipline
Follow the product label, local rules, plant stage guidance, and pre-harvest restrictions. If you cannot verify safe use, do not apply it.
Organic Treatments

Organic treatments are preferred by many growers due to their lower environmental impact and their safety for both the plant and the end consumer. Here are some commonly used organic options:
Important: Chemical treatments require strict label compliance and legal awareness. Never treat buds casually, especially close to harvest.
“Can I spray an organic treatment whenever I see bugs?”
Question sent by: Samantha Reed, via email.
Use restraint. Organic does not mean risk-free. Identify the pest, check the plant stage, avoid spraying flowers, and apply during cooler parts of the day if the product label allows it.
Remember: Treatment choice should consider plant stage, pest pressure, weather, and harvest timing. What is acceptable in veg may be risky near harvest.
Neem Oil: Derived from the seeds of the neem tree, neem oil is a versatile organic treatment that works as an insecticide, fungicide, and miticide. It is effective against a wide range of pests including aphids, mites, and whiteflies, and diseases like powdery mildew. Neem oil works by disrupting the life cycle of pests, preventing them from maturing and reproducing. It should be applied in the evening or early morning to avoid burning the leaves under the hot sun.
Insecticidal Soap: Made from potassium fatty acids, insecticidal soap can be used to control soft-bodied insects like aphids, spider mites, and whiteflies. It works by breaking down the insect's outer layer, causing dehydration and death. Insecticidal soap is best applied directly to pests and should be re-applied every few days until the pest problem is under control. It is most effective when pests first appear and are in smaller numbers.
Other Organic Options: Other organic treatments include horticultural oils to smother pests, and garlic or chili pepper sprays as natural repellents. These solutions are generally safe to use and do not leave harmful residues on the plants.
Advice: Even organic treatments should be used carefully. Read labels, test small areas, and avoid spraying under intense sun.
Chemical Treatments
While organic treatments are effective for many pests and diseases, severe infestations might require chemical treatments. Chemical pesticides and fungicides can offer a more potent solution but should be used with caution to minimize risks to health and the environment.
When to Use Chemical Treatments?

Chemical treatments should be considered when organic methods have been tried and have not controlled the pest or disease adequately. They should be used as a last resort due to their potential impact on beneficial insects, the surrounding ecosystem, and the end product.
Pro Tip: Escalate only when identification, timing, and risk justify it. Many outdoor problems can be reduced earlier with environment and sanitation.
How to Use Chemical Treatments Safely:
Read Labels Carefully: Always read and follow the instructions on the label. This includes dosage, application methods, and safety precautions.
Targeted Application: Apply chemicals only to affected areas rather than blanket spraying the entire garden. This approach helps minimize the amount of chemical used and reduces exposure to non-target plants and insects.
Timing: Apply chemical treatments during times when beneficial insects are less active, typically in the early morning or late evening. Avoid spraying on windy days to prevent drift to non-target areas.
Protective Gear: Always wear appropriate protective gear such as gloves, goggles, and masks when handling and applying chemical treatments to protect your health.
Rotation: Use different classes of chemicals alternately to prevent pests from developing resistance.
Important Warning: Avoid Applying Sprays and Solids to Buds
Avoid applying sprays or solids directly to buds
Flowers can hold residues and moisture. This can affect flavor, cleanliness, mold risk, and final quality, especially close to harvest.
Important: Buds are not leaves. Anything applied to flowers can affect cleanliness, quality, flavor, and user safety.

When managing pests and diseases in cannabis cultivation, it's crucial to exercise caution with the application of any treatments, particularly when it involves the buds. Whether using organic or chemical products, it is strongly advised never to apply sprays, solids, or any treatment directly to the buds of your cannabis plants.
Reasons to Avoid Treatment Application on Buds
Health Concerns: Both organic and chemical treatments may contain elements that are safe for use on foliage but potentially harmful if inhaled or ingested in concentrated forms on buds. This poses significant health risks when cannabis is consumed whether smoked, vaporized, or used in edibles.
Contamination Risk: Applying any substance directly to the buds can lead to contamination of the final product. This is particularly concerning for medical cannabis users or those sensitive to chemical residues.
Impact on Quality: Treatments applied directly to the buds can adversely affect the taste, aroma, and overall quality of the cannabis. Residues from sprays or solids can alter the natural characteristics of the buds, resulting in a less desirable end product.
Safe Practices for Pest and Disease Management

Ensure the health and safety of both the plant and the grower, follow these guidelines:
“What is the safest habit I can build for outdoor pest control?”
Question sent by: Connor Hayes, via Facebook page.
Consistent scouting. A few calm minutes inspecting leaves, stems, soil, and flowers every week is safer than waiting for a crisis and reaching for a strong treatment late in flower.
Apply Treatments to Foliage Only: Focus any pest or disease treatment applications on the leaves and stems of the plant, avoiding the flowers or buds. This approach helps manage the infestation without risking contamination of the parts used for consumption.
Timing of Application: If sprays or treatments are necessary, apply them during the vegetative stage before the plants begin flowering. Once flowering starts, minimize any spray applications and switch to other methods of pest and disease control.
Enhance Natural Plant Defenses: Focus on boosting the natural resilience of the cannabis plants against pests and diseases. This can be achieved through optimal nutritional balance and regular care routines. Ensuring your plants receive the right amounts of nutrients, water, and sunlight not only promotes robust growth but also enhances the plants' inherent defenses. Healthier plants are naturally more resistant to pests and diseases. For example, proper calcium levels can help strengthen plant cell walls, making it harder for pests to cause damage.
Master Advice: The cleanest pest strategy is built before flower: strong plants, open structure, early scouting, and quick removal of problem material.