
My First Grow In Soil: A Balcony Journal
I began as an amateur with more questions than tools. Four pots on a sunny balcony. Regular seeds. Ready-made potting soil from the local florist. No pH kit. Dechlorinated tap water left out overnight. A small bottle of general-purpose garden fertilizer from the same shop. That was the entire plan. By week five, three plants were male and got removed. One female remained and carried the whole season. Here is exactly how that run went, what I sensed and did, the mistakes I made, and how I would set you up if you are starting today.
What I Actually Bought On Day One
Amateur kit, nothing fancy.
-
Four plastic pots about 10 to 15 liters, plus saucers
-
Ready-made potting soil from a florist
-
A small bag of perlite to lighten the mix
-
General-purpose garden fertilizer for houseplants
-
A simple watering can and a measuring cup
-
Labels and a marker
No pH kit. No meters. No special nutrient line. I used dechlorinated tap water by filling a bucket and letting it sit 24 hours before use. If you are starting from zero, this level of simplicity is fine for a first run in soil.
The First Decision That Shapes Your Season
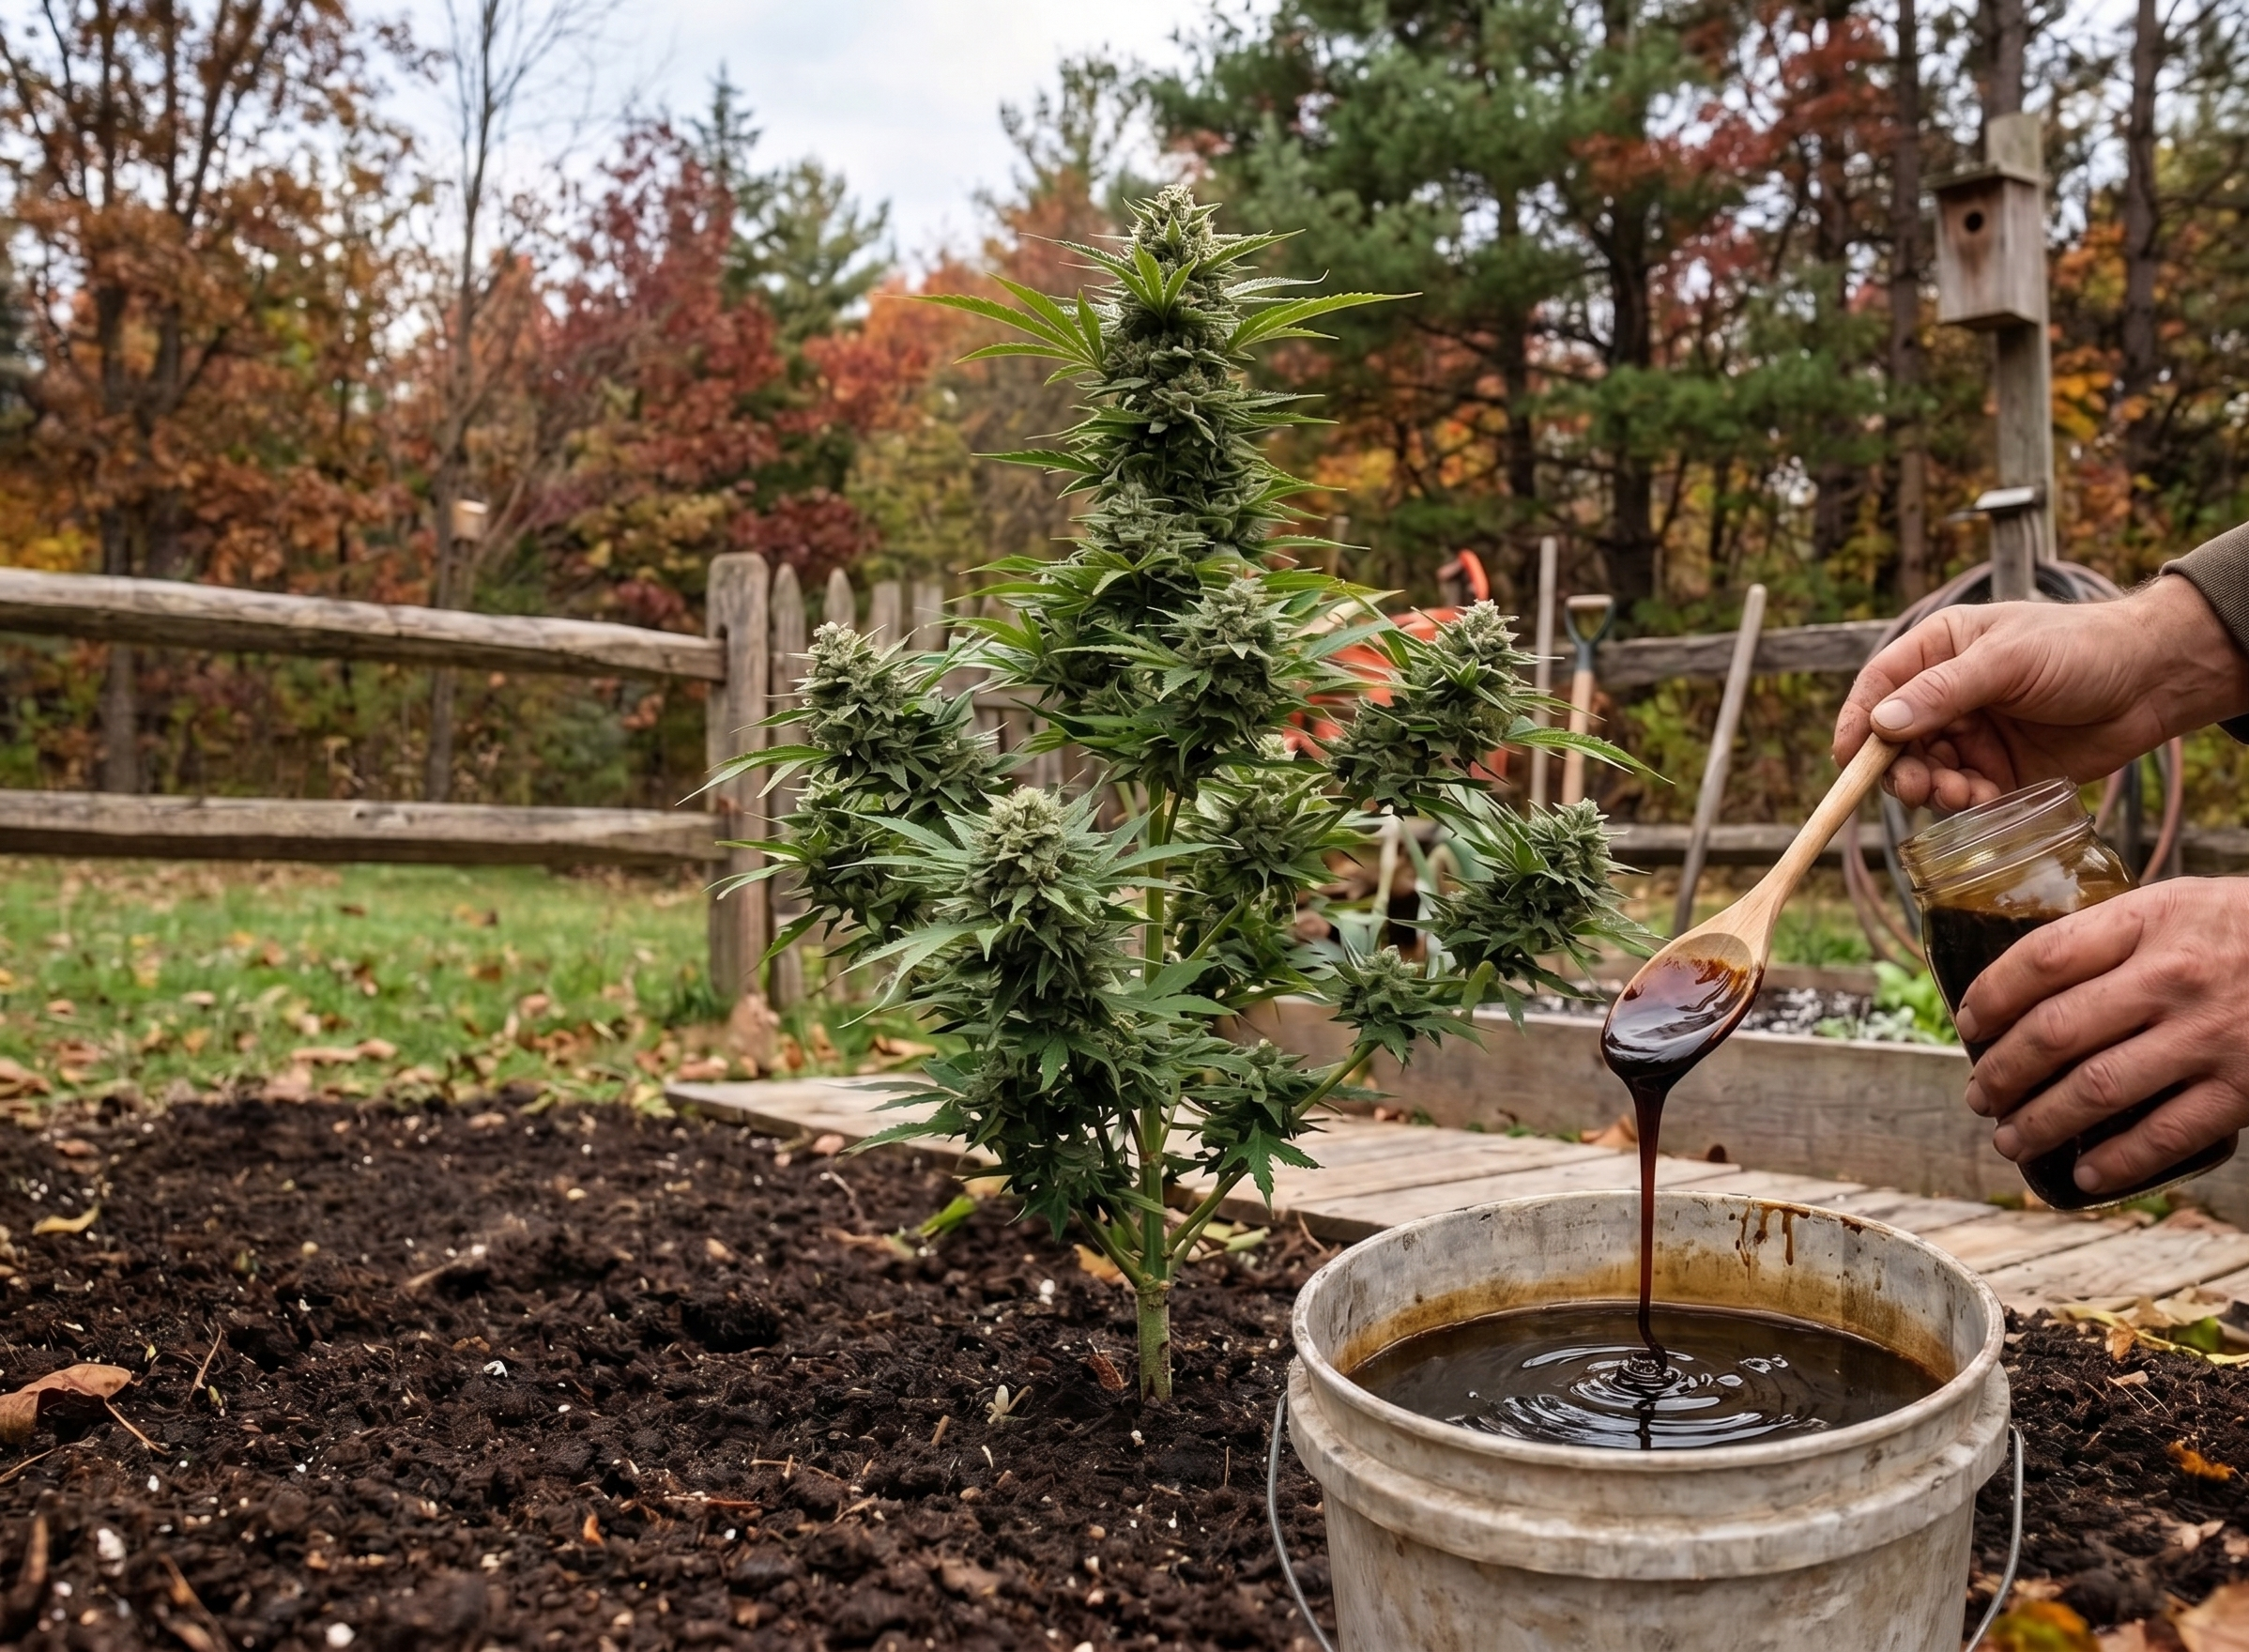
Choose outdoor if it is legal, you have at least 6 to 8 hours of direct sun, and your budget is tight. Outdoor costs less and the sun is free. Expect one main harvest each year. Weather can help you or hurt you.
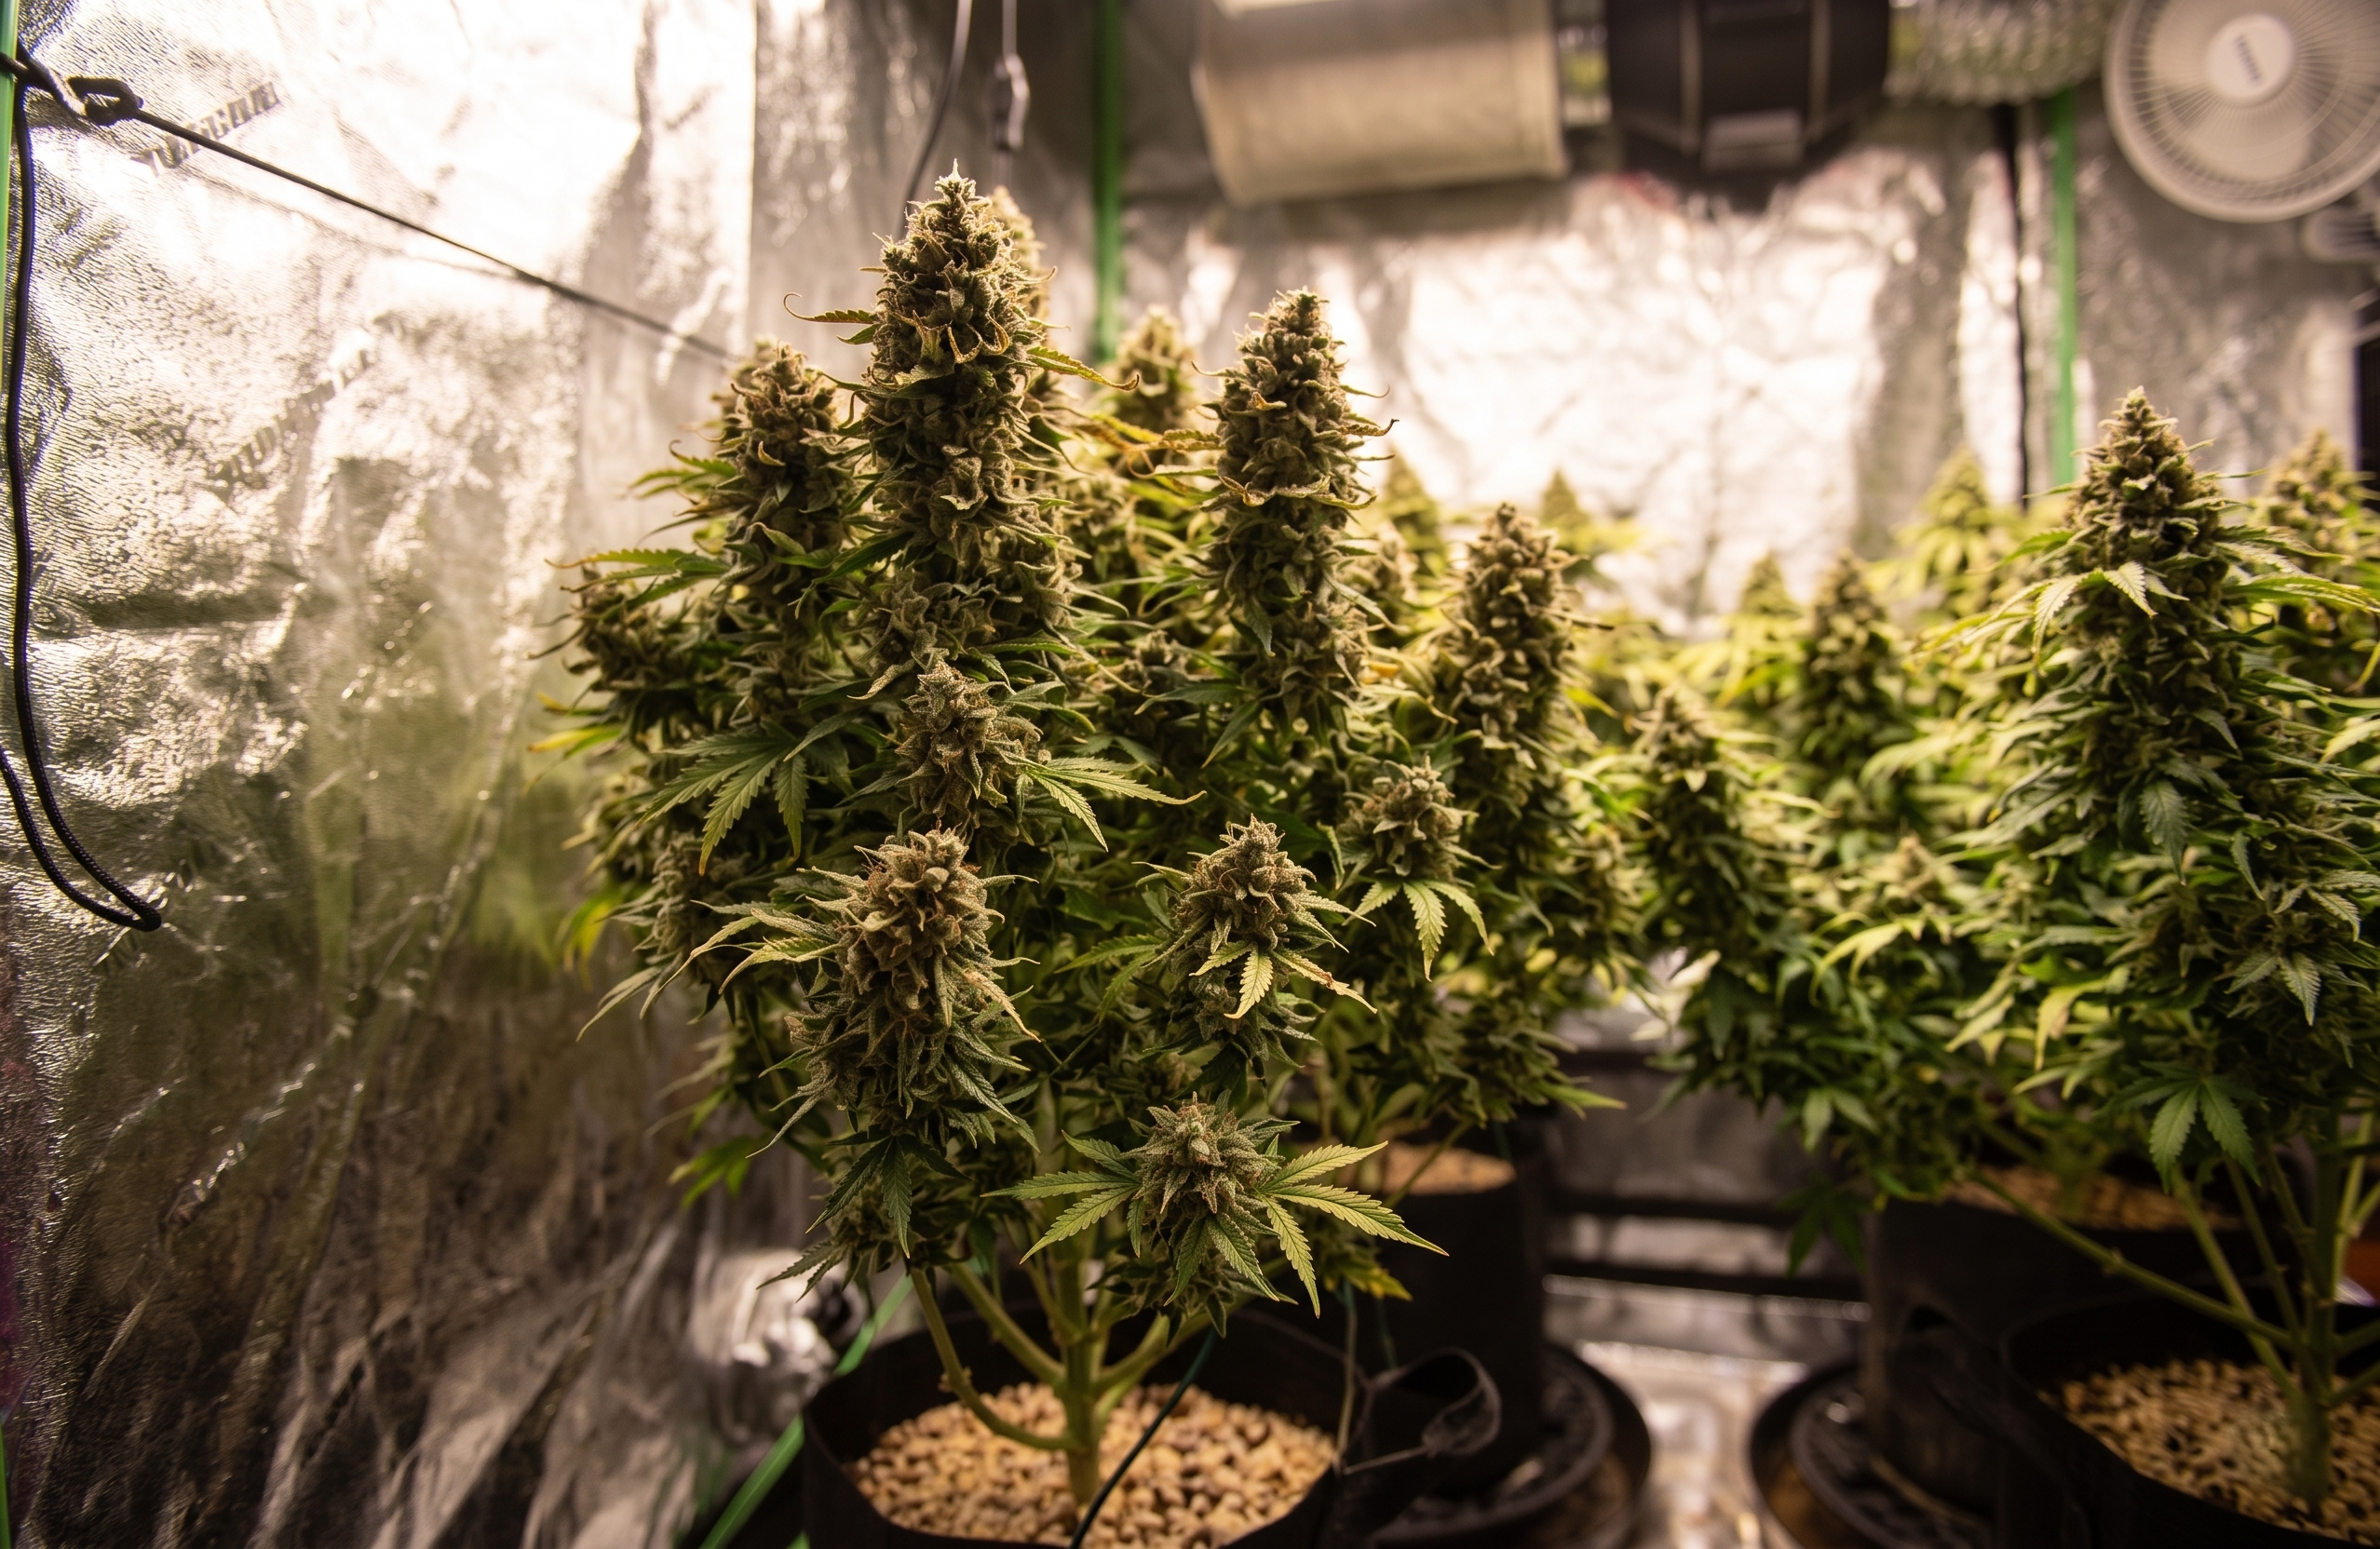
Choose indoor if outdoor is not possible or privacy is a concern. Indoors you control everything. You can harvest 3 to 4 times a year in a small tent. The tradeoffs are electricity, gear, and housekeeping. You must manage temperature, humidity, airflow, and light distance.
If you cannot decide, start indoors with one small plant for control, then add a balcony or patio container when the season warms up. Learning both rhythms is ideal.
Week 0 to Week 1: Sprout And Settle
I planted each seed into a small nursery pot filled with light soil mixed with perlite. Warm room, steady light from a window, no feeding. When the first five-bladed leaves arrived, I did what every beginner does. I touched a leaflet gently with the back of my fingers. It felt cool and slightly waxy. That small moment made me slow down and treat the plant like a living system, not a set of tasks.
Watering rule from day one
I watered only when the top 2 to 3 centimeters of soil were dry and the pot felt light. This “lift test” saved me from the most common beginner mistake. The first time I ignored it and watered by calendar, the plant sagged. I waited for a full dry-back and it recovered the next day.
Weeks 2 to 3: Early Vegetative Growth
Sun in the morning, bright shade by afternoon. I rotated the pots a quarter turn every few days to strengthen stems. Still no feeding. The ready soil carried the plant through the first steps. If you see pale new growth in this window, add a light dose of general-purpose fertilizer. Go easy. Soil is forgiving, but heavy hands are not.
Week 4 to Week 5: Sexing, Transplant, And One Keeper
Preflowers appeared at the nodes. Three plants showed smooth, ball-like structures. One showed a tiny V of white hairs. I cut the males at the base and removed them from the balcony. The remaining plant became the project.
I transplanted her into a final container before the roots circled hard. Fresh soil with a little extra perlite. I topdressed a thin ring of compost only because I had some on hand. I placed a light layer of mulch to reduce evaporation and keep the root zone steady. From that day the watering interval stretched out and the plant looked calmer between drinks.
The Topping I Was Afraid To Do
I knew what topping was. I still hesitated. I left the main shoot intact and the plant formed a classic cone, like a small evergreen. It was beautiful and it worked, but I missed the benefits of an even canopy. If you are a beginner and feel unsure, topping once is simpler than you think and I encourage you to do it.
How to top once, cleanly
-
Wait until the plant has 4 to 6 nodes.
-
Sterilize small scissors.
-
Cut just above node 4 or 5, removing the soft tip.
-
The two shoots at that node become your new leaders.
-
Add two soft tie-downs to open the center slightly.
-
Return to a steady watering rhythm and normal light.
One early top creates a wider, flatter canopy that uses space and light better. If I could replay this season, I would top above node 4 and add two ties. Then I would stop touching structure until pre-flower.
Late Veg: The Plant Teaches The Pace
I began feeding with a small dose of general-purpose fertilizer every 7 to 10 days, always after watering first. The color deepened without tip burn. I kept soil moisture in the middle, never soggy, never bone dry for long. The scent in veg was “green and vine-like,” similar to tomato foliage with a hint of resin when I rubbed a petiole between my fingers.
Small adjustments that helped
-
Rotate the pot for even stems
-
Keep leaves moving with natural breeze only
-
Water to slight runoff, then wait for a clear dry-back
Pre-Flower: Support And Balance
I added a bamboo stake and two soft ties before the plant needed them. If I saw a few aphids, I rinsed leaves gently at dusk and checked again at dawn. Early attention kept problems small. Right before flowers set, I shifted feeding. Less nitrogen, a touch more phosphorus and potassium. Still modest doses. Soil makes small adjustments go a long way.
Flowering: What I Saw And Did
Weeks 1 to 2
White pistils formed at the nodes and tips. The scent shifted from green to fresh resin. When I brought the plant indoors at night, I raised the light a few centimeters and kept fans indirect to avoid drying the flower surface.
Weeks 3 to 5
Budlets stacked along the main cola and side branches. I had a quiet ritual. Each day I cupped a lower bud gently to feel the change in weight without squeezing. If I saw leaf edges canoe, I backed off intensity or increased distance. Late in this window I lowered humidity by improving air movement around, not on, the plant.
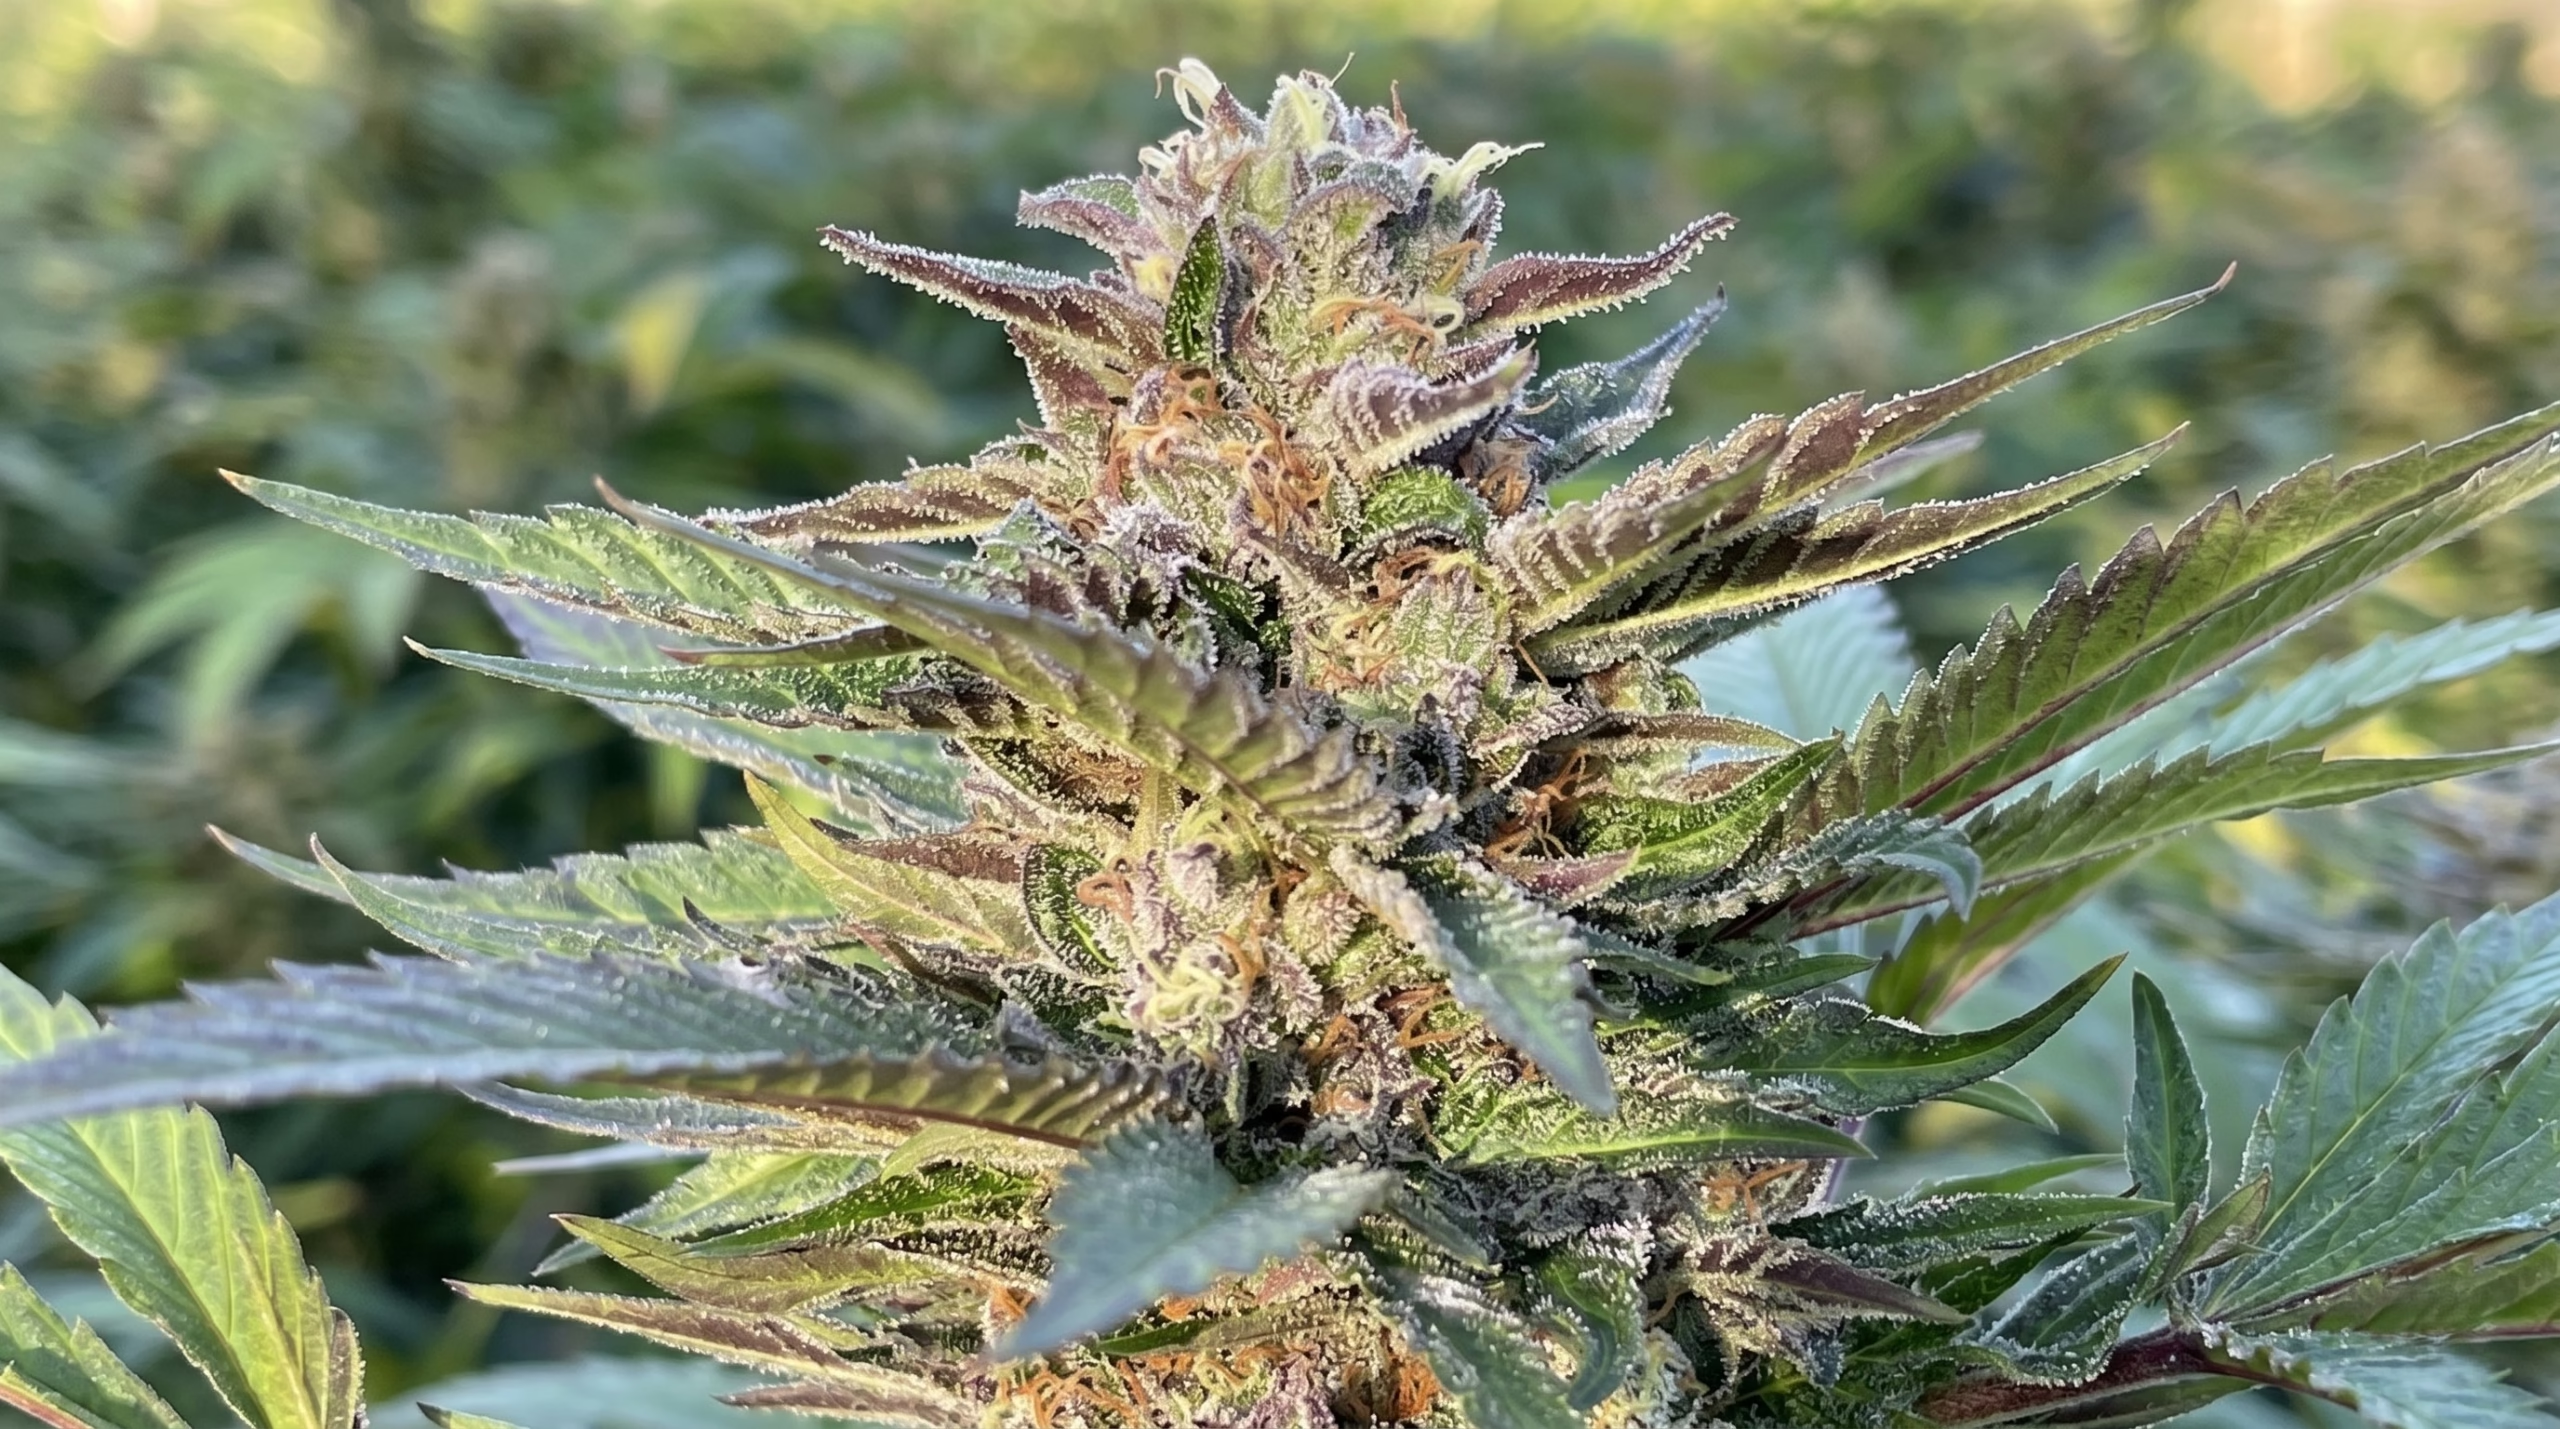
Weeks 6 to finish
Aroma deepened and sweetened. I watched pistils, but I did not harvest by pistils alone. I used a simple loupe to read trichomes. Clear looked glassy. Cloudy looked opaque. Amber appeared in small patches. I cut at mostly cloudy with a little amber. On this line, that balance tasted clean and full.
Harvest Day: Hands, Scissors, Resin
I harvested on a cool, dry afternoon. I cut the plant in sections so I could handle each part gently. I removed fan leaves first, then only the sugar leaves that stuck far past the bud edges. Resin on my fingertips felt tacky and thick. The smell was wood-sweet and sticky and it did not leave easily. Trim time is easier if you set up a clean table, a bin for leaves, a rag, and a place to wash up before you begin.
Dry And Cure: Where Quality Is Won
I hung branches upside down in a dark closet with gentle air moving in the room, never directly on the flowers. Cool and steady is the goal. After 6 to 10 days, small stems started to snap rather than bend. I moved buds to clean jars, filled them about three quarters, and opened them daily for the first week. The sharp edge dropped away and the aroma opened. By the end of week two the flavor matched the scent of harvest day, only clearer and smoother.
Two simple improvements I recommend
-
Place a tiny hygrometer in at least one jar so you are not guessing
-
Keep the dry space clean and dark to protect aroma
Daily And Weekly Rhythm You Can Copy
Every day, 10 minutes
-
Touch the top soil layer for dryness
-
Lift the pot for weight
-
Read new growth for color and posture
-
Check leaf undersides for pests
-
Adjust light distance a little if needed
Every week, 30 to 45 minutes
-
Lightly topdress castings in veg
-
Clean your fans and any filters
-
Wipe surfaces and tools
-
Check soil pH once in veg and once early in flower if you have a kit
-
Reset soft ties as stems thicken
Mistakes I Made And The Fixes
-
Overwatering. I watered by calendar. The fix was the lift test and waiting for a visible dry-back before watering.
-
Topping fear. I skipped topping and lost canopy efficiency. The fix is a single top above node 4 or 5 and two soft tie-downs.
-
Transplant timing. I waited until roots circled once. The fix is transplanting when the root ball holds together but has not hard-circled.
-
pH drift. Early yellowing was not a “deficiency.” It was pH. The fix is to keep soil near 6.0 to 7.0 and test before adding more feed.
-
Harvest by pistils. I almost cut too early. The fix is to verify with trichomes and use pistils as a supporting clue.
Indoor Or Outdoor For A First Run
Outdoor makes sense if the law allows it, your site has strong sun, and the budget is tight. One big seasonal harvest is likely. Weather and visibility are the main risks. Use mulch, early staking, and a simple cover for long rain spells. Choose compact cultivars if privacy matters.
Indoor makes sense if you need privacy, want multiple harvests per year, or live in a harsh climate. You will clean more and watch humidity and temperature closely. Protect the dark period for photoperiod plants. Plan odor control if needed. Indoors is more work, but it is steady and teachable.
What I Should Have Bought After That First Season
Here is the grown-up version of the shopping list. Still brand-neutral.
Core for any grow
-
Final pots: 10 to 15 liters indoor, 20 to 40 liters outdoor
-
Quality potting soil plus 20 to 30 percent perlite
-
Compost and worm castings for gentle topdressing
-
A simple calcium and magnesium source if your water is soft
-
Modest bloom support for flower
-
Soil pH test kit or meter, aim for 6.0 to 7.0
-
Hand lens or loupe for trichomes
-
Clean scissors, isopropyl alcohol, paper towels
-
Labels, soft ties, a small stake or light trellis
If growing indoors add
-
LED sized to the space
-
Timer
-
Exhaust fan and carbon filter if odor matters
-
One clip fan for gentle leaf movement
-
Thermometer and hygrometer
Nice-to-have upgrades later
-
Fabric pots for better root aeration
-
A simple moisture meter as a second opinion to the lift test
-
A small dehumidifier for late flower indoors
-
Extra sticky cards for early pest signals
A Simple Plan You Can Follow Right Now
-
Choose feminized seeds or compact autos.
-
Mix ready-made potting soil with perlite. Fill final pots.
-
Germinate and plant into small starters. Keep warm and lightly moist.
-
Water by feel. Top 2 to 3 centimeters dry and pot feels light, then water.
-
Top once above node 4 or 5. Add two soft ties to open the middle.
-
Feed lightly. In veg provide gentle nitrogen. In flower nudge toward phosphorus and potassium.
-
Keep soil pH near 6.0 to 7.0 if you have a kit. If not, watch new growth and water rhythm.
-
Use a loupe. Harvest at mostly cloudy trichomes with a little amber.
-
Dry cool and dark with gentle air. Cure in jars for 2 to 4 weeks.
Closing Notes From A First Season That Worked
Starting with a basic florist soil, dechlorinated water, and a single bottle of general fertilizer was not glamorous, but it was enough. Soil forgave my early mistakes. The plant met me halfway. If you copy the steady parts of this journal and add one early top with two soft ties, your first run will feel less like guesswork and more like a process. When you open your first jar and the room fills with what you grew, you will know exactly where that quality came from. Consistent basics, small corrections at the right time, and a plant that was ready to grow as soon as you let it.
Share this article
A quick overview of the topics covered in this article.
Follow us
Latest articles
June 24, 2026

June 24, 2026

June 24, 2026
June 24, 2026