
My First Cannabis Strain In Soil A Balcony Journal
I still remember the four pots lined up along my small balcony, all in soil, all labeled with a marker that would soon smear with condensation. Four different strains, four different promises. By week five, three of those promises had turned into pollen sacs. I had one confirmed female left. That is how my first grow really began.
Below is the whole story of that first strain, exactly as I ran it: no brand names, just soil, basic tools, and a beginner’s caution that eventually turned into confidence. I will weave in the simple science where it clarifies a choice, and keep the rest anchored in sensory details from the grow itself.
Setting The Stage
Space and plan.
My balcony faced east–south. It caught strong morning sun and softer mid-day light, then a bit of building shade around late afternoon. I set four ten-to-fifteen-liter containers in a row so each plant had airflow and a clear footprint. I used a loose potting soil amended for drainage and air. For cannabis in soil, keeping pH around 6.0 to 7.0 helps nutrients stay available and prevents a lot of early “mystery issues” you see on leaves. That range is also what agronomy guidance for hemp recommends for loamy, well-drained soils.
Seeds and the early gender surprise.
I started four different regular seeds because that is what I had. By the end of week five, I saw what I did not want to see at the nodes on three plants: smooth, egg-like balls forming. They were males. On the remaining plant I saw a pair of white hairs forming a tiny V at the node. That was my keeper. Timelines like this are normal. Male preflowers typically show a little earlier than female preflowers, often around week three to four for males and week four to six for females, and once males start, you remove them quickly if bud is the goal.
I cut the males at the base and cleared them from the balcony. I learned later that extension bulletins even show bag-and-remove examples to prevent any stray pollen from riding the wind. If your aim is unfertilized flowers, removal is standard practice.
The First Weeks: Sight, Touch, Sound
Germination and seedlings.
I planted directly into small nursery pots filled with airy soil. I kept temperatures near 22 to 25 °C and avoided feeding. Seedlings arrive with their own reserves; the soil takes care of the rest at this stage.
Five-finger moment.
By the time the first classic five-bladed leaves unfurled, I could not help it. I touched the surface lightly with the back of my fingers. It was cool and faintly waxy, stronger in the midrib, delicate at the tips. Those early leaves are a good reminder to keep hands clean and pressure gentle. I kept the light natural and strong, and rotated the pot a quarter turn each day so the stem thickened evenly.
Watering rhythm.
I watered only when the top two to three centimeters were dry and the pot felt light in my hands. Overwatering is the first trap many beginners find. Droopy, heavy leaves and slow growth soon follow. Waiting for that light pot and visible surface dry-back kept roots aerated and happy.
Vegetative Stage: The “Christmas Tree” I Did Not Top
I will say it plainly. I did not top. I did not do LST. I was worried I would snap something or stress the plant at the wrong time. I let the main shoot run, and the plant responded with a strong, conical structure. It looked like a miniature evergreen by week four of veg, one clear leader and symmetrical side branches. That shape is what you get when you avoid early training on certain indica-leaning lines.
General-purpose feeding.
I used a basic, general-purpose garden fertilizer from a local florist during veg, diluted conservatively. The soil was doing most of the work. In veg the plant simply needs steady nitrogen with balanced support, then a shift toward phosphorus and potassium as flowering approaches. Extension resources for hemp echo the same fundamentals for pH, drainage, and macro needs, even though their tables speak in field rates rather than balcony spoons.
Smell, sound, and sight.
By late veg the smell was green and clean, like tomato vines and crushed pine needles, not yet floral. The sound of the balcony was constant ventilation in the city, but closer in I heard a soft rasp any time a new leaf brushed the bamboo support in a breeze. Under morning sun, the top leaves had a faint sheen. In shade, the leaf surface looked matte and darker.
Container and roots.
I bumped the plant from the small starter to its final container once the root ball held together but before it circled hard. Bigger, well-aerated root volume meant more water-buffer and a stronger engine for what was coming. Root space and drainage matter as much as anything else early on.
Pre-Flower: Adjustments Without Stress
I gave the plant a thin topdress of compost and worm castings, then mulched to keep moisture even. If pests appeared, my plan was to start with gentle leaf washes and observation. On a balcony, “beneficials” often arrive on their own, and early intervention is the difference between a leaf rinse and a problem.
The plant’s stance changed in this window. The side branches reached and the spacing between nodes lengthened slightly. The color held a deep, healthy green without gloss. I let it keep that single leader. If you are training-shy on a first run, a single top plus soft ties at this stage is enough to even the canopy. I chose to keep it simple and observe.
Flowering: Week By Week, Senses Turn Up
Week 1 to 2 of flower.
The first clusters at the nodes formed fast. Pistils were clean white and pointed outward in pairs. The smell shifted from green to a light, sweet resin note when I pressed a finger softly to a nearby sugar leaf. I always washed hands after, but I wanted to know how sticky the plant was becoming. I kept humidity lower in this stage to discourage mold later.
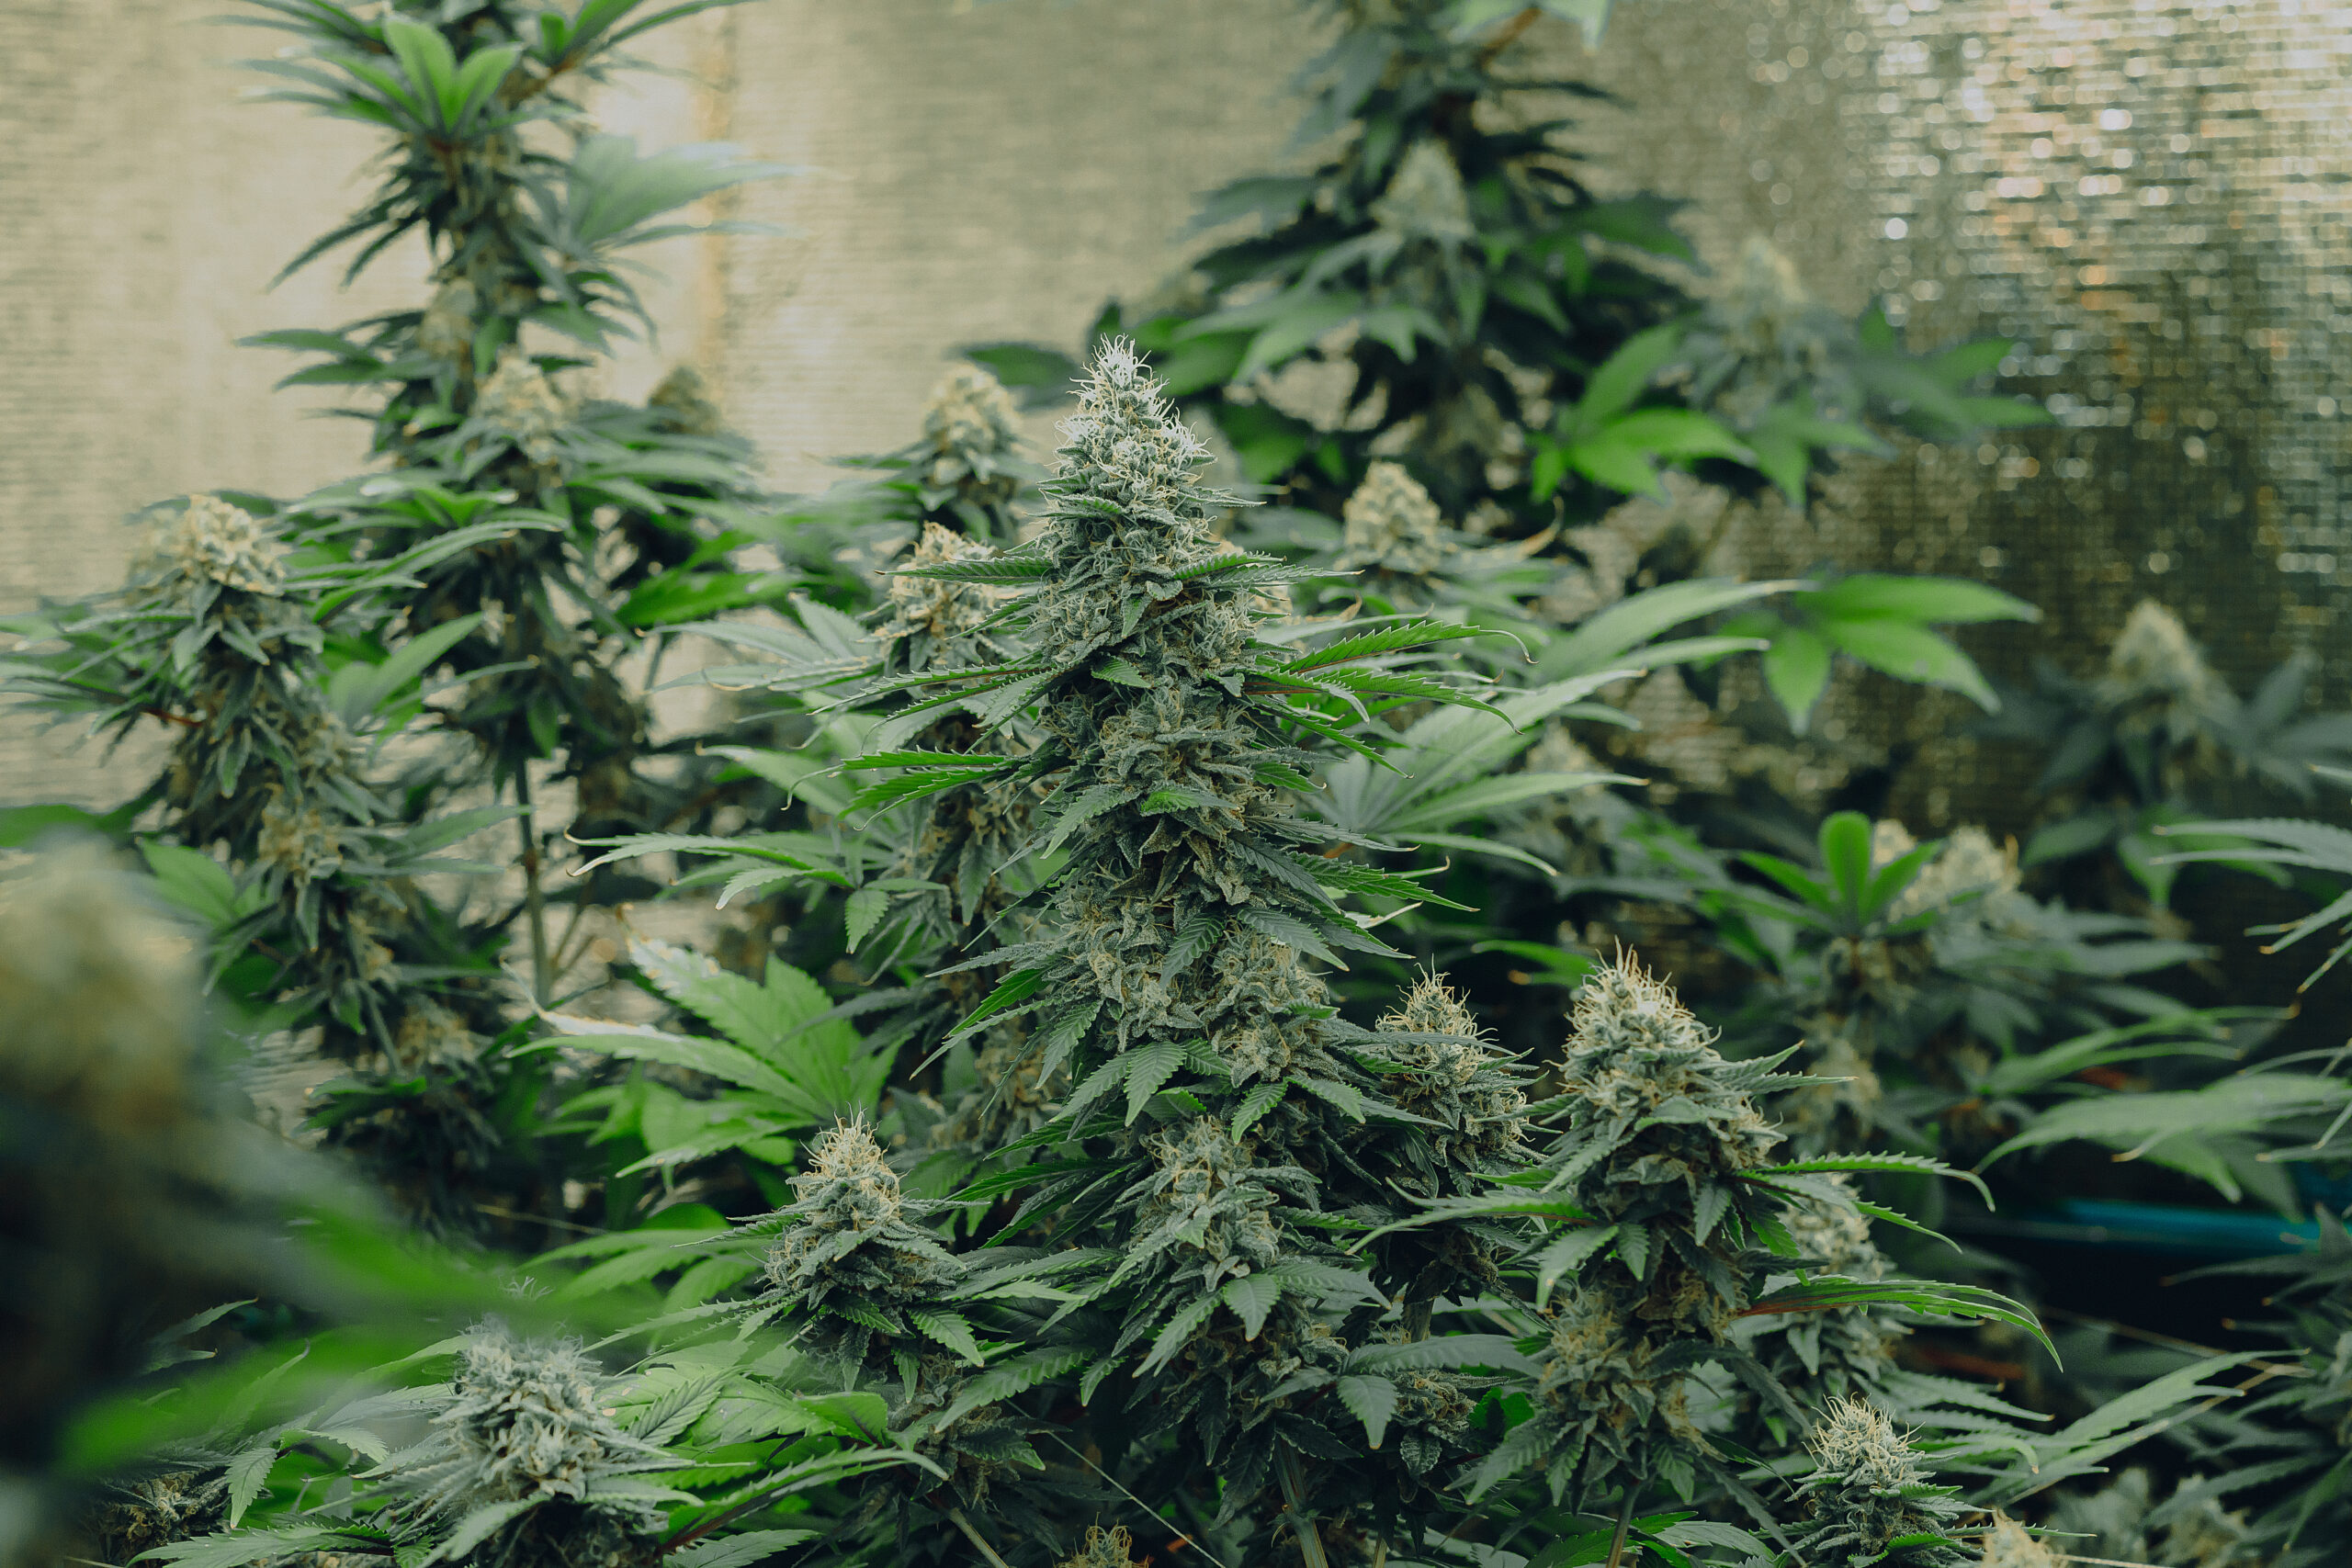
Week 3 to 5 of flower.
Budlets stacked along the main cola and side branches. Pistils multiplied. The perfume was no longer shy. Early morning it was citrus-pine and fresh resin. By evening, warmer and rounder. Each day I did the “no-harm weight test” by cupping a lower bud gently from below, not squeezing, just feeling the mass. It grew heavier in small steps. I watched the canopy every morning for leaf posture. If they prayed slightly, I held steady. If margins lifted or canoe-ed, I adjusted exposure.
What I used to decide harvest.
I watched pistils change color, but I did not use pistils alone. Trichomes are a better indicator for maturity, and extension guidance for hemp mirrors what experienced growers do with cannabis: clear trichomes are immature, opaque or milky signals peak maturity, and amber indicates further oxidation and a more sedative direction. I waited for mostly cloudy with just a sprinkle of amber, then planned harvest on a cool, dry day.
Harvest Day: Scissors, Resin, And A Familiar Smell
I cut the plant in sections so I could handle it gently. I trimmed fans first, then took off only the obvious sugar leaves that stuck far beyond the buds. I left the rest for after drying. The resin on my fingertips felt tacky and thick, with a wood-sweet smell that did not leave easily. To this day, that stickiness takes me straight back to this first plant.
I hung the branches upside down in my closet. It was dark, cool, with soft air movement. For quality, a slow dry is your friend. Many growers aim around the 60/60 idea, roughly 60 °F and 60 percent RH, and you will see multiple drying programs converge on similar ranges because heat and light degrade quality. Extension and post-harvest resources for hemp and herbs say the same thing in more general terms: slow, even moisture removal with gentle air and darkness protects volatile compounds. I did my best version of that in a small apartment and kept fans indirect, never blowing straight on the flowers.
The smell intensified each day. It started in the closet, then slipped under the door into the room. By day ten the small stems started to snap instead of bend. I moved to jars.
Curing: Patience That Pays You Back
I filled clean glass jars to about three-quarters so there was headspace, then opened them daily for the first week to let out moisture and bring in fresh air. The goal is steady, not wet, not bone dry. Many storage and curing guides target roughly the mid-50s to low-60s relative humidity inside the jar to keep enzymatic finishing going while avoiding mold. I aimed for that zone and paid attention to what the buds felt and smelled like when I opened each day. After two weeks the sharpness was gone and the aroma turned layered and clear. I slowed burping to every few days, then weekly.
When I finally ground a sample and drew the first smooth inhale, it tasted like the smell of my hands from harvest day, only cleaner. The smoke felt soft at the edges, not rough. That is the pay-off for drying cool and curing with intention.
Lessons The Plant Taught Me
Male plants happen.
With regular seeds, three males out of four is possible. Learn preflower signs, watch the nodes, and remove males promptly if your goal is unfertilized buds. Extension notes on hemp sex, pollen movement, and why growers remove males for unfertilized flowers make the reasoning clear.
Soil buffers, but pH still matters.
Keeping soil in the 6.0 to 7.0 window kept problems away. Every time I drifted outside that range in later grows, leaves told me quickly. The agronomy pages saying “well-drained loams, pH around neutral” are right for small container grows too.
Water by plant, not by calendar.
The lift test is simple and effective. Overwatering is a silent yield-killer and a common beginner mistake. Letting the top layer dry and the pot get light before watering again kept growth steady and roots clean.
Use trichomes to time the cut.
Pistils help, but I would not harvest by pistils alone. Cloudy trichomes with just a touch of amber gave me the best results on this line. That is consistent with extension and practical guides for hemp and cannabis flowers harvested for resin quality.
Dry slow, cure steady.
Cool, dark, breathable drying followed by a 2 to 4 week jar cure improved flavor and smoothness. Curing around roughly 55 to 65 percent RH inside the jar protected aroma and kept texture right for storage.
A Practical Summary If You Want To Recreate This
-
Four balcony containers in soil, spaced for airflow.
-
Confirm sex by week four to six. Remove males fast if bud is the goal.
-
Keep soil pH around 6.0 to 7.0 and the medium loose and well drained.
-
Water thoroughly, then let the top layer dry and the pot get light before watering again.
-
Feed lightly in veg with a balanced approach, then tilt toward P and K in flower, staying within soil’s comfort zone.
-
Watch trichomes near the end. Harvest at mostly cloudy, with a small amount of amber if you prefer that profile.
-
Dry cool and dark with gentle air, then cure in jars and keep RH in the safe mid-range for quality.
That was my first strain in soil, on a balcony, with one female carrying the entire season after three males bowed out. It taught me more than any forum thread ever could because the plant answered every question in real time, if I was willing to look, touch, and wait. If you are standing where I stood, one confirmed female in front of you after a run of male luck, you already have enough to get to jars. Keep it steady, work with the soil, watch the trichomes, and give the cure its days. The rest is the quiet satisfaction of opening a jar that smells like the story you just lived.
Share this article

Written by : alexbuck
A quick overview of the topics covered in this article.
- Setting The Stage
- The First Weeks: Sight, Touch, Sound
- Vegetative Stage: The “Christmas Tree” I Did Not Top
- Pre-Flower: Adjustments Without Stress
- Flowering: Week By Week, Senses Turn Up
- Harvest Day: Scissors, Resin, And A Familiar Smell
- Curing: Patience That Pays You Back
- Lessons The Plant Taught Me
- A Practical Summary If You Want To Recreate This
Follow us
Latest articles
March 25, 2026

March 25, 2026
March 25, 2026