How to Take a Soil Sample for Laboratory Testing
A laboratory soil test is only as representative as the soil you send. The laboratory may measure pH, nutrients, organic matter, soluble salts, soil-health indicators, texture, or contaminants with excellent analytical precision, but it is still testing a small amount of material taken from a much larger root zone. If that small amount came from the wrong depth, a freshly fertilized pocket, one wet corner, or several unlike areas mixed together, the report can be technically accurate and practically misleading.
For cannabis growers, the sampling method should not be invented around cannabis root depth or a preferred nutrient chart. It should follow the laboratory method and the question you are trying to answer. Routine garden fertility tests commonly use composite samples from the cultivated surface layer, often around 6 to 8 inches (15 to 20 cm) deep, but laboratories differ. Soil-health, nitrate, salinity, heavy-metal, bulk-density, and soilless-substrate tests can require different depths, amounts, storage conditions, or preparation.
The repeatable method is simple in principle: define one uniform sampling area, confirm the laboratory protocol, collect equal-depth subsamples across that area, mix them into one representative composite, reduce the composite to the laboratory-required amount, label it precisely, handle it as the test requires, and verify surprising results before making a major correction. This resource shows how to do each step without turning one handful of soil into a false picture of the whole garden.
Resource Navigation
In This Resource
- Start With the Test, Not the Shovel
- Define One Sampling Unit Before You Collect Soil
- Choose the Right Depth, Tools, and Timing
- Build a Representative Composite Sample Step by Step
- Adjust the Method for Native Soil, Beds, Pots, and Soilless Media
- Prepare, Label, Store, and Ship the Sample Correctly
- Recognize the Sampling Errors That Distort Laboratory Results
- Verify a Surprising Result Before You Rebuild the Root Zone
Start With the Test, Not the Shovel
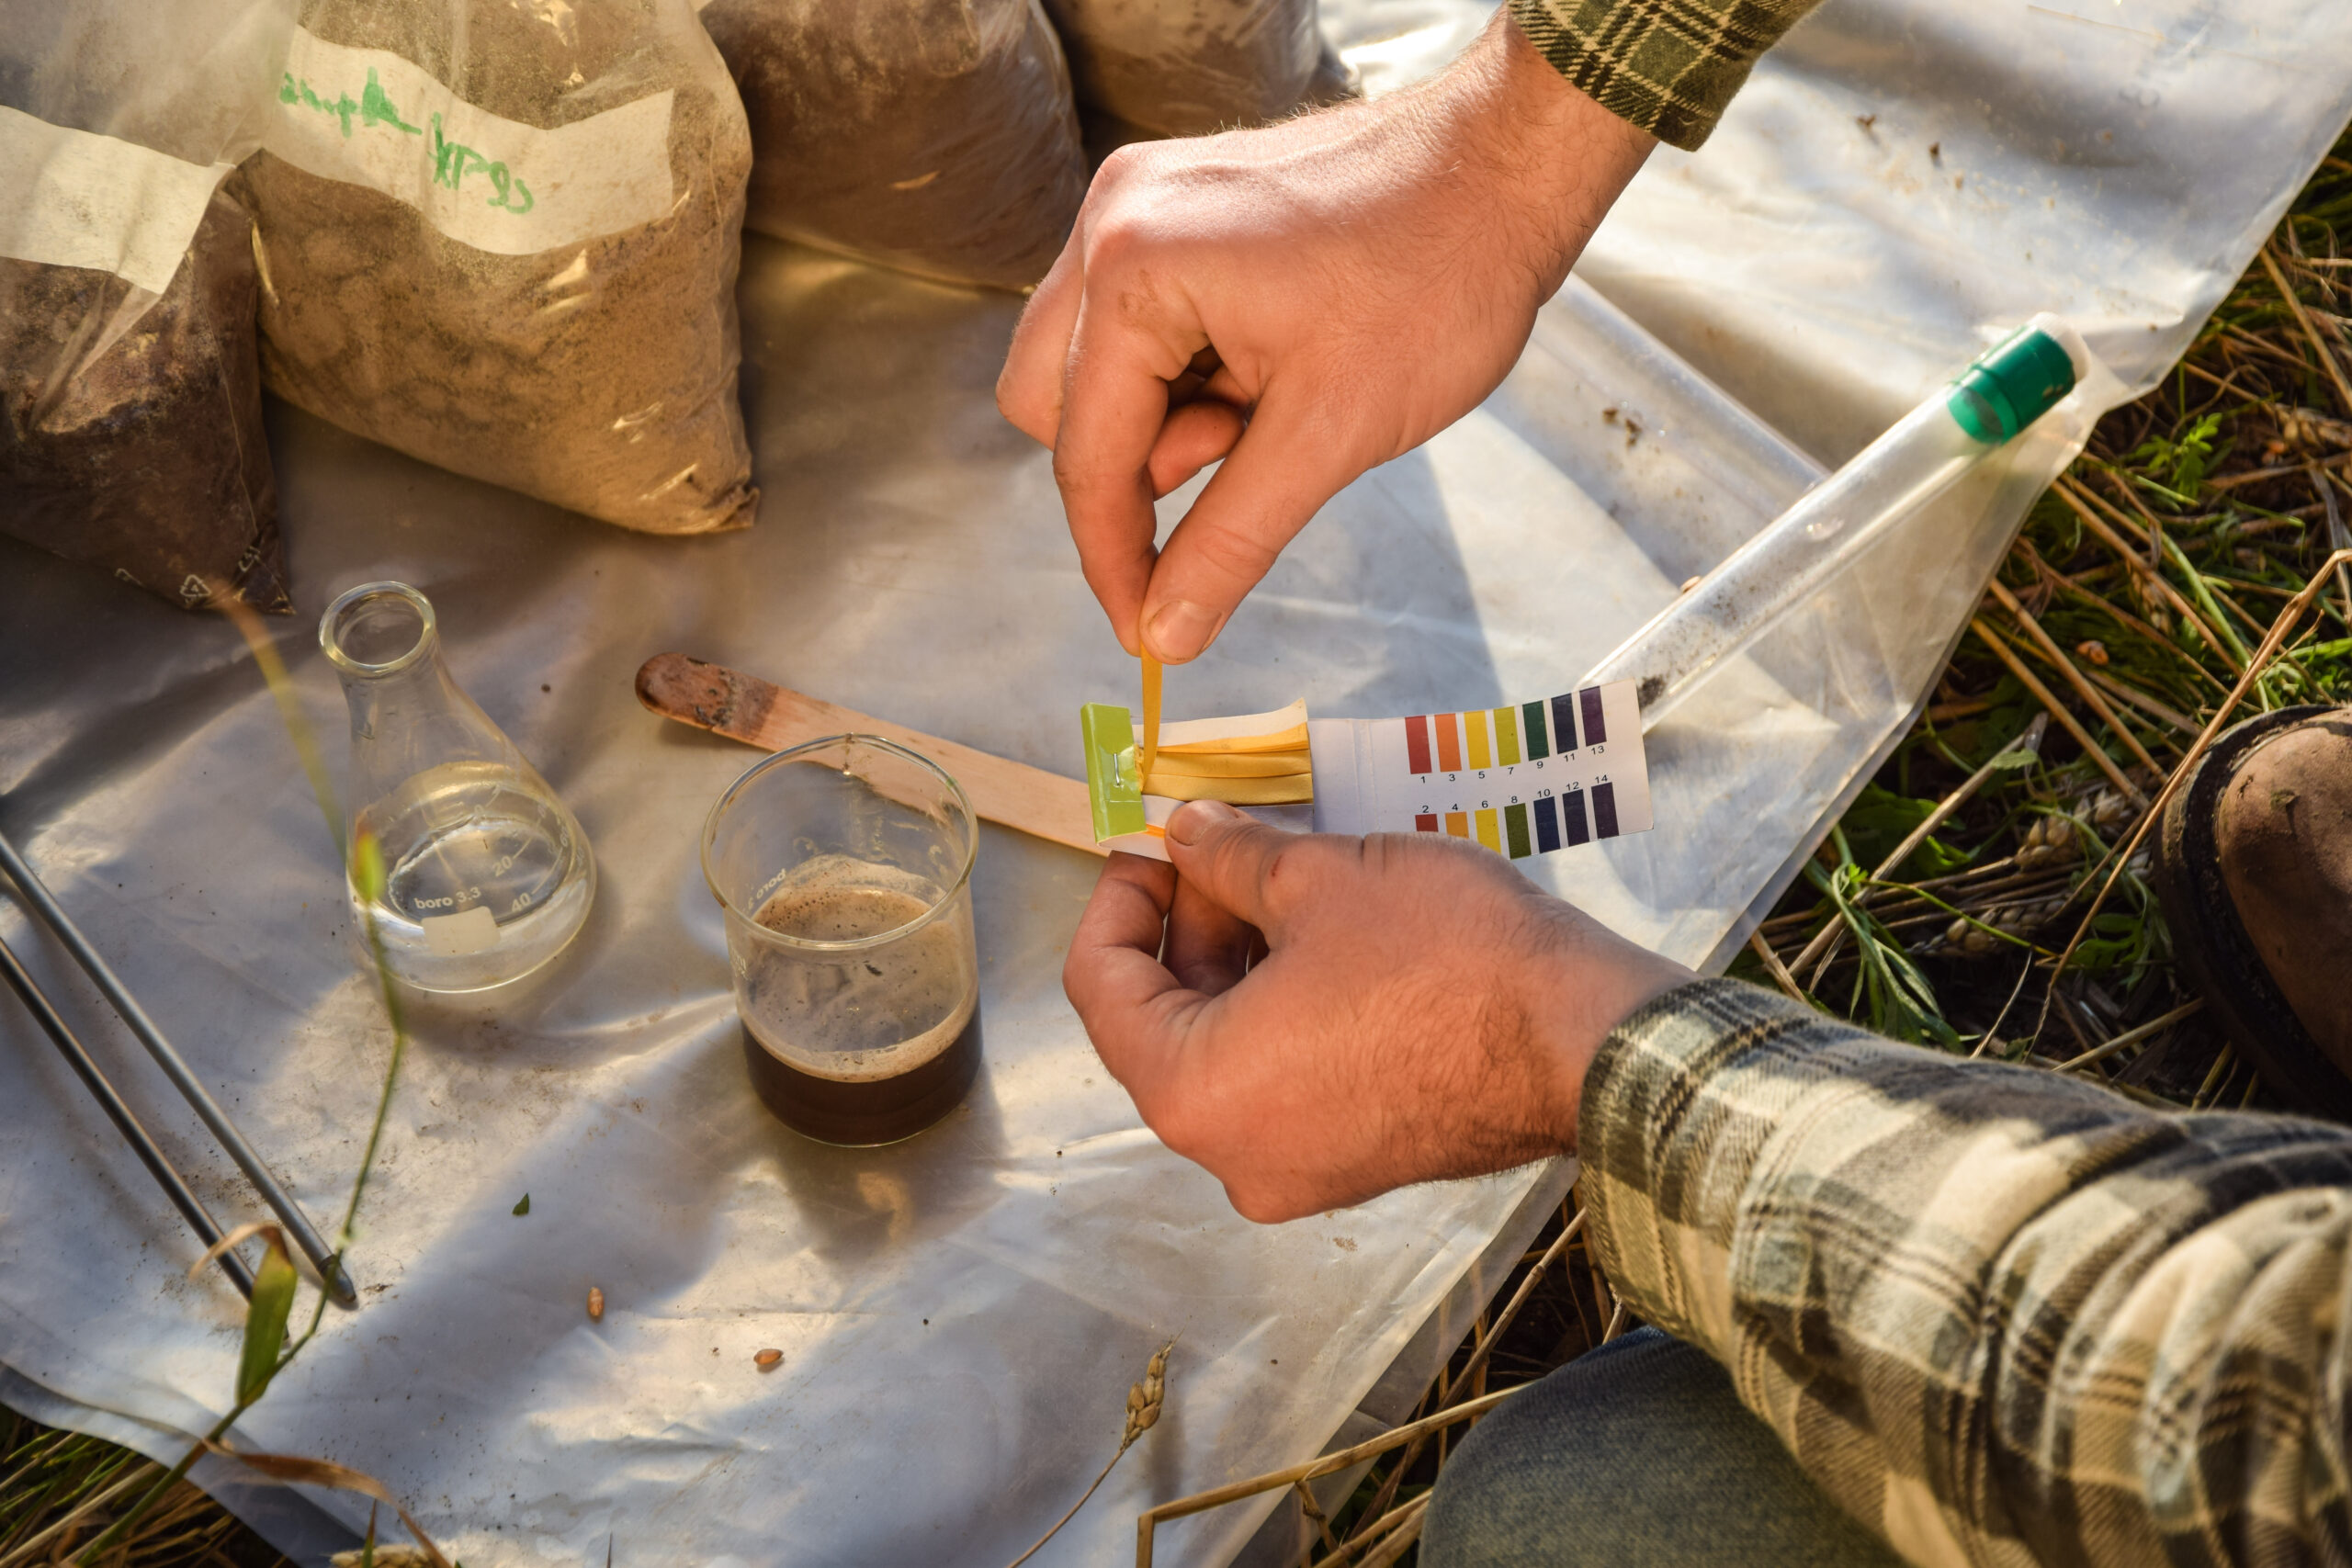
Before collecting soil, decide what the laboratory result needs to answer. “I want to test my soil” is too broad because different analyses do not always use the same sample preparation. A standard fertility test may be designed around air-dried mineral soil. A soil-health package may need fresh soil kept cool because respiration, aggregate stability, active carbon, or other biological and physical indicators can change after collection. A contamination investigation may require a different spatial design because the goal is to find or characterize hotspots rather than calculate only the average fertility of a bed.
Call or read the laboratory instructions before sampling. Confirm the test package, required soil volume, sampling depth, whether the soil should be air-dried or kept field-moist, packaging requirements, shipping restrictions, and any special rules for the material you plan to submit. This one step prevents a common failure: collecting a “perfect” sample that the chosen method was never designed to analyze.
Important: Laboratory instructions override generic internet sampling rules. Depth, moisture condition, sample quantity, container type, and shipping method can all depend on the analysis requested.
Routine fertility and pH testing
Routine garden soil tests usually focus on chemical properties such as pH, extractable nutrients, organic matter, and sometimes soluble salts or texture. For cultivated garden soil, many university extension protocols use the upper cultivated layer, commonly around 6 to 8 inches (15 to 20 cm). That is a horticultural sampling convention, not a cannabis-specific root-depth target. The laboratory has calibrated its interpretation around a defined sampling depth, so taking a much deeper core simply because a cannabis plant can root deeply may dilute the surface fertility signal and make the recommendation harder to interpret.
If the laboratory offers crop-specific recommendations but does not have a validated cannabis calibration, do not disguise the crop as tomatoes or another plant to force a fertilizer prescription. Ask what the report can validly provide. Raw pH, nutrient, organic-matter, salinity, and texture data can still be useful, but the amendment rate may need interpretation that respects local soil chemistry and the absence of a cannabis-specific calibration.
Soil-health and biological testing
A soil-health test can include measurements that respond to sample storage and moisture. Cornell Soil Health Laboratory, for example, instructs users to keep samples away from heat and direct sun, refrigerate them after returning from the field, and ship promptly. That is the opposite of the common instruction to air-dry a routine fertility sample before mailing.
The practical rule is not “always dry” or “never dry.” The rule is preserve the sample in the condition required by the method. If the laboratory measures biological activity, a warm sealed bag left in a vehicle can change the sample before it reaches the bench.
Do not air-dry every soil sample by habit
Air-drying is appropriate for many routine nutrient tests, but some soil-health, biological, nitrate, and specialty analyses require fresh or cooled material. Drying the wrong sample can change the property you intended to measure. Confirm handling with the laboratory before collection.
Heavy metals and suspected contamination
If the question is lead, arsenic, cadmium, petroleum history, industrial fill, roadside deposition, treated lumber, or another contamination concern, treat it as a contamination investigation rather than an ordinary nutrient test. Hotspots matter. A single composite can answer “what is the average concentration in this defined area,” but it can also hide a small high-concentration zone if unlike areas are mixed together.
Contaminant sampling may require dedicated clean tools, more than one composite sample, different depths, or separate sampling of suspected hotspots. Follow the chosen laboratory or local public-health protocol. Do not use a nutrient recommendation to make a safety decision about contaminated soil.
Safety Note: A routine fertility test does not automatically screen for lead, arsenic, cadmium, petroleum products, pesticides, or other contaminants. If site history creates a contamination concern, order the appropriate analysis and follow its sampling protocol.
Problem diagnosis is different from baseline fertility
A baseline test asks what an average managed area looks like. A diagnosis asks why one area or one plant behaves differently. Those questions should not be sampled the same way. If one corner of a bed is chlorotic while the rest grows normally, mixing that corner into a whole-bed composite can dilute the difference you need to see.
For diagnosis, take a separate sample from the problem zone and a comparison sample from a healthy zone managed in the same way. Keep depth, timing, and sampling method matched. The paired result is often more informative than one “average” sample because it lets you ask what actually differs.
Field Advice: Write the question on the sample form before collecting soil: baseline fertility, problem diagnosis, salinity, soil health, texture, or contamination. A clear question makes the sampling design much easier to defend later.
| Testing Goal | What It Changes About Sampling |
|---|---|
| Routine fertility / pH | Use the laboratory’s standard cultivated-soil depth, composite representative subsamples from one uniform management area, and prepare the sample exactly as the lab requests. |
| Soil health / biological indicators | Preserve moisture and temperature conditions required by the method. Some laboratories require fresh soil, refrigeration, rapid shipping, and larger sample volumes. |
| Problem diagnosis | Keep the affected zone separate from the normal zone. Collect matched samples so the laboratory results can be compared rather than averaged together. |
| Heavy metals / contamination | Use the contaminant-specific sampling design. Hotspots, depth, tool materials, and the number of replicate composites may matter more than they do for a routine fertility sample. |
| Soilless substrate / potting mix | Confirm that the laboratory accepts peat, coco, bark, perlite-rich media, or container substrates and uses an extraction method appropriate for those materials. |
Define One Sampling Unit Before You Collect Soil
The most important spatial decision happens before the first core: decide which ground belongs in one sample. A composite sample is useful only when its subsamples come from an area that you genuinely want represented by one average result. Soil type, slope, drainage, amendment history, crop history, irrigation pattern, and visible plant performance can all justify separating an area into different sampling units.
Imagine a backyard with a raised bed filled with imported soil, a native-ground planting strip, and a low wet corner that receives runoff. Those are not three places to collect soil for one bucket. They are three different soil systems. Mixing them may produce a report that accurately describes none of them.
Sampling unit
A sampling unit is the area that one laboratory sample is intended to represent. It should be reasonably uniform in soil, management, and the decision you plan to make from the result. Areas with different soil type, amendment history, drainage, crop performance, or grow system should usually be sampled separately.
Separate areas with different management histories
Do not mix soil from a bed that received compost with soil from a bed that did not. Do not combine a heavily limed area with an untreated area, or a frequently fertigated strip with native soil outside the irrigation pattern. The laboratory will blend those histories into one number and you will lose the information needed to manage either zone correctly.
The same applies when a garden has changed over time. A new raised bed built this year and an older bed reused for five seasons may contain the same crop, but their nutrient pools, organic matter, salinity, and physical structure can be very different. Treat them as separate units unless your actual management decision is to average them.
Separate landscape positions when water behavior differs
Topography changes soil even when the surface looks continuous. A low spot may accumulate water, salts, eroded fine particles, or organic matter. A slope may lose topsoil and dry faster. A compacted path may have the same parent soil as the planting bed but a completely different root environment. University sampling guides consistently warn against mixing atypical wet spots, eroded areas, fence lines, burn areas, and other unusual zones into a representative fertility sample unless those areas are the actual target of the test.
Remember: An unusual area is not “bad data.” It is often a separate sampling unit. Excluding a wet corner from the average makes sense only if you sample that wet corner separately when it matters to your decision.
Keep obvious problem plants out of a baseline composite
If one cannabis plant is stunted and every neighboring plant is vigorous, do not automatically add soil from its root zone to a whole-bed baseline sample. That can blur the very contrast you need. Take a problem-zone sample and a healthy comparison sample at the same depth and with the same method. If both results are similar, the cause may lie outside the measured soil chemistry, such as root damage, irrigation distribution, disease, compaction, or genotype.
“One cannabis plant in my raised bed looks deficient while the other five are healthy. Should its soil go into the same composite sample?”
Question sent by: SoilWeekend, via email.
Not if your goal is to diagnose that one plant. Keep the problem root zone separate and take a matched sample from a healthy part of the same bed. If your goal is a general baseline for the entire bed, build a representative composite from normal areas and record the problem spot separately. Mixing the stressed plant into the baseline can hide the contrast you need to investigate.
Create one sample for one real management zone
Group subsamples only when the soil, management history, irrigation, and decision are similar enough that one average result is useful.
Mix unlike areas to save laboratory fees
Combining native ground, imported raised-bed soil, a wet depression, and heavily amended soil may lower the number of samples while destroying the meaning of the report.
Master Advice: Draw a simple garden map and assign each planned sample an ID before collecting anything. Spatial organization is easier to fix on paper than after several unlabeled buckets are sitting beside you.
Choose the Right Depth, Tools, and Timing
Sampling depth is not a cosmetic detail. Nutrients, salts, organic matter, pH, and contaminants can change sharply with depth. If one year you sample the top 4 inches and the next year you sample 10 inches, a change in the report may partly reflect the sampling method rather than a real change in soil.
Use the laboratory depth, then keep it consistent
For routine cultivated garden soil, extension laboratories often specify approximately the upper 6 to 8 inches (15 to 20 cm). Some protocols use 6 inches, some 6 to 8 inches, and others separate surface and subsurface layers for specific management systems. That range should be treated as a common horticultural convention, not a universal cannabis rule.
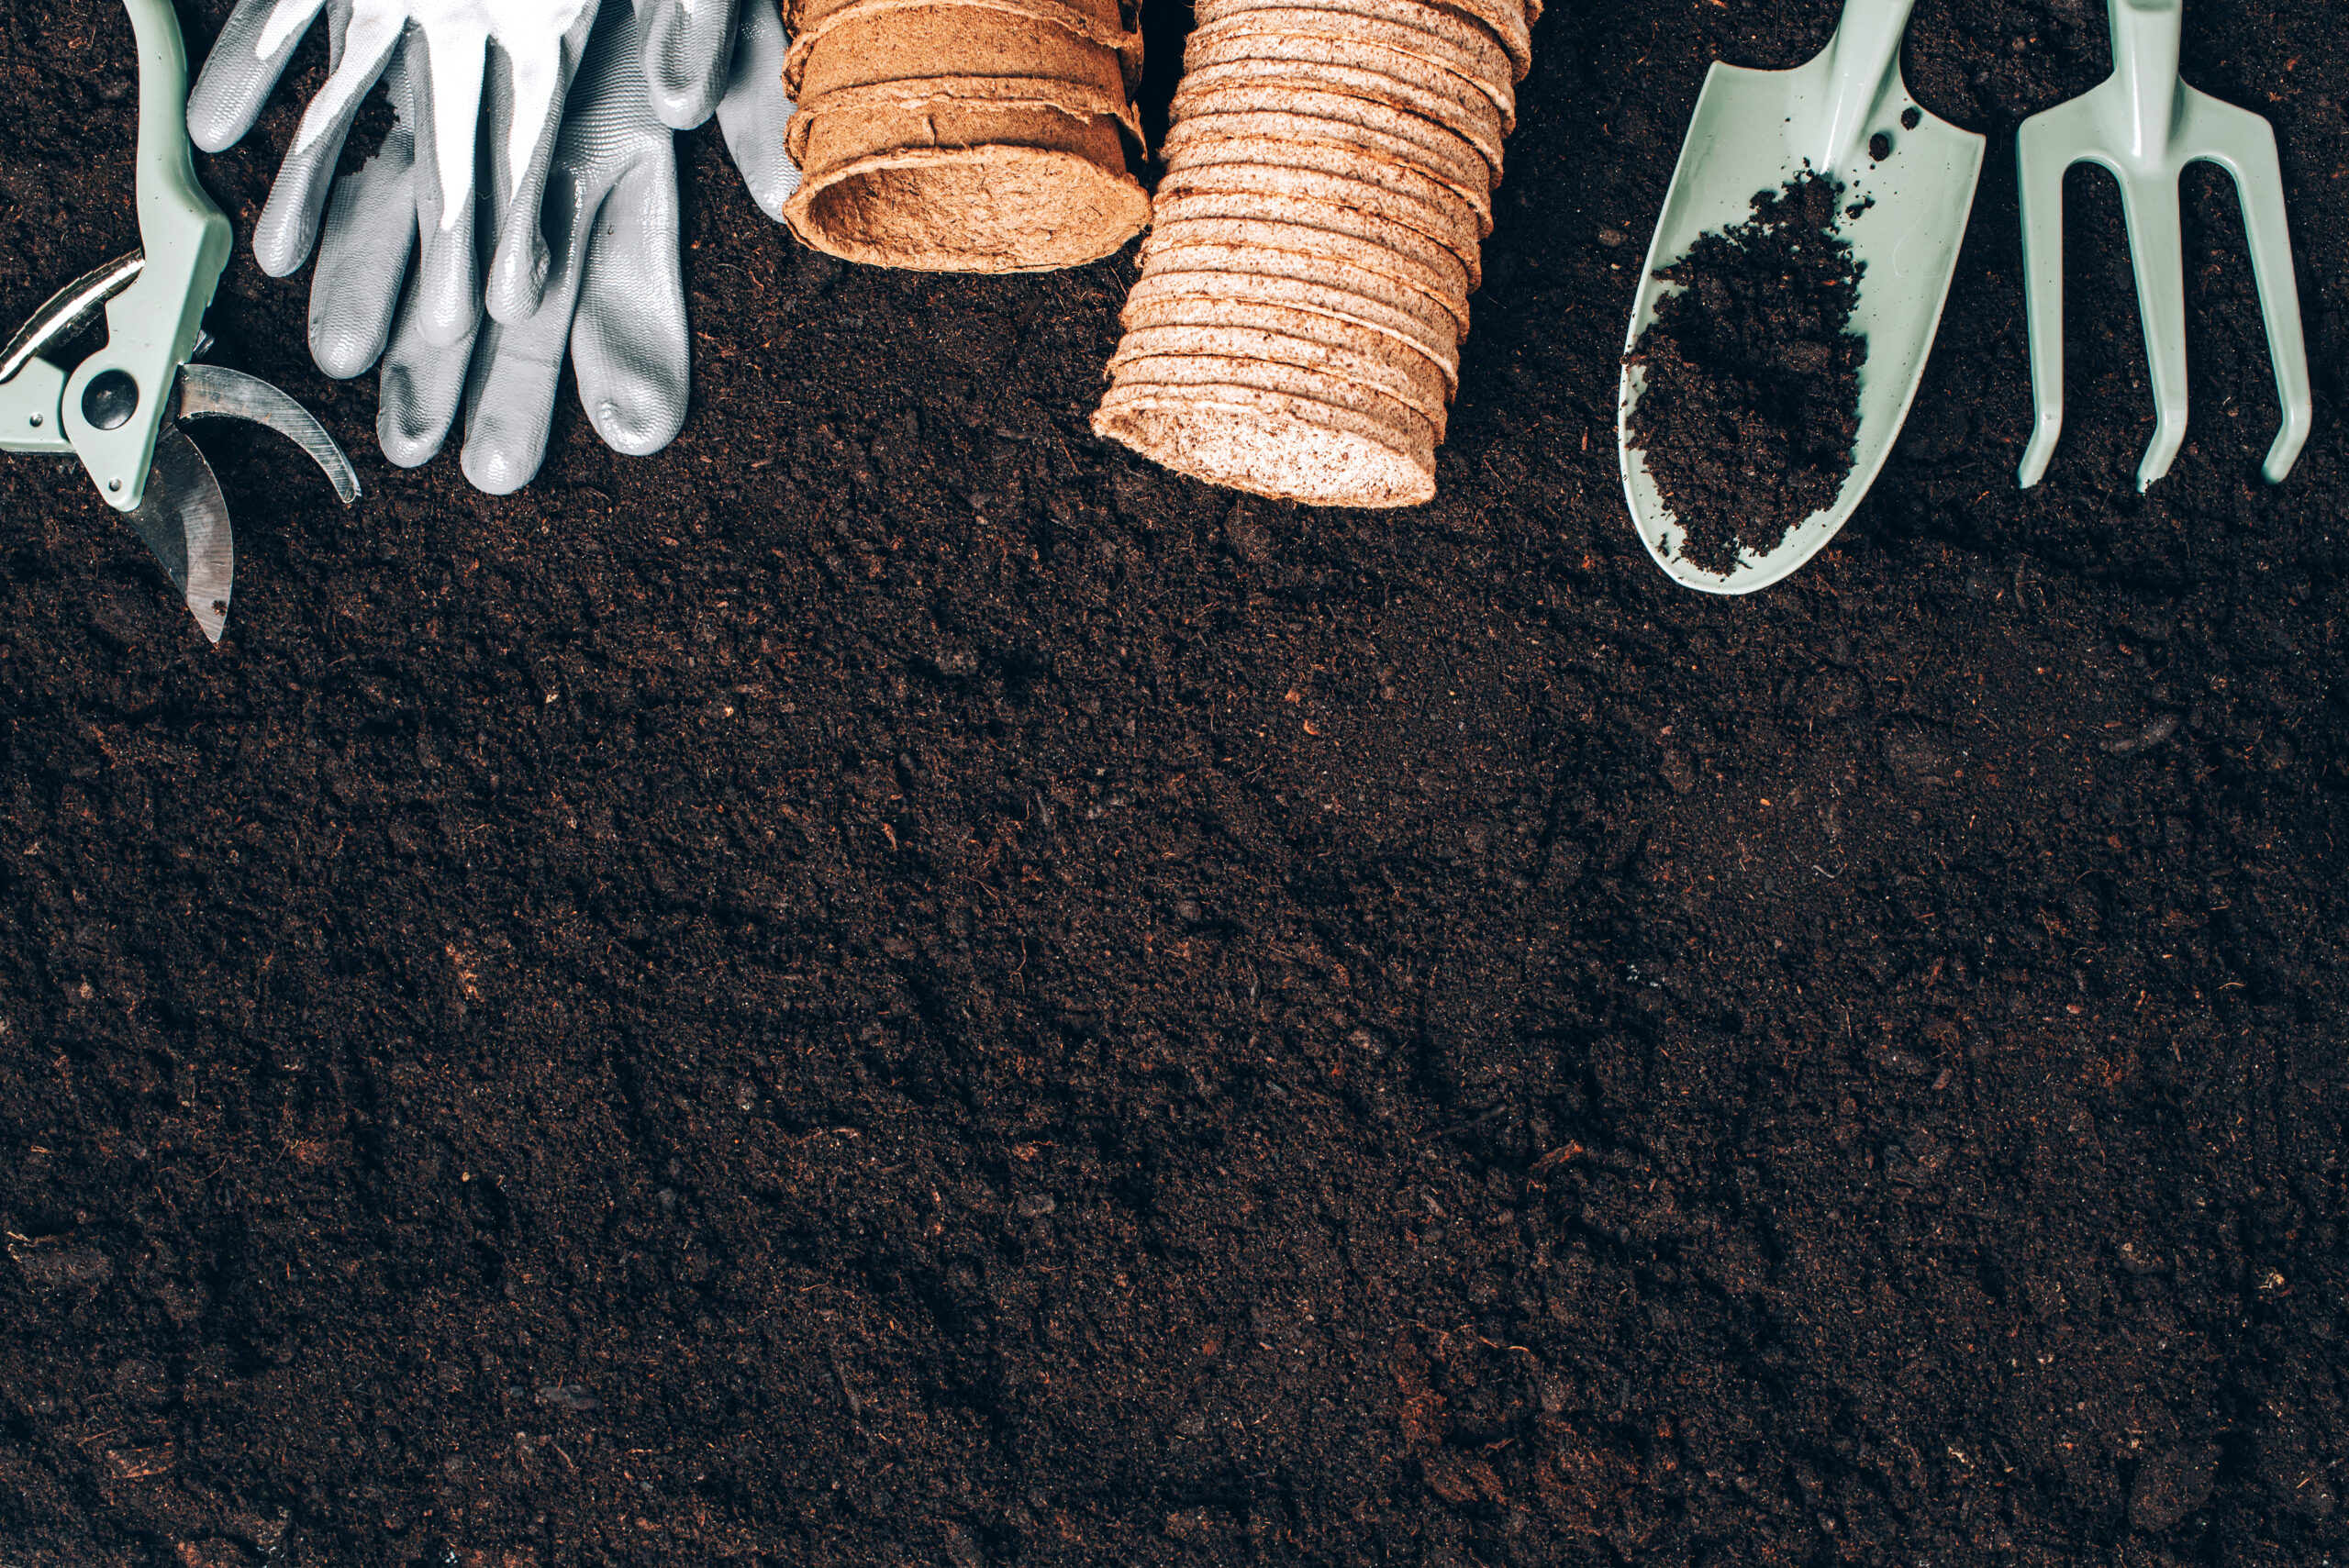
If a laboratory specifies 0 to 6 inches, sample from the soil surface after removing loose mulch down to 6 inches at every subsample location. Do not take one core to 4 inches, another to 9 inches, and assume mixing will correct the inconsistency. A soil probe helps because it removes a more uniform column. With a spade or trowel, take a vertical slice of even thickness so the top of the profile is not overrepresented.
Pro Tip: Mark the target depth on your probe, trowel, or a clean measuring stick before you begin. Consistent depth matters more than trying to guess the exact depth at every hole by eye.
Do not sample deeper just because cannabis can root deeper
A large outdoor cannabis plant can explore soil well below a routine garden sampling depth, but the laboratory recommendation is often calibrated to a specific sampled layer. A deeper core can dilute nutrients concentrated in the cultivated surface zone and make the interpretation inconsistent with the laboratory method. If you have a specific subsoil question, such as salinity, mobile nitrate, restrictive layers, or a suspected contamination profile, collect a separate depth according to the laboratory protocol rather than silently making the routine sample deeper.
Use clean tools that will not bias the analysis
A stainless steel soil probe or auger is ideal. A clean spade, trowel, bulb planter, or large knife can also work when used carefully. Collect subsamples into a clean plastic bucket unless the laboratory specifies another container. Tools and buckets that previously held fertilizer, lime, salts, pesticides, or amendments can contaminate the sample enough to alter results.
For micronutrient or heavy-metal testing, tool composition matters more. Some extension guidance warns against galvanized, bronze, or brass tools because they can contribute metals to the sample. When trace-element accuracy matters, follow the laboratory’s decontamination and tool-material instructions rather than relying on equipment that is merely “garden clean.”
A dirty bucket can become the strongest fertilizer treatment in your sample
Do not collect laboratory soil in a bucket that previously held nutrient concentrate, lime, compost tea, foliar mix, pesticide, or mineral amendment unless it has been thoroughly cleaned and the laboratory permits it. Trace contamination can distort a small analytical sample.
Sample before major amendments when you want a baseline
If the purpose is to decide whether lime, sulfur, compost, potassium, phosphorus, or another amendment is needed, sample before applying it. A core taken directly through a recent top-dress pocket or fertilizer band measures that concentrated patch, not the established root zone. If amendments have already been applied, tell the laboratory what was used and when, and avoid deliberately targeting visible granules unless the test is investigating that exact treatment.
For year-to-year trend tracking, sample at roughly the same time of year, at the same depth, and preferably through the same laboratory and method. Soil chemistry can shift seasonally with moisture, fertilizer use, plant uptake, and mineralization. Consistent procedure makes trends more interpretable.
Tip: Take photos of the sampling area and note the date, recent irrigation or rain, and recent amendments. These details often explain a result that looks strange months later.
Avoid extremely wet soil unless the laboratory tells you otherwise
Saturated soil is messy to composite and can be difficult to subsample evenly. Many extension programs recommend avoiding extremely wet conditions for routine sampling. If you must sample wet soil because the diagnosis is time-sensitive, follow the laboratory’s storage instructions. Do not automatically dry it with heat.
Remember: Never oven-dry a routine soil sample unless a laboratory explicitly instructs you to do so. Heat can alter the sample, and many labs that want a dried sample mean room-temperature air drying.
Build a Representative Composite Sample Step by Step
Once the sampling unit, depth, and laboratory protocol are fixed, the field procedure should be deliberately repetitive. The goal is not to find the “best-looking” soil. The goal is to give every representative part of the sampling unit a reasonable chance to contribute to the final composite.
Step 1: remove surface material without removing the soil profile
Move aside loose leaves, mulch, stems, surface manure, stones, and undecomposed debris where the laboratory protocol calls for mineral soil. Do not scrape away the actual topsoil. If surface stratification is the question, follow the specific protocol instead of removing the layer you intend to measure.
Step 2: collect a vertical core or slice to the target depth
Push the probe straight down to the marked depth. If using a spade, open a small hole and cut a narrow vertical slice from the side so the sample contains roughly equal representation from the top to the bottom of the chosen depth. Avoid angled scoops that collect a large amount of surface soil and very little from the bottom of the profile.
Step 3: repeat across the sampling unit
Walk a zigzag, grid, or otherwise distributed pattern that covers the whole management zone. Common university home-garden protocols use several subsamples, often roughly 8 to 15 across a modest garden area, while larger and more variable sites may use more. This is not a cannabis-specific threshold. It is a general horticultural strategy to reduce the influence of small-scale soil variability. Follow the laboratory’s own recommendation when it provides a number.
Take approximately the same amount of soil from each location. If one subsample is a heaping shovel and the other nine are narrow cores, the final mixture is weighted toward one point even though the map shows ten locations.
Field Advice: When a small bed is highly variable, adding representative subsamples is usually more useful than taking one very large scoop from the center. The laboratory analyzes only a fraction of what you send, so mixing quality matters.
Step 4: mix the subsamples thoroughly
Break apart ordinary clods, remove rocks and large roots as the laboratory instructs, and mix the subsamples in the clean bucket until the material is reasonably homogeneous. This is the point where many field locations become one composite sample. Poor mixing leaves the laboratory scoop vulnerable to whichever core happened to remain intact.
Composite sample
A composite sample is one laboratory sample created by combining and thoroughly mixing multiple representative subsamples from the same sampling unit. It estimates the average condition of that defined area. It should not be used to hide zones that need separate management or contaminant investigation.
Step 5: reduce the composite to the required laboratory amount
Do not assume every laboratory wants one cup. Required volume varies by analysis. Some routine nutrient labs accept around one to two cups, while soil-health packages may require several cups. Cornell Soil Health Laboratory, for example, requires substantially more soil for its packages than for many individual tests. Check the submission instructions before discarding the extra composite.
If you need to reduce a large mixed bucket, remix it immediately before taking the final portion. For a highly heterogeneous soil with gravel or coarse organic matter, the lab may ask for extra volume. Keep enough material for a short period if the laboratory recommends retaining a backup or if you may need a confirmatory sample, but do not substitute a stored leftover for a new field sample when the real question is whether the field changed.
Pro Tip: Do not fill the sample bag from the top of an unmixed bucket after walking back to the house. Remix first. Fine particles and moisture can segregate during transport.
A repeatable field procedure
- Confirm the laboratory method. Know the test, depth, required quantity, and handling instructions.
- Map one sampling unit. Separate different soils, management histories, slopes, wet zones, or problem areas.
- Use clean tools. Mark the required sampling depth and prepare a clean bucket.
- Remove loose surface debris. Do not remove the actual soil layer you intend to test.
- Collect equal-depth subsamples. Spread them across the sampling unit using a consistent pattern.
- Use similar soil volume from each location. One oversized scoop should not dominate the composite.
- Mix thoroughly. Break ordinary clods and remove non-soil debris according to lab guidance.
- Take the laboratory-required quantity. Remix before reducing the composite.
- Label immediately. Record sample ID, area, depth, date, and requested test.
- Preserve and ship correctly. Air-dry, refrigerate, keep field-moist, or double-bag only as the chosen laboratory instructs.
Weedth Verdict: A good soil sample is not one perfect scoop. It is a controlled average built from several consistent subsamples taken from the right area and handled in a way that preserves the test you actually ordered.
Adjust the Method for Native Soil, Beds, Pots, and Soilless Media
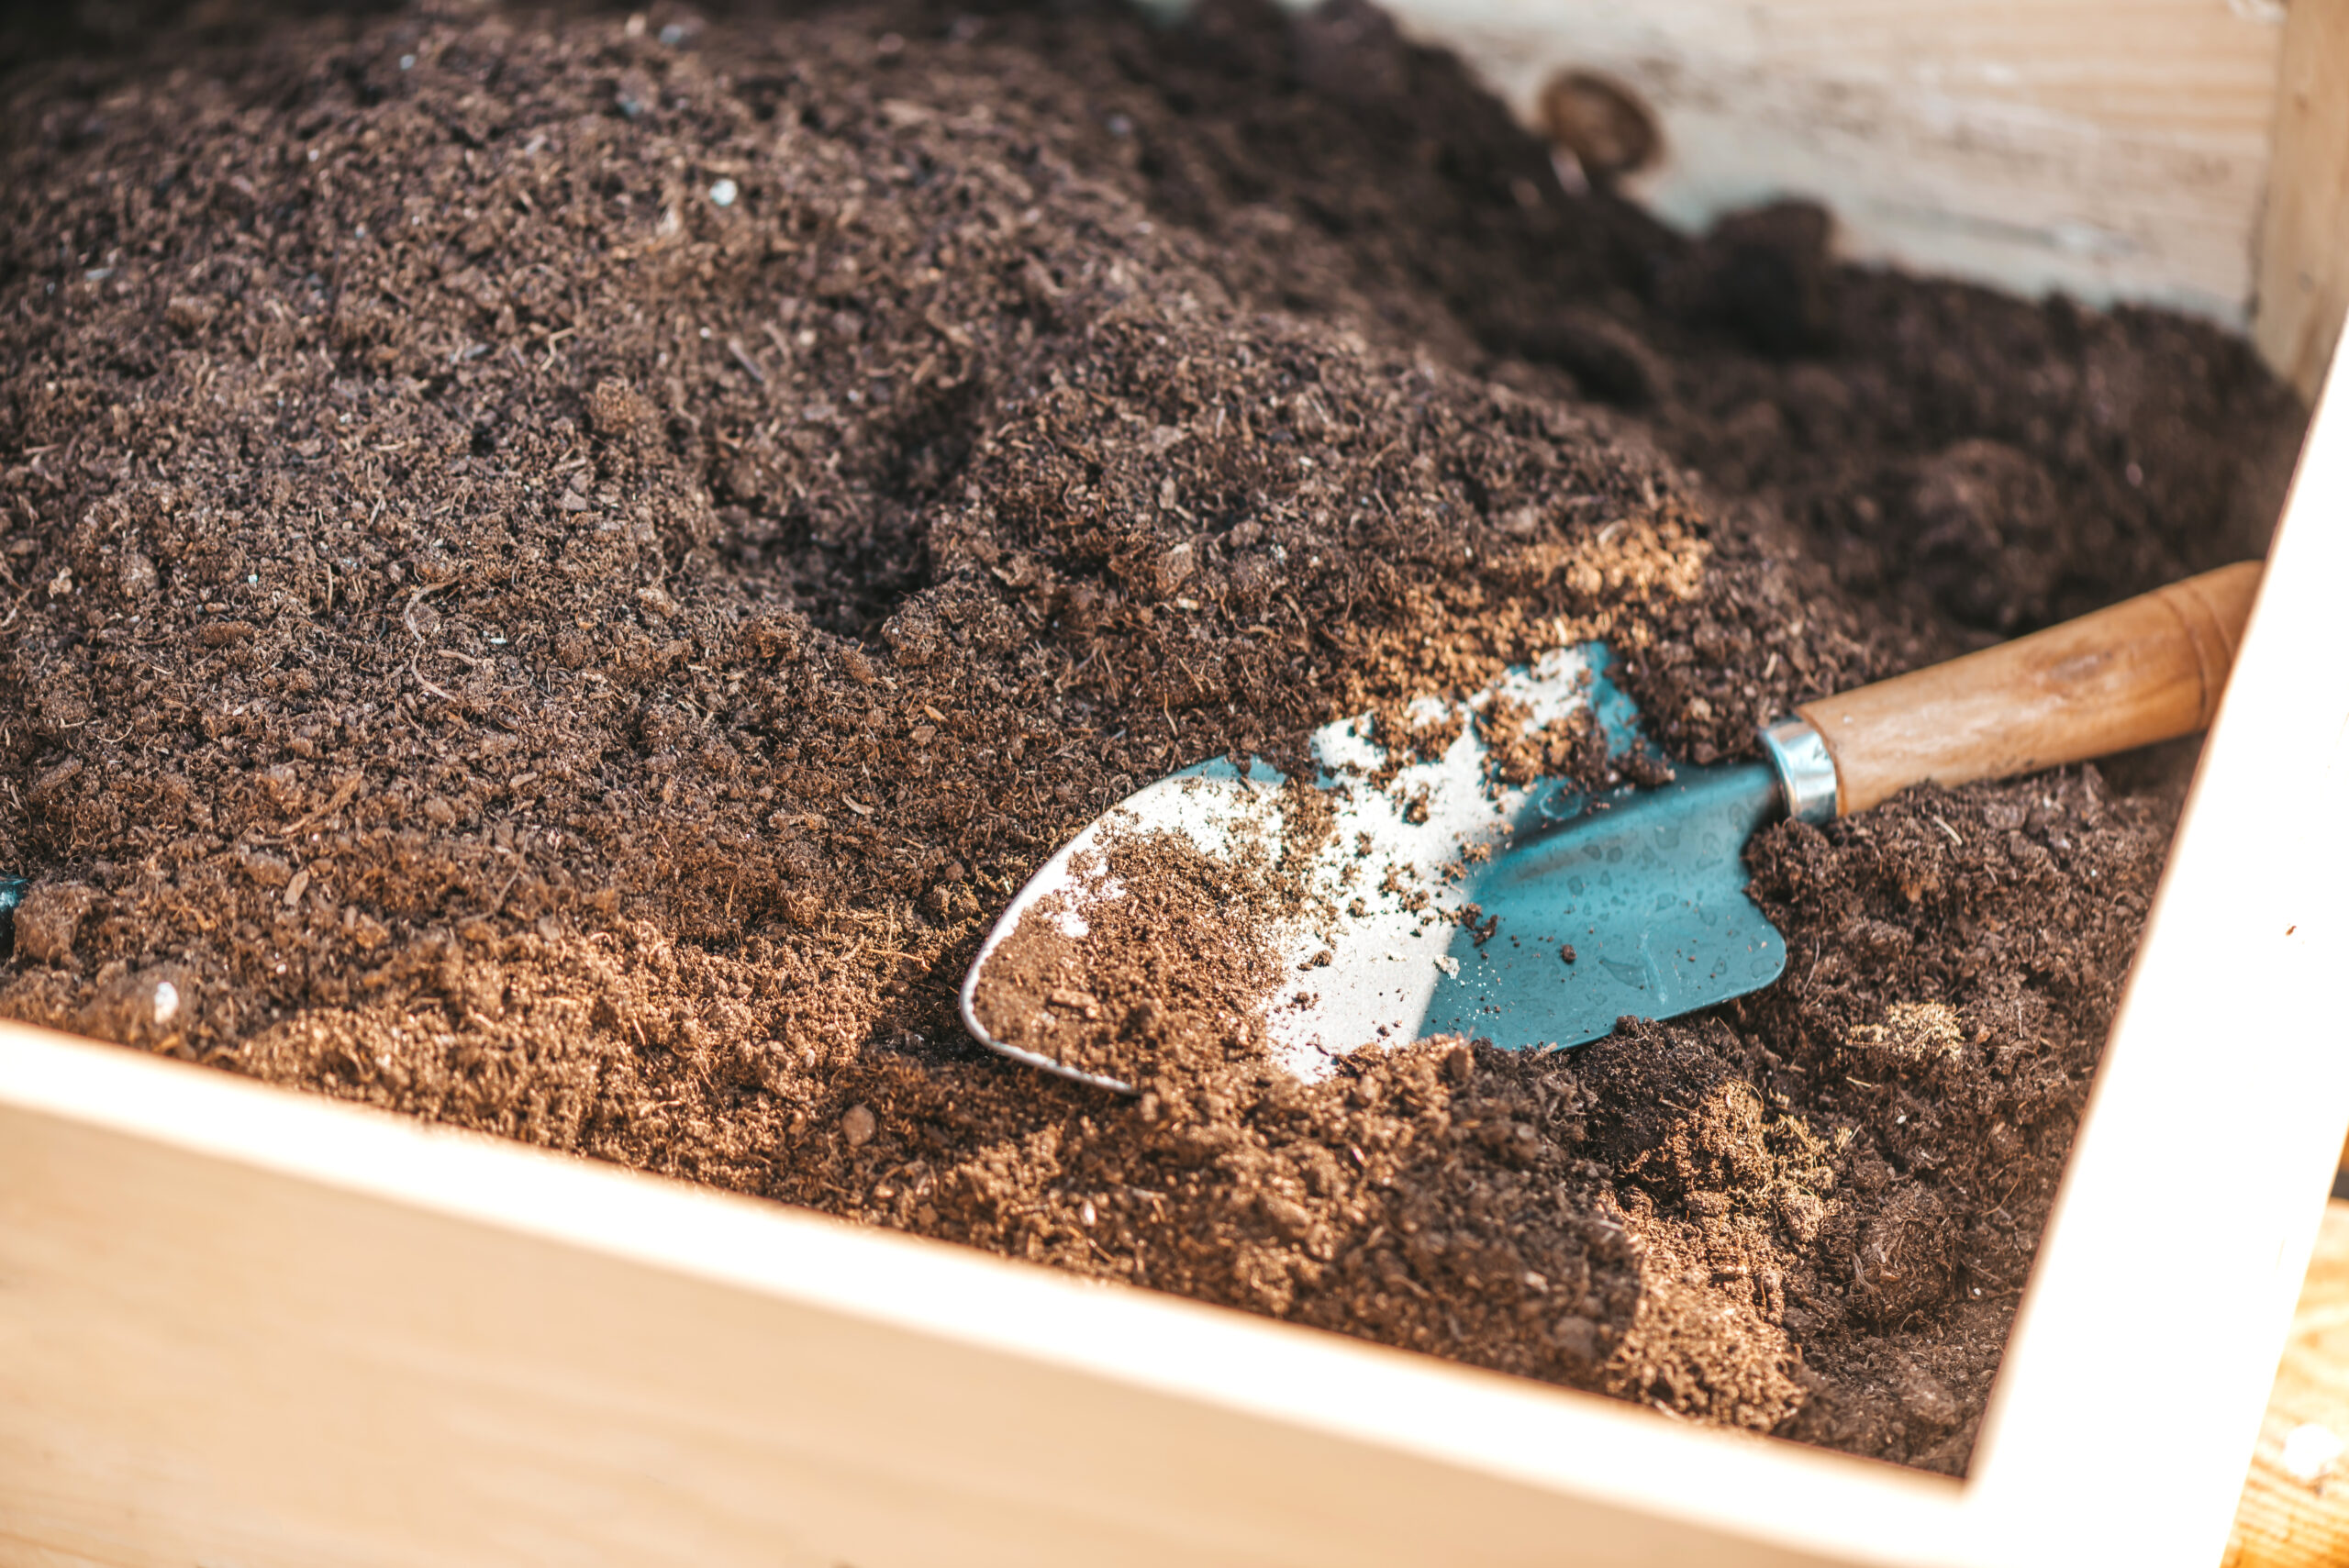
The composite principle stays useful across grow systems, but the meaning of “one sampling unit” changes. Native ground is a landscape. A raised bed is a constructed soil volume. Containers are individual root zones. Coco and peat-heavy potting mixes may be laboratory substrates rather than mineral soils. Treating all four as the same material can produce a report that is difficult to interpret.
| Grow System | Sampling Approach |
|---|---|
| Native ground | Divide the site by soil type, management, slope, drainage, and performance. Composite several equal-depth subsamples within each uniform zone. Keep unusual wet, eroded, contaminated, or problem areas separate. |
| Raised bed | Sample the managed bed soil, not the native ground beneath it, unless you specifically need to understand both layers. Beds filled or amended differently should be separate sampling units. |
| Multiple containers with the same mix and management | If the goal is the average condition of a uniform batch, small representative subsamples from several comparable pots may be composited if the laboratory agrees. Record which pots contributed. |
| One problem container | Sample that container separately and compare it with a healthy container managed the same way. Do not dilute the problem into a multi-pot average. |
| Coco, peat, bark, or other soilless substrate | Confirm that the laboratory uses a substrate method appropriate for the medium. A standard mineral-soil extraction and recommendation may not translate directly to container media. |
Native soil: let the landscape define the units
For an outdoor cannabis site, do not collect one core beside the stem and call it the garden. Roots extend through a volume of soil that can vary with slope, irrigation, fill history, previous crop rows, and drainage. If the planting area is relatively uniform, a distributed composite makes sense. If the soil changes from loam to clay, from upland to wet depression, or from undisturbed soil to imported fill, separate the zones.
The broader questions of outdoor soil texture, drainage, contamination history, and root-zone design belong in the main soil and outdoor guides. This resource stays focused on how to turn the chosen area into a defensible laboratory sample.
Raised beds: sample the soil you actually manage
A raised bed filled with imported soil is a distinct soil system even when it sits directly on native ground. For routine fertility testing, sample the managed bed layer according to the lab depth rather than pushing every core through the bed and into the underlying native soil. If roots are clearly using both layers and you need to understand the subsoil, submit a separate depth or native-ground sample rather than mixing the layers.
Beds that were built from different mixes or received different amendment programs should remain separate. A “raised beds” label is not enough if one bed has received years of compost and the next was filled last month.
Containers: decide whether you need an average or an individual diagnosis
If ten large outdoor containers use the same batch of soil, the same irrigation program, and the same amendment history, a composite can estimate the average root-zone chemistry of that group. But it removes plant-to-plant differences. If one pot is failing, sample it separately. If two pots are unusually vigorous, do not let them dominate the “average” simply because they are easier to access.
Collecting from an active container also means avoiding the immediate stem base and avoiding a single fertilizer pocket. Take small portions from several positions within the managed root zone when the laboratory permits container compositing, and minimize root destruction. For valuable plants, ask the laboratory how little material is required before aggressively disturbing the root ball.
“I have eight fabric pots filled from the same soil mix. Can I combine them into one laboratory sample?”
Question sent by: CitySoilChris, via contact form.
Yes, if your real question is the average condition of that uniform group and the pots truly share the same mix, amendment history, irrigation, and management. Take comparable small subsamples from several pots and record which containers contributed. If one pot is showing a problem, keep it separate and compare it with a healthy pot instead of averaging the difference away.
Soilless media: do not force a mineral-soil test onto coco or peat
Coco, peat-based mixes, bark-heavy substrates, rockwool-associated extracts, and other soilless media can require different analytical procedures than field mineral soil. Extraction ratios and interpretation frameworks differ among laboratories. A result labeled “soil potassium” may not mean the same thing when the submitted material is mostly coco and perlite.
Tell the laboratory exactly what the medium is. If it does not test soilless substrates, use a laboratory that does. This is especially important when you are trying to interpret pH, EC, nutrient availability, or salts in a container system where irrigation and fertigation can change the root zone quickly.
Important: Do not label coco, peat-based potting mix, or another soilless substrate as ordinary garden soil just to fit a submission form. The laboratory needs the real material type to choose or interpret the correct method.
Match the laboratory method to the material
Tell the laboratory whether the sample is native mineral soil, constructed raised-bed soil, potting soil, coco, peat, or another substrate.
Assume every brown root-zone material is “soil”
Different media can require different extraction and interpretation methods. A familiar-looking number can be misleading when the method does not match the material.
Prepare, Label, Store, and Ship the Sample Correctly
The field work is not finished when the composite enters a bag. Soil continues to change after collection. Moisture redistributes, microbes remain active, temperature can rise in a sealed bag, and soluble nitrogen forms can shift. The laboratory may intentionally dry or refrigerate the sample during processing, but your job is to deliver material in the state required by the method.
Air-dry only when the laboratory wants an air-dried sample
For many routine fertility programs, the sample is spread in a thin layer at room temperature, allowed to air-dry, then placed into the approved bag. University instructions commonly warn against oven drying. Air drying reduces shipping moisture and stabilizes many routine chemical analyses, but it is not neutral for every soil property.
If the lab asks for fresh soil, keep it cool and out of direct sun. Cornell Soil Health Laboratory instructs users to refrigerate samples after field collection and use rapid shipment, with cooling during warm weather. Those instructions exist because the package includes measurements that can respond to biological activity and sample condition.
Field Advice: Write “AIR DRY” or “KEEP COOL” on your field sheet before sampling. Handling errors are easier to prevent when the required sample condition is decided before the bags are filled.
Label the bag before the samples become confusing
Every bag needs a unique sample ID that matches the submission form. A useful home-grow label includes the area or container group, sampling depth, collection date, and a short identifier such as BED-A, NORTH-GROUND, POT-GROUP-1, or PROBLEM-POT-4. The grower can keep more detail in a notebook or spreadsheet without crowding the bag.
The form should record the test requested and enough management history to interpret the result: current use, previous crop or planting, recent lime or sulfur, fertilizer or compost applications, irrigation differences, and any specific problem being investigated. If the laboratory accepts cannabis as the crop description where cultivation is legal, use accurate information. Do not invent another crop simply to trigger an unsupported recommendation.
Keep the paperwork separate from loose soil
Follow the laboratory packaging instructions. Some laboratories want sample bags inside a sturdy shipping box and the submission form protected in a separate bag. Others provide dedicated containers. Double-bagging may be required for regulated soil or soil-health submissions. Soil movement across jurisdictions can also be regulated because soil can carry pests and pathogens. Check shipping restrictions before mailing samples across state, provincial, national, or quarantine boundaries.
Do not ship soil across a regulated boundary without checking the rules
Soil movement can be restricted because it may transport plant pests, pathogens, or regulated material. Laboratory acceptance does not automatically mean every origin can legally ship soil to that destination. Follow the laboratory and relevant agricultural authority instructions.
Build a small chain of custody even at home
Professional laboratories use chain-of-custody systems because a correct analysis attached to the wrong sample is still a wrong result. Home growers can use a simpler version: sample ID on bag, matching ID on form, map or photo showing the sampling unit, date, depth, handling condition, and the person who collected it. If you send several samples at once, check every ID against the form before sealing the package.
Pro Tip: Photograph the labeled bags beside the completed submission form before shipping. It gives you a quick record of what actually left the garden if the laboratory later asks about an ID or depth.
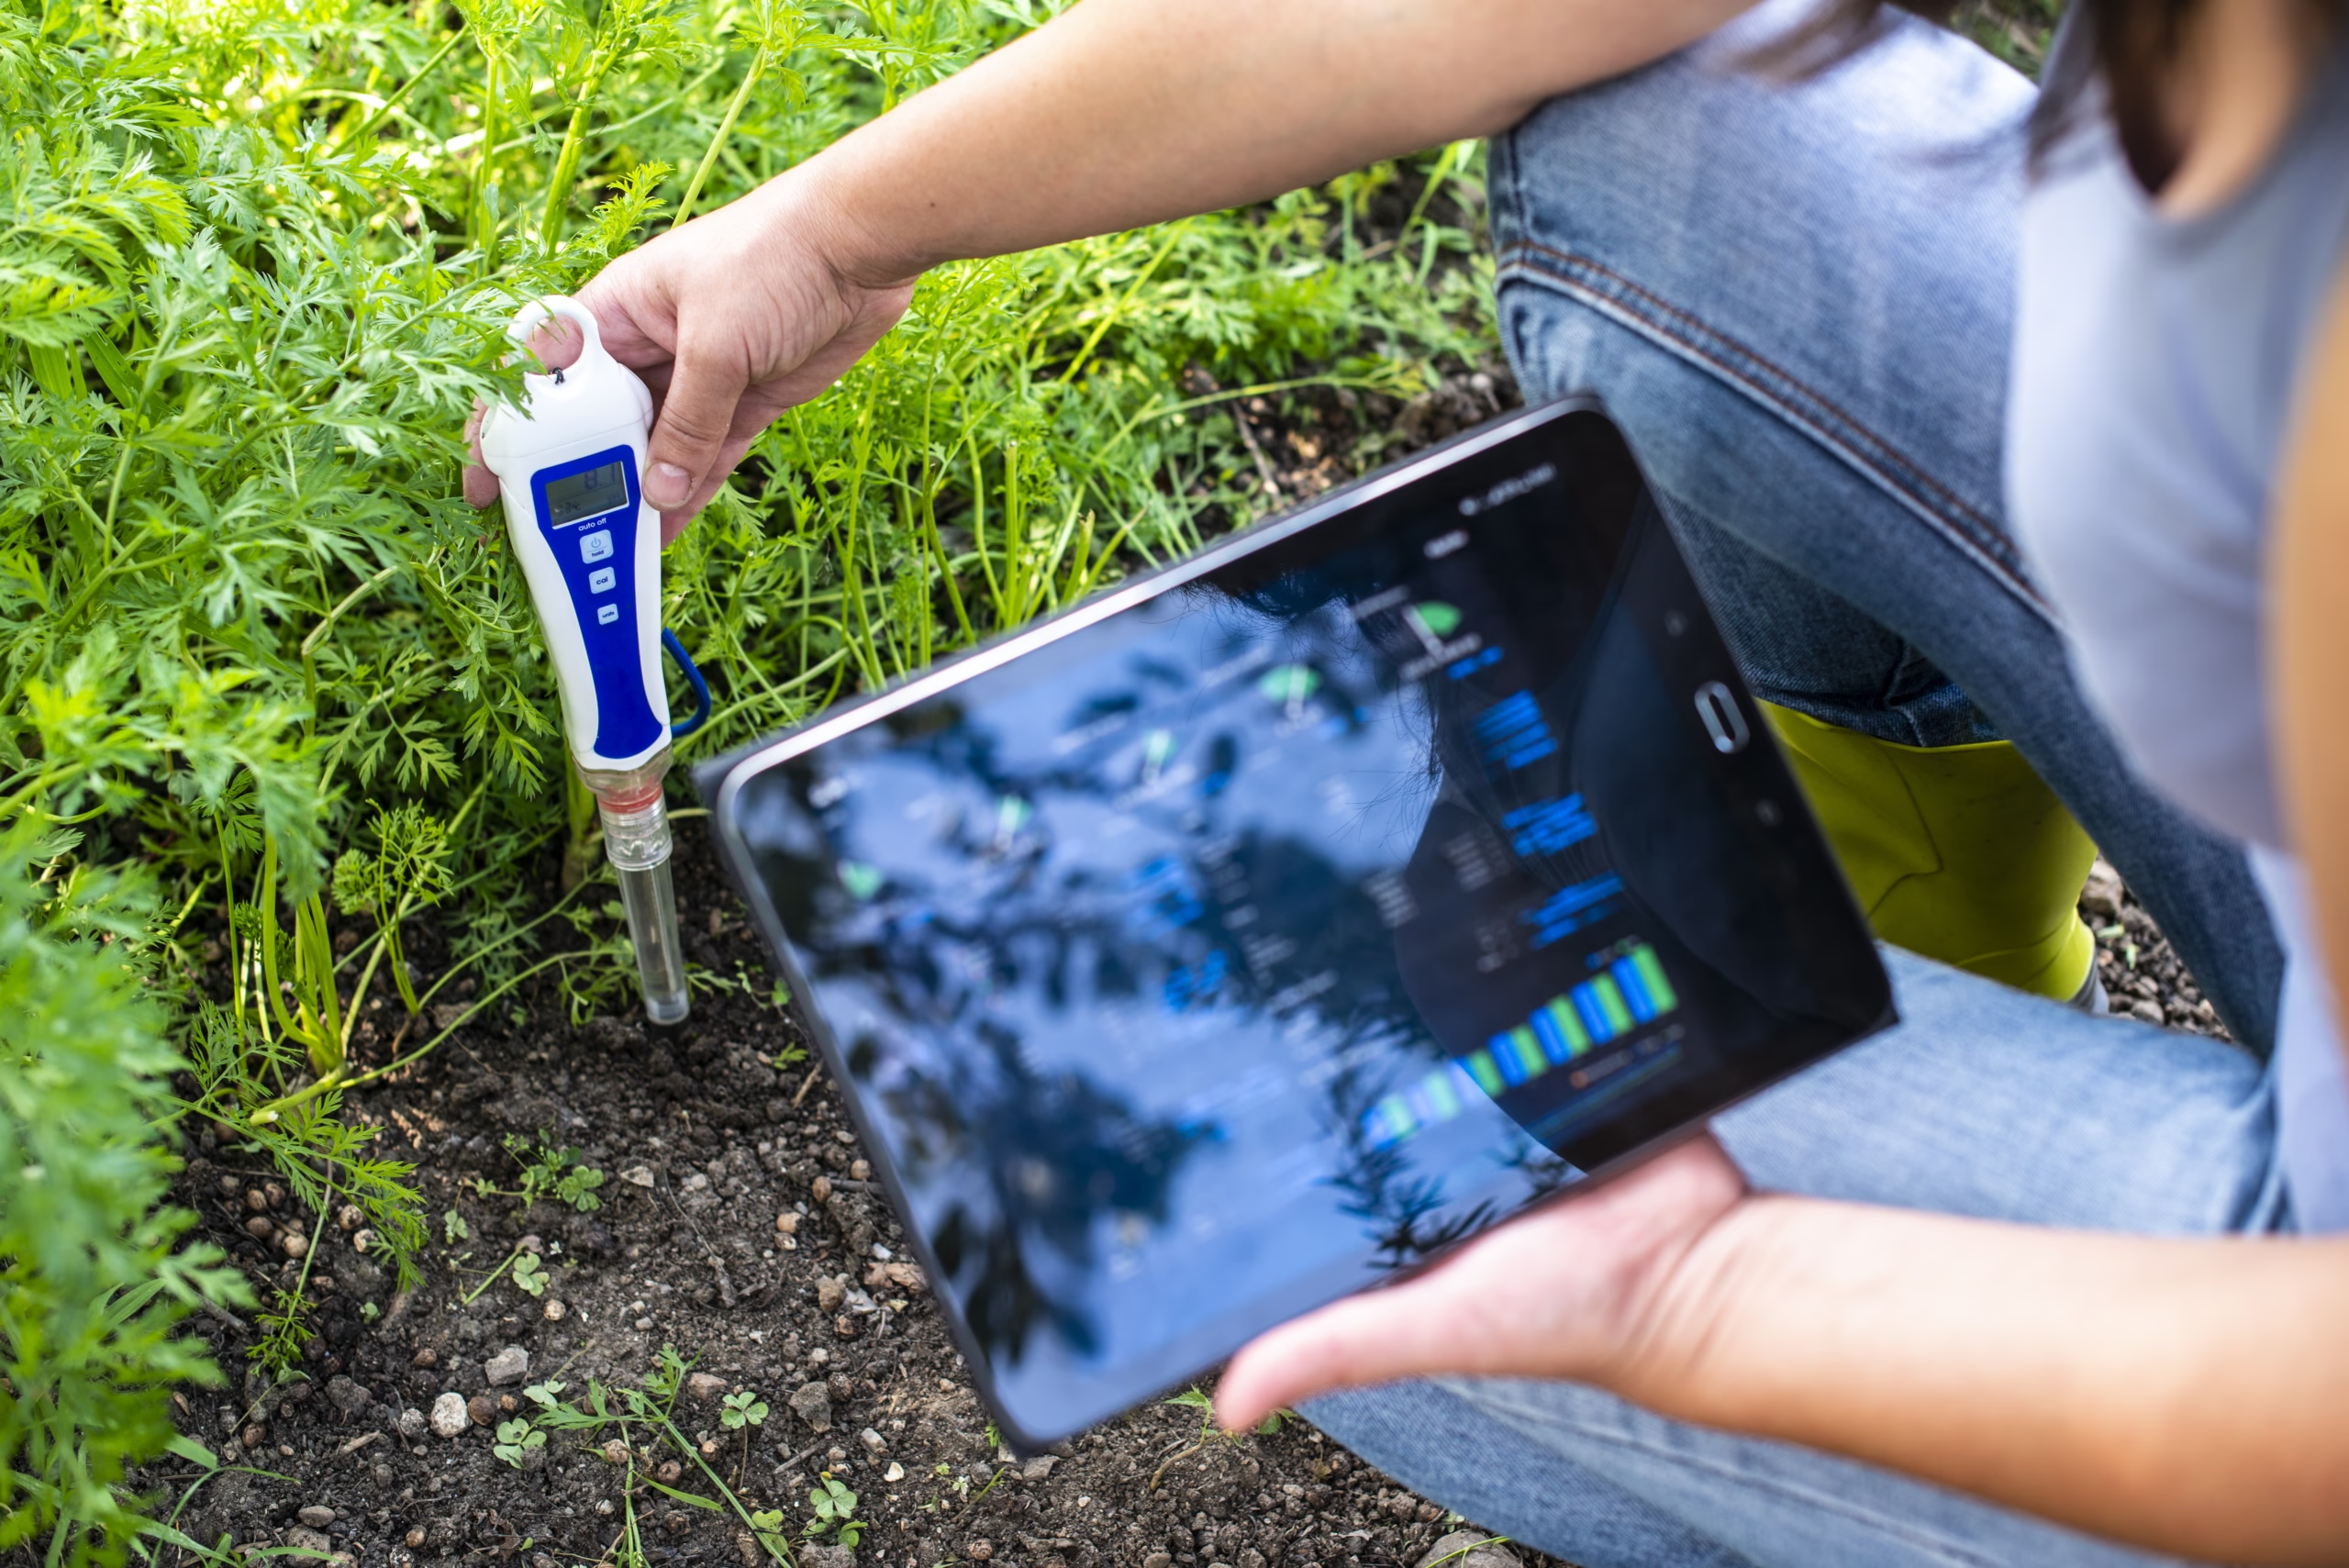
Recognize the Sampling Errors That Distort Laboratory Results
Most soil-sampling mistakes do not make the laboratory instrument fail. They make the number answer the wrong question. That is why sampling error can be harder to notice than a laboratory error: the report looks professional, the units are precise, and the value may still be a faithful measurement of an unrepresentative scoop.
| Sampling Failure | How It Distorts the Result |
|---|---|
| Mixing unlike management zones | Produces an average that may represent none of the zones well enough to guide amendments. |
| Too few or poorly distributed subsamples | Lets small local differences dominate the composite and reduces repeatability. |
| Inconsistent sampling depth | Changes the proportion of surface-enriched nutrients, salts, organic matter, and deeper soil in unpredictable ways. |
| Sampling a fresh fertilizer or compost pocket | Can create unusually high nutrient, salt, or organic-matter readings that do not represent the established root zone. |
| Using contaminated tools or buckets | Can add fertilizer, lime, salts, or trace metals directly to the analytical sample. |
| Drying a sample that should remain fresh | Can alter biological or chemically dynamic measurements before laboratory analysis. |
| Keeping a routine sample hot and wet for days | Can allow biological and chemical transformations while the sample waits for analysis. |
| Mixing a problem spot into a baseline composite | Averages away the contrast needed to diagnose the local problem. |
| Changing laboratories or methods during trend tracking | Can make apparent year-to-year changes partly reflect extraction or reporting differences instead of real soil change. |
One scoop beside the plant is not a representative soil test
The easiest place to reach is often the least representative place to sample. Soil directly beside a stem can contain concentrated irrigation, top-dress, decomposing mulch, or disturbed transplant soil. A single scoop also provides no protection against the ordinary patchiness of garden soil. If the goal is an average condition, use a distributed composite.
Do not “improve” a sample before sending it
Do not remove fine soil because it looks muddy, add dry soil to balance a wet sample, pick out pale particles that look like perlite, or blend in compost because the original sample seems poor. Preparation means following the laboratory protocol, not making the sample look more like the soil you wish you had.
Remember: A representative sample is allowed to look disappointing. The point of testing is to measure the root zone you have, not to curate a cleaner-looking bag for the laboratory.
Recent amendments can create false confidence or false alarm
A high phosphorus or potassium result can reflect real long-term accumulation, but it can also come from sampling directly through a recent amendment patch. An unexpectedly high pH can reflect a concentrated lime particle. A high EC can reflect a fertilizer band. If the sampling history is questionable, a second cleanly collected sample is usually cheaper than rebuilding the soil around a questionable number.
“My laboratory report says potassium is very high, but the plants still look like they have a potassium problem. Does that mean the test is useless?”
Question sent by: SoilSideSam, via Facebook page.
No. First confirm what was actually tested, the extraction method, sample depth, and whether the sample may have included a recent fertilizer pocket. Then separate soil availability from plant uptake. Root damage, pH, salinity, moisture stress, antagonism, disease, and environmental conditions can produce deficiency-like symptoms even when a soil extract contains substantial potassium. If the result conflicts strongly with the garden, re-sample before adding more fertilizer.
Important: A laboratory soil value and a plant symptom answer different questions. Do not correct a suspected deficiency by adding more of a nutrient that the laboratory already reports as excessive until you have investigated pH, root health, salinity, moisture, and the representativeness of the sample.
A lab report from a different method may not be directly comparable
Soil laboratories can use different extractants, reporting units, calibration systems, and recommendation frameworks. Two competent laboratories can return different numerical values for the same soil because they are not performing the identical test. For trend monitoring, use the same laboratory and method when practical, or ask how to compare the methods before treating the difference as a real soil change.
Master Advice: For long-term soil tracking, consistency is part of the measurement: same sampling unit, same depth, similar season, similar field conditions, and preferably the same laboratory method.
Verify a Surprising Result Before You Rebuild the Root Zone
The purpose of a soil test is to improve decisions, not to replace observation. A report should make sense in the context of the sampling history, site behavior, irrigation, amendments, and plant performance. When the numbers fit the garden, they give you a stronger basis for planning. When the numbers look impossible, verify the sample before making an aggressive correction.
Ask whether the result is surprising biologically or only emotionally
A high nutrient level after years of compost use may be completely plausible even if the grower expected “organic” management to remain gentle. A low organic-matter value in sandy native ground may fit the soil perfectly. A high pH in calcareous soil may be difficult to change even though the grower hoped for a simple sulfur calculation. Do not re-sample only because the result is inconvenient.
Re-sample when the result conflicts with the field history, when the original sampling method was questionable, when the wrong depth was used, when the bag identity is uncertain, or when one large amendment decision depends on a value that sits far outside expectation.
Use a confirmatory sample, not the leftover bag, when field representativeness is the question
Reanalyzing the same bag can help investigate laboratory repeatability, but it does not fix a bad field sample. If the concern is that the composite did not represent the bed, return to the bed and collect a new composite using the corrected design. If the concern is an analytical error, ask the laboratory whether it can rerun the retained sample or whether a duplicate analysis is appropriate.
Weedth Verdict: When a large lime, sulfur, phosphorus, potassium, or salinity correction depends on one surprising result, re-sampling is usually a better first move than applying an irreversible amendment on faith.
Compare problem and normal zones before changing the whole garden
For a localized plant problem, a paired sample can prevent a whole-bed correction that only treats one corner. Keep the method matched between the problem and normal samples. If the soil chemistry is similar, investigate irrigation distribution, root-zone compaction, temperature, disease, pests, or plant-specific factors. If one property differs clearly, you have a stronger clue about what to investigate next.
Use repeat testing as a trend tool, not a daily feedback loop
Mineral soil chemistry does not need laboratory testing every time a leaf changes color. Routine sampling is most valuable before major amendments and at consistent intervals that match the intensity of management. Highly managed container media can change faster, but a substrate or fertigation monitoring strategy may be more appropriate than repeatedly sending a mineral-soil test.
When comparing seasons, save the old sample map, sample IDs, depths, laboratory name, and analytical method. A trend is only as strong as the consistency of the procedure behind it.
Before the Soil Leaves Your Garden
- The laboratory and test package were selected before sampling.
- The required depth, sample volume, moisture condition, and shipping instructions were confirmed.
- Each sample represents one real management or diagnostic zone.
- Different soils, raised beds, wet areas, problem spots, or amendment histories were separated where needed.
- Surface litter was removed without scraping away the soil layer being tested.
- Subsamples were collected to the same depth with similar volume from each location.
- Enough locations were sampled to represent the area, using the laboratory recommendation where available.
- Tools and the mixing bucket were clean and appropriate for the requested analysis.
- The composite was mixed thoroughly before the final laboratory portion was removed.
- The bag ID matches the submission form, map, depth, and collection date.
- Air-drying, refrigeration, cooling, or field-moist storage follows the laboratory method rather than habit.
- Recent amendments, unusual weather, irrigation differences, and problem-zone notes were recorded.
- If the result will trigger a large correction, there is a plan to verify any value that conflicts strongly with the site history.
Make the Laboratory Result Represent the Soil You Actually Manage
The hardest part of laboratory soil testing is not filling the bag. It is deciding what that bag is supposed to represent. A well-designed sample keeps unlike areas separate, uses a consistent depth, spreads subsamples across the real management zone, and preserves the soil in the condition required by the laboratory. Those choices make the final numbers useful because the report can be connected back to a specific bed, site, or container group.
For cannabis, resist the urge to invent crop-specific sampling depths or universal nutrient targets that the laboratory has not validated. Use established soil-sampling principles, tell the laboratory what material you are sending, and separate routine fertility data from soil-health, substrate, salinity, or contamination questions. The strongest sample is the one another grower could collect from the same mapped area using the same method and reasonably expect to reproduce.
If the result matches the field history, use it as one part of the root-zone decision. If it does not, inspect the sampling record before adding amendments. A second representative sample can cost far less than a season spent correcting soil that was never measured correctly in the first place.
Share this article
A quick overview of the topics covered in this article.
Follow us
Latest articles
October 25, 2026
October 25, 2026
October 25, 2026