
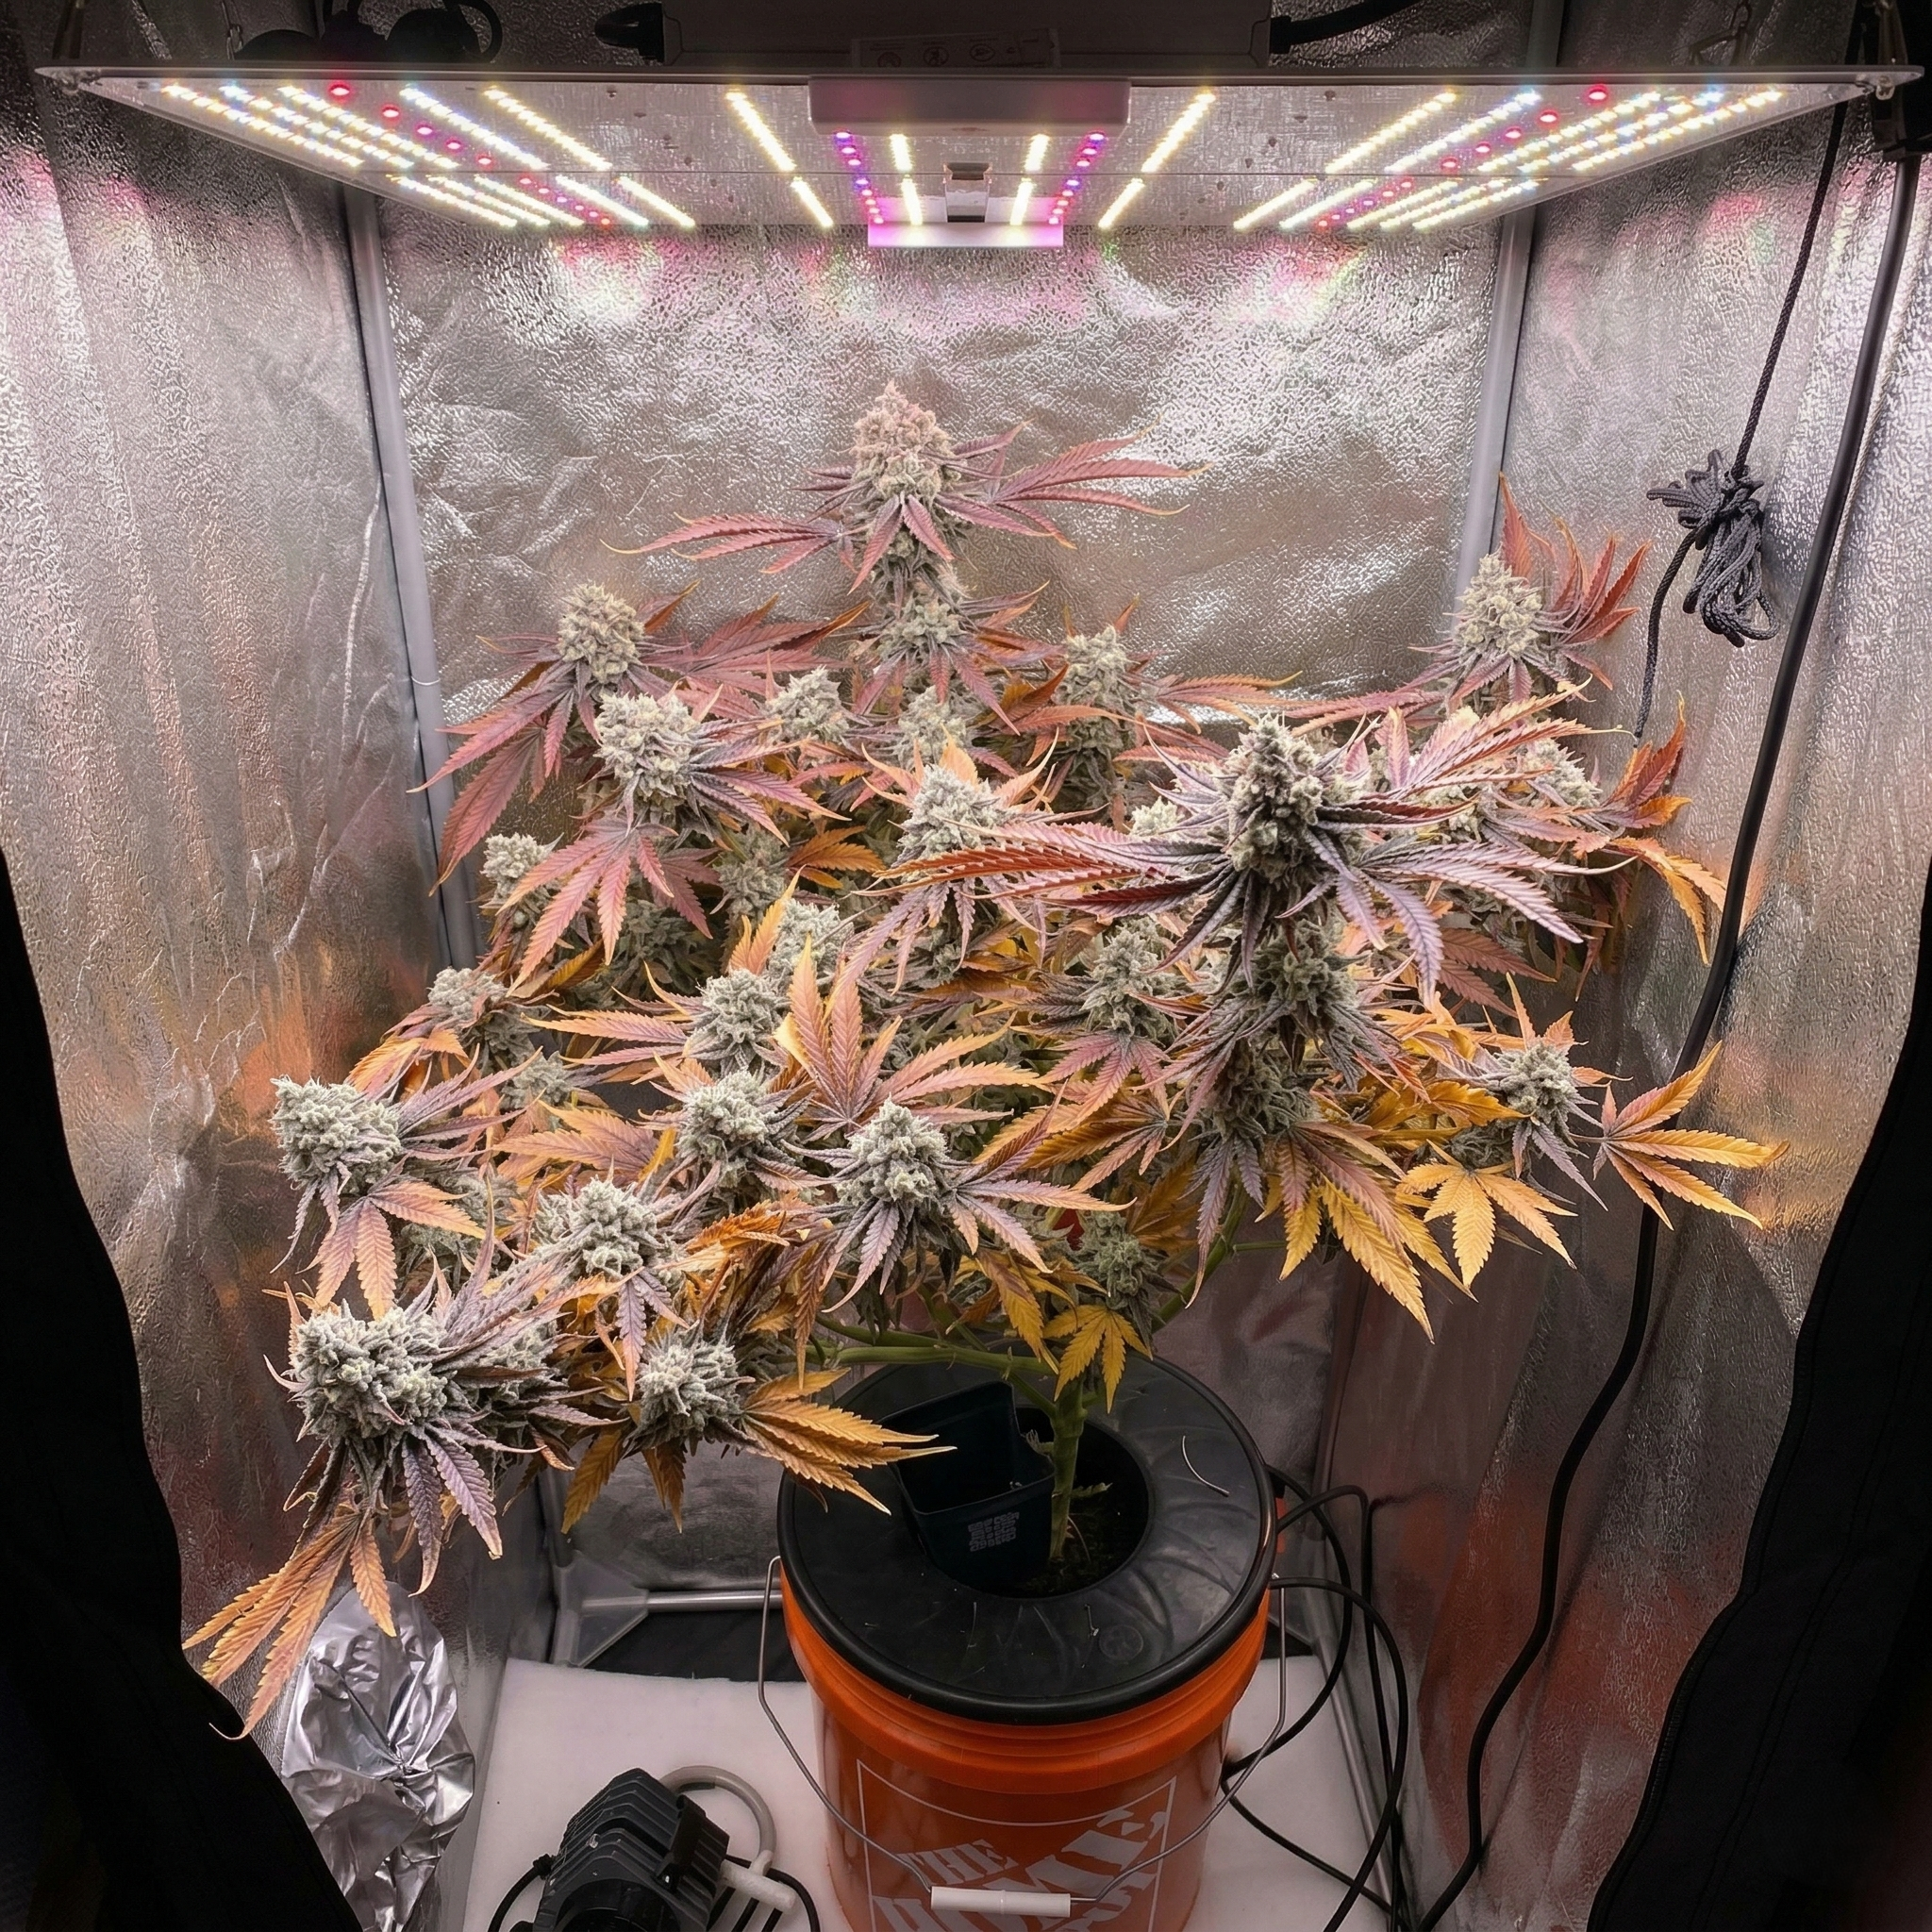
How to Maximize Cannabis Yield in a Grow Tent
A grow tent can produce an excellent cannabis harvest, but the tent itself does not create yield. Yield comes from how well the usable canopy, light, roots, irrigation, climate, genetics, and daily workflow fit inside that enclosure. When one of those systems reaches its limit, adding more plants, more fertilizer, or more light usually makes the tent harder to manage instead of more productive.
So, how do we maximize yield in a grow tent? First, we stop treating yield as a single trick. We build an even, reachable canopy; deliver enough light across the whole surface; protect root-zone oxygen and water balance; keep temperature and humidity under control; and carry healthy leaves into the weeks when flowers gain most of their dry mass. Then we record the final dry, trimmed, usable flower, not wet branches or an optimistic estimate.
This guide will help you find the real bottleneck in your tent and improve it in the right order. The goal is not merely to fill the enclosure. It is to make every occupied part of the canopy productive without sacrificing airflow, access, flower quality, safety, or consistency.
Maximum tent yield is the greatest repeatable amount of dry, trimmed, usable cannabis flower a complete tent system can produce without unacceptable losses in quality, plant health, safety, or reliability.
It is not the heaviest wet harvest, the largest single cola, the highest plant count, or a number copied from another grower. A useful yield result includes the canopy area, crop time, energy use, genetics, environment, and quality standard that produced it.
The Short Answer: How to Maximize Yield in a Grow Tent
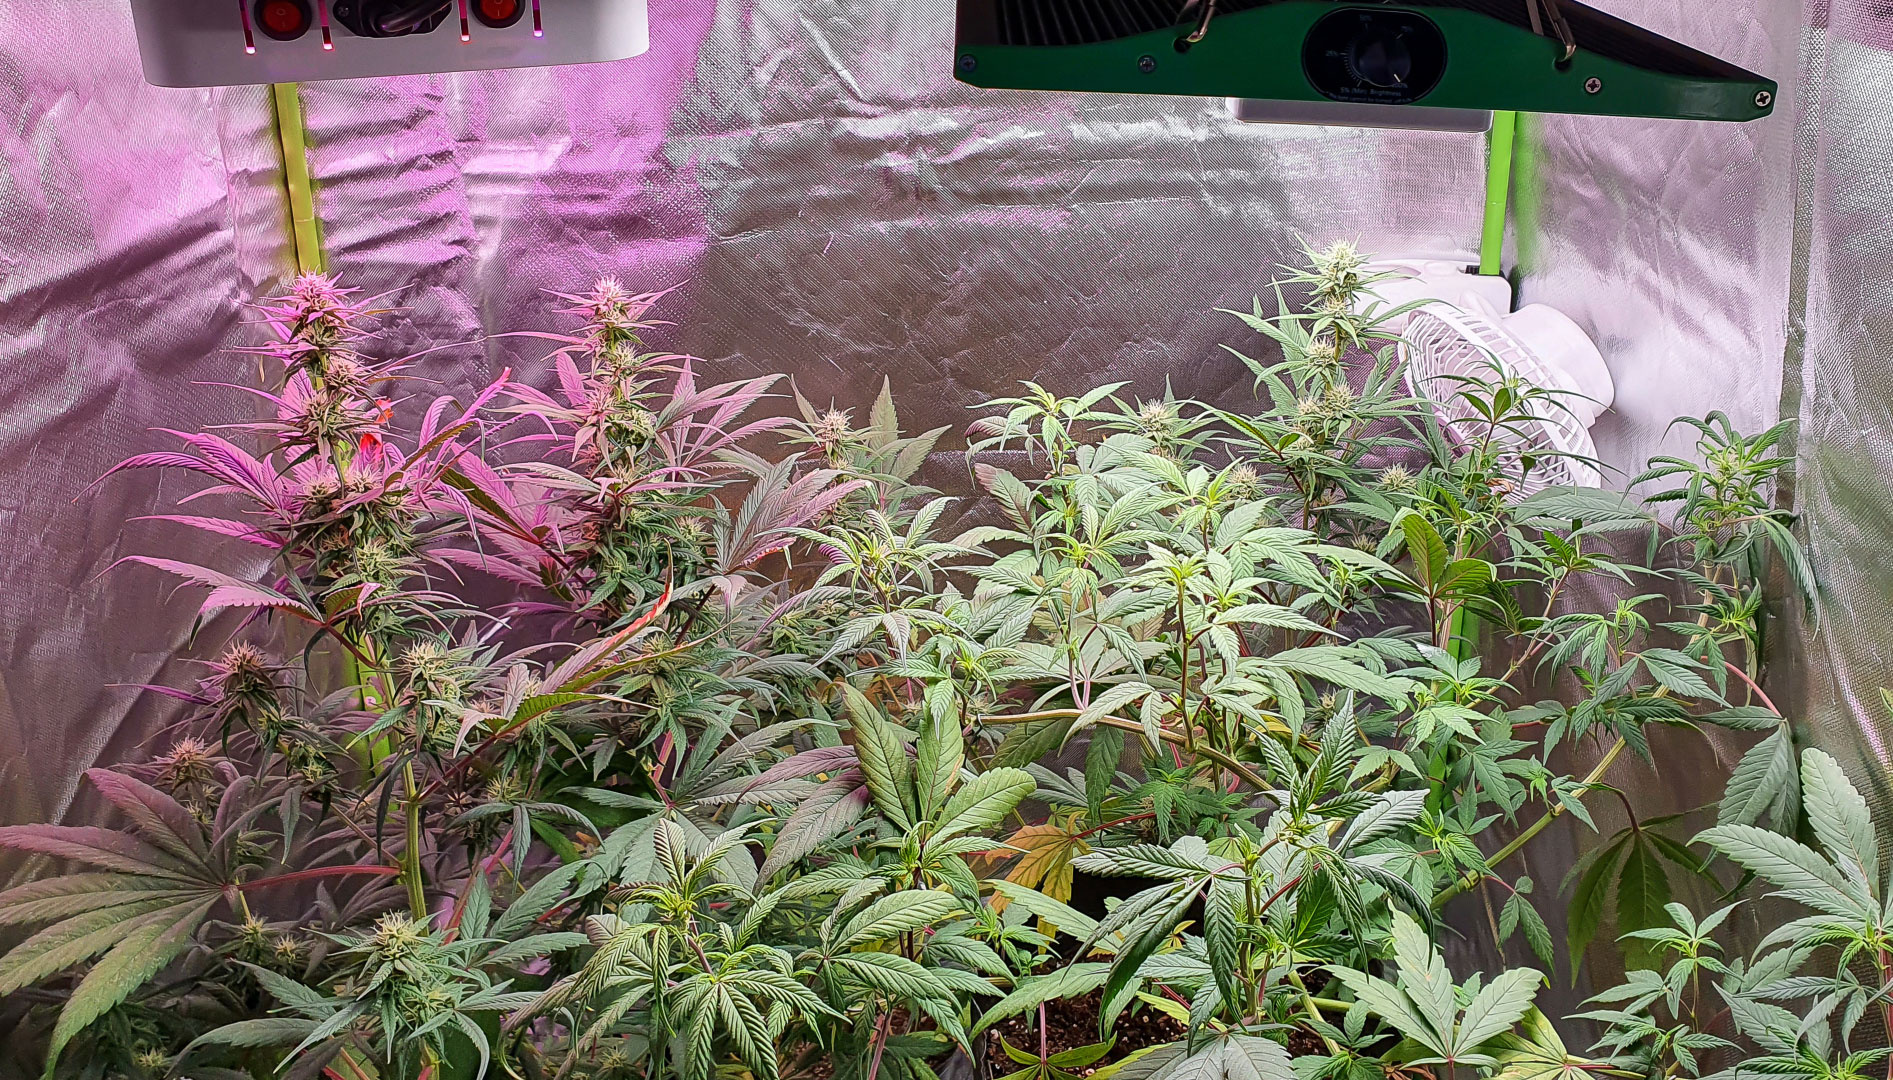
Build the crop around the tent’s usable canopy area, not its advertised floor dimensions. Choose genetics that fit the available height and climate. Map light at canopy level, create an even plant surface, and leave enough access to inspect every corner. Match root volume and irrigation capacity to the final canopy, then keep the environment stable through the flowering stretch and late-flower humidity rise.
The most productive order of work is usually:
- Define how you will measure usable yield.
- Calculate the real horizontal and vertical growing space.
- Choose compatible genetics and a canopy strategy.
- Map and balance the light across that canopy.
- Build enough root-zone and irrigation capacity.
- Control heat, humidity, air exchange, and leaf movement.
- Use a complete nutrient program without booster stacking.
- Protect flower health, support, and maturity through harvest.
- Record the result and change one major variable next cycle.
Important: A full tent and a productive tent are not the same thing. If you cannot reach the rear pots, inspect the inner flowers, move air through the canopy, or remove humidity after lights-off, the enclosure is already overfilled.
Measure the Yield You Actually Want to Improve
Yield discussions become confusing because growers use different denominators. One person reports total flower per harvest. Another reports grams per watt. A third includes small flowers that someone else would send to extraction or discard. Before changing the crop, decide what counts.
| Metric | What it answers | Useful for | Main limitation |
|---|---|---|---|
| Dry trimmed flower per crop | How much usable flower did the tent produce? | Simple crop comparison | Ignores crop time and energy |
| Yield per canopy area | How productive was the occupied surface? | Comparing layouts and tent sizes | Needs an honest canopy measurement |
| Yield per day | How much output did the complete cycle create over time? | Comparing long and short vegetative periods | Must include turnaround time |
| Yield per kilowatt-hour | How efficiently did electrical light become flower? | Energy planning | Needs accurate power and runtime records |
| Marketable or preferred-grade yield | How much flower met your density and quality standard? | Quality-focused improvement | The grading standard must stay consistent |
For a home tent, the most informative record is often dry trimmed flower, divided by the measured canopy area, with total crop days and lighting energy written beside it. Add notes about aroma, flower density, mold loss, stress, and trim quality. That small record prevents a heavier but slower or lower-quality harvest from looking automatically better.
Remember: Weigh flower only after drying has reached a stable endpoint. Wet branch weight changes with stems, leaves, surface moisture, and harvest timing, so it cannot compare two crops fairly.
Start With the Tent’s Real Space, Not Its Label
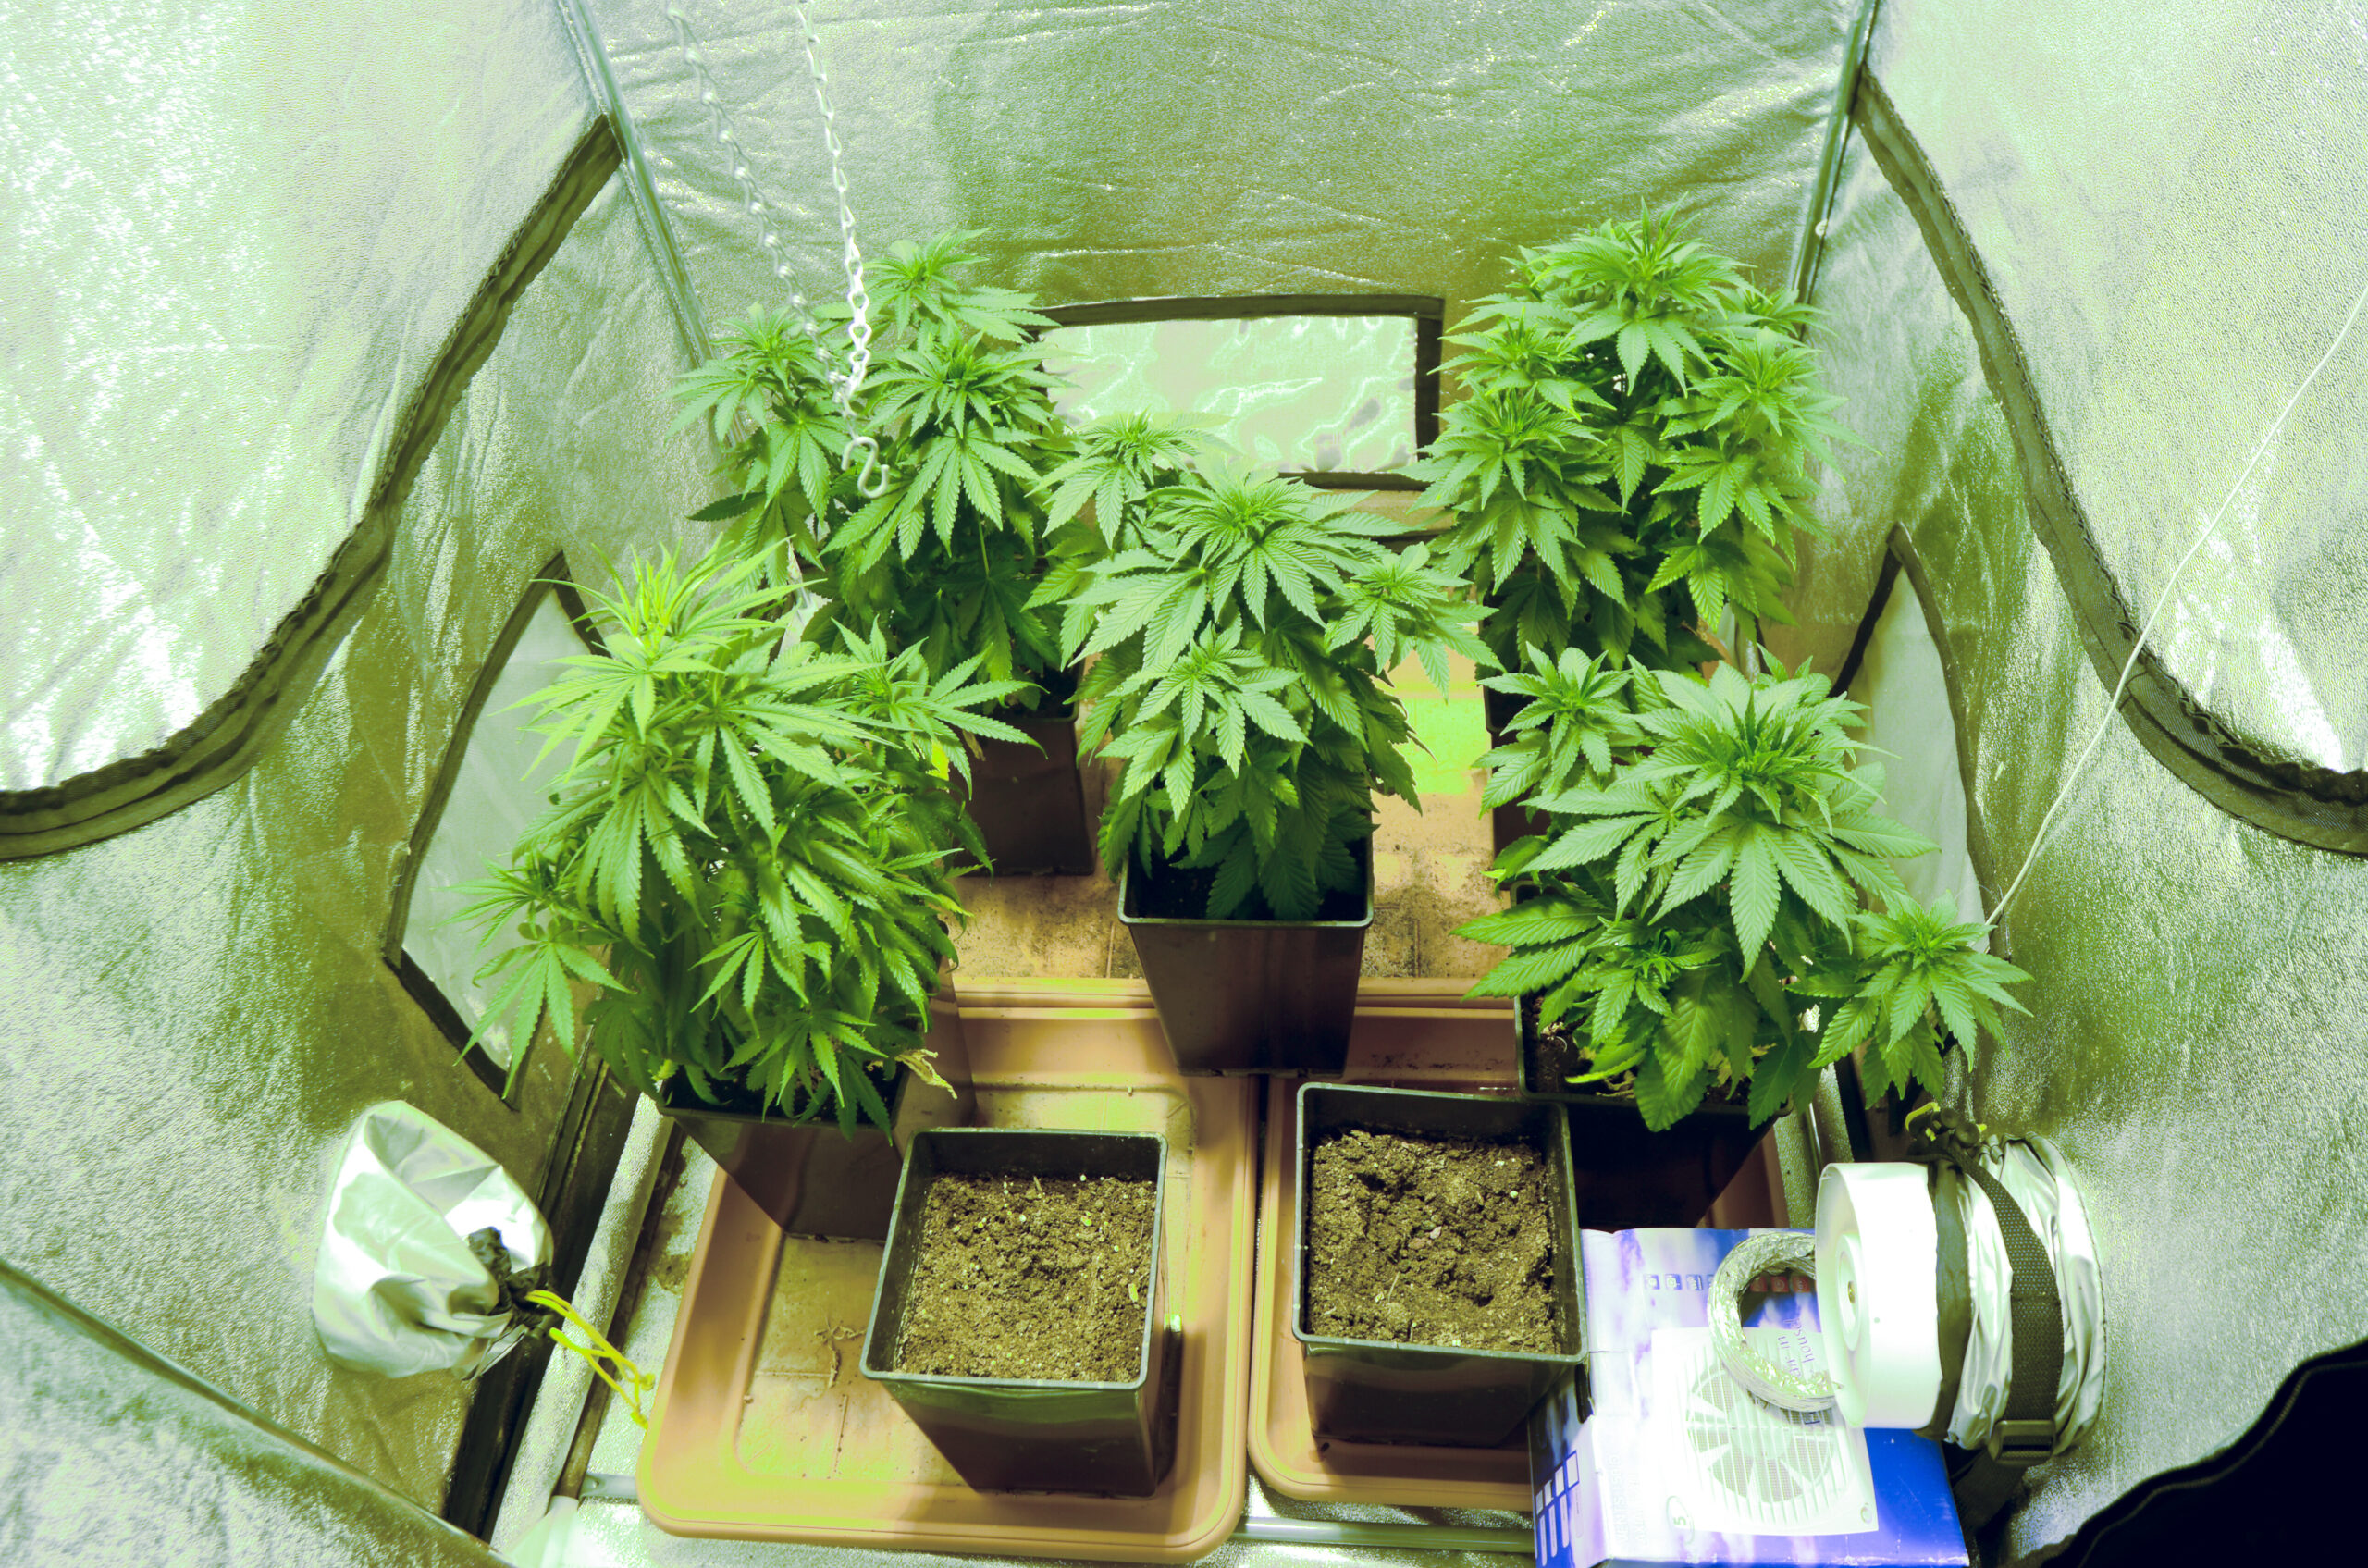
A 4 × 4 ft tent has a nominal floor area of 16 sq ft, but not every inch becomes productive canopy. Containers, tray edges, intake openings, wall movement, circulation fans, a humidifier or dehumidifier hose, and the entrance can all reduce usable width. More importantly, the rear corners may technically contain plants while remaining impossible to inspect.
Height disappears even faster. The container and riser occupy the bottom. The fixture, hangers, filter, ducting, and safe clearance occupy the top. The remaining distance must fit the vegetative plant, flowering stretch, canopy thickness, and the light-to-canopy separation required by the actual fixture.
| Tent footprint | Nominal area | Metric area | First question to solve |
|---|---|---|---|
| 2 × 2 ft | 4 sq ft | 0.37 m² | Can one compact canopy remain reachable? |
| 2 × 4 ft | 8 sq ft | 0.74 m² | Does the fixture cover the long edges evenly? |
| 3 × 3 ft | 9 sq ft | 0.84 m² | Can the rear center be inspected and watered? |
| 4 × 4 ft | 16 sq ft | 1.49 m² | Can heat and late-flower moisture leave the room? |
| 5 × 5 ft | 25 sq ft | 2.32 m² | Is there access beyond the front canopy edge? |
Build a Vertical Space Budget
Measure from the tray to the lowest fixed overhead object. Subtract the container and drainage stand, fixture thickness, hangers, filter or ducting where they cross the canopy, and the light separation you expect to need. What remains is the true plant envelope.
Do this before choosing genetics or transplanting into final containers. A cultivar with strong flowering stretch can consume the remaining height quickly. Emergency supercropping, severe bending, or raising the light into unsafe clearances may save a crop, but none is a reliable yield plan.
Pro Tip: Mark three heights on a tent pole: target vegetative canopy, expected post-stretch canopy, and maximum safe canopy. Those marks turn stretch management into a visible decision instead of a late surprise.
Choose Genetics That Fit the Yield System
Genetics set the range within which the environment can work. Cultivars differ in stretch, internode length, branch strength, leaf shape, flower density, finishing time, nutrient tolerance, disease susceptibility, and how evenly their flowers develop through the canopy. A compact cultivar that finishes reliably may produce more usable tent flower than a vigorous cultivar that grows into the light or creates a humid wall of foliage.
Choose from reliable information about the specific cultivar or clone line, then verify it with your own records. Seed-grown plants can still vary within the same named cultivar. If uniformity is important, the crop must account for those differences instead of assuming identical labels create identical architecture.
| Trait | Tent advantage | Possible cost | Planning response |
|---|---|---|---|
| Moderate stretch | Easier light distance and canopy control | May need more vegetative shaping | Flip after the target footprint is nearly built |
| Strong lateral branching | Fills a screen with fewer main plants | Can become crowded inside | Keep only reachable, supported branches |
| Dense flowers | Higher mass in a compact volume | More moisture and rot risk | Protect late-flower airflow and humidity control |
| Open flower structure | Better air movement in humid rooms | May look less compact | Judge dry usable quality, not appearance alone |
| Fast finish | More predictable seasonal climate and turnover | Less recovery time after stress | Enter flower with roots and canopy ready |
Autoflowering plants can work well in tents, but their limited recovery and fixed developmental timing make early root restriction, transplant stress, and aggressive training especially costly. Photoperiod plants give the grower more control over vegetative duration, but a longer vegetative phase is useful only while it is building productive canopy.
Advice: Select genetics for the hardest part of your room. If late-summer humidity is the recurring limit, flower structure and disease tolerance matter more than an optimistic yield description.
Plant Count Does Not Decide Yield by Itself
One large trained plant and several smaller plants can fill the same canopy. The difference is how much vegetative time, root volume, irrigation hardware, plant handling, and legal plant count each approach requires. Once the lighted canopy is filled effectively, adding more plants mainly changes the route used to reach that canopy.
Higher planting density can increase yield per area in some controlled cannabis systems, but research also shows that density interacts with pruning, architecture, and chemical uniformity. That means there is no universal number of plants for a 2 × 4 or 4 × 4 tent.
| Strategy | Main advantage | Main demand | Best fit |
|---|---|---|---|
| One or few trained plants | Low plant count and flexible shaping | Longer vegetative time and strong root capacity | Stable genetics and patient canopy building |
| Several compact plants | Faster area coverage | More containers and irrigation points | Uniform plants with predictable stretch |
| Screen of green | Supports an even connected canopy | Access becomes difficult after branches are woven | Front and side access with planned drainage |
| High-density single-cola style | Short vegetative phase | Uniform material, legal capacity, close disease control | Experienced, highly repeatable systems |
“Will one large plant or four smaller plants give me more flower in the same tent?”
Question sent by: Ethan Caldwell, via e-mail.
Either approach can fill the same usable canopy. One plant usually needs more vegetative time and a root zone capable of supporting many branches. Several plants can fill the footprint sooner, but they add containers, irrigation points, variability, and plant-count considerations. Compare complete cycle time, access, cultivar uniformity, and your ability to water every root zone evenly. The canopy quality matters more than the number printed on the plant tags.
Map the Light Before You Fill the Canopy
A powerful fixture can still produce an uneven harvest. The center may receive excessive intensity while the corners and long edges remain weak. Raising power can then bleach or stress the center without correcting the outer canopy. For yield, the useful question is not only how much light the fixture emits. It is how evenly usable light reaches the complete plant surface.
Measure at canopy height with the tent configured as it will operate: reflective walls closed, fixture warmed up, and the sensor kept level. Use a grid that includes the center, edges, and corners. A 3 × 3 grid is a minimum snapshot; a 5 × 5 grid reveals more of the shape. Record average, highest, and lowest PPFD.
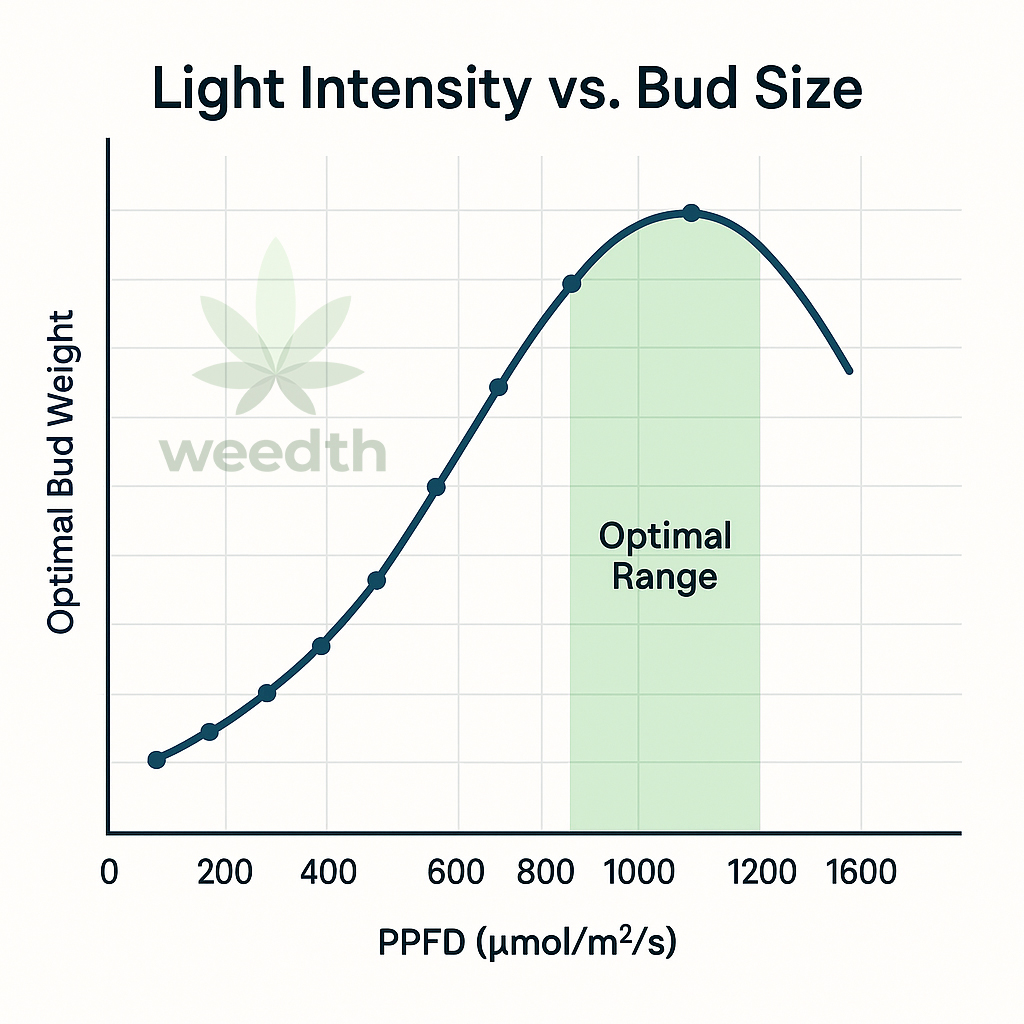
PPFD is the momentary rate of photosynthetically active photons reaching a surface. DLI is the total of those photons delivered across the day.
DLI can be estimated as: PPFD × 3,600 × light hours ÷ 1,000,000. For example, an average 700 µmol·m⁻²·s⁻¹ for 12 hours is about 30.2 mol·m⁻²·day⁻¹. This calculation does not decide the correct target; it only connects intensity and duration.
Controlled cannabis research has found increasing yield as light intensity increased within the conditions tested, including a study that examined average canopy PPFD up to 1,800 µmol·m⁻²·s⁻¹. That does not make 1,800 a universal tent target. The study used a particular cultivar and controlled system. Higher photon delivery also raises electricity use, leaf demand, cooling load, irrigation demand, and the cost of environmental mistakes.
Use Distribution Before Peak Intensity
Calculate a simple uniformity check by dividing the lowest reading by the average. A very low result means part of the canopy is receiving much less light than the tent average. You may improve it by changing fixture height, dimming, canopy shape, fixture orientation, reflective obstructions, or the size of the occupied footprint.
The ideal fixture height is not automatically the closest safe distance in a product manual. A slightly higher, dimmed fixture may create a broader and more even map. A close fixture may create a strong central peak and weak perimeter. Use the plant response and full map together.
Master Advice: Improve the darkest productive part of the canopy before chasing a brighter center. Uniform light turns more branches into useful flower while reducing the number of tops pushed beyond the room’s climate capacity.
Why Watts per Square Foot Can Mislead You
Fixture watts describe electrical input, not canopy photons. Two lights drawing the same power can differ in efficiency, spectrum, optical distribution, thermal behavior, and how well they fit the tent shape. Watts per square foot can be a rough planning check, but it cannot replace a PPFD map.
Grams per watt is also incomplete. It ignores photoperiod, crop duration, dimming, climate equipment, fixture efficiency, canopy area, and quality. Grams per kilowatt-hour is more honest for lighting energy, although even that does not include every fan, heater, dehumidifier, or air conditioner.
Build an Even Canopy Without Removing the Plant’s Engine
Light loses usefulness when a few tops sit close to the fixture and many branches remain shaded below. Low-stress training, topping, branch selection, and a support screen can distribute growing points across the light map. The objective is not a perfectly flat green carpet at any cost. It is a manageable layer of healthy flower sites supported by functional leaves.
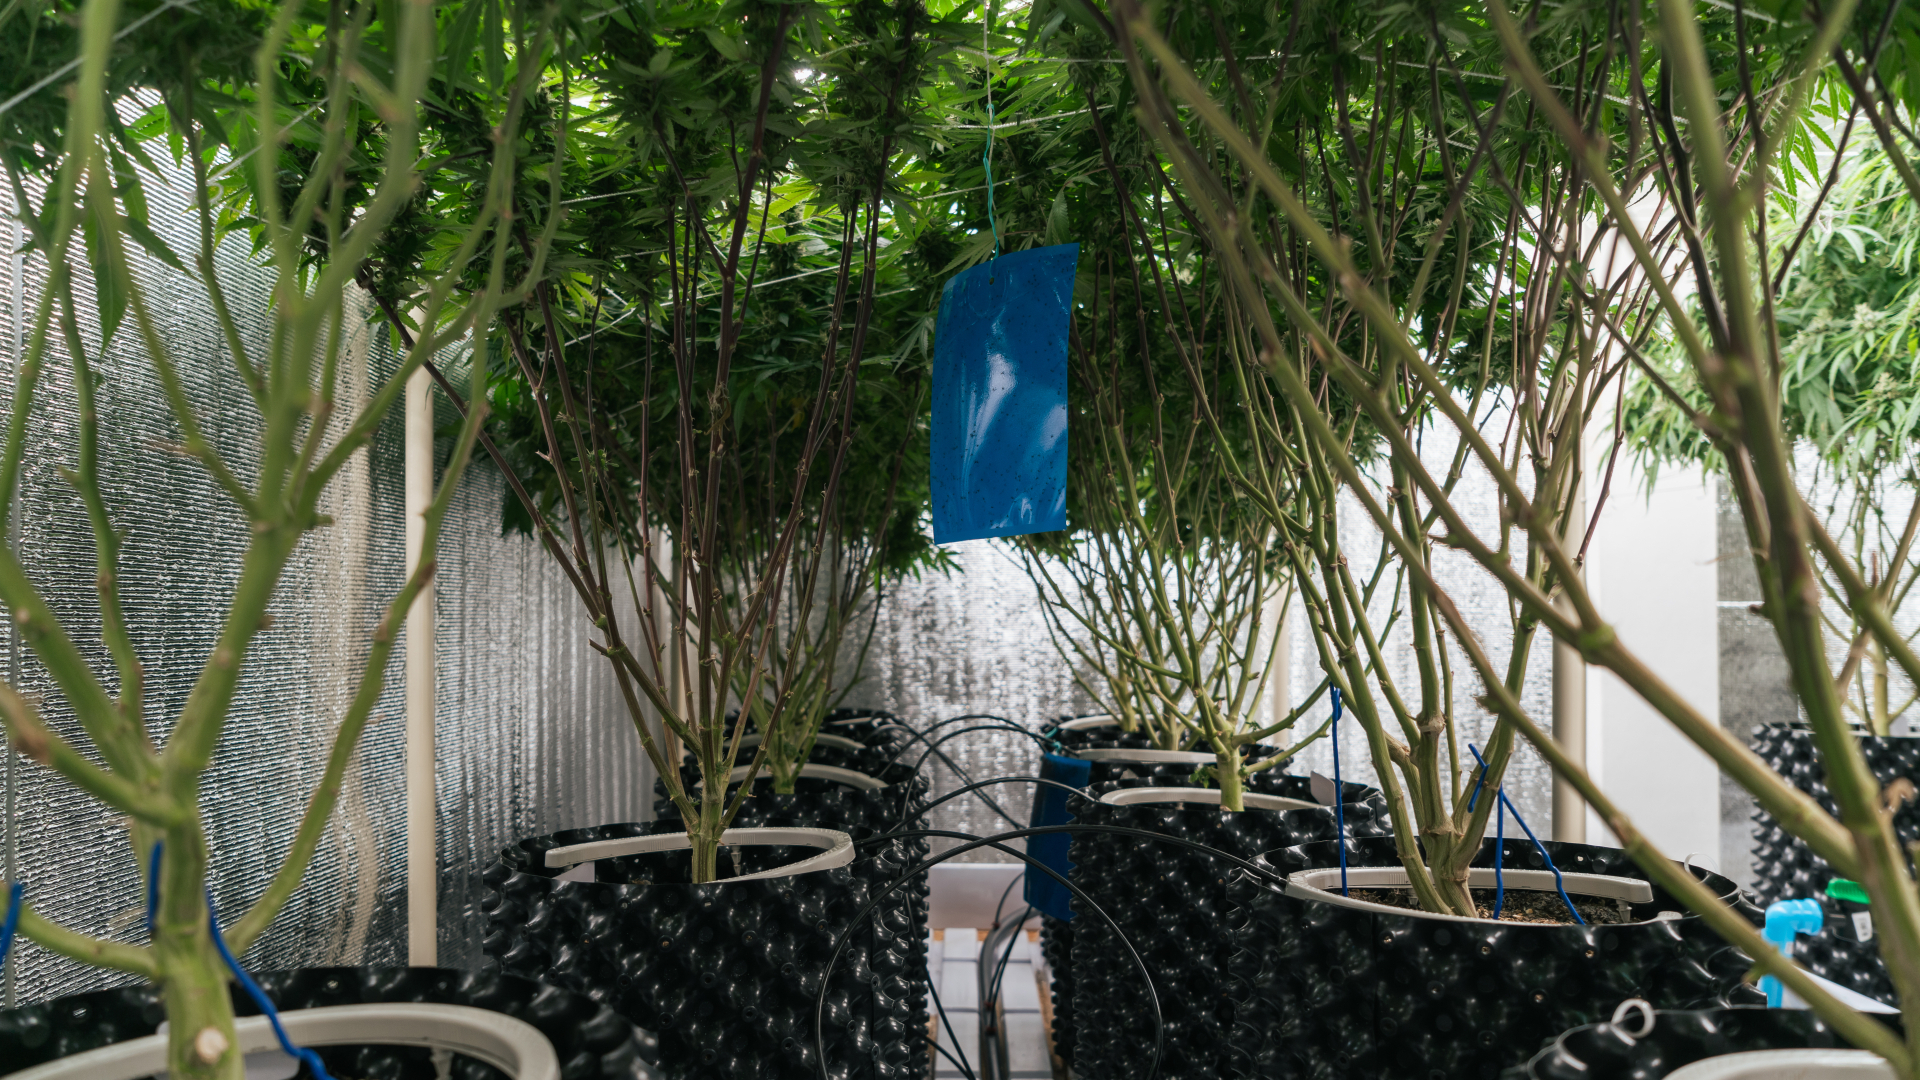
Begin shaping early enough that branches can respond without a crisis. Spread vigorous tops into open areas. Raise or support weaker sections. During transition, watch the actual stretch daily and adjust while stems remain workable. Stop weaving before every branch becomes locked into a screen that blocks irrigation and inspection.
Tip: Leave small access lanes around tent doors, irrigation lines, and the rear edge. A narrow gap that lets you inspect stems and flowers can protect more yield than one extra branch occupying it.
When to Change the Light Schedule
Do not change to flowering because a generic chart says the screen must be 70 or 80 percent full. Cultivars stretch differently, and the same cultivar can stretch differently under another environment. Use the previous run, breeder information, clone behavior, container capacity, and remaining height to estimate how much open area the transition growth will fill.
A fast-stretching cultivar may need a much earlier transition. A compact plant may need more of its final footprint built in vegetative growth. If you have no history, leave reserve space. It is easier to accept a few open squares than to remove overlapping branches from an inaccessible, humid canopy.
Defoliation Is a Tool, Not a Yield Ritual
Leaves power growth and help move water and nutrients. Severe pruning can reduce yield when it removes too much photosynthetic area or too many active growth sites. Remove leaves selectively when they solve a specific problem: a diseased leaf, a persistent wet pocket, blocked access, or severe overlap that cannot be corrected by repositioning.
Lower cleanup can improve air movement and direct labor toward flowers that can mature in the useful light zone. However, stripping everything below an arbitrary line can remove productive sites or stress the plant. Observe how deeply useful light reaches, then make staged changes instead of one dramatic session.
Shape branches around measured light and real access.
Keep productive tops separated, support them before they lean, and preserve enough healthy foliage to carry flower development.
Copy a fixed stripping calendar.
Do not remove leaves because a specific flower day arrived. Every cut should solve a visible canopy, health, airflow, or access problem.
Match the Root Zone to the Final Canopy
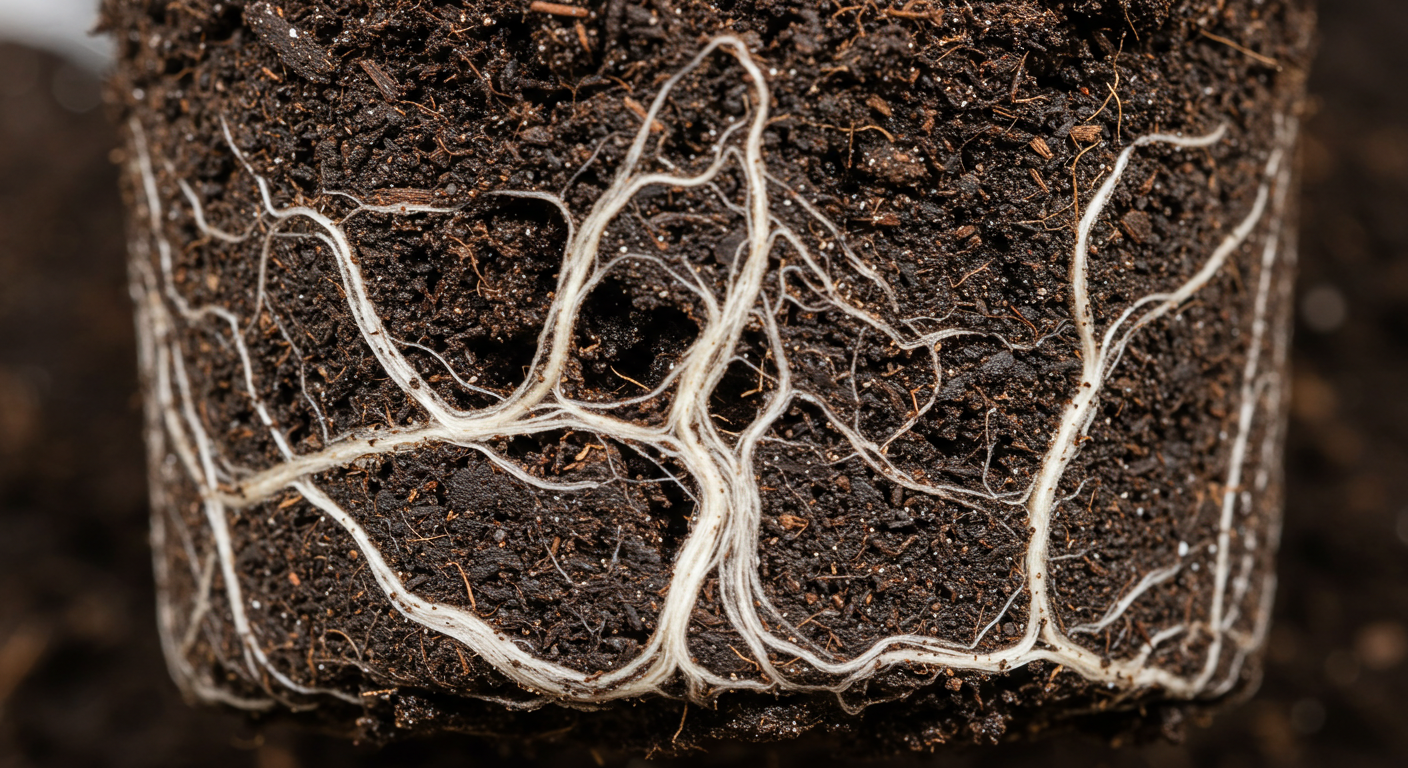
The canopy can grow only as consistently as the roots can supply it. A small container may support a large plant if irrigation is frequent, uniform, and carefully monitored. The same container becomes a yield limit when it dries too fast, rewets unevenly, concentrates salts, or leaves no recovery margin after a missed event.
A larger container adds water and nutrient buffer, but it also adds wet weight, floor area, and the possibility of a persistently saturated center. Pot size is not a trophy. Choose the root volume and medium that fit your irrigation method, cultivar, climate, crop duration, and ability to collect drainage.
| System | Strength | Main yield risk | Useful signal |
|---|---|---|---|
| Potting soil | Good moisture and nutrient buffer | Overwatering or slow wet zones | Pot weight plus moisture at depth |
| Coco-based medium | High steering and fertigation control | Salt concentration and uneven delivery | Input, drainage, EC, and daily water use |
| Living or amended soil | Biological and nutrient reserve | Too little soil volume or uneven moisture | Moisture profile and steady plant color |
| Recirculating hydroponics | Direct root-zone monitoring | Temperature, oxygen, or system-wide failure | Solution temperature, pH, EC, and dissolved oxygen |
Water the Root Zone, Not the Calendar
Use container weight, moisture at depth, plant water use, drainage behavior, input EC, and root-zone trend to decide when and how much to irrigate. A small surface dry-back does not prove the full container is ready. A schedule copied from another tent cannot account for your root volume, medium, canopy, temperature, or airflow.
As the canopy grows and photon delivery rises, water demand usually changes. In a suitable media-based system, several smaller irrigations may distribute water more evenly than one large event. In another system, frequent irrigation may keep the medium too wet. The correct pattern maintains root oxygen, uniform wetting, stable nutrition, and enough buffer to survive normal variation.
What to Remember: More frequent watering and stronger nutrient concentration are different decisions. A plant that drinks faster may need better irrigation timing without needing a higher EC.
Feed for Complete Growth, Not for a Bigger Number on the Bottle
Flower production requires all essential nutrients in suitable proportions. It does not require a collection of overlapping bloom boosters. Excess concentration can reduce water uptake, create ion imbalance, damage roots, and make environmental stress harder to diagnose.
Controlled cannabis studies have not supported the idea that continually increasing phosphorus, potassium, or total root-zone EC always increases flower yield. In one soilless flowering study, the optimum predicted nitrogen and phosphorus concentrations were specific to one cultivar and system. Another study found elevated root-zone phosphorus and nutrient concentration did not increase yield or cannabinoids within its tested conditions. These results support a principle, not a universal recipe: provide an adequate complete program, then adjust from measured plant and root-zone response.
Track the source water, recipe, input pH and EC where relevant, irrigation volume, drainage, and visible response. Change one major variable at a time. If a plant looks weak, confirm root moisture, delivery uniformity, light position, temperature, pest pressure, and pH before adding a deficiency product.
Important: A small flower is not a nutrient diagnosis. Genetics, shade, root restriction, heat, water stress, disease, pollination, and early harvest can all reduce flower size without requiring stronger feed.
Make the Tent and Lung Room One Climate System
The tent does not create cool, dry intake air. It borrows air from the surrounding room and returns heat and moisture somewhere. If the exhaust empties into the same closed room, the system can repeatedly inhale its own warm, humid output. Late in flower, that loop can become the real yield ceiling.
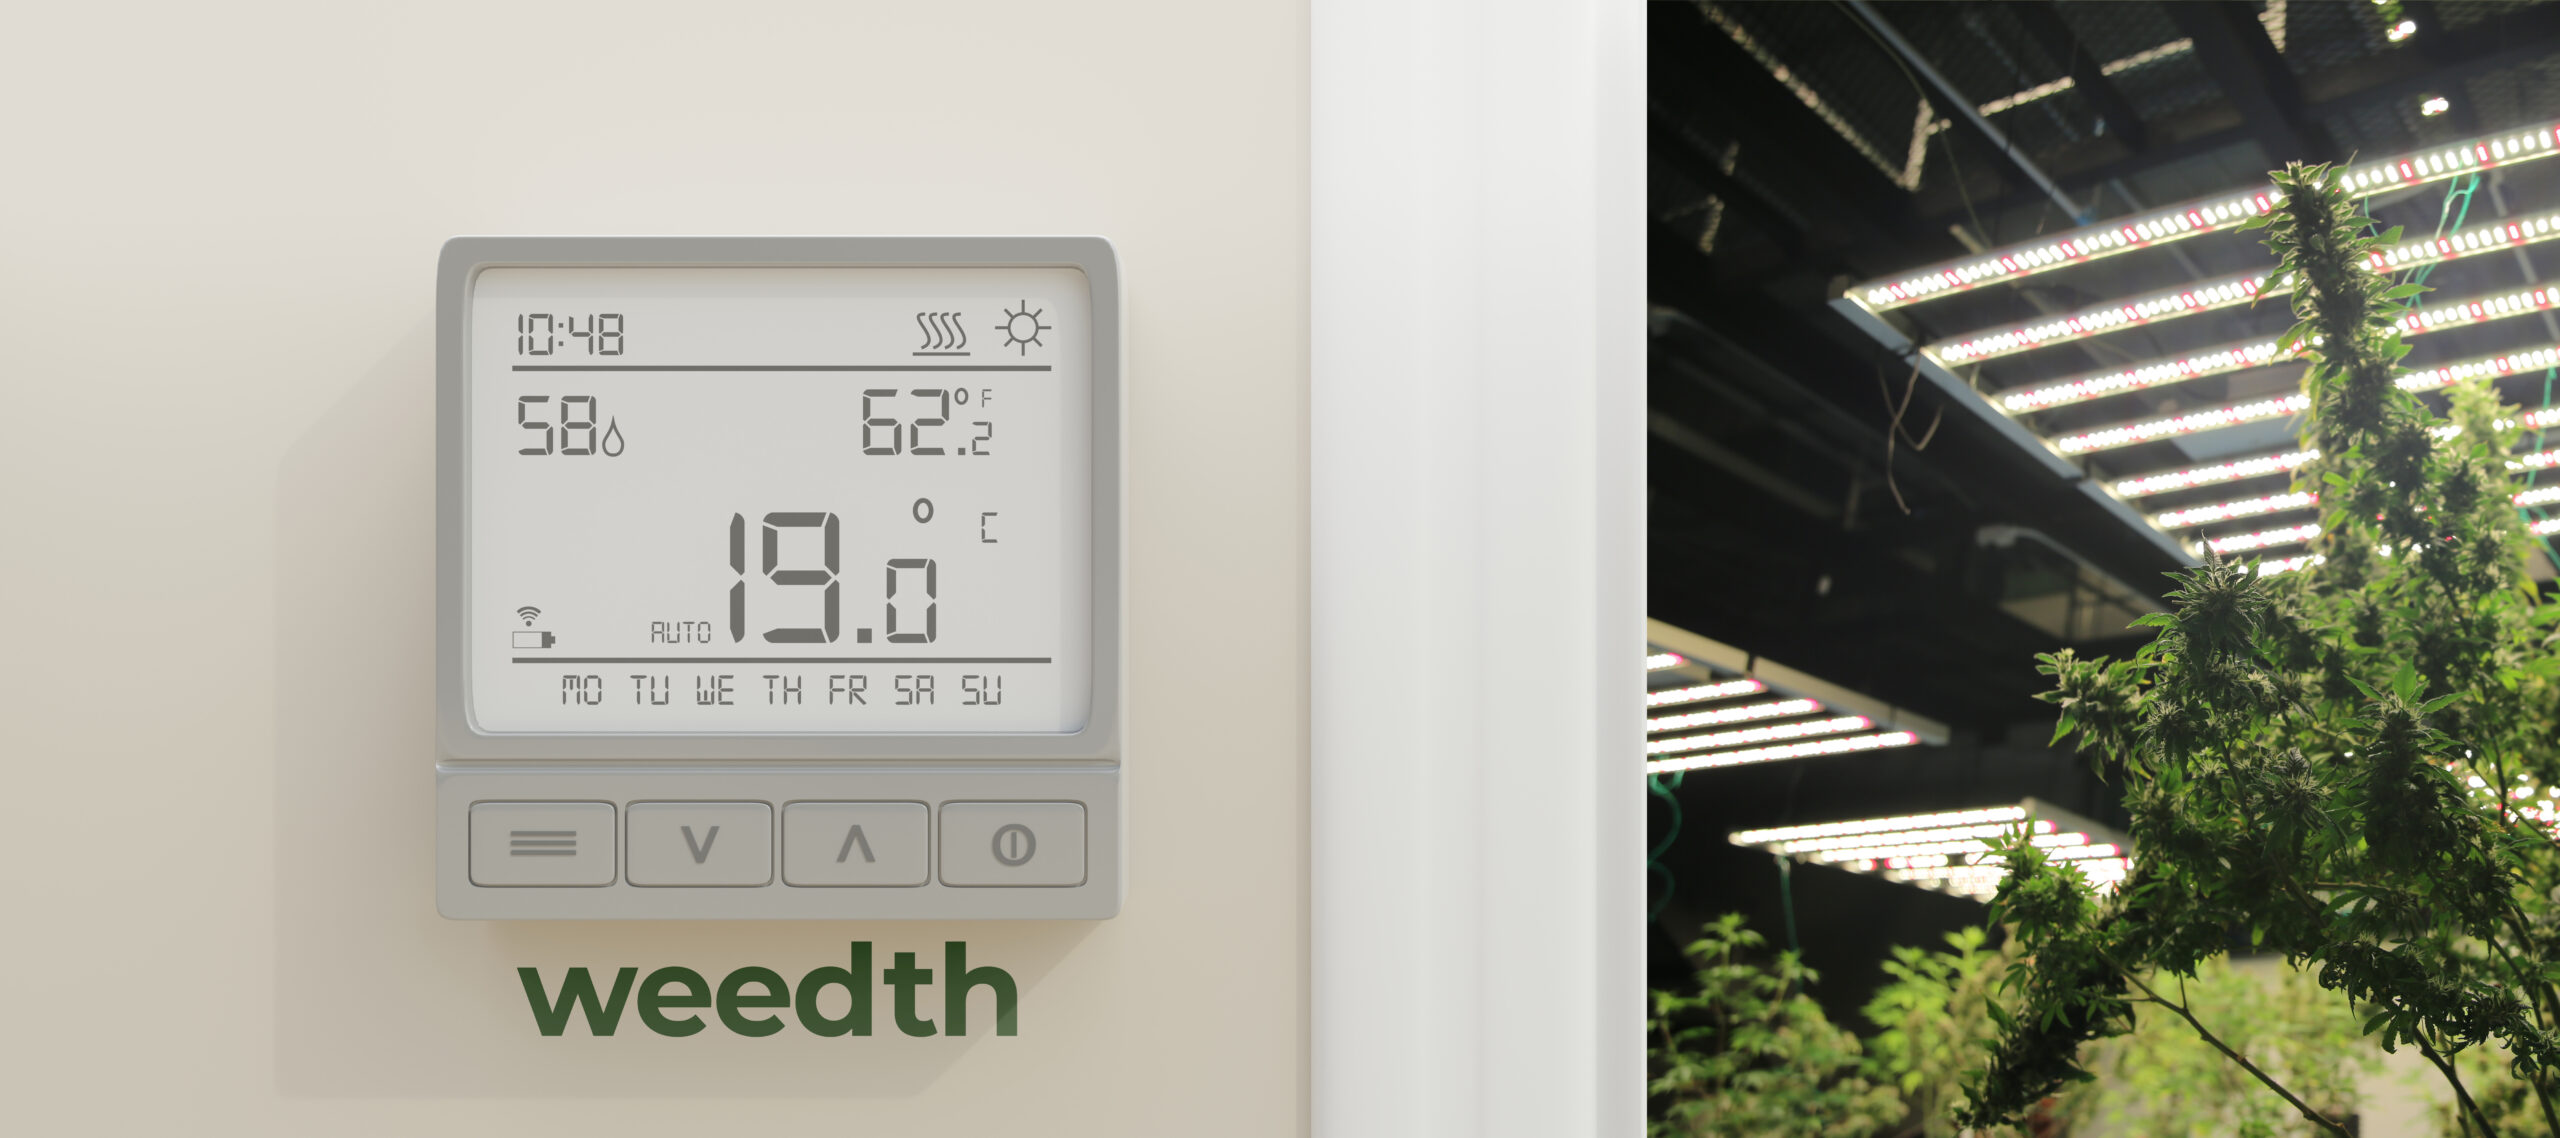
Measure temperature and relative humidity in both the tent and the lung room. Record lights-on and lights-off conditions, not only the pleasant middle of the day. Watch the transition after lights turn off, when air temperature may fall quickly while plant and media moisture remain. Relative humidity can rise even if no new water suddenly appears.
Use VPD as Context, Not a Magic Target
Vapor pressure deficit connects temperature and humidity to the drying demand around leaves. It can help explain why the same humidity behaves differently at different temperatures. Leaf temperature also matters, so an air-temperature-only chart is an approximation.
Do not force a crop to a single VPD number while ignoring root moisture, cultivar response, plant age, light intensity, and disease risk. Use VPD with leaf posture, water use, climate stability, and root-zone behavior. A stable reasonable environment is more useful than a controller constantly chasing a narrow decimal.
Move Air Through the Canopy, Not Directly Into Flowers
Air movement should break up stagnant zones above, within, and below the canopy. Leaves should show gentle intermittent movement. A fan fixed on one top can cause localized edge damage, faster dry-back, or a false deficiency pattern while the rear canopy remains still.
Dense flowers need inspection as much as airflow. Open suspicious colas carefully and look for dead inner leaves, discoloration, softness, or an unusual odor. A clean-looking outer surface does not guarantee the center is healthy.
“My 4 × 4 canopy looks completely full, so why is the dry harvest still light?”
Question sent by: Allison Reed, via Facebook page.
A full overhead photo can hide several limits. The center may be too bright while the edges are weak, branches may overlap instead of occupying separate light, lower sites may sit below useful intensity, roots may swing between dry and saturated, or late-flower humidity may slow healthy development. Measure the PPFD map, inspect flower depth and root-zone behavior, compare wet and dry canopy zones, and record how much of the harvest met your trimming standard. Fullness is only useful when the occupied area remains illuminated, ventilated, and reachable.
Size Ventilation for the Real Load
Air-exchange calculations based only on tent volume are incomplete. The required airflow changes with fixture heat, duct length, bends, carbon-filter resistance, intake restriction, room temperature, plant transpiration, and the season. A fan’s advertised maximum airflow is usually measured with little or no resistance.
Use a controllable fan with enough reserve to maintain the target environment after the filter and ducting are installed. Keep duct routes short and smooth where possible. Confirm slight negative pressure for odor control without pulling the walls deeply into the canopy. If the lung room cannot accept the exported heat and moisture, a larger exhaust fan may simply make the room fail faster.
Field Advice: Test the complete empty tent for a full light and dark period, then repeat the test as the canopy fills. A stable empty enclosure does not prove the system can remove the moisture produced by flowering plants.
Keep electricity, water, heat, and suspended equipment under known safe limits.
Do not chain extension cords, overload power strips, bypass protective devices, place connections on a wet floor, or hang heavy equipment from unrated hardware. Use drip loops where appropriate and keep water below electrical equipment. Permanent wiring, added circuits, structural work, or unfamiliar high-load equipment should be handled by a qualified professional.
Protect the Flowering Stretch
The transition into flowering is when earlier planning is tested. Branches lengthen, leaves overlap, water use changes, and the canopy approaches the fixture. At the same time, the final flower-site distribution is becoming difficult to rearrange.
During stretch, check canopy height and wall clearance daily. Move fast tops into open areas while stems are still flexible. Add support before heavy flowers begin leaning. Remove only weak, unreachable growth that is unlikely to enter useful light. Confirm that irrigation still reaches every container and that drain lines have not been pinched by expanding roots or moved pots.
If the tent is already packed at the beginning of stretch, raising light intensity may worsen the problem. The crop may need redistribution, selective branch removal, or an earlier recognition that the chosen plant count and vegetative duration exceeded the enclosure.
Pro Tip: Photograph the canopy from the same position once a week. Add a ruler or tent pole mark to the frame. The sequence reveals stretch, gaps, leaning, and edge crowding more clearly than memory.
Keep Productive Leaves Working Through Mid Flower
Mid flower is usually not the time for dramatic experimentation. The plant needs stable light, healthy roots, suitable nutrition, and enough climate capacity to keep photosynthesis and water movement functioning. Repeated drought, waterlogging, strong EC changes, heat events, or heavy pruning can consume time the crop cannot recover.
Watch for differences across the tent. Symptoms concentrated in the center may follow light or heat. Symptoms at one edge may follow a fan or cool intake. One weak pot may have a blocked emitter or root issue. A room-wide nutrient change based on one location can damage every healthy plant while missing the actual cause.
| What you see | Likely limits | Confirm first | First response |
|---|---|---|---|
| Strong center, weak edges | Uneven light map | Center, edge, and corner PPFD | Adjust height, power, footprint, or canopy |
| Bleached or curled top leaves | Excess light or heat | PPFD, leaf temperature, distance | Reduce stress before adding feed |
| Many soft lower flowers | Deep shade or excess sites | Canopy depth and branch overlap | Improve architecture next cycle |
| Pots dry at different speeds | Uneven roots, canopy, or delivery | Emitter volume and container weight | Correct delivery before changing recipe |
| Humidity spikes after lights-off | Cooling air and plant moisture | Night trend in tent and lung room | Improve removal and climate timing |
| Stretch reaches the fixture | Late flip or incompatible genetics | Vertical budget and previous stretch | Relieve current risk; redesign next crop |
| Leaves stay very dark and clawed | Excess nitrogen or root stress | Full recipe, EC, moisture, roots | Correct the confirmed cause gradually |
Late Flower Is a Quality and Loss-Prevention Stage
As flowers become larger, the crop stores more moisture in a denser structure and branches carry more weight. A late-flower failure can remove more usable yield than an early growth slowdown because there is little time to replace damaged tissue.
Keep support secure, but do not compress flowers together. Inspect the centers of dense tops after humidity events. Maintain gentle air movement and remove standing drainage. Avoid major feed changes based only on fading leaves; interpret the location, age, cultivar, root-zone trend, and maturity together.
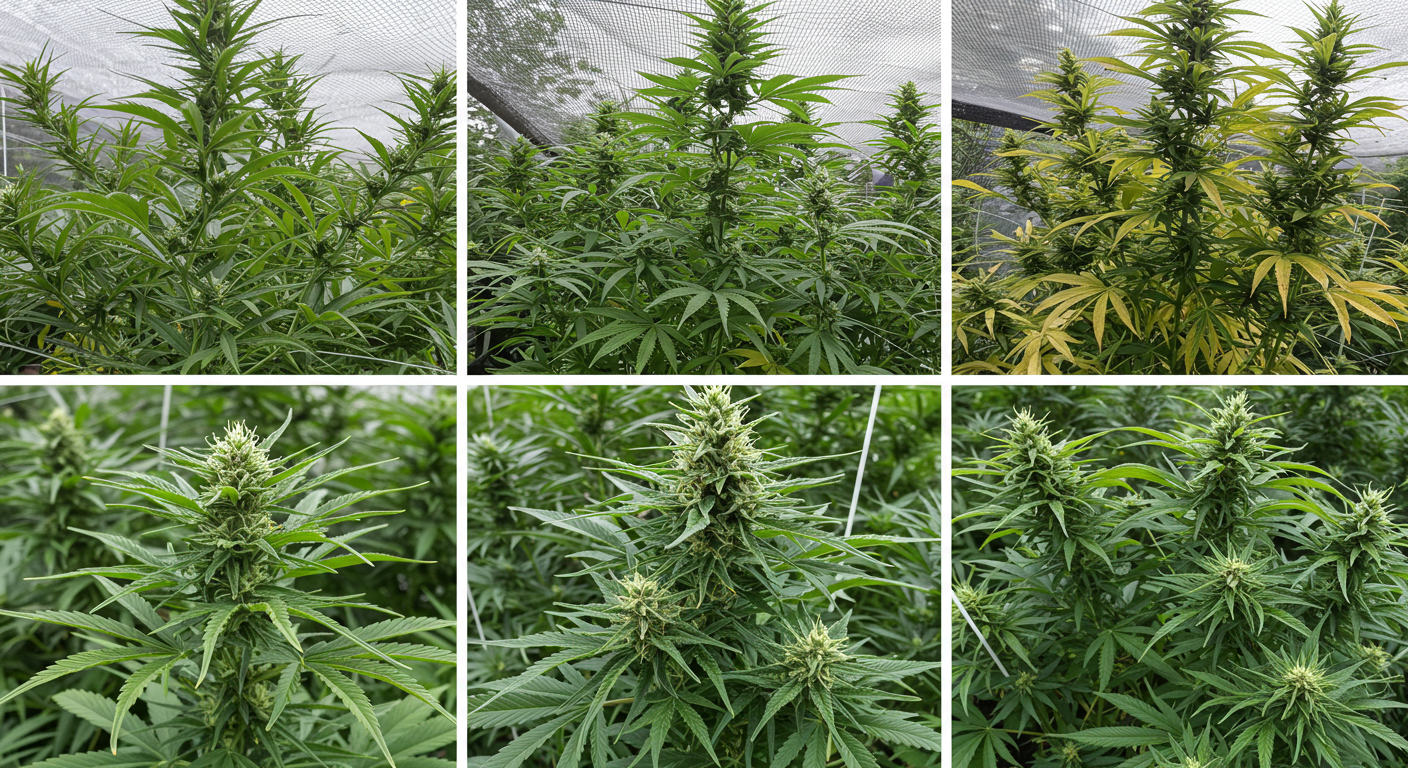
Harvest timing also changes measured yield and quality. Early flowers contain less developed dry matter and may not have reached their intended chemical and aromatic profile. Overextended flowers can lose quality or face rising disease risk. Use cultivar behavior, whole-flower maturity, plant health, and environmental forecast together rather than relying on a single calendar day.
Remember: A record harvest that loses aroma during drying or develops mold is not a successful yield increase. Drying capacity is part of the tent’s production system even when drying happens somewhere else.
Do Advanced Upgrades Only After the Main System Works
Advanced tools can improve a well-controlled crop, but they cannot repair a poor canopy, unhealthy roots, or an unstable climate. The best upgrade is the one that removes a measured bottleneck.
Subcanopy and Inter-Canopy Lighting
Controlled research has reported improved lower and middle canopy production from supplemental inter-canopy or subcanopy light. This is promising, especially where a deep canopy leaves useful leaf area below the overhead light. It is not a reason to install extra fixtures immediately.
Additional light adds power, heat, wiring, cleaning, shade, and access complications. First map the overhead fixture, flatten the canopy, remove unproductive depth, and stabilize climate. Then test supplemental light on part of a repeatable crop and compare dry graded flower, not only lower-bud appearance.
Carbon Dioxide Enrichment
Elevated carbon dioxide can increase leaf photosynthesis under suitable conditions. That physiological response is not a guaranteed harvest increase in a home tent. Plants also need compatible light, temperature, water, nutrition, leaf health, and sufficient sink capacity.
An actively exhausted tent loses added carbon dioxide quickly. A sealed or semi-sealed enriched environment adds cooling, dehumidification, control, monitoring, and human-safety requirements. For most growers, a better light map, healthier roots, more stable humidity, and improved access should come first.
“I filled the screen and the plants look healthy. Is CO₂ the next upgrade for more yield?”
Question sent by: PrairieLeaf88, via X.
Only after the basic measurements show that carbon dioxide is a credible limit. Check canopy PPFD and uniformity, leaf temperature, lights-on and lights-off humidity, root-zone consistency, flower-site distribution, and dry graded yield. In an exhausted tent, added CO₂ may leave before the crop uses much of it. A sealed enriched system requires cooling, dehumidification, control, monitoring, and safety planning. Improve the measurable bottleneck first.
Why Grams per Watt and Tent-Yield Promises Often Fail
Search results frequently promise a particular harvest from a 2 × 4 or 4 × 4 tent. Those numbers may describe a successful grow, but they cannot predict yours without the genetics, fixture map, light hours, vegetative duration, plant count, environment, root system, loss rate, trim standard, and grower experience.
Even identical tents can behave differently in a cool basement and a hot apartment. A 4 × 4 in a dry climate may need humidification early and strong dehumidification late. The same tent in a damp room may reach its moisture limit before reaching its light limit.
Use yield claims to understand what has been possible, not what has been promised. Your baseline crop is more valuable. Once you can repeat it, measure one improvement at a time.
Make the first winning crop the one you can explain
Here is a practical way to improve a tent without losing the reason behind each change. Run the complete enclosure before planting. Map the light at the intended canopy height, record the usable footprint, and photograph the empty access routes. During the crop, log weekly canopy height, irrigation volume, lights-on and lights-off climate, and the adjustments you make.
After drying, weigh trimmed usable flower by plant or canopy zone when possible. Compare the center with the edges and the front with the rear. Then choose one major bottleneck for the next cycle. We may improve fixture height, transition timing, irrigation distribution, cultivar choice, or night humidity, but we do not need to change all of them at once. A crop we can explain gives us a reliable path to the next one.
A Stage-by-Stage Yield Plan
Yield is easier to protect when each stage has a limited job. Seedlings should not be pushed like a flowering canopy. Vegetative plants should build roots and reachable structure. Flowering plants should enter a stable system rather than waiting for emergency upgrades.
| Stage | Main objective | Measure | Avoid |
|---|---|---|---|
| Before planting | Prove the empty system | Light map, power, climate, access | Discovering limits after the tent is full |
| Early vegetative | Build roots and healthy growth | Water use, leaf posture, new growth | Overwatering a small root zone |
| Canopy building | Occupy usable light evenly | Height, branch spacing, open area | Filling access lanes |
| Transition | Control stretch and final sites | Daily height and overlap | Locking excess branches into the screen |
| Mid flower | Maintain healthy production | Climate, irrigation, symptoms by zone | Large untested changes |
| Late flower | Protect maturity and quality | Humidity peaks, support, inner flowers | Ignoring hidden moisture |
| After harvest | Create the next baseline | Dry graded yield, days, energy, losses | Changing everything from memory |
Grow-Tent Yield Checklist
Use this list before flowering begins. A missed box does not automatically mean the crop will fail, but it shows where the enclosure has the least reserve.
- The planned canopy fits the measured usable footprint, not only the tent label.
- The vertical budget includes containers, stretch, light separation, fixture, hangers, filter, and ducting.
- The cultivar’s likely stretch and finishing time suit the enclosure and season.
- The canopy remains reachable at the rear, sides, pots, drain points, and main stems.
- Center, edge, and corner PPFD have been mapped at canopy height.
- Fixture power and height create acceptable distribution without a damaging center peak.
- Root volume and irrigation capacity can support the final canopy.
- Every container or emitter receives the intended volume.
- Source water, nutrient recipe, pH, and EC are understood where relevant.
- The lung room can supply suitable intake air and accept exported heat and moisture.
- Lights-off humidity has been tested, not assumed.
- Air moves above, within, and below the canopy without blasting one plant.
- Branches can be supported without compressing flowers together.
- Electrical load, water routing, suspended equipment, and fire safety have been checked.
- A drying space and consistent final weighing method are ready.
Frequently Asked Questions About Maximizing Tent Yield
How much cannabis can a 2 × 2, 2 × 4, 3 × 3, or 4 × 4 tent yield?
No tent size has a guaranteed yield. The result depends on usable canopy, genetics, light distribution and duration, crop time, root-zone capacity, climate, training, health, harvest timing, drying, and what counts as usable flower. Record dry trimmed yield per measured canopy area and total crop days. That baseline will predict your next result better than a generic tent chart.
How many plants maximize yield in a grow tent?
Use the number that fills the usable canopy with healthy, reachable branches in a reasonable vegetative period while staying within local law. Fewer plants usually need more time and training. More plants can fill the area sooner but add root zones, irrigation points, variability, and access demands. Plant count is a workflow choice, not a direct yield setting.
Does SCROG increase cannabis yield?
A screen can improve yield when it distributes branches through an unevenly occupied light footprint and supports flowers. It can reduce manageability when it locks excess growth over unreachable pots or creates a dense, humid layer. The screen is useful only if the canopy under it remains illuminated, ventilated, and serviceable.
Is one gram per watt a good grow-tent target?
It can be a historical comparison within the same system, but it is incomplete. It does not include fixture efficiency, dimming, photoperiod, crop duration, canopy area, climate energy, or flower quality. Track dry usable yield with lighting kilowatt-hours and crop days for a more meaningful comparison.
Do bigger pots produce bigger yields?
Adequate root volume can support a larger, more buffered plant, but extra wet medium does not create yield by itself. A container that stays saturated can reduce root oxygen. A small container can work with precise frequent irrigation but offers less margin. Match the pot and medium to the canopy, irrigation system, cultivar, and crop duration.
Will a longer vegetative period always increase yield?
Only while the extra time builds productive canopy. Once the usable light footprint is occupied, more vegetative growth can increase overlap, height, root demand, and cycle time without increasing usable flower. Compare yield per complete crop day, not harvest weight alone.
What PPFD produces the maximum cannabis yield?
There is no universal maximum-yield PPFD. Cultivar, carbon dioxide, photoperiod, leaf temperature, root-zone health, water supply, nutrition, and climate capacity all change the response. Controlled studies show cannabis can respond to increasing light under suitable conditions, but those conditions do not become a home-tent prescription. Start with fixture data, map the full canopy, observe plant response, and increase gradually only when the rest of the system can support it.
Should I remove fan leaves to increase yield?
Remove leaves selectively when they are diseased, create a persistent wet pocket, block essential access, or cause severe overlap that cannot be solved by repositioning. Healthy leaves support photosynthesis and resource movement. Heavy calendar-based stripping can reduce the plant’s productive capacity and recovery.
Does CO₂ increase yield in a grow tent?
Elevated carbon dioxide can increase photosynthesis when light, temperature, water, nutrition, and plant capacity are suitable. An exhausted tent loses added gas quickly, while a sealed enriched tent needs cooling, dehumidification, control, and safety monitoring. It is an advanced system decision, not the first yield upgrade.
What is the best first upgrade for more tent yield?
Measure before buying. If the edges are weak, improve the light map. If pots dry unevenly, repair irrigation. If humidity spikes after lights-off, improve moisture removal. If the canopy grows into the fixture, change genetics, transition timing, or vertical layout. The best upgrade removes the bottleneck documented in your tent.
Why did a completely full canopy produce small flowers?
Coverage may have exceeded productive capacity. Overlapping branches can shade each other, dense foliage can trap humidity, and the center may receive more light than the edges. Root-zone or climate instability can also prevent the plant from using available light. Compare canopy zones, not only the total appearance.
The Practical Formula for More Yield
There is no single product or training move that maximizes cannabis yield in every tent. The reliable formula is a sequence: fit the genetics to the enclosure, fit the canopy to the measured light, fit the roots and irrigation to the canopy, and fit the climate equipment to the heat and moisture produced by the complete crop.
Then protect that balanced system. Keep leaves functional, make small evidence-based adjustments, support flowers, inspect hidden moisture, and harvest at suitable maturity. When the crop is dry, record usable flower, crop time, canopy area, energy, and losses. That gives you a real baseline.
For the next cycle, improve the weakest measured layer first. A slightly more even light map, a better-timed transition, uniform irrigation, or lower lights-off humidity may look less dramatic than a new booster. It is also how a grow tent becomes more productive without becoming more fragile.
Selected Research Behind This Guide
The following studies help explain the relationships among light, canopy architecture, planting density, nutrition, humidity, and advanced lighting. Their results belong to the cultivars and controlled systems tested. They support the principles in this guide, but they do not create universal home-tent recipes.
- Cannabis yield, potency, and leaf photosynthesis respond differently to increasing light levels in an indoor environment
- Higher planting density, canopy treatment, yield per area, and cannabinoid uniformity in drug-type medical cannabis
- Plant architecture and chemical uniformity in large medical cannabis plants
- Optimization of nitrogen, phosphorus, and potassium for soilless cannabis production during flowering
- Elevated root-zone phosphorus and nutrient concentration do not increase yield or cannabinoids in medical cannabis
- Subcanopy and inter-canopy supplemental light in medicinal cannabis
- Indoor cannabis responses to light intensity and ultraviolet radiation
- Elevated relative humidity, flowering development, and cannabinoid concentration in Cannabis sativa
- Photosynthetic response of Cannabis sativa to elevated carbon dioxide
- Meta-analysis of rooting volume effects on plant growth
Share this article
A quick overview of the topics covered in this article.
- The Short Answer: How to Maximize Yield in a Grow Tent
- Measure the Yield You Actually Want to Improve
- Start With the Tent’s Real Space, Not Its Label
- Choose Genetics That Fit the Yield System
- Plant Count Does Not Decide Yield by Itself
- Map the Light Before You Fill the Canopy
- Build an Even Canopy Without Removing the Plant’s Engine
- Match the Root Zone to the Final Canopy
- Feed for Complete Growth, Not for a Bigger Number on the Bottle
- Make the Tent and Lung Room One Climate System
- Size Ventilation for the Real Load
- Protect the Flowering Stretch
- Keep Productive Leaves Working Through Mid Flower
- Late Flower Is a Quality and Loss-Prevention Stage
- Do Advanced Upgrades Only After the Main System Works
- Why Grams per Watt and Tent-Yield Promises Often Fail
- A Stage-by-Stage Yield Plan
- Grow-Tent Yield Checklist
- Frequently Asked Questions About Maximizing Tent Yield
- How much cannabis can a 2 × 2, 2 × 4, 3 × 3, or 4 × 4 tent yield?
- How many plants maximize yield in a grow tent?
- Does SCROG increase cannabis yield?
- Is one gram per watt a good grow-tent target?
- Do bigger pots produce bigger yields?
- Will a longer vegetative period always increase yield?
- What PPFD produces the maximum cannabis yield?
- Should I remove fan leaves to increase yield?
- Does CO₂ increase yield in a grow tent?
- What is the best first upgrade for more tent yield?
- Why did a completely full canopy produce small flowers?
- The Practical Formula for More Yield
- Selected Research Behind This Guide
Follow us
Latest articles
July 29, 2026
July 29, 2026

July 29, 2026
July 29, 2026
