
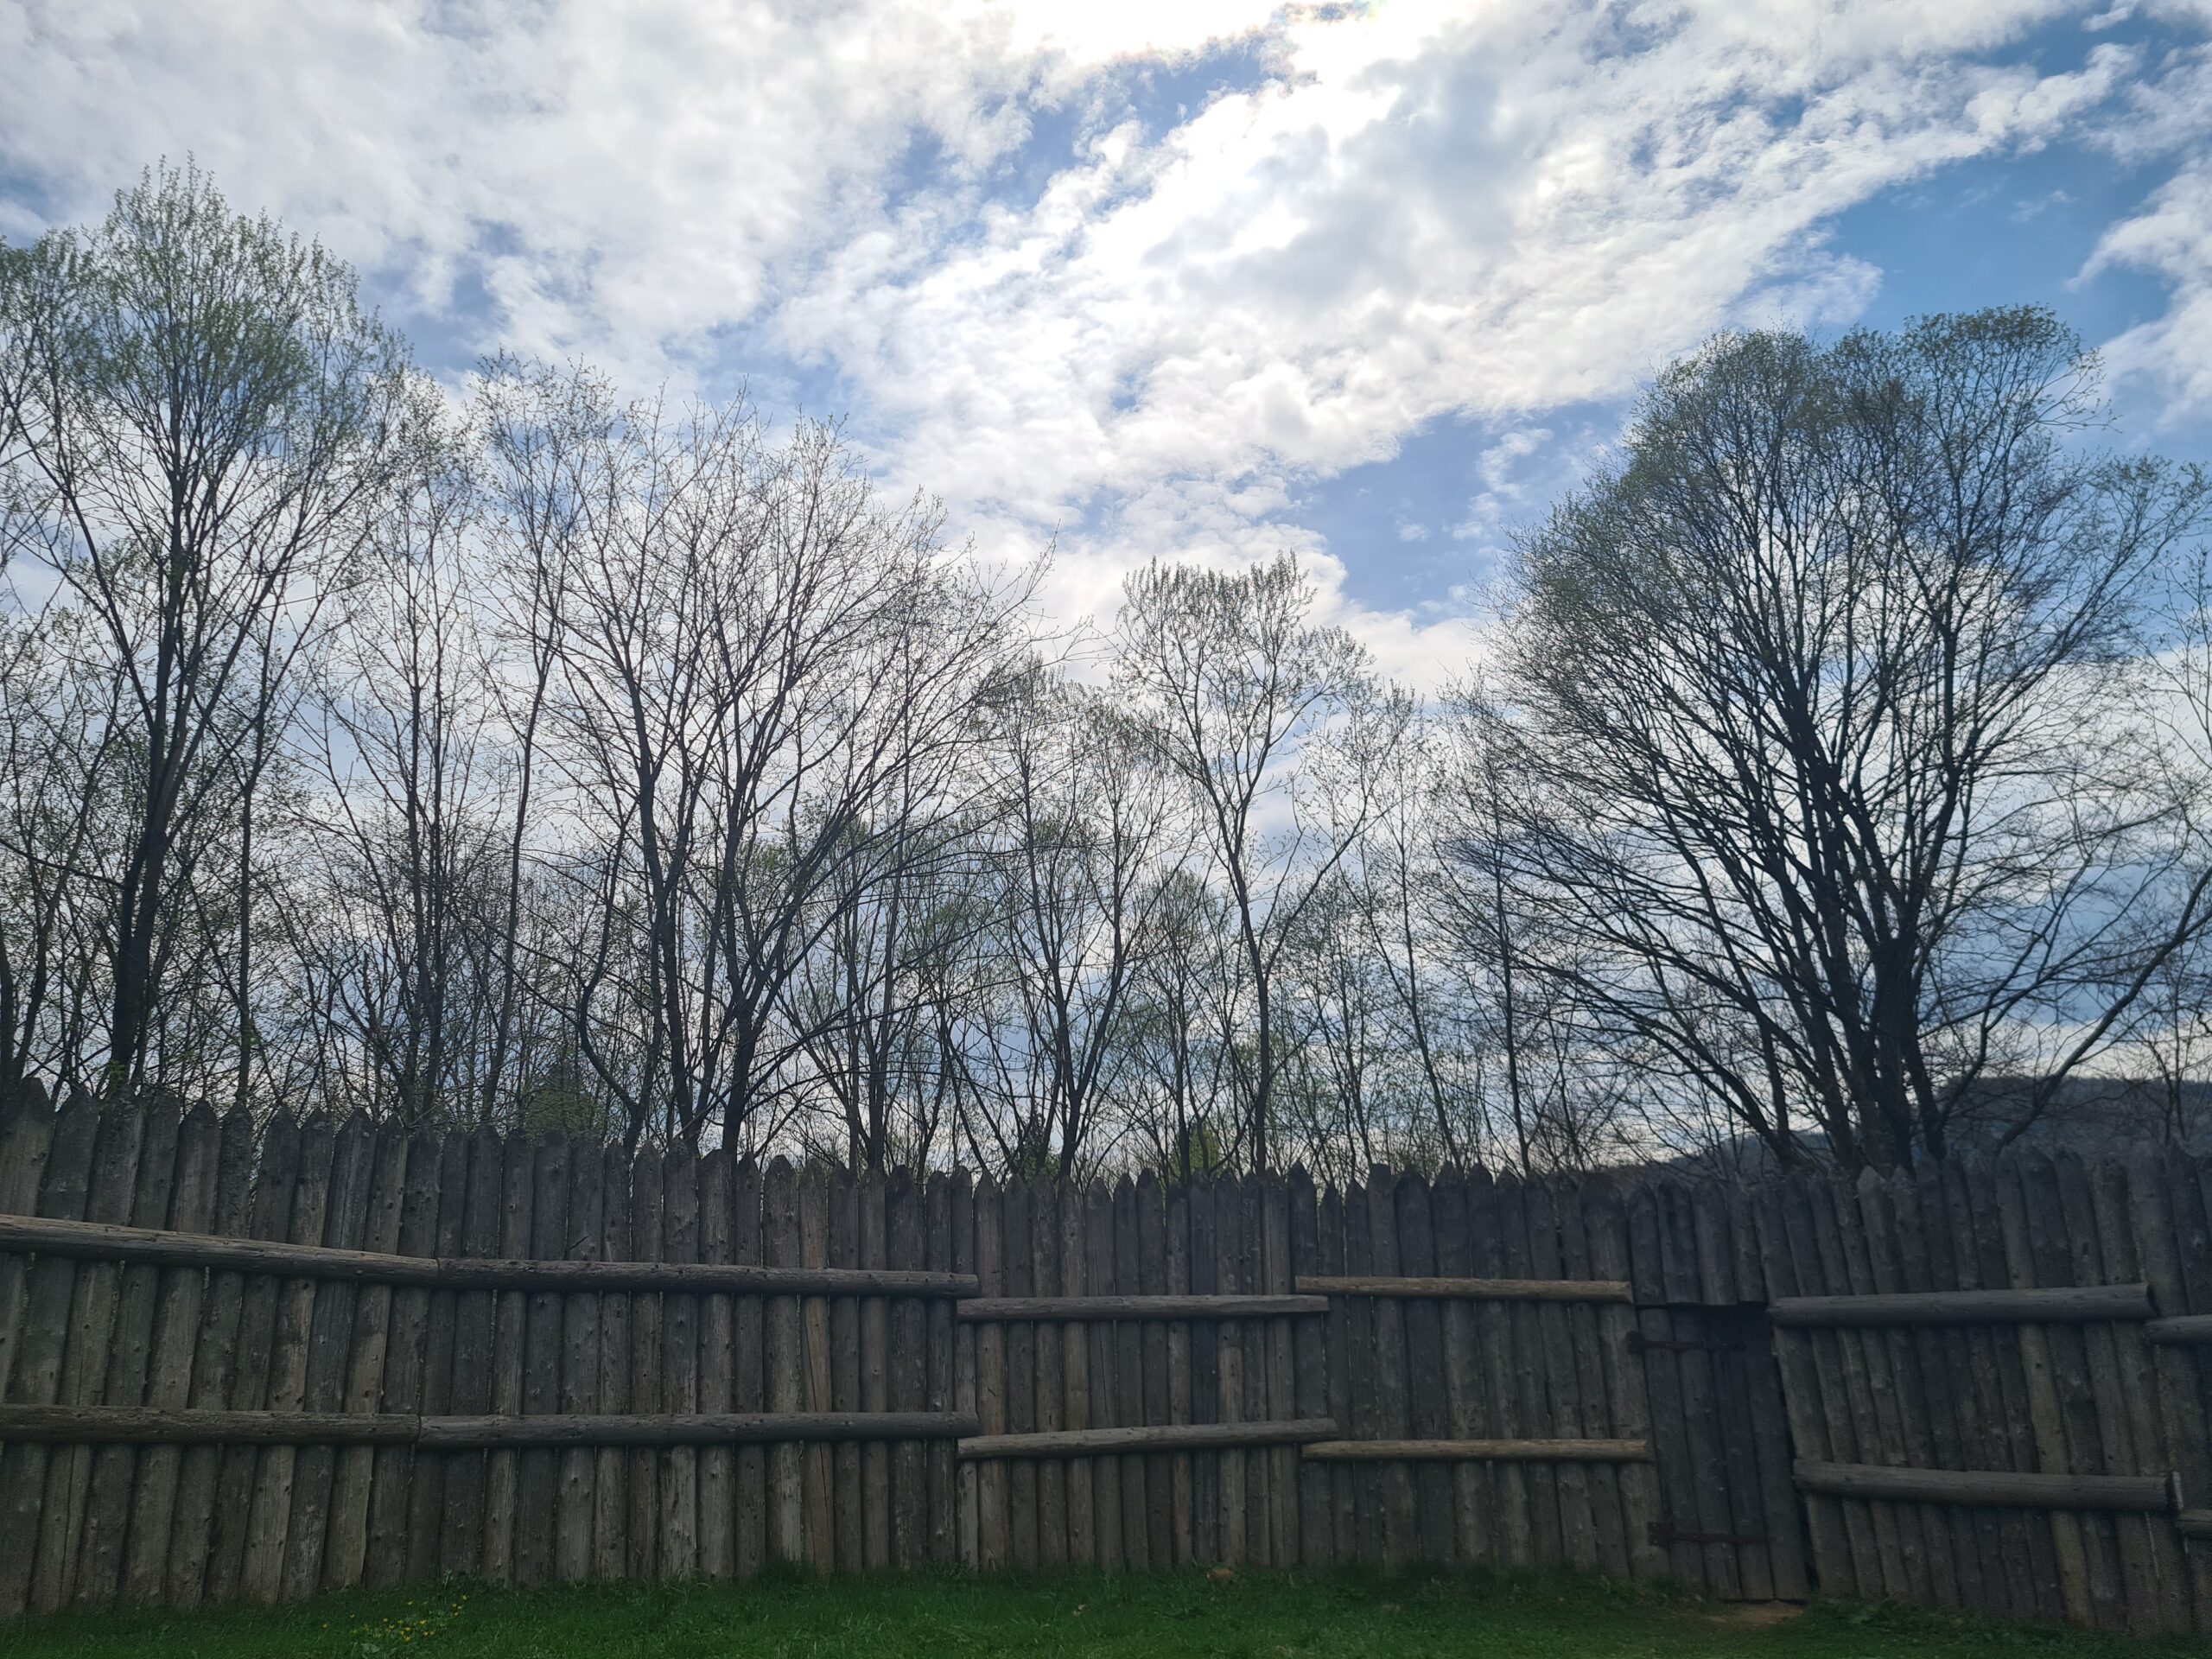
Windbreak Design Without Creating Stagnant Air
A good outdoor cannabis windbreak should make damaging wind manageable without turning the garden into a sheltered pocket that stays humid after dew, rain, or irrigation. That is a narrower design problem than simply “blocking wind.” You are trying to reduce branch loading, leaf abrasion, container instability, and excessive drying while preserving enough air exchange for the canopy to dry and for warm, humid air to move away from dense flowers.
The practical way to design one is to treat the windbreak as an adjustable airflow tool. First identify the wind that actually damages the garden. Then choose a barrier with enough porosity to reduce its speed, place the plants inside the useful leeward zone, and verify the result with paired wind measurements and morning dry-down observations. If the protected zone becomes noticeably wetter, warmer, or stiller than the rest of the site, the design needs to be opened, moved, shortened, or made more porous.
General agricultural windbreak research often describes protection in multiples of barrier height, written as H, and shows why very dense barriers behave differently from semi-porous ones. Those principles are useful outdoors, but they are not cannabis-specific formulas. A home garden has buildings, fences, trees, slopes, changing canopy height, and multiple wind directions. The final design has to be commissioned on the actual site rather than copied from a diagram.
Quick Definition
Windbreak density describes how much of the barrier is solid when viewed face-on to the wind. Porosity describes the open fraction that lets air pass through. A semi-porous windbreak reduces wind partly by filtering air through the barrier instead of forcing nearly all of it over the top and around the ends.
In This Resource
- Set the Target: Reduce Damaging Wind, Not All Air Movement
- Map the Wind Before You Build the Barrier
- Choose Porosity, Height, Length, and Orientation as One System
- Place Cannabis Inside the Protected Zone Without Creating Dead Air
- Commission the Windbreak With Paired Measurements
- Diagnose Windbreak Failure Before Adding More Shelter
- Run a Seasonal Maintenance and Weekly Airflow Routine
Set the Target: Reduce Damaging Wind, Not All Air Movement
The first design decision is not what material to buy. It is what kind of wind problem you are trying to solve. A plant that is leaning in repeated afternoon gusts has a different problem from a flowering canopy that stays wet until late morning behind a tall privacy fence. If you solve both by making the site more enclosed, you may protect the stems while creating a moisture problem that becomes more serious later in flower.
Separate Useful Air Movement From Damaging Wind
Outdoor plants normally move. Leaves flutter, branches flex, and the canopy exchanges air with the surrounding environment. Moderate movement can help wet surfaces dry and prevents a dense canopy from becoming a completely isolated humidity pocket. The design problem begins when wind produces mechanical damage or water stress faster than the plant and root zone can recover.
Look for repeated branch whipping, rubbing against supports, leaf tearing, broken petioles, container movement, exposed root balls, mulch displacement, rapid edge drying, or plants that consistently lean in one direction. These are more useful signs than deciding that a site is “windy” because it feels uncomfortable to stand in.
Wind exposure also changes with plant size. A young transplant presents little surface area to the wind. A mature outdoor plant with a wide canopy and heavy flowers can behave like a much larger sail. The windbreak that seemed adequate in early vegetative growth may be too weak, too low, or too close by late flower.
Do Not Confuse Still Air With Protection
Dense shelter can reduce wind speed dramatically immediately behind a barrier, but the calmest point is not automatically the best planting point. Reduced wind can raise local humidity and temperature. In a garden where dew, fog, rain, or dense flowers already slow drying, too much shelter can extend leaf and flower wetness.
This is particularly relevant to cannabis because mature inflorescences can retain moisture internally. Cannabis disease literature consistently treats humidity reduction and better air circulation as important cultural tools for limiting Botrytis and other moisture-associated problems. An outdoor windbreak should therefore leave the garden with enough exchange to dry after wet events.
Weedth Verdict: The target is not “no wind.” The target is a lower mechanical load with a canopy that still dries on schedule.
Rank the Wind Problems Before Designing the Barrier
Use a short priority list. If branches are breaking, mechanical protection comes first. If containers are tipping, anchoring and placement may solve more than a taller screen. If leaf edges are drying rapidly during hot winds, root-zone water supply and mulch may be as important as shelter. If flowers stay damp behind an existing fence, adding another windbreak is likely the wrong direction.
| Observed Problem | What the Windbreak Must Accomplish |
|---|---|
| Branch whipping or breakage | Reduce gust loading at canopy height while preserving through-flow. |
| Containers moving or tipping | Reduce low-level gusts, improve anchoring, and remove wind tunnels around pots. |
| Rapid drying in hot wind | Lower wind exposure enough to reduce excessive water loss without creating a humid pocket. |
| Salt or dust carried by wind | Filter the problem wind and evaluate deposition separately from mechanical damage. |
| Slow drying after rain or dew | Do not add density blindly. Preserve or increase ventilation around the canopy. |
| Damage only during rare storms | Consider temporary reinforcement or removable screening rather than permanent over-sheltering. |
Wind Can Be a Real Establishment Risk
Wind stress is not theoretical in Cannabis sativa. In one outdoor hemp research program in Nevada, a wind event during hardening caused the loss of many young clones before planting. Surviving plants later showed abnormal development that the researchers associated with the wind event. That study does not define a universal wind-speed threshold, but it is a useful reminder that young plants and recently moved plants can be much less tolerant of exposure than an established garden.
Give newly transplanted plants temporary protection if the site is exposed. The goal is to help them establish roots and acclimate, not to keep them permanently sealed behind a dense screen. As roots anchor and stems strengthen, reassess how much protection is still needed.
Grower Question
“My plants move all day in the breeze but nothing is tearing. Should I build a windbreak anyway?”
Question sent by: CedarRoute, via email.
Not automatically. Movement alone is not failure. First check for repeated structural damage, excessive drying, unstable containers, or a forecast pattern that is likely to exceed what the plants have already tolerated. A windbreak should solve a measured problem rather than remove normal outdoor air movement simply because the leaves are moving.
Map the Wind Before You Build the Barrier
A windbreak works only when it intercepts the wind that matters. Regional prevailing-wind data can help with orientation, but the wind inside a garden is often redirected by houses, garages, fences, tree lines, slopes, alleys, retaining walls, and gaps between structures. A barrier designed from a weather app alone can protect the wrong side of the garden.
Map the Damaging Wind, Not Just the Average Wind
Start a simple wind log before installation. Record the direction and general strength whenever you see meaningful plant movement. Add the time of day, temperature, humidity, weather pattern, and the part of the garden that receives the strongest gusts. After several events, a pattern usually appears.
Some gardens have one dominant problem wind. Others have a dry afternoon wind in summer and a different storm direction in autumn. If two directions matter, a single straight windbreak may not solve both. You may need an L-shaped arrangement, a second shorter return, or a movable seasonal panel.
Create an Open Reference Point
Do not measure only inside the future protected zone. Choose one open reference position at approximately the same height and general terrain as the cannabis canopy. The reference tells you what the wind would have been without the barrier.
A small handheld anemometer can be useful, but consistency matters more than price. Hold or mount the device at the same height and orientation for each reading. Record both a short average and visible gust behavior if the instrument provides it. If you use two sensors, use the same model when possible so the comparison is not dominated by device differences.
Measure at Canopy Height and Near the Root Zone
Wind can change sharply with height. A solid fence may leave the lower garden calm while creating a faster turbulent layer near its top. A hedge may filter wind more evenly through its full height. Measure at the height that represents the plant, not only at waist or head level.
For a large plant, useful measurement points include the lower canopy, the center of the flowering canopy, and the top edge. Container gardens also benefit from a low measurement near pot height if gusts are moving containers or stripping mulch.
Use Barrier Height as a Mapping Unit
Windbreak literature uses H to mean the height of the barrier. A 2 m barrier has 1H at 2 m downwind, 5H at 10 m, and 10H at 20 m. This makes the design scalable without pretending that every garden has the same dimensions.
General agricultural guidance often reports reduced wind on the leeward side for roughly 10H to 20H or more, depending on density, height, terrain, and the definition of “reduced.” Do not interpret that as meaning every point out to 20H is equally protected. The strongest reduction is usually closer to the barrier and gradually weakens with distance.
For a home garden, mark test positions at approximately 1H, 3H, 5H, and 10H when space allows. You are not trying to reproduce a field experiment. You are looking for the zone where gusts are reduced enough to prevent damage without creating a persistently wet or still canopy.
Map End Effects and Gaps
Wind does not only go through and over a barrier. It moves around the ends and accelerates through gaps. A missing hedge plant, open gate, narrow gap between a fence and shed, or space beneath a screen can create a local jet that is harsher than the surrounding wind.
Walk the garden during the actual problem wind. Ribbons attached securely to stakes can help visualize direction changes. Avoid loose materials that can detach, enter the plants, or become litter. You are looking for areas where the airflow suddenly accelerates, reverses, or drops to almost nothing.
Add a Wet-Morning Map
A wind map is incomplete if it only describes dry afternoons. After dew, fog, rain, or overhead wetting from a neighboring landscape system, note when the protected and open zones become visibly dry. Morning sun matters, but airflow often determines whether a sheltered pocket holds moisture longer than expected.
Record the time when representative leaves and exterior flower surfaces appear dry at the open reference and at each candidate planting position. You do not need to turn this into a laboratory leaf-wetness experiment. The comparison is the useful part. If one sheltered position repeatedly stays damp far longer than the reference, it may be too close to the barrier or too enclosed by surrounding structures.
| Parameter | Target Range | Warning Zone | What It Means |
|---|---|---|---|
| Wind-speed comparison | Enough reduction to stop damaging movement while leaves still respond to airflow | Almost no movement in a humid site, or little reduction during damaging gusts | The windbreak is either too dense/close or not intercepting enough wind. |
| Dry-down comparison | Protected canopy dries on a similar practical schedule to the open reference | Protected zone repeatedly remains wet substantially longer | Air exchange may be too low, especially in dense flower. |
| End/gap behavior | No concentrated jets through openings or around the garden edge | One narrow corridor shows stronger movement than the open site | Gap geometry is accelerating the wind. |
| Barrier response | Stable structure with controlled flex and secure anchors | Screen bows into plants, posts move, vegetation opens large holes | Structural design or maintenance is inadequate for the real wind load. |
Field Advice: Map at least one real windy day and one damp morning. A design that looks excellent during a dry breeze can behave very differently when the canopy is wet.
Choose Porosity, Height, Length, and Orientation as One System
Windbreak components interact. Density changes turbulence. Height changes the size of the protected zone. Length determines how much wind wraps around the ends. Orientation decides whether the barrier intercepts the problem wind at all. Material determines how those properties change through the season.
Why Semi-Porous Usually Beats Solid
A solid wall forces most of the moving air over the top and around the ends. That creates a stronger pressure difference between the windward and leeward sides. The air stream can descend relatively quickly behind the wall and form eddies. The area immediately behind the wall may feel very calm while the useful protection zone becomes shorter and more turbulent.
A semi-porous barrier lets part of the air pass through. This reduces the pressure difference and spreads the velocity reduction over a longer distance. NRCS, Utah State, Oregon State, Minnesota, and Colorado guidance commonly places crop-oriented or broad-protection windbreaks around 40 to 60 percent density, depending on purpose.
That is a general windbreak design range, not a cannabis target. Use it as a starting hypothesis. A flowering garden in a humid coastal site may need more through-flow than a young garden exposed to dry continental winds. A mesh sold as “50% wind screen” also may not behave exactly like a 50% dense living windbreak because material shape, openings, flexibility, and installation all affect airflow.
Important
Do not select windbreak material from its marketing percentage alone. Shade percentage, wind-reduction claims, optical openness, and aerodynamic porosity are not always the same measurement. Commission the installed barrier with real wind and dry-down observations.
Height Defines the Scale of Protection
Barrier height sets the basic geometry. Taller windbreaks influence a larger downwind area, but they can also create more shade, stronger end effects, greater structural load, and more root competition if they are living plantings.
For a temporary garden screen, the barrier usually needs to interact with the height of the cannabis canopy you are protecting. A screen that ends below the main flowering canopy may reduce pot-level wind while leaving the most heavily loaded branches exposed. A much taller screen may protect well but cast unnecessary shade during parts of the day.
Design for the mature canopy, not only transplant height. If you expect plants to become substantially taller, build an adjustable or staged system rather than discovering in late flower that the useful protection layer ends below the flowers.
Length Controls Wind Wrapping Around the Ends
General windbreak guidance often recommends a length many times the barrier height to reduce end effects. Minnesota and Oregon guidance use approximately 10H as a useful design concept for length in agricultural settings. A small garden may not have enough space to follow that literally, but the principle still matters.
If the barrier ends at the same point as the plant row, wind can curl around the edge directly into the canopy. Extend the windbreak beyond the protected planting where practical. If space is limited, a short return section can sometimes reduce the direct wraparound path, but it should not create a closed box.
Orientation Should Follow the Problem Wind
Windbreaks are most effective when they intercept the troublesome wind roughly perpendicular to its direction. If the barrier is nearly parallel to the wind, much of the air simply flows along it. On properties with seasonal wind changes, prioritize the wind that causes the meaningful plant risk rather than chasing every breeze.
Do not forget storm winds. The everyday prevailing breeze may come from one direction while the damaging late-season storm comes from another. If storm damage is the main concern, a temporary emergency panel or additional plant support may be more efficient than redesigning the entire garden around a rare direction.
Avoid Large Gaps That Behave Like Nozzles
A windbreak does not need uniform microscopic openings, but large isolated gaps can concentrate airflow. Check gates, bottom edges, missing vegetation, torn mesh, and spaces between panels. A single high-velocity opening aimed at one plant can defeat an otherwise good design.
Living windbreaks change over time. Deciduous hedges may be much more porous before leaf-out and much denser in midsummer. Pruning can create sudden gaps. Growth can close gaps and turn a previously balanced barrier into a very dense wall. Reassess after major pruning, storm damage, and seasonal leaf changes.
Compare Temporary, Structural, and Living Windbreaks
| Windbreak Type | Practical Trade-Off |
|---|---|
| Porous mesh or wind screen | Fast to install and easy to adjust, but rating terminology can be inconsistent. Requires strong posts and secure edges. |
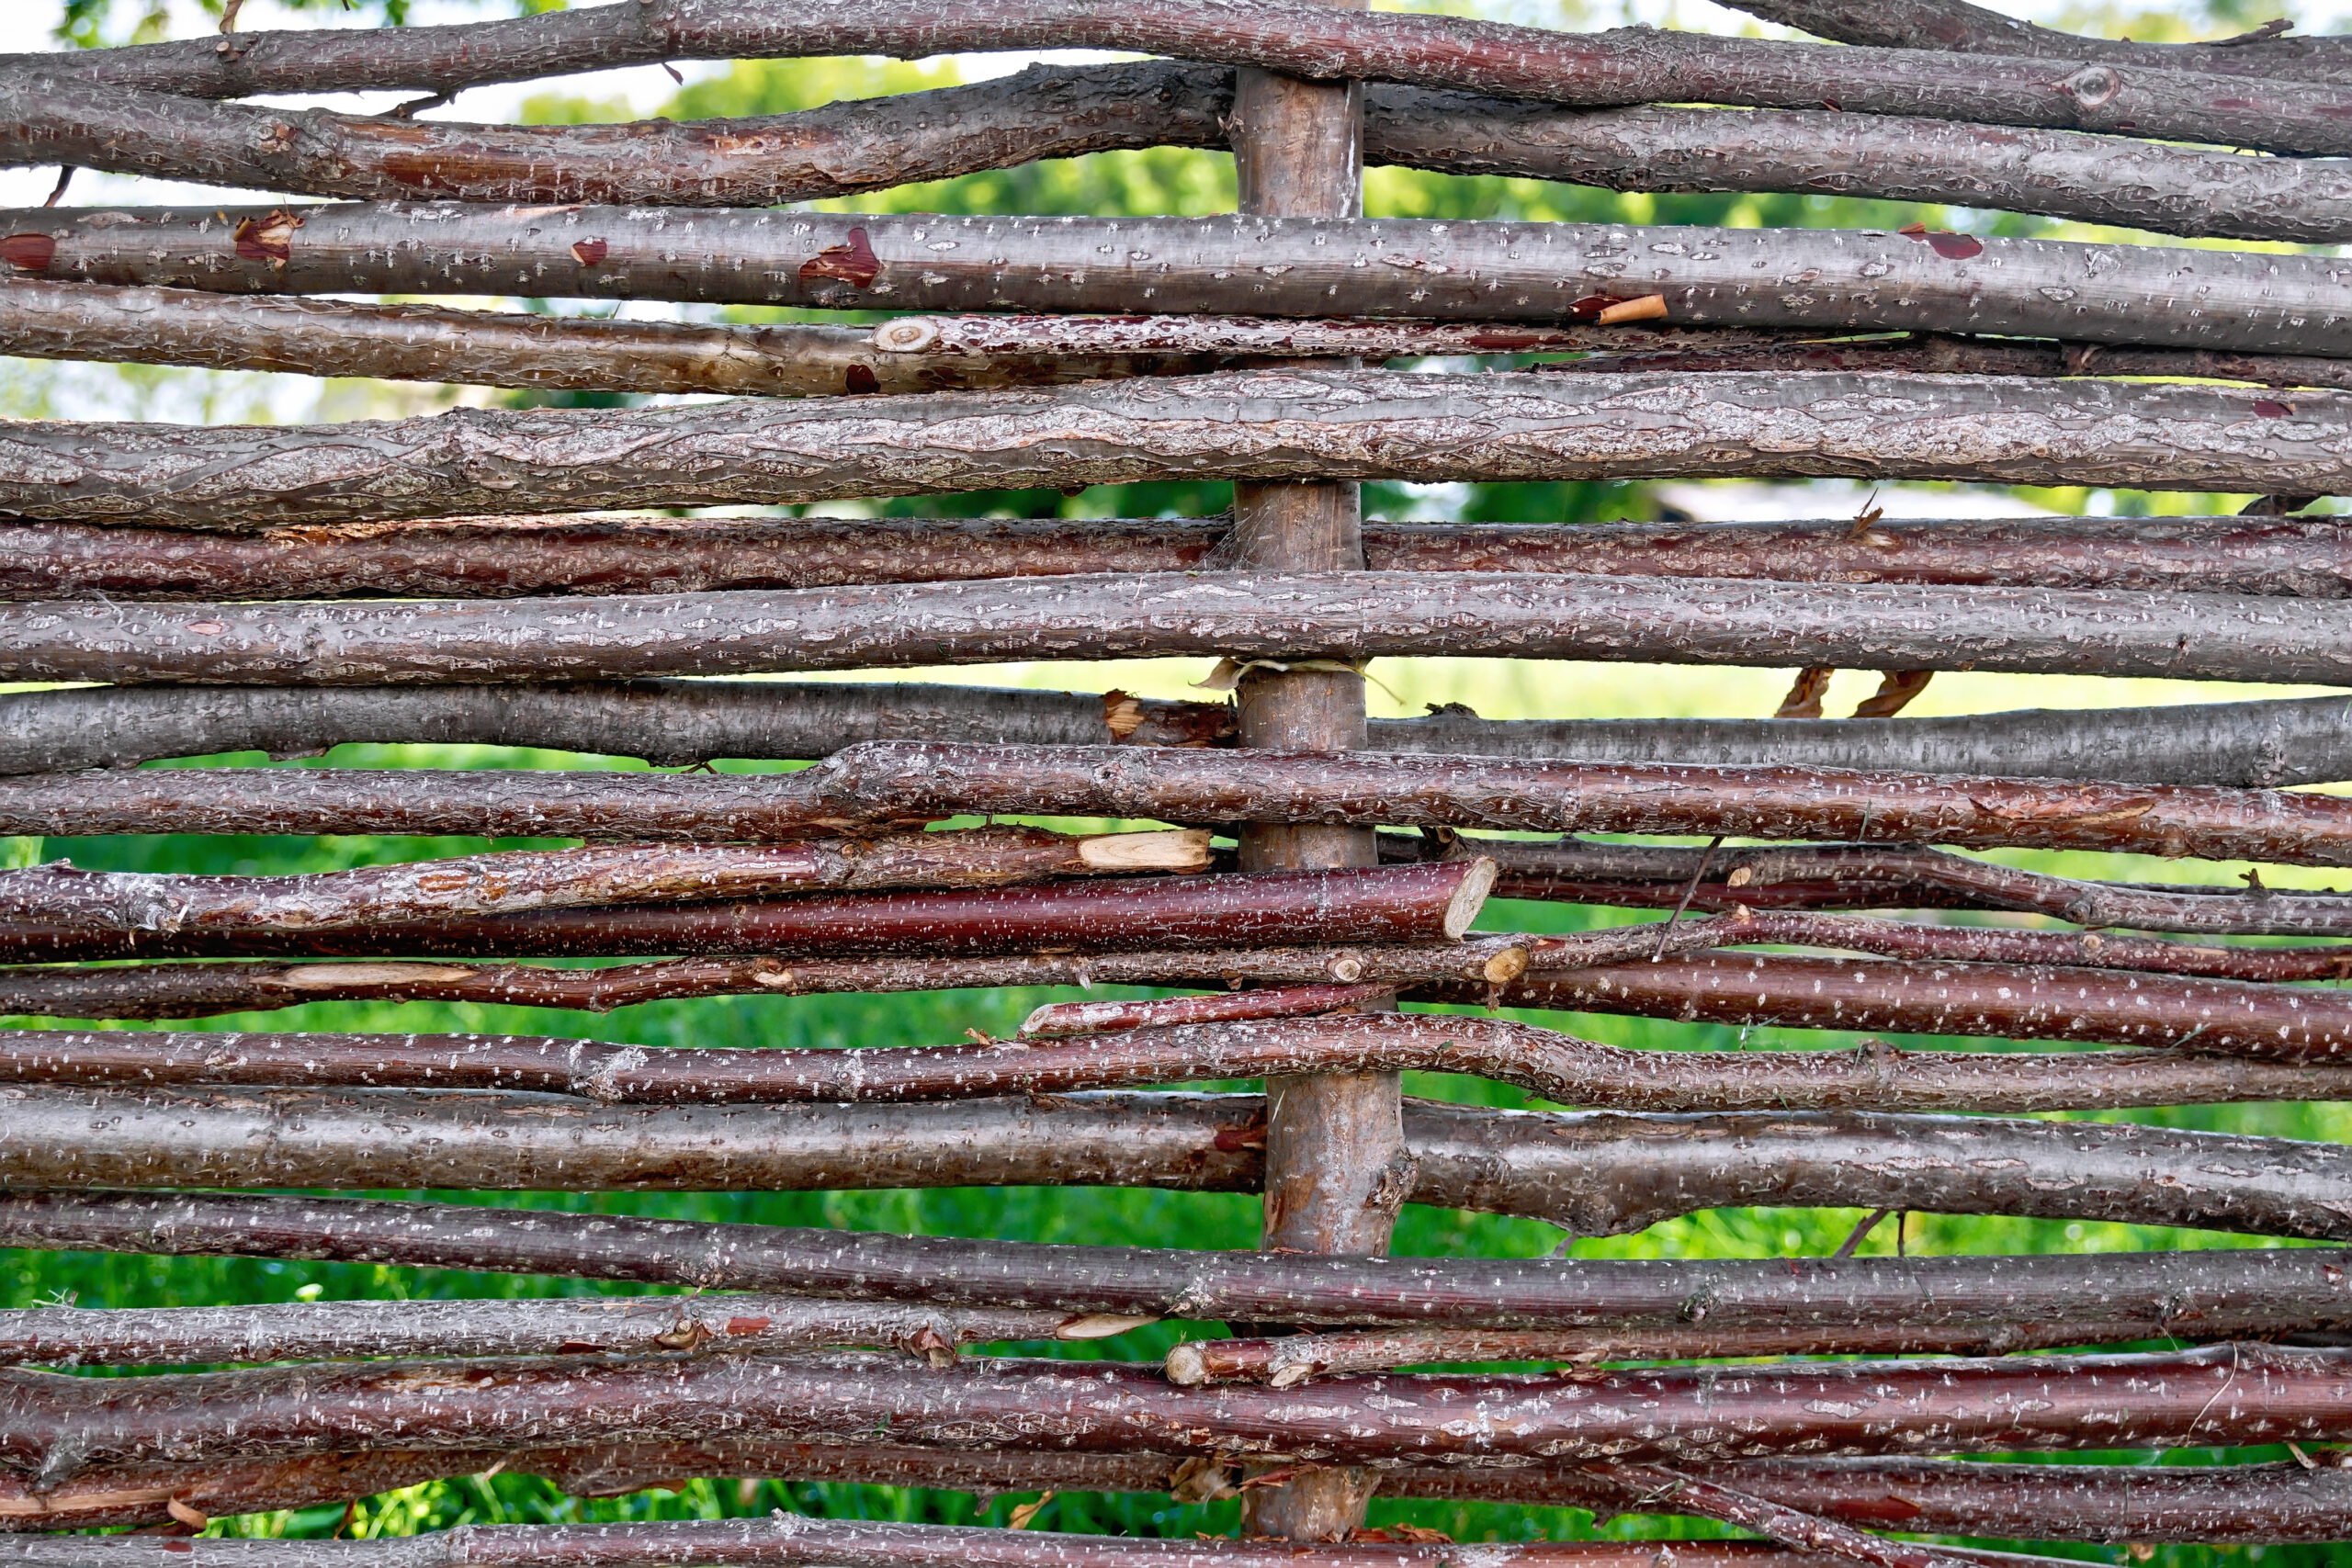
| Slatted or lattice fence | Can provide predictable openings if built well. Permanent placement makes later airflow correction harder. |
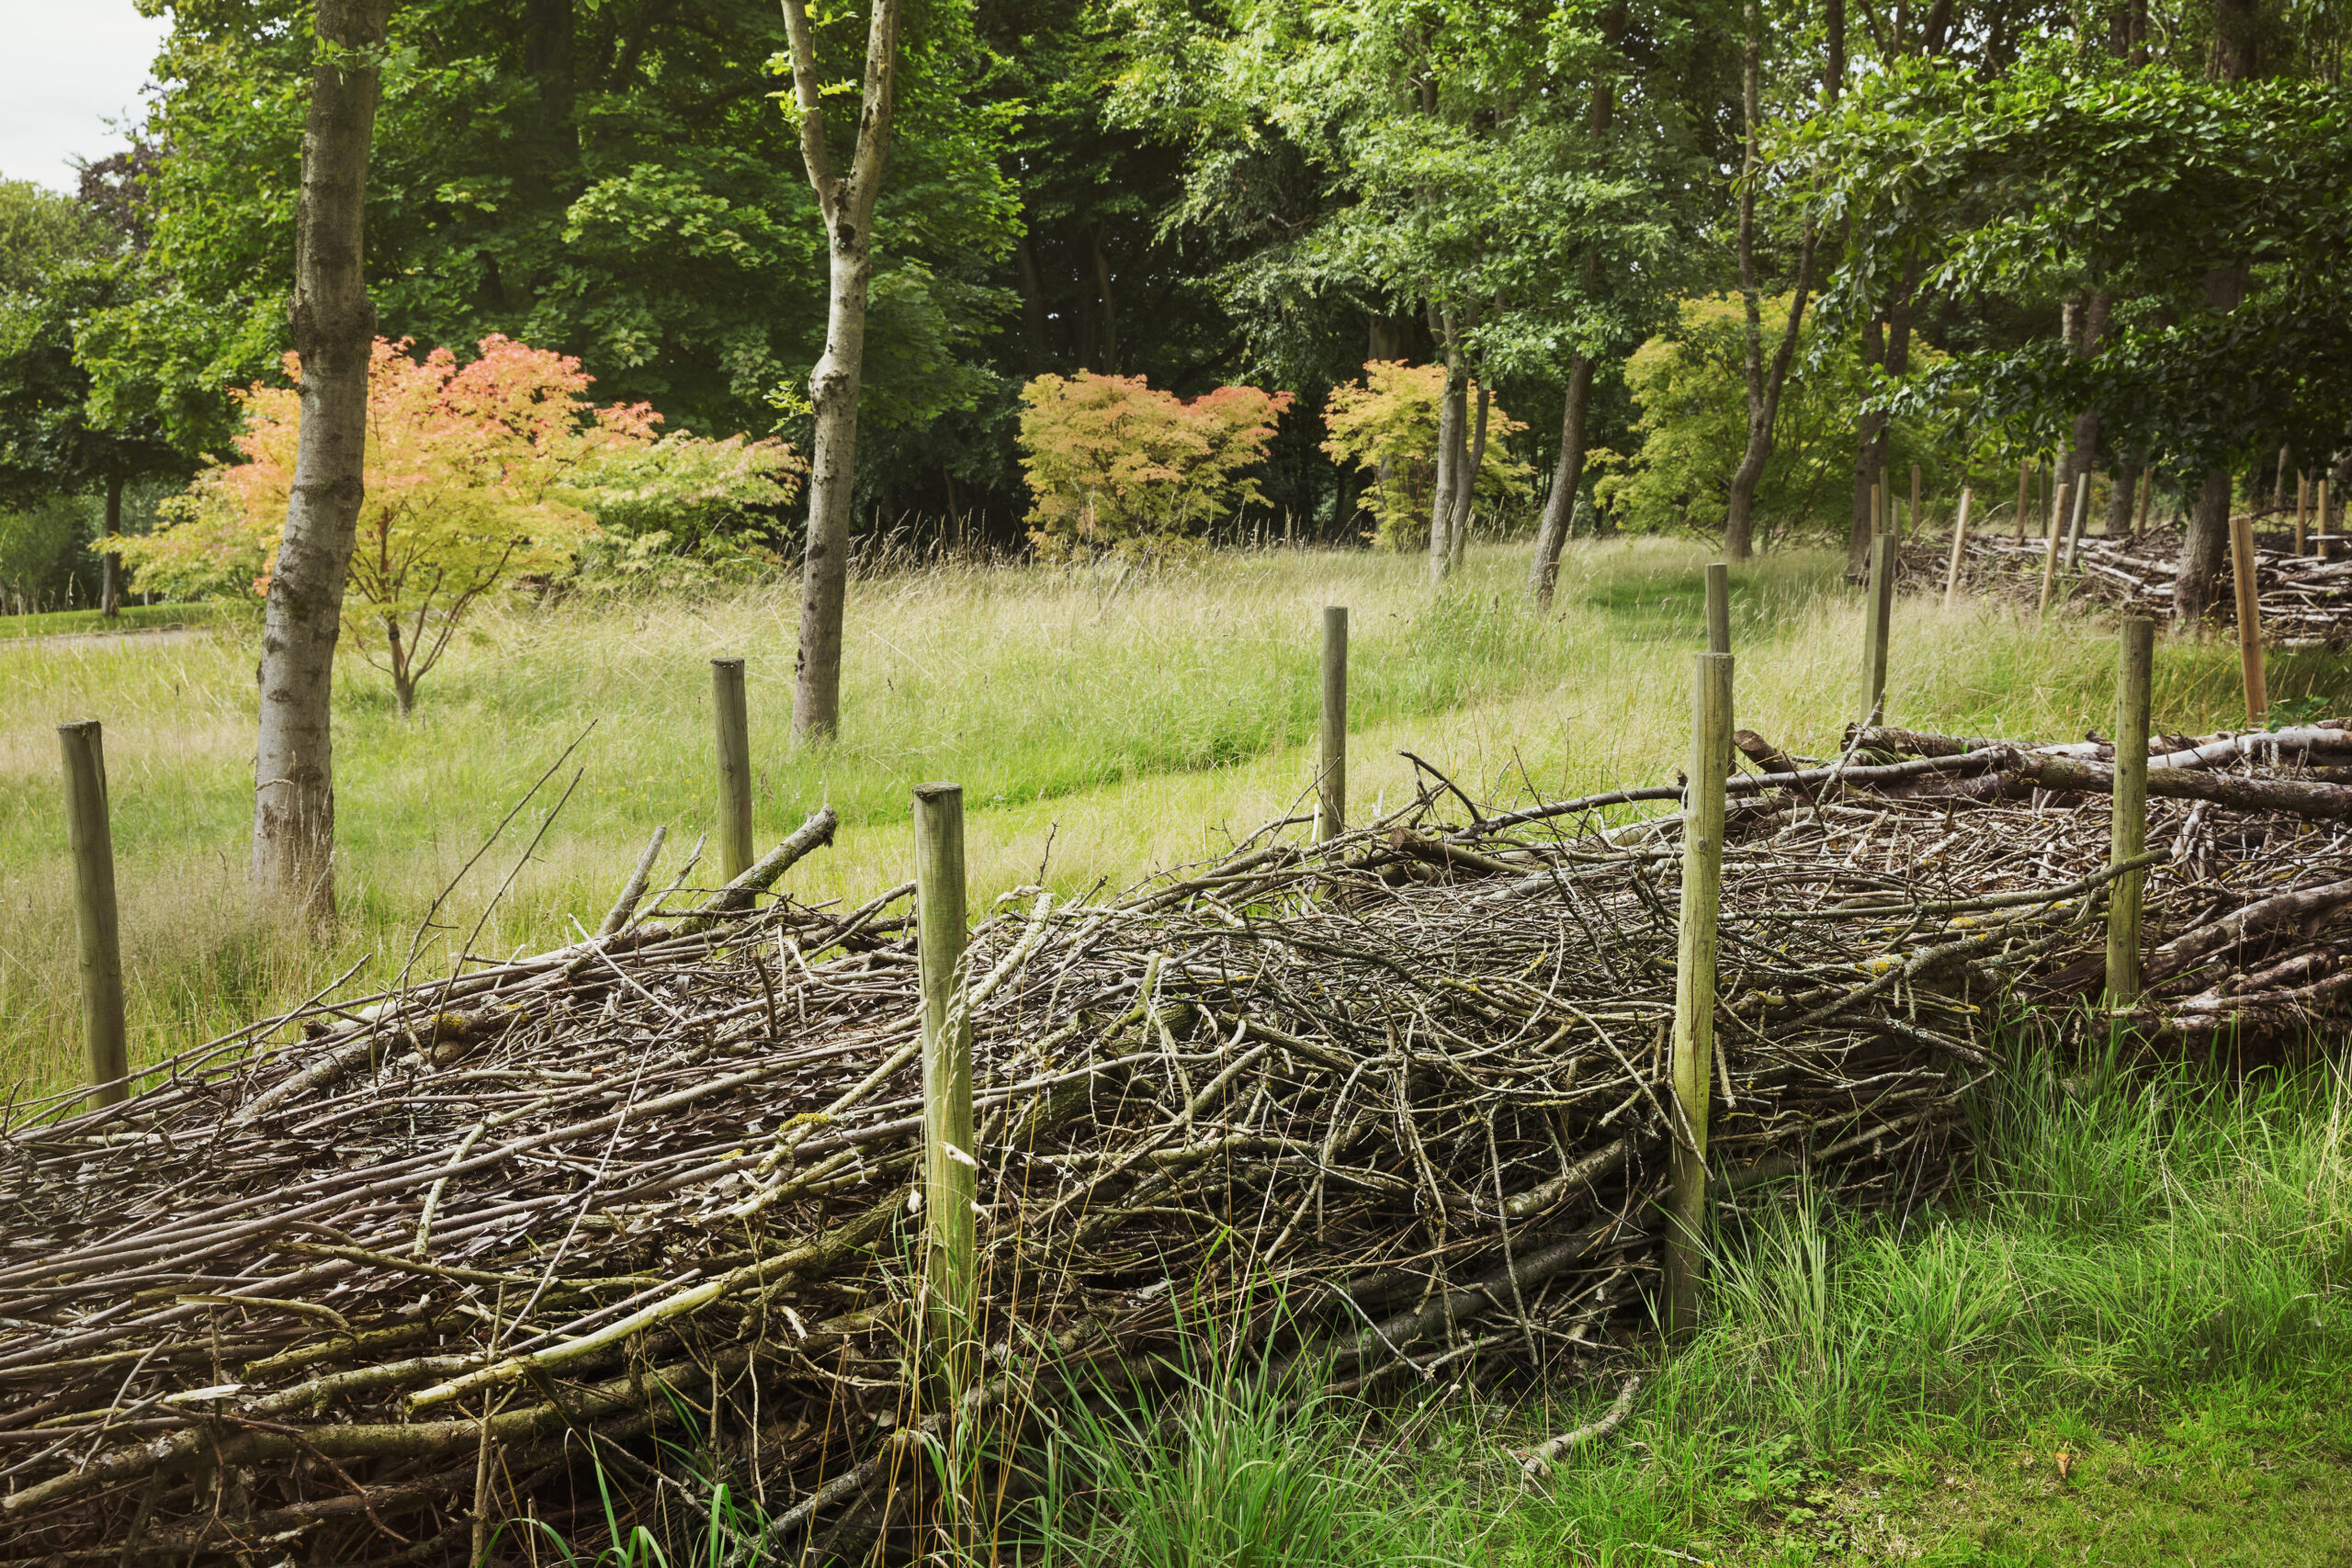
| Existing hedge or shrub line | Filters wind naturally and can provide screening, but density changes with growth and may compete for water and light. |
| Mixed living windbreak | Can provide broad, durable protection. Establishment takes time and mature height may be excessive for a small cannabis garden. |
| Solid privacy fence or wall | May already exist, but can create strong pressure differences, eddies, shade, and very calm leeward pockets. Treat it as an airflow obstacle, not an ideal windbreak by default. |
| Temporary storm panel | Useful for short high-risk periods if installed safely. Must not become a permanent humidity trap or fail under the very gusts it is meant to resist. |
Do
Design for filtered airflow.
Use enough openness that the wind is reduced rather than completely stopped, then verify the installed result at canopy height.
Avoid
Building a sealed outdoor room.
A solid barrier on every side can exchange a wind problem for trapped humidity, heat, shade, and poor morning drying.
Place Cannabis Inside the Protected Zone Without Creating Dead Air
The closest point behind the windbreak often has the strongest wind reduction, but that does not make it the best location for cannabis. The useful planting position is where the mechanical protection, sunlight, air exchange, root competition, irrigation access, and privacy all still work together.
Do Not Plant Directly Against the Barrier by Default
Immediately behind a dense fence, hedge, or screen, airflow can be unusually low. The barrier may also shade the lower canopy, drip water after rain, compete with roots, or physically touch branches as the plant grows. Give the cannabis enough setback that you can walk, inspect, prune, and observe air movement on the windward side of the plant.
There is no universal minimum setback in meters or feet because the barrier height, density, sun angle, plant size, and local wind all change the answer. Use the H-based measurement transect and choose the first position that protects the plant without producing a persistent dead-air signature.
Sample 1H, 3H, 5H, and 10H When Space Allows
This simple transect can reveal more than arguing over the “correct” windbreak distance. Compare average and gust wind speed at each point during the same event. Then compare morning dry-down after a damp night. A small garden may only fit 1H and 3H. That is fine. The procedure is about relative behavior.
General research suggests substantial wind reduction can remain many barrier heights downwind, but the exact profile depends on density and site geometry. If 5H still provides enough reduction and dries better than 1H, the farther position may be the safer flowering site.
Protect the Heaviest Part of the Canopy
Late-flowering branches can carry far more mass than vegetative branches. Support, trellis design, and windbreak height should be evaluated together. A windbreak that reduces gusts does not eliminate the need for physical plant support when flowers become heavy.
Avoid tying the plant rigidly to the windbreak itself unless the structure was designed for that load and does not create rubbing points. Wind can move the plant and screen differently. Repeated contact can wound stems and branches.
Leave a Drying Path Through the Garden
Look at what is downwind after the air passes through the cannabis. A porous windbreak on the windward side may work well, but a solid wall immediately behind the plants can still create a pocket. The complete airflow path matters: entry, movement through the canopy, and exit.
This becomes more important when plants are close together. If every canopy closes into the next, the garden can become its own windbreak. Spacing and selective canopy management may improve dry-down more than changing the external screen.
Hot-Dry and Humid Sites Need Different Biases
In a hot, arid garden, the design may reasonably prioritize more wind reduction because strong dry wind increases water loss and can damage leaves. Even there, the root zone should be managed with mulch, adequate volume, and reliable irrigation rather than expecting a windbreak to solve drought by itself.
In a humid or coastal garden, keep a stronger bias toward ventilation. If the site already experiences dew, fog, frequent rain, or slow morning drying, use the least wind reduction that solves the mechanical problem. Dense late-flowering canopies need a particularly conservative approach to shelter.
Living Windbreaks Can Compete With Cannabis
Trees and shrubs use water and nutrients and cast shade. Their root systems may extend well beyond the visible canopy. University windbreak guidance recognizes competition immediately adjacent to windbreaks as a real trade-off. Do not interpret weak growth next to a hedge as proof that cannabis needs more fertilizer before you investigate shade, root competition, and moisture differences.
For container cannabis, root competition is less direct, but shade and irrigation competition can still matter. Large hedge roots can also lift paving, alter drainage, or obstruct irrigation lines.
Grower Question
“Would putting the plants right behind my six-foot privacy fence give the best protection?”
Question sent by: MapleBackyard, via email.
It may give the strongest immediate wind reduction, but that is not automatically the best microclimate. Check shade, turbulence near the fence top, morning dry-down, and whether air can exit the garden. Compare that position with one farther leeward before committing the planting location.
Remember: A windbreak protects an area, not a line. Use the protected zone instead of pressing the plant against the barrier.
Commission the Windbreak With Paired Measurements
Installation is not the end of the design process. A windbreak should be commissioned the same way you would verify irrigation distribution or a sensor: create a baseline, test under real conditions, look for unintended effects, and change one variable at a time.
Test 1: Moderate-Wind Comparison
Choose a day with a steady version of the problem wind rather than the strongest storm of the year. Measure the open reference and the cannabis position at the same height. Alternate readings so a changing weather pattern does not make the first and last measurements incomparable.
Record the sheltered-to-open wind-speed ratio if you have an anemometer. For example, if the open reference averages 20 km/h and the sheltered position averages 10 km/h during the same period, the sheltered position is receiving about half the reference speed. Do not treat 50 percent as a target. The useful number is the reduction that stops the damage while preserving exchange.
Test 2: Gust Behavior
Average wind can look acceptable while short gusts still whip branches. Watch the canopy during several gust cycles. Look for sudden acceleration through gaps, strong downward movement behind the top edge, and lateral wind wrapping around the ends.
If one plant receives repeated bursts while neighboring plants remain protected, the problem is probably geometry rather than insufficient overall density. Repair the gap, extend the windbreak, or adjust placement before making the entire barrier denser.
Test 3: Wet-Canopy Dry-Down
After dew or rain, compare the protected cannabis zone with the open reference. Record when surfaces look dry and when the dense interior of representative plants stops feeling cool or damp. If the protected zone consistently dries much later, reduce shelter or improve the exit path.
Do not mist flowering cannabis simply to run this test. Use naturally occurring dew or rain when possible. The goal is to observe a real wetting event, not create unnecessary moisture inside flowers.
Test 4: Heat and Humidity Accumulation
Wind reduction can increase local temperature and relative humidity. A simple temperature/RH logger placed at canopy height can reveal whether the windbreak produces a distinct sheltered microclimate. Compare it with an open reference using the same sensor model and shielding approach.
Pay attention to overnight and dawn behavior. A protected garden that is only slightly more humid in the afternoon may remain much wetter at dawn when air temperature approaches the dew point. That is the period most likely to expose a stagnant-air problem.
Test 5: Structural Load
The windbreak itself must survive the wind. Check post movement, anchors, fasteners, mesh edges, ties, and nearby branches after the first meaningful gust event. A screen that tears or leans into cannabis can cause more damage than the original wind.
Temporary barriers should have a safe failure plan. If forecasts exceed what the structure was designed to tolerate, removal may be safer than leaving a large sail attached to weak posts. Do not improvise with loose metal, sharp wire, unstable panels, or anything that can become airborne.
| Commissioning Check | Pass Condition |
|---|---|
| Moderate wind | Wind is visibly and measurably reduced enough to stop routine damaging movement. |
| Gust test | No concentrated jet, violent downwash, or end-wrap strikes the plants. |
| Wet morning | Protected plants dry on an acceptable schedule and do not remain persistently wetter than the reference. |
| Temperature/RH | Shelter does not create a repeated hot or humid pocket that conflicts with flowering-stage risk. |
| Structure | Posts, anchors, screen, vegetation, and edges remain stable after the design wind event. |
| Access | You can still inspect all sides of the plant, supports, irrigation, and windbreak without climbing or forcing through branches. |
Important
Do not commission a temporary windbreak by standing in a dangerous storm to take measurements. Use normal representative conditions first and inspect severe-event performance only when the site is safe to enter.
Change One Variable at a Time
If the garden is too still, do not simultaneously move the screen, cut holes, prune the plants, and change irrigation. You will not know what worked. Increase porosity, create a safer exit path, or move the plant zone farther leeward, then repeat the same measurement sequence.
Likewise, if wind reduction is inadequate, first determine whether the problem is height, gap jetting, orientation, end wrap, or insufficient density. “Add another layer” is only one possible correction and often the one most likely to create stagnant air.

Diagnose Windbreak Failure Before Adding More Shelter
Windbreak problems often look like a simple lack of protection, but the real failure can be too much density, bad orientation, the wrong setback, or a changing garden. Diagnose the airflow pattern before increasing the barrier.
Failure Mode: Solid-Wall Eddies
Symptoms include a very calm strip immediately behind the wall, erratic movement farther back, downward gusts near the top edge, and wind that seems to arrive from unexpected directions. This is a classic sign that the barrier is redirecting rather than gently filtering the air.
Possible corrections include adding a porous layer upwind, moving the plants farther into a smoother part of the protected zone, or replacing a temporary solid panel with a semi-porous screen. Permanent walls are harder to change, so placement becomes the main tool.
Failure Mode: Gap Jetting
A torn mesh panel, open gate, space under a screen, or missing hedge plant can focus air into a narrow stream. One or two plants may show much more damage than the rest of the row.
Repair the local gap instead of making the entire barrier denser. Then retest at the affected plant and at a neighboring position.
Failure Mode: End Wrap
If outer plants are hit while center plants are protected, wind may be curling around the barrier ends. Extending the windbreak past the garden or repositioning the outer plants can solve this without changing density.
Failure Mode: Stagnant Humid Pocket
Warning signs include longer-lasting dew, slower post-rain drying, consistently higher overnight RH, soft wet debris on the soil surface, and flowers that stay cool and damp after surrounding plants have dried. Dense foliage may show little movement even when the open reference has a light breeze.
The correction is usually more exchange, not more windbreak. Increase porosity, remove unnecessary side enclosure, open the downwind exit, move the plants away from the barrier, or improve plant spacing. Avoid aggressive late-flower pruning solely to compensate for a badly designed shelter; correct the airflow system first.
Failure Mode: Excessive Shade
A windbreak can solve mechanical stress while quietly reducing direct sun. Shade changes through the season as the sun path lowers and living barriers leaf out. Compare the planting site’s direct-sun window before and after installation, especially if the windbreak is on the south or equator-facing side of the garden.
A shorter or more distant barrier may provide enough wind reduction without sacrificing the main light window. Do not automatically increase plant nutrition because shaded plants are growing more slowly.
Failure Mode: Root and Water Competition
Living windbreaks may draw water from the same soil volume as cannabis. The effect is often strongest closest to established trees and shrubs. A bed can appear to dry inexplicably fast even after wind speed has been reduced.
Compare root-zone moisture at equal depths near and farther from the windbreak. If competition is the cause, site relocation, root-zone separation, or a different irrigation layout may be more appropriate than watering the entire property more heavily.
Failure Mode: The Barrier Changes During the Season
A hedge can become much denser. Vines can cover lattice. Cannabis itself can fill the previously open air space. Temporary mesh can sag. Support netting can accumulate leaves and debris. A balanced early-season airflow system may become overly sheltered by late flower.
Repeat the commissioning process when the garden’s geometry changes materially. Treat canopy expansion as a design change, not background scenery.
Failure Mode: Windbreak Structure Becomes the Hazard
Loose panels, corroded fasteners, sharp edges, weak posts, unstable privacy screens, and dead tree limbs can become dangerous during storms. A windbreak should not rely on improvised structures that could fall onto people, pets, neighboring property, electrical lines, or the plants.
Check local building, fence, property-line, and utility rules before installing permanent structures. Where permits or height limits apply, follow the local rule rather than assuming agricultural windbreak guidance overrides it.
| Symptom | Likely Design Question |
|---|---|
| Outer plants damaged, center plants fine | Is wind wrapping around the ends? |
| One narrow strip receives violent gusts | Is there a gap or opening acting as a jet? |
| Plants closest to barrier stay wet longest | Is the near-leeward zone too still or shaded? |
| Top branches whip, lower canopy calm | Is the barrier too short or producing top-edge turbulence? |
| All plants still move almost like open reference | Is the barrier too porous, too low, too short, or misoriented? |
| Garden became still only after midsummer | Did living windbreak or cannabis canopy density increase? |
| Plants beside hedge dry faster despite less wind | Is root competition reducing available water? |
Grower Question
“I added a second layer of mesh and the branches stopped moving, but now the plants stay wet longer in the morning. Did I overdo it?”
Question sent by: SoilAndCoffee, via email.
Possibly. The change solved one measured problem and created another. Compare the new dry-down time with the previous baseline, then remove or open one layer and repeat the wind test. The correct design is the least shelter that reliably prevents the damaging wind while maintaining acceptable drying.
Master Advice: When a windbreak fails, diagnose the airflow geometry before adding density. More barrier is not the same as better protection.
Run a Seasonal Maintenance and Weekly Airflow Routine
A working windbreak is not a one-time construction project. Plants grow, wind directions shift, storms damage screens, hedges leaf out, and flower mass changes the mechanical load. The system should be checked through the season with the same few observations.
Pre-Season Commissioning
Before permanent outdoor placement, map the problem wind, measure the candidate barrier, identify the open reference, and mark several H-based test positions. Check sun path, access, drainage, irrigation routes, and legal fence or structure constraints at the same time.
If you use a living windbreak, inspect it before leaf-out and after full leaf development. If you use temporary mesh, inspect posts and fasteners before plants depend on the system. Do not wait for the first severe wind event to discover that the anchors are inadequate.
After Transplanting
Young plants may need more temporary protection than established plants. Check for rocking at the root ball, stem abrasion, leaf tearing, and excessive drying. As roots establish, reduce temporary shelter if the site has become unnecessarily still.
This is also the time to check that the windbreak is not shading plants during a major part of the day. Early-season solar angles and small plant size can make shade effects look different from midsummer conditions.
During Rapid Vegetative Growth
Canopy height may change enough to move the plant into a different wind layer. Re-measure at the new top-canopy height. Add or adjust structural plant support before branches become heavy rather than relying on the windbreak alone.
Watch for the garden closing in. Two separate plants can become one continuous wall of foliage. If airflow through the plants is disappearing even though the external windbreak has not changed, spacing and canopy architecture are now part of the problem.
Before and During Flowering
Flowering raises both mechanical and moisture stakes. Branch mass increases while dense inflorescences become less forgiving of slow dry-down. Re-run the gust test and the wet-morning test at the start of meaningful flower formation and again after substantial bulking.
Do not chase a perfectly motionless canopy. The flowers should be physically supported, and the windbreak should reduce violent loading. Gentle air movement through and around the plants remains desirable.
After Every Significant Wind Event
Inspect the windbreak before the cannabis. Look for structural movement, torn mesh, new gaps, broken hedge branches, loose fasteners, and changed airflow paths. Then inspect plants for rubbing, split branches, tie damage, and root-zone disturbance.
If the barrier changed, the old measurements no longer describe the system. Repair it and repeat at least the basic open-versus-sheltered comparison.
Use a Green, Yellow, Red Airflow Status
| Parameter | Target Range | Warning Zone | What It Means |
|---|---|---|---|
| Green | Damage controlled, gentle canopy movement remains, normal dry-down | None | Keep the configuration and continue routine checks. |
| Yellow | New gap, stronger seasonal wind, slower dry-down, canopy now taller than barrier | Performance is changing but no major failure yet | Measure again before making a large design change. |
| Red | Branch breakage, container instability, violent jetting, persistent wet pocket, unstable screen | Immediate plant or structural risk | Correct the specific failure and verify the result before relying on the windbreak. |
Weekly Windbreak and Airflow Checklist
Practical Checklist
- Review the next 7 to 10 days for strong prevailing winds, storms, hot dry winds, rain, fog, and high-humidity periods.
- Check the direction of the actual damaging wind against the windbreak orientation.
- Inspect posts, anchors, ties, mesh edges, slats, hedge branches, and any temporary panels.
- Look for new gaps that could create concentrated jets.
- Check the outer plants for end-wrap exposure.
- Compare plant movement in the sheltered zone with the open reference during a representative breeze.
- Re-measure at top-canopy height if the plants have grown significantly.
- Record morning dry-down after dew, fog, or rain.
- Check whether the area nearest the windbreak stays wetter or more shaded than the rest of the garden.
- Confirm irrigation is still matched to the new wind exposure and that living windbreak roots are not changing moisture patterns.
- Inspect branch supports and rubbing points before heavy flowers increase the load.
- After any adjustment, change one variable at a time and repeat the same comparison.
What a Successful Windbreak Looks Like
A successful windbreak is easy to recognize when you stop looking for complete stillness. The plants no longer receive destructive gusts. Containers stay stable. Branches flex without whipping. The most exposed leaves stop tearing. The root zone no longer dries abnormally fast during routine winds. At the same time, dew and rain still leave the canopy on a reasonable schedule.
The system also remains inspectable. You can walk both sides of the plants, reach irrigation, see the windbreak structure, and identify changes before they become failures. The barrier does not cast an unexpected block of shade across the main light window or compete so aggressively with the root zone that water management becomes harder.
Most importantly, the result repeats. The garden behaves better during the next comparable wind event and does not become progressively wetter as plants mature. That repeatability is the verification step.
Grower Question
“How do I know when I am finished adjusting the windbreak?”
Question sent by: WestSideRoots, via contact form.
Stop adjusting when the same configuration passes both sides of the test: damaging wind is consistently reduced and the canopy still dries normally after wet conditions. Confirm the result through more than one representative wind event rather than judging it from a single calm day.
Share this article
A quick overview of the topics covered in this article.
Follow us
Latest articles

September 4, 2026

September 4, 2026
September 4, 2026
September 4, 2026
