
Mulching Outdoor Cannabis Without Trapping Problems
Mulch can make an outdoor cannabis root zone easier to manage, but only when it solves a problem the site actually has. A useful mulch layer reduces surface evaporation, buffers temperature swings, limits soil splash, suppresses some weeds, and protects the soil surface from crusting. A poorly matched layer can also hide a wet root zone, shelter slugs, keep the stem base damp, interfere with irrigation checks, or make a small container dry very differently from the schedule you were using before.
The safest approach is not to choose a material first. Start by deciding what you want the mulch to change, measure the root zone before application, and then remeasure after rain and irrigation. If the soil already stays wet for too long, a thick moisture-conserving layer is not the first correction. If the surface bakes dry while deeper soil remains usable, a mulch layer may reduce the daily swing without changing the entire growing system.
This resource focuses on that decision. It does not replace the broader Cannabis Soil and Growing Media guide, the seasonal planning in Outdoor Grow Comprehensive Guide, or the irrigation framework in Cannabis Watering Basics. The goal here is narrower: apply, inspect, and adjust outdoor mulch without turning moisture conservation into a hidden root-zone or pest problem.
In This Resource
- What Mulch Actually Changes Around Outdoor Cannabis
- Build a Root-Zone Baseline Before Adding Mulch
- Choose Mulch Material for the Job, Not the Label
- Build the Layer Without Creating a Stem or Crown Trap
- Adjust the Method for Containers, Raised Beds, and Native Ground
- Confirm the Problems Mulch Can Hide or Encourage
- Correct the Mulch System Before Reaching for a Treatment
- Verify the Result Over the Next Two Weeks
What Mulch Actually Changes Around Outdoor Cannabis
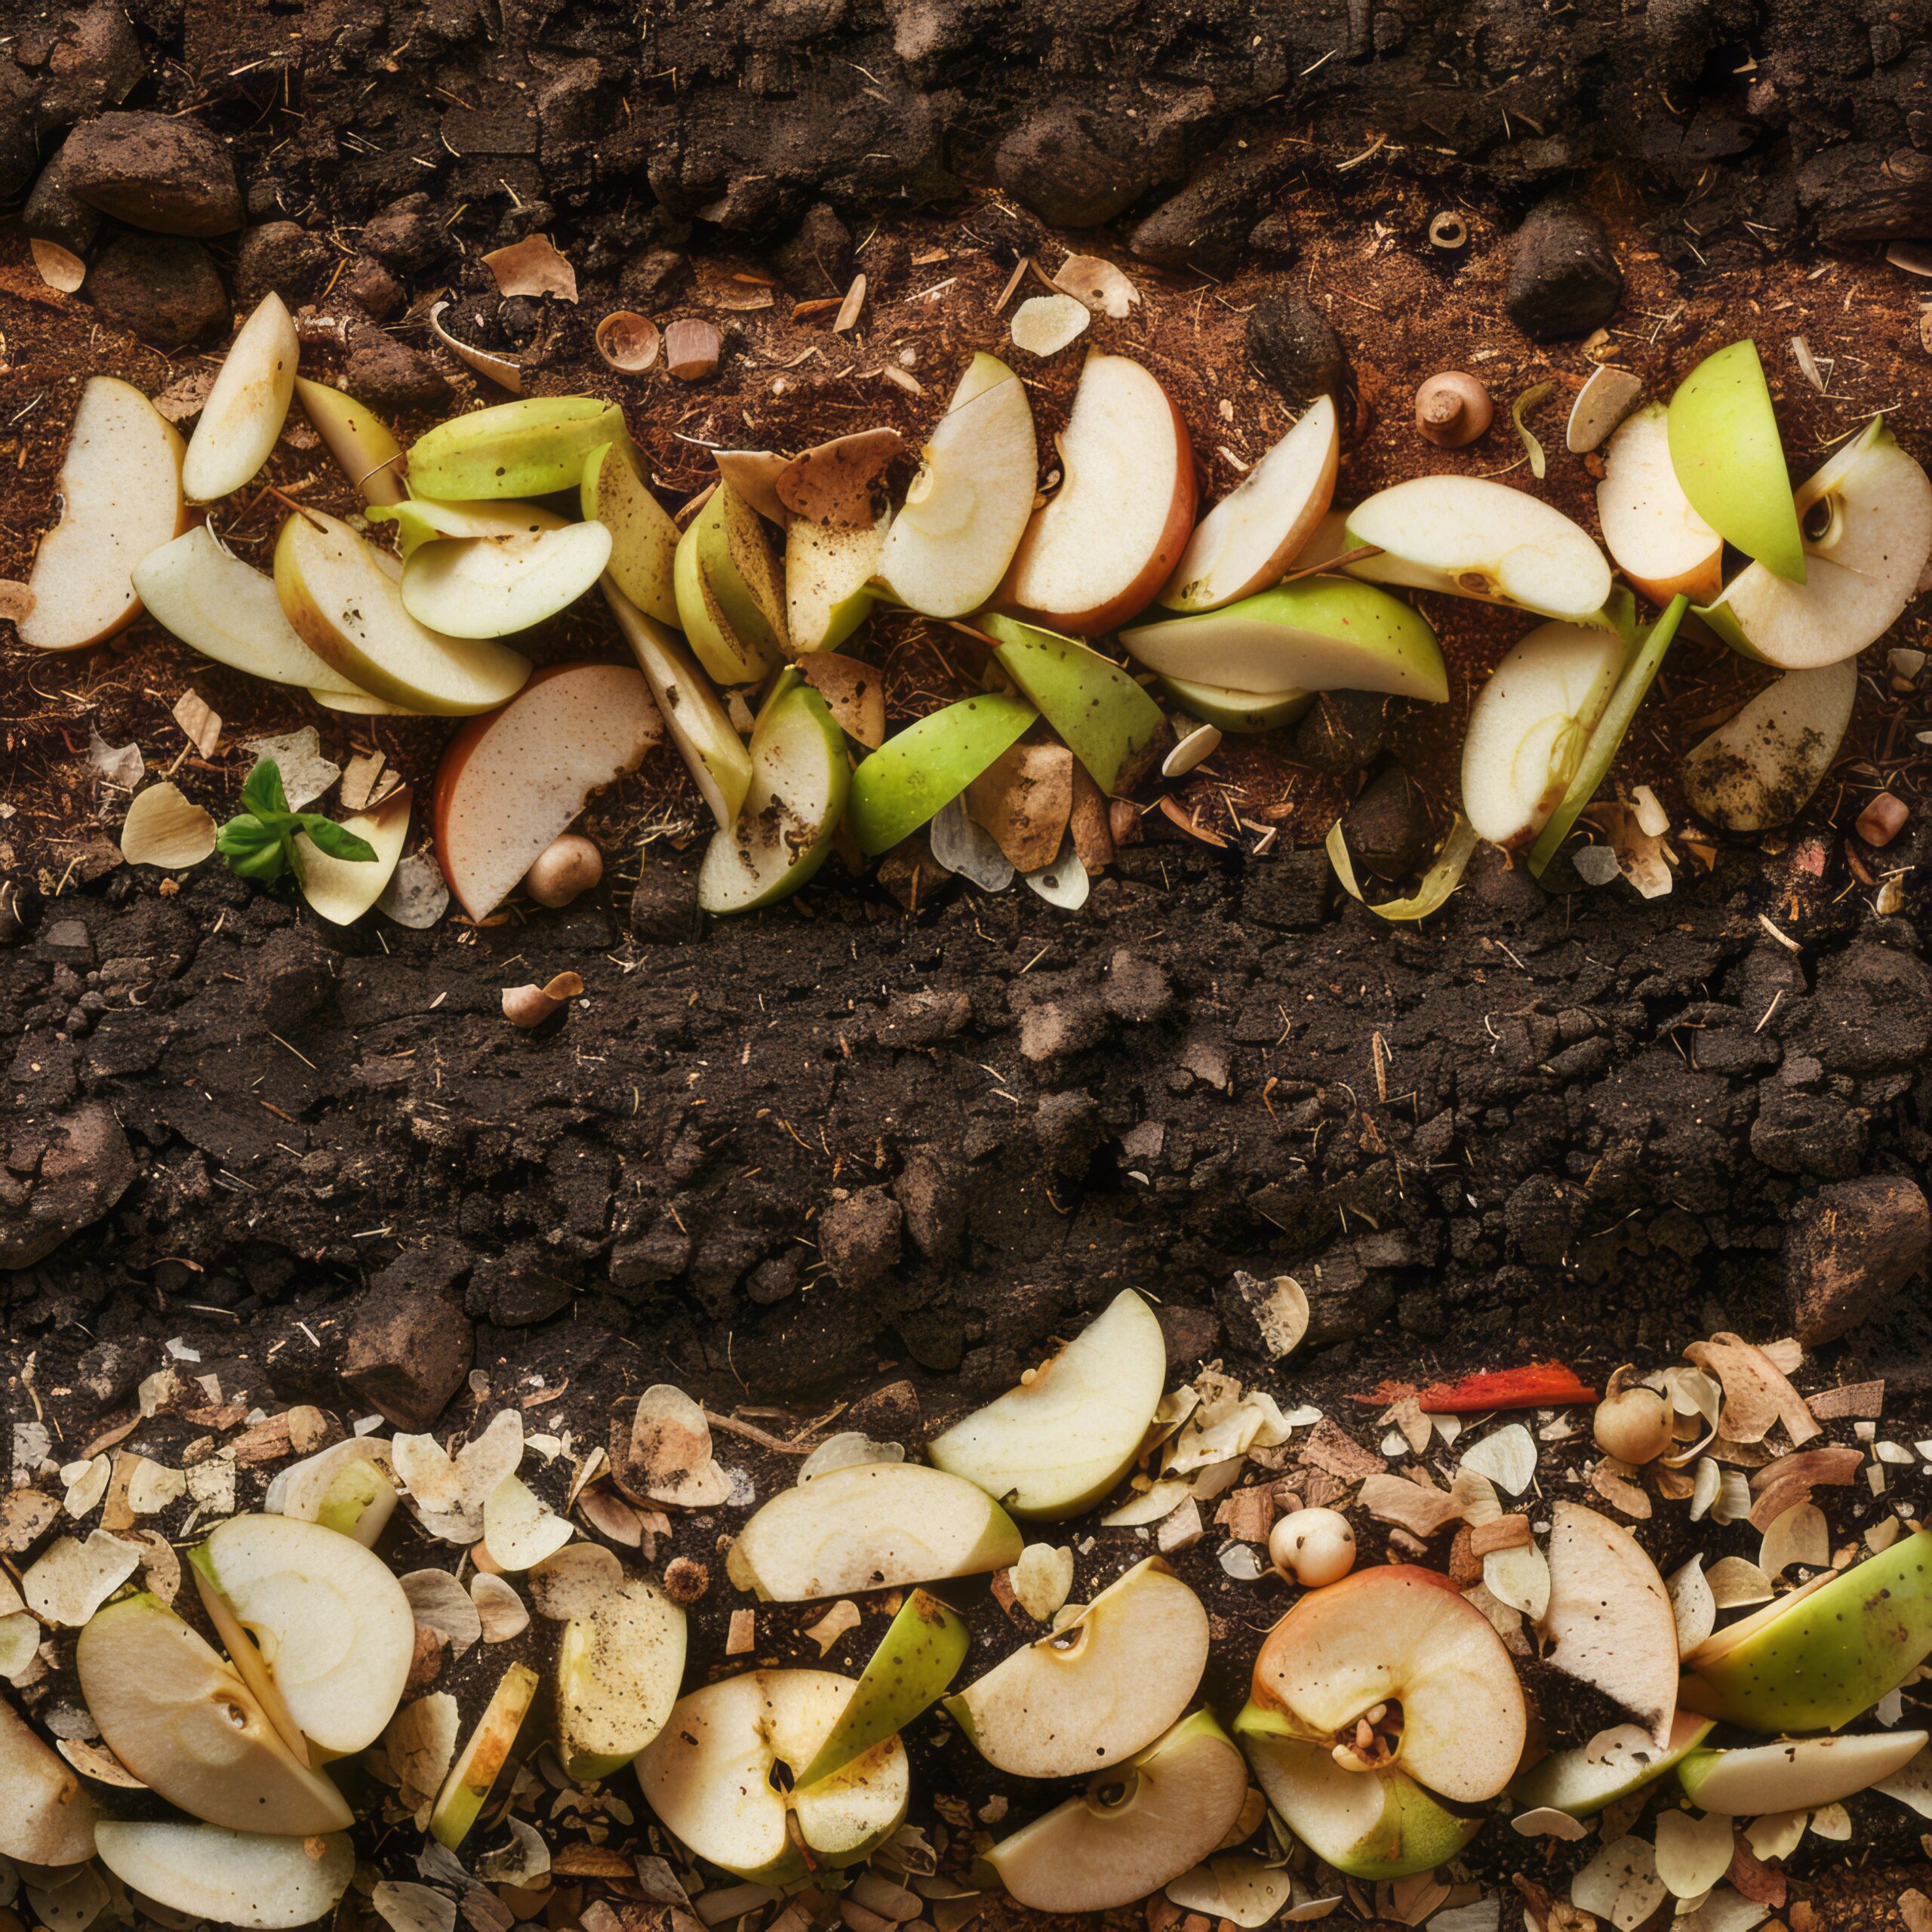
Mulch is a surface-management layer. It changes the exchange of water, heat, light, and physical energy between the soil and the atmosphere. It can slow evaporation after irrigation, reduce direct solar heating of the surface, soften the impact of rain, reduce crust formation, and block enough light to suppress many small weeds. Organic materials can also decompose gradually and become part of the surface organic-matter cycle.
Those effects are useful, but they are not automatically beneficial in every site. A hot sandy bed that loses water rapidly may benefit from more moisture buffering. A shaded clay pocket that stays saturated after rain may already have too much water persistence. The same straw layer can therefore solve one garden’s main limitation and worsen another garden’s.
Mulch moderates the soil surface; it does not repair a failed drainage system
Mulch is material placed on top of the soil or growing medium. It can change evaporation, temperature, weed pressure, splash, and surface structure, but it does not create a drainage outlet through compacted subsoil or fix a container with blocked holes.
Mulch mainly changes evaporation, not the plant’s basic need for water and oxygen
Outdoor roots still need a root zone that contains both usable water and oxygen. Mulch can slow the rate at which water leaves the surface, which may extend the interval between irrigation events. It cannot tell you when the deeper root zone is ready for water. That remains a measurement problem.
When the soil surface is bare, the top few centimeters may dry rapidly in sun and wind even while the active root zone below remains moist. Mulch reduces that direct atmospheric pull. This can make moisture distribution more stable, but it can also remove a visual cue that a grower previously relied on. A dark, damp-looking mulch surface is not a moisture reading for the soil beneath it.
Important: Expect the watering schedule to change after mulching. If you keep irrigating on the old calendar, you can erase the water-saving benefit and create a persistently wet root zone.
Mulch changes the thermal swing, but material matters
Organic mulch usually shields the soil from direct sunlight and reduces rapid daytime heating at the surface. At night, it also changes how quickly heat is exchanged with the air. The size of the effect depends on material, thickness, moisture, soil type, canopy shade, and climate. Synthetic black plastic behaves differently because it can absorb solar energy and warm the soil beneath it under some conditions.
That is why “mulch keeps soil cool” is incomplete. Straw, shredded leaves, coarse wood chips, compost, landscape fabric, gravel, and black plastic do not create the same thermal environment. The season matters too. A layer that protects roots from midsummer heat can delay spring warming in a cool climate.
Remember: Mulch is an environmental modifier. Its value comes from matching the material and depth to the problem you measured, not from covering every visible patch of soil.
Mulch changes the habitat at the soil surface
A shaded, protected layer is also habitat. Earthworms, decomposer fungi, arthropods, and other soil organisms may become more active. That can be part of a healthy surface ecosystem. The same protected space can also shelter slugs, sow bugs, rodents, or other organisms that are more active in cool, moist cover.
This is not an argument against mulch. It is a reason to keep the plant base inspectable and to look under the layer periodically. Outdoor mulch should make the root zone more stable without creating a zone you never see again.
Build a Root-Zone Baseline Before Adding Mulch
The best time to learn what mulch changed is before you apply it. A short baseline prevents a common mistake: adding a new surface layer, noticing a different watering pattern, and then guessing whether the mulch, weather, roots, irrigation, or soil caused the change.
You do not need laboratory instrumentation. You need repeatable observations at the same locations and similar times. Record the material, planting system, recent weather, irrigation volume, and how quickly the root zone normally moves from fully wetted to ready for the next irrigation.
Check moisture below the surface, not only at the top
Choose two or three repeatable points around the plant that represent the active root zone. Avoid probing directly beside the stem every time. Check below the surface with a clean finger, wooden probe, soil moisture sensor, or another method appropriate to the system. In a container, combine this with weight or a gentle tilt test when the pot can be moved safely.
For an in-ground plant or raised bed, note whether the upper layer dries while deeper soil remains moist. If the bed is still wet well below the surface several days after rain, record that before you add a layer designed to reduce evaporation.
“The top of my soil dries in a day, but it is still damp a few inches down. Do I need mulch?”
Question sent by: Dylan Cooper, via email.
Possibly, but the dry surface alone is not proof that the plant is short of water. First track moisture at root depth and the plant’s response. If deeper soil stays usable while only the surface dries hard or heats rapidly, mulch may reduce that surface swing. If the deeper root zone is already staying wet too long, adding a thick moisture-conserving layer is unlikely to be the right first move.
Measure the current wet-to-dry interval
After a normal thorough irrigation or a representative rain, record the date and approximate volume if you control the irrigation. Check the same points at least once daily during the next cycle. The purpose is not to force the bed to become extremely dry. You are learning how long the root zone normally takes to move from wet to the next useful watering point.
After mulch is installed, repeat the same process. If the interval changes from one day to two, or from three days to five, that is useful information. Adjust the schedule to the new root-zone behavior rather than treating the old interval as a rule.
Field Advice: Photograph the soil surface and record moisture at the same two or three points before mulching. The comparison is far more useful than trying to remember whether the bed “felt wetter” a week later.
Watch where rain and irrigation actually enter
Mulch can intercept water temporarily. Coarse organic materials usually allow rainfall and slow irrigation to pass through, but a matted layer of fine leaves, dense clippings, or compacted material can shed water sideways. Drip irrigation can also wet a narrow zone under mulch while the rest of the bed stays comparatively dry.
Run the existing irrigation and look under the mulch location before installation. Note emitter positions and the width of the wetting pattern. If one emitter is already producing a tiny saturated pocket, hiding it under mulch will not make distribution more uniform.
Do not mulch a root zone that is already failing to drain
If water remains pooled, the soil smells anaerobic, the container sits in standing drainage, or the deeper root zone stays saturated far beyond normal plant use, correct the water-removal problem first. Mulch can reduce evaporation and make that failure less visible.
Inspect the stem base before you cover the view
Look at the lower stem, soil line, irrigation fittings, and any existing support ties. Note discoloration, damage, bark-like tissue, wounds, insect activity, or areas that remain wet. Mulch should not hide a pre-existing problem and then receive the blame when the symptom becomes worse.
Keep a clear inspection route around the base after installation. For outdoor cannabis, the purpose of mulch is to protect the root zone surface, not to bury the lower stem in damp organic material.
Pro Tip: Mark the normal soil line on a stake or take a close photograph before mulching. It becomes much easier to notice whether material has migrated against the stem after rain, wind, animal activity, or hand watering.
Choose Mulch Material for the Job, Not the Label
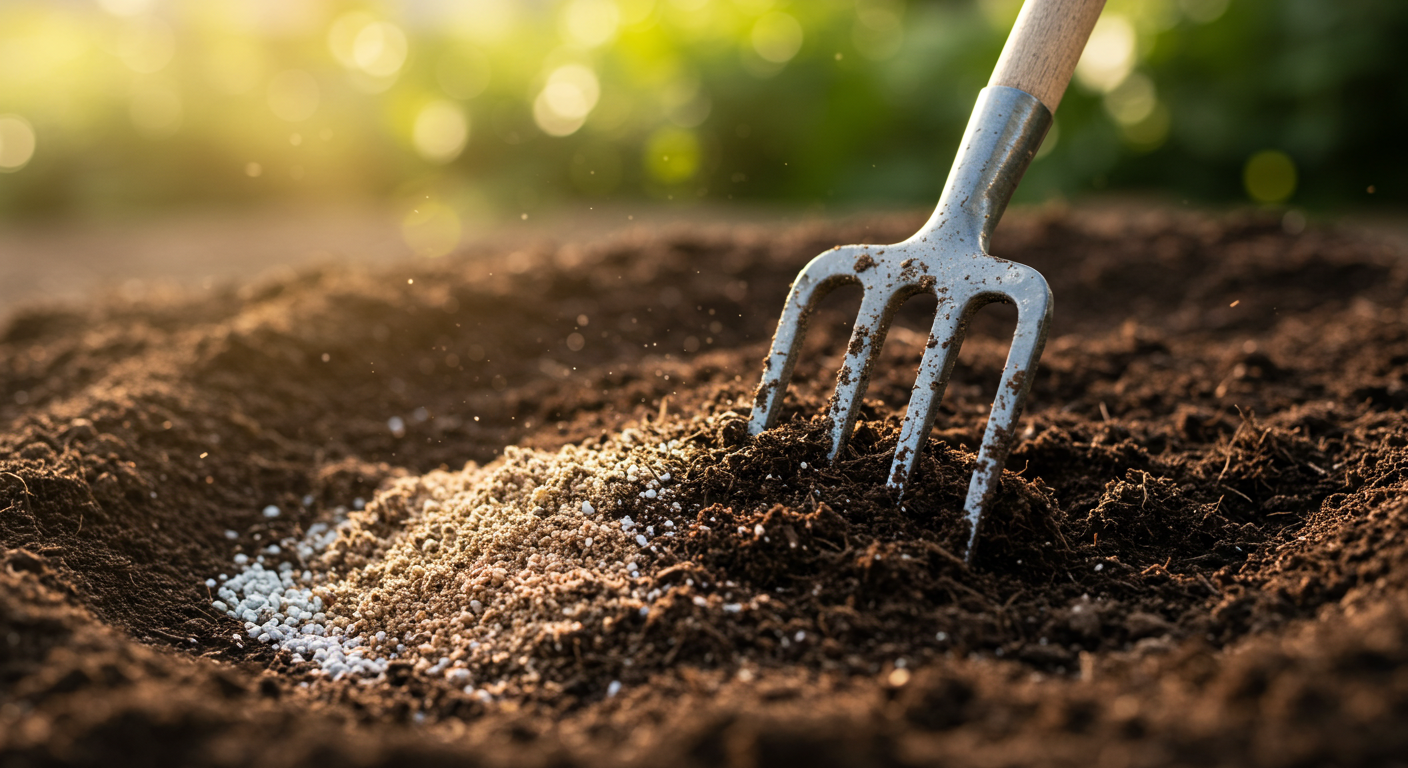
No mulch material is universally best for outdoor cannabis. The most useful choice depends on whether your priority is reducing evaporation, protecting the surface from heat, suppressing weeds, avoiding imported contaminants, or keeping the stem area easy to inspect. Availability also matters because a material you can source cleanly and replace consistently is often more useful than an idealized product you cannot verify.
| Material | Useful Strength | Main Risk to Watch | Best Verification |
|---|---|---|---|
| Clean straw | Lightweight cover, evaporation reduction, surface protection. | Wind movement, weed seeds, herbicide residues, slug shelter, dense wet mats. | Check source, lift after rain, inspect stem clearance and pests. |
| Shredded or chopped leaves | Local organic material, soil-surface protection, gradual decomposition. | Whole wet leaves can mat, reduce infiltration, and create cool damp shelter. | Check whether water penetrates and whether the layer remains loose. |
| Coarse wood or arborist chips | Longer-lasting surface protection and weed suppression. | Unknown source material, stem contact, coarse material unsuited to small pots, incorporation into soil. | Keep on the surface, inspect source and stem collar, monitor root-zone nitrogen rather than assuming deficiency. |
| Finished compost | Thin surface cover that also contributes organic matter. | High soluble salts, high pH, weed seeds, excessive nutrient loading, crusting if fine. | Use known mature compost and test when source quality is uncertain. |
| Dried grass clippings | Readily available light mulch when source is clean. | Fresh mats can heat, become slimy, restrict air and water movement, or carry herbicide residues. | Know lawn-treatment history and apply only dry, clean material in a loose layer. |
| Plastic or synthetic sheet mulch | Strong weed suppression and substantial control of soil-surface evaporation. | Heat buildup, difficult inspection, trapped surface moisture, plastic waste, irrigation placement problems. | Measure root-zone temperature and moisture under the actual installation. |
Clean straw works when the source is as important as the material
Straw is popular because it is light, insulating, easy to move, and compatible with beds and large containers. Its weaknesses are equally practical. It can blow away, hide slugs, contain weed seed, arrive already moldy, or carry residues from fields treated with persistent herbicides. “Natural” does not mean traceable.
Use straw that is dry, reasonably clean, and from a source you can question about field treatments. If the material has a strong musty odor, active decay, obvious weed seed load, or contamination you cannot identify, do not solve the uncertainty by placing it around a plant you intend to harvest.
Important: Unknown agricultural residues are a sourcing problem, not a mulch-thickness problem. If you cannot establish what the material was exposed to, use a cleaner source.
Shredded leaves are different from a wet blanket of whole leaves
Dry leaves can be useful outdoor mulch, especially when shredded or chopped enough to resist forming an impermeable sheet. Whole leaves from some species overlap tightly when wet. The surface may look protected while rainfall runs toward the edge instead of entering evenly.
After the first rain, lift the layer. If the underside is wet but the soil remains surprisingly dry in the root zone, the layer may be intercepting or redirecting water. Break up matted sections and reduce thickness before increasing irrigation.
Tip: The first real rain after installation is a commissioning test. Check the soil under the mulch rather than assuming that rain reaching the garden also reached the active roots.
Coarse wood chips belong on the surface
Coarse wood chips can be effective long-lived mulch in larger outdoor beds. The common nitrogen warning needs precision. Woody material mixed into the soil can increase microbial nitrogen immobilization. Coarse chips sitting on the surface have a much smaller effect on nitrogen availability in the deeper root zone. Do not till them in because you are worried that surface chips look slow to decompose.
In small containers, large chips can occupy too much surface area, make irrigation inspection awkward, and hide the stem base. They fit better in larger beds or wide containers where the layer can remain separate from the stem and irrigation hardware.
Surface mulch and incorporated amendment are different treatments
A carbon-rich material left on top of the soil interacts mainly at the soil-mulch boundary. The same material mixed through the root zone creates much more contact with microbes and can alter nutrient availability and physical structure throughout the soil.
Compost is not automatically a neutral mulch
Finished compost can provide surface protection and organic matter, but it also carries nutrients and soluble salts. Repeatedly adding thick compost layers because the surface keeps disappearing can become a fertility program without a fertilizer label. That may be appropriate in a tested system, but it should be intentional.
Use mature compost from a known source. If the compost is salty, unusually alkaline, poorly finished, or contaminated with weed seeds, its value as mulch does not erase those problems. In living soil systems, a thin compost top-dress and a separate coarse mulch layer can serve different jobs more predictably than asking one material to do everything.
Keep coarse carbon-rich mulch on the surface
Let decomposition happen from the top down and monitor plant nutrition from actual symptoms, records, and soil testing where appropriate.
Mix wood chips, bark, or thick straw through the root zone as a quick fix
Incorporation changes nitrogen dynamics and soil structure. It is no longer simply mulching.
Fresh grass clippings and unknown hay deserve extra skepticism
Fresh grass clippings can collapse into a dense, hot, wet layer. If lawn clippings are used at all, dry them first and apply them loosely rather than building a thick green mat. More importantly, know whether the lawn was treated with herbicides or other products that make the material unsuitable for a food or cannabis garden.
Hay can carry many viable seeds and can also come from treated fields. Straw usually contains fewer seed heads, but neither label proves cleanliness. Source history remains part of the material decision.
Do not import random outdoor debris into a high-value root zone
Roadside leaves, unknown hay, moldy straw, garden waste from treated properties, and unverified wood debris can introduce weed seeds, pests, residues, or other contaminants. Use clean, traceable material rather than treating “free” as the main selection criterion.
Plastic mulch is a different system
Plastic films can strongly suppress weeds and evaporation, but they change heat, gas exchange at the surface, irrigation access, and inspection. Black plastic may increase soil temperature under solar exposure. That can be useful in a cool early season and counterproductive during summer heat. Organic mulch and plastic should not be discussed as though they produce the same microclimate.
If synthetic mulch is used, place irrigation deliberately, monitor temperature beneath the film, and preserve a way to inspect the stem base and soil condition. Do not bury a diagnostic problem under an opaque sheet.
Master Advice: Pick the mulch that creates the environmental change you need. Do not pick a material because it is fashionable in another climate or growing system.
Build the Layer Without Creating a Stem or Crown Trap
The installation should protect soil while leaving the plant base visible and able to dry. In horticulture, piling wet organic material directly against stems and trunks is a known way to prolong moisture and provide shelter for pests. Cannabis is not a tree, but the practical precaution transfers well: do not bury the lower stem in a damp decomposing layer.
There is no single cannabis-specific mulch thickness supported across materials, climates, beds, and containers. General horticultural guidance often uses roughly 5 to 10 cm (2 to 4 in) for organic mulch, with lighter materials sometimes applied more deeply because they settle. Treat that as a horticultural starting range, not a cannabis threshold. Small containers and wet climates often need less. Hot, exposed beds may tolerate more when drainage and irrigation are already reliable.
Leave a visible collar around the stem
Pull mulch back far enough that the stem base, soil line, and immediate irrigation zone remain visible. The exact gap is less important than the function: wet mulch should not slump back against the stem after rain or watering. You should be able to inspect the lower stem without excavating the layer each time.
As the plant thickens and the season becomes wetter, widen the inspection collar if needed. Late-season flowers can create enough shade that the base dries more slowly than it did during early vegetative growth.
Field Advice: Shape the layer like a shallow ring around the root zone, not a volcano around the stem. The highest point should not be touching the plant.
Keep the layer loose enough to accept water
Place organic mulch without compressing it into a dense pad. Coarse pore spaces help rain and irrigation move through. If fine material mats after wetting, rake or fluff the surface rather than adding more on top.
Check emitters after installation. A drip line hidden under straw may move, clog, or create a narrow wet pocket without being obvious. Pin or route irrigation securely enough that the delivery pattern stays where you measured it.
Keep inspection points accessible
Leave the stem base visible and preserve at least two repeatable places where you can check soil moisture below the mulch.
Build a sealed blanket you never lift
A mulch layer that hides the stem, emitters, pests, and moisture pattern removes the information needed to manage the root zone.
Apply mulch after the root zone is correctly watered, not saturated
If the soil is severely dry, rehydrate it evenly before installing a moisture-conserving layer. If the soil is saturated from rain, wait until drainage and root-zone aeration have returned before adding material that further slows evaporation. Mulch should preserve a reasonable moisture condition, not lock in an extreme one.
The same rule applies after corrections. If you temporarily remove mulch because the bed stayed too wet, do not immediately reinstall the full layer after one sunny afternoon. Wait until the moisture pattern has returned to a repeatable cycle.
Remember: Mulch preserves conditions. That is helpful only when the condition you are preserving is suitable for the roots.
Do not let mulch become a structural support
Stakes, cages, irrigation clips, and support hardware should be anchored independently. Do not mound material around a loose stake to make it stand. Movement can drag mulch against the stem and create a wet pocket around damaged tissue.
Likewise, do not use heavy rocks on top of organic mulch around the plant base to keep it from blowing away. Rocks can make inspection difficult and create different heating patterns. If wind removes a light mulch, use a material and retention method suited to the site rather than burying the root zone under improvised weights.
Adjust the Method for Containers, Raised Beds, and Native Ground
Mulch behaves differently when the root zone is a 20-liter container, a 300-liter fabric pot, a raised bed, or open native soil. Surface area, total water storage, sidewall evaporation, drainage path, and root volume all change the result. The same layer depth should not be copied blindly across systems.
Small and medium containers need the most conservative start
A container has limited root-zone volume. If mulch extends the wet interval too far, there is less surrounding soil to buffer the error. Fabric pots can lose water through their sidewalls even when the top is mulched, while plastic pots mainly lose water through the plant, surface, and drainage pathways. That means a surface layer may change the two container types by different amounts.
Start with a modest, loose layer that leaves room for watering and moisture checks. Measure the container’s wet-to-ready interval before and after. If the pot now stays heavy or wet much longer than the plant can use, reduce the layer rather than simply stretching irrigation volume.
Pro Tip: In a movable container, pot weight is one of the best checks against a deceptive mulch surface. A dry-looking straw layer can sit above a heavy wet pot, while a damp-looking layer can sit above a surprisingly light root ball.
Large outdoor containers can use mulch as a heat and evaporation buffer
Large containers have more stored water, but they can also expose a large soil surface to sun and wind. Mulch can reduce top-surface heating and evaporation, particularly when the canopy does not fully shade the container. It does not shield the sidewall from solar heating. A black plastic container in strong afternoon sun may still develop a hot outer root zone even when the soil surface is covered.
Do not use mulch as a substitute for container shading, spacing, irrigation design, or a suitable pot size. It is one layer in the heat-management system.
Raised beds can stay wetter than expected after mulch
Raised beds are often described as “well drained,” but drainage still depends on the fill material, depth, interface with native soil, bed geometry, and outlet. A dense bed filled with fine material can remain wet even above ground level. Mulch then reduces surface evaporation and makes that wetness last longer.
After installation, check the center and lower root zone after a substantial rain. If the bed surface looks perfect while the deeper zone remains saturated, the problem is below the mulch.
“I found white fungal threads under my straw. Does that mean my cannabis has a fungal disease?”
Question sent by: UrbanRooted, via contact form.
Not by itself. Organic mulch is decomposing material, so fungal growth in the mulch can be normal. Check the plant separately: inspect the stem base, root-zone moisture, odor, root condition when accessible, and whether the plant is declining. Decomposer fungi on straw are not the same evidence as a diagnosed root or crown disease.
Native ground needs attention to slope and drainage
In-ground plants can access a larger soil volume, so mulch may be especially helpful in hot climates where bare soil loses moisture and forms a hard crust. The larger root zone can also hide local wet pockets. Low spots, compacted layers, clay lenses, and poorly drained holes still matter.
Keep runoff routes open. Do not build a mulch berm that diverts storm water toward the stem or into a planting depression. After heavy rain, inspect where water flowed, where debris accumulated, and whether the mulch moved.
Do not assume mulch protects against waterlogging
Mulch reduces surface impact and evaporation, but it cannot remove excess water from a low site. If storms repeatedly saturate the root zone, drainage, grading, bed height, or container strategy needs attention.
Weedth Verdict: The smaller and wetter the root zone, the more conservative the mulch layer should be. The hotter, larger, and faster-drying the system, the more useful moisture buffering can become.
Confirm the Problems Mulch Can Hide or Encourage
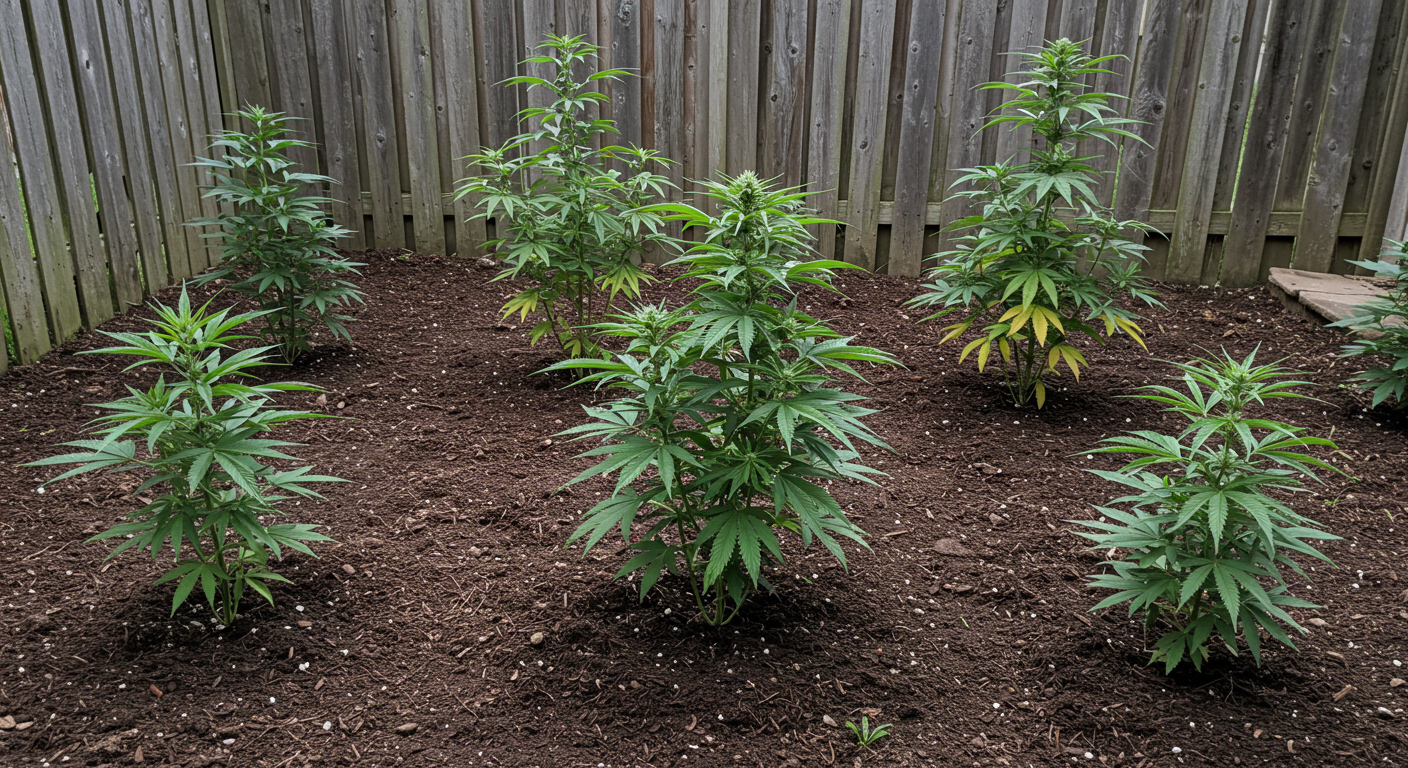
The phrase “mulch caused a problem” is often too broad to be useful. Mulch can contribute to a condition, but the visible symptom may come from irrigation, soil texture, weather, pests, nutrient management, or root disease. Diagnosis starts by separating what is happening in the mulch from what is happening in the plant and root zone.
| Observation | Mulch-Related Possibility | Important Look-Alike | What Confirms the Difference |
|---|---|---|---|
| Plant droops while mulch looks wet | Root zone may be staying wet too long after schedule failed to change. | Heat stress, root disease, drought below a water-shedding mulch layer. | Check moisture at depth, pot weight, drainage, temperature, and recovery pattern. |
| White mycelium or mushrooms in mulch | Normal decomposition of organic material. | Stem, crown, or root disease. | Inspect plant tissue separately for lesions, rot, odor, root damage, and decline. |
| Ragged holes appear on lower leaves | Cool moist shelter may support slugs or snails. | Caterpillars, beetles, mechanical tears. | Night inspection, slime trails, pest identification, damage pattern. |
| Yellowing begins after wood mulch is added | Fine carbon-rich material may have been incorporated into the soil. | Overwatering, pH problem, nutrient imbalance, root damage. | Check application method, root-zone moisture, feeding record, soil/medium test where needed. |
| Soil stays dry despite rain | Matted layer may be shedding water or irrigation may be too localized. | Hydrophobic soil, blocked emitter, rain shadow from canopy. | Lift mulch during watering and inspect wetting pattern at multiple points. |
| Stem base darkens or stays wet | Material is piled against the stem and preventing dry-down. | Mechanical wound, soil splash, stem disease, irrigation leak. | Expose collar, inspect tissue, trace water source, monitor progression. |
Persistent wetness is a root-zone diagnosis, not a mulch appearance
Mulch often stays damp longer than exposed soil because it is shaded and evaporates differently. That does not prove the root zone is saturated. Push past the mulch and measure the actual medium. If the soil below is aerated and moving through a normal dry-down, a damp mulch surface may be doing exactly what you intended.
The opposite is also possible. A dry top layer can hide saturated soil underneath after prolonged rain. Never use mulch color or texture as the only watering signal.
Important: When symptoms appear, temporarily stop treating the mulch as the diagnosis. Measure soil moisture, temperature, drainage, irrigation delivery, and the plant before deciding what to remove or add.
Slugs and snails use cover, but mulch is not proof they caused the damage
Organic debris and mulch can provide cool moist daytime shelter for slugs, especially during wet weather. Young plants are more vulnerable to severe feeding than large established plants. Look for irregular holes and slime trails, then inspect after dark or early in the morning when conditions favor activity.
Do not respond to every leaf hole by removing all mulch. Caterpillars, beetles, wind abrasion, and mechanical damage can look different when inspected closely. Identify the pest before selecting control.
Field Advice: Lift several small sections of mulch at dusk or early morning. If slugs repeatedly hide there and fresh feeding matches their damage pattern, you have evidence. If you find nothing, keep looking for the actual cause.
Decomposer fungi are not the same as flower mold
Organic mulch is expected to support decomposition. Fungal hyphae in wood chips or straw can be part of that process. The risk becomes different when wet organic material is pressed against living stem tissue, when the root zone remains oxygen-poor, or when disease symptoms appear on the plant itself.
Do not spray fungicide onto healthy mulch simply because fungi are visible. That can disrupt soil organisms and does not diagnose the plant. If disease is suspected, identify the affected tissue and disease pattern first.
Separate decomposer activity from plant disease
Inspect the stem, roots, foliage, and flowers for their own signs before deciding that fungal growth in mulch is pathogenic.
Treat visible mulch fungi as a disease diagnosis
Mushrooms and mycelium can occur during normal decomposition and do not identify a pathogen infecting cannabis.
Stem-base moisture deserves fast attention
If mulch has migrated against the stem, pull it back and inspect. Look for softened tissue, persistent darkening, wounds, feeding, or a drip emitter that keeps the area wet. Letting the area dry enough for inspection is a correction in itself.
Do not scrape healthy tissue or apply random powders around the stem as a reflex. First remove the environmental pressure and determine whether the tissue is actually damaged.
Do not turn a mulch problem into a flower-residue problem
Avoid broad, unverified pesticide, fungicide, oil, soap, or powder applications around flowering plants simply because pests or fungi were found under mulch. Identify the organism and follow crop-legal, label-compliant controls appropriate to the plant stage and jurisdiction.
Yellow leaves after mulching are often a look-alike problem
A grower may see yellowing after installing wood chips and immediately assume nitrogen has been stolen. If the chips remain on the surface, that explanation may be weak. Check whether irrigation frequency was reduced or increased, whether the root zone is wet, whether the plant is entering a different growth stage, and whether fertilizer or pH management changed at the same time.
If fine woody material was mixed through the root zone, nitrogen immobilization becomes more plausible. The history of what you actually did matters more than the mulch label.
Pro Tip: Write down the date mulch was installed and the next few irrigation dates. A symptom that starts later is easier to interpret when you can see whether watering frequency, rainfall, or fertilizer changed at the same time.
Correct the Mulch System Before Reaching for a Treatment
Most mulch-related problems can be approached with a simple sequence: expose the area, measure the root zone, remove the environmental pressure, and then decide whether any additional treatment is justified. Changing five variables at once destroys the information you need to know whether the mulch was actually involved.
If the root zone is too wet, thin or remove mulch temporarily
Pull the layer back from the plant and expose more soil surface. Stop irrigation until the root zone reaches an appropriate moisture level, unless the plant has a different urgent need. Make sure drainage outlets are open and standing water is not being trapped by saucers, bed edges, or grading.
Do not force-dry saturated roots with extreme heat or a powerful fan. Restore normal aeration and let the system return to a measurable cycle. Once it does, reinstall a thinner layer only if mulch still solves a real problem.
Master Advice: If reducing mulch fixes the wet interval but the soil still stays saturated after every storm, the mulch was exposing a drainage limitation, not creating the whole problem.
If water is not penetrating, open the layer and test irrigation again
Break apart matted leaves, clippings, or fine material. Run a measured irrigation and watch whether water reaches the soil across the intended root zone. Reposition emitters if needed. If the soil itself has become water-repellent, correct that separately rather than increasing mulch thickness.
Use overlapping irrigation zones for large plants when one emitter cannot wet the active root system evenly. Mulch can reduce evaporation, but it cannot spread water through a hydrophobic or poorly designed root zone by itself.
Remember: A wet mulch surface and a dry root ball can exist at the same time. Always verify below the layer before adding more water.
If slugs are confirmed, reduce shelter around vulnerable tissue
Pull back excessive mulch from the immediate plant area, remove boards and debris that create additional hiding places, and inspect during periods when slugs are active. Morning irrigation can reduce overnight surface wetness compared with evening watering. Larger established plants may tolerate limited feeding, while seedlings need faster protection.
If control products are considered, use only products legal for the crop and location, follow the label, and consider whether application near consumable flowers is appropriate. Physical inspection and sanitation remain useful regardless of product choice.
If the stem base is wet, create an open collar and trace the water source
Move organic material away and leave the lower stem exposed. Check whether irrigation water is hitting the stem repeatedly, whether rain drains toward the plant, or whether the mulch itself migrated inward. Correct that route first.
Photograph any damaged area and recheck it. If discoloration expands, tissue softens, or plant decline develops, the issue has moved beyond simple mulch placement and may require disease diagnosis.
Field Advice: The fastest useful correction is often subtraction. Remove enough mulch to see and measure the problem before adding amendments, nutrients, microbes, pesticides, or more irrigation.
If the layer came from a questionable source, remove the source instead of managing around it
Unknown residues, obvious contamination, severe weed-seed introduction, or infested material are not problems you need to preserve for the sake of mulching. Bag or remove the material in a way appropriate to the contamination concern and local waste rules. Do not compost material you suspect contains persistent herbicide residues and then return it to the garden.
Replace it only with a cleaner, traceable material once the root zone has been inspected.
“After two days of heavy rain, should I remove all the mulch from my outdoor plant?”
Question sent by: Hannah Reed, via Facebook page.
Check the root zone first. If the soil is draining normally and the stem base remains dry and visible, complete removal may not be necessary. If the deeper zone is staying saturated, the mulch is matted, or the plant base cannot dry, pull the layer back or thin it temporarily and monitor the moisture cycle. Reinstall only as much as the system can support.
Change one major variable when possible
If a plant is declining, it is tempting to remove mulch, increase fertilizer, transplant, spray, and change irrigation on the same day. Unless safety or severe disease requires immediate action, that approach makes recovery difficult to interpret.
Start with the variable most strongly supported by evidence. If the root zone is too wet, fix water persistence. If slugs are confirmed, reduce shelter and manage the pest. If irrigation is bypassing the roots, correct distribution. Then remeasure.
Verify the Result Over the Next Two Weeks
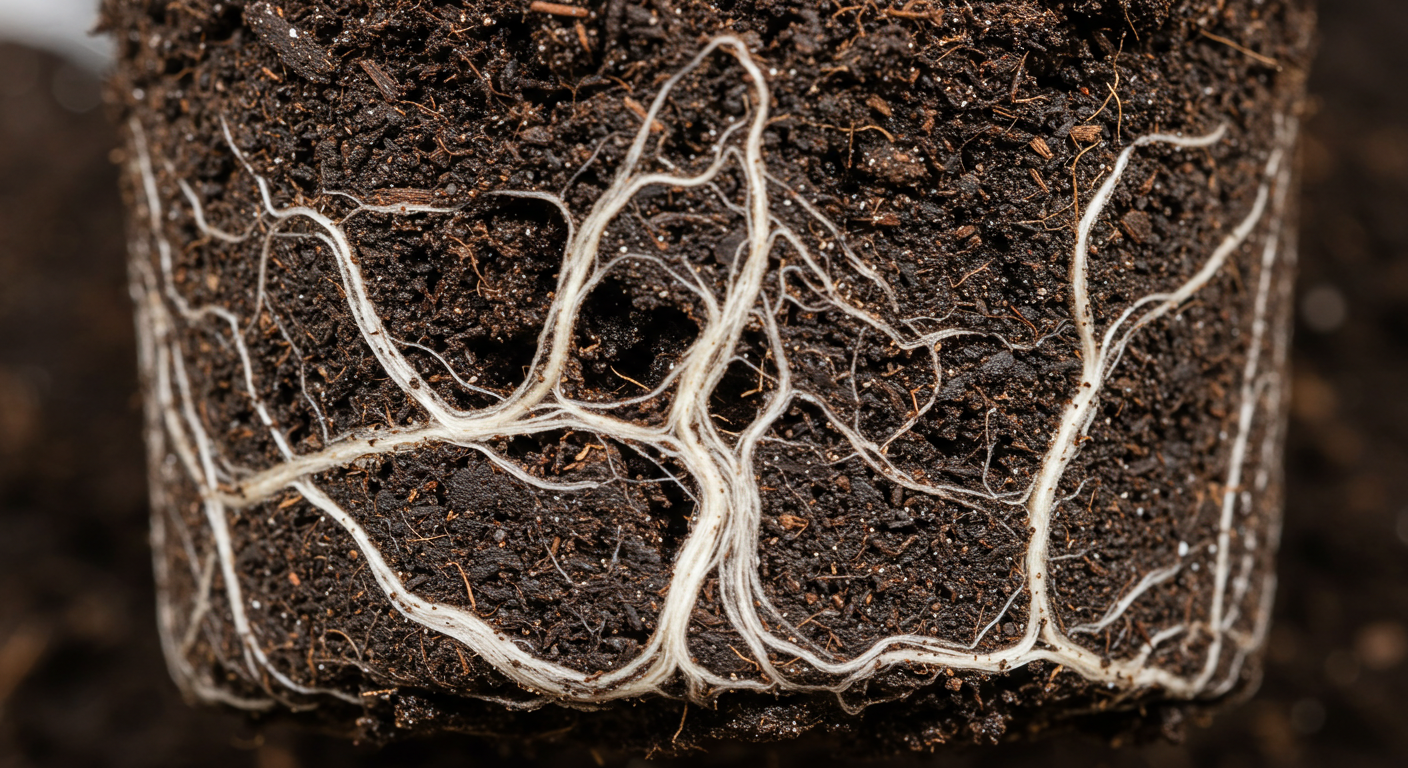
A mulch layer is successful when it improves the target condition without creating a new problem. Verification should therefore compare the same measurements you recorded before installation: moisture at depth, irrigation interval, stem condition, pest activity, temperature where heat was the reason for mulching, and plant response.
The first two weeks usually reveal whether the layer fits the site, but weather matters. A dry week cannot prove performance under a storm. Keep the system adjustable until you have seen at least one representative irrigation or rain event.
| Checkpoint | What to Inspect | Useful Result | Failure Signal |
|---|---|---|---|
| First 24 hours | Stem clearance, emitter position, immediate moisture pattern, mulch movement, surface temperature if relevant. | Layer stays in place, stem remains clear, irrigation reaches the intended zone. | Mulch collapses against stem, emitter is hidden or displaced, water ponds or sheds sideways. |
| About 3 days | Moisture at the same depths and points used before mulching, container weight where possible, pest hiding places. | Dry-down is slower but still progressing; no new pest concentration or odor. | Root zone remains saturated, soil stays dry under a wet-looking layer, slugs or other pests repeatedly shelter at plant base. |
| After first substantial rain or full irrigation | Water penetration, runoff direction, mulch displacement, stem wetness, drainage. | Water enters evenly and excess drains without moving mulch into the stem. | Matted layer sheds water, low spots stay flooded, mulch piles against stem. |
| 1 to 2 weeks | Irrigation frequency, plant posture, lower-leaf condition, root-zone odor, mulch decomposition, pest evidence. | Watering becomes more stable, plant remains healthy, layer is easy to inspect and maintain. | Persistent wetness, repeated pest damage, worsening stem symptoms, nutrient problems tied to an incorrect amendment practice. |
Compare irrigation intervals, not just water volume
If the same plant now reaches the watering trigger a day later, mulch may be reducing evaporative loss as intended. If the plant is using less water because roots are stressed, the same longer interval can mean something very different. Use plant growth, root-zone moisture, and weather together.
Keep input volume comparable when making the first before-and-after comparison. If you double irrigation at the same time you add mulch, you cannot tell which change produced the longer wet period.
Pro Tip: Record one simple metric: days or hours from a complete irrigation to the next verified watering point. It turns “mulch seems to hold moisture” into something you can actually compare.
Check the layer after wind, rain, and animal activity
Mulch migrates. Straw can blow away. Leaves collect in depressions. Birds and small animals can scatter material. Heavy rain can move a clean stem collar into direct contact with the plant. The installation you built on day one is not guaranteed to remain that way.
Reset the layer when needed. If it requires constant repair, choose a material better suited to the site rather than compensating with greater thickness.
Use seasonal changes as a reason to reduce or remove mulch
Midsummer heat and late-autumn rain are different root-zone problems. A layer that reduced irrigation demand in hot weather may become excessive when evapotranspiration falls and rain increases. Thin it, open more soil surface, or remove it if the site no longer needs the same buffering.
In cool climates, very early mulch application can also delay soil warming. Timing should follow the local season rather than a calendar copied from a warmer region.
Remember: Mulch depth is not a set-and-forget setting. Recalculate it when plant size, canopy shade, rainfall, temperature, or irrigation method changes.
Common Mulch Rules That Create the Wrong Decision
Mulching advice often becomes a collection of absolute rules. Most fail because they ignore material, climate, soil, and root-zone size. The following shortcuts are useful to reject before they become management habits.
“More mulch always saves more water”
Past the point where the surface is adequately protected, additional depth can reduce infiltration, prolong wetness, shelter pests, and make inspection harder. The useful layer is the smallest layer that reliably solves the target problem under your conditions.
“If mulch grows fungi, remove it”
Decomposition is biological. Visible fungi in organic mulch can be normal. Diagnose plant disease from the plant and root zone, not from the fact that dead plant material is decomposing.
“Wood chips steal nitrogen from cannabis”
Fine woody material incorporated into soil can reduce nitrogen availability as microbes decompose it. Coarse chips left on the surface are different. Do not create an unnecessary nitrogen correction based on a surface mulch alone.
“Mulch prevents overwatering”
Mulch generally slows evaporation. That can reduce irrigation frequency, but it cannot prevent overwatering if the grower waters too frequently, drainage is poor, or the soil remains saturated after rain.
“Mulch always cools the root zone”
Material controls the thermal response. Organic straw or chips often reduce peak surface heating, while black plastic can warm the soil. Moisture, season, and canopy shade modify the result. Measure when temperature is the reason for the mulch.
“A dry mulch surface means the plant needs water”
The mulch can dry while the soil remains moist. The soil can also be dry under a damp-looking layer. Water from root-zone evidence, not mulch appearance.
Field Advice: If a mulch rule does not tell you what to measure underneath the layer, treat it as incomplete.
Build a Mulch Layer You Can Still Inspect and Change
A successful outdoor mulch system is not the thickest layer and not the most biologically active-looking layer. It is the one that solves a measured surface problem while keeping the root zone observable. You should still know when the soil is ready for water, whether rain is entering evenly, whether the stem base can dry, and whether pests are using the protected space.
Start with clean material, a visible stem collar, repeatable moisture-check points, and a conservative depth. Then compare the first irrigation cycle with your baseline. If dry-down becomes more stable without persistent wetness, stem problems, or pest pressure, keep the layer. If a new problem appears, reduce or remove the pressure and remeasure before adding treatments.
Before you leave the layer in place, confirm:
- The mulch solves a specific problem such as rapid evaporation, heat, splash, crusting, or weed pressure.
- The material is clean enough for the intended garden and its source is reasonably known.
- The lower stem and soil line remain visible and free of piled wet material.
- Irrigation or rainfall penetrates the layer and wets the intended root zone evenly.
- The root zone is draining and drying at a measurable rate rather than remaining saturated.
- You have at least two repeatable moisture-check points under the layer.
- Mulch is not hiding emitters, standing water, stem damage, or pest shelters.
- You have adjusted irrigation frequency to the new dry-down pattern.
- You know what you will inspect after the next heavy rain or heat event.
- You are willing to thin, move, or remove the layer when the season changes.
Weedth Verdict: Good mulch does not make the root zone invisible. It makes moisture and temperature more stable while preserving the grower’s ability to inspect, measure, and correct the system.
Share this article
A quick overview of the topics covered in this article.
Follow us
Latest articles
September 3, 2026
September 3, 2026
September 3, 2026
September 3, 2026
