How to Build an Outdoor Grow Budget Before Planting
An outdoor cannabis grow can be inexpensive compared with a controlled indoor room, but that does not mean it is automatically cheap. Sunlight may be free. Outdoor air exchange does not need an exhaust fan. The ground may already be usable. Yet outdoor gardens create their own expenses through soil preparation, containers, irrigation, support, weather protection, security, pest prevention, water, replacement parts, harvest supplies, and the time required to keep the site working through an entire season.
The mistake is usually not spending too much. It is forgetting entire categories until the plant is already depending on them. A grower budgets for the seed, pot, soil, and fertilizer, then discovers in midsummer that the hose does not reach, the container is undersized, deer protection is needed, the plant needs stronger support, or a week away from home requires an irrigation solution that was never included.
This resource is about preventing that kind of surprise. We are going to build the budget before planting, using the same approach you would use for any small production system: define the site, measure what the site already gives you, list what must be purchased, separate reusable equipment from seasonal consumables, estimate labor and water, add a realistic contingency, and then verify the numbers against the actual garden as the season progresses.
The goal is not to tell you that one outdoor plant costs a universal amount. That number does not exist. A legal in-ground plant beside an existing garden hose can require very little new equipment. A large container grow on a hot patio may need substantial growing media, irrigation hardware, support, screening, and frequent water. A rural site may have inexpensive land but expensive water logistics. Your budget should describe your site and your intended plant, not somebody else’s shopping list.
If you need the full cultivation process rather than the budgeting method, use the complete outdoor cannabis growing guide as the parent resource. This page stays focused on planning the money, materials, labor, and contingency required before planting.
Resource Navigation
In This Resource
- Define the outdoor decision in terms of site, season, climate, legal access, and plant risk
- Measure the site: sun path, shade, temperature, humidity, wind, drainage, water access, cold pockets, or contamination as relevant
- Seasonal timing: latitude, photoperiod, weather windows, and cultivar behavior
- Practical setup/response plan with materials, placement, inspection points, and a backup option
- Failure modes: stagnant air, trapped moisture, heat load, frost, wind damage, water shortage, security, or neighbor impact
- Legal/safety boundary without guessing local rules or recommending dangerous traps
- Pre-season and weekly checklist that turns the article into a repeatable field procedure
Define the outdoor decision in terms of site, season, climate, legal access, and plant risk
The first budget question is not, “How much does it cost to grow cannabis outdoors?” It is, “What outdoor system am I actually budgeting?” Those are very different questions.
A plant going directly into tested garden soil beside an existing irrigation line has a different cost structure from a plant in a 100-liter container on a patio. A remote legal garden with limited water access has another cost structure again. Even two gardens next door to each other can need different budgets if one has deer pressure, poor drainage, shade, or a property rule requiring a locked enclosure.
So before we price anything, let us define the project in one sentence.
For example: “One legal outdoor photoperiod plant in a large container, watered by hand, grown from late spring through early autumn on an existing residential patio.”
Or: “Three legal plants in prepared native ground with drip irrigation, perimeter fencing already in place, and a wet autumn finish risk.”
That sentence gives your budget boundaries. It tells you the number of plants, root-zone strategy, irrigation method, location, season, and at least one major risk. Without it, a shopping list expands very easily because every possible outdoor accessory begins to look relevant.
Choose the budgeting unit before you add prices
For a home grow, the easiest budgeting unit is usually one complete season. Then divide costs further if that helps you compare options.
You might track:
- cost per site for shared infrastructure;
- cost per plant for containers, media, supports, and genetics;
- cost per season for consumables, water, nutrients, and pest-control materials;
- cost per year for reusable equipment that lasts several seasons.
Do not divide everything by plant count automatically. A fence, hose, lockable cabinet, water timer, soil test, or weather sensor may serve the whole garden. If you assign the entire cost of a shared item to one plant, your per-plant figure becomes misleading.
CapEx, OpEx, and contingency
CapEx is capital expenditure: equipment or infrastructure that can serve more than one crop, such as durable irrigation hardware, fencing, a storage cabinet, or reusable support frames. OpEx is operating expenditure: costs consumed or repeated during the season, such as water, nutrients, growing media that will not be reused, replacement ties, testing, or pest-control materials. Contingency is money deliberately reserved for realistic problems that are not yet known.
Do not treat money you already spent as free
This is where outdoor budgets often become unrealistically low. You may already own a hose, pruning shears, shovel, stakes, storage bins, or irrigation timer. You do not necessarily need to buy them again, but it still helps to record them as existing assets.
Why? Because the budget is not only answering, “How much cash leaves my account this week?” It is also answering, “What does this grow require to operate?”
If you later move the grow to another property or expand from one plant to four, you will know which resources were quietly being supplied by the existing garden.
I already own the hose, tools, and a large fabric pot. Should I count them in the budget?
Question sent by: Ethan Brooks, via email.
Record them, but separate cash needed this season from equipment already available. Your immediate spending may be low because those items are already paid for. The grow still depends on them, though. This distinction becomes useful when you compare another site, replace worn equipment, or calculate what a second outdoor setup would really require.
Budget your time even if you do not pay yourself
A home grower may never write themselves a paycheck, but labor is still a real input. Hand watering for ten minutes does not seem like much. Ten minutes repeated every hot day for months becomes a meaningful commitment. So do weekly inspections, tying branches, mixing irrigation, carrying water, cleaning equipment, weather preparation, pest scouting, harvest work, and site cleanup.
You do not have to convert every hour into money if that feels artificial. You can keep two totals:
Cash budget: money you expect to spend.
Time budget: hours you expect to spend.
This is especially useful when comparing two systems. Drip irrigation may cost more before planting but reduce repetitive watering labor later. Native ground may cost less in media but take more preparation time. A remote site may have inexpensive infrastructure but expensive travel time.
Field Advice: If two grow plans have similar cash costs, compare the hours. A “cheap” setup that needs daily manual rescue may be the more expensive system in practice.
Set a maximum budget before you fall in love with upgrades
Outdoor growing can become an endless sequence of reasonable improvements. A larger pot sounds useful. Then a better irrigation line. Then a water tank. Then a weather station. Then a stronger trellis. None of those is necessarily wasteful, but you should decide what the project can cost before every optional improvement gets classified as necessary.
Write down three figures:
Minimum viable budget: what the grow must have to operate safely and reliably.
Comfort budget: the amount you are willing to spend to reduce labor or improve reliability.
Hard ceiling: the amount you will not exceed without deliberately redesigning the project.
That hard ceiling matters because outdoor problems often arrive with urgency. A windstorm is forecast and suddenly an expensive structure feels mandatory. A heatwave arrives and an irrigation upgrade seems unavoidable. A ceiling forces you to ask whether the upgrade is solving the right problem or whether the grow itself should be simplified.
Build around the risks that are actually present
University enterprise budgets are useful because they separate cost categories instead of pretending one total fits everyone. The same principle works at home. Your outdoor budget should follow the specific risks on your property.
If deer never enter the garden, a tall wildlife fence is not part of your minimum budget. If the existing soil is clean, fertile, and well drained, replacing the entire root zone with purchased media may be unnecessary. If the hose already reaches and pressure is reliable, you do not need an elaborate irrigation system simply because another grower uses one.
The best budget is selective. It spends on measured constraints.
Measure the site: sun path, shade, temperature, humidity, wind, drainage, water access, cold pockets, or contamination as relevant
A site survey is also a financial survey. Every limitation you discover before planting can be translated into one of three budget decisions: no cost, manageable cost, or change the site.
This is a much better approach than buying equipment first and trying to make the location fit later.
Sun path tells you whether the site is worth investing in
Start with sunlight because it is one of the few major outdoor inputs you cannot purchase cheaply at scale. Observe the proposed canopy area through the day. Note direct sun, temporary shade, permanent shade, and reflected heat from walls or paving.
If the location receives good usable sun, there may be no additional budget item at all.
If the location is badly shaded, do not immediately budget for elaborate reflective surfaces or supplemental outdoor lighting. Ask whether moving the plant costs less. A container or small raised bed that gives you placement flexibility may be more economical than investing in a poor location.
This is a recurring theme in good budgeting: sometimes the cheapest correction is changing the design rather than adding equipment.
Measure drainage before budgeting the root zone
If you intend to plant in native ground, basic drainage and soil assessment can save a large amount of unnecessary spending.
Good native ground may allow you to spend only on targeted amendments or mulch. Poor drainage, contamination, extreme pH, severe compaction, or unsuitable structure may push you toward a raised bed or container system.
That is not a small budget difference.
A large container requires the container itself, a substantial volume of growing medium, more frequent irrigation, and often stronger wind support. A raised bed may require lumber or another frame, soil volume, delivery, and preparation labor. Native ground can be inexpensive when it works, but very expensive when you keep trying to force an unsuitable site to behave.
Use the Cannabis Soil and Growing Media guide if the site survey shows that the root-zone decision needs deeper work. This budget article only needs the result: native soil usable, native soil needs correction, or controlled media required.
Do not price a full soil replacement before testing what you already have
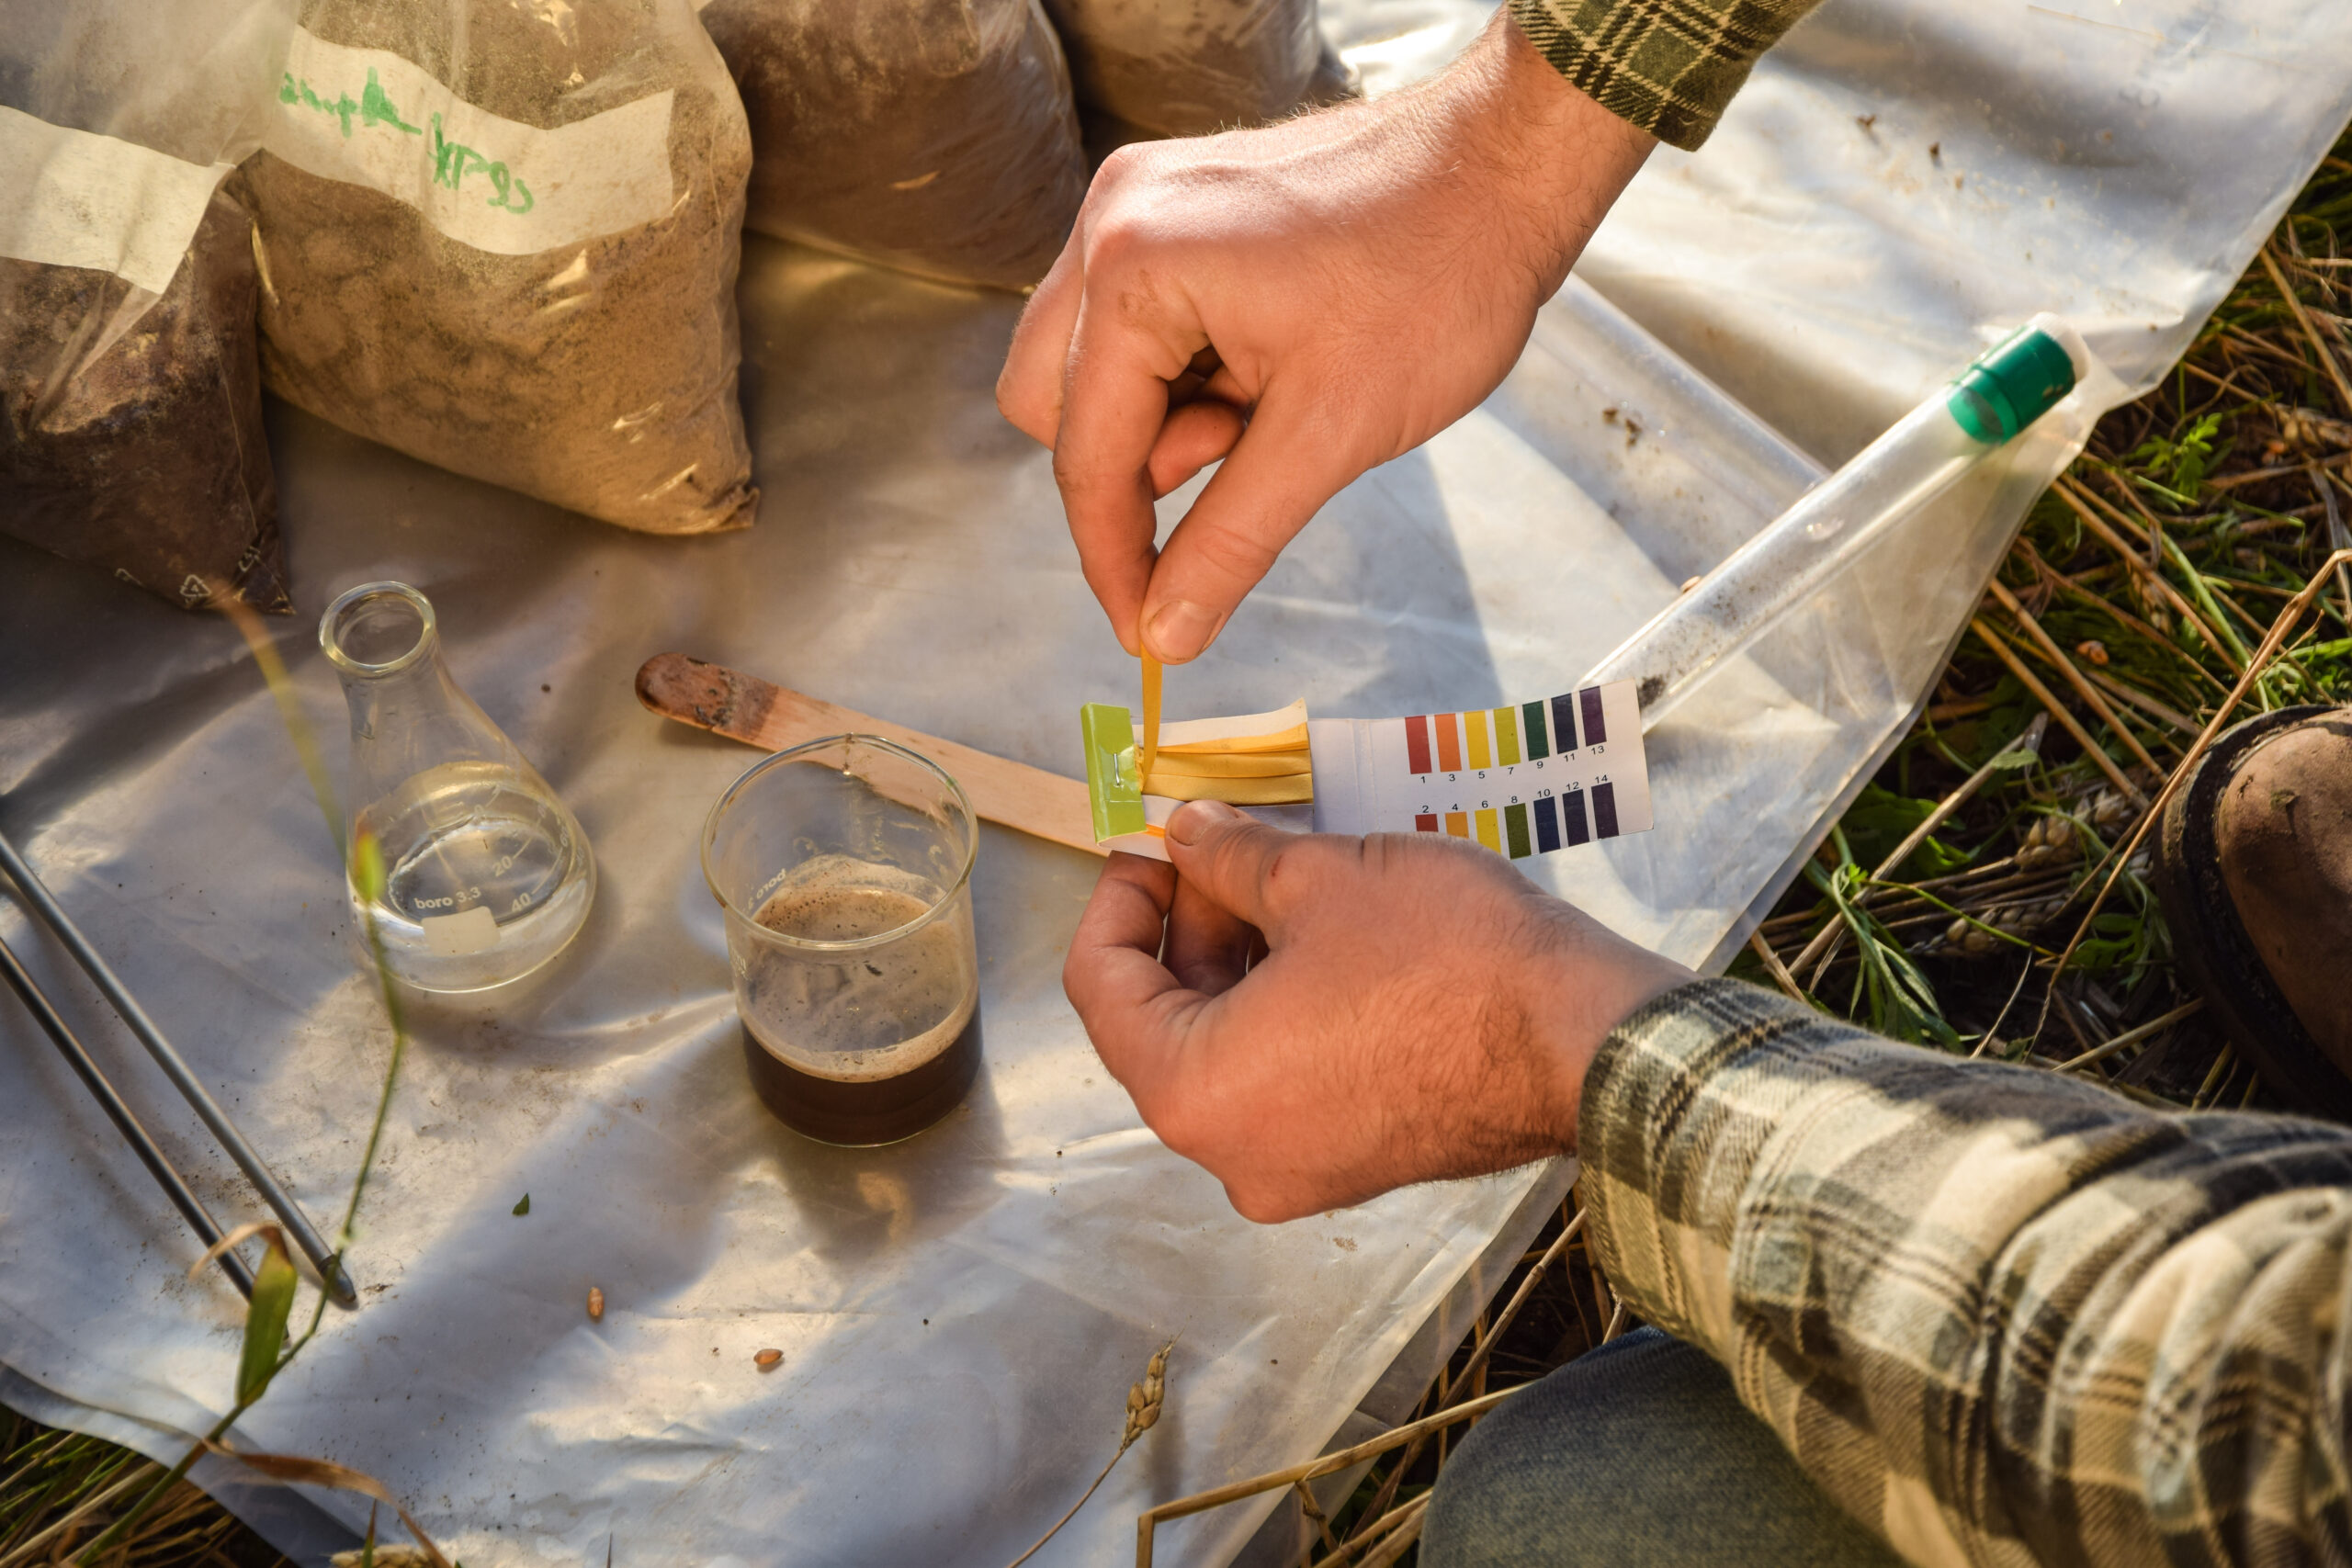
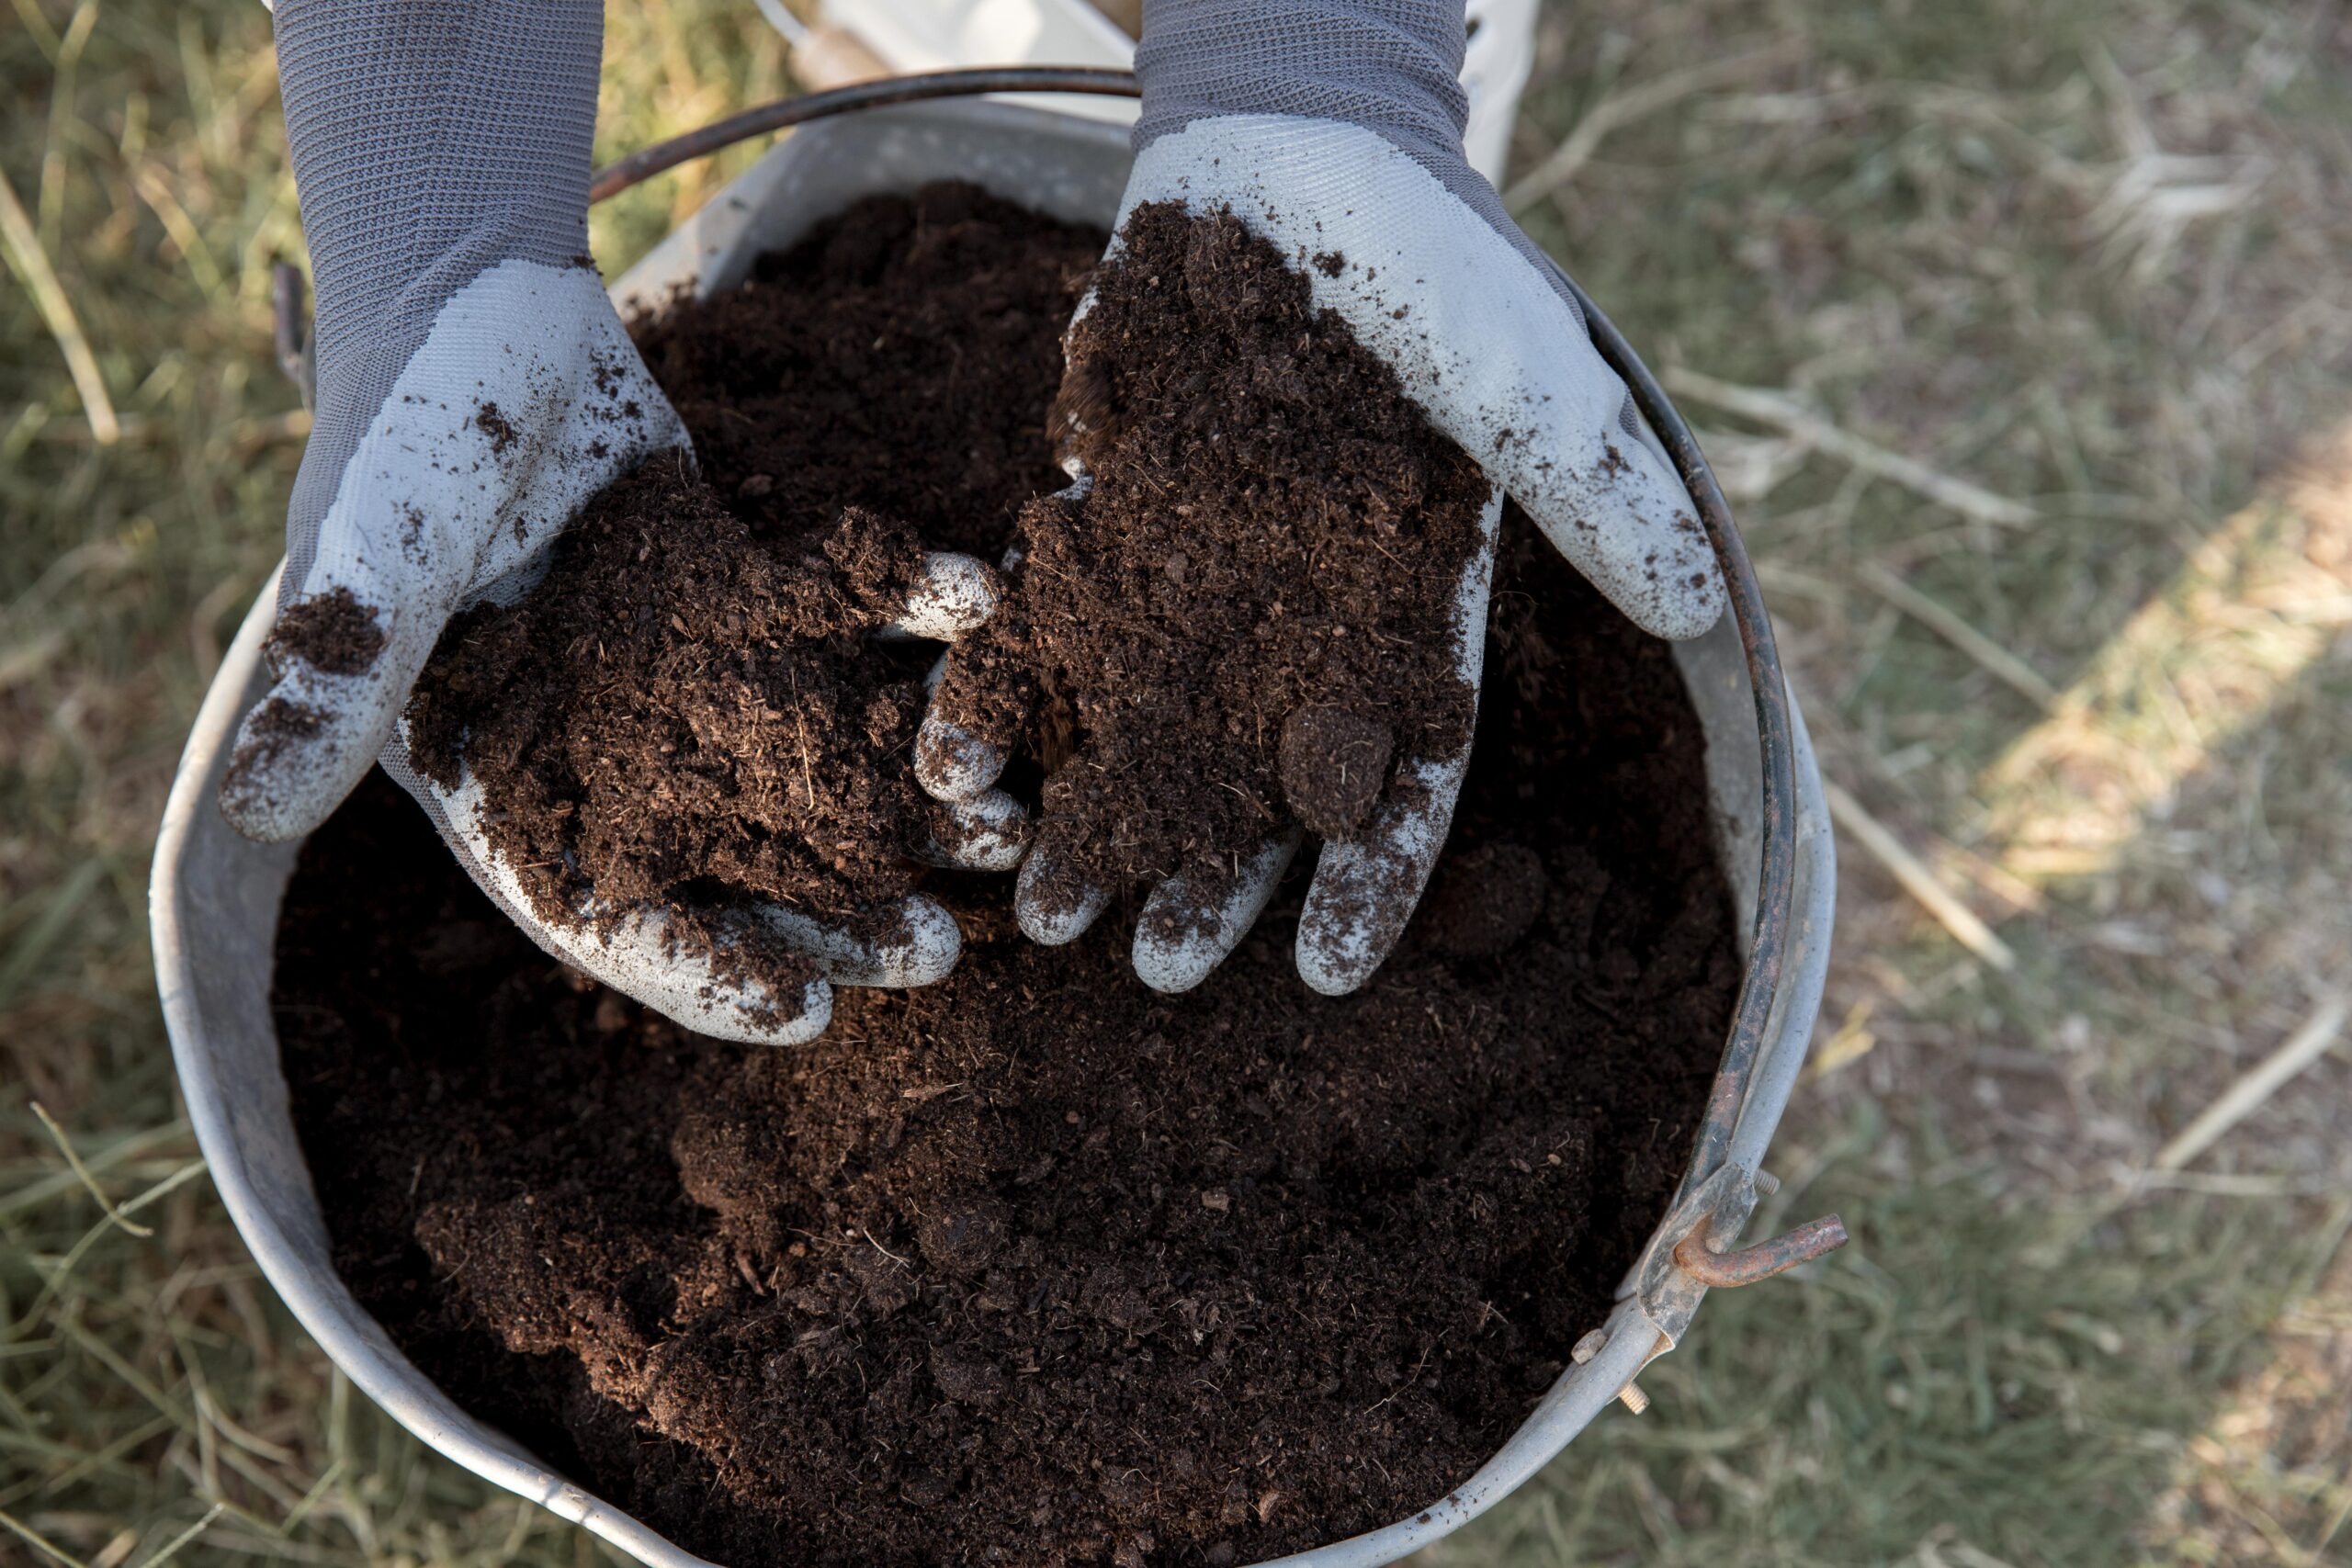
Buying enough bagged medium to fill a large outdoor bed or container can become one of the largest costs in a home grow. If native soil is being considered, test drainage, review site history, and use appropriate soil testing before assuming the entire root zone must be replaced.
Water access is a cost multiplier
Stand where the plant will be and physically test the watering route. Bring the hose. Turn it on. Check the pressure. If you will carry water, fill the actual container you expect to carry and walk the route.
It may feel almost too simple, but this is how hidden costs appear.
A hose that stops five meters short becomes a hose-extension cost. Poor pressure can become a pump or irrigation-design issue. Carrying water down a slope may become a labor problem. A remote site may require legal water storage, transport containers, or a different location entirely.
Water itself should also be budgeted where it is metered or purchased. Do not use somebody else’s utility rate. Take your local water bill and determine what the utility charges for the volume unit used in your area.
If you know or can estimate seasonal irrigation volume, the cash calculation is simple:
Estimated water cost = expected irrigation volume × local price per unit of water.
Do not confuse that with irrigation scheduling. The EPA’s landscape water-budget approach is useful conceptually because it treats water use as site specific and dependent on climate, plant demand, irrigation design, and precipitation. For cannabis, use your actual root-zone observations and local weather to refine the estimate rather than treating a generic landscape calculator as a cannabis watering schedule.
Use a first-season water allowance, then replace it with records
If this is your first season at the site, you will not know exact water use before planting. That is fine. Budgeting does not require fake precision.
Make an initial allowance based on:
- container or bed volume;
- expected plant size;
- local heat and wind;
- rainfall pattern;
- irrigation method;
- whether water is delivered, pumped, carried, or supplied by an existing utility.
Then meter or record actual irrigation during the season. By the second year, your water budget should come from your own garden rather than a general estimate.
Water from my house is cheap. Do I really need a water line in the budget?
Question sent by: SoilAndSun, via email.
Yes, even if the final amount is small. The purpose is not to make water look expensive. It is to keep the budget complete. Record the estimated volume and your local rate, then replace the estimate with actual use later. If the water cost turns out to be negligible, that is useful information. If you later move to delivered water or a metered rural supply, you will immediately see how much the site economics changed.
Wind determines whether support is optional or structural
A protected backyard may need nothing more than stakes and soft ties. An exposed rural site may need a substantial support frame, anchors, or a windbreak. Budget those systems before the plant becomes large.
Look at existing trees, fences, buildings, and vegetation. Watch how wind moves through the proposed site during ordinary weather and, if possible, during a windy day.
Then price the smallest support system that makes sense for the mature plant, not the seedling.
Cheap support that must be rebuilt twice can cost more than a durable structure installed once. At the same time, do not build a commercial trellis around a compact plant simply because the structure looks professional.
Cold pockets and frost risk create backup costs
If the site sits in a depression or low part of a slope, compare nighttime conditions with slightly higher ground. Cold air can settle in low areas and shorten the usable season.
A frost-prone location may require temporary covers, a movable container strategy, or simply a cultivar that finishes earlier. Those options have very different costs.
This is where cultivar selection becomes a budget decision. A plant that repeatedly requires emergency protection late in the season may cost more to finish than genetics better matched to the climate.
Contamination can turn a cheap site into the most expensive site
Unknown fill, former industrial land, burn areas, heavily trafficked roadside soil, old treated timber zones, or sites with uncertain chemical history deserve caution.
If contamination is plausible, include proper testing in the pre-season budget. If the site cannot be verified, a clean raised bed or container may be more appropriate.
What you should not do is save money by planting first and asking questions after the harvest. Cannabis can take up certain contaminants from soil. A thriving plant does not certify a clean crop.
Turn the survey into a cost map
| Site Variable | Budget Response | Warning Zone | What It Means |
|---|---|---|---|
| Sun | No cost if site is suitable | Persistent shade or severe reflected heat | Relocation or container flexibility may be cheaper than trying to engineer around the site. |
| Drainage | Native soil, targeted amendment, raised bed, or container | Standing water, compaction, uncertain soil profile | Root-zone strategy can become a major capital and media expense. |
| Water | Hose, hand watering, drip, storage, or delivery | Poor access, unreliable pressure, high transport effort | Water logistics can create both cash and labor costs. |
| Wind | Stakes, frame, anchors, or windbreak | Repeated severe bending or exposed site | Budget for mature-canopy support before flowering weight arrives. |
| Cold | Temporary protection or cultivar change | Frost pocket or short finish window | The cheapest solution may be better timing or genetics rather than more equipment. |
| Contamination | Testing or controlled root zone | Unknown industrial, roadside, fill, or chemical history | Testing is cheaper than building a season around questionable soil. |
Seasonal timing: latitude, photoperiod, weather windows, and cultivar behavior
A budget is not complete until it covers the whole season. Outdoor growers often price the beginning very carefully because that is when the purchases happen. The expensive surprises tend to appear later.
By flowering, the plant is larger, thirstier, heavier, more visible, more aromatic, and often more vulnerable to wind and prolonged moisture. A budget based only on the first month will almost always be too optimistic.
Work backward from the finish window
Start with the period when your local weather usually becomes difficult for finishing cannabis. That might be repeated autumn rain, high humidity, early frost, severe late-summer heat, seasonal storms, wildfire smoke, or a combination of several factors.
Then consider whether the intended cultivar usually reaches maturity before that window.
If it does, your weather contingency may stay modest.
If it does not, you may be budgeting for rain protection, movable containers, additional support, extra inspections, damaged-flower losses, or an early harvest that reduces what you hoped to achieve.
A cultivar that fits the local season can be financially efficient even when the seed or clone costs more at the beginning.
Remember: Cheap genetics are not cheap if they force an expensive finish. Outdoor budgeting should include the probability of completing the season, not only the purchase price of the plant.
Photoperiod affects when costs increase
Photoperiod-sensitive cannabis does not necessarily wait for an exact 12/12 day before flowering outdoors. Cultivars can have different critical photoperiod responses, and flowering timing changes with latitude and genetics.
Why does that belong in a budget article?
Because flowering changes the cost profile.
Support becomes more important as flower mass increases. Disease scouting becomes more important as dense flowers hold moisture. Odor and privacy may require more attention. Water demand may still be high while the plant is carrying its most valuable tissue. Harvest supplies, drying space, and labor are suddenly no longer future expenses.
Your budget should therefore have a late-season column, not just a setup column.
Autoflowering genetics change the timing, not the need to budget
Day-neutral or autoflowering plants may complete faster and can avoid part of a difficult autumn. That can reduce some weather exposure and possibly shorten the number of weeks you are irrigating and maintaining the site.
But a shorter cycle also gives you less time to recover from early mistakes.
If a young plant becomes root bound, damaged, waterlogged, or severely stressed, the cost of the same mistake may be greater because there are fewer vegetative weeks available for recovery.
So do not automatically label autoflowering as the “budget option.” It may be efficient in a short-season system, but it rewards getting the early setup right.
Plan purchases by month instead of buying the whole season at once
One useful way to control spending is to divide purchases into stages.
Before planting: legal checks, site testing, root-zone preparation, irrigation access, basic support, containers, and initial consumables.
Early season: replacements revealed by the first weeks, mulch, additional ties, modest pest-prevention materials if a real problem appears.
Midseason: stronger support if plant size confirms the need, irrigation upgrades if water demand justifies them, and any lawful security adjustment.
Late season: harvest, drying, sanitation, storage, and weather contingency materials that are actually relevant to the crop.
This keeps cash available for the problems you could not predict. It also reduces the chance of buying specialized products that the plant never needs.
Do
Stage discretionary spending
Buy the items needed to establish a safe, workable grow first. Keep later-season money available until plant size, weather, and real site problems show which upgrades are justified.
Avoid
Buying every possible solution in spring
A product for heat, pests, mold, wind, drainage, feeding, and irrigation can all sound sensible. Buying them before the corresponding problem exists can consume the contingency fund before the season has even started.
Include harvest and post-harvest before planting
This is one of the most common budgeting omissions.
The outdoor grow does not become free at harvest. You may need clean cutting tools, gloves, hanging space, drying-room environmental control, hygrometers, storage containers, labels, cleaning supplies, or other post-harvest materials depending on your process.
Do not let a successful outdoor season end with a rushed drying setup because all of the money was spent on vegetative growth.
Harvest labor deserves its own estimate too. A large outdoor plant can take much longer to cut, move, inspect, trim, and process than the small spring plant suggested.
Practical setup/response plan with materials, placement, inspection points, and a backup option
Now we can build the actual budget.
You can do this in a spreadsheet, notebook, or simple table. The tool does not matter. The categories do.
Step 1: Create four budget buckets
Start with four buckets:
Existing assets. Items you already own and can use without new spending.
New reusable equipment. Durable items that should last beyond one season.
Seasonal consumables. Materials that are used up, replaced, or purchased each crop.
Contingency. Cash reserved for realistic failures, replacement, or weather response.
Do not put contingency at zero because you plan carefully. Planning is exactly why contingency exists.
Step 2: List the minimum system before upgrades
Your first-pass budget should contain only the items required to establish the intended system.
| Budget Area | What to Include |
|---|---|
| Legal and site | Required permits or registrations where applicable, official testing or property requirements, site soil/water testing where needed, and lawful access costs. |
| Root zone | Container or bed materials, clean growing medium, targeted amendments, mulch, drainage correction, and delivery if bulk materials cannot be transported personally. |
| Water | Hose, fittings, watering cans, drip components, filter, pressure regulation, timer, storage, pump, or delivery only where the chosen system actually needs them. |
| Plant support | Stakes, soft ties, trellis, anchors, or a support frame sized for the expected mature plant. |
| Monitoring | Basic thermometer, moisture checks, pH/EC equipment where your growing system genuinely requires it, labels, and recordkeeping materials. |
| Plant care | Nutrition appropriate to the chosen medium, sanitation materials, pruning tools, and evidence-based pest or disease controls only as needed. |
| Security and safety | Legal fencing, lockable access, child/pet protection, safe product storage, or privacy measures required by the site or local rules. |
| Harvest and post-harvest | Cutting, transport within the property, drying, monitoring, cleaning, and storage materials required to finish the crop safely. |
Step 3: Price quantities, not vague categories
Do not write “soil: 100” or “irrigation: 150” and move on.
Write the quantity and unit price:
Total line-item cost = quantity × unit price.
If a container needs 80 liters of medium and the product is sold in 40-liter bags, budget two bags plus any realistic extra volume needed for settling, top-up, or transplanting. If a drip system uses four emitters per plant, price four emitters plus the fittings and line actually required.
This sounds obvious, but quantity errors are a major reason outdoor budgets drift.
Step 4: Separate reusable cost from first-season cash
A reusable item can be handled two ways.
If you only care about cash needed before planting, record the full purchase price.
If you want to understand annualized cost, spread it across the number of seasons you realistically expect to use it.
Annualized equipment cost = purchase price ÷ expected useful seasons.
Do not exaggerate lifespan to make the number look better. Fabric, plastic, pumps, timers, irrigation line, stakes, and tools all deteriorate differently under outdoor weather and storage conditions.
Replacement reserve
A replacement reserve is money set aside for predictable wear. It is different from contingency. Contingency handles unexpected events. Replacement reserve handles items you already know will eventually wear out, break, clog, crack, or become unsafe.
Step 5: Add labor as hours
Create rough labor categories:
Site preparation, planting/transplanting, watering, mixing, inspections, training/support, pest scouting, weather preparation, harvest, cleanup, and post-harvest handling.
You can value those hours financially or simply keep them as hours. Either way, total them.
A drip system might cost more to install but save dozens of hand-watering events. A giant container may reduce watering frequency but require more media and more effort to move. These tradeoffs become much easier to see when time is written down.
Should I include my own labor if this is just a hobby?
Question sent by: NorthSideMike, via email.
I would at least track the hours. You do not need to pretend you are billing yourself, but time can decide whether a setup is sustainable. If one plan saves a small amount of cash but adds forty hours of watering and carrying water through the season, that is a real tradeoff. A good budget makes it visible.
Step 6: Add a contingency percentage after the base budget is real
There is no universal contingency percentage for an outdoor cannabis grow because risk differs dramatically by site. A mature garden with existing infrastructure may need a smaller reserve than a first-year rural site with unknown wind, water, and wildlife pressure.
Instead of copying a percentage, build the base budget first. Then ask what could realistically fail.
Consider:
- replacement irrigation fittings or emitters;
- additional support after unexpected stretch;
- emergency water storage;
- soil or water testing triggered by a problem;
- legal or property compliance changes you discover before planting;
- temporary weather protection;
- sanitation or pest-management materials after correct identification;
- replacement tools or damaged containers.
Set aside enough to cover the most plausible one or two events without exceeding your hard spending ceiling.
Master Advice: Contingency is not a shopping allowance. Do not spend it in advance simply because the season has started smoothly.
Step 7: Build three versions of the budget
A single total hides decision quality. Build three versions.
Lean plan: the minimum reliable setup using existing assets wherever practical.
Balanced plan: adds the upgrades most likely to reduce labor or prevent a known failure.
High-control plan: includes additional automation, infrastructure, or weather protection that you may want but do not strictly need.
Then compare them line by line.
If the balanced plan costs moderately more but removes your biggest labor problem, it may be the rational choice. If the high-control plan doubles spending but only protects against an event that rarely occurs at your site, it may not be.
A practical budget worksheet
| Budget Item | Planned Cost | Warning Zone | What to Verify |
|---|---|---|---|
| Root zone | Your container, bed, soil/media, amendment, and delivery total | Large media purchase before soil/site testing | Required volume and whether native ground can reduce purchased inputs |
| Water system | Hardware + expected seasonal water expense | No backup for failure or drought | Flow, reach, pressure, actual local water rate, and irrigation volume |
| Support | Stakes, trellis, anchors, ties | Budget sized for seedling rather than mature plant | Expected plant architecture and wind exposure |
| Nutrition | Medium-appropriate seasonal input | Buying several overlapping products without a feeding plan | What the root zone already contains and what the product actually supplies |
| Security/safety | Only site- or law-driven controls | Dangerous traps or unnecessary fortification | Current local rules, actual access risk, child/pet exposure, neighbor context |
| Harvest/post-harvest | Tools, drying, monitoring, storage, sanitation | No money left when harvest arrives | Expected crop size and available drying/storage infrastructure |
| Contingency | Reserved cash, not spent in advance | Zero reserve or reserve already used for upgrades | Top two realistic failures at this site |
Do not budget yield as guaranteed income
If you are calculating cost per gram for personal planning, be careful with the denominator.
Outdoor yield varies enormously with genetics, plant size, sun, root volume, season, health, weather, harvest timing, and losses. A large projected harvest can make almost any setup look cheap on paper.
Use a conservative yield scenario and a lower-yield stress scenario rather than one optimistic number.
For example, you might ask:
“What does this setup cost if the plant finishes well?”
Then:
“What does it cost per usable gram if weather or disease reduces the harvest substantially?”
This is not pessimism. It prevents an uncertain crop result from justifying unlimited spending before planting.
Failure modes: stagnant air, trapped moisture, heat load, frost, wind damage, water shortage, security, or neighbor impact
A useful outdoor budget does not try to insure the plant against every possible problem. It identifies failures that are plausible enough to deserve money before they happen.
Think of this as a risk register for a garden rather than a list of disasters.
Stagnant air and trapped moisture
A site surrounded by walls, dense hedges, or privacy screening may dry slowly after rain and dew. If the canopy later becomes very dense, the risk becomes more relevant.
Budget response does not automatically mean buying a fan. Outdoors, the first responses are usually site spacing, canopy access, appropriate screening, and plant placement.
If the only way to keep the location private creates a sealed humid pocket, you may need to redesign the site rather than spend more on the plant.
Heat load
Hot paving, reflective walls, and dark containers can create a root-zone problem that did not appear in the regional forecast.
The budget response might be simple: a different container color, an outer sleeve, separation from the hot surface, mulch, more water capacity, or relocation.
Do not automatically budget an expensive shade structure. First determine whether the canopy needs shade or whether only the container and surrounding surface need protection.
Frost and finish risk
If late-season frost is common, decide before planting what you are willing to spend on protection.
A movable container may provide flexibility but adds container and media cost. Temporary covers can be inexpensive but require labor and careful use. A greenhouse or permanent shelter may exceed the purpose of a simple outdoor grow.
Sometimes the lowest-cost response is an earlier-finishing cultivar.
Wind damage
Support is one of the easiest outdoor costs to underestimate because the need appears gradually. A plant can look self-supporting for months and then become mechanically vulnerable after flower mass increases.
Do not reserve support money only for repairs. Price the expected mature structure before planting.
If the site is very exposed, include replacement ties, anchors, and one emergency repair allowance.
Water shortage
Water shortage can produce both direct cost and indirect cost.
Direct costs include water delivery, storage, a pump, replacement irrigation parts, or higher utility use.
Indirect costs include travel time, missed irrigations, plant stress, and reduced harvest quality.
If your site depends on one hose, one pump, or one timer, ask what happens when that single component fails.
Do not make one cheap component responsible for the whole crop
If an irrigation timer, pump, hose connection, or emitter network can stop all water delivery, keep a simple manual fallback available. The backup does not have to duplicate the whole system. It only needs to keep the root zone safe long enough to repair the primary method.
Security
Security spending should be proportionate and legal.
A locked gate, ordinary fence, privacy screen, camera where lawful, or lockable garden access may be relevant. Dangerous traps are not an acceptable budget category.
If security requirements become so expensive that they dominate the grow budget, reconsider the location. A cheaper plant setup inside an unsuitable site is still an unsuitable site.
Neighbor impact
Odor, visibility, runoff, noise from pumps, lights used around the property at night, and access disputes can all create costs that are easy to ignore before flowering.
The best budget response is often prevention rather than equipment.
Plant placement, communication where appropriate, safe runoff control, and avoiding unnecessary night lighting may cost little. Moving a mature plant, rebuilding screening, or responding to a property dispute can cost much more.
Pests and disease
Do not create a large preventive pesticide budget just because outdoor plants may encounter pests.
Budget for monitoring, sanitation, and the ability to respond after correct identification. Outdoors, not every insect is an enemy and not every damaged leaf requires treatment.
This is another reason contingency is better than a cupboard full of products bought “just in case.”
Budget the consequence, not only the repair
Some failures cost more than the replacement part.
A broken stake may cost very little, but a broken flowering branch may cost part of the harvest. A clogged irrigation emitter may cost almost nothing to replace, but unnoticed water stress can cost growth. A failed drying environment after harvest can affect the value of months of work.
When ranking risks, ask:
What would this failure cost to fix?
Then ask:
What could it cost if I do not notice it quickly?
The second number is often the reason a small preventive expense is justified.
How much of my budget should go to emergency problems?
Question sent by: Olivia Carter, via contact form.
Start with the failures your site can realistically produce rather than a fixed universal percentage. If water access is dependable and the site is sheltered, your reserve may be modest. If it is your first season on an exposed site with uncertain irrigation, you need more room. Build the base budget first, identify the two most plausible failures, then reserve enough to handle them without breaking your spending ceiling.
Legal/safety boundary without guessing local rules or recommending dangerous traps
Legal compliance is a budget item because a grow that cannot legally operate is not a low-cost grow. It is a failed plan.
Rules vary by country, state, province, territory, municipality, tenancy, and property type. Depending on location, there may be restrictions involving plant count, visibility, locked access, age, outdoor structures, water use, possession after harvest, odor, or where plants can be placed.
Do not assume that a neighboring jurisdiction has the same rules. Do not assume that legalization at a national or regional level automatically permits your exact outdoor setup.
Price compliance before buying the garden
If your area requires registration, a permit, a specific enclosure, lockable access, testing, landlord approval, or another condition, put that cost into the budget before purchasing containers or media.
If the requirement is unclear, verify it through current official sources or qualified local advice before treating it as zero.
A good rule is:
Unknown legal cost is not zero cost.
It is an unresolved budget line.
Separate legal security from excessive security
A lawful garden may need ordinary access control. That does not justify traps, improvised electrification, hidden sharp objects, chemical irritants, or devices intended to injure someone.
Do not budget for them and do not build them.
Safe security protects the garden by controlling access and visibility without turning the property into a hazard for children, pets, neighbors, emergency workers, wildlife, or the grower.
Child and pet safety can affect the setup budget
If children or animals can access the garden, you may need a secure gate, fence, lockable storage for cannabis products and garden chemicals, covered water containers, protected irrigation equipment, and safe tool storage.
Those are not decorative extras. They are part of whether the site is appropriate.
If you already have a secure garden, the additional cost may be very small. If you need to construct an entirely new exclusion area, that can become one of the largest capital items.
Budget only legal and labeled crop inputs
Pesticides, fertilizers, soil amendments, and other products may have legal-use restrictions that differ by jurisdiction and crop.
Do not create a budget around an unapproved product simply because it is inexpensive or commonly discussed online.
The cheapest bottle is not cheap if it cannot legally or safely be used.
Do not forget safe storage
Concentrated nutrients, pesticides, fuels, cleaning products, harvested cannabis, and edible cannabis products should not be left around the garden where children or pets can reach them.
If your property lacks secure storage, include a lockable storage solution in the budget.
Safety Note: A budget is not successful because it reaches the lowest total. It is successful when the garden can operate lawfully, safely, and reliably within the amount you can afford.
Pre-season and weekly checklist that turns the article into a repeatable field procedure
The budget becomes useful when you keep checking it against reality.
A pre-season estimate is only version one. Outdoor conditions change, and the plant becomes a different organism as it grows. Your job is to update the estimate without letting every new observation become an excuse to spend.
Pre-season: build the baseline before buying
Start with the site definition. Record the number of plants, root-zone system, watering method, expected season, legal access, and the biggest environmental risks.
Then walk the site and classify each major variable:
Already solved.
Needs a low-cost correction.
Needs a major purchase.
Serious enough that the site should change.
This four-way classification is extremely useful. It prevents you from treating every site weakness as a shopping problem.
Get real local prices
Once the quantities are known, price them where you actually live.
Use your local water rate. Your local soil or media price. Your delivery cost. Your local hardware price. Your actual testing laboratory. Your actual required permit or registration if one applies.
Do not copy a budget in U.S. dollars into a Canadian, European, Australian, or other international grow and assume the comparison survived the move.
Even within one country, water, soil delivery, labor, lumber, irrigation components, and legal fees can vary dramatically.
Create a “buy before planting” list
This list should stay short.
Buy only what the plant cannot safely begin without: the root zone, irrigation access, required legal/security infrastructure, initial support, and the basic tools needed to establish and monitor the garden.
Keep discretionary late-season money unspent.
Run a dry setup test
Before planting, assemble or test the system without the plant depending on it.
Run water through the hose or drip line. Fill the container. Check drainage. Put the support where it will stand. Open and close the gate. Test the timer. Carry the water route. Confirm that tools and supplies can be stored safely.
Every problem discovered now is cheaper.
End of week one: compare assumptions with reality
After the first week, ask whether the setup behaves the way the budget assumed.
Did the root zone dry faster than expected? Did the irrigation line need extra fittings? Is wind stronger? Is the container heating excessively? Did you use far more water than expected? Did you buy something you did not actually need?
Update the budget.
Do not hide the variance. The variance is the useful information.
Variance
Variance is the difference between what you planned and what actually happened. If you budgeted 50 in your local currency for irrigation and spent 70, the 20 difference is a cost variance. Track why it happened. A good budget becomes more accurate because you learn from variance rather than pretending the original estimate was correct.
Track costs by cause
When spending changes, write the reason.
Instead of:
“Extra hardware: 35.”
Write:
“Extra irrigation fittings: 35 because original hose route was 6 m too short.”
Now you have a lesson for the next grow.
By the end of the season, those notes reveal whether money was lost to poor planning, unavoidable weather, normal wear, or useful upgrades.
Use a weekly spending gate
Before buying an unplanned item, ask four questions:
- What exact problem am I observing?
- Have I verified the cause?
- Is there a no-cost or lower-cost correction?
- How will I confirm that the purchase solved the problem?
If you cannot answer the fourth question, you may be buying reassurance rather than a solution.
I always end up buying extra products when a plant looks stressed. How do I stop the budget from drifting?
Question sent by: MapleGrower, via Facebook page.
Put a measurement between the symptom and the purchase. Check root-zone moisture before buying a watering fix. Check drainage before buying fertilizer for yellowing after rain. Confirm the pest before buying a pesticide. Then make one correction and recheck. That small delay turns the budget from reaction spending into diagnosis spending.
Midseason: recalculate the finish cost
By midseason you have better information than you had before planting.
You know plant size, water use, support needs, pest pressure, and whether the site is behaving as expected. Recalculate what it will cost to finish.
This is the moment to reserve harvest and drying money if you have not already separated it.
Do not spend that money on vegetative upgrades unless there is a clear reason.
After unusual weather: inspect both the plant and the budget
Storm, heatwave, frost warning, prolonged rain, or drought can change planned costs quickly.
After the event, record:
what was damaged, what was purchased, whether the backup worked, and what would prevent the same expense next season.
If an inexpensive preventive item would have prevented a repeated large expense, it becomes a strong candidate for next year’s base budget.
End of season: calculate the real total
Do not stop recordkeeping at harvest.
Add drying, storage, cleanup, replacement, disposal where relevant, and any final water or electricity used during post-harvest.
Then separate:
Total cash spent this season.
Value of reusable equipment purchased.
Hours of labor.
Unplanned spending.
Items purchased but never needed.
Failures that should be budgeted in advance next year.
That is your real outdoor grow budget.
Keep the final checklist practical
Before You Plant, Verify These Numbers
- Define the number of plants, root-zone system, irrigation method, site, and expected season.
- Confirm cultivation is lawful and identify any compliance cost before buying equipment.
- List existing assets separately from new cash purchases.
- Separate reusable equipment from seasonal consumables.
- Test native soil and drainage before budgeting a full purchased root zone.
- Measure the water route and use the actual local water rate when water is metered or purchased.
- Estimate labor hours even if you do not assign them a wage.
- Price support for the mature plant, not the seedling.
- Include child, pet, security, and safe-storage costs where the site requires them.
- Keep harvest, drying, sanitation, and storage in the budget from the beginning.
- Create a realistic replacement reserve for reusable items that wear out.
- Hold a contingency reserve for the most plausible site failures.
- Build lean, balanced, and high-control versions before selecting the final plan.
- Use quantity × unit price rather than vague category estimates.
- Do not justify spending with an optimistic yield promise.
- Test irrigation, drainage, access, storage, and support before planting.
- Record actual spending and the reason for every meaningful variance.
- Before an unplanned purchase, observe, verify, correct one variable, and recheck.
- Recalculate the cost to finish around midseason.
- At the end, total cash, labor hours, reusable assets, unplanned costs, and unused purchases.
The budget is finished when you can explain every major cost
A strong outdoor grow budget is not the one with the lowest number. It is the one where you understand why each major line exists.
You should be able to point to the site and say: this money is for the root zone because native drainage failed. This amount is for irrigation because the hose cannot reach. This support is here because the site is exposed to wind. This reserve exists because water delivery has one failure point. This money stays untouched until harvest because drying is part of the crop, not an optional extra.
Once you can do that, budgeting becomes much less about prediction and much more about control.
Outdoor growing will always contain uncertainty. Weather changes. Plants grow differently. Equipment fails. A carefully built budget does not pretend those things will disappear. It gives you enough room to respond without turning every problem into an emergency purchase.
Build the budget around the site you measured, the plant you intend to finish, and the risks you can actually verify. Then keep the records. The second season should be easier to price than the first because your own garden will finally be supplying the numbers.