Remote but Legal Gardens: Access, Water, and Emergency Planning
A remote outdoor cannabis garden can solve one problem and create three new ones. The site may have better sunlight, more space, greater privacy, or a cleaner growing environment than the area around your home. But every kilometer or mile between you and the plants increases the cost of a mistake. A dry container that would be obvious on a patio can stay dry for another day. A clogged emitter can keep running unnoticed. A broken line can empty a storage tank. A road that was easy to drive in early summer can become difficult after a storm.
That is why a remote garden should never be planned as a hidden garden that you simply visit less often. In this resource, remote means a lawful outdoor site on land you own or have explicit permission to use. It does not mean public land, trespass, unauthorized water use, concealment from authorities, or a grow that depends on avoiding normal legal access.
The central planning question is simple: can the plants receive the correct water and a meaningful physical inspection even when you cannot be there immediately? If the answer depends on luck, the site is not ready. If the answer is built around measured water demand, known source chemistry, tested irrigation hardware, realistic access intervals, and a backup response, the distance becomes manageable.
This guide stays focused on that problem. It will not repeat the entire outdoor cultivation process. For the broader sequence of site selection, soil, plant development, flowering, weather, and harvest, use the complete outdoor cannabis growing guide as the parent resource.
Resource Navigation
In This Resource
- Identify the exact water/root-zone question and the measurements that matter: volume, frequency, moisture, pH, EC, alkalinity, hardness, sodium, chloride, or temperature
- How soil, coco, rockwool, hydroponics, container size, root mass, light, temperature, humidity, and plant stage change the answer
- Repeatable test or irrigation procedure with sampling points, meter calibration, collection method, and recordkeeping
- Separate source-water chemistry from fertilizer strength and root-zone accumulation
- Diagnose uneven wetting, hydrophobic channels, clogged emitters, high EC, misleading runoff, or overcorrection
- Correction sequence: observe, measure, change one variable, allow recovery, and verify the next irrigation event
- Practical thresholds/checklist and the next internal resource to link
Identify the exact water/root-zone question and the measurements that matter: volume, frequency, moisture, pH, EC, alkalinity, hardness, sodium, chloride, or temperature
Remote irrigation gets easier when you stop treating every water problem as the same problem. A plant can be short of water even though the tank is full. The tank can be empty even though the timer ran perfectly. The emitters can deliver the correct number of liters while wetting only one narrow part of a large root zone. The source water can have a reasonable pH and still carry enough alkalinity to push the medium upward over time.
So before buying a larger tank or adding another timer, define what you actually need to know. There are three separate questions hiding inside the phrase “Does the garden have enough water?”
How much water is available? This is a source and storage question.
How much water reaches each plant? This is a flow, pressure, emitter, runtime, and distribution question.
What happens after the water enters the root zone? This is a moisture, drainage, salinity, chemistry, and plant-response question.
A remote system is dependable only when all three answers line up.
Remote irrigation margin
The remote irrigation margin is the amount of time and water capacity between a normal irrigation event and a serious root-zone failure. A large soil bed may provide a wide margin because it stores moisture and changes slowly. A small coco container in hot weather may provide a narrow margin because missing one or two scheduled irrigations can change the root environment quickly.
Start with delivered volume, not tank size
A 500-liter tank sounds reassuring until you calculate what the irrigation system actually removes from it. If four plants collectively receive 60 liters per day during a hot period, that tank does not represent “a lot of water.” It represents a little over eight days before losses, leaks, pump protection volume, or reserve are considered.
The useful calculation is:
Usable storage = expected daily irrigation volume x maximum days between dependable refills + emergency reserve.
Keep the reserve separate in your notes. If the whole tank is treated as normal operating volume, there is no reserve when a visit is delayed.
The same logic applies to a well, municipal line, pond, or other lawful source. Availability is not the same as capacity. A source may be physically present but unable to deliver enough flow during the irrigation window. A pump may supply the system but lose performance as the lift increases. A long hose run may create more pressure loss than expected. A storage tank placed higher or lower than the garden can change system pressure.
Measure what reaches the far end of the system rather than assuming the source specification survives the entire route.
Frequency is a plant and root-zone question, not a timer setting
A timer can repeat a schedule. It cannot decide whether that schedule is still correct after the plant doubles in size.
Early in the season, a large soil bed may remain comfortably moist for several days. Later, a broad canopy in hot dry weather can remove far more water. Containers exaggerate this change because their available root-zone volume is limited. Coco and rockwool can require much more frequent irrigation because they are normally managed as high-frequency substrates rather than as deep moisture reservoirs.
Remote growers therefore need to track drying rate, not simply calendar frequency. If the root zone was still comfortably moist after 48 hours in June, that does not prove 48 hours remains safe in August.
Field Advice: During the first genuinely hot, windy, or high-transpiration period of the season, shorten the interval between physical checks. That week tells you more about the safety margin of a remote irrigation plan than several mild weeks do.
Moisture needs more than one sampling point
A remote grow becomes risky when one moisture reading is treated as the whole root zone.
If you use a sensor, ask what part of the medium it represents. A probe close to an emitter can read wet while the far side of a container is drying. A shallow sensor can stay moist while the lower root zone is becoming saline. A sensor in one plant does not prove every plant receives equal water.
For soil or large containers, use at least a near-emitter observation and a second check farther from the emitter or wetting center. For a multi-plant drip system, choose a plant near the beginning of the line and another near the end. If the site has elevation changes, include the highest or lowest zone depending on where pressure problems are most likely.
You do not need permanent electronic sensors everywhere. A hand check, tensiometer, moisture probe, container weight, or small soil core can all provide useful information when used consistently. The important part is sampling the same places and recording the trend.
pH is not the same as alkalinity
This distinction matters even more at a remote site because slow chemistry problems can build between visits.
pH tells you how acidic or basic the water is at the moment of measurement. Alkalinity tells you how strongly the water resists acidification and how much bicarbonate, carbonate, and related buffering material it carries into the root zone.
A source can show a high pH but low alkalinity and cause little long-term upward pressure on the root-zone pH. Another source can have only moderately high pH but enough alkalinity to push a peat, coco, or container medium upward over repeated irrigation.
That is why source pH alone is a poor basis for deciding whether remote water needs treatment.
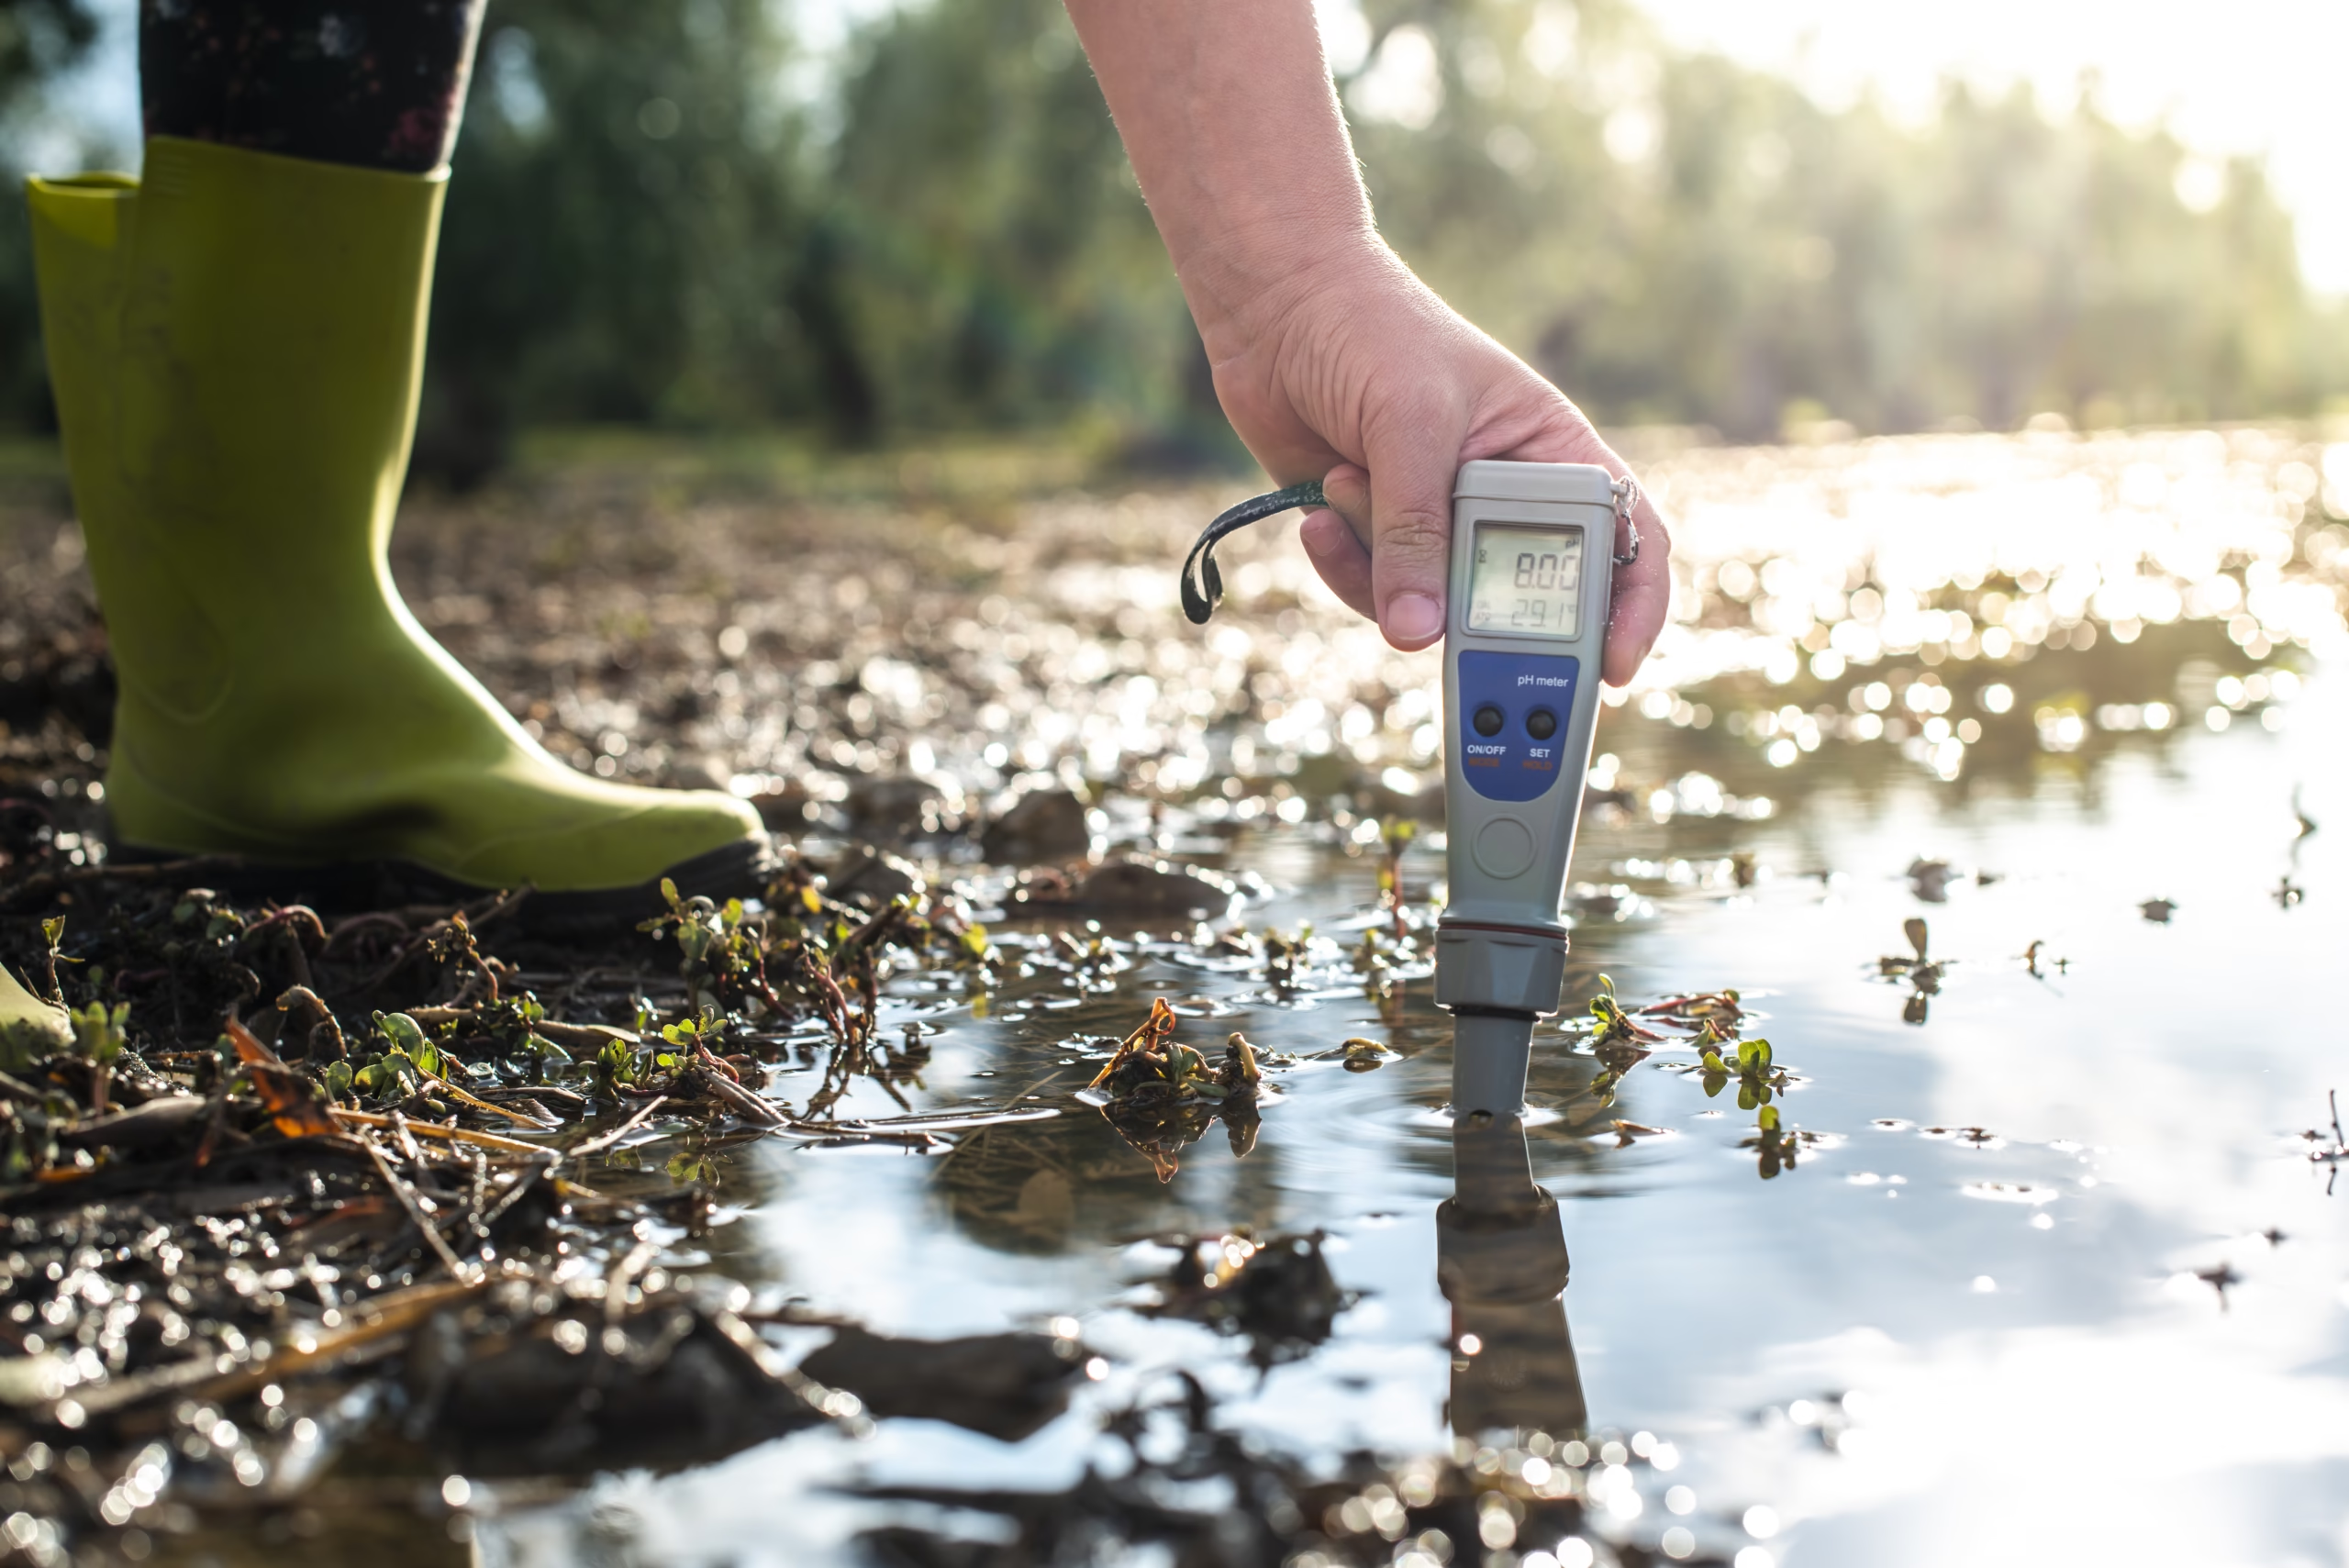
My storage water reads around pH 8.0. Do I need to acidify every tank before it goes to the garden?
Question sent by: Daniel Morgan, via email.
Not from that pH number alone. First measure or obtain the source alkalinity. High pH with modest alkalinity can behave very differently from high-alkalinity water that continuously pushes the root zone upward. Also measure the final solution after any nutrients are mixed. Treat a measured chemistry problem rather than automatically correcting the tank because one number looks high.
EC tells you how many dissolved ions are present, not which ions they are
Electrical conductivity is useful because it gives you a fast indication of dissolved ionic strength. It does not tell you whether those ions are calcium, fertilizer salts, sodium, chloride, bicarbonate, or something else.
That makes EC a screening tool rather than a complete water diagnosis.
If a remote source suddenly rises from 0.3 mS/cm to 0.9 mS/cm, something changed. Perhaps the well level shifted, evaporation concentrated a storage source, fertilizer entered the line, or a different source was used. You should investigate before continuing the same feed program.
General horticultural guidance often treats source-water EC above roughly 1.0 mS/cm as a salinity signal that deserves closer evaluation. That is not a universal cannabis toxicity threshold. It is a reason to stop guessing and look at the laboratory profile, root-zone EC, drainage, cultivar response, and fertilizer contribution together.
Hardness, sodium, and chloride matter for different reasons
Hardness mainly describes calcium and magnesium in the water. Moderate hardness can contribute useful minerals, while very hard water can leave scale in lines, filters, pumps, valves, and emitter openings. Horticultural water guidance commonly flags hardness above about 150 mg/L as CaCO3 as a scaling and clogging concern. At a remote site, scaling is not merely an equipment nuisance. It can become a silent distribution problem that reduces flow to one plant before the next visit.
Sodium and chloride are different. Neither is accurately diagnosed by a simple EC meter because EC cannot identify specific ions. Repeated irrigation with elevated sodium can damage soil structure in susceptible soils and contribute to plant stress. Chloride can accumulate in the root zone and can become toxic at high exposure. Exact crop tolerances vary, so use a laboratory report rather than a generic internet threshold when either ion is elevated.
This becomes especially important when remote water comes from a well, softened household water, roadside-affected source, brackish source, or storage system with significant evaporation.
Do not use sodium-softened water as an automatic solution to hard water
A household ion-exchange softener may replace calcium and magnesium with sodium. That can reduce scale while creating a different irrigation problem. If the source is hard, test the treated water before sending it to the garden and choose treatment based on the actual chemistry.
Water temperature becomes a storage-management issue
Remote storage tanks can become much hotter than the original water source. A dark tank in full sun, a long exposed hose, or stagnant water in surface lines can create very warm irrigation water during the hottest part of the day.
Temperature also changes chemistry and biology. Warm stored water encourages some biological growth and can accelerate oxygen loss. Mineral precipitation can change as temperature and aeration change. If the water source is used for hydroponics or a highly oxygen-dependent root system, temperature becomes even more consequential.
Keep storage containers opaque or protected from light where appropriate, covered against debris and animals, and installed so they do not create a drowning or access hazard. If the tank sits in sun, measure the water during the hottest expected period instead of checking it only during a cool morning visit.
How soil, coco, rockwool, hydroponics, container size, root mass, light, temperature, humidity, and plant stage change the answer
The farther you are from the plants, the more valuable buffering becomes.
Buffering does not mean the garden should remain wet all the time. It means the system can absorb a small scheduling error without moving immediately into severe plant stress. Different media provide very different amounts of that margin.
In-ground soil usually gives the widest irrigation margin
A well-structured outdoor soil with adequate depth can store far more water than a container. Roots can explore a larger volume, rainfall can contribute, and temperature changes are slower than in an exposed pot.
That makes soil attractive for a remote legal site, but only if the soil is actually suitable. Sandy ground can drain so quickly that the apparent large root volume provides less usable water than expected. Heavy clay can store large amounts of water but restrict oxygen when saturated. Shallow soil over rock may dry quickly. A compacted layer can prevent roots from reaching the deeper moisture you expected them to use.
For remote soil growing, a pre-season soil profile and infiltration/drainage check are worth more than buying another irrigation gadget. The cannabis soil and growing media guide covers these root-zone differences in depth.
Large containers can work remotely, but small containers narrow the safety margin
Containers give you control over the growing medium and avoid questionable native soil. The tradeoff is finite water storage.
A large container may remain stable through a missed irrigation that would severely stress a small pot. As roots occupy more of the container, the same volume of medium can hold less free water relative to plant demand. Hot container walls and wind can also accelerate drying.
There is no honest universal minimum container size for a remote cannabis plant. The correct question is whether the container gives you enough time between irrigation failure and damaging stress to match your access interval.
If you can only reach the garden every two days, but a mature plant in normal summer weather becomes severely dry in one day, the system has a design mismatch. Either increase root-zone buffering, improve irrigation reliability, reduce the access interval, or choose a different site/system.
Coco changes remote planning completely
Coco can produce excellent root-zone aeration and fast growth, but it is commonly managed with frequent fertigation. As the plant becomes large, one or more irrigation events per day may become normal depending on container size, climate, and crop strategy.
That is a narrow failure margin for a garden you cannot visit easily.
A remote coco garden therefore needs a higher standard of irrigation reliability than a large soil bed. Redundant water supply, filtration, pressure control, emitter verification, adequate drainage, and a realistic backup become more important. If the system depends on electricity or a pump, a power or pump failure can become a plant problem much faster than it would in a buffered soil root zone.
Rockwool and hydroponics can be remote, but the dependency chain gets longer
Rockwool, recirculating hydroponics, and other inert systems are not impossible outdoors, but they replace soil buffering with equipment and management.
Now the plant can depend on the reservoir, pump, electrical supply, timer or controller, lines, emitters, solution chemistry, oxygenation, drainage, and temperature all working together.
That may be perfectly acceptable at a site with reliable utilities, remote monitoring, redundant pumps, alarms, and frequent access. It is much harder to justify at a garden reached only occasionally over a rough road.
Do
Match system complexity to access frequency
Use a root zone and irrigation system whose failure margin is wider than your realistic response time. The harder the site is to reach, the more valuable passive moisture buffering and simple hardware become.
Avoid
Adding dependency without redundancy
Do not build a remote grow around a single pump, single small tank, unfiltered emitters, or an irrigation frequency that leaves no recovery time if one scheduled event fails.
Root mass changes the same container over time
A remote irrigation system should not be commissioned once and forgotten.
Early in the season, a container may hold far more water than the young root system uses. Later, roots occupy more of the pore space and the larger canopy transpires more water. The same 20-liter irrigation event can move from excessive to barely adequate without the hardware changing at all.
That is why the useful measurement is not “how much did I water last time?” It is “how much of the root zone was re-wetted, how long did it stay in the usable moisture range, and what happened before the next event?”
Light, heat, humidity, and wind change demand between visits
A remote site may be cooler and wetter than your home, or it may be far harsher. Open fields, slopes, mountain valleys, coastal areas, and inland rural properties can create very different combinations of solar radiation, humidity, and wind.
High light increases potential transpiration when the plant can use that energy. High temperature and dry air can increase atmospheric demand. Wind removes the humid boundary layer around leaves and can accelerate water loss. Humid or overcast weather can do the opposite.
Do not use the weather at your house as the weather at the grow site if the two locations behave differently. A cheap on-site maximum/minimum thermometer and a rain gauge can immediately improve irrigation records. A local weather station is useful when available. If you use sensors, compare their readings with physical observations rather than trusting the dashboard blindly.
Plant stage changes both water use and consequences
A young plant has low total water demand, but a small root system can still dry rapidly in a small container. Vigorous vegetative plants steadily increase demand as leaf area expands. Flowering plants may become physically larger while the root zone remains the same size.
Late flowering adds another complication: you may want reliable root moisture without creating avoidable canopy wetness or excessive humidity around dense flowers. Drip or subsurface irrigation can keep foliage drier than overhead watering, but the root zone still has to receive the correct volume.
Recent outdoor cannabis research has found meaningful differences in irrigation efficiency between surface drip and subsurface drip under the specific trial conditions. That is useful evidence that delivery architecture matters, but it is not a universal instruction to bury drip lines in every remote garden. Soil, roots, maintenance access, rodents, clogging, and the ability to verify wetting all matter.
I can visit every three days. Would coco be safer than native soil because I can control the medium?
Question sent by: PrairieRoots, via Facebook page.
Control over the medium is useful, but three-day access does not match the normal management style of a mature coco plant unless a very reliable automated fertigation system carries the daily work. A well-tested soil root zone may give you a much wider passive moisture buffer. If you choose coco remotely, design around the irrigation system first and assume you will eventually need more frequent events as the plant grows.
Repeatable test or irrigation procedure with sampling points, meter calibration, collection method, and recordkeeping
A remote irrigation system should be tested like a system, not admired because water comes out of the emitters.
The commissioning procedure below can be repeated before planting, after major plant growth, after changing the water source, after modifying the irrigation layout, and whenever the garden behaves differently than expected.
Step 1: establish the source-water baseline
Before adding fertilizer, collect a clean sample of the actual water that will reach the irrigation system.
If the water comes from a storage tank, sample the tank water, not only the original tap or well. Storage can change temperature, biological load, dissolved gases, and sometimes EC through concentration or contamination.
At minimum, establish:
- source pH;
- source EC;
- alkalinity from a laboratory or suitable test method;
- hardness;
- sodium and chloride when the source is uncertain, hard, softened, brackish, or historically problematic;
- water temperature during realistic operating conditions.
For a new remote site, a laboratory irrigation-water analysis is far more useful than buying several additives before you know what the water contains.
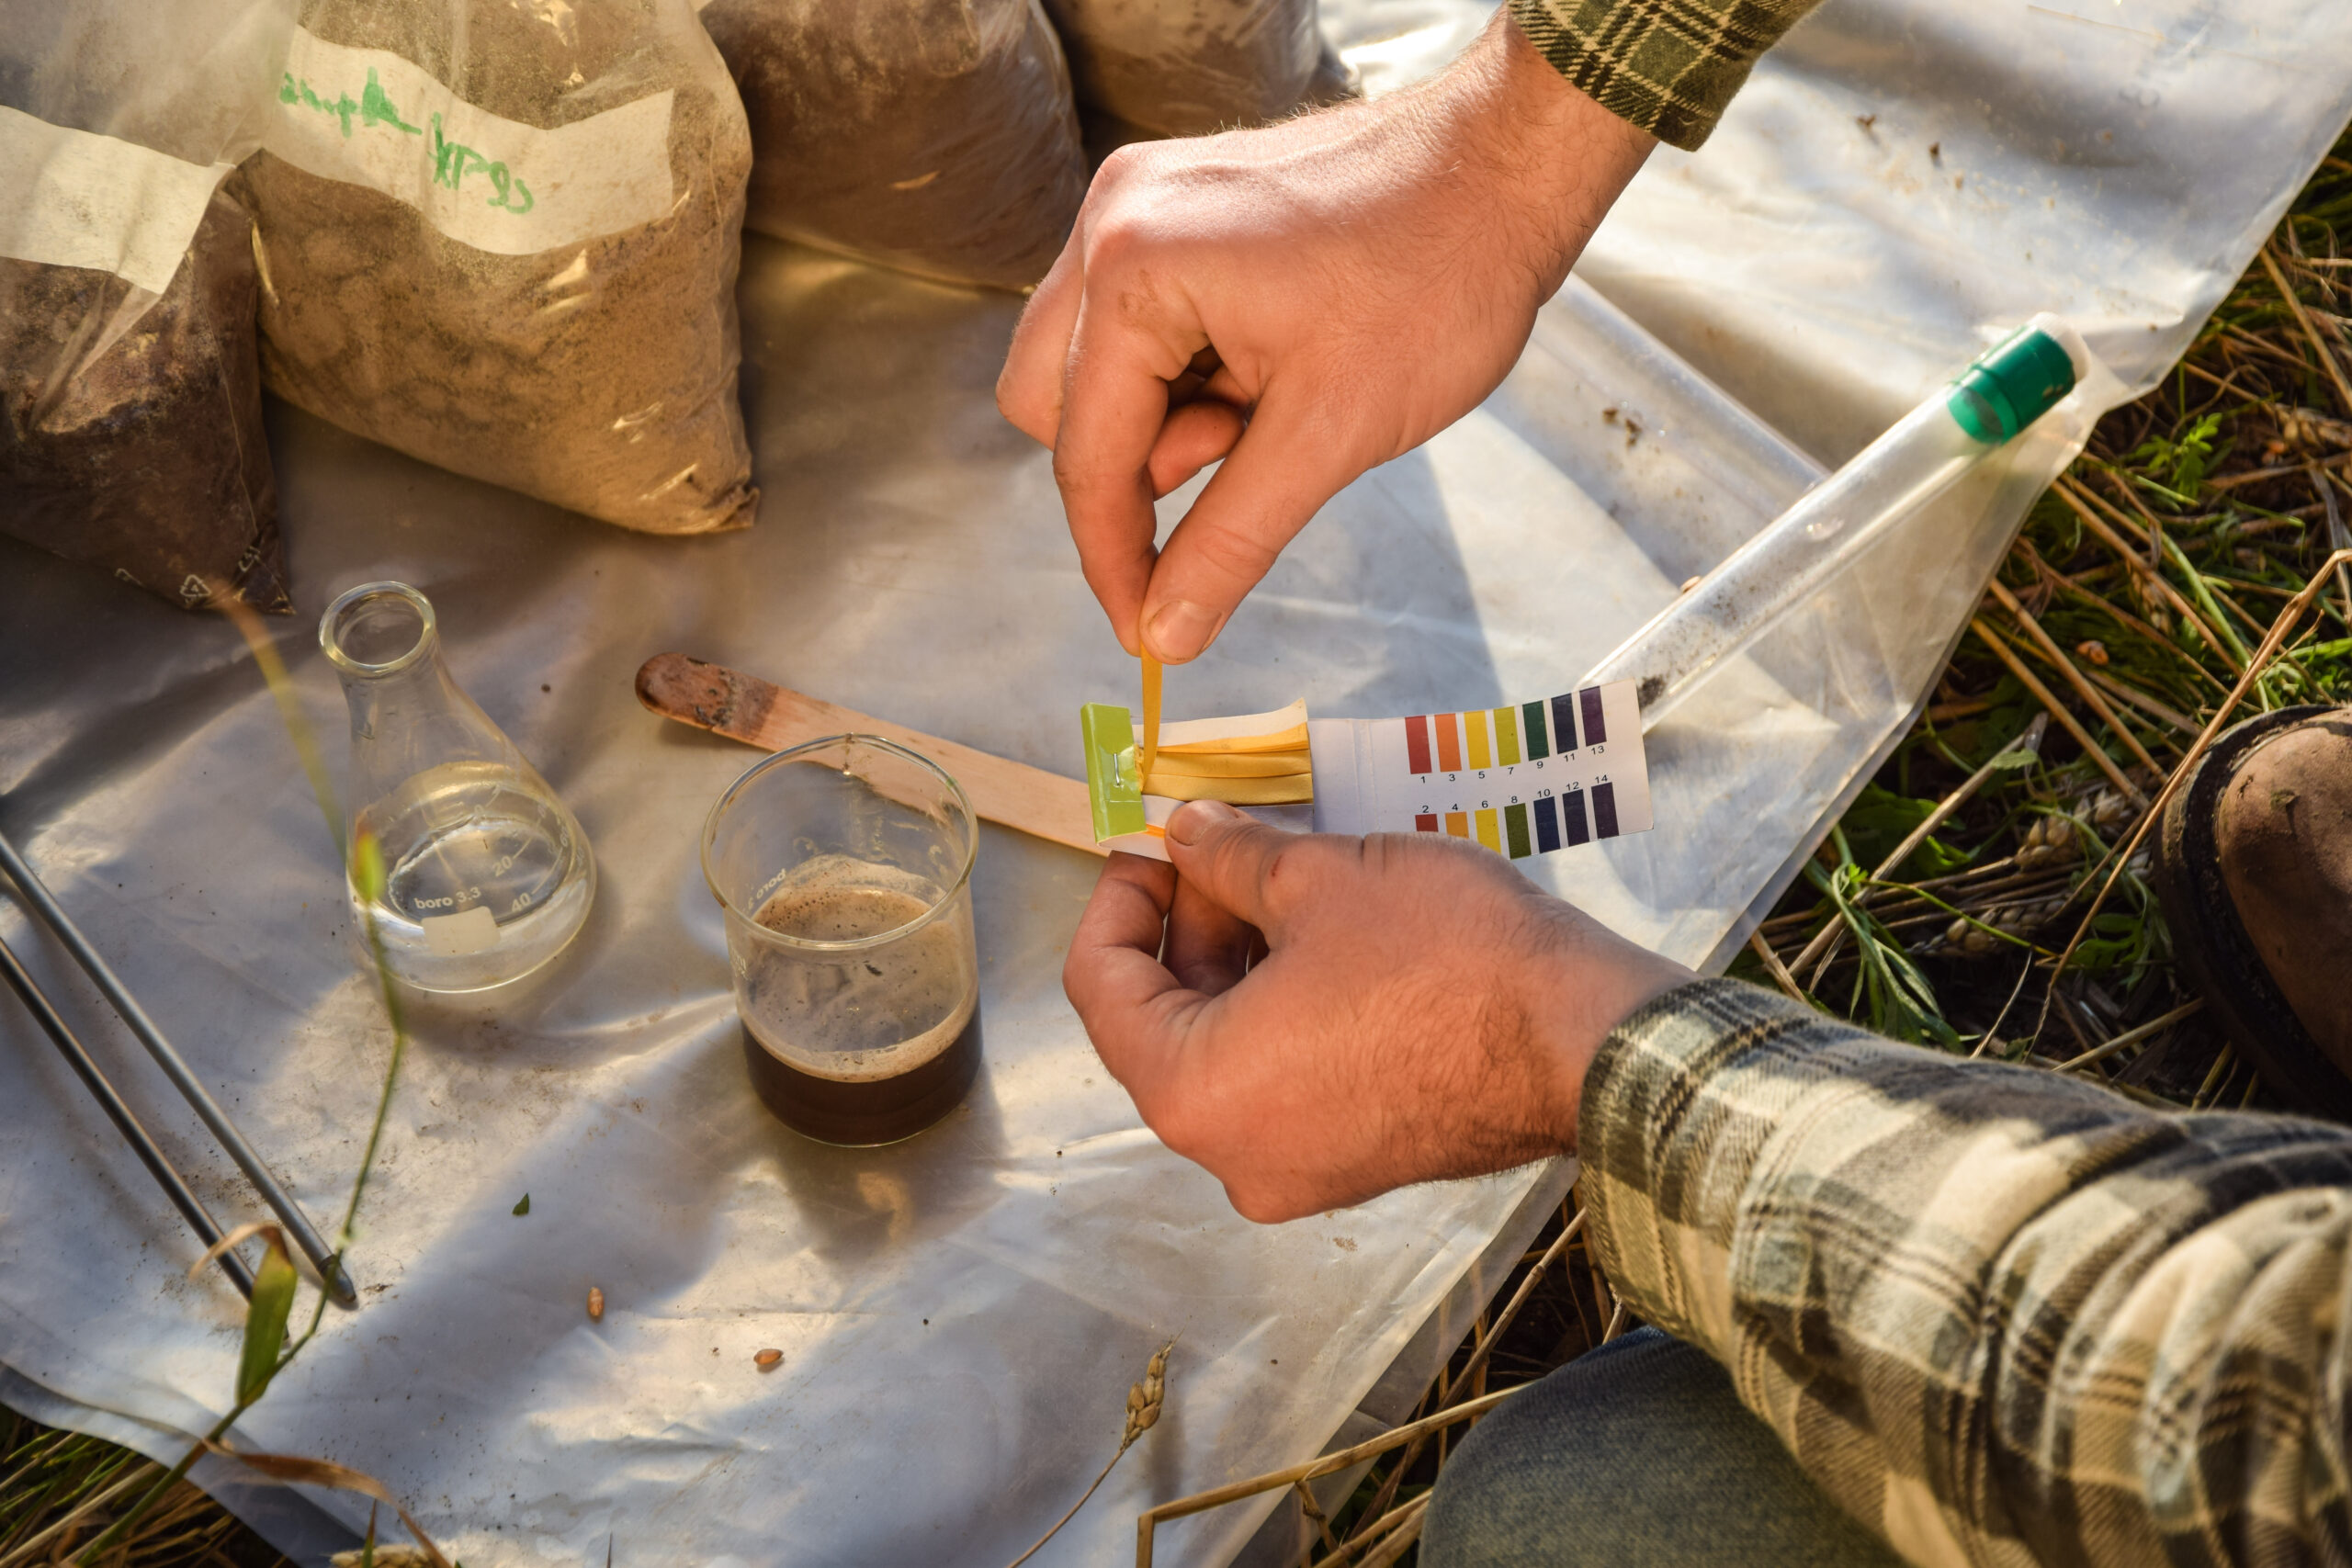
Step 2: calibrate pH and EC meters before the field test
A meter that has not been calibrated can make a remote grower confidently wrong.
Follow the instrument manufacturer’s calibration procedure. Use fresh standard solutions appropriate to the meter. Rinse probes with clean deionized or distilled water between standards and samples. Store pH electrodes in the correct storage solution rather than allowing them to dry.
Record the calibration date. If a pH meter will no longer calibrate within its expected tolerance, replace or service the probe instead of adjusting irrigation water around a bad reading.
Remember: Do not calibrate a meter only when the plants look sick. Remote troubleshooting works best when you know the measurement system was reliable before the problem began.
Step 3: measure source flow before the drip system
Use a known-volume container and a stopwatch, or a flow meter if the system has one.
Measure the water source under the same conditions the irrigation system will use. If several zones operate at once, test that configuration. If the pump lifts water from a tank, test at both high and lower tank levels if pressure changes with head height.
A simple collection test gives you actual liters per minute or gallons per minute. Compare that with the total expected emitter demand.
If the system requires more flow than the source can supply, the far end of the line may receive less water even though every emitter appears to drip.
Step 4: record pressure where it matters
Drip irrigation operates at relatively low pressure, which makes pressure differences important. Elevation, long laterals, friction, filters, valves, and partially clogged lines all change what the emitters receive.
Measure pressure after the regulator and, where practical, at the far end or at representative zones. For a sloped remote garden, do not assume one pressure reading at the tank describes the whole site.
Extension irrigation guidance repeatedly emphasizes pressure control because even modest differences can change emitter discharge. The correct operating pressure is the one specified for your particular emitters or drip tape.
Step 5: perform an emitter catch test
This is one of the most useful remote-system checks because it converts “looks fine” into a number.
Place identical cups or containers under several emitters. Include:
- an emitter near the beginning of the line;
- one near the middle;
- one near the far end;
- the highest or lowest zone where elevation is relevant;
- at least one emitter from each plant or irrigation zone in a small garden.
Run the system for a fixed period, such as 10 or 15 minutes, then measure the collected volume from each point.
Oklahoma State irrigation guidance recommends no more than about a 10 percent difference between the lowest and highest emitter discharge for satisfactory uniformity in a properly designed drip system. Treat that as a useful irrigation-system target, not as a cannabis biological threshold.
If your spread is larger, investigate pressure, line length, emitter condition, filter restriction, elevation, kinks, or mismatched components before trusting the system remotely.
Step 6: convert emitter flow into runtime
Once you know the actual emitter flow, runtime becomes measurable.
Suppose a plant has four emitters and each actually delivers 1.8 liters per hour. The plant receives 7.2 liters per hour from the system. A 30-minute run therefore delivers about 3.6 liters, assuming performance remains stable.
That number is only the delivered volume. It does not prove the plant needs 3.6 liters or that the entire root zone became evenly wet.
Now the root-zone test begins.
Step 7: map the wetting pattern
After irrigation, check where the water actually moved.
In soil, emitter water spreads according to texture. Sandy soil tends to move water more vertically and less laterally. Finer soils may spread water farther sideways but drain more slowly. In containers, dry media can develop channels where water travels around rather than through the root mass.
Choose two or three sampling positions around a representative plant. Check moisture near the emitter and farther away. For a large container, include a deeper check if practical.
The goal is not to saturate every cubic centimeter of the medium at every irrigation. The goal is to confirm that a meaningful portion of the active root zone receives water rather than one narrow wet column.
Step 8: record the dry-back interval
Return before the next planned irrigation and check the same points.
Record whether the root zone is still wet, comfortably moist, approaching dry, or already too dry. If you use a sensor or tensiometer, record the numeric value as well.
Repeat during at least two weather conditions: a normal week and a high-demand week.
This gives you the information a timer cannot create by itself: how long the root zone can safely carry the plant between irrigations under real site conditions.
Step 9: test the emergency reserve
Do not call a tank reserve until you have actually simulated a delayed visit.
Calculate how many normal irrigation events remain if you cannot refill on schedule. Leave enough unusable tank volume to protect pumps from running dry where required. Account for leaks, flushing, filter cleaning, and hot-weather demand.
If the reserve is only large enough when everything goes perfectly, it is not an emergency reserve.
My timer ran while I was away, so can I assume the plants were watered?
Question sent by: CedarRoute, via email.
No. The timer only confirms that it sent an electrical command. You still need evidence that water was available, the valve opened, the pump operated, pressure was adequate, emitters flowed, and the root zone was wetted. A remote system becomes trustworthy when those parts have been tested and periodically rechecked.
A simple remote irrigation record
| Record | What to write down |
|---|---|
| Source | Tank, well, municipal supply, or other lawful source; source pH, EC, alkalinity, hardness, sodium/chloride when relevant. |
| Delivery | Source flow, regulator setting, measured line pressure, actual emitter catch volumes, irrigation runtime. |
| Root zone | Moisture at repeatable near/far/deep sampling points before and after irrigation. |
| Weather | Maximum temperature, rain, unusual wind, humidity or heat event, and any forecast that changed irrigation. |
| Plant response | New growth, wilting pattern, leaf posture, water-use change, visible salt stress, root-zone smell or drainage issue. |
| System maintenance | Filter cleaning, line flushing, emitter replacement, leaks, pump service, tank refill, battery or controller check. |
A short record like this is enough. The purpose is to create a trail you can compare after a problem instead of reconstructing the last two weeks from memory.
Separate source-water chemistry from fertilizer strength and root-zone accumulation
This section prevents one of the most common irrigation mistakes: treating source water, nutrient solution, and root-zone solution as though they were the same measurement.
They are not.
Source water is the starting load
Source EC tells you what is already in the water before fertilizer. Source alkalinity tells you how much buffering enters with repeated irrigation. Hardness, sodium, chloride, calcium, magnesium, and bicarbonate tell you what kind of dissolved load creates that EC.
If your source starts at 0.8 mS/cm, and you mix fertilizer until the final solution reads 1.8 mS/cm, the fertilizer did not create the entire 1.8. Roughly 1.0 mS/cm of change appeared after mixing, while the original source still contributes its own ions.
This is why two growers can use the same nutrient label rate and produce very different final solutions.
Fertilizer strength is measured after mixing
If you fertigate, measure the final solution after all products are mixed in the correct order and fully dissolved.
Do not use the source EC as the feed EC. Do not assume a label dose always produces the same EC in different water. And do not adjust pH before mixing every product unless the specific program requires that sequence.
For a remote garden, this is especially important because a strong batch may sit in a tank and feed several irrigation events before you return.
Do not leave an untested fertigation batch in charge of a remote garden
Measure the final EC and pH after mixing and verify compatibility with the crop, medium, and nutrient program. If fertilizer is injected automatically, collect a sample from the irrigation line under operating conditions. The reservoir label and injector setting are not substitutes for measuring what actually reaches the emitters.
Root-zone EC tells you what accumulated after irrigation
A root zone can become more saline than the incoming feed because the plant removes water, evaporation removes water, and dissolved salts remain. Repeated small irrigations without enough leaching can raise EC. Poor drainage can do the same. In a container, one side can accumulate more salts if the wetting pattern is uneven.
That is why a source-water EC of 0.4 mS/cm and a feed EC of 1.6 mS/cm do not prove the root zone is 1.6 mS/cm.
To understand the root environment, use a sampling method appropriate to the medium. In soilless container production, standardized methods such as PourThru can provide repeatable pH and EC trends when performed consistently. Soil testing requires a different sampling method. Coco runoff can be useful, but runoff must be interpreted carefully because the first water leaving a container may not represent the entire root zone.
Runoff is a sample, not a verdict
Growers often collect runoff and immediately react to a high or low number. At a remote site, that can lead to large corrections between visits.
Ask how the sample was created.
Was the medium very dry before irrigation? Did water channel down the container wall? Was the runoff the first 50 milliliters or a well-mixed sample collected later? Did the container receive enough water to interact with the root mass? Was the meter calibrated?
A high runoff EC is useful evidence of possible accumulation. It is not permission to flush aggressively without checking the root-zone moisture, feed strength, drainage, plant symptoms, and sampling consistency.
My runoff EC is much higher than the feed. Should I flush the remote containers until runoff matches the input?
Question sent by: Olivia Carter, via contact form.
Not automatically. First confirm that the runoff sample is representative and the meter is calibrated. Then look at moisture distribution, drainage, feed EC, and the plant. A dry container with channeling can produce misleading runoff. If true salt accumulation is confirmed, correct it in a controlled way that matches the medium instead of chasing an exact runoff number in one visit.
Rain can reset some outdoor salt patterns and create others
Outdoor systems are not isolated from weather.
A soaking rain can leach soluble salts from containers or native soil. It can also saturate the root zone and delay the next irrigation. A small rain may wet only the surface while leaving the active root zone relatively dry. Rain falling into an open reservoir can dilute stored nutrient solution. Runoff entering the garden from upslope can introduce unknown chemistry.
Record meaningful rainfall and recheck the root zone before resuming the previous timer schedule.
Separate the three EC numbers in your notes
A simple notation helps:
| Measurement | Meaning |
|---|---|
| Source EC | Dissolved ionic load already present before fertilizer or treatment. |
| Feed EC | Final nutrient/fertigation solution delivered to the irrigation system. |
| Root-zone EC | Salt concentration measured in the medium or a standardized extract after irrigation, plant uptake, evaporation, and drainage have changed the solution. |
Once those are separated, remote diagnosis becomes far less confusing.
Diagnose uneven wetting, hydrophobic channels, clogged emitters, high EC, misleading runoff, or overcorrection
Remote irrigation failures rarely arrive with a label. You usually see a plant that looks different, a tank level that dropped unexpectedly, a dry patch, or a number that no longer matches the previous record.
The goal is to find the failure point before changing the whole system.
Uneven wetting can happen even when every emitter is flowing
Two emitters may release the same volume but create different root-zone conditions because the media beneath them are different.
One plant may have compacted soil. Another may have a rodent tunnel or root channel. One container may have pulled away from its sidewall. One bed may sit slightly downslope and receive runoff from the irrigation area above it.
When one plant repeatedly dries faster, compare:
- emitter catch volume;
- pressure at that zone;
- wetting radius after irrigation;
- root-zone depth and texture;
- container drainage;
- canopy size and sun exposure.
Do not simply increase its timer duration until you know whether the problem is delivery or storage.
Hydrophobic channels can make a watering event look more complete than it is
Peat-based mixes and other organic media can resist re-wetting after becoming excessively dry. Water then travels through preferred channels and exits the bottom while much of the root mass stays dry.
A remote grower may see runoff and assume the container is fully irrigated.
Instead, water slowly in stages. After the first pass, allow time for the medium to absorb moisture, then continue. Check the center and sides of the container. If this problem repeats, the deeper issue is that the irrigation interval allows the medium to become too dry between events.
Clogged emitters are a remote-site priority
Drip systems use small openings. That efficiency also makes them vulnerable to suspended sediment, algae, biological growth, mineral scale, and chemical precipitates.
Surface water generally requires more filtration attention than clean groundwater. Hard water can create mineral scaling. Iron can oxidize and precipitate. Fertilizers can react with source-water minerals if incompatible products are injected together.
At a remote site, install filtration appropriate to the emitter manufacturer’s requirement and the water source. Keep a clean-pressure baseline. If a filter shows a growing pressure difference between its inlet and outlet, clean it according to the manufacturer’s procedure rather than waiting for emitters to fail.
Flush main lines and laterals periodically. Carry spare emitters, end caps, repair couplings, and a short length of compatible tubing.
One emitter is only dripping half as much as the others. Can I just add a second emitter beside it?
Question sent by: Emma, via X.
Replace or clean the failing emitter and find out why it lost flow first. Adding another emitter can hide a clogging, pressure, filtration, or line problem. If the same zone keeps losing flow, check the filter, pressure, water chemistry, and line condition before redesigning the plant’s irrigation.
High EC may come from the source before it comes from fertilizer
If root-zone EC rises, do not immediately reduce nutrients by half.
Measure source EC again. A well can change seasonally. A storage tank can concentrate through evaporation. A different water source may have been used during refill. Hardness or sodium may have increased even if the water still looks clear.
Then measure feed EC and compare it with your record. Only after those two are known should you interpret root-zone EC.
Misleading runoff often comes from inconsistent sampling
If one runoff sample was collected after a small irrigation and another after a thorough irrigation, comparing them is weak evidence. If the first runoff fraction contains concentrated salts from a dry channel, it may read much higher than the average root-zone solution.
Use the same collection procedure each time. Note the irrigation volume before sampling. If you change the procedure, record the change.
Overcorrection is especially dangerous when you leave immediately afterward
A remote grower can see a high EC, flush heavily, add acid, replace the feed, increase emitter runtime, and then leave the site for three days. Now five variables changed and there is no way to know which one helped or harmed.
This is the opposite of good remote management.
Make the smallest correction that addresses the measured problem. If the issue is not urgent, avoid multiple major interventions on the same visit.
Do not make a major chemistry change and leave without a follow-up plan
If you substantially alter pH treatment, fertigation strength, irrigation volume, or flushing, schedule a realistic recheck. Remote gardens punish aggressive corrections because the next observation may come too late to catch the overshoot.
A leak can look like high plant water use
If the storage tank empties faster than expected, do not assume the plants suddenly became thirsty.
Inspect the entire route:
Tank outlet. Pump fittings. Filter housing. Mainline. Zone valves. Connections. Lateral tubing. End caps. Emitters.
A small leak running for several hours can remove more water than the plants use.
A flow meter or tank-level marker can help identify unexplained consumption. The most useful remote alarm is often not a sophisticated plant sensor but a simple notification that flow continued far longer than expected or tank level dropped unusually fast.
Rodents, wildlife, weather, and maintenance equipment can damage lines
Remote tubing can be chewed, stepped on, cut by tools, pulled by animals, damaged by UV exposure, or displaced during storms.
Route lines where they can be inspected. Do not bury critical connections where you cannot reach them unless the system is designed for subsurface use. Anchor lines without crushing them. Protect exposed equipment from mowing, vehicle traffic, and animal paths.
Remote does not mean maintenance-free. It means maintenance failures have more time to grow.
Correction sequence: observe, measure, change one variable, allow recovery, and verify the next irrigation event
When something looks wrong at a remote garden, the urge is to solve everything before leaving. Resist that urge long enough to create a diagnosis.
The sequence below works because it separates observation from intervention.
1. Observe the pattern before touching the controls
Is one plant affected or all plants?
Is the problem worse near the end of the irrigation line?
Does one side of a container remain dry?
Did symptoms appear after a heatwave, heavy rain, tank refill, fertilizer batch, filter cleaning, or controller change?
Look at the pattern before changing the timer.
2. Measure the delivery system
Check tank level, source flow, pressure, filter condition, and emitter output. If one plant looks dry, collect emitter flow from that plant and a healthy comparison plant.
If all plants look dry and every emitter is delivering correctly, the schedule or root-zone storage may be the real issue.
3. Measure the chemistry only where it is relevant
For suspected salinity or nutrient problems, measure source EC, feed EC, and a repeatable root-zone sample. Check pH with a calibrated meter. Review alkalinity and laboratory water results if pH keeps drifting over time.
Do not measure ten unrelated numbers simply because you own ten test kits.
4. Change one main variable
If the emitter is clogged, replace the emitter and service the filtration problem.
If the root zone is drying too far before the next irrigation, adjust frequency or delivered volume according to the medium and wetting pattern.
If the source chemistry changed, correct the water or fertilizer program based on the measured change.
If the container has hydrophobic channels, re-wet it properly and prevent the next extreme dry-back.
Make the correction match the failure.
5. Allow enough time for the system and plant to respond
Not every leaf recovers. Old damage may remain visible even after the root zone is corrected.
Watch new growth, leaf posture, water use, and the next irrigation cycle. If you corrected a delivery problem, the root-zone moisture pattern can often be verified immediately. If you corrected a nutritional or pH problem, plant recovery may take longer.
6. Verify the next irrigation event
This is the step that makes the process repeatable.
Return or use a reliable monitoring system to confirm:
- the tank had enough water;
- the controller activated;
- the pump or valve operated;
- pressure remained within the emitter’s operating range;
- representative emitters delivered comparable volumes;
- the root zone reached the intended moisture condition;
- no new runoff, ponding, or leak appeared.
If the correction cannot be verified before the next vulnerable period, the plan is incomplete.
Master Advice: At a remote site, the best correction is usually the one that removes a failure point rather than adding another control. A clean filter, wider moisture buffer, correctly sized tank, accessible shutoff, and tested backup line can be more valuable than another layer of automation.
Build a safe-failure plan before you need it
Remote emergency planning is not about preparing for every disaster. It is about deciding what happens when the most likely component fails.
Ask:
What happens if the pump stops?
What happens if the controller stays on?
What happens if the controller never turns on?
What happens if the road is temporarily inaccessible?
What happens if the primary water source becomes unavailable or contaminated?
What happens if a line breaks after you leave?
Then design the system so failure is visible and, where possible, limited.
A normally closed valve can stop uncontrolled flow when power is lost in some systems. A float switch can protect a pump from running dry. A secondary shutoff can isolate a leaking zone. A reserve water volume can carry the plants until the next safe visit. A local authorized caretaker can be more valuable than remote electronics if physical repair is required.
Do not create unsafe electrical improvisations at an outdoor site. Pumps, controllers, extension connections, batteries, and solar equipment should be installed for the environment and protected according to applicable electrical and fire-safety requirements.
Access is part of the irrigation system
If it takes ninety minutes to reach the site, that time belongs in the emergency plan.
If a dirt road becomes impassable after heavy rain, the road belongs in the irrigation plan.
If winter or seasonal fire restrictions close access, those restrictions belong in the site decision.
Remote growing works only when legal physical access is reliable enough for the crop you chose.
Before planting, confirm that you have the legal right to use the land and access route. Do not assume an unused road, public track, neighboring field, forest clearing, waterway, or public land can be used because it is convenient. Water withdrawal, rainwater storage, wells, ponds, pumps, and surface-water use can also be regulated separately from cannabis cultivation. Verify the rules that apply locally.
If the site is legal but the road sometimes closes after storms, is a larger tank enough emergency planning?
Question sent by: Andrew Hayes, via contact form.
A larger tank helps only with water availability. You still need to know how many days of plant demand it actually covers, whether the irrigation system can keep operating unattended, and what happens if a line or pump fails while access is blocked. If the road can remain closed longer than the garden’s safe failure margin, change the system, access plan, or site before relying on the tank.
Use remote monitoring as evidence, not as permission to stop visiting
Tank-level sensors, flow meters, soil-moisture sensors, cameras, weather stations, and controller alerts can improve awareness. They do not replace physical scouting.
A moisture sensor will not necessarily show a stem split, animal damage, early flower rot, a loose emitter outside its sensor zone, or a branch shading another plant.
Remote data should answer “Do I need to go sooner?” It should not become “I no longer need to go.”
Practical thresholds/checklist and the next internal resource to link
Not every number in irrigation science is a cannabis threshold. Some are equipment targets, some are general horticultural water-quality screening values, and some are site-specific measurements you establish yourself.
The table below keeps those categories separate.
| Parameter | Target Range | Warning Zone | What It Means |
|---|---|---|---|
| Emitter discharge uniformity | Keep representative emitters close to one another; roughly no more than 10% low-to-high spread is a useful drip-system target. | Repeatedly wider spread. | Investigate pressure, clogging, elevation, line length, filter restriction, or mismatched emitters. This is an irrigation-system target, not a plant threshold. |
| Source EC | Establish your own clean-source baseline. | A substantial rise from baseline; general horticultural guidance often treats >1.0 mS/cm as a salinity concern worth investigating. | EC shows total ionic load, not which ions are present. Review lab chemistry before deciding how to correct it. |
| Alkalinity | General horticultural guidance often works comfortably around 30-100 mg/L as CaCO3. | Very low buffering below about 30 mg/L or persistent high alkalinity above roughly 100-150 mg/L. | Use as a water-buffering indicator, not a universal cannabis target. High alkalinity can push medium pH upward over repeated irrigation. |
| Hardness | Moderate calcium/magnesium hardness may be useful. | Above roughly 150 mg/L as CaCO3 deserves attention for scaling in horticultural irrigation systems. | Check filters, lines, emitters, and the laboratory calcium/magnesium profile. Do not solve automatically with sodium-softened water. |
| Sodium / chloride | Use a laboratory baseline and crop/system-specific interpretation. | Meaningful elevation from a well, softened, brackish, roadside-affected, or changing source. | No simple EC reading can identify these ions. Repeated exposure can create root-zone and soil problems. |
| Tank reserve | Normal demand plus a separately protected emergency margin. | Reserve only works if every planned visit happens on time. | Calculate using measured daily demand during high-use weather, not early-season estimates. |
| Root-zone moisture | Your repeatable medium-specific safe band. | One sampling point reads wet while other parts repeatedly become dry or saturated. | Add sampling points or redesign emitter placement. Remote irrigation must manage the root zone, not the sensor location. |
The pre-season remote-garden test
Before a plant depends on the system, run the entire setup for several cycles without the crop carrying the risk.
Fill the tank. Run the pump. Measure pressure. Catch emitter output. Check wetting. Wait through the expected interval. Measure the dry-back. Refill the tank. Clean the filter. Open the line ends and flush them. Turn the system off manually. Simulate a power loss if that can be done safely. Confirm what happens if the tank gets low.
Then leave the site for the same amount of time you realistically expect between visits and come back to inspect the system.
You are testing the garden’s operating procedure, not merely the hardware.
Access, Water, and Emergency Planning Checklist
- Confirm that cultivation is lawful at the site and that you have explicit permission to use the land and access route.
- Verify separately whether the intended water source, withdrawal, storage, or collection method is lawful.
- Measure the maximum realistic travel and response time to the garden.
- Choose a root zone whose failure margin matches that response time.
- Test source pH and EC and obtain alkalinity, hardness, sodium, chloride, and other laboratory data when relevant.
- Measure storage volume as usable volume rather than tank-label capacity.
- Calculate reserve volume using high-demand weather rather than early-season water use.
- Measure actual source flow under operating conditions.
- Check pressure after the regulator and at representative irrigation zones.
- Perform an emitter catch test at the beginning, middle, and far end of the system.
- Check a high or low elevation zone when the site slopes.
- Use filtration that meets the emitter manufacturer’s requirements and matches the water source.
- Establish a clean-filter pressure baseline and a maintenance routine.
- Flush mainlines and laterals before the season and periodically thereafter.
- Map the wetting pattern at more than one point in the root zone.
- Record how long the medium takes to move from fully irrigated to the next safe irrigation point.
- Separate source EC, feed EC, and root-zone EC in the record.
- Calibrate pH and EC meters and record calibration dates.
- Carry compatible spare emitters, tubing, connectors, end caps, and filter parts.
- Provide a safe manual shutoff and know how to isolate a leaking zone.
- Protect pumps from dry-running where appropriate.
- Keep stored water protected from debris, animal access, excessive light, and unsafe open-container hazards.
- Do not rely on remote sensors as a substitute for physical plant inspection.
- Shorten inspection intervals during heatwaves, wind events, flowering, or rapid changes in plant water use.
- After every major correction, verify the next irrigation event before assuming the problem is solved.
What should be physically checked on every visit?
Start with the water before walking directly to the plants.
Look at tank level. Check for leaks. Listen to the pump. Inspect the filter. Walk the mainline. Look for disturbed tubing and wet spots where no emitter should be running.
Then inspect at least one plant near the beginning of the irrigation system and one near the far end. Check the root zone before you irrigate. After irrigation, confirm wetting at the same sampling points.
Finally, inspect the plant itself. Remote irrigation data means little if disease, wildlife damage, wind breakage, or flower moisture has become the more urgent problem.
When should you visit sooner than planned?
A remote schedule should become flexible when the risk changes.
Move the visit forward after:
- an unexplained tank-level drop;
- a flow or pressure alert;
- extreme heat or dry wind;
- heavy rain or flooding;
- a pump or power interruption;
- a filter pressure change;
- a sudden source-water EC change;
- the first rapid increase in mature-plant water use;
- a major fertigation or pH correction;
- a storm likely to damage lines or plants.
The whole advantage of remote monitoring is that it can tell you when the original schedule is no longer safe.
What makes a remote garden dependable?
It is not the number of sensors.
It is knowing the legal access window, the actual water source, how many days the reserve really lasts, how much each emitter delivers, where that water travels through the root zone, what the source chemistry contributes, and how quickly you can respond when one part of the system fails.
The best remote setup is often simpler than growers expect. A large stable root zone, clean source water, correctly sized storage, filtered drip lines, a pressure regulator, accessible shutoffs, spare parts, repeatable moisture checks, and a written maintenance record can provide more security than a complicated controller attached to an untested system.
Distance is manageable when failure is slow enough to detect and the next action is already decided.