How to Track the Sun Path Before Planting
A garden can look sunny at lunchtime and still be a poor planting site. A roofline may block the first two hours of morning sun. A mature tree may shade the same bed from mid-afternoon onward. A west-facing wall may keep the site bright but also turn it into a heat trap. In spring, an apparently open corner may receive plenty of light before nearby trees leaf out, then lose several hours of direct sun just as the cannabis canopy begins to expand.
That is why a useful outdoor site decision starts with more than a compass direction or a single estimate of “hours of sun.” You need to know where the sun travels across the site, when direct light reaches each candidate planting area, which objects interrupt it, and how that pattern changes as the season moves forward.
You do not need professional solar-survey equipment. A base map, repeated observations, timestamped notes or photos, a compass or phone used carefully, and one or two seasonal rechecks can give you a dependable planting map. Optional sun-position software can help predict where the sun should be, but the final decision should still be verified on the ground because software does not always know about a new fence, leafy canopy, neighboring structure, temporary screen, or other local obstruction.
This resource stays tightly focused on sun-path mapping before planting. It does not repeat the entire outdoor cultivation process. For site preparation, soil, watering, plant development, flowering, weather management, and harvest, use the complete outdoor cannabis growing guide as the broader parent resource.
Resource Navigation
In This Resource
- Define the outdoor decision in terms of site, season, climate, legal access, and plant risk
- Measure the site: sun path, shade, temperature, humidity, wind, drainage, water access, cold pockets, or contamination as relevant
- Seasonal timing: latitude, photoperiod, weather windows, and cultivar behavior
- Practical setup/response plan with materials, placement, inspection points, and a backup option
- Failure modes: stagnant air, trapped moisture, heat load, frost, wind damage, water shortage, security, or neighbor impact
- Legal/safety boundary without guessing local rules or recommending dangerous traps
- Pre-season and weekly checklist that turns the article into a repeatable field procedure
Define the outdoor decision in terms of site, season, climate, legal access, and plant risk
The purpose of a sun-path map is not to prove that one corner receives the largest number of bright hours. It is to decide where a cannabis plant can receive a strong and useful daily light window without creating a new problem that outweighs the extra sun.
For one grower, the choice may be between two in-ground beds. For another, it may be deciding which side of a patio should hold large containers. A balcony grower may be choosing between morning sun and a much hotter west-facing position. A rural grower may have a large open area but need to keep plants inside a lawful, secure part of the property. The measurement method is similar, but the final decision depends on what the site allows.
Sun path
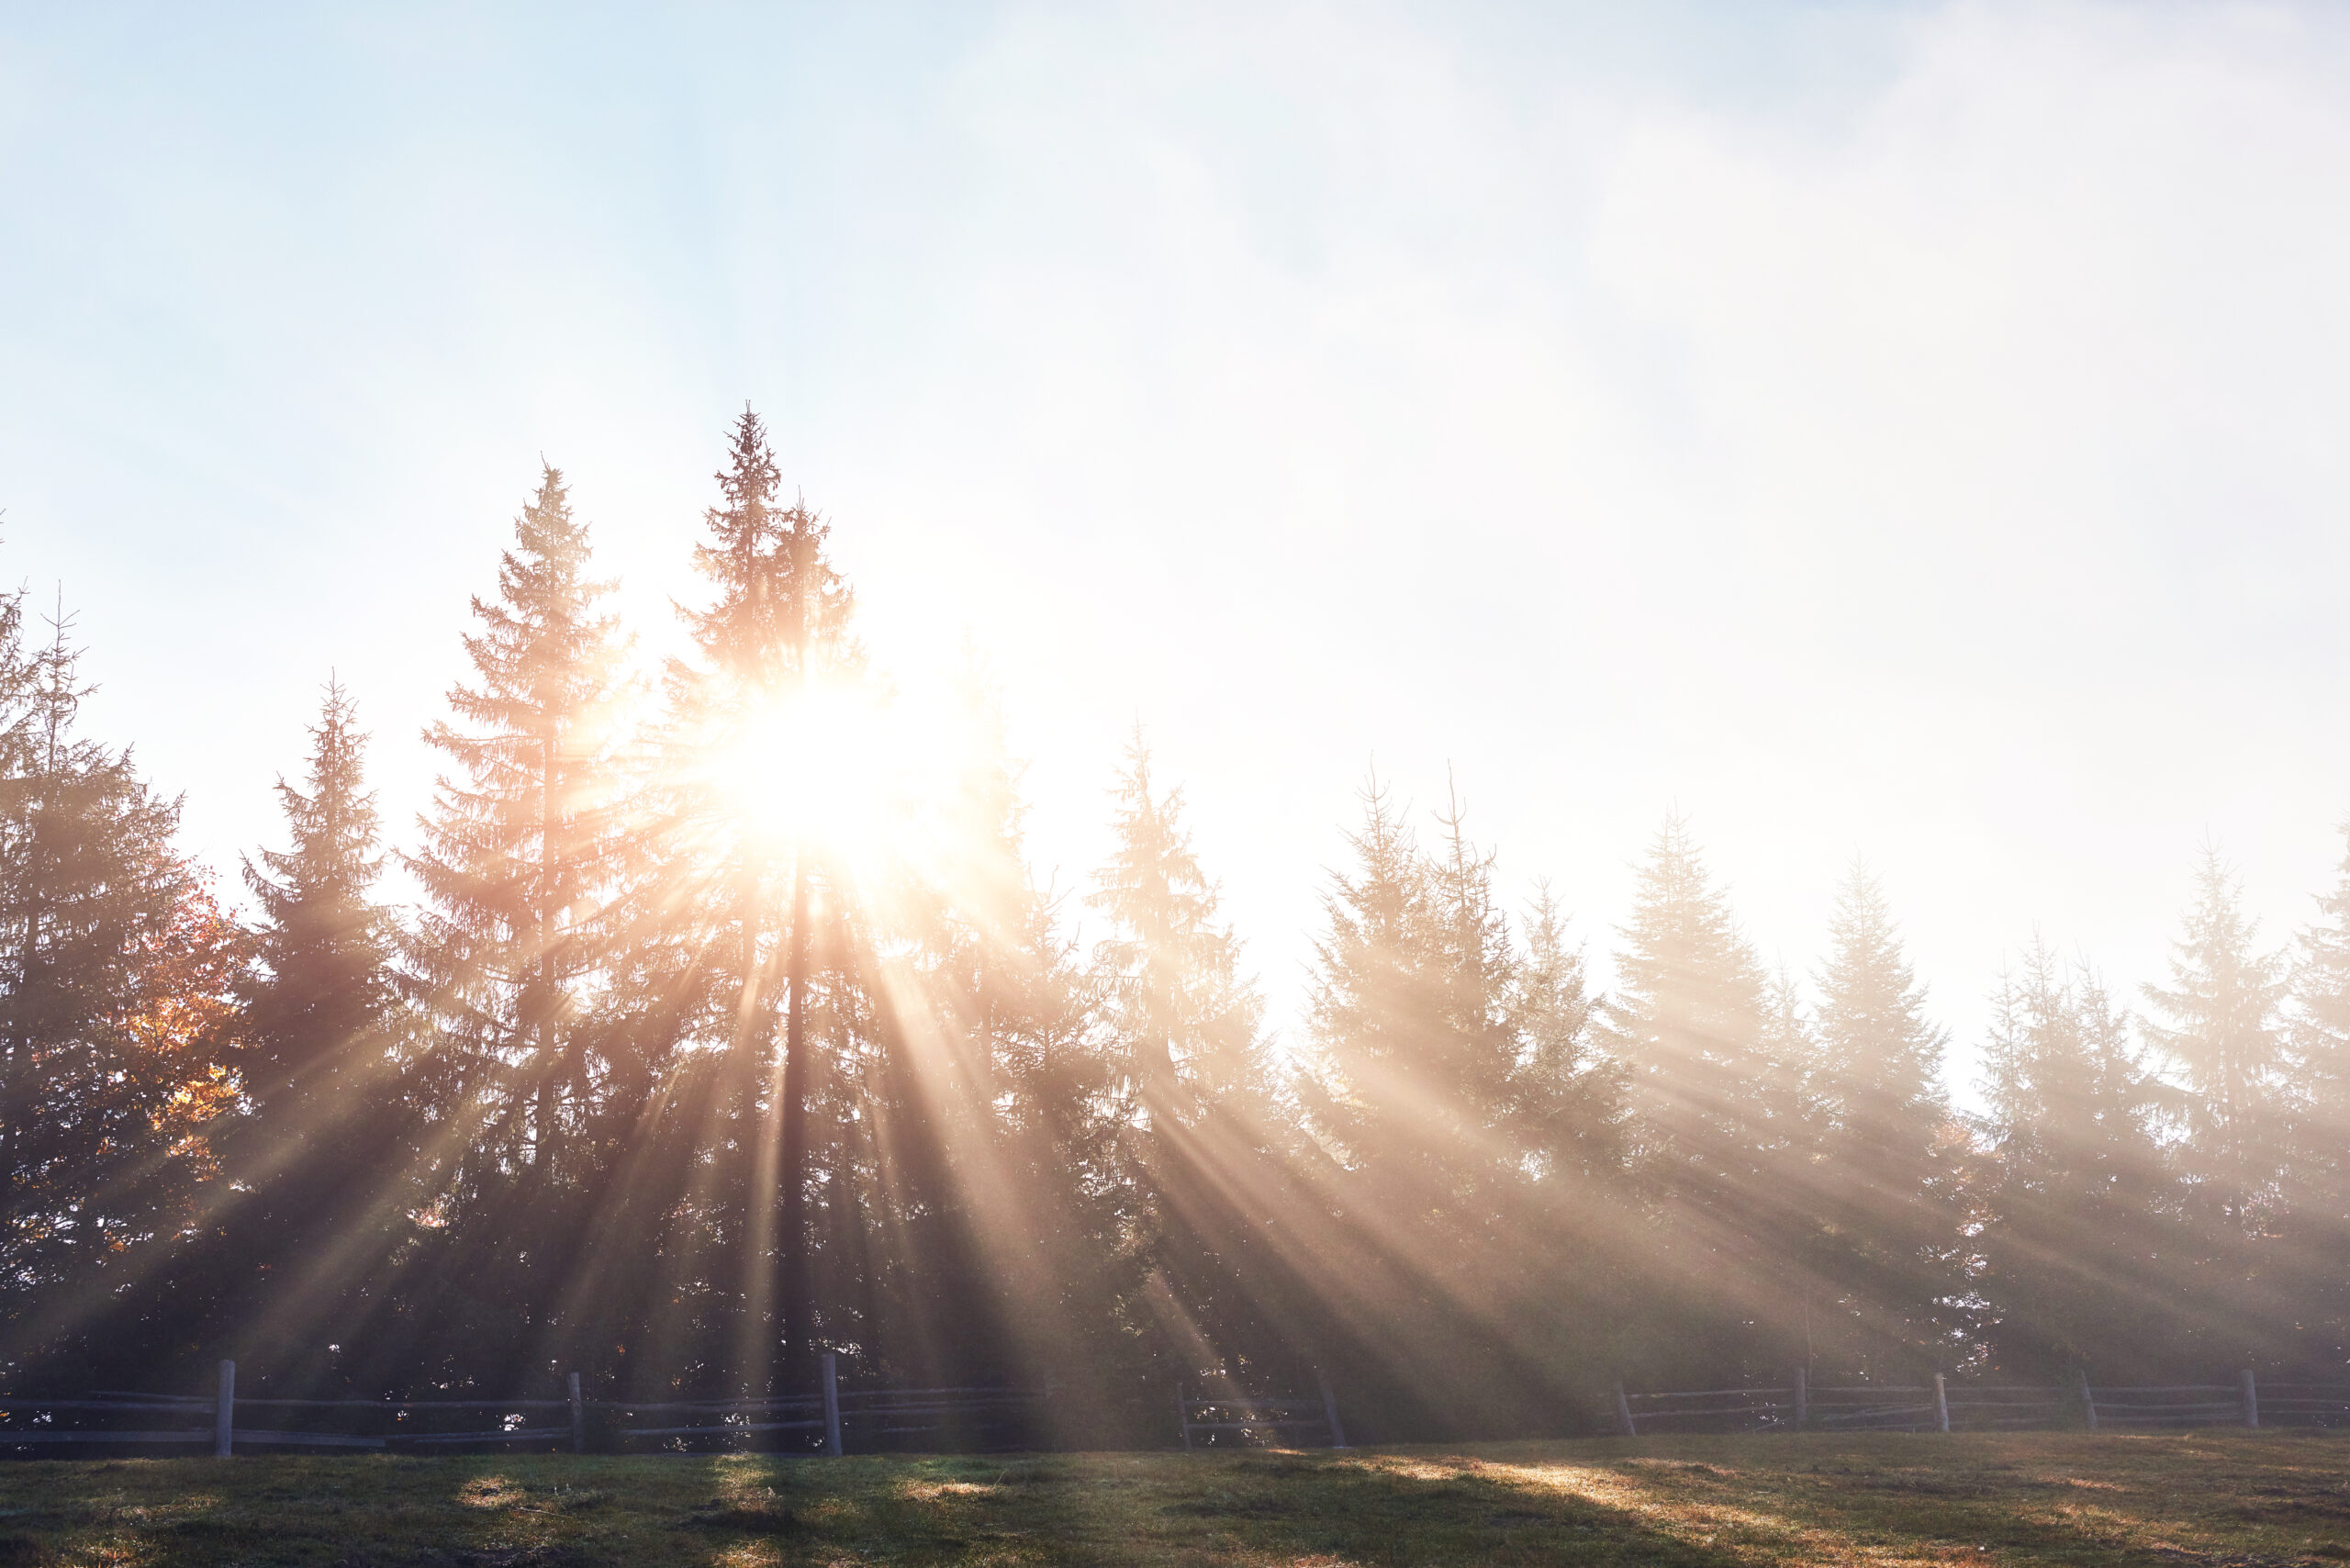
The sun path is the apparent route the sun follows across the sky from sunrise to sunset for a specific location and date. Its altitude above the horizon and its compass direction change through the day and through the seasons. A garden sun-path map combines that predictable solar movement with the real obstacles that block direct sunlight at your site.
Start with the planting decision, not the number
If you simply ask, “Which spot gets the most sun?” you may choose a position that looks excellent on paper but is difficult to water, too exposed to wind, visible from a restricted direction, or trapped beside a hot reflective wall. Instead, write the actual decision at the top of your notes. For example: “Choose between Bed A and Bed B for two outdoor plants,” or “Find the best legal container position that receives uninterrupted light through the middle of the day.”
This sounds basic, but it keeps the survey useful. Every observation can then be judged against a real choice rather than becoming a collection of sunrise and sunset times.
Direct sunlight is not the same as daylight
A site can have fourteen hours between sunrise and sunset while a plant receives only seven hours of direct sun because trees and buildings block the rest. Bright sky light still contributes some radiation, but it is not equivalent to an unobstructed sunbeam. The more the site is interrupted by shade, the more important it becomes to record the actual direct-sun window rather than relying on astronomical day length.
General garden guidance often describes full sun as six or more hours of direct sunlight. That classification is useful for comparing garden sites, but it should not be treated as a cannabis performance target. Cannabis is a high-light crop. A site with a longer, cleaner direct-sun window usually has more light energy available than a site that barely crosses a general “full sun” threshold, assuming water, heat, roots, and other conditions remain manageable.
Field Advice: Treat “hours of direct sun” as a screening measurement, not a complete light measurement. Six hours of weak, interrupted shoulder-season sun is not equal to six hours of strong midsummer sun, and a sunny wall that overheats the root zone can still be a poor planting choice.
Morning sun, midday sun, and afternoon sun do different things to the site
Morning sun is valuable because it begins warming the canopy and can help dry dew or overnight moisture. Midday sun often provides the strongest solar elevation and a large share of the day’s radiation. Afternoon sun can extend the photosynthetic day, but on hot sites it may also add the most severe heat load, especially when it strikes dark containers, masonry, fences, or paving that have already warmed for hours.
This is why two locations with the same total direct-sun duration can behave differently. A bed receiving 8 a.m. to 3 p.m. direct sun is not environmentally identical to one receiving 11 a.m. to 6 p.m. direct sun. The second location may run hotter and dry faster. The first may lose useful late-day light behind a building but recover from morning leaf wetness more quickly.
Legal access sets the map boundary
Only map positions that can lawfully be used. If local rules restrict where cannabis can be grown, require screening or locked access, limit visibility, or impose property-specific conditions, those requirements come before horticultural optimization. A sunny position beyond the legal cultivation area is not a candidate site.
The same applies to property access. Do not cross a neighbor’s land, climb onto another structure, trim vegetation you do not own, or place equipment outside the area you are authorized to use just to improve the solar survey.
My yard gets sun almost all day. Do I still need to map it?
Question sent by: SoilAndSun, via email. Editorial example based on a common grower question.
Yes, but the survey can be simpler. An open yard may still have one area that loses early sun to a roof, another that takes late shade from a tree, and a third that becomes much hotter beside a wall. A single clear-day map can confirm whether the apparent open site is truly uniform or whether one position gives you a cleaner light window with fewer heat and access problems.
The result you want is a usable planting window
By the end of the survey, each candidate position should have a short record that answers five questions: When does direct sun first reach it? When does meaningful shade begin? What causes that shade? Will the obstruction change during the season? Does the sunny window create an obvious tradeoff such as heat, wind, water demand, or visibility?
If you cannot answer those five questions, the map is not finished yet.
Measure the site: sun path, shade, temperature, humidity, wind, drainage, water access, cold pockets, or contamination as relevant
The strongest sun-path map combines a simple site sketch with repeated direct observations. You can add solar-position data, compass bearings, or a phone app, but the real shadow line on the ground is still the final evidence.
Draw a base map before the first observation
Sketch the cultivation area from above. Mark the house, shed, fence lines, walls, mature trees, hedges, neighboring structures that legally affect your site, raised beds, container zones, water source, gates, and any permanent screen. If the site is sloped, mark the high and low sides as well.
You do not need architectural precision. The map only needs to be consistent enough that you can mark the same candidate locations every time. Label them A, B, C, and D rather than relying on descriptions such as “the sunny corner.”
Choose a reference day with visible sun
A clear day is easiest because shadow edges are obvious. A day with intermittent cloud can still work if you record only the periods when direct sunlight is visible. Avoid building the entire map on a heavily overcast day because bright diffuse light makes it difficult to identify when each location truly enters or leaves direct sun.
Do not wait for a perfectly cloudless day if your climate rarely provides one. The point is to observe the geometry whenever the sun is visible, then repeat enough observations to confirm the pattern.
Record direct sun at fixed intervals
For a home garden, one-hour intervals are usually practical. If the site contains narrow gaps, moving tree shadows, or close buildings, thirty-minute observations can reveal transitions that a one-hour schedule misses. Start when direct sun first reaches the cultivation area and continue until the candidate sites are fully shaded for the day.
At each interval, stand in the same safe observation position. Mark each candidate zone as direct sun, partial obstruction, or full shade. Add a short cause note such as “house roof,” “maple canopy,” “west fence,” or “neighboring garage.” Timestamped photos are extremely useful because they let you review the pattern later without relying on memory.
Remember: The useful unit is not “the yard was sunny at 2 p.m.” It is “Site B entered direct sun at 8:45 a.m., remained unobstructed through early afternoon, and first lost the lower canopy area to fence shade around 3:30 p.m.”
Separate direct sun from bright shade
Human eyes adapt so well that open shade can look very bright. This makes it easy to overestimate direct-sun duration. A practical check is to look for a defined shadow from a vertical object or from your own hand near the candidate position. A crisp or clearly directional shadow indicates direct sunlight. Very soft or absent shadows usually mean the site is receiving diffuse sky light rather than a direct solar beam.
Partial obstruction should be recorded separately. A canopy of small moving leaves can produce rapidly shifting sunflecks. That is not the same as an uninterrupted hour of direct sun, even though the ground may look bright.
Mark the horizon obstacles that actually matter
Stand at plant height or as close to the future canopy position as practical and look around the horizon. Which objects block the east? Which block the high southern sky in the Northern Hemisphere or the high northern sky in the Southern Hemisphere? Which block the west? A low fence may barely matter at midday yet cast a long shadow when the sun sits low in the morning or late afternoon.
Tall trees need special attention because they are not static obstacles. Their leaf canopy expands and contracts seasonally, branches move in wind, and the shadow footprint changes as solar altitude changes. Deciduous trees can make a spring site look far brighter than it will be after leaf-out.
Do not map a deciduous-tree site before leaf-out and assume the result will hold through summer
Bare branches can transmit far more light than a mature leaf canopy. If trees are likely to shade the garden later, repeat the observation after full leaf-out or use the tree’s expected canopy footprint as a conservative planning boundary.
Use compass direction carefully
A compass or phone compass helps describe where shade comes from, but it is not a substitute for observation. Phones can be distorted by nearby metal, vehicles, reinforced concrete, magnetic accessories, or calibration errors. If a bearing seems inconsistent with the visible site, move away from metal and recalibrate before recording it.
Compass direction is most useful when combined with time. A note such as “large tree southwest of Site C begins blocking direct sun at 4:10 p.m.” is far more actionable than “tree southwest.”
Use solar altitude and azimuth as a prediction layer
Solar-position tools calculate where the sun should be in the sky for a given date, time, latitude, and longitude. The useful outputs are usually altitude, meaning how high the sun is above the horizon, and azimuth, meaning the compass direction of the sun.
These calculations are helpful for asking “what will this shadow look like six weeks from now?” They are also useful when you cannot observe the site on every seasonal checkpoint. But a solar-position calculation does not automatically know the height and density of every tree, the exact roofline, the new privacy screen, or the plant canopy that will exist later. Use the calculation to predict. Use the garden to verify.
Do not use lux from a phone as a precise cannabis light measurement
Phone light sensors and inexpensive lux apps can be useful for relative comparisons, but they are not a reliable substitute for a calibrated quantum sensor measuring photosynthetically active radiation. Lux is weighted to human vision, not plant photosynthesis. The sensor may also be recessed, partially shaded by the phone body, or calibrated differently between devices.
If you already own a suitable PAR or quantum meter, you can add PPFD readings to the map. Take measurements at a consistent height and orientation, and note whether the reading is in direct sun or under obstruction. For most pre-planting site decisions, however, repeated direct-sun timing plus obstacle mapping is enough to identify the strongest candidate positions without pretending to have laboratory-grade light data.
Can I just use a sun-tracking app and skip standing outside all day?
Question sent by: WestFacingWindow, via email. Editorial example based on a common grower question.
Use the app for prediction, but verify the result in person. Solar geometry is predictable. Your local obstructions are not always represented accurately. A mature tree, awning, privacy fence, neighboring structure, or seasonal screen can change the real direct-sun window even when the app shows the sun above the horizon.
Track shade at the future canopy height, not only on the ground
Ground-level shadows are easy to mark, but a mature cannabis canopy may sit well above them. A low fence that shades the soil can leave the upper canopy in sun. A roofline that appears to clear the bed at ground level may still block the top of a plant during part of the day, depending on the viewing angle.
If you are planning large containers or tall in-ground plants, use a safe vertical reference such as a stake placed in the candidate position. Observe how the shadow crosses both the base and the expected canopy zone. Do not install a tall unsecured pole where it can fall or contact overhead utilities.
Measure heat and water consequences beside the sun map
This article does not become a full microclimate survey, but sun exposure changes the rest of the site. A position that gains two extra hours of direct afternoon sun may also dry containers much faster. A bed beside masonry may receive reflected radiation long after the air temperature peaks. A sunny rooftop or paved patio may have a very different root-zone heat load from open soil.
For each candidate spot, add one short context note: exposed or sheltered wind, easy or difficult water access, reflective surface present or absent, fast or slow drainage, and any known cold-pocket or frost issue. This prevents the map from choosing a horticulturally impossible position simply because it has the longest direct-sun bar.
Build a direct-sun timeline for each candidate
After the observation day, turn the notes into a simple horizontal timeline. You can do this on paper. Mark the first direct sun, any temporary shade events, and the final loss of direct sun. If Site A receives sun from 8:20 a.m. to 2:50 p.m. and Site B receives it from 10:00 a.m. to 5:30 p.m., both may accumulate a similar number of direct hours, but the timing and heat consequences differ.
The timeline makes those differences visible immediately. It also helps you compare a second observation day without rereading pages of notes.
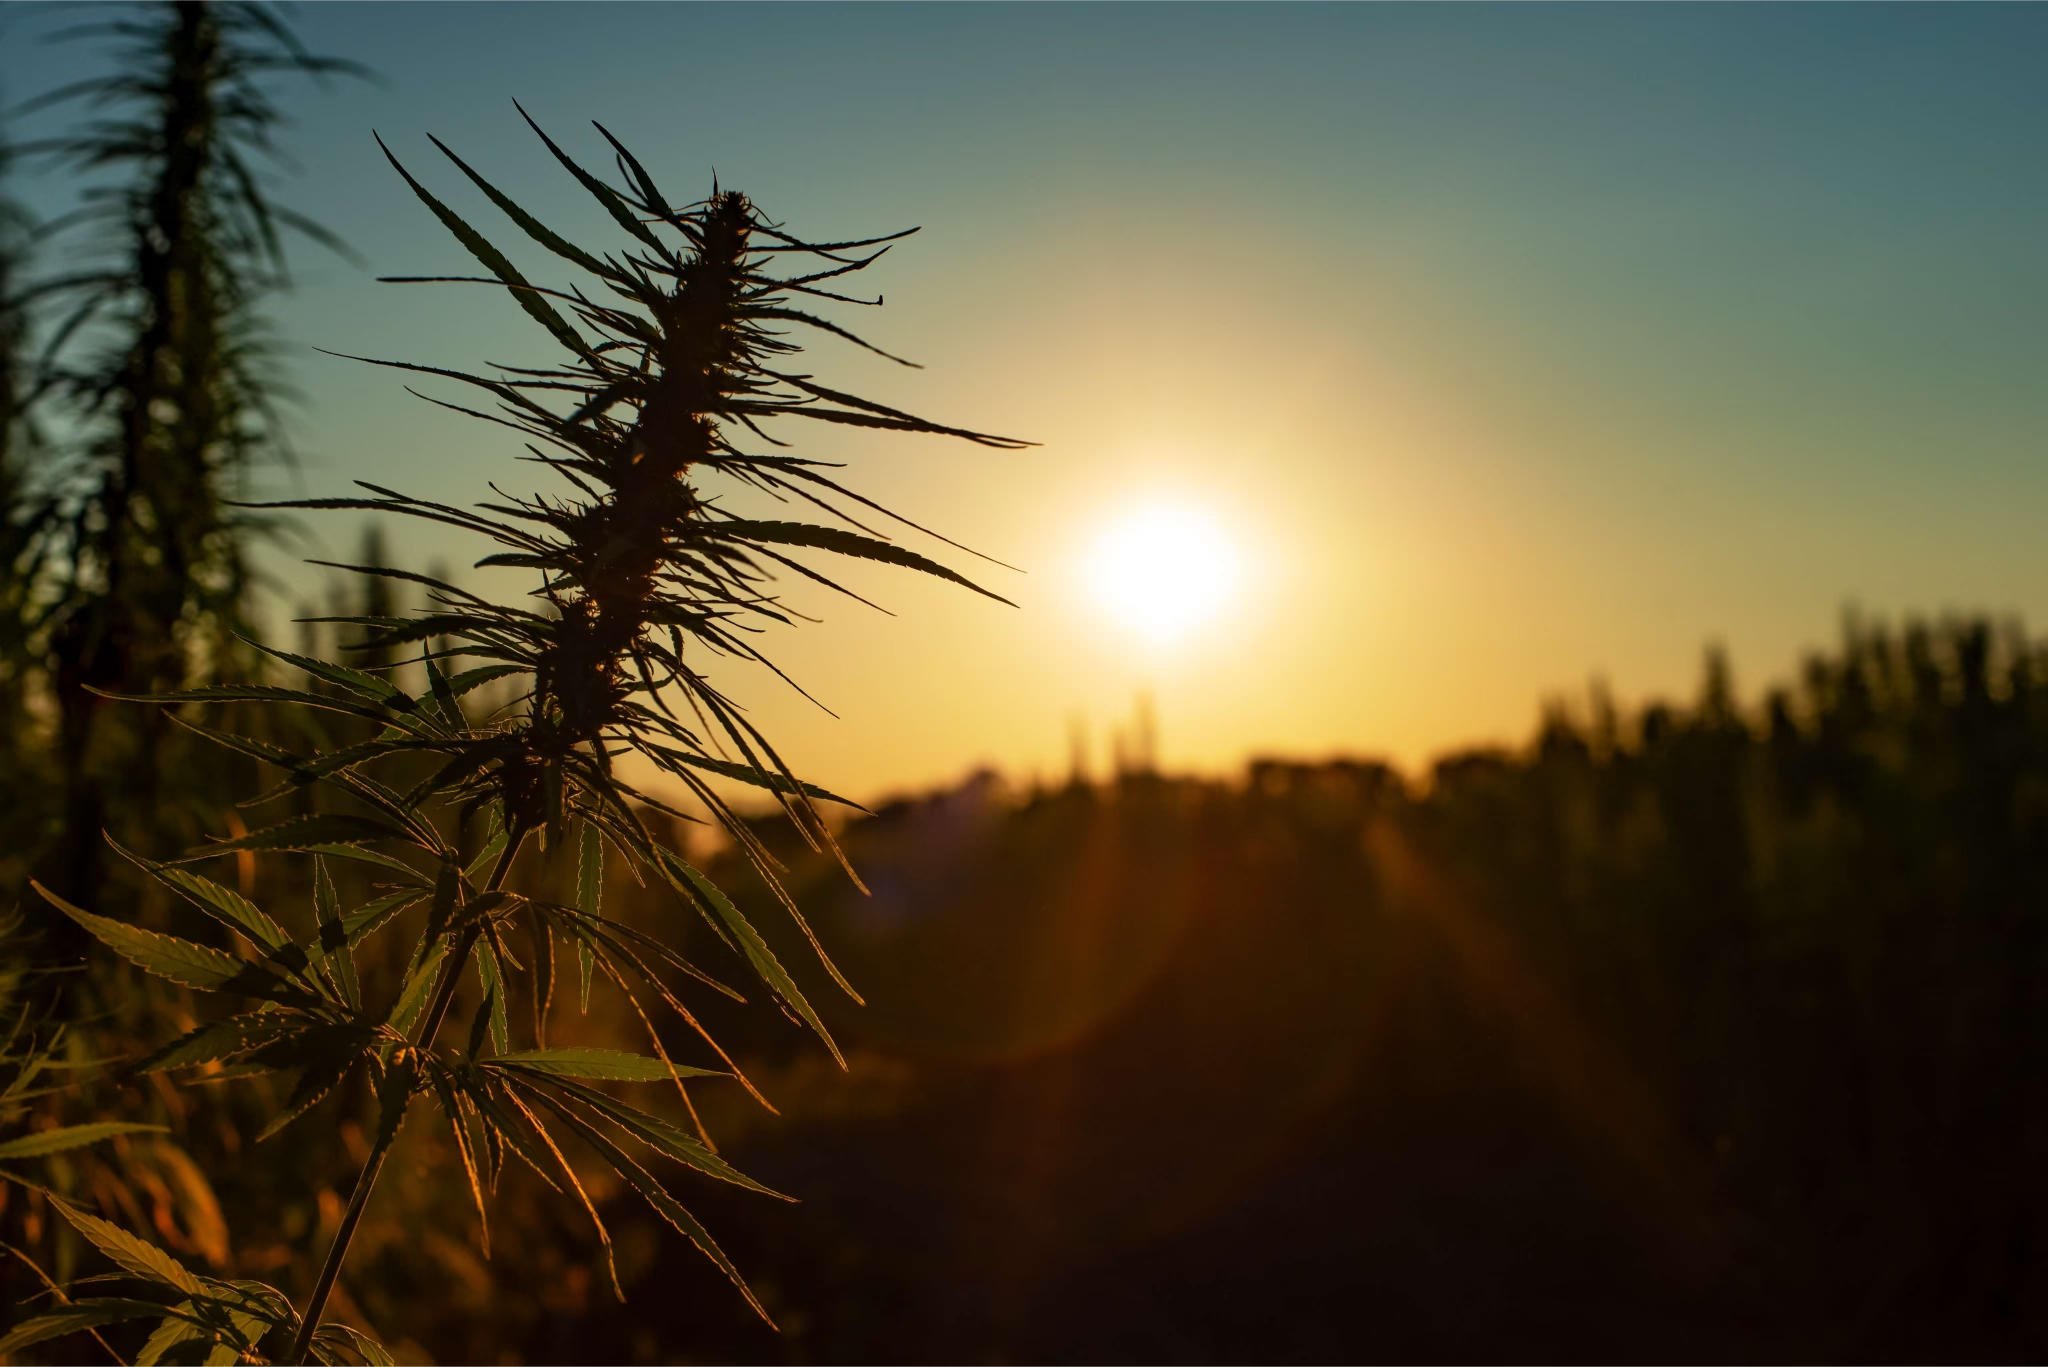
Seasonal timing: latitude, photoperiod, weather windows, and cultivar behavior
A sun-path map is dated information. The sun’s path changes through the year because Earth’s axis is tilted. At most latitudes, summer brings a higher solar arc and longer daylight, while winter brings a lower arc and shorter daylight. The magnitude of that seasonal change increases as you move away from the equator.
That means a map made in early spring is not a photograph of the entire grow season. It is the first layer.
Latitude changes both day length and solar angle
At higher latitudes, summer days can be very long and the seasonal swing in sunrise and sunset direction can be large. Closer to the equator, day length changes less through the year. The sun may also travel through a higher part of the sky, changing the way walls, trees, and fences cast shadows.
You do not need to calculate solar geometry by hand. What matters is recognizing that a fixed obstacle creates a different shadow footprint as solar altitude changes. A fence that throws a long morning shadow during the planting window may have a much shorter shadow around midsummer. Later, as the sun lowers again, that long shadow returns.
Use three seasonal checkpoints instead of one perfect day
For most home gardens, three checkpoints are more useful than trying to observe every week before planting. First, map the site near the time you expect plants to move into their permanent outdoor position. Second, recheck around the period of maximum summer canopy development, when surrounding vegetation and solar height may be very different. Third, recheck as the crop approaches the part of the season when flowering and weather risk matter most.
If your site has no meaningful obstructions, those later checks may take only a few minutes. If trees, buildings, or screens create moving shade, repeat the detailed timeline.
| Stage / Period | Plant Status | Main Task | Risk / Check |
|---|---|---|---|
| Before permanent placement | Site still flexible | Map direct-sun windows and obstacles | Do not commit to a site from one midday observation |
| After surrounding trees leaf out | Vegetative canopy expanding | Repeat shade timing around major trees and hedges | Spring light estimates can become too optimistic |
| Near midsummer | Large canopy and high water demand | Check highest-sun period and afternoon heat load | Extra sun may increase root-zone heat and irrigation demand |
| Flower transition | Photoperiod-sensitive development | Recheck shade, night lighting, and changing day length | Do not assume every cultivar flowers at the same day length |
| Late season | Dense flowers and shorter days | Check morning sun and drying window after dew or rain | Low solar angle can return long fence and building shadows |
Tree leaf-out can matter more than the calendar
A deciduous tree can transform the map faster than solar geometry does. If the first survey occurs while branches are bare, use a second survey after the canopy is fully developed. The exact date depends on species and climate, so “repeat in four weeks” is less reliable than “repeat when the tree has reached its normal leaf canopy.”
Evergreen hedges change less seasonally but can grow enough in one season to shift a shadow line, especially when they are close to the planting area.
Photoperiod is related to sun path but is not the same measurement
Sun-path mapping tells you when direct sunlight reaches the plant. Photoperiod describes the light-dark cycle that influences development in photoperiod-sensitive plants. A plant in afternoon shade still experiences daylight. Civil twilight can also contribute biologically meaningful low-level light in some hemp cultivars. This is one reason you should not use “direct sun ended at 5 p.m.” as a flowering trigger calculation.
Research on Cannabis sativa shows meaningful cultivar variation in critical photoperiod and flowering response. Some cultivars initiate reproductive development under longer days than others, and autoflowering genetics are much less dependent on seasonal day length. Outdoor flowering should therefore be tracked from the plant’s actual developmental signs and local seasonal light pattern rather than from a universal 12/12 date.
Important: The indoor 12/12 convention is not an outdoor calendar rule. A sun-path survey helps you understand direct-light availability. It does not tell you the exact date every cultivar will begin flowering.
Night lighting belongs on the seasonal map
When you survey the site near flowering, stand in the garden after dark as well. Security lights, porch lights, floodlights, and bright neighboring fixtures may illuminate parts of the canopy. The biological effect depends on intensity, duration, spectrum, cultivar, and distance, so it is not useful to invent one universal safe distance.
The practical rule is simpler: avoid placing photoperiod-sensitive plants where a bright artificial light repeatedly strikes the canopy during the night if you can choose a darker legal site. If the light source is yours, manage it with lawful shielding, aiming, timers, or motion control rather than exposing the garden continuously.
If one spot gets more summer sun, should I always choose it even if spring is shadier?
Question sent by: PrairieWindow, via email. Editorial example based on a common grower question.
Not automatically. Consider when the plant will actually occupy the site and how severe the spring limitation is. A transplant that receives acceptable light at placement and much stronger light as the season develops may be fine. A deeply shaded early site that keeps the plant weak for weeks can be a poor trade. Compare the whole seasonal window, not only the brightest month.
Southern Hemisphere growers should reverse the seasonal calendar, not the method
The procedure does not depend on Northern Hemisphere month names. Use your local planting window, your local solstice pattern, and the direction of the sun in your sky. The same principle applies: map near placement, recheck as the solar arc and surrounding vegetation change, then verify again before the late-season period that matters for flowering and weather.
Practical setup/response plan with materials, placement, inspection points, and a backup option
You can complete a strong pre-planting sun-path survey with basic materials. The method below is designed for a home grow where accuracy needs to be good enough to choose between real planting positions without turning the project into a professional solar-engineering study.
What you need
Use a site sketch or printed map, a pencil or digital note, a reliable clock, and a way to take timestamped photos. A compass is helpful. A measuring tape is useful for recording obstacle distances. A safe stake can represent future canopy height. Optional tools include a sun-position calculator, solar-path app, or PAR meter if you already own one.
You do not need to buy specialized gear simply to answer whether one bed receives more useful direct sun than another.
Step 1: Mark candidate planting positions
Select two to five positions that are already legal and physically realistic. Mark the center of each future root zone or container position. If the plant may become large, make sure the candidate location includes enough surrounding space for the eventual canopy rather than evaluating a point that will later be blocked by a wall or another plant.
Step 2: Photograph the horizon from each position
Take a sequence looking east, toward the high-sun side of the sky, and west. The goal is not a beautiful panorama. You are documenting the obstruction profile. Include rooflines, tree crowns, fence tops, and other permanent features.
If privacy matters, keep the images focused on your own cultivation area and avoid unnecessary recording of neighboring windows or private spaces.
Step 3: Run the first full-day observation
On a suitable day, begin before direct sun reaches the first candidate. Every hour, record which sites are in direct sun and which are shaded. If a transition occurs close to the scheduled check, note the approximate time and, if practical, make one extra observation 15 to 30 minutes later.
At the same time, note the source of the shade. This matters because obstacles behave differently. A building is fixed. A deciduous tree changes with leaf-out. A temporary shade sail can be moved. Another crop may become taller later. A fence may be altered only if local rules and property rights allow it.
Step 4: Calculate the useful direct-sun window
Add the uninterrupted and partially interrupted periods separately. Do not hide a two-hour block of tree shade inside a single total. A candidate that gets four hours, then two hours of shade, then another three hours of sun has a different light pattern from a candidate that gets seven uninterrupted hours.
Record the final timeline in plain language. For example: “A: direct 08:30-14:45, then building shade” or “B: direct 10:10-17:20, brief tree shade around 15:00.” You are trying to make the decision readable at a glance.
Step 5: Add a heat and water penalty note
Give each candidate a simple context rating such as low, moderate, or high afternoon heat load. Do the same for water convenience. This is not a scientific index. It is a way to stop yourself from selecting the brightest position while ignoring an obvious operational weakness.
A site beside a pale wall may receive reflected light and heat. A black fabric or plastic container on paving may need much more frequent monitoring than the same volume in cooler ground. A distant position may have excellent sun but poor water access. These factors can erase the advantage of a small increase in direct-sun time if you cannot manage them consistently.
Step 6: Recheck the best two sites on another day
Do not spend equal effort on every weak candidate. Once the first map identifies the best two options, repeat the critical observations on another clear or partly clear day. Confirm the time direct sun arrives, the main shade transition, and the afternoon cutoff.
If the two days agree closely, you probably understand the geometry. If they differ dramatically, investigate why. Cloud may have confused the first observation, a moving object may have changed the shade, or your original timestamps may have been too coarse.
Step 7: Predict the next seasonal checkpoint
Use a solar-position tool, seasonal sunrise/sunset table, or simple calendar reminder to decide when the site should be checked again. If a large deciduous tree is involved, leaf-out is the most obvious trigger. If the site is mostly buildings and fences, a check around midsummer and another later in the season is usually more informative than frequent repetition.
Step 8: Choose a primary and backup location
The best survey produces two answers, not one. Choose the primary position and identify a backup. Containers make this easy because they can sometimes be moved while plants are still manageable. In-ground beds are less flexible, so the backup may be a second prepared bed or a contingency plan for selective, lawful shade management.
Build the decision from repeated observations
- Label candidate sites and record them the same way.
- Separate direct sun, partial obstruction, and full shade.
- Record what causes each shade event.
- Recheck after major seasonal changes such as tree leaf-out.
- Keep one backup location or response plan.
Do not let one sunny moment decide the garden
- Do not judge the site only at noon.
- Do not count daylight hours as direct-sun hours.
- Do not rely on an app without checking local obstacles.
- Do not ignore afternoon heat and water access.
- Do not assume the spring shadow map will remain unchanged.
A simple scoring framework when two sites are close
If two candidates both look workable, score them from 1 to 5 for direct-sun continuity, morning drying sun, afternoon heat risk, water access, seasonal shade stability, and legal or operational fit. Do not turn the score into false precision. Its purpose is to make tradeoffs visible.
For example, Site A may win on total sun but lose badly on afternoon heat and water access. Site B may receive thirty minutes less direct sun but have better airflow, cooler root conditions, and easier irrigation. In that case, Site B can be the more reliable outdoor site.
Master Advice: Prefer a site you can manage consistently over a site that wins a light contest by a small margin. Outdoor plants respond to the whole environment. Light only helps when water, roots, temperature, access, and plant health can support the demand it creates.
My best sun is on the patio, but the containers get much hotter there. Should I move them into a slightly shadier bed?
Question sent by: CloudyGarden, via email. Editorial example based on a common grower question.
Compare the actual tradeoff. If the patio adds a modest amount of late-day sun but creates severe root-zone heat and much faster dryback, the cooler site may be easier to keep stable. You can also test whether shading only the containers, insulating them from hot paving, or moving them slightly away from a reflective wall preserves most of the canopy light without the same root-zone penalty.
Containers give you one advantage: controlled verification
Before permanently committing large containers, you can place empty pots or weighted markers in the proposed positions and repeat the sun survey around them. This shows whether the future container itself sits in full sun even when the upper canopy would be clear. It also reveals whether moving the position 0.5 to 1 m (roughly 1.5 to 3 ft) changes the direct-sun window significantly.
Small moves can matter near a sharp building shadow. In a completely open site, they may make almost no difference.
Failure modes: stagnant air, trapped moisture, heat load, frost, wind damage, water shortage, security, or neighbor impact
Most bad sun-path decisions do not come from complicated astronomy. They come from simple observation errors or from treating light as if it were independent from the rest of the garden.
Failure mode: the one-hour inspection
The most common mistake is visiting the garden at one convenient time and deciding it is “full sun.” A site that looks perfect at noon may be shaded until 11 a.m. and again after 3 p.m. That can still be usable, but it is not the same as an open site receiving direct light through most of the day.
Fix it by observing the transition times. Morning entry and afternoon exit are usually more informative than the brightest moment.
Failure mode: measuring too early in the year
Before leaf-out, deciduous trees can create a false sense of openness. Low spring sun can also produce long building shadows that later shrink, so the early map may make a site look either better or worse than it will be around midsummer.
Fix it by identifying which obstruction is seasonal. Repeat after leaf-out and at the stage when the crop will have its largest canopy.
Failure mode: counting reflected brightness as direct sun
White walls, pale paving, water surfaces, and open sky can make a shaded location look very bright. That brightness contributes light, but it should not be counted as direct sun unless the solar disk has an unobstructed path to the plant.
Fix it with the shadow test and a clear three-state log: direct, partial, shade.
Failure mode: choosing the hottest site because it is the brightest
More direct solar radiation increases energy available to the canopy, but it can also increase leaf temperature, root-zone temperature, and water demand. West-facing masonry and paved surfaces are common amplifiers because they store heat during the day and release it later.
If the brightest location repeatedly creates wilt, overheated containers, or irrigation stress, the problem is no longer solved by saying the plant “needs more sun.” Either reduce the heat penalty without shading the canopy unnecessarily, or choose a more stable location.
Failure mode: ignoring morning drying
A location that receives strong afternoon sun but remains shaded all morning may hold dew and rain moisture longer than a site that receives early sun. In dry climates this may not matter much. In humid or disease-prone conditions, the morning drying window can become useful.
This does not mean morning sun is universally better than afternoon sun. It means the timing of the direct-sun window can affect canopy moisture and should be considered with climate.
Failure mode: blocking airflow while chasing sun
A narrow bright strip between a solid fence and wall may receive excellent direct light for several hours but have poor air exchange. Large cannabis plants can fill that corridor later, making the space even more stagnant.
Do not let the sun map erase the microclimate. If the bright position traps moisture or heat, compare it with a slightly less sunny but more open site. The separate outdoor cannabis basics resource covers the broader site factors that should be considered with light.
Failure mode: forgetting that the plant itself becomes an obstacle
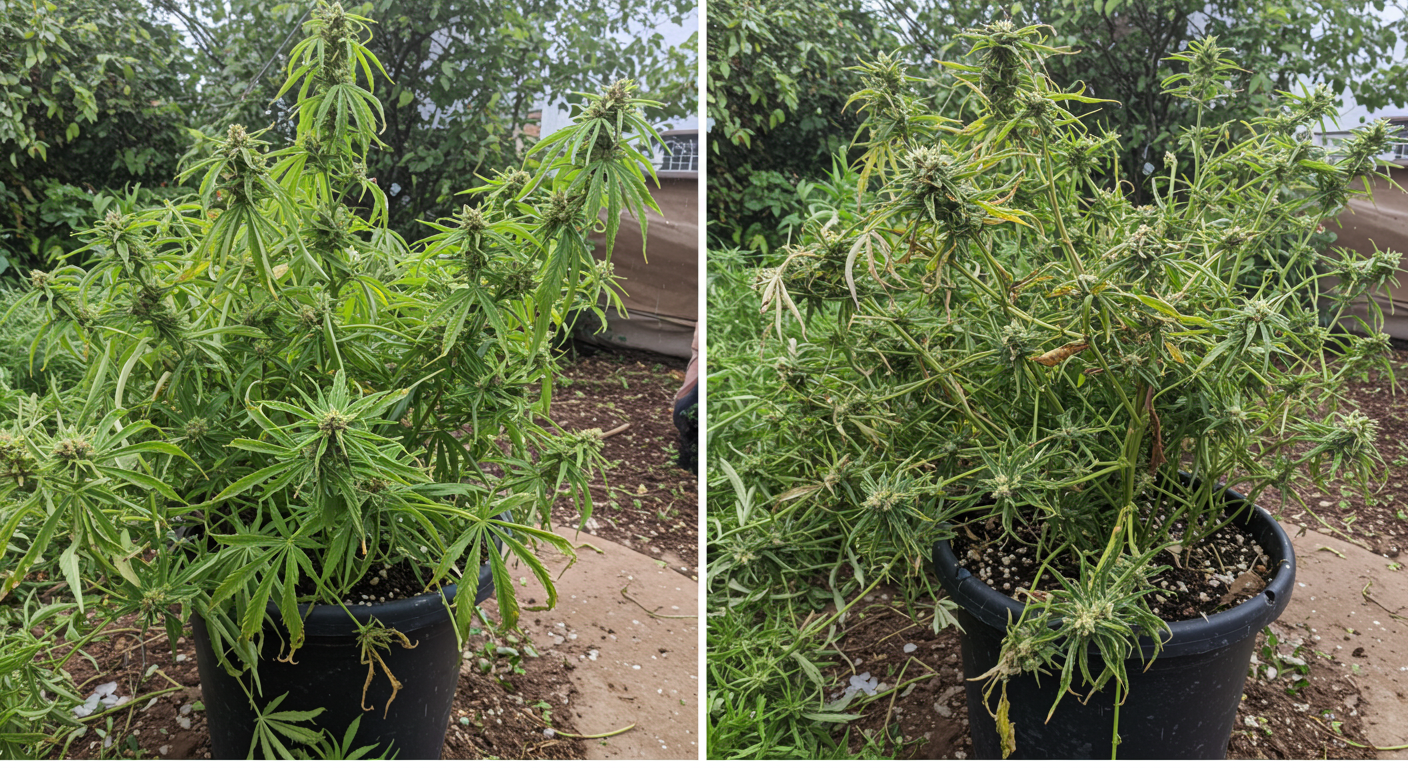
A small transplant casts almost no meaningful shade. A large outdoor cannabis plant can shade its own lower branches, nearby containers, irrigation lines, companion plants, and even the soil surface. Two plants placed too close together can turn a sunny garden into overlapping canopies by midsummer.
Map the mature footprint, not only the empty ground. If several plants share the area, allow enough spacing that one does not permanently block the useful sun path of another.
Failure mode: relying on free-air solar predictions
Sunrise and sunset tables tell you when the sun is astronomically above the horizon. Solar-position tools tell you its direction and altitude. Neither automatically tells you whether the sun can see your plant.
A prediction is strongest when it matches a real observation. If software predicts direct sun but the site is shaded, trust the obstruction you can see and investigate why the model does not include it.
A satellite image cannot show the full seasonal shade behavior
Satellite and map imagery may be months or years old and may not capture tree height, current leaf density, awnings, new fences, temporary structures, or the exact elevation of the future canopy. Use overhead imagery to draw the base map, then verify the shadows on site.
Failure mode: water shortage caused by a better light site
A site that receives longer sun and stronger wind can use water faster. Containers amplify this because the root zone is finite and exposed. If the sunny site is also far from the water source or difficult to reach every day, the operational risk rises.
Before planting, imagine the hottest week of the season. Can you still water the selected site reliably? If not, the sun-path winner may not be the grow winner.
Failure mode: security or neighbor impact
The most open sunny area may also be the most visible. Do not solve visibility with unsafe barriers, hostile devices, or unapproved structures. The correct response is to choose a lawful position and use permitted screening or access control that does not create a new hazard.
If a privacy screen is part of the plan, include it in the sun map before planting. A screen installed later can remove hours of direct light from the exact area you selected.
Legal/safety boundary without guessing local rules or recommending dangerous traps
Sun-path work is a site-planning exercise, not a reason to bypass property, building, electrical, access, or cannabis rules. Laws vary by country, state or province, municipality, tenancy, and property type. Check current official sources before planting and again if you plan to add a fence, screen, greenhouse, shed, camera, irrigation line, or other structure.
Do not trespass to complete the map
You should be able to map your cultivation area from property you are allowed to access. Do not enter adjacent land to photograph a shadow source, trim a tree, measure a wall, or improve the solar angle without permission.
Do not climb roofs or unstable structures for a better view
A high camera angle can be useful, but it is not worth a fall. Use ground-level photographs, an upstairs window you can safely access, or a legal overhead image. Do not climb onto roofs, fences, sheds, ladders on uneven ground, or other structures just to document the sun path.
Safety Note: Keep measuring poles, stakes, ladders, irrigation pipe, and other long objects well away from overhead electrical lines. Never raise a conductive pole near power lines to estimate canopy height or sun angle.
Do not remove or alter shade obstacles you do not control
If a neighboring tree blocks late-afternoon sun, that is a site constraint. Do not cut branches across a property boundary or damage vegetation to improve cannabis light exposure. The same applies to shared fences, common areas, rented property, and protected trees.
Work inside the rules that apply to the property. Sometimes the correct decision is simply to use the second-best sun location.
Do not create dangerous security solutions
If the best solar site needs screening or access control, use lawful, non-injurious measures. Do not use hidden spikes, improvised electrification, trip lines, traps, or anything designed to injure a person or animal. A planting site that only feels secure when hazardous devices are added is a poor site plan.
Artificial light changes should also respect neighbors
If you manage a porch or security light to reduce nighttime exposure on the garden, do not redirect glare into a neighboring property. Use shielding and aiming that keeps light where it is needed. This improves both plant planning and neighbor relations.
A neighbor’s tree blocks my late sun. Can I trim the branches that reach over my side?
Question sent by: Emily, via X. Editorial example based on a common grower question.
Do not guess. Property and tree rules vary widely, and protected-tree or tenancy rules may apply even when branches cross a boundary. Check the current local rule or obtain permission before cutting. For the grow plan, treat the existing shade as permanent until you have lawful confirmation that it can be changed.
Keep legal research separate from horticultural assumptions
Do not infer that because cannabis home growing is legal in a region, every outdoor position on a property is automatically allowed. Local rules can address visibility, access, plant counts, locked areas, structures, odors, water, tenancy, and other conditions. When legal details matter, verify them through current official sources rather than relying on forum posts or old summaries.
Pre-season and weekly checklist that turns the article into a repeatable field procedure
The final map should be simple enough that you can use it again. If the process creates pages of data but no clear planting decision, it is too complicated for its purpose.
Pre-season sun-path procedure
Begin with two to five legal candidate positions. Draw the base map and mark the permanent obstacles. Complete one full-day observation with fixed intervals. Build a direct-sun timeline for each candidate. Eliminate obviously weak positions. Recheck the best two on a second day, then choose a primary and backup site.
Before plants become difficult to move, repeat the critical observation after major tree leaf-out or other structural change. If the map is still accurate, no redesign is needed.
Confirm the sun path before committing the garden
- Confirm that every candidate site is legally and physically usable.
- Draw the site and label at least two realistic planting positions.
- Mark buildings, fences, trees, hedges, walls, and planned screens.
- Record direct sun, partial obstruction, and shade at fixed intervals.
- Note the exact obstacle responsible for each shade period.
- Record the first direct sun and the final direct-sun cutoff for each site.
- Check whether a deciduous canopy will change after leaf-out.
- Check morning drying sun and late-afternoon heat exposure.
- Confirm water access and likely container or root-zone heat load.
- Recheck the two best sites on a second observation day.
- Select one primary site and one backup option.
- Schedule the next seasonal verification before the map becomes outdated.
Weekly recheck once the grow is established
You do not need to remap the entire sun path every week. Instead, spend a few minutes checking whether anything has changed. Has a hedge grown into the path? Has a neighboring tree filled out? Has a privacy screen been added? Is a large plant shading another? Is a container now sitting behind a new object? Has a security light been repositioned?
Record only meaningful changes. If the site is behaving exactly as expected, a one-line note is enough.
Recheck after any structural or seasonal event
Run a focused remap after a new fence, awning, greenhouse panel, shade cloth, trellis, shed, or screen is installed. Also recheck after significant pruning of large vegetation, storm damage, or major canopy growth that changes the light path.
This is especially important when you modify the site to solve another problem. A wind screen can create shade. A privacy screen can block morning sun. A shade cloth installed for a heatwave can remain too long and reduce light after weather cools.
Verify with plant response, but do not wait for damage
The map is a planning tool, so the goal is to avoid learning only from weak growth. Still, the plant can help verify whether the chosen site behaves as expected. Compare internode spacing, branch development, leaf orientation, water use, and the direction of canopy growth. A plant that consistently leans or stretches toward an opening may be showing that light distribution is less even than the map suggested.
Do not diagnose every structural difference as low light. Genetics, pruning, wind, root conditions, and competition can also shape the canopy. Use plant response as a follow-up clue, then check the actual sun pattern again.
A final pass/fail rule for the planting site
A site passes when the direct-sun window is long and stable enough for your plan, major seasonal obstacles are understood, the plant will remain inside the legal cultivation area, water and access are realistic, and the added solar load does not create a heat or moisture problem you cannot manage.
A site fails when you cannot describe its light window with confidence, when the map depends on changing someone else’s property, when a major seasonal obstruction has not been checked, or when the extra sunlight creates an operational problem that you already know you cannot solve reliably.
Weedth Verdict: The best pre-planting sun map is not the one with the most calculations. It is the one that lets you point to a real spot and explain, without guessing, when direct sun arrives, when it leaves, what blocks it, how that will change through the season, and why the site still works when heat, water, access, and legality are considered.
Keep the sun map as part of the grow record
Save the final site sketch, observation dates, photos, and timelines. If the grow performs well, you now have a reference for the next season. If a section of the canopy underperforms, you can compare it with the recorded shade pattern instead of trying to reconstruct the site from memory months later.
Over several seasons, the map becomes more useful because you can see what changed. Trees grow, structures appear, neighboring vegetation changes, and your own plant spacing evolves. The sun path itself follows predictable solar geometry, but the obstacles around it do not remain frozen.