Cannabis Root-Zone pH and EC Testing: Runoff, Pour-Through, and Media Extraction
Monitoring nutrient input chemistry is only half of the agricultural equation; the real determinant of cannabis yield and cannabinoid synthesis is the electrochemical condition within the rhizosphere. As water evaporates and roots selectively absorb mineral ions, substrate pore water pH and electrical conductivity (EC) diverge dramatically from the input reservoir. Relying on casual drainage leachate can produce wildly misleading data due to preferential bypass channeling and dry salt dissolution. This engineering guide examines the biophysics of bulk substrate EC versus true pore water EC (Hilhorst model), evaluates the four primary root-zone diagnostic testing methods (Drainage Runoff, Virginia Tech PourThru Displacement, 1:2 Saturated Slurry Extraction, and Direct In-Situ TDR Probing), details clinical corrective flushing standard operating procedures (SOP), and establishes conversion benchmarks to diagnose root-zone toxicity before foliar damage manifests.
Rhizosphere Biophysics: Bulk Substrate EC vs True Pore Water EC
In commercial cannabis agronomy, one of the most critical conceptual distinctions is the difference between Bulk Electrical Conductivity (ECb) and Pore Water Electrical Conductivity (ECpw). Understanding this physical distinction prevents costly false diagnoses and crop damage:
- Bulk Electrical Conductivity (ECb): Represents the total electrical conductivity measured across an entire volume of substrate, including solid particles (peat fibers, coco pith, rockwool fibers), liquid water, and empty air spaces. Direct-insertion soil probes measure bulk EC. Because air and dry substrate particles do not conduct electricity, bulk EC readings are heavily influenced by the substrate’s Volumetric Water Content (VWC %). A wet substrate displays a high bulk EC, while that exact same substrate reads a deceptively low bulk EC when dry, even though the salt concentration in the remaining water has actually spiked.
- Pore Water Electrical Conductivity (ECpw): Represents the actual electrical conductivity and salinity of the liquid moisture film coating root hairs. This is the exact osmotic environment experienced by the plant’s plasma membranes. In dry substrates, pore water EC can be two to three times higher than bulk EC.
To calculate true pore water EC from bulk sensor measurements, modern agricultural TDR sensors apply the Hilhorst Model of dielectric permittivity:
ECpw = {epsilonpw · ECb}{epsilonb – epsilonECb=0}
Where epsilonpw is the real dielectric permittivity of pore water (approximately 80.3 at 20 °C), epsilonb is the bulk dielectric permittivity measured by the sensor, and epsilonECb=0 is the bulk permittivity offset when conductivity is zero. If a cultivator manages their fertigation based solely on uncompensated bulk EC readings, they risk severely underfeeding wet plants or fatally scorching dry plants.
| Substrate Moisture State | Volumetric Water Content (VWC %) | Measured Bulk EC (mS/cm) | Actual Pore Water EC (mS/cm) | Physiological Root-Zone Impact |
|---|---|---|---|---|
| Field Capacity (Fresh Saturation) | 65% VWC | 1.8 mS/cm | 2.1 mS/cm | Optimal Osmotic Gradient: Rapid forward osmosis; balanced nutrient uptake |
| Moderate Transpiration Dry-Back | 50% VWC | 1.4 mS/cm | 2.6 mS/cm | Healthy generative steering; increased root oxygenation |
| Deep Dry-Back (Late Day) | 35% VWC | 0.9 mS/cm | 3.5 mS/cm | Severe Osmotic Drag: Matric suction high; leaf margins begin curling |
| Severe Drought / Hydrophobic | 20% VWC | 0.4 mS/cm | > 5.2 mS/cm | Lethal Plasmolysis: Water pulled out of root cells; root tip burn |
Notice in the table above that as the substrate dries out from 65% down to 20% VWC, the measured Bulk EC drops from 1.8 down to 0.4 mS/cm. A novice grower reading 0.4 mS/cm on a direct soil probe assumes the plant is starving and dumps concentrated fertilizer into the container. In reality, the actual pore water EC has surged past 5.2 mS/cm. Feeding high-EC fertilizer into a dry pot causes instant, catastrophic salt scorch. Never evaluate direct-probe EC without first verifying that substrate VWC is above 50%.
3. Vertical Salinity Stratification: The Perched Water Table and Surface Crust
A critical physical reality of containerized horticulture is that electrical conductivity is rarely uniform throughout the depth of a pot. Vertical salinity distribution is governed by two opposing physical processes: surface evaporative capillary draw and downward gravitational leaching.
Under intense indoor radiation (PPFD > 800 μmol/m²/s), water evaporates rapidly from the exposed top surface of the substrate. As water molecules vaporize into the grow room air, dissolved mineral salts cannot evaporate; they are drawn upward via capillary action and deposit in the upper 1 to 2 inches of the container. In a fabric pot fed with 2.0 mS/cm nutrient solution, the top crust frequently measures an astronomical 6.0 to 10.0 mS/cm EC, forming visible white crystalline deposits of calcium carbonate and magnesium sulfate on perlite and coir surfaces.
Conversely, at the base of the container, gravity creates a perched water table (saturated capillary fringe) where air-filled porosity is lowest and moisture remains highest. When a grower takes a hasty surface soil sample or measures runoff from an improperly drained tray, the data reflects these localized extremes rather than the active middle root zone. Proper diagnostic testing requires isolating the functional rhizosphere (the middle 50% of the root zone) where the highest density of active root hairs resides.
Comparison of the Four Primary Testing Methodologies
Horticultural researchers and commercial facility managers utilize four distinct methods to sample root-zone chemistry. Each methodology offers distinct advantages and operational trade-offs:
| Diagnostic Method | Invasiveness & Labor | Accuracy & Precision | Best Growing Medium | Primary Limitation / Pitfall |
|---|---|---|---|---|
| Standard Leachate Runoff | Non-invasive; Low Labor | Moderate (Prone to Channeling) | Coco Coir, Rockwool, Perlite | First 50 mL is contaminated with pan residue; bypass channeling skews readings |
| PourThru Displacement | Non-invasive; Moderate Labor | Very High (Gold Standard) | Container Potted Plants (All Media) | Requires containers to be at container capacity 60 min before testing |
| 1:2 Saturated Slurry Extraction | Destructive; High Labor | Laboratory Benchmark | Peat Blends, Organic Living Soil | Requires physically digging core samples from root ball; destroys root hairs |
| In-Situ TDR Direct Probing | Zero Labor (Continuous Logging) | High (If VWC > 45%) | Rockwool Slabs, Coco Benches | Air gaps around sensor tines create false low readings; expensive hardware |
Question: We run 3-gallon coco coir pots under 1,000W DE HPS lights. Input EC is 2.0 mS/cm at pH 5.8. When I tested runoff from the drainage saucer, it read 4.2 mS/cm at pH 5.1. Leaves are showing necrotic rust spots. Did our coco coir go bad, and how do we save this batch?
Your coco coir has not gone bad; you are experiencing an acute case of osmotic salt accumulation caused by insufficient fertigation frequency under high transpirational demand. Under high-heat HPS lighting, the canopy is transpiring water rapidly. Watering only once per day allowed the substrate to experience excessive intra-day dry-backs, concentrating fertilizer salts inside the coco fibers from 2.0 up to 4.2 mS/cm.
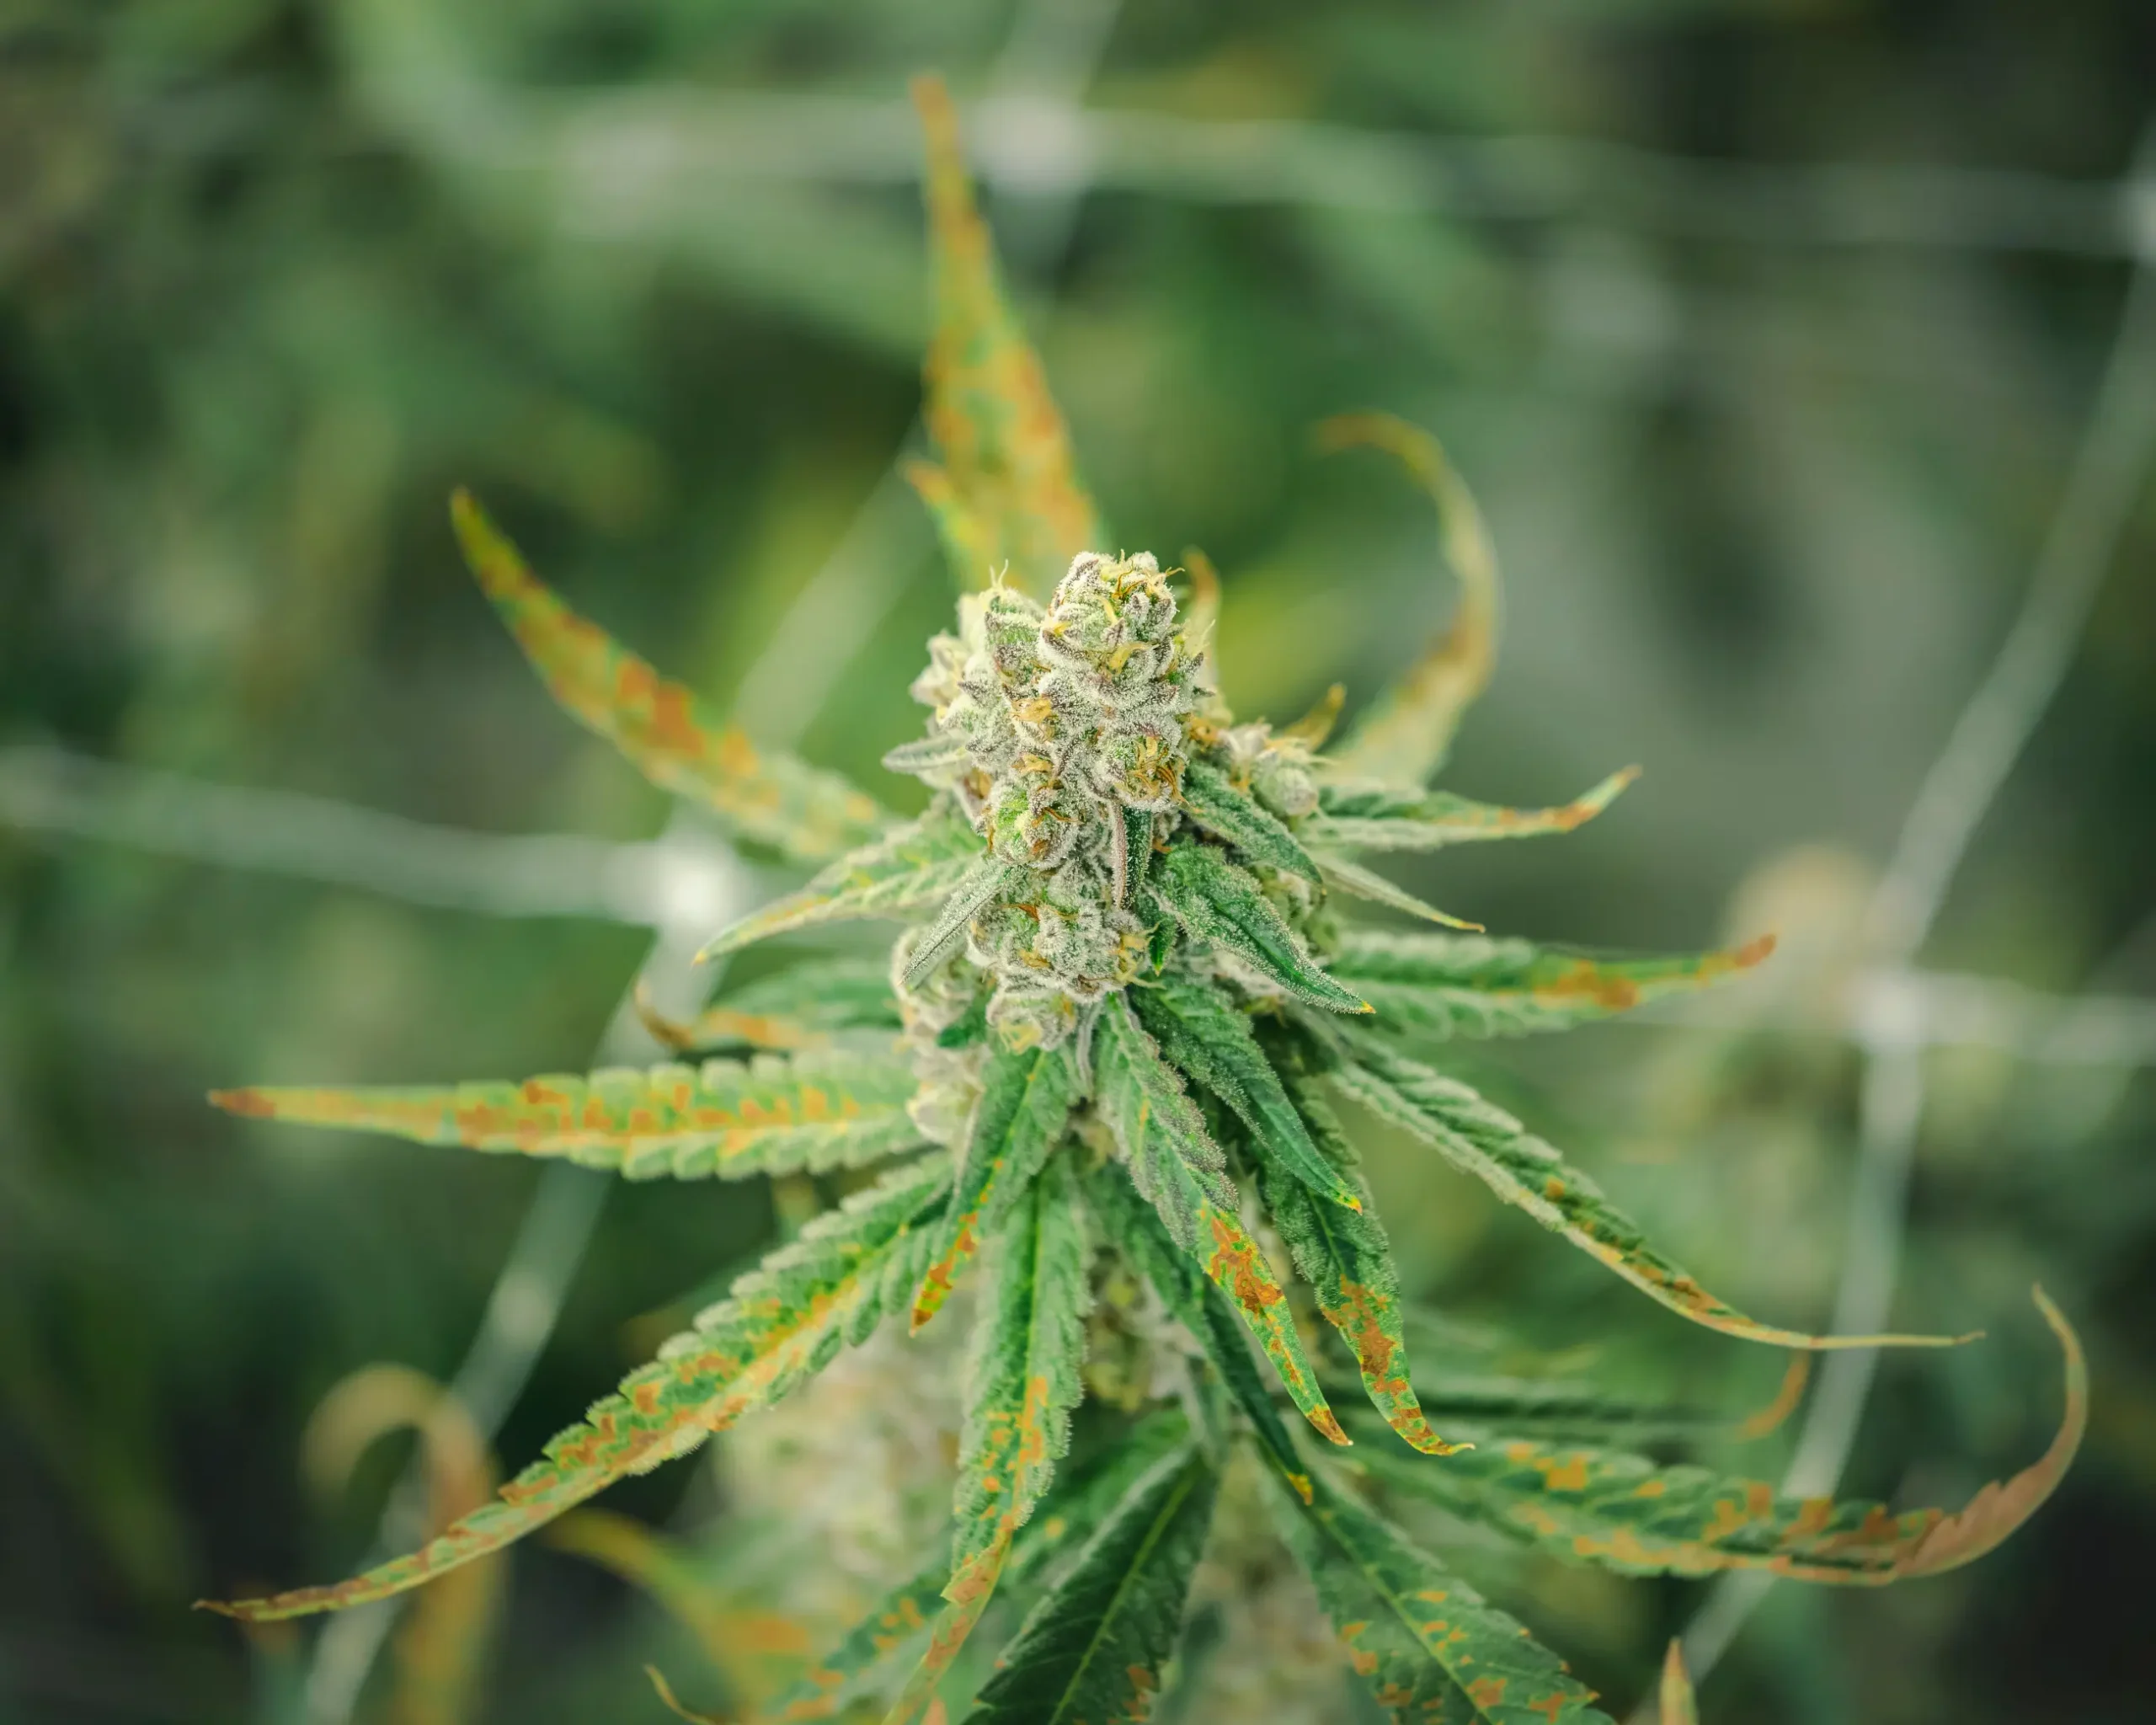
This extreme salinity induced physiological drought, starving root hairs and triggering cellular proton dumping that crashed the pH to 5.1. The rust spots on your leaves are textbook calcium deficiency induced by excess potassium and ammonium salt competition.
To rescue the crop: flush immediately with a mild leaching solution (EC 1.0 mS/cm, pH 5.9, heavily buffered with calcium nitrate) at 50% pot volume until runoff drops below 1.5 mS/cm. Then, reprogram your automated irrigation timers to deliver 4 to 5 smaller pulse shots per day with guaranteed 15% runoff per event. The constant moisture will prevent future salt concentration, and runoff pH will stabilize at 5.9 within 3 days.
Method 1: Standard Drainage Runoff Leachate Protocol
Standard runoff testing is the most common diagnostic method in commercial fertigation. However, improper sample collection frequently leads to false diagnoses. Follow this standardized standard operating procedure:
- Clean Drainage Trays: Prior to irrigation, thoroughly vacuum or sponge out drainage saucers. Residual dried fertilizer crust from prior weeks instantly dissolves into fresh runoff, reporting falsely elevated EC spikes.
- Discard the Initial Flush: When drainage begins exiting the pot, discard the initial 50 to 100 mL of leachate. This initial trickle represents stagnant liquid that sat in the container bottom or preferred water channels.
- Collect Mid-Drainage Aliquot: Collect a 100 mL sample during the midpoint of drainage (after roughly 10% container runoff has occurred).
- Measure Immediately: Swirl the sample and measure EC and pH immediately with calibrated probes. Record input EC/pH versus runoff EC/pH in your facility agronomic log.
Method 2: The PourThru Displacement Extraction Standard Operating Procedure
Developed by horticultural researchers at North Carolina State University and Virginia Tech, the PourThru Extraction Method is the recognized scientific gold standard for non-destructive greenhouse substrate testing. It extracts the unadulterated pore water solution directly out of the container without disturbing root structures or diluting the substrate:
- Irrigate to Container Capacity: Irrigate your containers with your standard nutrient solution until 5% to 10% runoff occurs, ensuring the substrate is completely saturated.
- The 60-Minute Equilibrium Pause: Allow the container to drain undisturbed for 30 to 60 minutes. This equilibrium period allows the capillary water film to achieve complete chemical and thermal balance with the root surface.
- Apply Distilled Water Displacer: Place a clean catchment pan beneath the container. Gently pour a measured volume of pure distilled or reverse osmosis water (EC < 0.02 mS/cm) evenly over the top substrate surface:
- For 1-gallon containers: apply 75 mL of distilled water.
- For 3-gallon containers: apply 150 mL of distilled water.
- For 5-gallon containers: apply 250 mL of distilled water.
- Collect Displaced Leachate: The distilled water acts as a gentle hydraulic piston, pushing the unadulterated rhizosphere pore water out through the bottom drainage holes without mixing. Collect the first 50 mL of displaced extract and test immediately.
The PourThru method is vastly superior to standard runoff because it eliminates channeling bias. By allowing the container to equilibrate for 60 minutes before applying a small, precise volume of displacement water, the collected sample represents the true chemical composition of the root-hair boundary layer. University research confirms PourThru results correlate within 95% of destructive laboratory saturated paste extracts.
Question: I grow in 15-gallon no-till living soil pots. I watered to runoff once to test EC and got 0.6 mS/cm. Does this mean my soil is completely depleted of nutrients?
Absolutely not. Testing runoff from organic living soil produces completely misleading data. In living soil, mineral nutrients are bound inside complex insoluble organic compounds (compost, humates, bone meal, crustacean meal) that do not conduct electrical current. Furthermore, watering living soil to heavy runoff washes beneficial humic acids and mycorrhizal spores out of the container.
A reading of 0.6 mS/cm simply reflects low concentrations of free mineral salts in the gravitational drainage water, which is completely normal for organic systems. Instead of testing runoff, perform a 1:2 Saturated Slurry Extraction or send a soil core sample to an agricultural testing laboratory (such as Logan Labs) for a Mehlich-3 complete elemental analysis. If foliar growth is vigorous and dark green, trust your soil biology and keep runoff to zero.
Method 3: 1:2 and 1:5 Saturated Media Slurry Extractions
When testing organic living soils, peat-based mixes, or dry substrates where liquid drainage cannot be obtained without heavy flooding, laboratory technicians utilize Slurry Extraction Methods:
1. The 1:2 Volume Slurry Extraction Protocol
- Core Sampling: Using a clean stainless steel soil core sampler or spoon, take small substrate samples from the top, middle, and lower thirds of the root ball (avoiding the top 1 inch of mulch/perlite crust). Combine samples to create a 100 mL composite core.
- Water Ratio: Measure 100 mL of loose substrate into a clean glass beaker. Add exactly 200 mL of pure deionized or RO water (maintaining an exact 1:2 volume ratio).
- Agitation and Extraction: Stir the slurry vigorously for 2 minutes to dissolve soluble salts. Allow the suspension to settle undisturbed for 30 minutes.
- Filtration and Testing: Pour the supernatant liquid through standard laboratory filter paper (Whatman No. 1) or a clean coffee filter to remove particulate debris. Submerge calibrated pH and EC probes into the filtered liquid.
2. The Saturated Paste Extract (SPE) Laboratory Reference Standard
While 1:2 and 1:5 dilutions are convenient for rapid on-site testing, commercial soil testing laboratories (such as Logan Labs and university extension facilities) rely on the Saturated Paste Extract (SPE) as the universal scientific reference standard. Because the saturated paste method adds only enough water to fill the substrate’s natural pore volume without diluting soluble ions, its results correlate directly with in-situ field conditions:
- Sample Preparation: Place approximately 250 to 350 mL of representative substrate into a clean plastic container.
- Titrating to the Saturation Endpoint: Slowly add pure deionized or reverse osmosis water while stirring gently with a spatula. Continue adding water until the paste reaches the four universal physical criteria of saturation:
- The paste surface glistens brightly as it reflects overhead light.
- The paste flows slightly when the container is tipped at a 45-degree angle.
- The paste slides cleanly and freely off the spatula blade without sticking.
- No free standing water puddles on the substrate surface after sitting for 15 minutes.
- Equilibration Period: Seal the container with an airtight lid and allow the saturated paste to equilibrate for a minimum of 2 hours (or up to 4 hours for organic living soils containing slow-release gypsum and rock dust).
- Vacuum Extraction: Transfer the saturated paste onto a Büchner funnel fitted with Whatman No. 42 filter paper attached to a vacuum filtration flask. Apply vacuum suction to draw the unadulterated soil solution through the filter.
- Electrochemical Measurement: Measure the extracted liquid with temperature-compensated EC and pH electrodes. This provides the most accurate chemical baseline possible for agricultural nutrient management.
| Crop Stage / Target Range | Saturated Paste Extract (SPE EC) | PourThru Displacement (EC) | 1:2 Slurry Dilution (EC) | Standard Runoff (Coco / Rockwool EC) |
|---|---|---|---|---|
| Seedling / Rooted Cutting | 0.8 – 1.2 mS/cm | 1.0 – 1.5 mS/cm | 0.4 – 0.6 mS/cm | 1.0 – 1.4 mS/cm |
| Vegetative Expansion | 1.5 – 2.2 mS/cm | 1.8 – 2.5 mS/cm | 0.8 – 1.2 mS/cm | 1.6 – 2.2 mS/cm |
| Peak Flowering (Wks 3 – 7) | 2.2 – 3.0 mS/cm | 2.5 – 3.5 mS/cm | 1.2 – 1.8 mS/cm | 2.2 – 2.8 mS/cm |
| Toxic Salinity Threshold | > 4.0 mS/cm | > 4.5 mS/cm | > 2.2 mS/cm | > 3.5 mS/cm |
Note: Because the 1:2 slurry method dilutes the substrate solution with two parts water, its EC readings are roughly 50% lower than true PourThru or Saturated Paste values. Always verify which extraction scale your target chart utilizes.
Method 4: Direct In-Situ Probes and TDR Capacitance Sensors
Direct-insertion soil meters (such as Bluelab Pulse, FieldScout TDR 350, and Aroya wireless substrate sensors) utilize high-frequency electrical fields (typically 50 to 100 MHz) to measure the dielectric permittivity of the root zone in real time. While these instruments provide invaluable automated continuous logging, improper mechanical installation ruins data fidelity:
- Contact Resistance and Air Gaps: TDR tines must maintain 100% physical contact with substrate particles. If a sensor tine enters an air pocket or pebble void, the measured dielectric permittivity collapses, causing the controller to report a falsely low VWC and bulk EC. Always insert probes firmly into undisturbed substrate.
- Insertion Depth and Root Density: Insert sensors horizontally into the middle third of the root ball (typically 2 to 3 inches above the container bottom). Avoid the bottom 1 inch of the pot (the perched water table) and avoid the dry top surface.
- Minimum Moisture Requirement: Capacitance and TDR bulk EC algorithms become mathematically invalid when substrate VWC drops below 30% to 35%. Do not use direct insertion probe EC readings to make fertigation decisions when containers are severely dry.

Decoding Root-Zone Deltas: Salt Accumulation vs Nutritional Hunger
The diagnostic value of root-zone testing lies in calculating the differential (Δ) between input fertigation and output leachate:
Δ EC = ECrunoff – ECinput
Δ pH = pHrunoff – pHinput
| Runoff Delta Scenario | ΔEC Reading | ΔpH Reading | Rhizosphere Diagnosis | Immediate Cultivator Correction |
|---|---|---|---|---|
| Scenario A: Severe Salt Accumulation | Runoff > +0.8 mS/cm above input | Runoff drops by > 0.5 units (acid crash) | Fertilizer salts concentrating inside media; high dry-backs; root proton pumping under cation stress | Increase daily irrigation shot frequency; lower input EC by 0.4 mS/cm; flush with 1.0 mS/cm mild nutrient solution |
| Scenario B: High Nitrogen Demand / Underfeeding | Runoff < -0.4 mS/cm below input | Runoff rises by > 0.5 units (alkaline drift) | Plants stripping mineral ions faster than water; heavy nitrate assimilation extruding hydroxyls | Increase input fertilizer EC by 0.3 to 0.5 mS/cm; verify canopy DLI is adequate |
| Scenario C: Optimal Agronomic Equilibrium | Runoff is +0.1 to +0.3 mS/cm above input | Runoff drifts by +0.1 to +0.3 units | Ideal physiological balance; ion uptake and water consumption perfectly match transpiration | Maintain current fertigation recipe and pulse schedule without alteration |
| Scenario D: Substrate Compaction / Waterlogging | Runoff matches input exactly | Runoff plunges to < 5.0 pH | Anaerobic fermentation; lack of root-zone oxygen; Pythium decomposition | Elevate pots; improve drainage; flush with 2-5 PPM active hypochlorous acid (HOCl) |
When substrate runoff EC spikes alongside a sharp drop in pH (for example, input 1.8 mS/cm at pH 5.8 resulting in runoff of 3.2 mS/cm at pH 5.0), the root zone is in immediate crisis. Fertilizer salts have accumulated to toxic concentrations, causing root cell plasmolysis. In response, desperate root cells dump millions of hydrogen protons (H+) into the soil. Do not attempt to fix this with chemical pH Up; you must flush the excess salts out of the substrate immediately.
Step-by-Step Corrective Flushing: Resetting the Root Zone Without Shock
When diagnostic testing confirms severe salt accumulation (ΔEC > +1.0 mS/cm), cultivators frequently make the catastrophic mistake of pouring gallons of pure, unmineralized reverse osmosis water through the container. Flushing inert coco or rockwool with 0.0 EC pure water causes severe osmotic shock, strips the cation exchange complex, lyses root cell membranes, and induces permanent plant stunting.
Follow this clinical corrective reset standard operating procedure:
- Formulate a Buffered Leaching Solution: Prepare a mild nutrient solution at 25% to 35% standard strength (EC 0.8 to 1.0 mS/cm) adjusted precisely to target pH (5.8 for coco/rockwool, 6.5 for soil). Ensure this solution contains elevated calcium nitrate (Cal-Mag) to prevent calcium stripping from the substrate cation complex.
- Slow, High-Volume Application: Apply the leaching solution at 30% to 50% of container volume (e.g., apply 1.5 to 2.5 gallons through a 5-gallon container). Apply the water slowly over 20 minutes to prevent channeling and ensure complete dissolution of crystallized fertilizer salts.
- Verify Leachate Reset: Collect leachate during the final 20% of drainage. The runoff EC must drop within 0.3 mS/cm of the leaching solution (under 1.3 mS/cm), and runoff pH must return between 5.8 and 6.2.
- Recharge the Substrate Complex: Finish the procedure by immediately applying a standard full-strength fertigation shot (EC 1.6 to 1.8 mS/cm, pH 5.8) with 10% runoff to re-establish balanced nutrient stoichiometry in the root zone.
Comprehensive Topic Deep Dives: Measuring and Testing Root-Zone pH and EC
To consolidate all operational knowledge without splintering valuable search intent across fragmented URLs, this resource incorporates exhaustive deep dives into the two absorbed core subjects below:
1. How to Measure Root-Zone EC Correctly (Sensor Calibration and Data Verification)
Measuring root-zone electrical conductivity requires understanding instrument physics. Standard conductivity pens measure electrical resistance across two metallic pins separated by a 1 cm path. When measuring drainage runoff or PourThru extracts, cultivators must respect three physical parameters:
- Automatic Temperature Compensation (ATC): Electrical conductivity increases by approximately 1.9% to 2.0% per degree Celsius increase in solution temperature. If leachate is collected from cold runoff trays (16 °C / 60 °F) and measured with an uncompensated meter, the reading will be falsely depressed by 18%. Always allow the sample to reach room temperature (20 °C to 25 °C) or utilize meters with active platinum thermistors.
- Electrode Scale Standardization: Always record root-zone measurements in raw milliSiemens per centimeter (mS/cm). Never record root-zone data in PPM. As established in our companion engineering guides, PPM is an arbitrary mathematical multiplier that differs between 500-scale and 700-scale meters. A reading of 2.0 mS/cm displays as 1,000 PPM on Hanna meters but 1,400 PPM on Bluelab meters, causing widespread miscommunication and crop damage.
- Electrode Cleansing SOP: Organic root exudates, humic acid particles, and calcified gypsum residues adhere to probe electrodes during slurry testing. Clean sensor pins with 70% isopropyl alcohol and a soft nylon brush weekly, followed by a verification check in fresh 1.413 mS/cm KCl calibration standard.
2. How to Test Root-Zone pH and EC (Comparative SOP for Potted Media)
Executing a reliable diagnostic test requires selecting the right method for the right medium:
- For High-Frequency Coco Coir: Use Standard Runoff Testing daily. Because coco is irrigated multiple times daily with high drainage (15% to 20%), runoff leachate closely mirrors true pore water chemistry. If runoff EC exceeds input EC by more than 0.5 mS/cm, immediately add one additional irrigation pulse shot per day.
- For Inert Rockwool Slabs and Blocks: Use Syringe Core Extraction or Direct TDR Probing. Insert a sterile 60 mL syringe needle horizontally into the center of the rockwool block, draw out 30 mL of pristine internal pore water, and test immediately. This avoids testing stagnant water trapped in drainage channels.
- For Peat-Based Soilless Blends: Execute the PourThru Displacement Method once per week. PourThru extracts pore water without inducing over-watering or disturbing peat structure.
- For Organic Living Soil Beds: Utilize the 1:2 Volume Slurry Extraction Method once every 14 days. Because living soil should never be watered to runoff, slurry extraction is the only reliable way to assess background mineral mineralization without damaging soil structure.
3. In-Situ TDR Sensor Engineering: High-Frequency Dielectric Physics
Deploying automated multi-sensor arrays (such as Aroya, TrolMaster WCS, or Meter Group TEROS 12) across commercial canopy benches provides unprecedented real-time visibility into root-zone dynamics. However, relying on automated sensors without understanding high-frequency electromagnetic physics can lead to severe operational blunders:
- High-Frequency Wave Attenuation: Time Domain Reflectometry operates by sending an ultra-fast electromagnetic pulse (typically 70 MHz to 1 GHz) down stainless steel rods and measuring the reflection travel time. In substrates with extreme salinity (Bulk EC > 3.5 mS/cm), the electrical conductivity absorbs and attenuates the electromagnetic signal before it can reflect back to the receiver diode. This creates a phenomenon known as signal blackout, where the sensor displays erratic dropouts or falsely reports that the substrate has suddenly dried out.
- Temperature Coefficient Drift in Dielectric Permittivity: The dielectric permittivity of pure water (epsilonw) is not a constant; it is strongly temperature-dependent, dropping from 88.0 at 0 °C down to 73.2 at 40 °C. Modern digital sensors utilize onboard thermistors to normalize raw permittivity. If a sensor’s internal thermistor becomes uncalibrated, temperature fluctuations between day and night cycles will manifest as false artificial spikes in recorded VWC and bulk salinity.
- Mechanical Substrate Settling: Over an 8 to 10-week flowering cycle, organic substrates (especially peat and loose coco) naturally settle and decompose, increasing bulk density around the sensor tines. This compaction artificially elevates recorded bulk EC over time. Commercial operators must visually inspect sensor-substrate contact every two weeks and perform manual PourThru verification checks to confirm sensor calibration.
Practical Decision Matrix and Root-Zone Diagnostic Flowchart
Follow this standardized diagnostic checklist and decision matrix to audit root-zone performance across every cultivation cycle:
To achieve commercial consistency with the PourThru method, designate three benchmark plants in each grow room as permanent “sentinel test stations.” Always test the exact same sentinel pots at the exact same hour of the day (ideally 2 hours after morning fertigation). Logging longitudinal data from fixed sentinel plants eliminates individual container variance and reveals subtle environmental trends days before they appear across the broader canopy.
Scientific References
- Hilhorst, M. A. (2000). A pore water conductivity sensor. Soil Science Society of America Journal, 64(6), 1922-1927.
- Wright, R. D. (1986). The pour-through nutrient extraction procedure. HortScience, 21(2), 227-229.
- Cavins, T. J., Whipker, B. E., & Fonteno, W. C. (2000). PourThru: A Guide to Monitoring Substrate pH and EC in Floriculture Crops. North Carolina State University.
- Marschner, H. (2012). Marschner’s Mineral Nutrition of Higher Plants (3rd ed.). Academic Press.
- Zheng, Y. (2021). Handbook of Cannabis Production in Controlled Environments. CRC Press.
- Warncke, D. D. (1986). Analyzing greenhouse growth media by the saturation extraction method. HortScience, 21(2), 223-225.
- Sonneveld, C., & Voogt, W. (2009). Plant Nutrition of Greenhouse Crops. Springer Science & Business Media.
- Raviv, M., & Heinrich Lieth, J. (2008). Soilless Culture: Theory and Practice. Elsevier Science.
Share this article
A quick overview of the topics covered in this article.