
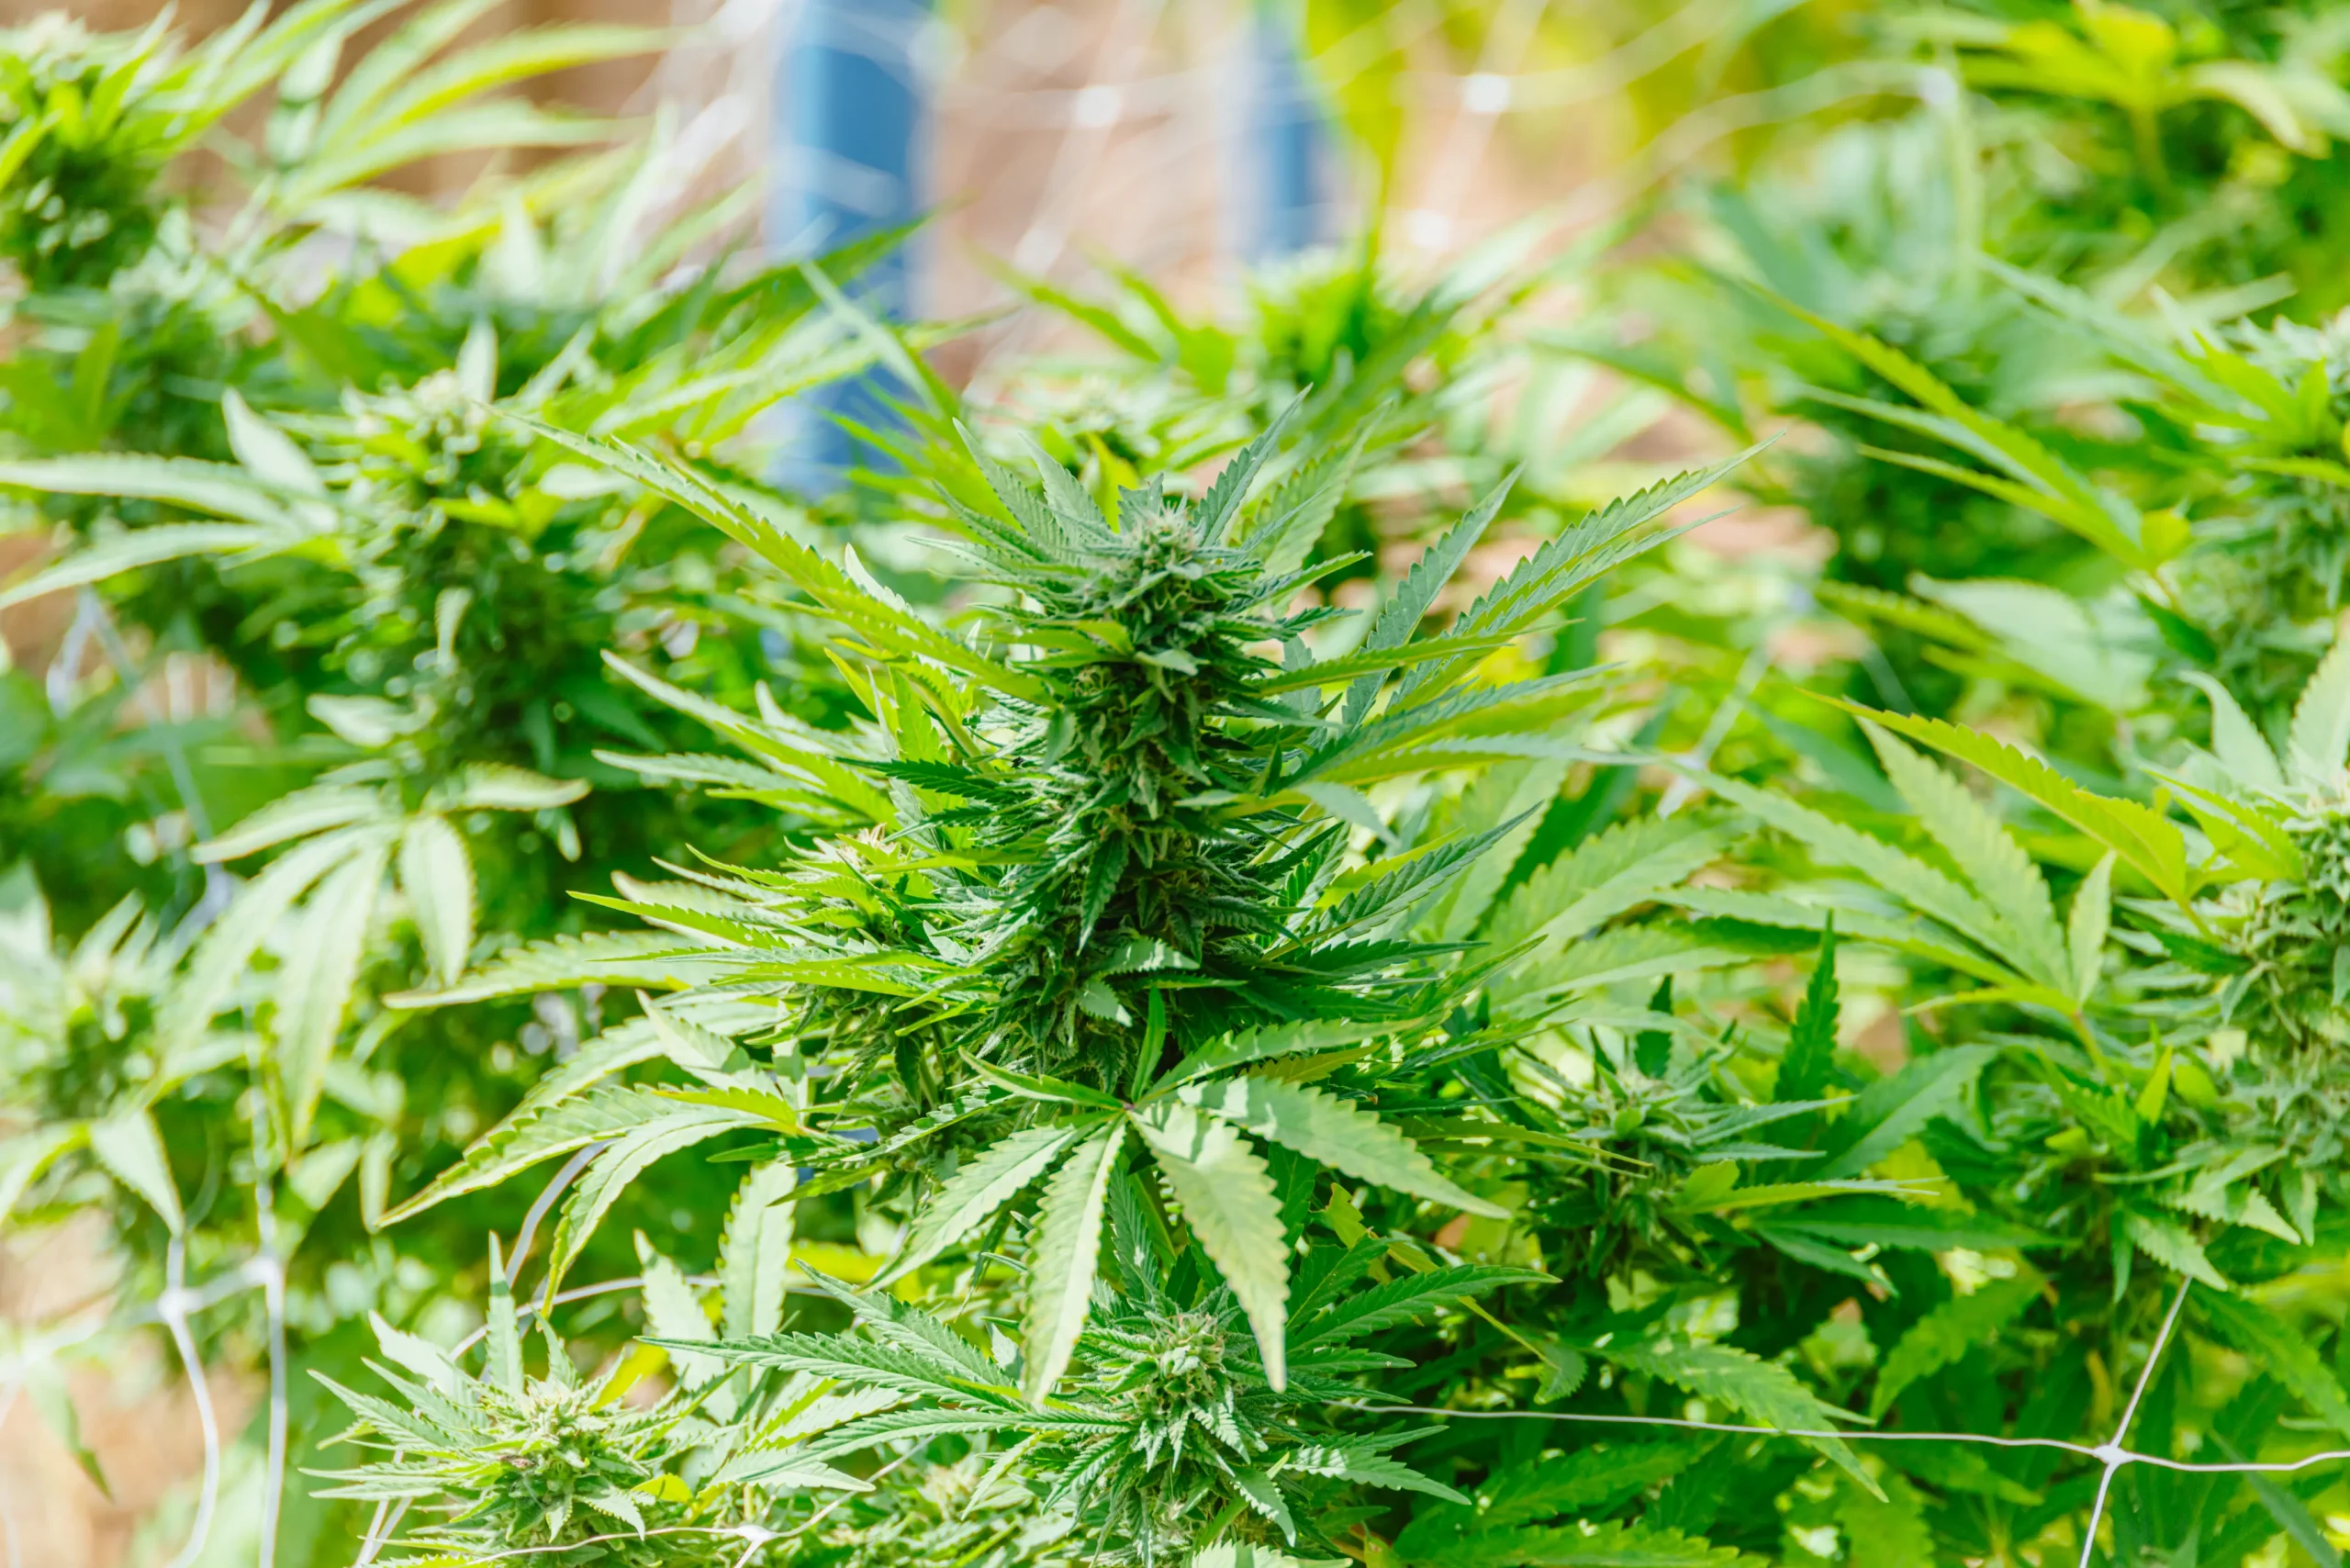
Grow Room Cleaning and Reset Checklist
Define the Space, Use Case, and Environmental Constraints
Designing a high-performance indoor cannabis cultivation facility or dedicated grow room begins long before purchasing lights, fans, or nutrient reservoirs. The fundamental foundation of consistent yields, pest exclusion, electrical safety, and environmental stability lies in conducting an exhaustive engineering audit of the physical space. Cultivators must define their exact operational use case (single-tier vegetative canopy, rolling bench flowering room, or perpetual multi-tent facility) and benchmark eight strict physical constraints:
- Physical Dimensions and Working Clearances: Measure exact room length, width, and true ceiling height. You must subtract at least 18 to 24 inches (45 to 60 cm) of upper vertical clearance for hanging LED fixtures, ratcheting rope hangers, and horizontal ceiling ducting. A room with an 8-foot (2.4 m) ceiling provides approximately 6 feet of usable vertical plant height once containers, drainage stands, and light hanging distances are factored in. Furthermore, preserve a minimum of 24 inches (60 cm) of clear walking aisle space around at least three sides of your canopy to ensure unhindered human access for daily scouting, canopy pruning, and sanitization.
- Moisture Load and Building Vapor Barriers: Cannabis is a high-transpiration crop; mature flowering plants transpire approximately 95% of all applied irrigation water into the surrounding air column. Unfinished basement masonry walls, unsealed drywall, and porous subfloors absorb humidity, fostering concealed wood rot and toxic black mold (Stachybotrys chartarum) within building framing. All cultivation boundaries must feature continuous vapor barriers, such as 6-mil polyethylene plastic, heavy-duty Panda poly, or fiber-reinforced plastic (FRP) wall panels with sealed silicone caulk joints.
- Sensible Heat Rejection Dynamics: Calculate total thermal load from all electrical equipment. Every single Watt of connected power generates approximately 3.412 BTU/hr of sensible heat. You must identify whether sensible heat will be evacuated continuously through a high-velocity exhaust fan duct or conditioned via a sealed closed-loop ductless mini-split heat pump.
- Acoustic Noise and Vibration Attenuation: Inline ventilation fans, oscillating fans, and refrigeration compressors generate both airborne acoustic noise (50 to 65 dBA) and low-frequency mechanical vibration. In residential dwellings, motor vibration mechanically transmits into timber floor joists and ceiling framing, creating an audible hum in adjacent living quarters. Fans and carbon filters must be acoustically decoupled using elastomeric silicone hangers or heavy-duty bungee cords rather than hard screws.
- Optical Lightproofing and Hermetic Sealing: Photoperiod cannabis cultivars require absolute darkness during their 12-hour flowering night cycle. Stray light leaks measuring as little as 0.5 to 1.0 lux disrupt phytochrome photo-equilibrium, triggering floral reversion, delayed ripening, and catastrophic hermaphroditism (anther formation and seed development). Test exterior door frames, window frames, and intake vents using zero-light adaptation techniques.
- Electrical Subpanel Capacity and Amperage Headroom: Inspect your main electrical service panel. Determine available continuous ampacity under the National Electrical Code (NEC Article 210.19/210.20) 80% continuous load rule: a standard 15A 120V household circuit can safely support a maximum continuous load of only 12 Amps (1,440 Watts), while a 20A 120V circuit supports 16 Amps (1,920 Watts). High-draw rooms require dedicated 208/230V dual-pole circuits.
- Dedicated Exhaust Route and Penetration Architecture: Map your ventilation exhaust trajectory. Warm, moisture-laden, terpene-treated exhaust air must vent directly outdoors through an exterior brick wall, dedicated roof cap, or light-proofed window slider box. Never vent exhaust air into attics, crawlspaces, or wall cavities; doing so causes catastrophic structural moisture blooms and ceiling drywall collapse within months.
| Facility Scale | Canopy Area (sq ft / m²) | Total Connected Load (Watts) | Cooling Load (BTU/hr) | Peak Daily Transpiration (Gal / L) | Dedicated Electrical Service | Minimum Exhaust Duct Size |
|---|---|---|---|---|---|---|
| Small Tent / Closet | 8 to 16 sq ft (0.7 to 1.5 m²) | 400W to 800W | 1,500 to 2,800 BTU/hr | 1.5 to 3.0 gal (5.7 to 11.4 L) | Single dedicated 15A 120V circuit | 4-inch to 6-inch (100 to 150 mm) |
| Craft 4×4 ft Tent | 16 sq ft (1.49 m²) | 800W to 1,200W | 3,000 to 4,500 BTU/hr | 2.5 to 4.0 gal (9.5 to 15.1 L) | Dedicated 20A 120V circuit | 6-inch (150 mm) EC fan |
| Mid-Scale 8×8 ft Room | 64 sq ft (5.95 m²) | 3,200W to 4,800W | 12,000 to 18,000 BTU/hr | 10 to 16 gal (38 to 61 L) | Dual 20A 120V or single 30A 240V | 8-inch (200 mm) or Mini-Split AC |
| Micro-Commercial 12-Light | 192 sq ft (17.8 m²) | 9,500W to 14,000W | 36,000 to 52,000 BTU/hr | 30 to 50 gal (114 to 189 L) | 100A subpanel (240V dual-pole drops) | Sealed Mini-Split (3 to 4 Tons) |
Never pack a grow room wall-to-wall with plant containers. Plants jammed against walls cannot be inspected for two-spotted spider mites or powdery mildew, airflow stagnates along wall perimeters, and humidity accumulates where foliage touches cold drywall, causing localized botrytis outbreaks. Always design your layout with a minimum 24-inch (60 cm) perimeter service walkway. Clean service access is your primary defense against undetected pest infestations.
Layout Before Buying Equipment: Canopy, Airflow, and Access
The most expensive mistake in indoor facility construction is buying hardware first and attempting to force it into a poorly planned space. Professional cultivators draft a comprehensive two-dimensional schematic plan mapping all mechanical, electrical, and horticultural systems before issuing a single purchase order:
1. Canopy Footprint and Photometric Lighting Grid
Position plant benches or trays first. In square rooms, center the canopy footprint to maximize uniform photon bounce from reflective walls. In rectangular rooms, establish linear rolling benches or dual-bench configurations with a central aisle. Suspend LED fixtures directly over the canopy centerlines. Verify that fixture dimensions provide edge-to-edge coverage: for example, a 4×4 ft canopy requires a 42×42 to 44×44 inch open-bar fixture to eliminate perimeter photon falloff.
2. Intake and Exhaust Airflow Aerodynamics
Air follows the path of least physical resistance. If an intake vent is placed directly below the ceiling exhaust fan on the same wall, incoming air forms a narrow vertical chimney, exiting immediately without circulating through the crop. Always engineer a diagonal cross-flow architecture:
- Position filtered intake ports near the floor in the corner furthest from the exhaust.
- Position the carbon scrubber and exhaust intake at the highest ceiling point on the opposite wall.
- This forces cool, fresh intake air to sweep across the lower floor, rise through the warm canopy via thermal buoyancy, and exhaust through the ceiling filter.
3. Internal Circulation Fan Geometry
Stagnant air pockets encourage moisture accumulation and microclimates. Position oscillating clip or wall-mounted fans in a cyclonic racetrack pattern: stagger fans along opposite walls so airflow moves in a continuous circular vortex around the room perimeter, gently rustling canopy leaves without blasting direct laminar jets against tender foliage (which causes windburn and stomatal closure).
4. Reservoir Placement and Gravity Drainage Gradients
Nutrient reservoirs should sit outside the hot cultivation room whenever possible (in an adjacent lung room or utility corridor) to prevent water temperatures from rising above 68 °F (20 °C), which invites Pythium root rot. If the reservoir must reside inside the room, elevate flood tables at least 12 to 18 inches (30 to 45 cm) above floor level to provide sufficient gravity slope (minimum 1/4 inch of fall per linear foot) to waste drains or condensate collection buckets.
5. Sensor Probe Positioning
Never mount temperature and relative humidity sensors against cold exterior drywall, directly below ceiling exhaust fans, or in the direct blast of an air conditioner discharge. Environmental sensors must hang at mid-canopy height in the center of the plant canopy, shielded beneath a perforated white radiation baffle to prevent radiant light from heating the sensor thermistor artificially.
Size Major Equipment from Measured Load Rather Than Marketing Claims
Commercial equipment manufacturers routinely print optimistic room-coverage labels on consumer boxes (e.g., “Covers up to 1,500 sq ft” or “1000W Equivalent”). These claims assume empty residential bedrooms with closed windows and zero biological transpiration. In a commercial cannabis environment, all equipment must be sized strictly from calculated physical thermal, aerodynamic, and psychrometric mass loads:
1. LED Lighting: Sizing by Photosynthetic Photon Flux Density (PPFD)
Size lighting based on target Photosynthetic Daily Light Integral (DLI) across your usable canopy square footage:
- Vegetative Stage: Target an average canopy PPFD of 400 to 600 μmol/m²/s (equivalent to 25 to 35 Watts per square foot of high-efficiency LED).
- Flowering Stage (Ambient CO₂ ~420 ppm): Target an average canopy PPFD of 750 to 950 μmol/m²/s (equivalent to 35 to 45 Watts per square foot).
- Flowering Stage (Enriched CO₂ 1,200 to 1,500 ppm): Target an average canopy PPFD of 1,000 to 1,400 μmol/m²/s (equivalent to 45 to 60 Watts per square foot).
| Equipment Category | Governing Physical Formula | Standard Derating Factor | Engineering Sizing Example |
|---|---|---|---|
| Cooling HVAC (BTU/hr) |
BTU = Total Watts × 3.412 |
+20% safety margin for envelope infiltration | 3,000W connected load × 3.412 × 1.20 = 12,283 BTU/hr (1.0 Ton AC) |
| Dehumidifier (AHAM Pints) |
Pints = Virrigation (gal) × 8.0 |
× 1.5 derating for late-bloom cold conditions | 4 gal daily watering × 8.0 × 1.5 = 48 AHAM Pints/Day minimum |
| Exhaust Fan (CFM) |
Q = (Room Volume (cu ft) / 1.0 minute) |
× 1.60 friction buffer for carbon filter & duct elbows | 500 cu ft room × 1.60 = 800 CFM rated fan operating at 50% |
| Carbon Filter (CFM) |
CFMfilter ≥ CFMfan, operating × 1.20 |
+20% over fan CFM to guarantee ≥0.10s contact time | Fan operating at 300 CFM × 1.20 = 360 to 400 CFM carbon canister |
Never select a dehumidifier matching your exact water volume on the box. Residential and commercial dehumidifiers report their nameplate extraction capacity under generous AHAM test standards (80 °F / 26.7 °C and 60% RH). When you lower room conditions to late-flowering targets (68 °F to 70 °F and 45% to 50% RH), cold air contains significantly less absolute moisture, dropping condensing efficiency by 35% to 50%. Always size your dehumidifier nameplate rating at 1.5 to 1.6 times your peak daily irrigation volume to prevent catastrophic mold outbreaks.
Safety Architecture: Electrical, Water Containment, and Fire Protection
Indoor grow rooms combine high electrical wattage, continuous inductive motor loads, high humidity, and hundreds of gallons of conductive nutrient water within an enclosed envelope. Without strict adherence to agricultural and electrical codes, a grow room becomes an immediate fire, flood, and electrocution hazard:
1. Elevated Electrical Connections and Drip Loops
Under National Electrical Code (NEC Article 547 – Agricultural Buildings), all electrical receptacles, power strips, digital controllers, and ballast connections must be mounted at least 18 to 24 inches (45 to 60 cm) above the finished floor level. Never lay electrical extension cords, surge protectors, or ballast drivers directly on the floor where reservoir leaks or irrigation runoff can submerge them. Every electrical cable descending toward an outlet must incorporate a downward drip loop (a U-shaped bend where the lowest point sits below the outlet). Any condensation or splashed water traveling down the cord drips harmlessly off the bottom of the loop rather than entering electrical sockets.
2. Protected Circuits: GFCI and AFCI Breakers
Every single electrical circuit servicing a cultivation environment must be protected by a Ground Fault Circuit Interrupter (GFCI). GFCIs monitor the current balance between hot and neutral conductors, instantly tripping the circuit within 25 milliseconds if current leakage to ground exceeds 4 to 6 milliamperes, preventing lethal human electrocution. In living areas, pair GFCIs with Arc-Fault Circuit Interrupters (AFCI) to detect electrical arcing across damaged wire insulation before fire ignites.
3. Secondary Water Containment Berms
Plumbing fittings, vinyl dripper lines, and pump seals inevitably degrade under mineral pressure. Every grow room must incorporate a secondary containment berm or waterproof floor pan capable of holding 100% of the maximum fluid capacity of your primary reservoir. Line the floor with heavy-duty 20-mil pond liner or weld a 4-inch raised 2×4 wooden perimeter curb wrapped in continuous Panda poly film. Install an automated float-switch water leak alarm that instantly cuts power to irrigation supply pumps the moment 1/4-inch of standing water touches the floor.
4. Fire Risk Mitigation and Penetration Firestop
Cultivation rooms demand commercial fire protection infrastructure:
- Mount a dedicated photoelectric smoke detector paired with an optical heat-rate-of-rise sensor directly above main electrical panels and LED drivers.
- Install an automatic ceiling-mounted dry-chemical fire suppression extinguisher (such as an ABC dry chemical clean-agent extinguisher) directly over the central electrical subpanel.
- Whenever ductwork or electrical wiring penetrates fire-rated drywall ceilings or partition walls, seal the annular space with intumescent firestop sealant (ASTM E814 / UL 1479 compliant). Intumescent sealant expands up to 25 times its volume when exposed to flame, preventing toxic gases, heat, and fire from breaching adjacent rooms.
Empty-Room Commissioning Through Lights-On and Lights-Off Conditions
Never populate a newly constructed or freshly reset grow room with valuable plants immediately. A rigorous 48-hour empty-room commissioning dry-run proves environmental control stability, establishes aerodynamic baseline balance, and identifies mechanical failure points before living tissue is exposed to stress:
Step 1: The 48-Hour Full Thermal Burn-In Test
Power all LED fixtures to their scheduled 100% flowering intensity on a strict 12/12 day/night cycle. Turn on all inline exhaust fans, circulation fans, air conditioners, and dehumidifiers:
- Lights-On Thermal Stability: Confirm that daytime canopy air temperatures stabilize precisely between 75 °F and 78 °F (23.9 °C to 25.6 °C). If temperatures creep above 82 °F (27.8 °C), your cooling or ventilation capacity is undersized.
- Lights-Off Night Transition: Verify that nighttime temperatures do not drop below 68 °F (20.0 °C). Excessive night drops cause extreme relative humidity spikes toward the dew point.
- Thermal Imaging Scan: Use a handheld infrared thermal camera to scan the electrical subpanel, outlets, and ballast drivers. Confirm that no terminal wire connection exceeds 120 °F (49 °C) under continuous electrical load.
Step 2: Negative Pressure Smoke Pencil Verification
With the exhaust fan operating at normal speed, hold a non-toxic smoke pencil or incense stick outside all closed door frames, zipper seams, and electrical drawstring ports. Smoke must be pulled briskly inward into the room at every point. Inward airflow confirms continuous negative static pressure (-5 to -10 Pascals), proving that raw cannabis odors cannot escape outward through structural seams.
Step 3: The Complete Darkness Optical Inspection
With all room exterior lights and lung room lights turned to full brightness, step inside the grow room and seal all doors and zipper flaps completely. Stand in total silence for 5 full minutes to allow your eyes to adapt to complete darkness. Inspect all intake louvers, duct seams, electrical ports, and door perimeters. You must detect zero pinholes of light. Any visible light glow must be eliminated with matte black baffles or foil tape before introducing flowering genetics.
Failure Planning: Power Loss, Fan Failure, Leaks, and Alarms
Mechanical components operate under continuous 24/7 stress in humid, warm environments. Failure is not a matter of “if,” but “when.” Professional facilities design proactive fail-safe redundancies into every critical subsystem:
| Catastrophic Failure Mode | Immediate Crop Hazard | Automated Protection Device | Emergency Contingency Action |
|---|---|---|---|
| Complete Utility Power Loss | Stoppage of airflow, extreme heat spike, photoperiod disruption | Automatic Transfer Switch (ATS) + Uninterruptible Power Supply (UPS) | UPS powers digital controller & 1 exhaust fan for 4 hours; standby generator engages |
| Exhaust Fan Motor Failure | Canopy heat spike (>95 °F), loss of negative pressure, odor leak | High-temperature electrical thermal cutoff relay (>88 °F trigger) | Cutoff relay instantly shuts off LED lights to prevent canopy thermal kill; alert pushed to phone |
| Dehumidifier Compressor Lockout | Nighttime humidity spike (>85% RH), dew point condensation, Botrytis | Secondary backup residential dehumidifier set 5% higher | Backup unit engages automatically if primary fails; exhaust fan ramps to 100% speed purge |
| Main Irrigation Line Rupture | Submerged floor, pump cavitation burn, root dehydration | Electronic water leak sensor tied to motorized ball valve | Sensor detects moisture on floor, cuts electrical power to pump, snaps main valve shut |
| Blocked Flood Table Drain | Water backing up, submerged root crowns, stem rot | High-water optical float switch mounted 1 inch below tray lip | Float switch breaks irrigation pump circuit if drain pan water exceeds 2 inches |
The single most dangerous mechanical failure in an indoor grow room is an exhaust fan failure or AC failure while high-wattage LED lights remain on. Within 45 minutes of fan stoppage, room temperatures will spike past 105 °F (40.5 °C), physically cooking your canopy foliage and permanently destroying months of work. Every grow room must feature an independent, hard-wired high-temperature thermal cutoff thermostat (such as an Inkbird ITC-308) wired to the main lighting contactor. If room temperature reaches 88 °F (31 °C), the thermal cutoff instantly cuts power to the lights, saving your crop from thermal death.
Maintenance and Reset Checklist for Repeatable Multi-Cycle Use
Between harvest chop and seedling entry, execute this comprehensive 7-phase clinical turnaround protocol to guarantee zero carryover of pests, pathogens, or mineral scale:
1. Biomass Evacuation and Coarse Physical Scraping (Day 1)
- Evacuate all harvested branches immediately into a dedicated, dark drying enclosure.
- Place spent root balls, substrate, and fabric pots into heavy-duty 3-mil contractor garbage bags. Seal bags with duct tape inside the room before moving them through living areas.
- Vacuum all floor surfaces, corner joints, and frame rails using an industrial HEPA-filtered vacuum cleaner (0.3 micron capture).
2. Alkaline Organic Degreasing (Day 2)
- Spray all flood tables, reflective mylar walls, and plastic floor liners with warm alkaline detergent (Dawn or agricultural degreaser, pH 10-11).
- Scrub surfaces thoroughly with non-scratch nylon brushes to saponify and strip sticky terpene resins, plant waxes, and dried sap rings.
- Rinse completely with fresh water until surfaces pass the “water-break-free” test (water sheets smoothly without beading on oily residues).
3. Mineral Acid Descaling (Day 2)
- Apply warm 10% citric acid or sulfamic acid solution to irrigation flood trays, reservoir sumps, and drainage lines.
- Allow 10 minutes of contact dwell time to dissolve alkaline calcium carbonate and magnesium phosphate mineral scale. Rinse thoroughly.
4. High-Level Chemical Disinfection (Day 3)
- Apply an EPA-registered agricultural biocide: either a 1:10 dilution of household bleach (6,000 PPM sodium hypochlorite) or a 0.5% peracetic acid solution (Zerotol 2.0 / Sanidate) using a compression sprayer.
- Enforce a strict 10 to 15-minute continuous wet dwell time across all walls, floors, and plastic hardware to completely lyse fungal spores and cleave Hop Latent Viroid (HLVd) circular RNA.
- Pass a pressurized steam wand (≥212 °F / 100 °C) along all tent zipper coils and corner seam joints to destroy diapausing spider mite eggs.
5. Mechanical HVAC and Ventilation Overhaul (Day 3 to 4)
- Spray mini-split AC and dehumidifier cooling coils with self-rinsing alkaline foaming coil cleaner to dissolve internal dust and mold spores.
- Drop a slow-dissolving HVAC condensate pan enzyme tablet into drain pans to prevent biofilm gelatin clogs.
- Launder the fabric pre-filter sleeve of your carbon canister in warm soapy water; allow it to dry completely. Replace intake MERV 11 pleated air filters with fresh units.
6. Irrigation Plumbing Disinfection (Day 4)
- Disassemble all submersible pumps, remove the magnetic rotor impeller, and scrub internal wells with a brush soaked in 10% bleach.
- Pump a 500 PPM peracetic acid shock solution through rigid PVC manifolds for 45 continuous minutes to disintegrate internal bacterial biofilm. Discard and replace disposable 1/4-inch micro-tubing.
7. Diagnostic Sensor Recalibration (Day 5)
- Clean glass pH sensor bulbs in 0.1M HCl solution. Perform a two-point calibration using fresh 7.00 and 4.01 buffer standards.
- Calibrate digital EC conductivity probes using 1,413 μS/cm calibration solution. Store pH glass electrodes exclusively in 3M KCl storage solution.
How can I verify that my grow room is clinically clean before bringing in new mother clones, without buying an expensive laboratory microscope?
Question sent by: Devon Armstrong, via email.
“How can I verify that my grow room is clinically clean before bringing in new mother clones, without buying an expensive laboratory microscope?”
You can verify biological cleanliness using two reliable diagnostic protocols:
1. The Isopropyl Evaporation Wipe Test: Saturate a sterile white microfiber cloth with 70% isopropyl alcohol. Firmly wipe 3 square feet of internal wall or reservoir floor. If the cloth shows any yellow, grey, or brownish discoloration, organic residues and bacterial biofilms are still present; continue scrubbing until the cloth pulls away 100% snow-white.
2. ATP Bioluminescence Swab Testing: Purchase a handheld ATP hygiene luminometer (such as a Hygiena EnSURE). Swabbing sanitized flood trays should yield a reading of less than 10 Relative Light Units (RLU). Any reading over 30 RLU indicates lingering biological contamination requiring re-sanitization.
Final Decision Checklist and Next Weedth Resources
Execute this practical checklist across every facility design, commissioning, and turnaround interval to guarantee repeatable, failure-free harvests.
Facility Setup, Commissioning, and Reset Checklist
- Physical Dimensions and Aisle Clearances Verified: 24-inch perimeter access aisles and 18-inch ceiling equipment clearance preserved.
- Vapor Barrier Integrity Confirmed: Continuous 6-mil poly, Panda film, or FRP panels sealed with mold-resistant silicone caulk.
- Equipment Sized from Measured Thermal Load: AC BTU calculated from total wattage × 3.412; dehumidifier derated 1.5x against daily irrigation.
- Electrical Connections Elevated ≥ 18 Inches: Outlets, power strips, and drivers elevated above floor; downward drip loops installed.
- GFCI & AFCI Circuit Protection Active: Ground-fault and arc-fault protection verified under NEC 80% continuous load limits.
- Secondary Water Containment Installed: 100% capacity containment berm and automated float-switch water shutoff operational.
- High-Temp Thermal Cutoff Tested: Independent safety thermostat configured to cut lighting power if room exceeds 88 °F (31 °C).
- 48-Hour Empty Burn-In Passed: Room operated empty for 48 hours; confirmed 75-78 °F day, 68-70 °F night, and stable VPD.
- Zero-Light Darkroom Inspection Passed: Inspected room interior in complete darkness; zero pinholes of light detected through vents or doors.
- 3-Phase Turnaround Cleaning SOP Executed: Degreasing → acid descaling → 10-minute wet dwell disinfection (10% bleach or Zerotol).
- HVAC & Irrigation Restored: Evaporator coils foamed; condensate pan enzyme tablets placed; pumps disassembled and scrubbed.
- Sensors Calibrated with Fresh Standards: Glass pH probe cleaned in 0.1M HCl and calibrated using 7.00/4.01 buffer; stored in 3M KCl.
Scientific References
- Zheng, Y. (Ed.). (2021). Handbook of Cannabis Production in Controlled Environments. CRC Press, Boca Raton, FL.
- Punja, Z. K. (2021). Emerging diseases of Cannabis sativa and their management. Pest Management Science, 77(9), 3857-3870.
- Warren, J. G., et al. (2023). Occurrence and mechanical transmission kinetics of Hop Latent Viroid in Cannabis sativa. Plant Disease, 107(4), 1021-1029.
- National Fire Protection Association (NFPA). (2023). NFPA 70: National Electrical Code (NEC). National Fire Protection Association, Quincy, MA.
- American Society of Heating, Refrigerating and Air-Conditioning Engineers (ASHRAE). (2021). ASHRAE Handbook – Fundamentals: Chapter 16 – Ventilation and Infiltration. ASHRAE, Atlanta, GA.
- United States Environmental Protection Agency (EPA). (2020). Selected EPA-Registered Disinfectants for Use Against Pathogens in Agriculture. EPA, Washington, DC.
- Bilodeau, S. E., Dufour, B., & Bouchard, J. (2019). Thermal and environmental control inside modern cannabis production facilities. Agronomy, 9(8), 443. DOI: 10.3390/agronomy9080443
Share this article
A quick overview of the topics covered in this article.
Follow us
Latest articles
November 2, 2026
November 2, 2026
November 2, 2026
November 2, 2026