Hand Watering Cannabis Evenly: Wand Techniques, Surface Priming, and Dry Pocket Prevention
Hand watering remains the most widely practiced yet most frequently mismanaged cultivation task in both boutique commercial facilities and personal cannabis gardens. While automated drip manifolds and pressure-compensating emitters deliver mathematically uniform pulses across commercial tables, manual hand watering offers an invaluable personal connection: it forces the grower to physically inspect individual containers, observe canopy turgor, monitor pest activity, and assess plant development on a daily basis. However, manual irrigation introduces massive human variability. The physical act of pouring liquid from a watering can or hose wand generates high exit velocities, localized hydraulic head pressure, and preferential water paths. When a cultivator dumps a gallon of nutrient solution into the center of a container in 15 seconds, the liquid crushes delicate surface soil aggregates, erodes micro-canyons, and rushes straight down the container perimeters into the drain saucer. The grower sees runoff and assumes the root zone is 100% hydrated, completely unaware that 60% of the internal root ball remains bone-dry, salt-encrusted, and biologically dormant. Mastering hand watering requires treating manual delivery as a precision fluid-dynamics operation governed by capillary wetting fronts, surface priming, staged pulse pauses, and nozzle selection. This authoritative guide establishes the scientific principles and manual techniques necessary to hand water cannabis with perfect uniformity, connecting directly with our core guides on watering cannabis in soil, leaching fractions and runoff dynamics, and cannabis watering frequency and volume.
The Hydrological Mechanics of Manual Pouring: Delivery Velocity, Hydrostatic Head, and Preferential Flow
To understand why rapid manual watering fails, cultivators must examine the fluid dynamics occurring at the substrate surface during a pour event:
- Kinetic Impact and Aggregate Slaking: Liquid emerging from an open hose end or narrow watering can spout strikes substrate particles with high kinetic energy. In peat, soil, and coco coir mixes, this concentrated impact shatters surface aggregates in a physical process called slaking. Fine colloidal silt and peat particles detach and settle into open surface macropores, creating a dense, impermeable surface “crust” (puddling). Once this crust forms, subsequent water cannot percolate downward naturally: it ponds on the surface and is forced toward container edges.
- Preferential Bypass Flow (Fingering and Channeling): Water is an opportunistic liquid governed by the path of least physical resistance. When water accumulates on a compacted or partially hydrophobic substrate surface, it searches for macro-fissures. As peat and coco dry, they shrink slightly, pulling away from smooth container walls to create a continuous 1/8-inch perimeter gap. Rapidly poured water naturally cascades down this perimeter gap and exits the bottom drainage holes within seconds, completely bypassing the dense root core. This phenomenon, known in soil physics as macropore bypass flow, tricks cultivators into believing their pots are fully saturated when the interior is desiccating.
- Hydrostatic Head and Capillary Wetting Front Velocity: Downward water percolation through porous media is governed by the Darcy-Buckingham law: q = -K(θ) ∇H, where flux (q) depends on unsaturated hydraulic conductivity K(θ) and the hydraulic potential gradient (∇H). When water is applied in slow, uniform stages, capillary suction draws water laterally into micropores, creating a unified horizontal wetting front that advances downward like a piston. Pouring water too rapidly creates positive hydrostatic head that overwhelms capillary suction, turning laminar capillary flow into turbulent bypass channeling.
- Surface Tension, Contact Angles, and Air Entrapment: The wetting behavior of porous horticultural substrates is governed by the Young-Dupré equation: γsv – γsl = γlv cos θ, where the contact angle (θ) dictates wettability. In hydrated substrates, the contact angle is near zero, allowing liquid to spread spontaneously across fiber surfaces. In dried organic matter, contact angles exceed 90 degrees, forming a hydrophobic barrier that repels water droplets. Pouring liquid with high velocity traps pockets of compressed air within substrate micropores; this entrapped air acts as a physical pneumatic block that prevents water from contacting root cortical cells until positive capillary dissipation occurs.
Because plant root systems actively transpire water from the center outward, internal matric suction builds up rapidly between irrigations. When cultivators understand how liquid velocity and air-filled pore geometry interact during manual delivery, they can eliminate edge channeling and guarantee that every root cell receives full metabolic hydration.
The Agronomic Physics: The Difference Between Capillary Piston Flow and Edge Channeling
In high-performance container cultivation, the goal of manual watering is to achieve piston displacement flow. Under piston flow, a flat, horizontal wetting front descends uniformly from the top surface to the bottom base, displacing depleted, oxygen-starved pore water and pushing residual fertilizer salts downward ahead of it into the runoff saucer. When you dump water rapidly, piston flow collapses into edge channeling: water bypasses the central root core entirely, leaving accumulated nutrient salts trapped in dry interior zones where they concentrate into lethal osmotic burn pockets.
Substrate Dynamics: Why Hand Watering Soil, Coco, and Peat Requires Different Techniques
Each growing medium possesses unique physical porosity and surface chemistry that dictate manual application speed and delivery tempo:
- Peat-Based Potting Soil: Sphagnum peat moss contains natural suberin and cutin waxes that make dried peat intensely hydrophobic. When hand watering peat-based soil, water must be applied in gentle misting passes or staged pulses. If peat dries below 30% volumetric water content, water droplets will ball up on the surface like mercury on glass, rolling off into edge fissures. Hand watering peat requires slow surface priming to allow capillary wicking to re-hydrate organic aggregates.
- Coco Coir and Perlite Blends: Pure coco coir exhibits negligible hydrophobicity: coconut husk pith absorbs water readily even when bone dry. However, coco coir has exceptionally high hydraulic conductivity. Water moves rapidly through coco, making it easy to create localized drainage channels if a grower pours in only one spot. When hand watering coco, the entire circular surface must be covered uniformly to prevent dry vertical columns beneath un-watered quadrants.
- Horticultural Rockwool Blocks and Slabs: While rockwool is predominantly irrigated via automated drippers in commercial facilities, vegetative nursery stock and mother plants are frequently hand watered. Rockwool blocks consist of compressed molten basalt spun into hydrophilic fibers. Hand watering rockwool requires slow, low-pressure application directly over the plant stem block, allowing liquid to diffuse downward through vertical fiber orientations without compressing the block structure. Dumping water onto rockwool dislodges internal binder resins and causes uneven wet-to-dry zones within the slab core.
- Living Organic Super Soil: Living soil contains living earthworms, fungal mycelium, and complex biological pores. High-impact pouring shatters fungal hyphae and washes away top-dressed organic meals (bone meal, kelp meal, insect frass). Hand watering living soil requires ultra-low exit velocities using 1000-hole rose nozzles or gentle gravity breakers, maintaining the capillary plateau without disturbing the top biological O-horizon.

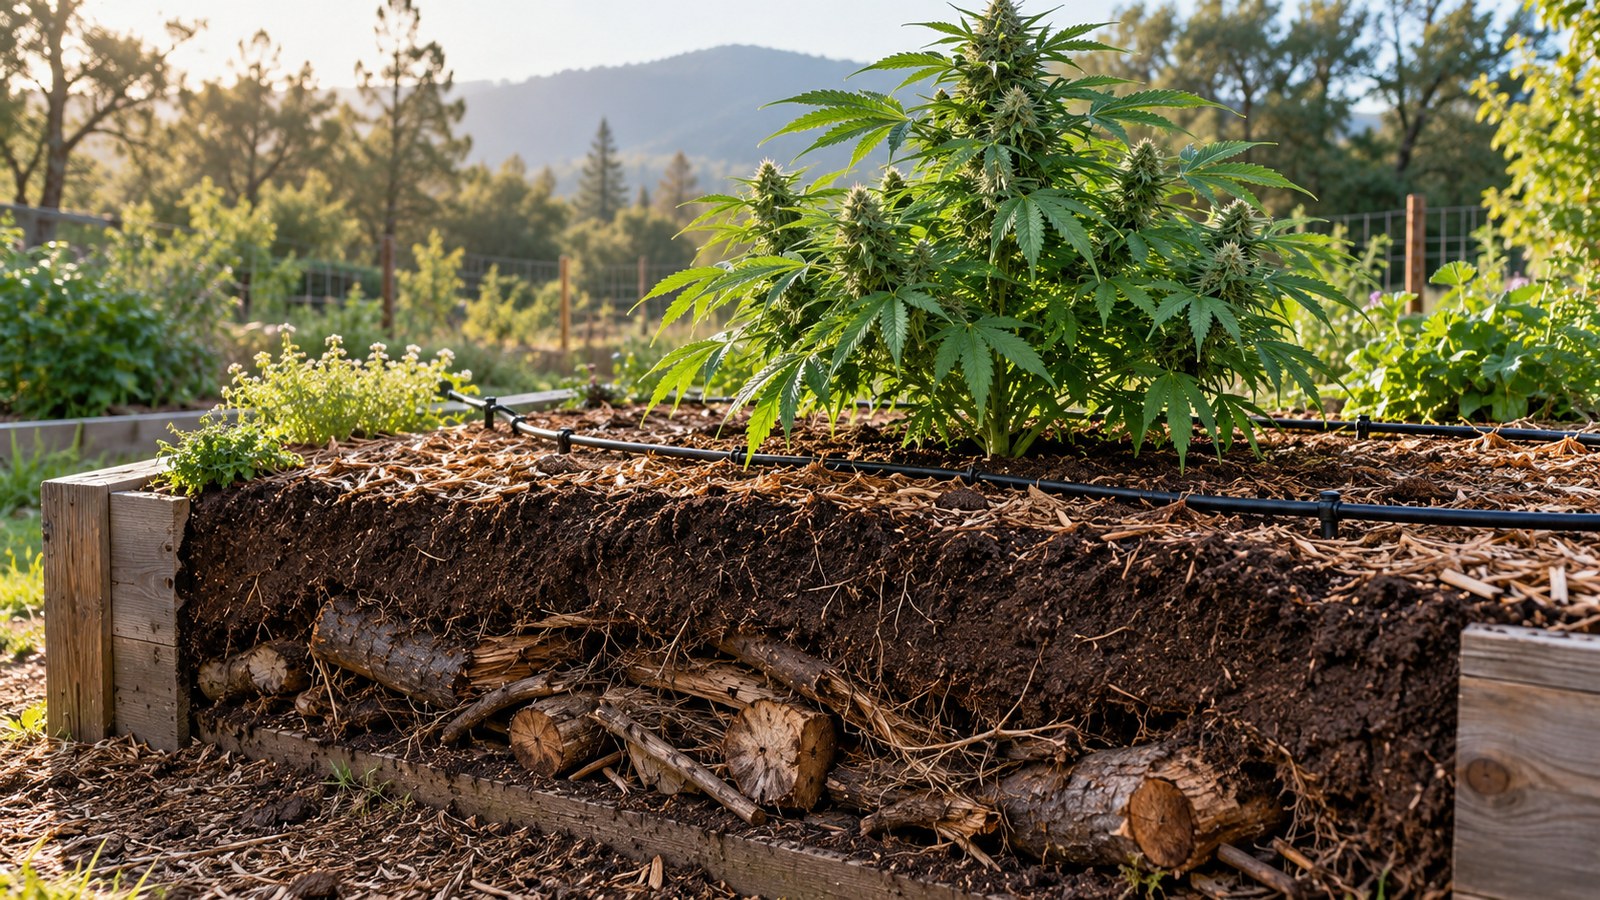
Targeted root-zone application versus overhead spray comparison showing proper soil wetting front formation.
The Three-Tier Hand Watering Protocol: Priming, Core Soaking, and Perimeter Sealing
To completely eliminate dry pockets and achieve 100% volumetric saturation when hand watering, commercial horticulturalists utilize this standardized three-tier application sequence:
Tier 1: Surface Priming (20% of Target Volume)
Begin by delivering 20% of the calculated watering volume across the entire surface of the container using a wide, circular pattern. Ensure water reaches from the main stem all the way to the fabric or plastic rim. Once applied, pause for 10 to 15 minutes. During this critical priming pause, the initial water breaks surface tension, dissolves hydrophobic wax bonds, and hydrates top peat and coco fibers. This activates the capillary wicking matrix, preparing the container to draw subsequent water inward rather than repelling it outward.
Tier 2: Core Saturation (50% of Target Volume)
Return to the plant and deliver 50% of the target volume in slow, continuous concentric spirals, starting 1 inch from the container perimeter and working inward toward the main stalk. Because the top layer was primed in Tier 1, this larger pulse does not pool: it is drawn downward by capillary suction, establishing an unbroken horizontal wetting front that moves steadily through the mid-level root core. Pause for 5 minutes to allow percolation across the root zone.
Tier 3: Perimeter Sealing and Leaching (30% of Target Volume)
Apply the final 30% of the volume around the outer circumference of the container. This final pass hydrates the outer root zone where air pruning occurs and pushes residual pore-water brine down through the bottom perforations, generating the targeted 10% to 15% leaching fraction in mineral systems. Inspect the drain saucer to confirm that runoff emerges uniformly from all bottom drainage points, rather than gushing out of a single corner channel.
| Container Volume & Type | Recommended Application Tool | Tier 1 Priming Volume | Tier 2 Core Volume | Tier 3 Leaching Volume | Total Application Window |
|---|---|---|---|---|---|
| 1-Gallon (3.8 L) Nursery Pot | Precision watering wand / rose spout | 100 ml – 150 ml | 250 ml – 350 ml | 150 ml – 200 ml | 10 – 15 minutes total |
| 3-Gallon (11.4 L) Fabric Pot | Dramm 400AL water breaker wand | 350 ml – 500 ml | 1.0 L – 1.2 L | 500 ml – 700 ml | 15 – 20 minutes total |
| 5-Gallon (19 L) Fabric Container | Dramm 1000PL micro-hole breaker | 600 ml – 800 ml | 1.5 L – 2.0 L | 800 ml – 1.0 L | 20 – 25 minutes total |
| 7-10 Gallon (26-38 L) Smart Pot | Low-pressure submersible pump wand | 1.0 L – 1.5 L | 2.5 L – 3.5 L | 1.5 L – 2.0 L | 25 – 30 minutes total |
The three-tier framework outlined in Table 1 prevents the mechanical collapse of soil pores and ensures complete volumetric saturation across all container sizes. However, beginner cultivators often struggle to detect whether their current hand-watering technique is actually wetting the entire root core or leaving hidden dry zones.
Why do my pots feel deceptively light even after I pour water until it fills the drain tray?
Question sent by: Brett Morrison, via email.
“I hand water my four flowering cannabis plants in 5-gallon fabric pots using a 1-gallon watering can. I pour the full gallon into each pot. Water immediately pours out into the saucers, so I assume they are totally soaked. But when I lift the pots an hour later, they feel surprisingly light, and my lower leaves are drooping and crisping at the tips. Am I doing something wrong?”
You are the textbook victim of rapid pouring bypass flow combined with internal dry core encapsulation.
A 5-gallon fabric container holding fully saturated potting soil or coco coir should weigh between 28 and 32 pounds immediately following a complete watering event. If your container feels light when lifted, you have not actually saturated the medium. When you dump an entire 1-gallon watering can rapidly into a 5-gallon pot, the liquid cannot soak through dense root masses fast enough. The water pools briefly on top, finds the gap between the root ball and the fabric pot wall, and rushes straight down the sides into the saucer in 10 seconds.
The water you see filling the saucer is not genuine metabolic leaching runoff: it is unabsorbed bypass water. Meanwhile, 70% of your root ball in the middle of the pot remains completely bone-dry. The roots trapped in that dry core cannot absorb water or potassium, causing lower leaves to droop, crisp, and develop localized deficiency necrosis. To fix this, discard the habit of dumping a full gallon in one rush. Adopt the Three-Tier Hand Watering Protocol: pour 20% of your water, wait 15 minutes, pour 50% in slow spirals, wait 5 minutes, and finish with the last 30%. You will immediately notice that your pots weigh nearly twice as much when lifted, and runoff emerges as a gentle trickle rather than an instant flood.
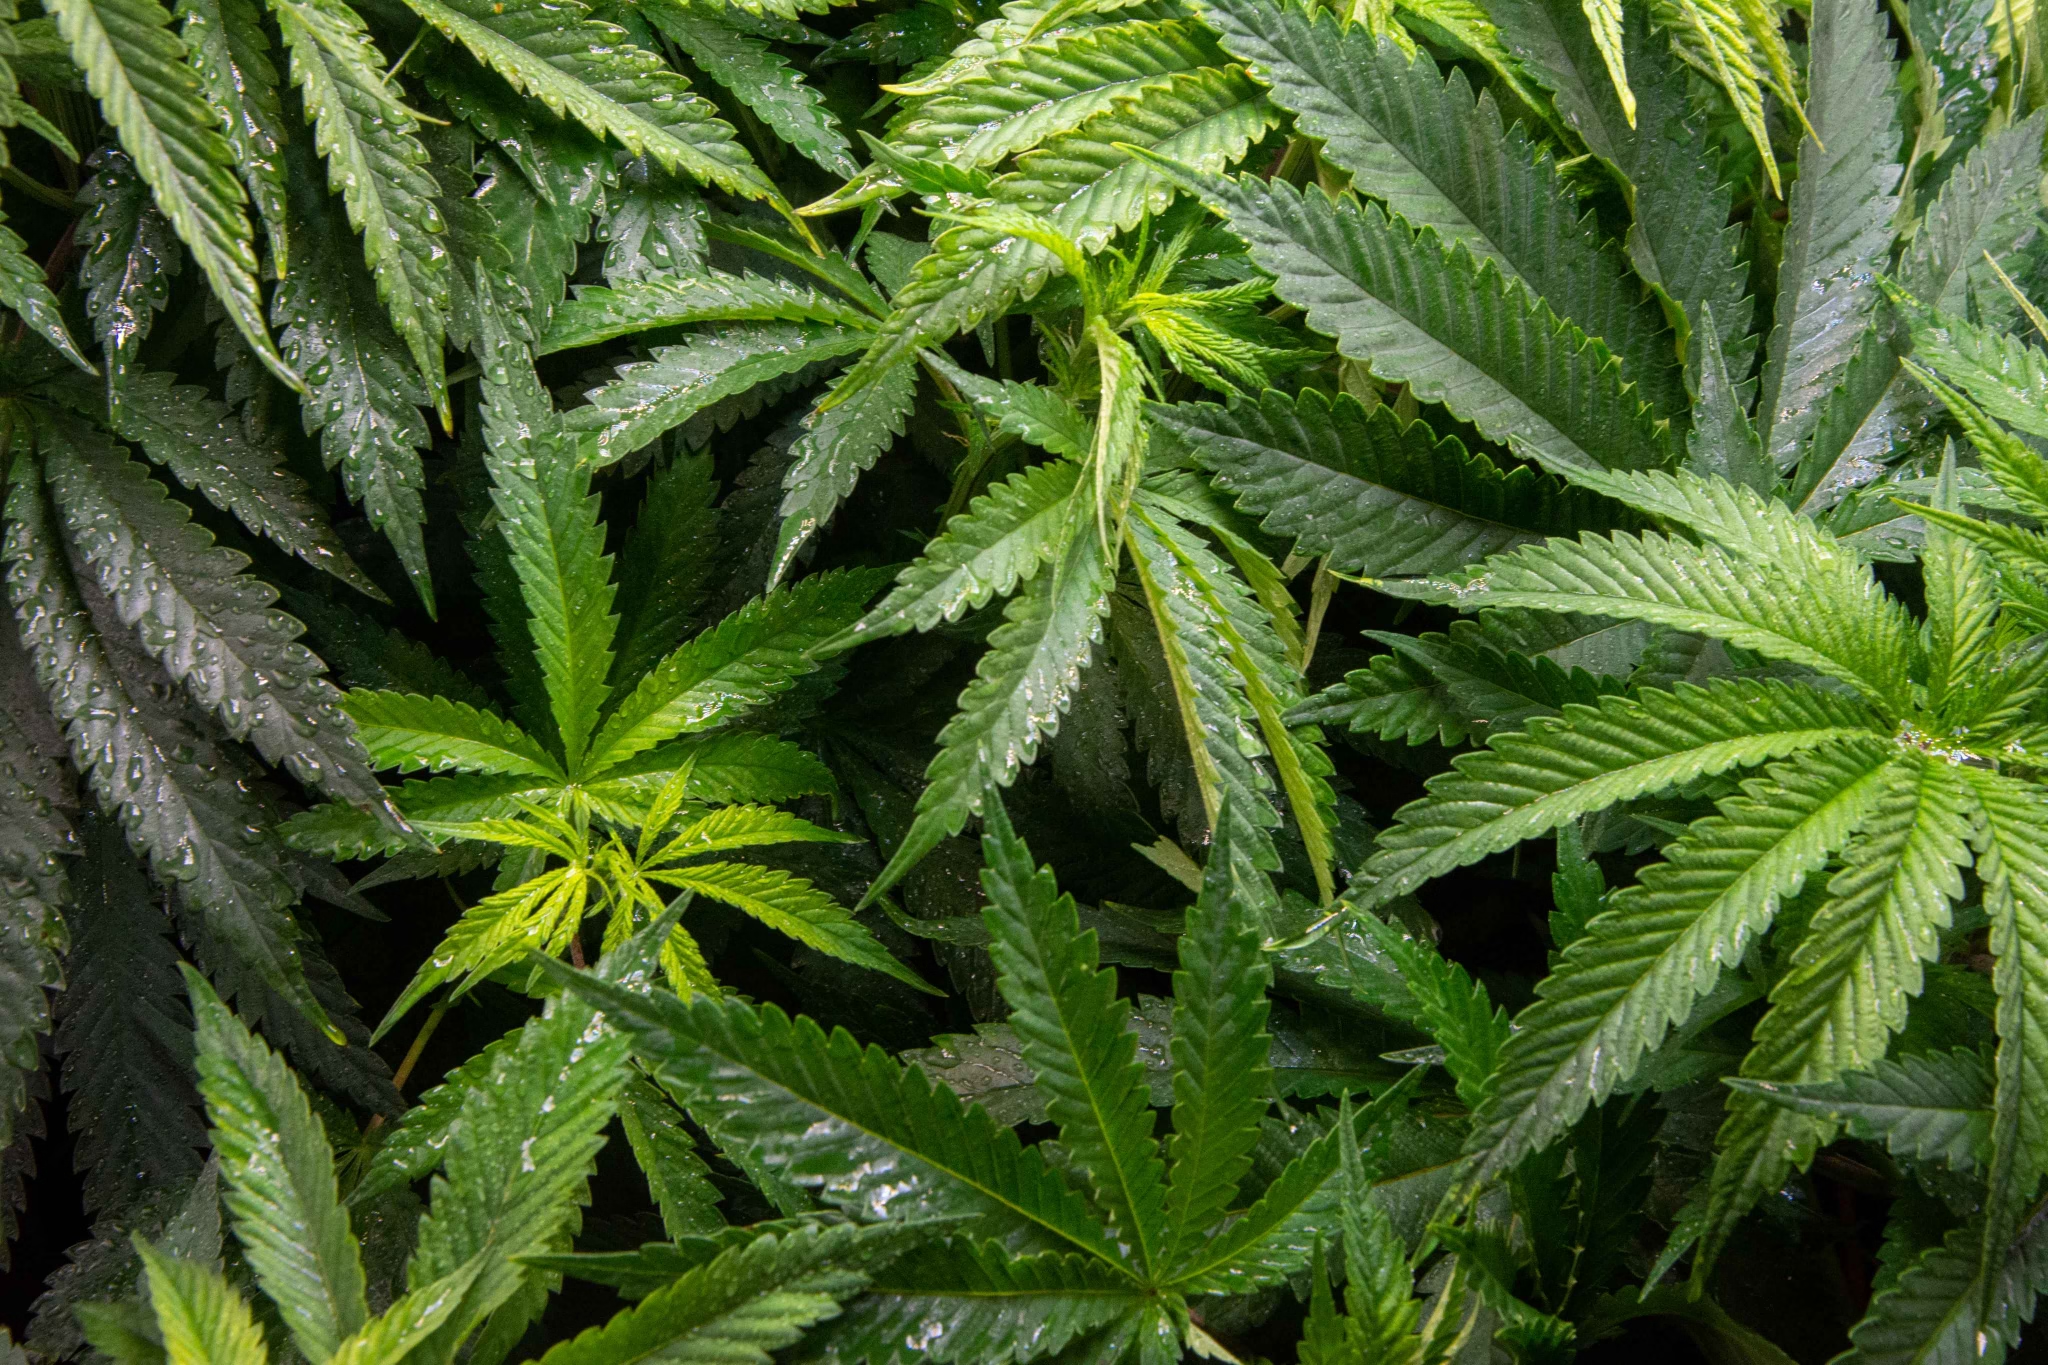
Cannabis canopy maintaining peak leaf turgor and cell hydration following even root-zone capillary distribution.
Source Water Conditioning, Wand Selection, and Aeration Nozzle Dynamics
The physical tool used to deliver water by hand dictates droplet size, kinetic impact energy, and root-zone oxygenation:
- Water Breaker Nozzles (Dramm 400AL vs Dramm 1000PL): Cultivators should never hand water cannabis using an open hose, an adjustable car-wash nozzle, or a solid pour spout. High-pressure jet streams blast craters into the medium and expose delicate root hairs to light. Professional growers utilize commercial water breaker nozzles (such as the Dramm 400-hole aluminum or 1000-hole plastic breaker). These engineered nozzles contain hundreds of laser-drilled orifices that break water pressure into a soft, high-volume gravity cascade resembling gentle summer rain. The water falls softly across the substrate surface without compacting peat or displacing organic mulch.
- Watering Wand Length and Reach: In crowded indoor tents or commercial canopy tables beneath trellis netting (SCROG), reaching rear containers with a heavy watering can forces growers to bend and splash water onto low-hanging foliage and bud sites. Wetting floral clusters during late flowering triggers catastrophic Botrytis cinerea (gray mold) outbreaks. Utilize an extended 24-to-36-inch aluminum watering wand equipped with a brass shut-off valve at the handle. This allows precision placement of the breaker head 1 inch above the substrate surface beneath the lowest canopy branches without splashing floral clusters.
- Water Temperature and Dissolved Oxygen (DO): Source water temperature directly dictates dissolved oxygen capacity and root metabolic activity. Delivering water colder than 15 °C (59 °F) thermal shocks root cortical cells, causing immediate stomatal closure and halting transpiration for 24 hours. Delivering water warmer than 24 °C (75 °F) accelerates bacterial respiration while cutting dissolved oxygen saturation below 7.0 mg/L, favoring opportunistic Pythium pathogens. Maintain manual feed reservoirs at 18 °C to 21 °C (64 °F to 70 °F), using continuous aeration stones or venturi injectors to keep dissolved oxygen above 8.5 mg/L before hand application.
The Commercial Workflow: Building an Ergonomic Hand-Watering Pump Rig
Hauling 5-gallon buckets or refilling small watering cans dozens of times is physically exhausting, leading to rushed pouring and sloppy application. Commercial boutique cultivators build dedicated mobile pump rigs: a 55-gallon polyethylene reservoir drum equipped with an internal 1/3 HP submersible utility pump (such as a Danner Mag-Drive or Leader Ecojet), connected to 25 feet of 5/8-inch commercial drinking-water-safe hose and an aluminum wand. A built-in pressure bypass line recirculates nutrient solution inside the reservoir, maintaining continuous mixing and aeration while allowing the cultivator to trigger the wand shut-off valve at will.
An ergonomic pump rig transforms manual watering into a calm, controlled, repeatable process, eliminating the physical exhaustion that causes rushed pouring and sloppy application. When designing a pump system, cultivators must regulate delivery line pressure between 8 and 12 psi at the wand head. Standard utility pumps generate excessive line pressure (30 to 45 psi); if delivered unthrottled through a breaker nozzle, high pressure creates turbulent atomized mist that humidifies the room without soaking the medium. Installing a brass ball valve on a tee-fitting recirculating bypass line allows the operator to dial pressure down precisely, creating a gentle, high-volume gravity cascade that mimics natural rainfall. However, even with elite hardware, cultivators occasionally inherit containers that have dried back too far, creating acute hydrophobic bypass issues.
Can I fix a completely bone-dry, hydrophobic container by bottom-watering instead of pouring from the top?
Question sent by: Danielle Zhang, via email.
“I went away for four days and came back to find my 3-gallon coco-perlite plant bone dry. When I tried to hand water from the top, the water ran straight down the sides into the saucer like grease on a pan. Can I just fill the drain saucer with water and let the plant drink from the bottom, or will that cause problems?”
Yes, bottom-submersion capillary wicking is the single most effective, gentle method for rescuing a severely desiccated, hydrophobic container.
When peat moss or coco coir dries completely, surface tension makes it almost impossible to rewet from the top without high-volume runoff. Bottom-watering reverses the hydraulic dynamic: instead of fighting gravity and surface tension, water is drawn upward into dry micropores via continuous capillary action (matric suction).
However, simply pouring water into a shallow 1-inch saucer is inadequate because capillary suction can only pull water upward about 3 to 4 inches against gravity. To properly execute a bottom rewetting rescue: place the entire 3-gallon container into a deep tub or bucket filled with 3 to 4 inches of lukewarm, dechlorinated water (20 °C to 22 °C) mixed with an organic wetting agent (1/8 teaspoon of yucca extract or Quillaja saponin). The yucca reduces water surface tension from 72 dynes/cm down to 30 dynes/cm. Leave the container submerged for 30 to 45 minutes. Watch the top surface: when the topsoil becomes dark, cool, and uniformly moist to the touch, the capillary wetting front has successfully reconnected. Lift the container out of the tub, place it on an elevated wire grate to allow gravitational drainage for 15 minutes, and discard all runoff. Your root zone is now 100% re-hydrated with zero dry core pockets.
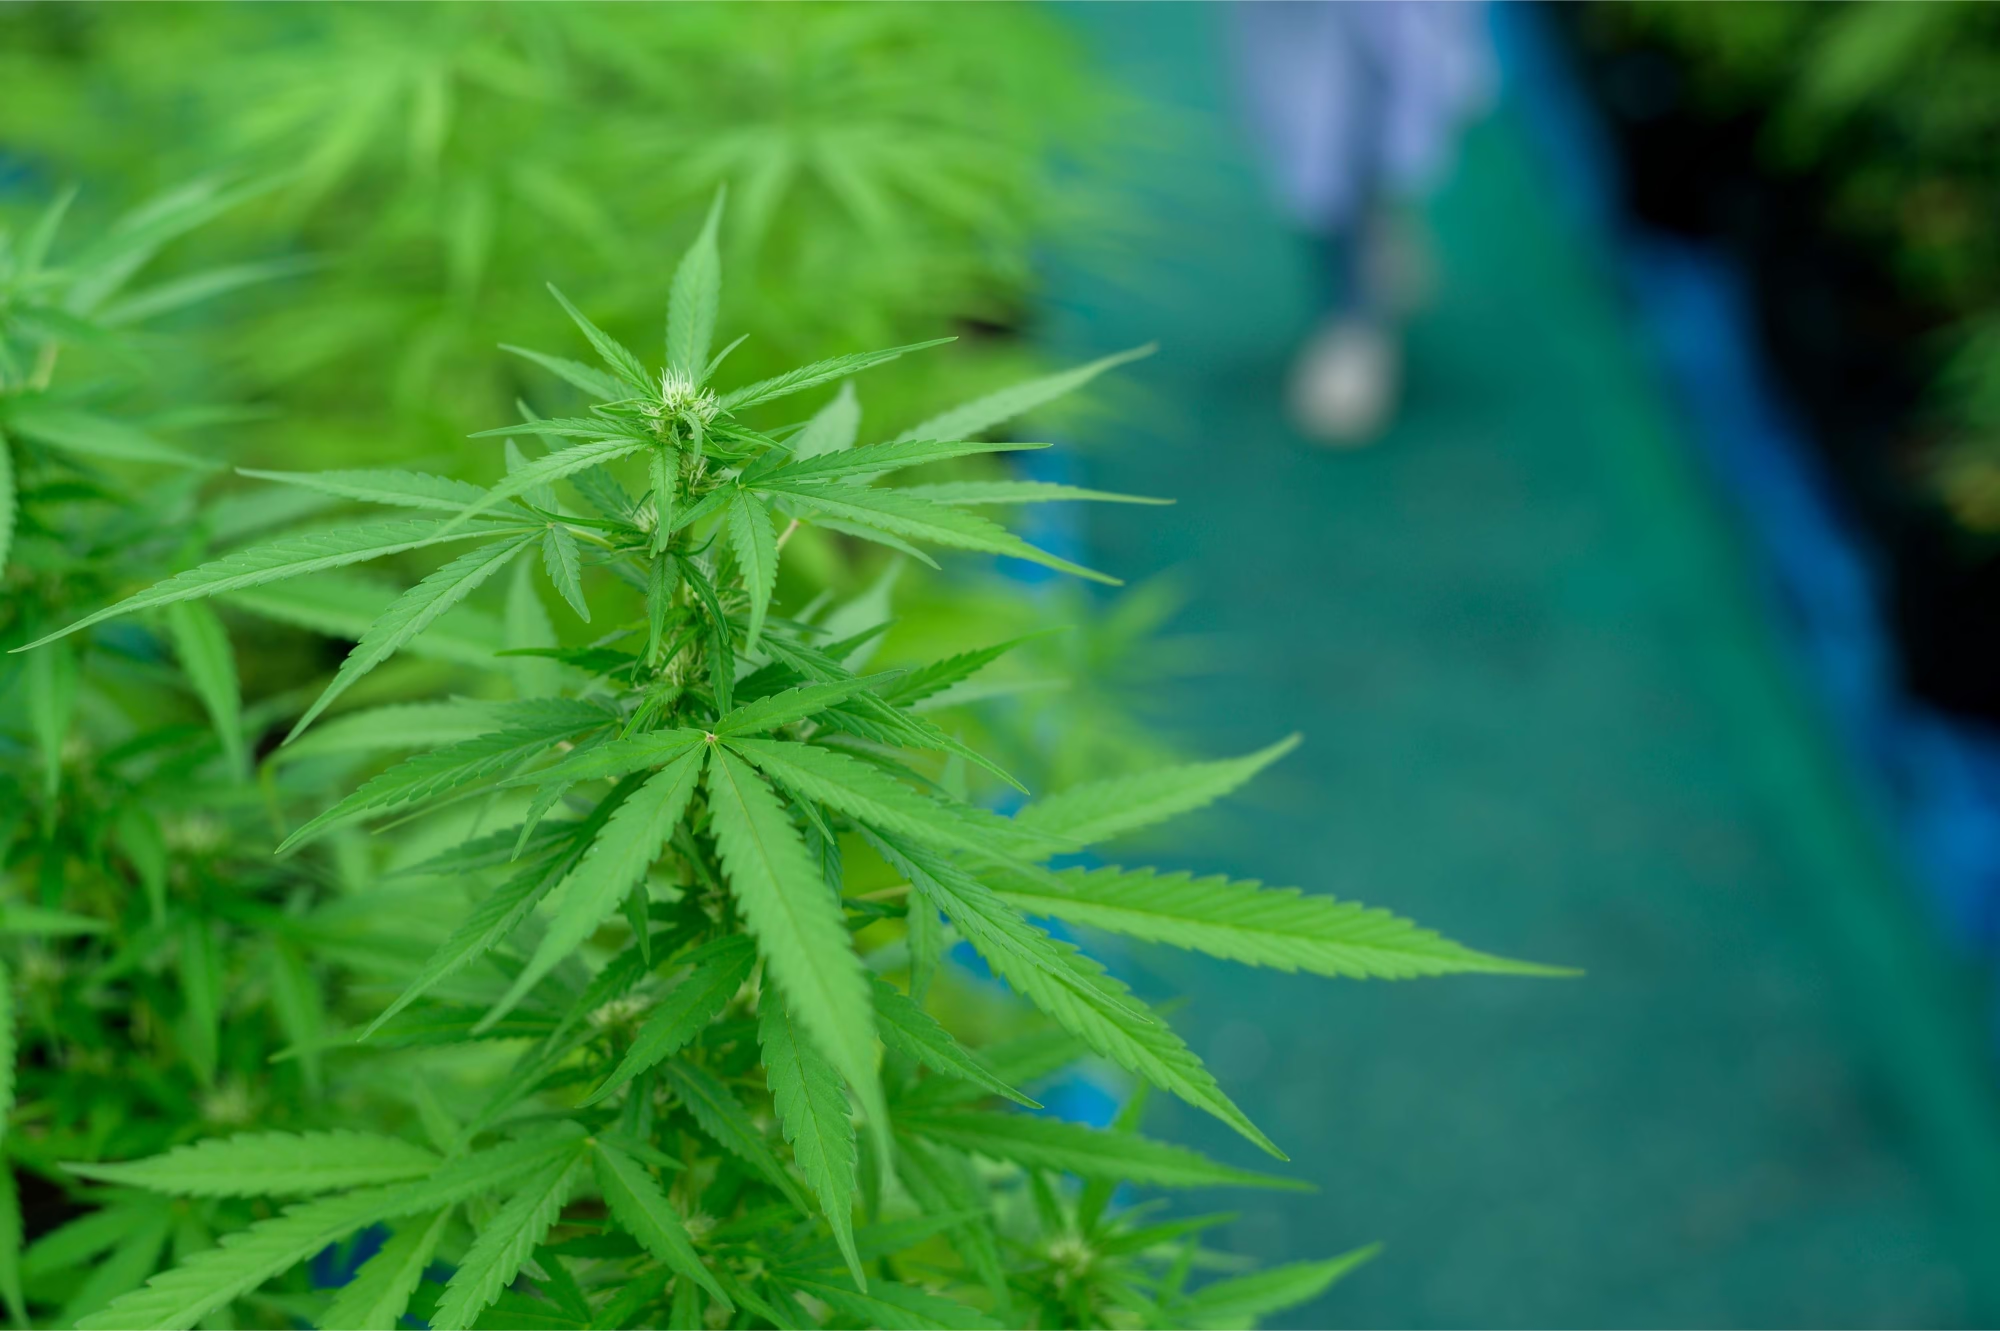
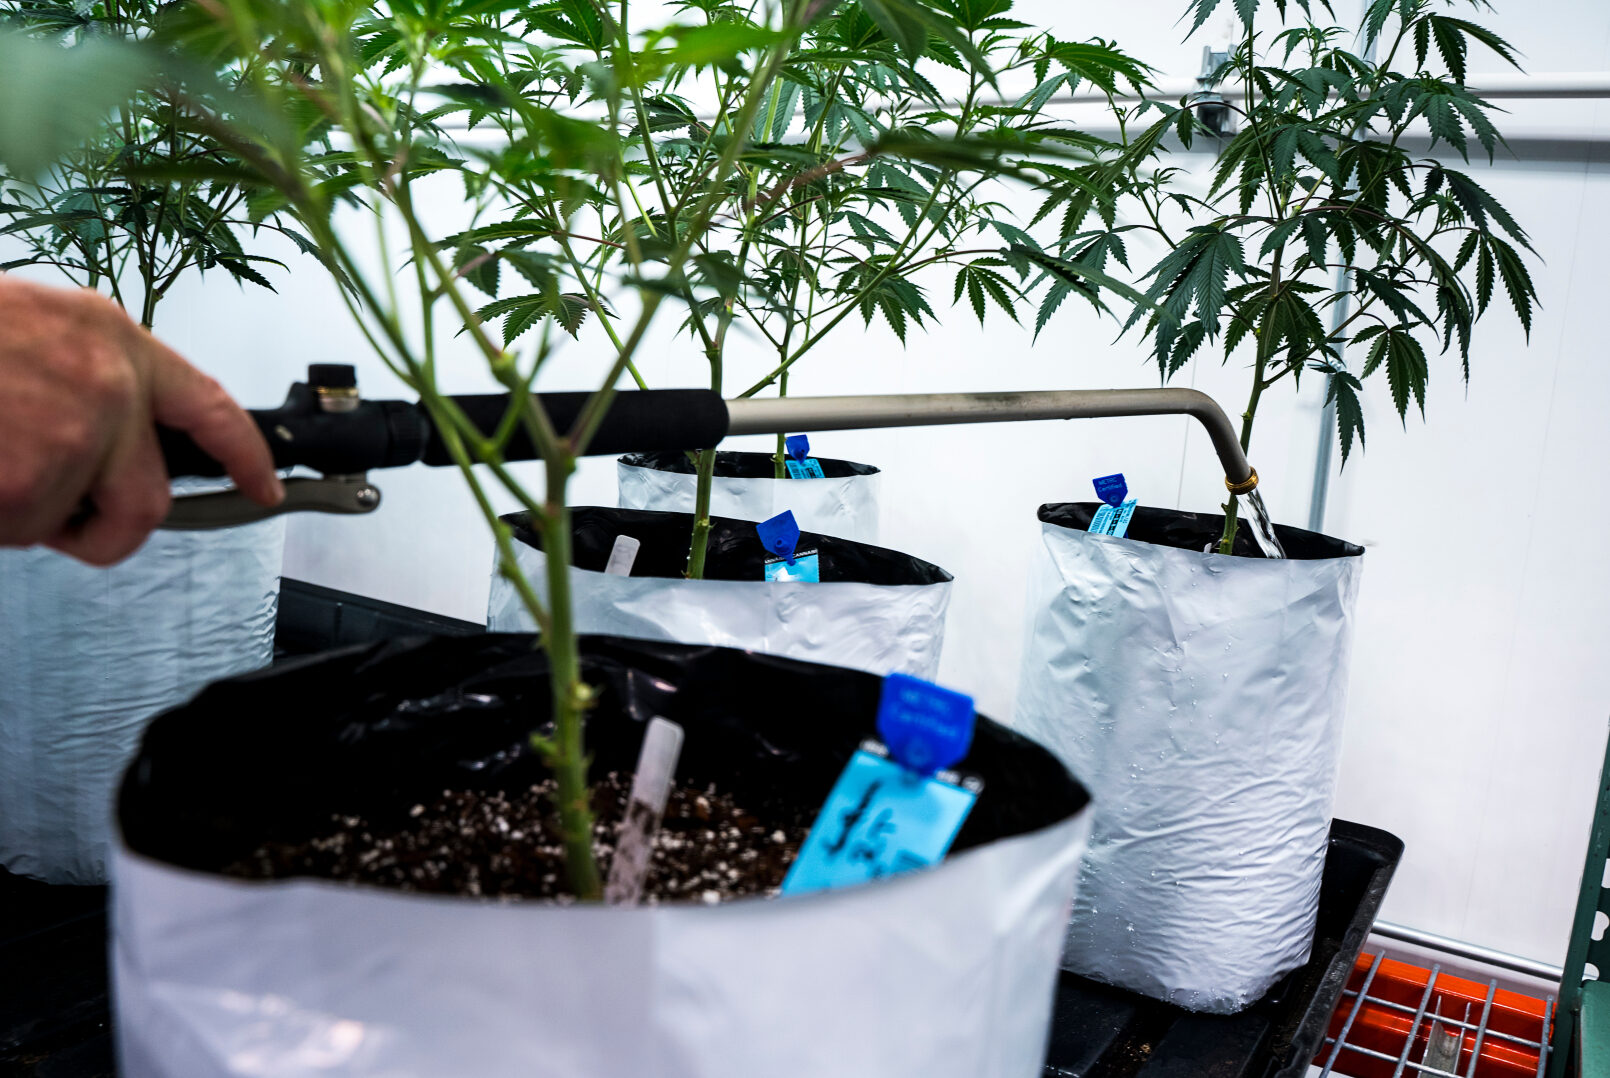
Potted container evaluated for gravimetric lift mass and complete root ball saturation.
Diagnosing Channeling, Edge Bypass, and Dry Pockets via Gravimetric Weight and Probing
To verify whether your manual watering technique is delivering uniform saturation or leaving hidden bypass channels, cultivators utilize three diagnostic verification protocols:
- The Food-Grade Dye Tracer Verification Test: If you suspect preferential edge channeling, add 5 milliliters of organic blue food coloring (or brilliant blue dye) to your manual nutrient solution during a routine irrigation. Two hours after application, un-pot a sacrificial or cull plant, or gently inspect the perimeter root ball. In a properly watered container, the blue dye stains the entire root zone in a uniform horizontal band. If preferential flow occurred, the blue dye will appear exclusively as narrow vertical stripes running down the container wall, while the central root core remains completely unstained white and bone-dry.
- Radial Moisture Gradient Probing: Insert a digital capacitive soil probe horizontally into three distinct points: near the container perimeter, midway through the radius, and directly adjacent to the main taproot. If the perimeter registers 60% VWC while the central core reads 25% VWC, water is cascading down the sides without penetrating inward.
- Root-Zone Salinity (EC) Stratification Audits: Incomplete manual watering creates severe electrical conductivity stratification. When water repeatedly bypasses the center, fertilizer ions accumulate in the dry core through un-leached evaporation. If you test runoff from a channeled pot, it may read a deceptive 2.0 dS/m EC, while a core slurry sample taken from the center reveals a lethal 6.5 dS/m EC. Table 2 details the primary diagnostic failure patterns observed during manual hand watering:
| Diagnostic Failure Pattern | Biophysical Mechanism | Observable Physical Symptoms | Corrective Manual Adjustment |
|---|---|---|---|
| Perimeter Edge Bypass Flow | Water cascades down shrunk root ball gap without soaking center | Saucer fills in <15 seconds; pot feels light; core bone dry | Gentle perimeter tamp; execute Tier 1 priming pause |
| Surface Capping & Puddling | High water velocity shatters soil aggregates, sealing surface pores | Water stands on surface for minutes; muddy crust forms | Install Dramm 1000PL rose nozzle; apply 1 inch straw mulch |
| Internal Dry Core Pockets | Uneven pour circles leave un-wetted shadow zones in dense root ball | Localized petiole drooping; patchy leaf tip chlorosis | Concentric spiral pour pattern; deep soil probe verification |
| Substrate Disturbance / Erosion | Direct pour spout stream carves craters into medium | Exposed white root hairs; uneven container surface level | Use extended breaker wand; keep nozzle 1 inch above soil |
Systemic Manual Hydration Recovery: Siphon Drenches, Bottom Immersion, and Surfactant Pulsing
When a container garden exhibits widespread uneven moisture, resetting the root zone requires systemic, structured intervention rather than random watering adjustments:
1. Gravimetric Verification Benchmarking
Place a representative index container on a digital luggage scale or platform scale immediately after completing your manual watering sequence. Record the exact weight in pounds or kilograms. A 3-gallon pot at container capacity weighs approximately 18 to 22 pounds; a 5-gallon pot weighs 28 to 32 pounds. If your watered container weighs significantly less than these physical benchmarks, you have confirmed incomplete hydration. Track daily weight loss to determine your exact transpiration rate, re-watering only when the pot achieves a 40% to 50% mass reduction.
2. Incorporating Organic Wetting Agents in Manual Feeds
In peat and coco coir cultivation, incorporating a low-dose organic surfactant once every 10 to 14 days provides immense insurance against dry pockets. Natural extracts from Yucca schidigera or soapbark (Quillaja saponaria) contain steroidal saponins that break the dipole surface tension of water. Water droplets flatten out instantly upon contact with soil particles, penetrating micro-pores and expanding lateral wetting bulb diameter by up to 200%. Add 1/16 teaspoon of food-grade yucca extract powder per 5 gallons of manual nutrient feed to guarantee uniform horizontal wetting fronts.
3. The Pour-Through Extraction Method for Hand-Watered Pots
To accurately monitor whether hand watering is flushing salts or causing toxic root-core accumulation, commercial growers utilize the Virginia Tech Pour-Through Method. One hour after completing your standard manual irrigation (when the container is at equilibrium container capacity), place a clean collection saucer beneath the container. Pour 100 to 250 milliliters of distilled water evenly across the top surface. This small displacement pulse pushes interstitial pore water out through the bottom into the clean saucer without diluting root-zone chemistry. Test the electrical conductivity (EC) and pH of this extracted leachate with a calibrated digital meter. If pour-through EC exceeds input feed EC by more than 1.0 to 1.5 dS/m, internal channeling has caused salt accumulation, signaling the immediate need to increase manual leaching fractions.
Hand Watering Operational Checklist
Audit these essential technical checkpoints before and during every manual watering session:
- A commercial water breaker nozzle (Dramm 400AL or 1000PL) is installed on an extended aluminum watering wand.
- Water temperature is conditioned to 18 °C – 21 °C (64 °F – 70 °F); dissolved oxygen is verified above 8.0 mg/L.
- The Three-Tier Protocol is strictly followed: 20% surface priming, 15-minute pause, 50% core soak, 30% perimeter seal.
- Water is delivered in concentric circular spirals covering 100% of the surface area from stem to container rim.
- Water exit velocity is gentle and rain-like; surface aggregate slaking and crater erosion are strictly prevented.
- Container mass is verified by physical lifting: the pot feels heavy and dense from top to bottom.
- Drain saucers are inspected to confirm uniform perimeter seepage rather than instant channel gushing.
- Runoff saucers are drained or wet-vacuumed within 30 minutes; pots never sit in stagnant leachate brine.
- Severely dry or hydrophobic pots are rescued via bottom-submersion capillary wicking in yucca-treated water.
- Subsequent watering is delayed until the container achieves a full 40% to 50% gravimetric dry-back.
Scientific References
- Brady, N. C., & Weil, R. R. (2016). The Nature and Properties of Soils (15th ed.). Pearson, New York.
- Bugbee, B. (2004). Nutrient management in recirculating hydroponic culture. Acta Horticulturae, 648, 99-112.
- Hillel, D. (2004). Introduction to Environmental Soil Physics. Academic Press, San Diego, CA.
- Kramer, P. J., & Boyer, J. S. (1995). Water Relations of Plants and Soils. Academic Press, San Diego, CA.
- Marschner, H. (2012). Marschner’s Mineral Nutrition of Higher Plants (3rd ed.). Academic Press, London.
- Raviv, M., & Lieth, J. H. (2008). Soilless Culture: Theory and Practice. Elsevier Science, Amsterdam.
- Taiz, L., Zeiger, E., Møller, I. M., & Murphy, A. (2015). Plant Physiology and Development (6th ed.). Sinauer Associates, Sunderland, MA.
- Zheng, Y. (2021). Handbook of Cannabis Production in Controlled Environments. CRC Press, Boca Raton, FL.
Share this article
A quick overview of the topics covered in this article.