
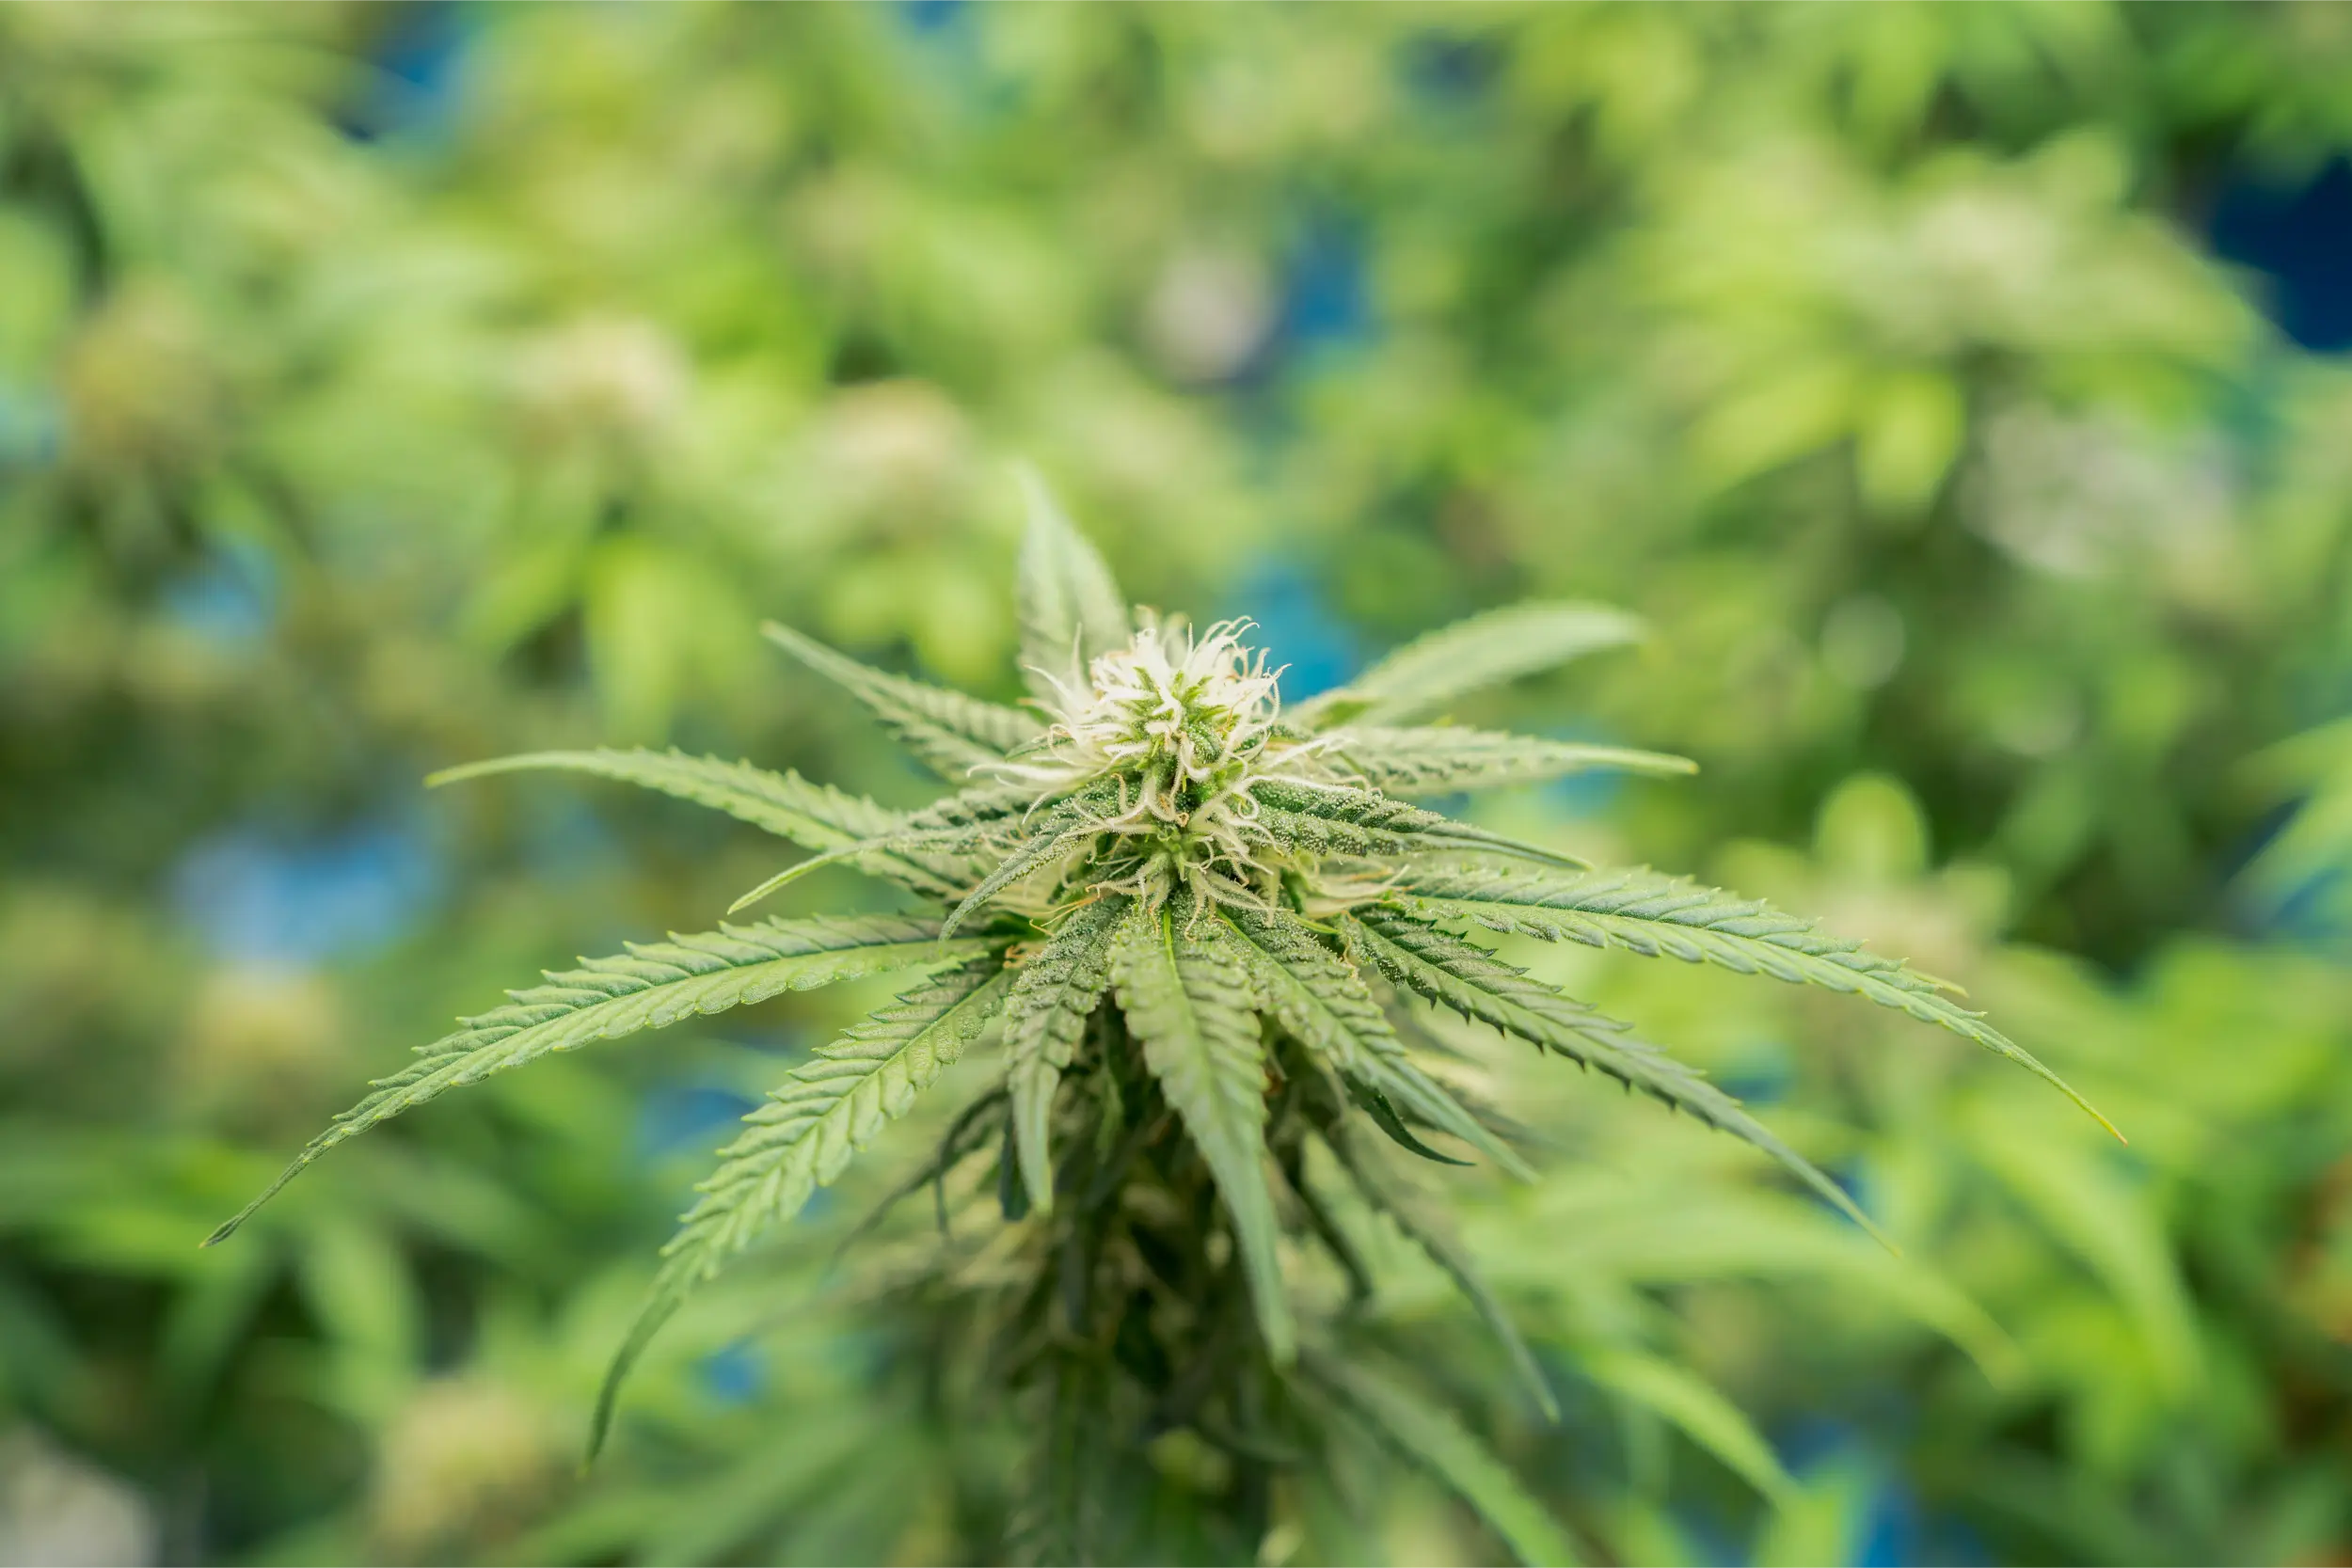
How to Use a Hand Lens on Cannabis
A hand lens is one of the simplest tools in a cannabis grow, but it only becomes useful when the inspection is repeatable. The goal is not to magnify random leaves until something looks strange. The goal is to use the same lens position, lighting, plant zones, and follow-up sequence so small insects, eggs, feeding damage, fungal structures, resin glands, and other clues can be compared over time.
For most routine scouting, a modest hand lens can reveal far more than the naked eye. Higher magnification can add detail, but it also narrows the field of view, shortens the working distance, and makes hand movement more obvious. The best lens is therefore not automatically the strongest one. It is the one you can hold steady enough to inspect the target you actually need to see.
What a Hand Lens Can Do
A hand lens, or loupe, enlarges surface details that are difficult to evaluate with the naked eye. On cannabis, it can help inspect small insects, mites, eggs, cast skins, feeding damage, webbing, trichome heads, superficial fungal growth, wounds, and other visible features. It does not identify every pathogen, confirm a virus or viroid, measure cannabinoid content, or prove that a plant is ready to harvest by itself.
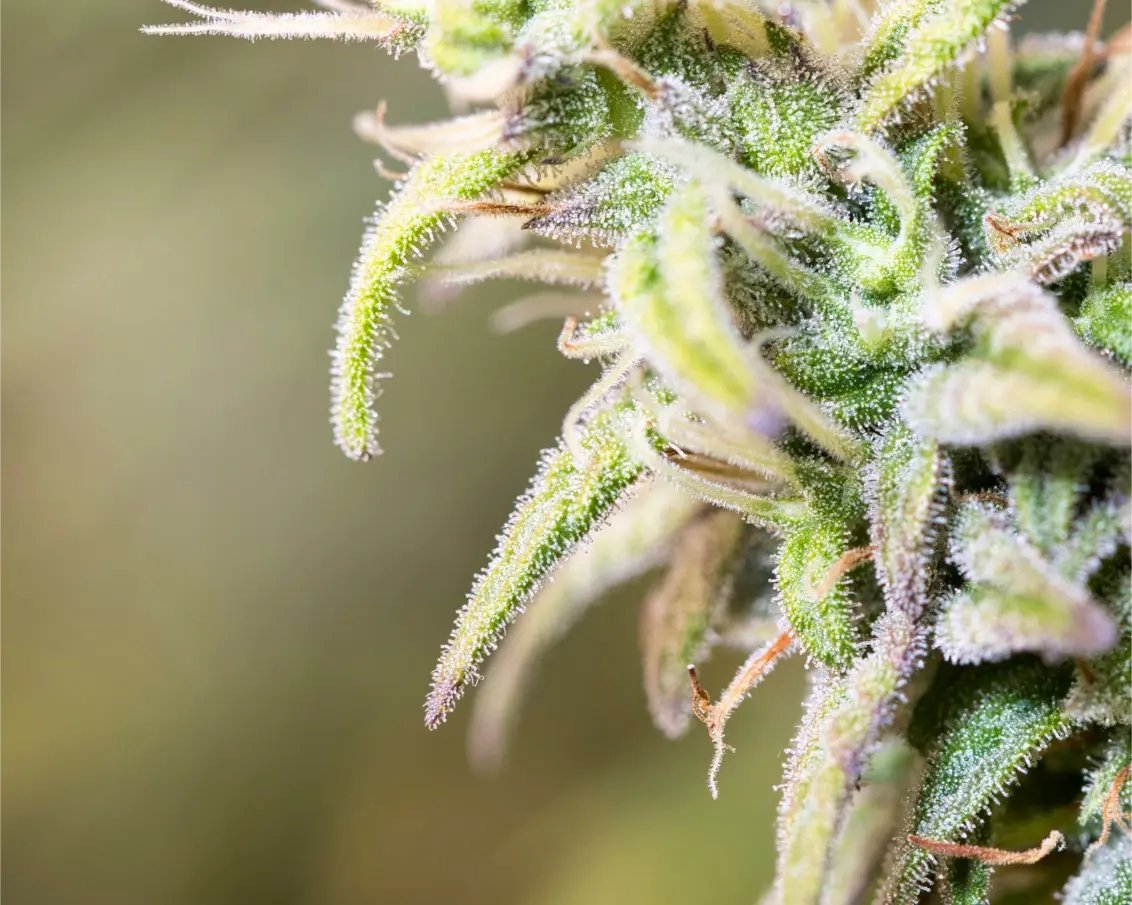
Choose the Right Lens for the Question
The first decision is not the magnification printed on the lens. It is the target. A grower trying to confirm an aphid colony has a different optical problem from a grower comparing trichome heads or trying to find a hemp russet mite.
Ten-power magnification is a useful field baseline
Penn State’s current hand-lens guidance notes that a 10x lens is sufficient for seeing most small insects during routine crop scouting. That makes 10x a strong field baseline because it provides useful enlargement without making the viewing area too small or the focus too difficult to hold.
For cannabis scouting, 10x is often enough to inspect aphids, two-spotted spider mites, many eggs, cast skins, small larvae, webbing, honeydew-associated material, leaf stippling, wounds, and larger fungal structures. The exact visibility depends on the organism, lighting, lens quality, and the user’s eyesight.
Higher magnification trades convenience for detail
A 15x or 20x hand lens can reveal finer detail, but the viewing window becomes smaller and the working distance is usually shorter. That makes it easier to lose the target when a leaf moves in wind or your hands shake. For this reason, more magnification does not automatically produce a better field diagnosis.
Use higher magnification when the lower-power lens shows a suspicious feature that needs a closer look. Do not begin every inspection at the highest available power.
| Inspection goal | Practical starting point | Main limitation |
|---|---|---|
| General leaf scouting | Moderate magnification such as 10x | Very small mites or fine structures may remain difficult to resolve |
| Aphids, spider mites, eggs, cast skins | 10x to moderate higher power if needed | Movement, leaf hairs, and glare can hide small targets |
| Very small mite suspicion | Higher magnification or digital/stereo microscopy | A hand lens may not provide reliable identification |
| Trichome-head comparison | Stable loupe or pocket magnifier that clearly resolves gland heads | Color can be distorted by lighting and different flower tissues mature asynchronously |
| Unknown disease structure | Hand lens for visible clues, then diagnostic testing if identity matters | Magnification cannot confirm many pathogens, viruses, or viroids |
Russet mites are a good example of why magnification rules fail
Extension guidance is not completely uniform on hemp russet mite inspection. Alabama Cooperative Extension states that a good-quality 20x lens can allow individual mites to be seen, while Virginia Tech notes that the mites are so small that hand lenses used in hemp scouting are often not strong enough and microscopy is more reliable.
Those statements are not necessarily contradictory. Lens quality, eyesight, field movement, mite density, and experience all change what can be resolved. The practical Weedth rule is: if symptoms strongly suggest russet mites and you cannot confidently see the organism, escalate to a digital or stereo microscope rather than treating an uncertain hand-lens view as a negative result.
A Negative Hand-Lens Check Is Not Proof of Absence
Some mites, early eggs, fungal structures, internal pathogens, viruses, and viroids can be missed even during careful magnified inspection. If the pattern and symptoms remain suspicious, repeat the inspection and use a stronger diagnostic method when the answer will change management.
Optical quality matters as much as the number
A clear lens with good edge-to-edge focus, adequate working distance, and comfortable field of view is more useful than a poorly made lens with a large magnification number. Triplet-style lenses are often valued because multiple optical elements can reduce distortion, but the user should still judge the lens by whether plant details remain sharp and color remains believable.
An illuminated lens can help in dense canopy interiors, but built-in light can also create glare on waxy leaves and resin heads. Treat the light as adjustable inspection illumination, not as a requirement.
Field Advice: If you cannot hold the image still long enough to compare structure and color, reduce magnification or brace your hands before buying a stronger lens.
Learn the Focus Technique Before Inspecting Plants
Most first-time users move the lens back and forth several inches from the eye and wonder why the image never settles. A hand lens works better when it stays close to the eye and the user changes the distance between the lens and the target.
Keep the lens close to your eye
Penn State’s scouting guidance recommends holding the hand lens close to the eye, roughly around a finger-width away as a starting position, then moving the head and lens toward the object until it comes into focus. The exact distance varies with the lens.
Once you find the focus distance, remember it. The goal is to build a repeatable physical motion instead of searching for focus from scratch on every leaf.
Move your body, not only the lens
Hold the lens near your eye and move your head, upper body, or the plant tissue gently toward the focus point. If the leaf can be supported without damage, use the other hand to stabilize it. Avoid pulling the lens away from your face every time the image drifts.
Brace yourself before inspecting small targets
For mites, eggs, trichome heads, or other fine detail, rest your elbows against your torso, a knee, a bench, or another stable surface. When working outdoors, stand so the wind moves the leaf as little as possible. A few millimeters of motion can move a small target completely out of the field of view.
“Why does everything look sharp for one second and then disappear?”
The working distance is very short at higher magnification. Keep the lens close to your eye, brace your hands, and move your head and the target together rather than waving the lens between them. Start with lower magnification until the focusing motion becomes automatic.
Question sent by: Ethan Brooks, via email.
Use bright, neutral light
Color judgments are easiest under bright, neutral illumination. Strong yellow grow lights, colored LEDs, deep shade, and highly directional flashlight glare can change how translucent or amber structures appear.
When checking trichomes, compare them under the same type of light each time. When inspecting pests, use side lighting when possible because eggs, mites, webbing, and raised fungal structures can become more visible when shadows reveal their shape.
Avoid concentrating direct sun through the lens
Do not deliberately focus strong sunlight through a magnifying lens onto plant tissue, skin, or flammable material. Use the lens as an observation tool, not as a focusing device for solar heat.
Clean the lens before reading color
Resin, dust, fingerprints, spray droplets, and condensation can soften detail or add false haze. Clean the lens with an appropriate lens cloth rather than wiping sticky resin across the surface with a dirty shirt or glove.
If you have been touching a suspicious plant, clean or change gloves before handling healthy plants. A hand lens is small, but the hands holding it can still move plant material and contamination through the garden.
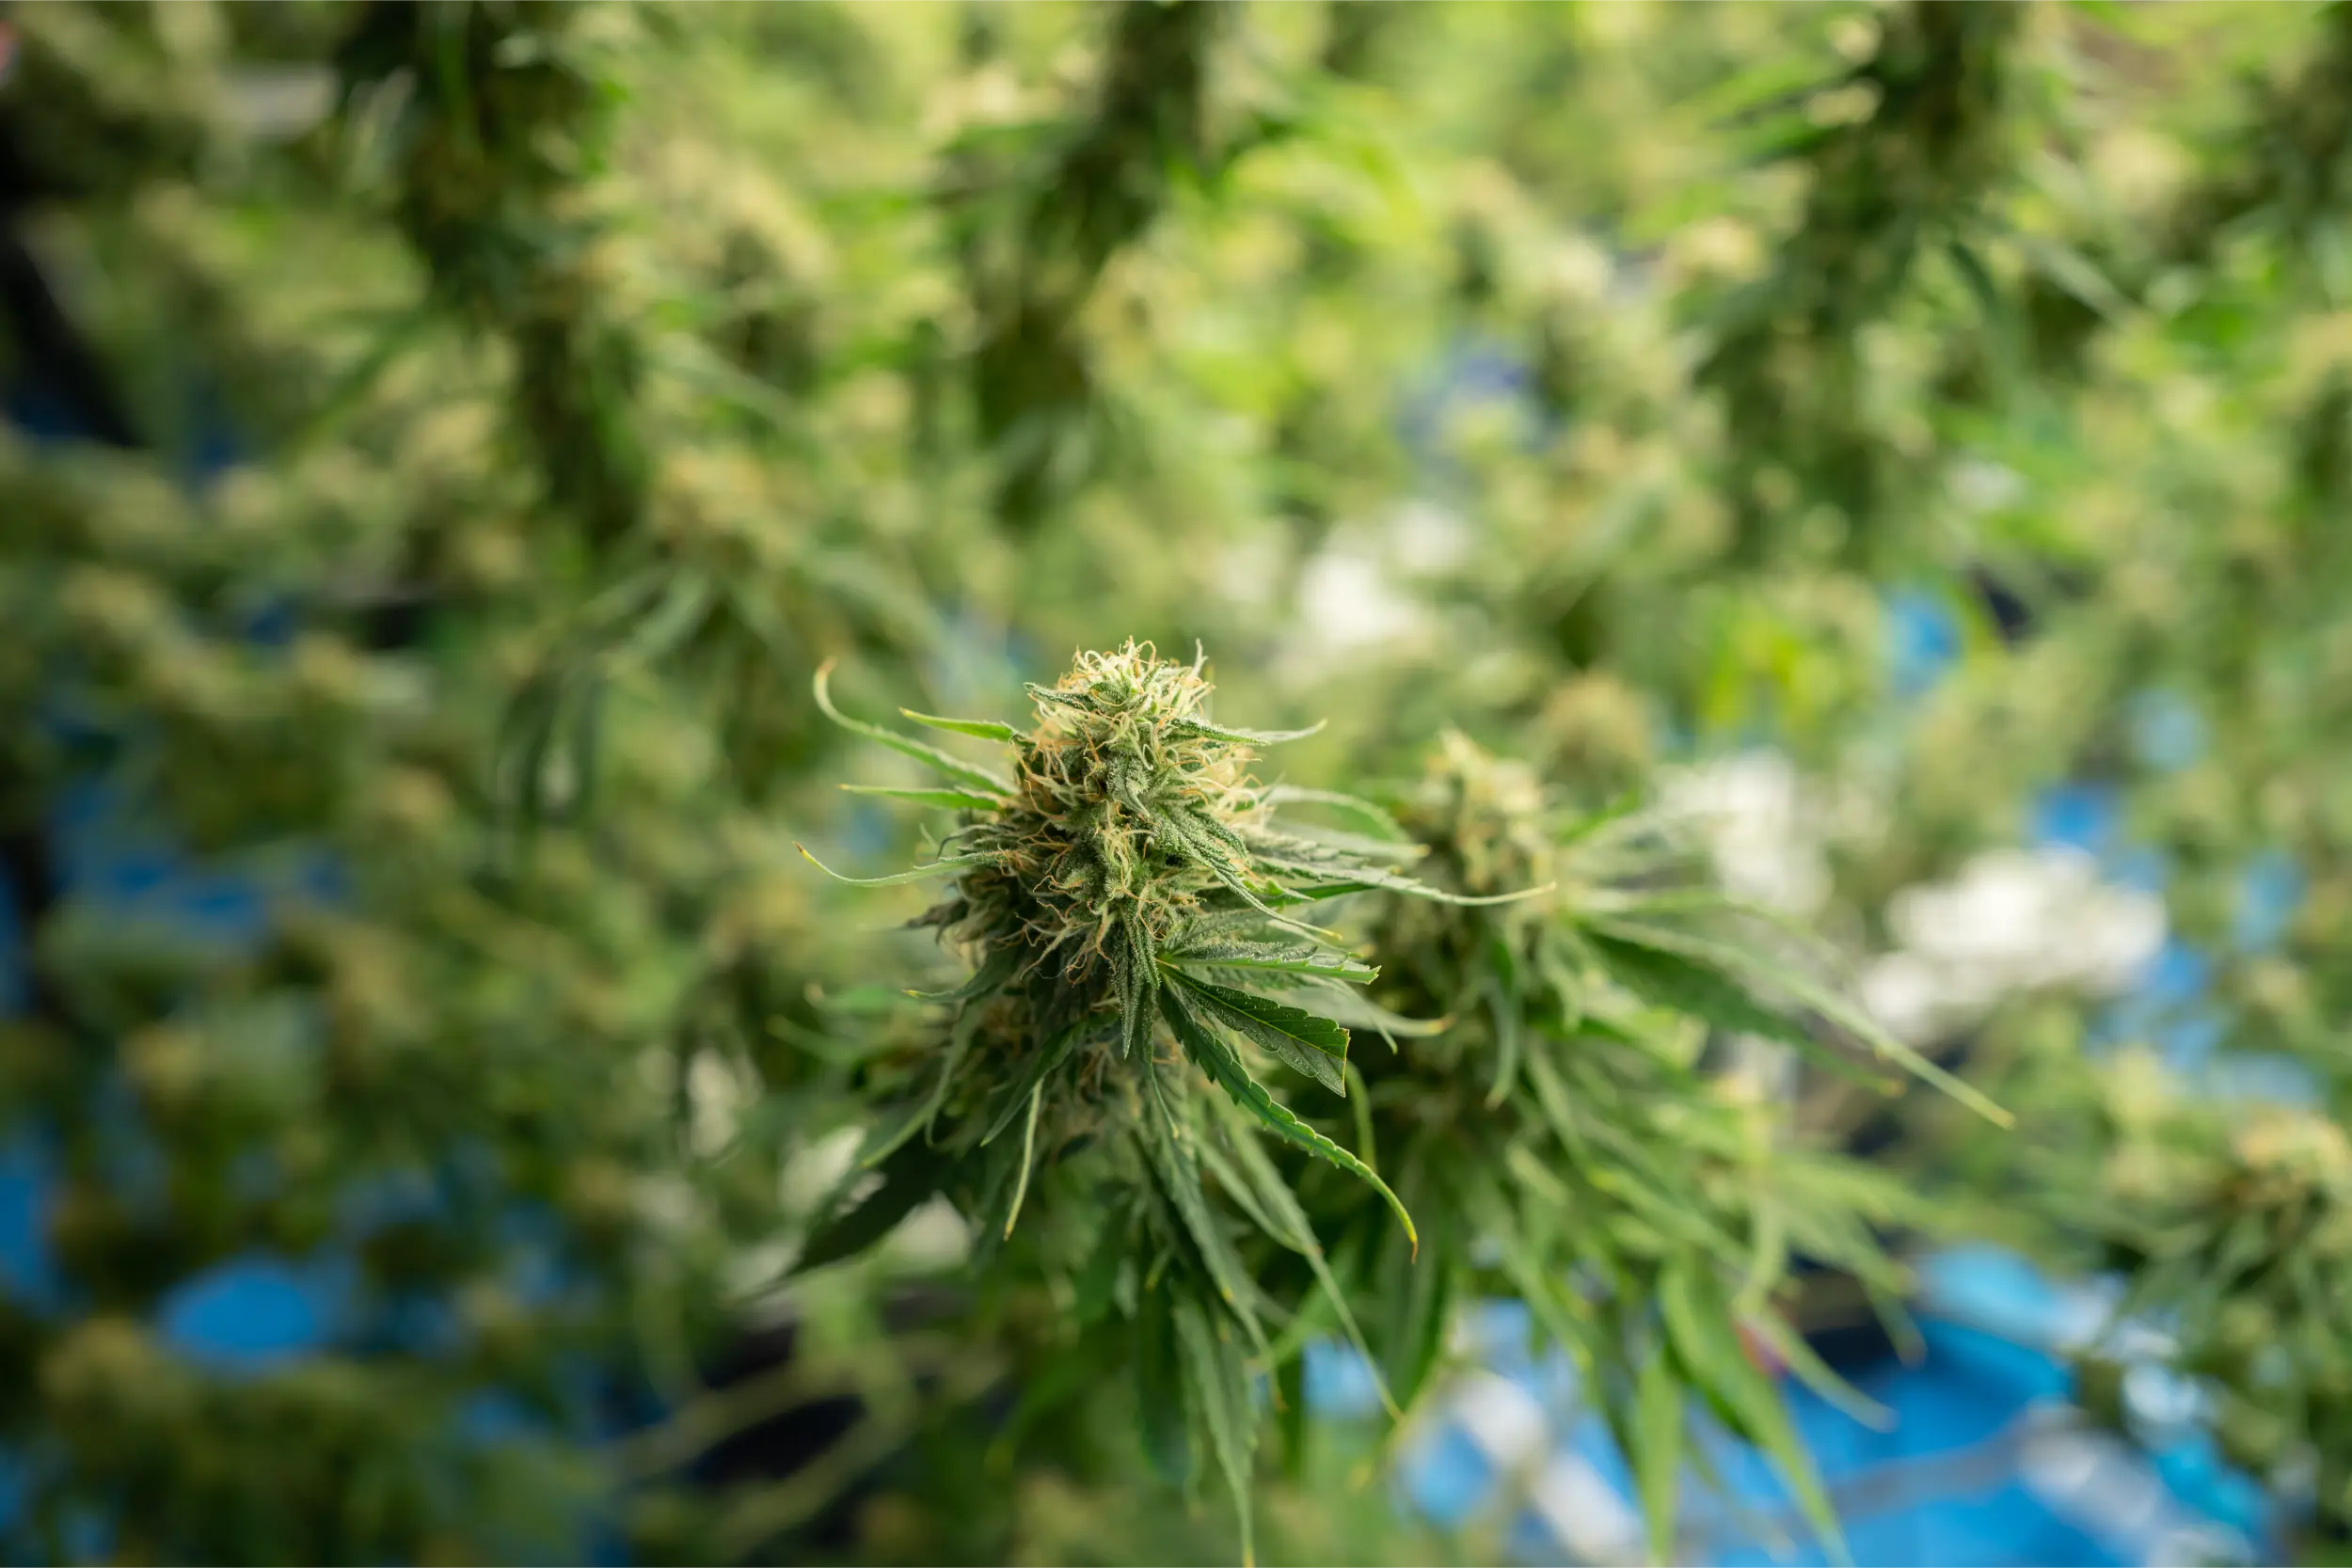
Follow a Repeatable Plant Inspection Sequence
A hand lens becomes much more useful when it is part of a scouting route rather than a tool used only after symptoms become severe. Cornell Hemp recommends inspecting both upper and lower leaf surfaces and multiple levels of the plant while using a hand lens for small insects and damage.
The broader Weedth Complete Outdoor Growing Guide and Outdoor Growing Basics explain the full outdoor context. This resource stays narrow: what to magnify, in what order, and how to verify what you saw.
Start with the naked-eye pattern
Do not put the lens to the first damaged leaf immediately. Look at the whole plant first. Decide whether the change affects new growth, old leaves, one branch, the lower canopy, one side, one irrigation zone, or the entire plant.
This step matters because magnification removes context. Under a lens, a normal leaf hair can look dramatic. A single mite can seem like an infestation. A small necrotic edge can fill the entire field of view. Always know where the sample came from before zooming in.
Inspect growing tips
Check the newest leaves and shoot tips when growth is distorted, twisted, bronzed, curled, sticky, or unusually slow. Several cannabis pests concentrate on tender tissue, and fine feeding injury can become visible before the organism is obvious.
Inspect upper leaf surfaces
Look for stippling, mines, small lesions, superficial growth, eggs, feeding scars, and patterns around veins. The upper surface is also useful for finding the damage caused by organisms feeding beneath the leaf.
Turn the leaf over
This is one of the most important habits in cannabis scouting. Cornell emphasizes lower-leaf inspection because aphids, mites, eggs, cast skins, and other organisms can be concentrated there. Two-spotted spider mites, for example, commonly feed on leaf undersides and produce stippling that becomes obvious from above.
Follow veins and petioles
Small insects and eggs often collect along veins, petioles, and protected folds. Aphids can cluster where tissues are tender. Cast skins and honeydew residue may remain after the live colony has moved.
Check stems and branch unions
A hand lens can help distinguish a clean mechanical crack from a wound containing frass, feeding punctures, fungal growth, small insects, or eggs. Magnification does not tell you the internal condition of a stem, but it can reveal whether the surface supports a pest or disease hypothesis.
Inspect flowers gently
During flowering, examine exposed flower surfaces, bracts, sugar leaves, and suspicious dead tissue without squeezing or repeatedly opening dense flowers. If a sugar leaf dies abruptly inside a cola, magnification can help look for frass, webbing, fungal growth, eggs, or small insects, but do not shake suspicious material over clean flowers.
Do
Look at the whole plant first, then magnify a specific tissue because you know why that location matters.
Avoid
Diagnosing the entire plant from the first dramatic structure that fills the lens.
Repeat the same sequence on a healthy comparison plant
A normal comparison is one of the strongest hand-lens tools. Leaf hairs, resin glands, natural wax, harmless insects, old wounds, and minor blemishes can look alarming when viewed in isolation. Compare the same tissue age and plant position on a nearby healthy plant before deciding that a structure is abnormal.
For a broader repeatable route, Weedth’s dedicated outdoor scouting resource should eventually become the internal procedure link once its live URL is confirmed.
Use the Lens for Pests, Eggs, and Feeding Evidence
For arthropod scouting, the lens helps answer three separate questions: is an organism present, does the organism match the damage, and is the population changing?
Two-spotted spider mites
Spider mites commonly feed on leaf undersides. Early injury appears as fine stippling on the upper surface. Under magnification, inspect the underside for moving mites, eggs, cast skins, and fine webbing. Heavy webbing is a late sign, not a requirement for diagnosis.
Cornell and Alabama Extension both emphasize routine underside inspection. Do not wait until whole leaves are bronzed or webbed before using the lens.
Hemp russet mites
Russet mites are substantially smaller than two-spotted spider mites and do not make the same obvious webbing. Symptoms can include upward leaf-edge curling, bronzing or russeting, dull foliage, distorted growth, and severe population buildup on leaves, petioles, stems, or flowers.
Because extension sources differ on whether 20x field magnification is consistently adequate, treat a hand-lens result cautiously. If the symptoms fit but the organism is not clearly resolved, use stronger microscopy or qualified diagnosis before deciding the plant is mite-free.
Cannabis aphids
Aphids are larger and usually easier to inspect. Look for colonies on leaf undersides, stems, and tender growth, along with honeydew, cast skins, curled tissue, or sooty growth associated with sticky deposits.
Magnification also helps identify aphid mummies. Virginia Tech notes that parasitized aphids can appear swollen and tan or brown. Seeing mummies matters because it reveals beneficial parasitoid activity and can change how aggressively a grower wants to intervene.
Thrips and small feeding insects
Thrips are narrow, mobile insects that can hide in protected tissue. The lens can help distinguish the insect, larvae, fecal spots, and feeding scars from nutrient or mechanical damage. Inspect young leaves, folds, and flowers where the crop and local pest complex make thrips relevant.
Eggs and cast skins
Eggs can be easier to find than active adults because they do not run away. Look along veins, protected leaf undersides, flower surfaces, and other pest-specific sites. Record whether the eggs are isolated or repeatedly present across plants.
Cast skins can confirm that an insect colony has been present even when live insects are temporarily difficult to find. Do not mistake every translucent object for an egg or skin. Compare shape and location across several samples.
Beneficial insects and mites
Not every small organism should be removed. Cornell and Virginia Tech both emphasize beneficial predators and parasitoids in hemp systems. Lady beetle larvae, lacewing larvae, predatory mites, minute pirate bugs, parasitoid wasps, and other beneficials can occur alongside pests.
Do Not Turn Magnification Into a “Kill Everything Small” Rule
Correct identification comes before control. A hand lens can reveal predators, parasitoids, harmless arthropods, and pest organisms in the same garden. If you cannot distinguish them reliably, photograph or collect the specimen and confirm the identity before treatment.
Count consistently when trend matters
You do not need to invent a universal cannabis pest threshold. Instead, use the same inspection unit when monitoring change. For example, compare the same number of leaves from similar canopy positions or the same sentinel plants from one inspection to the next.
If a validated local IPM program provides a pest-specific sampling method or threshold for hemp or cannabis, use that method. Otherwise, record presence, approximate density, spread, plant stage, damage progression, and beneficial activity rather than pretending a precise threshold exists.
“I found one spider mite under a leaf. Is that already an infestation?”
One confirmed mite is evidence that the pest is present, not enough information to describe the whole population. Inspect nearby leaves, multiple canopy levels, neighboring plants, eggs, stippling, webbing, and population change at the next recheck. The decision should come from distribution and trend, not one magnified field.
Question sent by: Julia Schneider, via contact form.
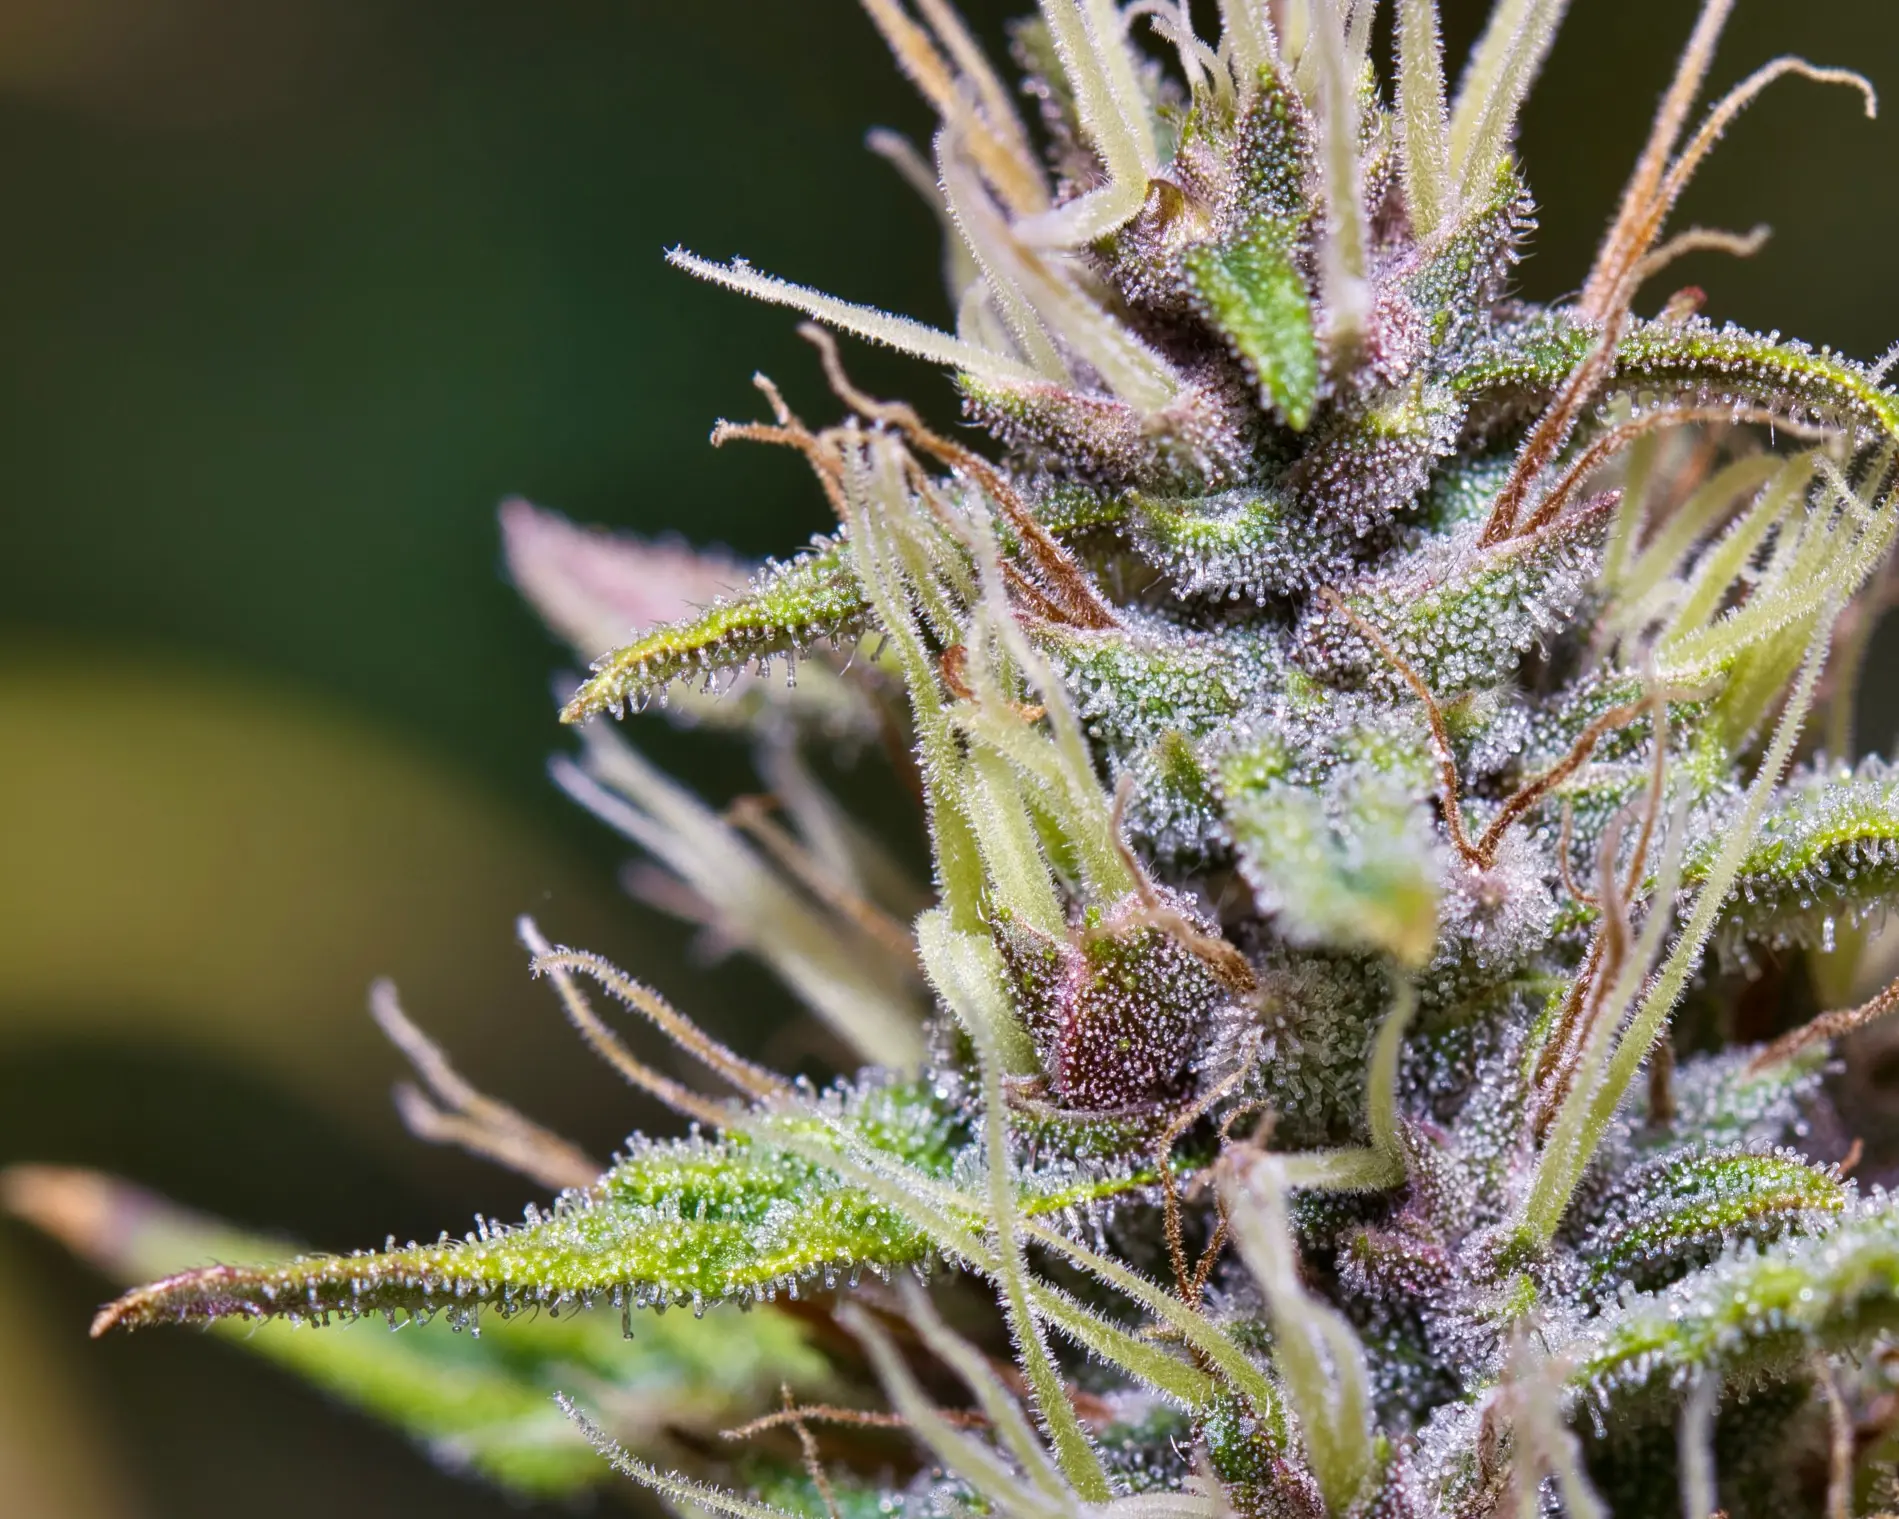
Use the Lens for Disease and Look-Alike Clues
A hand lens is useful in disease work when the problem produces visible surface structures. It is much less useful when the causal organism is internal, microscopic beyond the lens resolution, or symptomatically indistinguishable from another problem.
Powdery growth, spray residue, and dust can look similar
White material on cannabis can be powdery mildew, dried spray residue, mineral deposits, dust, plant hairs, or debris. Magnification can help reveal whether the material forms a structured growth pattern, sits as droplets or crystals, follows leaf hairs, or appears across nearby sheltered tissue.
But the lens is not a species-level fungal test. If identity matters for treatment, quarantine, or crop safety, use a plant diagnostic service.
Look for structures, not just color
Brown, yellow, white, or black coloration alone is rarely diagnostic. Under magnification, ask what is physically present: collapsed cells, raised fungal material, insects, eggs, punctures, webbing, frass, crystallized residue, torn tissue, water-soaked margins, or clean mechanical abrasion.
Compare sheltered and exposed tissue
Spray residue and dust often follow exposure patterns. Fungal growth may be stronger in protected humid zones. Wind abrasion may affect one side. Comparing inside and outside leaves can make the pattern more informative.
Do not use the lens to “confirm” viruses or viroids
HLVd and plant viruses cannot be confirmed by a hand lens. Magnification can document distorted growth, discoloration, or other visible symptoms, but molecular testing is required when the diagnosis depends on detecting a virus or viroid.
Weedth’s Cannabis Seeds and Plant Pathogens resource explains why visible symptoms and laboratory confirmation should remain separate when internal pathogens are involved.
Root and crown problems usually need more than a loupe
A hand lens can help inspect crown wounds, superficial fungal growth, insects, and fine root surfaces on a sample. It cannot tell you whether a brown root was damaged by simple oxygen shortage, Pythium, Fusarium, salt injury, or another cause without the rest of the diagnostic evidence.
Use the lens as one observation layer. Root-zone moisture, odor, tissue firmness, spread pattern, irrigation history, and laboratory testing may be more important.
Do
Use magnification to describe visible structure and strengthen or weaken a hypothesis.
Avoid
Turning a magnified symptom into a pathogen name when the lens cannot prove the organism.
Inspect Trichomes Without Overreading Them
Trichome inspection is the part of hand-lens use most closely associated with cannabis, but it is also where visual rules are most often overstated. Magnification can show glandular trichome development and maturation. It cannot directly measure THC, CBD, terpene concentration, or the exact subjective effect of the finished flower.
Inspect flower bracts, not only sugar leaves
When using trichomes as a maturity cue, inspect glandular heads on representative flower bracts whenever possible. Sugar leaves are easy to access and often heavily resinous, but they can age differently from the flower tissue that matters for the harvest decision.
Weedth’s Cannabis Grow Basics already recommends using multiple representative flower sites and not relying on sugar-leaf trichomes alone. Keep that same sampling discipline with a hand lens.
Use the same flower zones each time
Choose several representative flowers from different canopy positions and return to comparable tissue on each inspection. A sun-exposed top, a shaded side flower, and a lower flower may not mature at the same rate.
Photograph or note the positions so one week’s uppermost flower is not compared with the next week’s lower shaded branch.
Clear, cloudy, and amber are visual stages, not chemical assays
A 2023 cannabis microscopy study documented trichome-head development from clear or translucent toward cloudy and brown or amber appearances as glandular structures matured and senesced. The same study also found that trichome development varied with genotype and plant age and that maturation was asynchronous.
That means a single flower can contain trichomes at several visual stages at once. It also means a fixed amber percentage should not be treated as a universal biological law.
Color depends on light and handling
Warm light can make heads look more amber. Strong glare can make cloudy heads look clear at some angles. Resin on the lens can create haze. Crushed or collapsed trichomes can look dark. Environmental stress may also alter appearance.
Repeat trichome checks under similar neutral light and compare the same tissue before making a harvest decision.
Do not reduce harvest timing to one amber percentage
The scientific literature supports visible trichome maturation, but it does not establish a universal cannabis rule such as “harvest at 20 percent amber” or “50 percent amber gives a specific effect.” Genotype, flower position, developmental stage, environment, and chemistry all vary.
Use trichome appearance together with flower development, the cultivar’s recent rate of change, pest or mold risk, weather for outdoor plants, aroma, and the goals of the lawful grow.
Trichome Maturity Cue
A trichome maturity cue is a repeated visual observation of glandular head development on comparable flower tissue. It is evidence about flower progression, not a direct laboratory measurement of cannabinoid concentration or a guaranteed predictor of effect.
Handle the flower gently
Trichome heads can be damaged by physical handling. The cannabis microscopy study found that post-harvest handling affected glandular-head integrity. During live-plant inspection, avoid rubbing, squeezing, scraping, or repeatedly folding flower surfaces just to stabilize the lens.
If the flower is difficult to inspect while attached, use better bracing, a different angle, or a stable digital microscope setup rather than crushing the sample.
Master Advice: Trichome inspection is strongest as a time series. One magnified look gives you a picture. Repeated checks of the same type of flower tissue show you the direction of maturation.
“My sugar leaves are amber but the flower bracts still look mostly cloudy. Which should I trust?”
For a flower-maturity decision, prioritize representative gland heads on the flower bracts and compare several bud positions. Sugar-leaf trichomes can mature differently and may make the plant look further along than the flower tissue itself.
Question sent by: MapleGrower, via Facebook page.
Avoid Common Hand-Lens Errors
Most bad hand-lens decisions come from sampling and interpretation mistakes rather than from the lens itself.
Mistake 1: Using only one leaf
One leaf can contain a local colony, an old wound, residue, or random debris. Inspect nearby leaves, the opposite side of the plant, and a healthy comparison before describing a plant-wide problem.
Mistake 2: Looking only where damage is obvious
Damage is often easier to see than the organism. If you find stippling above, inspect the underside. If a flower contains frass, inspect adjacent flowers. If new growth is distorted, inspect tips, petioles, and protected folds.
Mistake 3: Beginning with maximum magnification
High power can make the field so small that you lose orientation. Start broad enough to find the target, then increase magnification if necessary.
Mistake 4: Trusting color under poor lighting
Colored grow lights, sunset light, yellow flashlights, and glare can distort trichome and lesion color. Repeat color-sensitive observations under neutral light.
Mistake 5: Treating absence as proof
A pest can be present elsewhere on the plant. Russet mites may be below practical hand-lens resolution. A pathogen may be internal. Repeat the inspection at multiple sites and escalate when the symptoms remain convincing.
Mistake 6: Confusing normal cannabis structures with pests
Cannabis leaves and flowers carry glandular and nonglandular trichomes. Under magnification, normal hairs, resin glands, stigmas, dried plant tissue, and mineral crystals can look unfamiliar. Compare healthy tissue before labeling a structure as an insect or egg.
Mistake 7: Touching every suspect plant with the same hands
The lens itself may never touch the plant, but your fingers often do. Inspect healthy plants before heavily diseased suspects where practical, avoid brushing unknown fungal material through the canopy, and sanitize tools or change gloves when needed.
Mistake 8: Using magnification as a treatment decision by itself
Finding one organism confirms presence, not severity. A treatment decision should also consider distribution, plant stage, damage, beneficial organisms, rate of spread, crop legality, and the safety of the intervention.
| What you see under the lens | Do not assume | Next verification |
|---|---|---|
| One moving mite | The whole plant is heavily infested | Inspect nearby leaves, eggs, damage, and neighboring plants |
| No visible russet mites | Russet mites are absent | Use stronger microscopy if symptoms remain consistent |
| White superficial material | It is definitely powdery mildew | Compare residue pattern, sheltered leaves, spray history, and diagnostic testing if needed |
| Amber trichomes on a sugar leaf | The flower is ready to harvest | Inspect flower bracts at multiple representative positions |
| Brown root surface | A specific root pathogen is confirmed | Combine root condition, moisture history, crown signs, and laboratory diagnosis |
| Small insect near a pest colony | It is another pest | Check whether it is a predator, parasitoid, or harmless arthropod |
Verify and Record What You See
The final step is not putting the lens back in your pocket. It is deciding whether the observation is strong enough to act on and what you need to inspect next.
Use a three-level verification ladder
Level 1: repeat the visual check. Look at several similar tissues and a healthy comparison plant. If the same structure appears consistently, the observation becomes stronger.
Level 2: increase optical resolution. Use a stronger hand lens, stable digital microscope, stereo microscope, or clear macro photograph when the target is too small or the first view is ambiguous.
Level 3: use diagnostic testing. If the decision involves removing plants, treating a suspected disease, confirming a virus or viroid, or distinguishing closely related pathogens, send appropriate material to a qualified diagnostic laboratory.
Photograph the context and the magnified detail
A close-up without location is easy to misinterpret later. Take one whole-plant or branch image, then the magnified target. Record plant ID, canopy position, leaf surface, growth stage, date, and whether the problem is spreading.
Mark the inspected site
If you are monitoring trichome development, return to comparable flower positions rather than random buds. If you are tracking a pest cluster, mark the branch or plant and inspect the surrounding zone at the next visit.
Record what changed, not just what you found
Write whether the mite count appears higher, the colony spread to another plant, the webbing expanded, the mildew-like patch stayed local, the trichomes became cloudier, or the new growth returned to normal.
Weedth’s Grow Basics encourages repeated observation and photography because plant correction is usually judged by whether new damage stops and new growth improves, not by whether old injury disappears.
Final hand-lens decision sequence
Before acting, ask:
- What exact tissue am I looking at?
- What did the plant look like before magnification?
- Can I see an organism, egg, structure, residue, or only damage?
- Does the same feature appear on more than one sample?
- Does a healthy comparison show the same structure?
- Is my magnification strong enough for the suspected target?
- Could lighting be distorting color?
- Would a stronger microscope or laboratory test change the decision?
- What should I recheck, and when?
Hand Lens Checklist
- Choose magnification for the target rather than buying the strongest number available.
- Use a moderate lens such as 10x as a practical starting point for general arthropod scouting.
- Escalate to stronger microscopy when very small mites or uncertain structures cannot be resolved reliably.
- Clean the lens before color-sensitive inspection.
- Use bright, neutral light and avoid colored lighting when judging trichome or lesion color.
- Keep the lens close to your eye and move your head and target into focus.
- Brace your hands or elbows for small targets.
- Look at the whole plant before magnifying one symptom.
- Inspect growing tips, upper leaf surfaces, lower leaf surfaces, veins, petioles, stems, and flowers in a consistent order.
- Check leaf undersides routinely for mites, aphids, eggs, cast skins, and webbing.
- Compare suspicious structures with the same tissue on a healthy plant.
- Record beneficial insects and mites as well as pests.
- Do not treat a negative hand-lens check as proof that a very small pest is absent.
- Do not use a hand lens to confirm viruses, viroids, or uncertain internal pathogens.
- For harvest checks, inspect representative flower-bract trichomes at multiple positions rather than sugar leaves alone.
- Do not use a fixed amber percentage as a universal cannabis harvest rule.
- Repeat trichome checks under similar lighting and on comparable tissue.
- Photograph both the plant context and the magnified detail.
- Mark the location and compare change at the next inspection.
- Escalate to microscopy or laboratory diagnosis when the answer changes removal, treatment, harvest, or crop-safety decisions.
Share this article
A quick overview of the topics covered in this article.
Follow us
Latest articles
September 26, 2026
September 26, 2026
September 26, 2026
September 26, 2026
