Is It Worth Buying a Grow Tent for Cannabis?
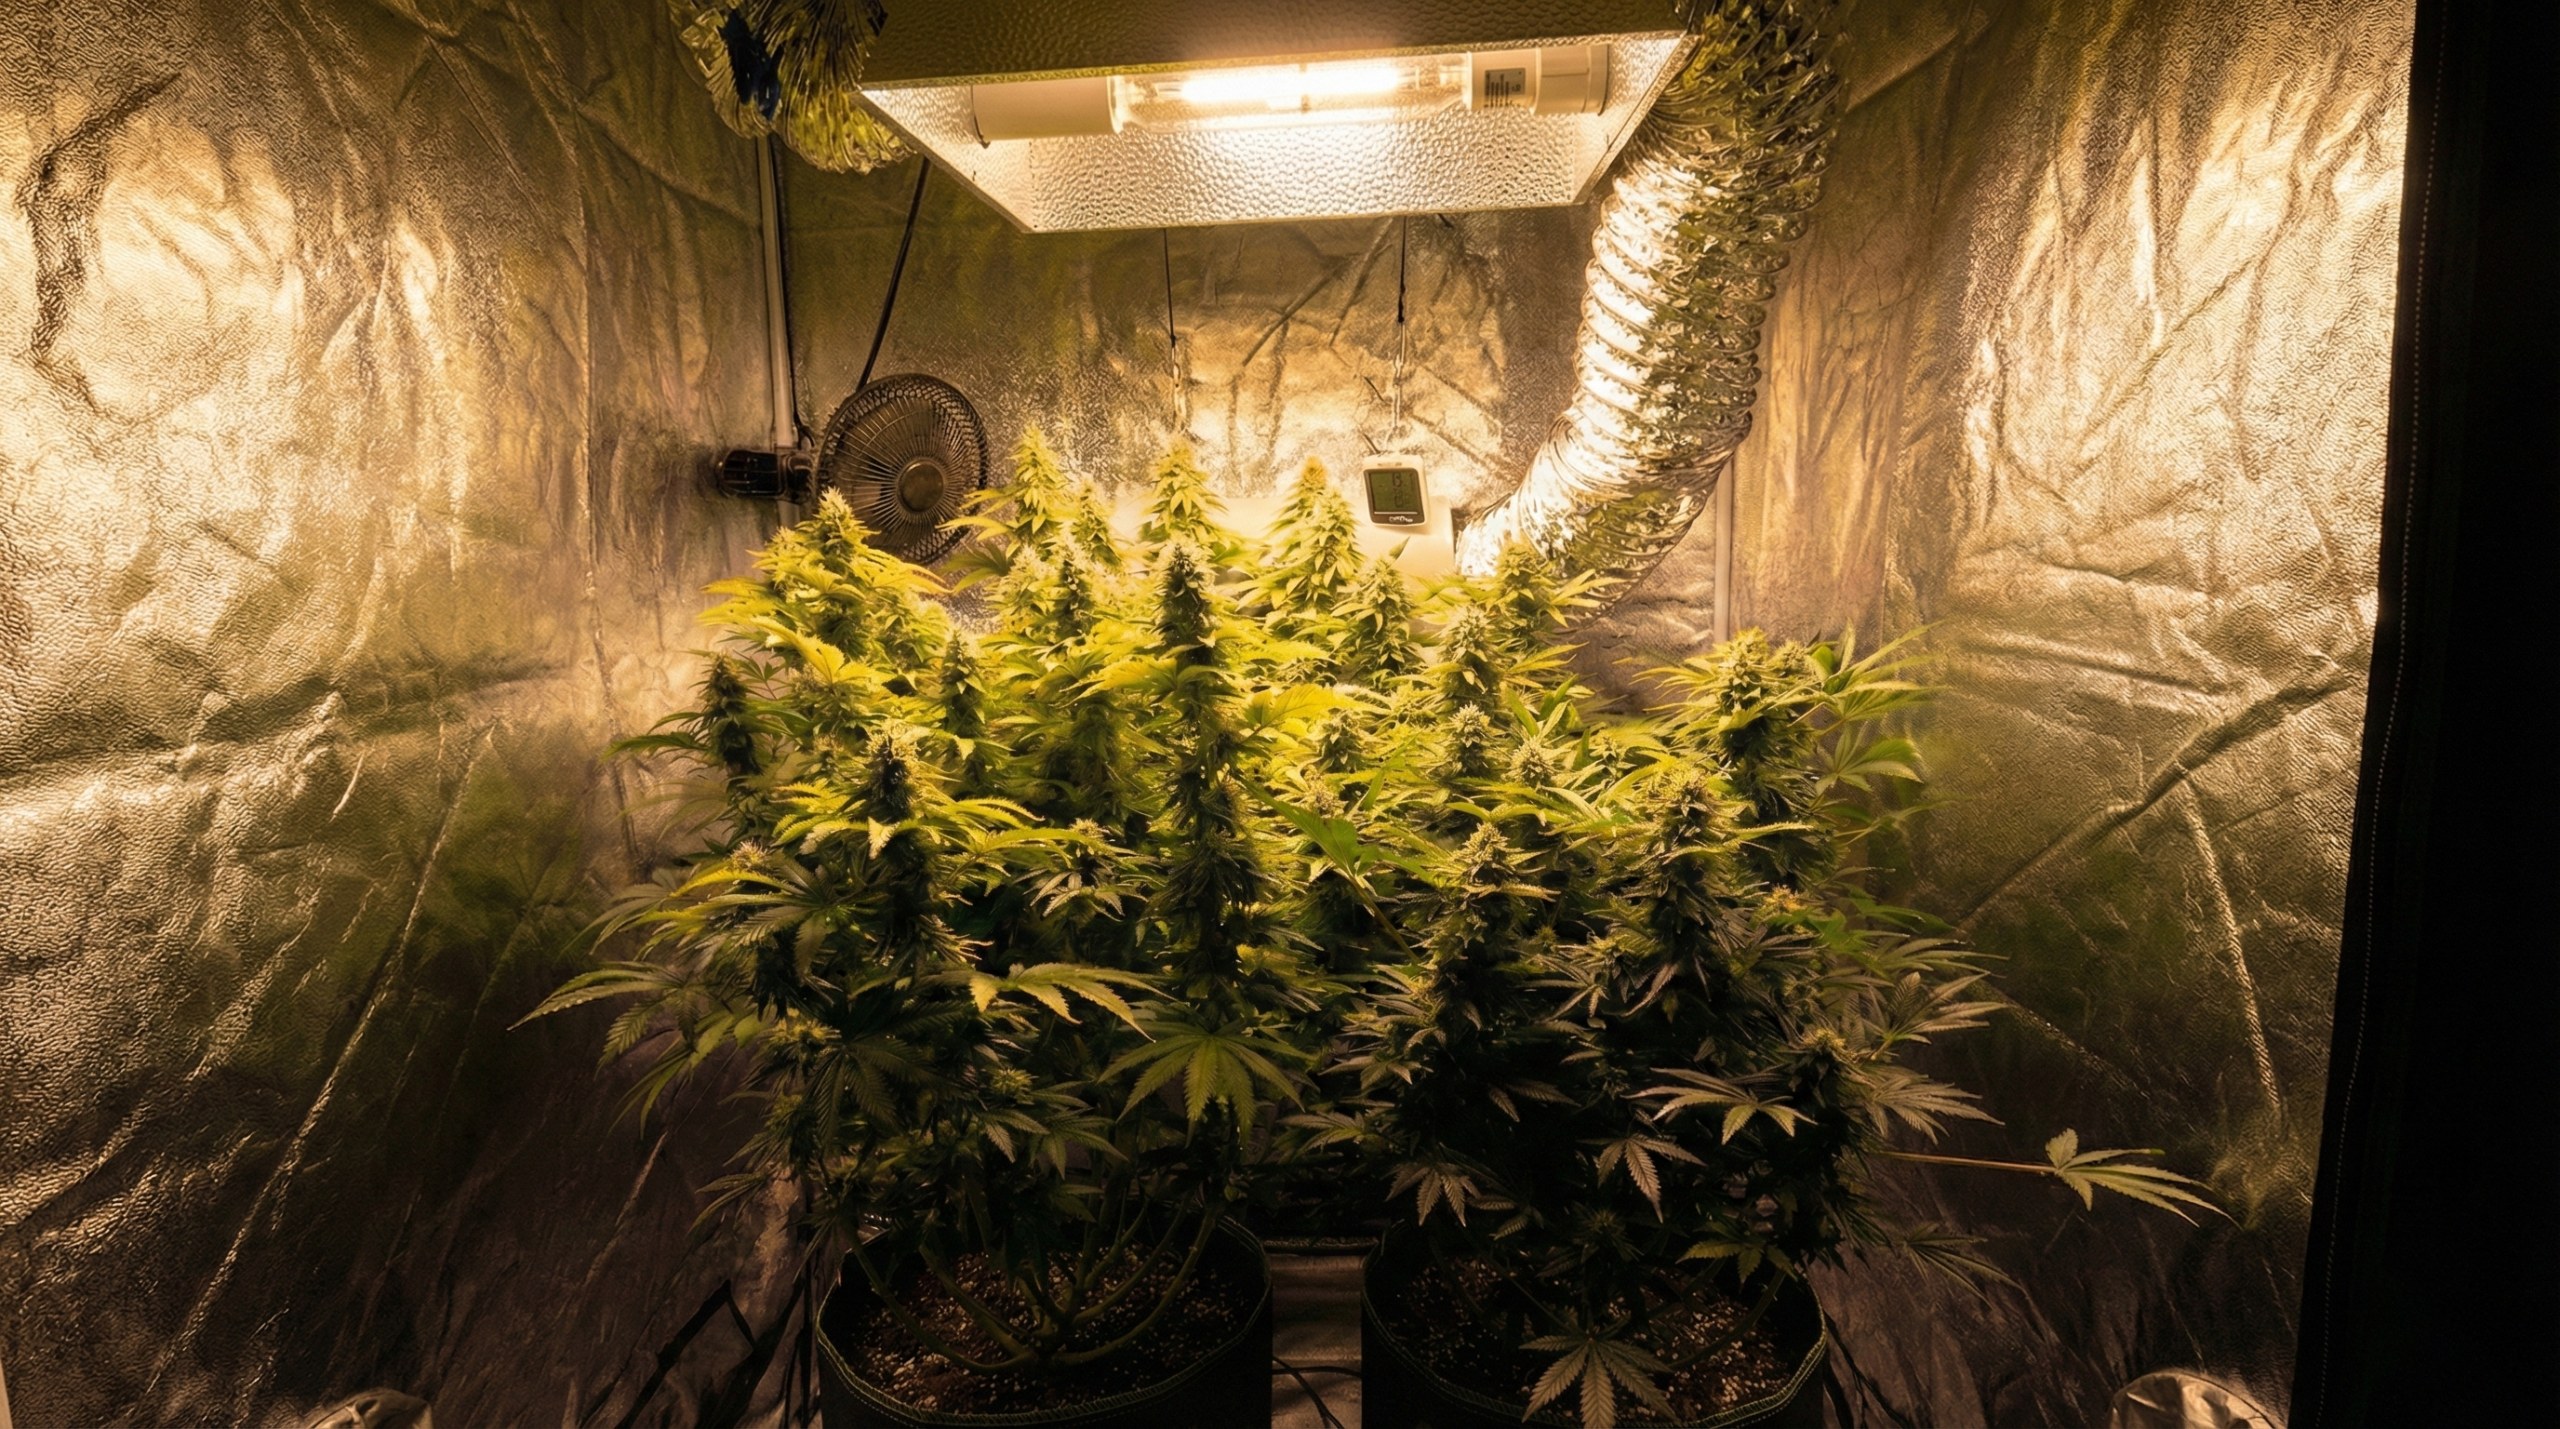
For most home growers who want a small, repeatable indoor garden, a grow tent is worth buying. It gives the light, exhaust system, carbon filter, circulation fans, containers, and plants one defined working area without requiring permanent changes to the room. The real value is not the reflective fabric by itself. It is the way a tent makes light, airflow, odor control, cleaning, and daily observation easier to organize.
That does not make a tent an automatic solution. A tent cannot cool a hot room, dry a humid basement, create electrical capacity, silence an oversized fan, or turn an inaccessible corner into a pleasant place to work. It is a controlled enclosure inside a larger host room, often called the lung room. If that room cannot supply suitable air or accept the heat and moisture leaving the tent, the enclosure can concentrate the problem instead of solving it.
Let’s make the purchase decision from the complete system. We will compare tents with closets, cabinets, open rooms, and purpose-built grow rooms; calculate the usable space that remains after equipment is installed; examine real startup and operating costs; and identify the construction details that are worth paying for. By the end, you should know whether a tent fits your home, your routine, and the flower quality you want to protect.
Use this guide only for lawful cultivation with the property owner’s permission. Local rules may govern plant numbers, locked access, visibility, odor, ventilation, electrical work, and alterations to a building. When circuit capacity, structural work, fire protection, or ventilation changes exceed your competence, use a qualified professional.
Advice: Buy the enclosure only after you know where heat, humidity, odor, drainage, and electrical load will go. A tent is a boundary around the garden, not a replacement for the room that supports it.
When a Grow Tent Is Worth the Money
A tent usually earns its cost when you need to create a compact indoor zone without rebuilding the room around it. It is particularly useful in a rented home, spare bedroom, basement, garage, or multipurpose room where the garden may later move. The frame provides known hanging points, the liner returns stray light toward the canopy, the ports organize intake and exhaust, and the removable tray contains small spills while simplifying cleanup.
The enclosure also makes the garden easier to read. When the walls, airflow path, fixture position, and canopy footprint remain consistent, changes in temperature, humidity, water use, and plant posture become easier to compare from one day to the next. That repeatability is valuable for a first setup, but it remains useful long after the grower has learned the basics.
A grow tent is a light-controlled, reflective enclosure that creates a defined cultivation zone inside a larger host room.
It supports equipment and helps direct air, light, and odor. It does not independently heat, cool, dehumidify, or make the surrounding building suitable.
| Your situation | Likely answer | Why | Check before buying |
|---|---|---|---|
| One small indoor crop in a shared or rented room | Usually yes | Portable, contained, and easier to return the room to normal use | Permission, ventilation route, circuit capacity, and floor protection |
| Need flowering darkness while the room remains in use | Often yes | The enclosure separates the plant schedule from the host room | Zippers, seams, ports, and intake light control |
| Hot attic, humid basement, or unconditioned garage | Only after climate planning | The tent may trap the room’s existing heat or moisture problem | Seasonal temperature, dew point, exhaust destination, and insulation |
| Large perpetual garden with separate plant stages | Maybe several zones or a room | One tent can become crowded and awkward for different light schedules | Workflow, access, drying space, and independent ventilation |
| Already have a safe, washable, dedicated grow room | Not always | The room may already provide the boundary and working access | Whether a tent adds useful zoning or only reduces space |
| No safe electrical or ventilation plan | No, not yet | The enclosure does not correct building-level hazards | Professional electrical advice and a realistic air path |
What a Tent Actually Improves
It turns scattered equipment into one working system
An open light in a spare room can grow a plant, but the rest of the room becomes part of the system. Light reaches walls and windows, warm air spreads through the house, odor follows uncontrolled pressure paths, and every surface becomes part of the cleaning area. A tent gives those moving parts a smaller boundary.
That boundary also helps with diagnosis. If the upper canopy is hot while the intake air remains comfortable, you can adjust fixture output, exhaust flow, or circulation inside a known volume. If humidity rises after irrigation, you can compare that rise with the host-room condition and the exhaust setting. The enclosure does not make the diagnosis for you, but it makes cause and effect easier to observe.
It keeps more useful light around the canopy
Reflective walls redirect some light that would otherwise leave the growing footprint. This is most useful around the edges of a correctly sized fixture, where reflected light can improve uniformity. It cannot rescue a weak lamp, remove a severe center hotspot, or create photons that the fixture never produced. The primary light still needs a credible PPFD map for the intended canopy.
Wall reflectivity also depends on condition. Dirty, creased, torn, or heavily bowed surfaces are less useful than clean, reasonably flat walls. Leave enough negative pressure to control odor without pulling the tent inward so aggressively that the walls touch plants and reduce the working footprint.
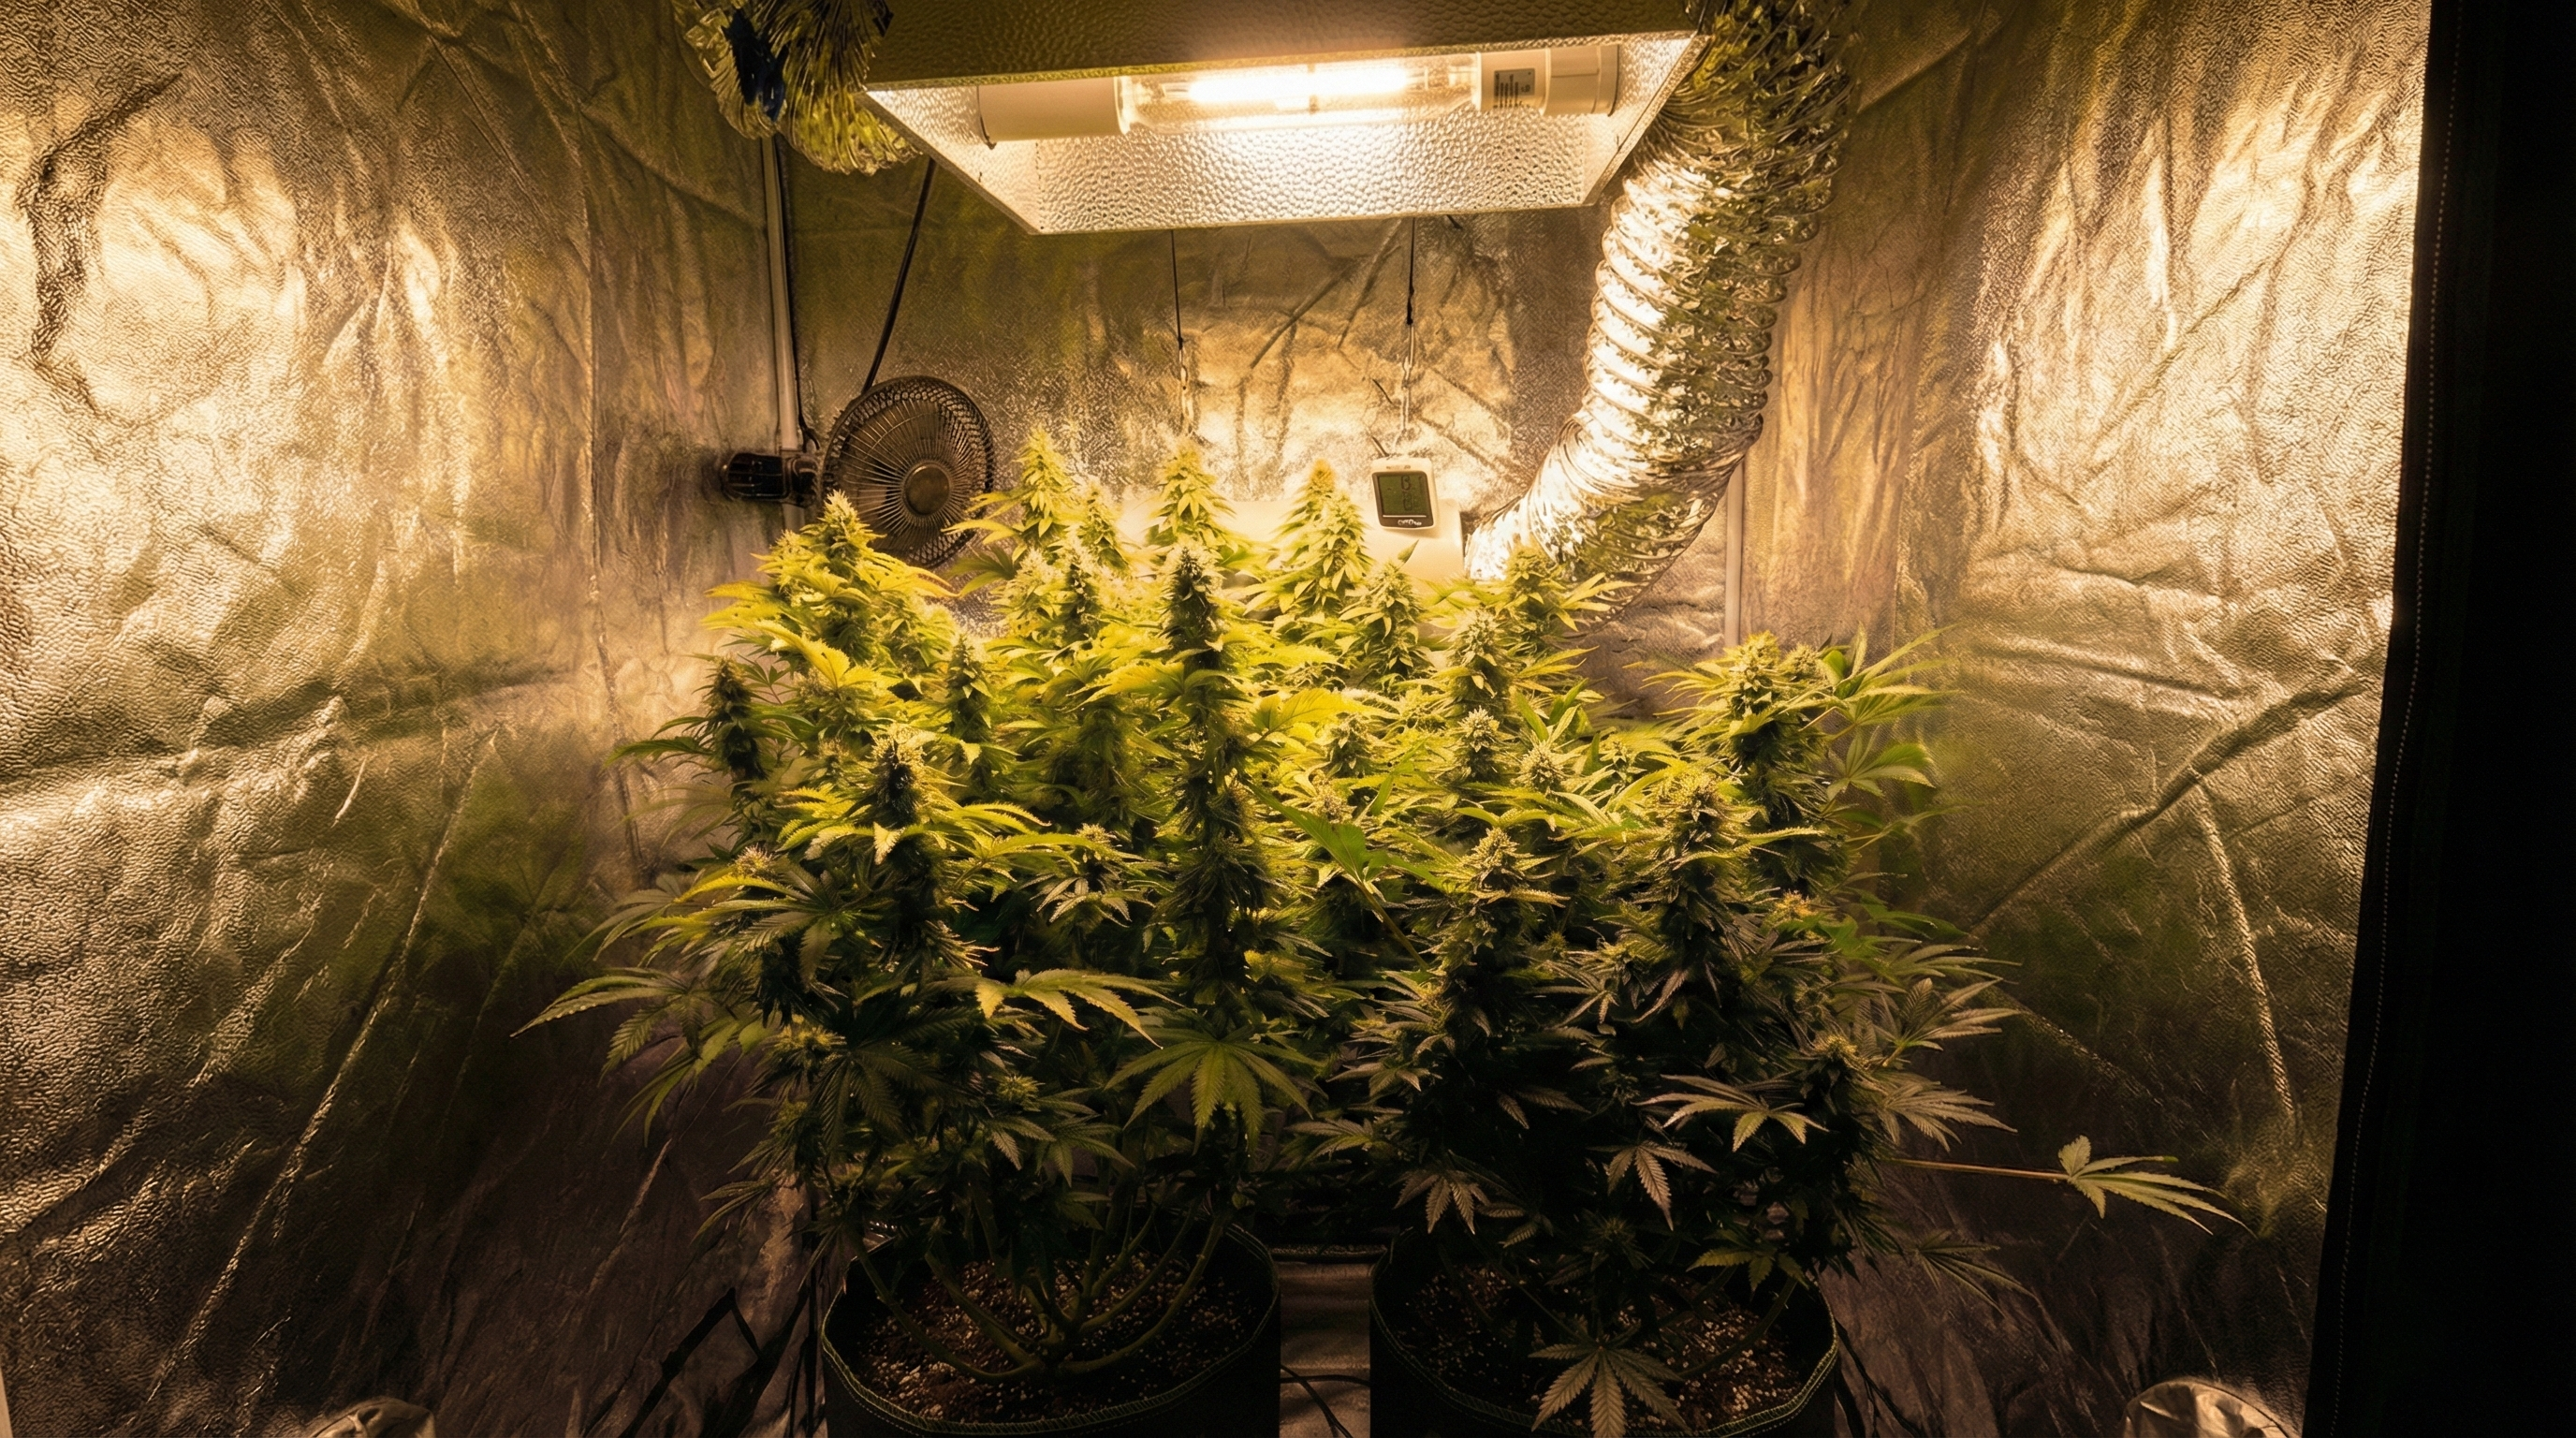
Remember: The tent label describes the outer shell. Usable canopy is what remains after containers, drainage, intake space, wall movement, equipment, and your own access are included.
It makes darkness easier to schedule
Photoperiod cannabis needs a dependable dark period during flowering. A tent lets the host room remain in normal use while the plants follow their own schedule. This is especially valuable when the enclosure is in a room that also stores tools, laundry, or household items.
Light control still requires testing. Zippers, stitching, cable ports, passive-intake flaps, and duct sleeves can admit or release light. Before plants enter, close the tent, run the grow light, darken the host room, and inspect for outward leaks. Then reverse the test by lighting the host room while the tent is dark. Correct the actual paths without blocking the air the garden needs.
It supports directional odor control
With a correctly matched exhaust fan and carbon filter, a tent can be kept under slight negative pressure. Air then tends to enter through intended openings and leave through the filtered exhaust path. This is much easier to manage than trying to filter an entire leaky room.
Odor control is not guaranteed by the tent. A saturated filter, excessive fan speed, duct leaks, open doors, high humidity, or an undersized filter can all reduce performance. Flowering plants may produce odor beyond the enclosure whenever you open it, work on the canopy, or dry harvested branches.
“Will a tent completely stop cannabis smell from reaching the rest of the house?”
Question sent by: Daniel Foster, via e-mail.
No. A well-sealed tent, suitable carbon filter, matched fan, airtight ducting, and slight negative pressure can reduce odor substantially while the enclosure is closed. Odor can still escape through leaks, an exhausted filter, an open door, or an unfiltered drying area. Plan odor control as a full airflow path, then confirm it during late flower rather than assuming the canvas will contain everything.
What a Grow Tent Cannot Fix
A tent is often marketed as a miniature climate-controlled room, but the fabric has no cooling or dehumidifying capacity. The garden’s heat and water vapor still enter the building. Exhausting warm, humid air from the tent into the same small room can create a loop in which the intake becomes progressively warmer and wetter.
The host room therefore matters as much as the enclosure. A stable spare room can make a modest tent easy to manage. An attic that reaches extreme summer temperatures, a basement with persistent moisture, or a garage that freezes in winter may require insulation, heating, cooling, dehumidification, or another location before the tent becomes practical.
Treat the tent and host room as one climate system.
Measure both spaces. Give the exhaust a real destination, keep intake air suitable, and account for heat and water vapor produced by the complete garden.
Exhaust back into a closed room and expect the tent to stay stable.
Recirculating the same warm, humid air can raise leaf stress, increase cooling demand, and make late-flower moisture harder to remove.
A tent does not provide safe electrical capacity
Lights, inline fans, circulation fans, dehumidifiers, heaters, pumps, and controllers may share the same residential circuit unless you plan otherwise. The tent frame gives those devices a place to hang, but it does not increase the circuit rating or correct old wiring. A 2024 Massachusetts fire investigation identified an overloaded power strip serving grow-room equipment as the likely cause of a residential fire.
List the actual wattage of every device, include equipment that cycles on and off, identify which outlets share the circuit, and leave a sensible margin for continuous operation. Use equipment with appropriate safety certification for your region and follow manufacturer instructions. Keep connections, controllers, and power supplies above possible spills. If the load, wiring, outlet condition, or required alterations are uncertain, use a licensed electrician.
Do not build the garden around overloaded power strips, chained extension cords, wet-floor connections, or improvised wiring.
Heat-generating and high-load equipment needs a known safe supply. Do not bypass breakers or fuses. Keep water below electricity, provide drip loops where appropriate, and bring in a qualified professional when permanent wiring or additional capacity is needed.
A tent does not make every room discreet
Even a dark enclosure can produce fan noise, duct vibration, warm exhaust, water traffic, equipment deliveries, and odor during maintenance. The shape of a large tent may also be obvious in a shared room. If discretion matters, evaluate the complete routine rather than focusing only on light escaping through the canvas.
Noise often travels through the structure. A fan suspended from straps can transmit less vibration than one fixed directly to a wall or frame, while smooth duct routes and appropriately sized equipment can reduce turbulence. Oversizing a fan and running it more slowly can be quieter than forcing a small fan through a restrictive filter, but the filter and controller still need compatible airflow ratings.
The Lung Room Decides Whether the Tent Feels Easy or Difficult
The lung room is the space from which the tent draws air and into which it may release heat or moisture. It can be a bedroom, basement, garage, utility room, or another conditioned area. The term matters because it reminds us that the tent is not isolated from the building.
Start by recording the host room’s temperature and relative humidity over several days, including the warmest and coolest parts of the light schedule. Seasonal measurements are better than one comfortable afternoon. Then estimate how much the fixture, fans, dehumidifier, and other equipment will add. A room that is barely suitable before the garden starts may move outside a manageable range once the equipment operates continuously.
| Host-room condition | Likely tent behavior | Planning response |
|---|---|---|
| Stable conditioned bedroom or spare room | Predictable intake air and easier exhaust control | Protect surfaces, plan odor and noise, confirm circuit load |
| Humid basement | High moisture load, especially after irrigation and in late flower | Control basement humidity and avoid exhausting into a closed pocket |
| Hot attic or upper-floor closet | Heat accumulation and little cooling margin | Choose another location or solve insulation and cooling first |
| Cold garage | Large day-night swings and cold root zones | Assess winter heating, condensation, and safe appliance use |
| Shared living space | More concern about noise, visibility, access, and light schedules | Choose compact equipment and plan how routine work affects others |
| Small sealed utility room | Fast recycling of heat and humidity | Create a real supply and exhaust path before buying the tent |
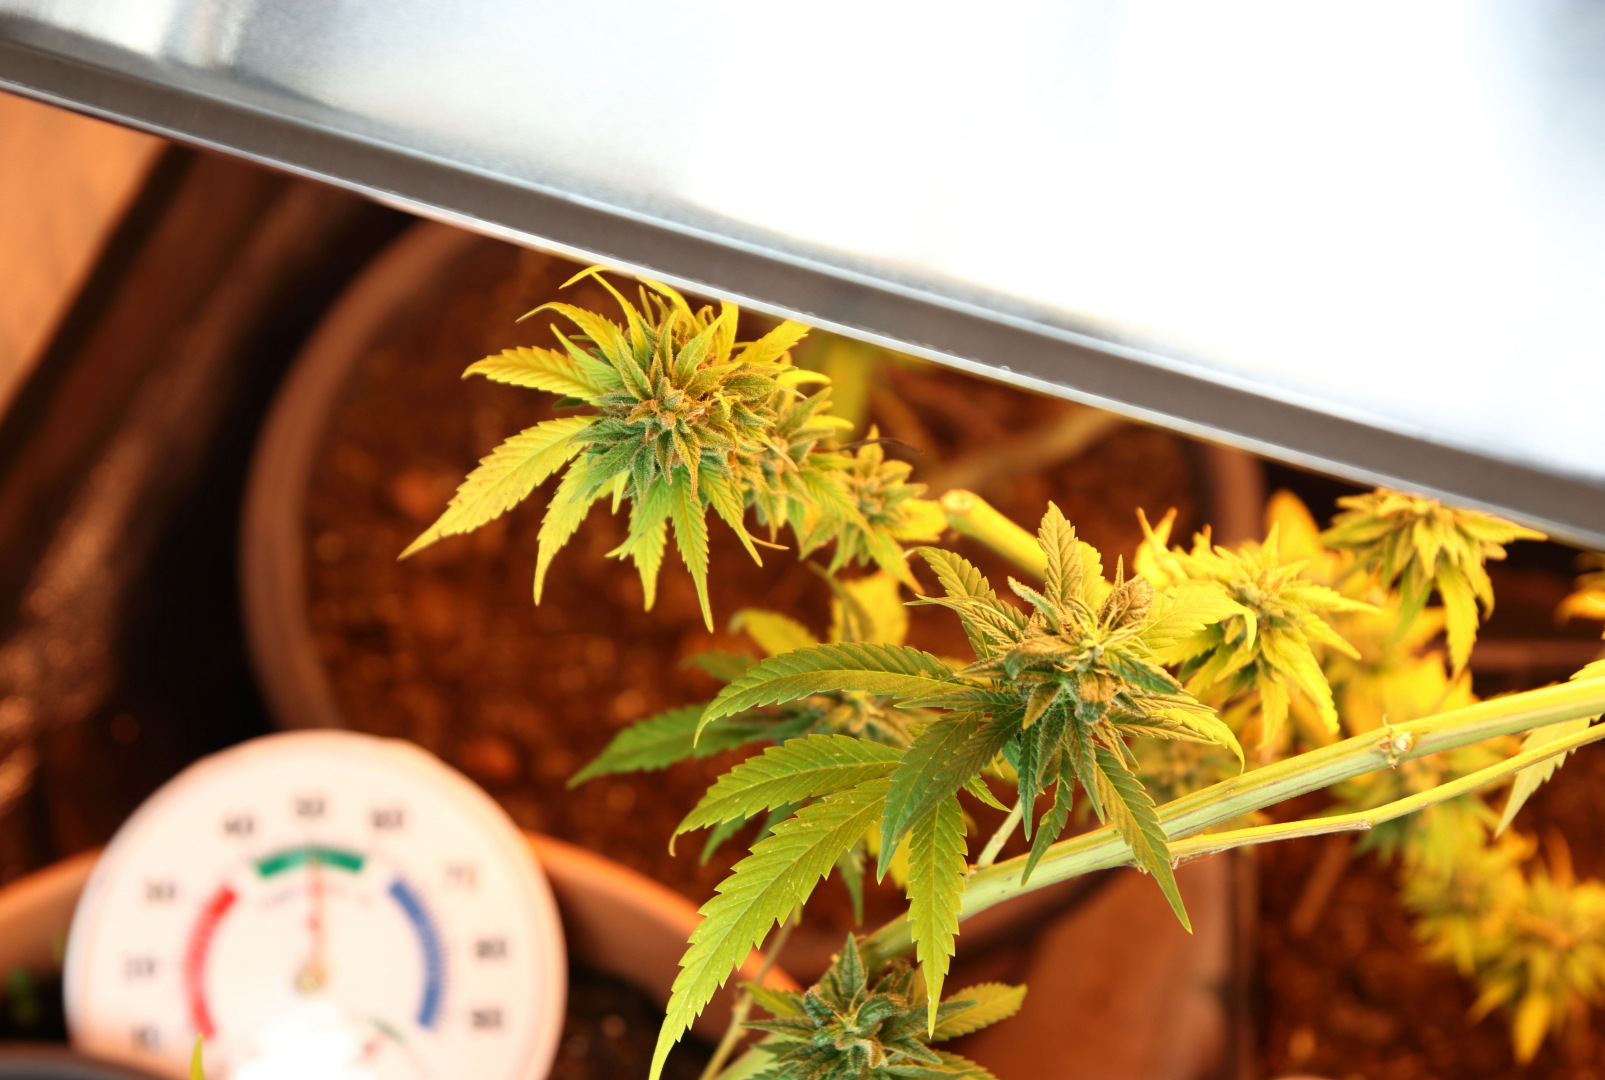
Pro Tip: Place a sensor in the host room and another near canopy height inside the tent. The difference between them tells you more than either reading alone.
Grow Tent Cost: The Canvas Is Only the Beginning
The tent shell is usually a modest part of the full indoor system. A functional setup may also need a light, exhaust fan, carbon filter, ducting, circulation fans, timer or controller, environmental sensors, containers, drainage trays, growing medium, nutrients, water-management tools, hanging hardware, and safe electrical distribution. Climate control can cost more than the enclosure if the host room is unsuitable.
Separate the purchase into initial cost and operating cost. Initial cost includes the enclosure and equipment required to start safely. Operating cost includes electricity, filter replacement, nutrients, medium, water treatment when needed, pest monitoring, cleaning supplies, and climate control. Optional gadgets should not consume the budget needed for reliable lighting, air movement, drainage, or measurement.
| Cost group | What belongs here | Priority | Common budgeting error |
|---|---|---|---|
| Enclosure | Tent, removable tray, frame, hanging bars | Required if choosing a tent system | Buying size before measuring the full equipment stack |
| Plant energy | Grow light, hangers, timer or controller | Required | Choosing by advertised wattage instead of measured coverage |
| Air path | Inline fan, filter, ducting, clamps, intake control | Usually required | Ignoring filter resistance, bends, noise, and exhaust destination |
| Climate | Cooling, heating, humidification, dehumidification | Depends on room and season | Assuming the tent creates its own climate |
| Root zone | Pots, medium, nutrients, irrigation and runoff handling | Required | Filling the floor before leaving access and drainage space |
| Monitoring and safety | Temperature and humidity sensors, electrical review, leak protection | Required or strongly recommended | Spending on automation before basic measurements are trustworthy |
| Recurring items | Electricity, filters, medium, nutrients, cleaning materials | Ongoing | Comparing tents only by their purchase price |
How to estimate your electricity cost
Add the wattage of equipment that runs at the same time. Multiply kilowatts by hours of operation, then multiply by your local electricity rate. For example, a 300 W light operating for 12 hours uses 3.6 kWh during that day. Fans, pumps, heaters, air conditioners, and dehumidifiers must be calculated separately according to their actual runtime.
This calculation also reveals where efficiency matters. A highly efficient fixture can reduce the electrical and cooling load for a given light target. A short, straight duct path can let the exhaust system move the required air at a lower setting. Climate equipment can dominate the bill when the tent is placed in a poor room, which is another reason to choose location before enclosure size.
Is a complete grow-tent kit worth it?
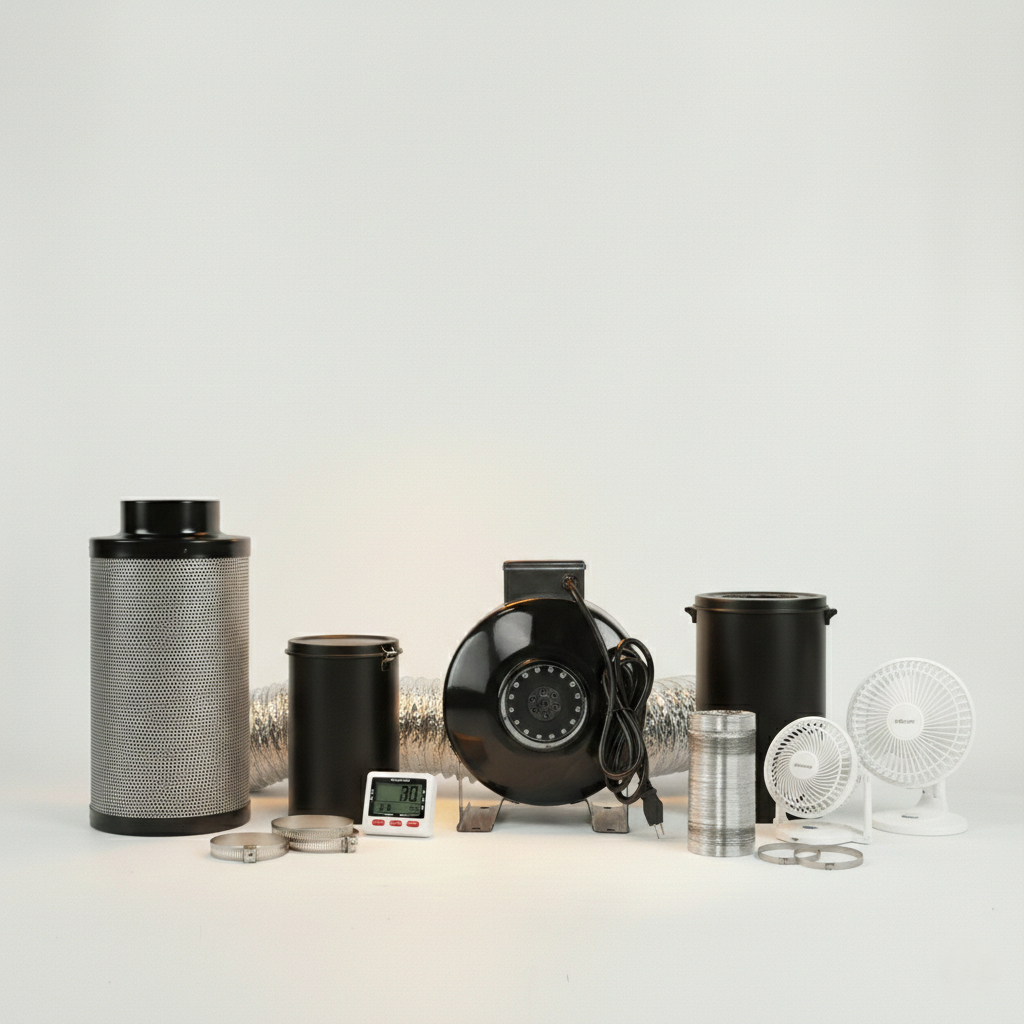
A kit can be worthwhile when its components are correctly matched and clearly specified. Convenience has value: compatible duct sizes, enough hanging hardware, one delivery, and fewer missing parts can reduce setup errors. The weak point is that some bundles use an acceptable tent to hide a weak light, noisy fan, undersized filter, inaccurate meter, or accessories that the grower does not need.
Evaluate every major component as though it were sold separately. Check the fixture’s actual power draw and coverage map, the fan’s controllable airflow and noise, the filter’s rating, the frame capacity, the warranty, and the availability of replacement parts. If one core component would need immediate replacement, the bundle may cost more than an individually selected system.
“The kit is cheaper than buying everything separately. Is that enough reason to choose it?”
Question sent by: Alex Romero, via Facebook page.
Only if the core components fit the canopy and room. Compare the light map, dimming range, fan control, filter rating, duct size, frame capacity, and warranty. A low bundle price stops being a saving when the light has weak edges, the fan is too loud to run, or the filter and exhaust system need replacement during the first crop.
Choose Tent Size from the Inside Out
The floor dimensions are only the start. The practical canopy must leave space for containers, saucers or a drain tray, air intake, fan movement, wall bowing, plant training, and access to every pot. A tent packed from wall to wall may look efficient in a product diagram but become difficult to water, inspect, prune, and clean.
Height disappears quickly as well. Start at the floor and add container height, growing medium, expected plant height, flowering stretch, required fixture distance, the fixture itself, hangers, filter or fan, and a safety margin. If the sum is close to the advertised height, the setup has no room for correction.
| Tent footprint | Typical use | Main advantage | Main limitation |
|---|---|---|---|
| 2 × 2 ft (about 60 × 60 cm) | One compact plant, propagation, or a small learning setup | Low equipment and climate load | Very little room for access, filter, and plant spread |
| 2 × 4 ft (about 60 × 120 cm) | Small linear canopy with front access | Fits against a wall and can be lit efficiently | Rear plants can be difficult to reach when crowded |
| 3 × 3 ft (about 90 × 90 cm) | Compact square garden with more working flexibility | Manageable volume and useful canopy | Fixture choices and edge access need careful matching |
| 4 × 4 ft (about 120 × 120 cm) | Medium home canopy | Enough room for training and a substantial fixture | Heat, humidity, power, and access demands rise noticeably |
| 5 × 5 ft (about 150 × 150 cm) | Large single-zone home canopy | Broad productive area | The center becomes hard to reach without disciplined layout |
| 4 × 8 ft and larger | Multiple fixtures or plants, experienced workflow | Scale and zoning potential | Climate control, support load, drainage, and access become room-level problems |
Plant count is a poor sizing tool on its own. One trained plant can fill the same canopy as several smaller plants, depending on cultivar, vegetative time, container size, and training method. Size the tent for the manageable canopy and the legal plant limit, then decide how many plants can occupy that space without blocking access.
Master Advice: Sketch the tent as it will look in late flower, not as an empty box. Draw the pots, tray, intake, fan, filter, fixture, trellis, door swing, and the path your hands need to reach the rear corners.
Tent Height Matters More Than Many Buyers Expect
A short tent can work for propagation, compact plants, or a carefully planned low-power setup. It becomes restrictive when the cultivar stretches, the filter hangs inside, the fixture needs more distance, or the pots are tall. Running out of height usually forces several compromises at once: aggressive plant training, reduced container height, an external filter, lower light output, or a smaller final canopy.
A taller tent does not require taller plants. It gives the grower room to keep equipment away from leaves, raise the fixture when plants respond poorly, and preserve airflow above the canopy. If the room ceiling allows it and the price difference is modest, additional height is often more useful than additional floor area.
“Is the advertised tent floor area the same as usable canopy space?”
Question sent by: NorthLakeGreen, via X.
No. The dimensions describe the enclosure shell. Usable canopy becomes smaller after we reserve space for trays, containers, intake openings, wall movement, circulation, equipment, the door, and our own hands. Height also disappears into the root zone, fixture, hangers, filter, and safe light separation. A smaller canopy that can be reached and lit evenly is more useful than a crowded floor that only looks larger on paper.
Grow Tent Quality: Which Features Are Worth Paying For?
Frame and hanging capacity
The frame may support a light, carbon filter, fan, ducting, sensors, and circulation equipment above the plants. Compare the manufacturer’s rated capacity with the complete suspended load, then leave margin rather than building exactly to the rating. Metal corner pieces, positive locking connections, and sturdy roof bars are preferable to flexible joints that twist during assembly.
Distribute weight across suitable bars and use rated hangers. Heavy equipment should not rely on one uncertain clip. Arrange components so routine filter service or light adjustment does not require dismantling the entire ceiling.
Canvas, seams, and zippers
Fabric density can indicate durability, but the denier number is not a complete quality test. Stitching, zipper alignment, seam reinforcement, coating quality, and how the canvas fits the frame determine whether the tent remains manageable after repeated use. A very thick shell with a poor zipper is still a frustrating enclosure.
The main door should open far enough to expose the working area. Small side access panels can help reach rear corners in wider tents. Zippers should move without extreme tension, and the overlapping light flaps should lie flat rather than catching each time the door closes.
Port placement
Count the ducts and cables before you count the ports. Decide where fresh air enters, where filtered air exits, where the electrical cables pass, and whether the duct route can remain short and gentle. Unused ports should close securely. Oversized openings are convenient only if they can seal around the selected duct.
Floor tray and water management
A removable tray protects the tent floor from small spills and runoff, but it is not a substitute for deliberate drainage. Check that the tray rises at the edges, removes easily, and fits without folding. For larger containers or irrigation systems, plan a rigid tray or drain arrangement that can hold the realistic failure volume.
Viewing windows and extra features
A window can reduce unnecessary door opening, but it also creates another seam and light-control surface. Tool pockets are convenient until they block an intake or hold wet equipment against the wall. Choose features that support your routine rather than treating every added panel as an upgrade.
- The assembled outer dimensions fit the room with space for ducts, doors, and service access.
- The inner height fits containers, plants, flowering stretch, fixture distance, hangers, and overhead equipment.
- The frame rating exceeds the complete suspended load with a sensible margin.
- The main door and access panels let you reach every container and canopy edge.
- Ports align with a short, practical intake and exhaust route.
- Unused ports and cable openings can close securely.
- The removable floor tray can contain small spills and be cleaned easily.
- The fixture coverage map matches the intended usable canopy.
- The host room can supply suitable intake air and accept the exported heat and moisture.
- The circuit, outlets, timers, controllers, and cable routing can support the equipment safely.
Grow Tent vs. Closet, Cabinet, Open Room, and Dedicated Grow Room
A tent is not the only workable enclosure. The better choice depends on whether you value portability, customization, access, quiet operation, appearance, or scale. Cannabis quality is not determined by the wall material. It comes from the stability and uniformity the complete system can maintain.
| Growing space | Where it works well | Main trade-off | Best fit |
|---|---|---|---|
| Grow tent | Portable, defined small to medium indoor zone | Limited access and dependent on the host room | Most home growers seeking repeatable control |
| Closet or wardrobe | Discreet compact space already built into the room | Ventilation, waterproofing, height, and safe hanging may need alteration | Very small setups where legal and permitted modifications are possible |
| Grow cabinet | Micro garden with a furniture-like outer shell | Heat and vertical clearance become difficult quickly | Compact plants and carefully matched low-power equipment |
| Open room | Easy physical access and flexible plant arrangement | The entire room becomes the light, odor, cleaning, and climate envelope | Dedicated spaces with suitable surfaces and environmental control |
| Purpose-built grow room | Scale, service access, drainage, and permanent zoning | Higher design cost, building work, and reduced portability | Long-term gardens where the property and infrastructure support it |
| Multiple tents | Separate light schedules, propagation, flower, or drying zones | Duplicate fans, controls, floor space, and climate interactions | Growers who need independent stages without building rooms |
A closet may appear free, but it can require reflective surfaces, ventilation holes, waterproofing, hanging support, door seals, and permission for alterations. A purpose-built room can provide better access and scale, but it makes the entire building envelope responsible for moisture, odor, cleaning, and fire safety. Compare the finished systems, not the empty enclosure prices.
How a Tent Can Improve Flower Quality
A tent does not increase resin, density, aroma, or potency by itself. Its value comes from making the conditions that influence those outcomes easier to repeat. Even light distribution can keep the canopy developing at a similar pace. Managed airflow can reduce stagnant humid pockets. Reliable darkness can protect the flowering schedule. Cleaner boundaries can simplify pest inspection and sanitation.
Those benefits become more important in late flower. Dense flowers release moisture into a smaller space, branches carry more weight, and strong aroma makes the exhaust path easier to evaluate. If the enclosure is crowded, however, the same walls can reduce access and airflow. Plants pressed against wet fabric, dead leaves trapped behind pots, and an unreachable center canopy can work against flower quality.
Use the tent to preserve functional leaves and uniform conditions rather than to maximize plant count. A canopy with room for inspection, support, and air movement is more likely to finish cleanly than one that fills every visible gap.
Spend the first setup day protecting the late-flower garden
Here is a practical way to judge the layout. Stand in front of the empty tent and imagine the plants at their widest, the branches supported, the pots wet and heavy, and the rear leaves needing inspection. Can you reach the back without leaning on the light, filter, or canopy? Can runoff leave the space without crossing electrical cables? Can the filter be serviced without removing the plants?
Then run the complete system before planting. Turn on the light, fan, filter, circulation, and controllers. Watch temperature and humidity through a full light and dark period, listen for vibration, inspect the seams, and test the exhaust path. Solving those problems in an empty tent is far easier than solving them while dense flowers are depending on the environment.
Common Reasons Growers Regret Buying a Tent
Buying the largest shell that fits the floor
A tent can physically fit and still be impossible to service. Ducting needs bending space, doors need to open, and filters eventually need replacement. Measure the room in three dimensions and include the grower’s working position.
Matching plant count instead of canopy and routine
Product charts often assign a plant number to each tent. That number ignores cultivar structure, container size, training style, vegetative duration, and legal limits. Decide how much canopy you can light and reach, then let plant count follow.
Underestimating noise
Inline fans, moving air, duct turbulence, and vibration can be noticeable in bedrooms and shared homes. A controller can reduce speed when the environmental load allows it. Smooth ducting, gentle bends, vibration isolation, and a larger quiet fan operating below maximum may improve comfort.
Putting the tent in the worst room
The enclosure is often placed wherever it is least visible, including hot closets and damp corners. That can create constant climate expense and make daily checks unpleasant. The best location is one you can access, ventilate, protect from water damage, and monitor without disrupting the household.
Expecting automation to replace inspection
Controllers can adjust fan speed and log conditions, but a sensor in the wrong place can automate the wrong response. Leaves, roots, filters, zippers, drains, and electrical connections still need human inspection. Automation is most useful after the physical system behaves predictably.
Is a Used Grow Tent Worth Buying?
A used tent can reduce startup cost if its history is known and it can be inspected in person. Check the zipper repeatedly, assemble the frame, examine corner joints and roof bars, inspect seams against light, and look for coating damage, tears, corrosion, strong chemical odor, pest evidence, mold, and residues. Confirm that the tray, straps, bars, and port covers are included.
Unknown pest or disease history deserves caution. Spider mites, thrips, fungal spores, and plant debris can travel on seams and fabric folds. Some tents can be cleaned according to the manufacturer’s directions, but damaged coatings and inaccessible seams may be difficult to restore confidently. A very cheap enclosure is not a saving if it imports a persistent pest problem or cannot support equipment safely.
Important: Do not use strong solvents, incompatible disinfectants, or improvised heat treatments on tent fabric. Follow the manufacturer’s cleaning guidance and keep sanitation products away from electrical equipment.
How to Set Up a Grow Tent Before Plants Enter
- Confirm the legal and property constraints. Check cultivation rules, plant limits, locked access, odor requirements, tenancy conditions, and permission for any alterations.
- Measure the room and the complete equipment stack. Include service clearance, duct bends, container height, expected stretch, fixture distance, and door movement.
- Verify the electrical plan. Identify the circuit, total connected load, outlet condition, timer and controller ratings, and safe cable path.
- Assemble and inspect the enclosure. Confirm that poles lock, fabric sits correctly, seams are intact, zippers move smoothly, and roof bars are secure.
- Build the air path. Place passive or active intake low, exhaust warm air high, match the filter and fan, seal duct joints, and give exhaust a suitable destination.
- Install water protection. Fit the removable liner, add the required tray or drain plan, and keep electrical connections above the maximum spill level.
- Hang equipment with rated hardware. Distribute weight, secure cables, keep hot components clear of fabric, and leave a safe maintenance route.
- Test light control. Inspect the tent from both directions while one side is bright and the other is dark.
- Run the empty system. Observe temperature, humidity, noise, vibration, pressure, and controller behavior through complete light and dark periods.
- Map the working canopy. Check light distribution, fan direction, sensor position, pot access, drainage, and the route your hands will take during late flower.
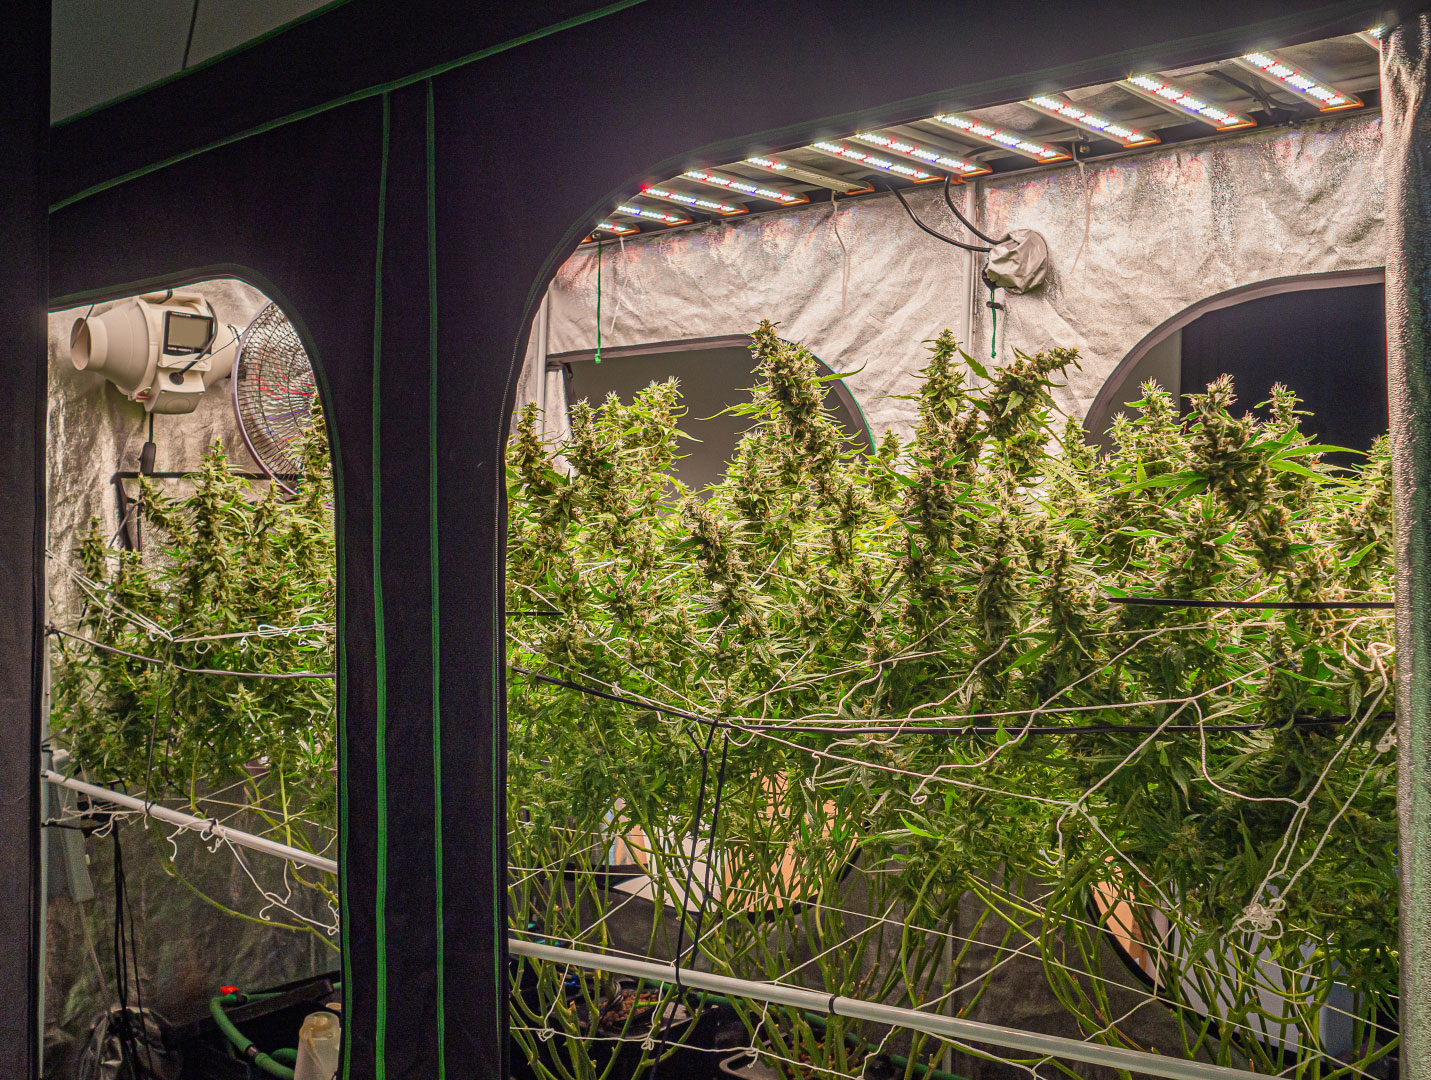
Do not rush the empty test. It is the only time you can move a filter, reroute a cable, correct a noisy duct, or replace a weak hanger without working over live plants. A full day of testing can reveal problems that a five-minute equipment check misses.
Maintenance Determines Whether the Tent Keeps Its Value
Wipe spills promptly, remove fallen leaves, clean the tray, inspect seams and ports, and keep intake screens free of dust. Check hangers, bars, clamps, and duct connections at regular intervals. A filter gradually loses odor-control performance, while fan blades and intake surfaces collect dust that changes airflow.
Between crops, empty the enclosure and clean it according to the material and manufacturer’s directions. Inspect for pests before bringing new plants inside. Repair small light paths and zipper issues before they become daily annoyances. Keep the tent dry during storage and avoid folding it around sharp frame pieces.
- The location remains manageable across the expected season.
- The circuit and connected load have been checked.
- Every suspended item uses rated, secure hardware.
- Electrical connections remain above possible spills.
- The intake and filtered exhaust form a complete air path.
- The host room will not recycle uncontrolled heat and humidity.
- The tent holds slight negative pressure without collapsing into the canopy.
- Light leaks have been tested in both directions.
- The empty system has completed a full light and dark test.
- Every pot, branch, tray, sensor, filter, and rear corner can be reached safely.
Frequently Asked Questions
Do I need a grow tent to grow cannabis indoors?
No. Cannabis can be grown in a properly designed room, cabinet, closet, or other lawful indoor space. A tent is often the simplest portable way to organize light, airflow, odor control, and cleaning for a small home garden.
Does a grow tent increase yield?
Not automatically. Reflective walls and a controlled footprint may improve light use and environmental consistency, but yield still depends on genetics, canopy management, light quantity and uniformity, root health, irrigation, nutrition, and climate. A crowded or overheated tent can reduce performance.
Does a grow tent save electricity?
It can reduce the volume that must be lit and ventilated compared with treating an entire room as the grow area. The actual bill depends on fixture efficiency, light schedule, fan operation, host-room climate, and heating or cooling needs. A tent in a poor location can increase climate-control cost.
What is the best grow tent size for one cannabis plant?
There is no universal size because one plant can remain compact or be trained to fill a broad canopy. A 2 × 2 ft (about 60 × 60 cm) footprint can suit one compact plant, while a longer vegetative period or wide training method may need more area. Include working access, container size, and flowering stretch before deciding.
Are cheap grow tents worth it?
Some are adequate for light use, but inspect frame strength, zipper quality, seams, port placement, tray fit, replacement support, and the total suspended load. A low price is less attractive if the zipper fails, the frame twists, or the ports force a poor ventilation route.
Can I put a grow tent in a bedroom?
Only if cultivation is lawful and the room can safely handle heat, humidity, electrical load, noise, odor, water, and access requirements. Consider sleep disruption, shared occupancy, emergency exits, and whether exhaust air can leave without cycling back into the room.
Can a grow tent be used for drying cannabis?
Yes, a clean tent can provide darkness, filtered exhaust, and a defined drying zone. The environment still needs suitable temperature, humidity, gentle indirect air movement, and enough space between branches. Drying and active cultivation may require different conditions, so one tent cannot always do both jobs at the same time.
How long should a grow tent last?
Service life depends on zipper quality, frame load, fabric construction, cleaning methods, humidity, frequency of assembly, and daily handling. Inspect condition rather than relying on a fixed number of years. Zippers, seams, coatings, bars, and trays usually reveal when reliability is declining.
Is a taller grow tent worth the extra cost?
Often yes when the room ceiling allows it. Extra height provides room for containers, stretch, fixture separation, overhead equipment, and future adjustment. It is especially valuable for photoperiod plants, taller cultivars, and setups with the filter mounted inside.
Should the carbon filter be inside or outside the tent?
Inside mounting commonly pulls warm, odorous air through the filter before exhausting it, but it uses valuable height. External arrangements can preserve vertical space when the fan and filter are compatible with the chosen direction and the duct path is sealed. Follow the equipment manufacturer’s airflow guidance.
Make the Tent Earn Its Space
A grow tent is worth buying when it turns a suitable room into a smaller, cleaner, more measurable cultivation zone. For most small indoor growers, that combination of portability, light control, equipment support, filtered airflow, and repeatable layout is difficult to reproduce as neatly for the same effort.
The purchase becomes less useful when the host room is too hot, humid, cold, inaccessible, electrically uncertain, or impossible to ventilate. Solve those conditions first. Then choose a tent around the real canopy, vertical equipment stack, late-flower access, and safe working routine.
Here is the practical recommendation: choose the smallest enclosure that gives the planned canopy enough light, air, drainage, and human access without becoming crowded. Spend on a strong frame, reliable zipper, sensible ports, and a washable tray. Leave enough budget for the light, air path, measurement, and electrical safety that make the enclosure perform. A tent should make the garden easier to understand and maintain, not simply give more equipment a place to hide.
Selected Sources Behind This Guide
- Health Canada: ventilation, building, electrical, and fire-safety guidance for personal cannabis production
- Massachusetts Department of Fire Services: residential grow-room fire linked to an overloaded power strip
- Massachusetts Department of Fire Services: cannabis fire-safety guidance
- Michigan Cannabis Regulatory Agency: electrical safety for residential growing
- Oregon OSHA: cannabis grow-room ventilation, lighting, mold, and workplace safety
- University of Minnesota Extension: indoor plant lighting principles
Share this article
A quick overview of the topics covered in this article.
Follow us
Latest articles
September 10, 2026
September 10, 2026

September 10, 2026