Soil Test, Water Test, Tissue Test: Which One Answers What?
A plant can look hungry when its growing medium contains plenty of fertilizer. Irrigation water may be adding salts or bicarbonates that the feeding chart never mentions. A leaf analysis may show a low nutrient concentration without explaining whether the problem began in the fertilizer, the roots, or the weather. These are different questions, and they require different evidence.
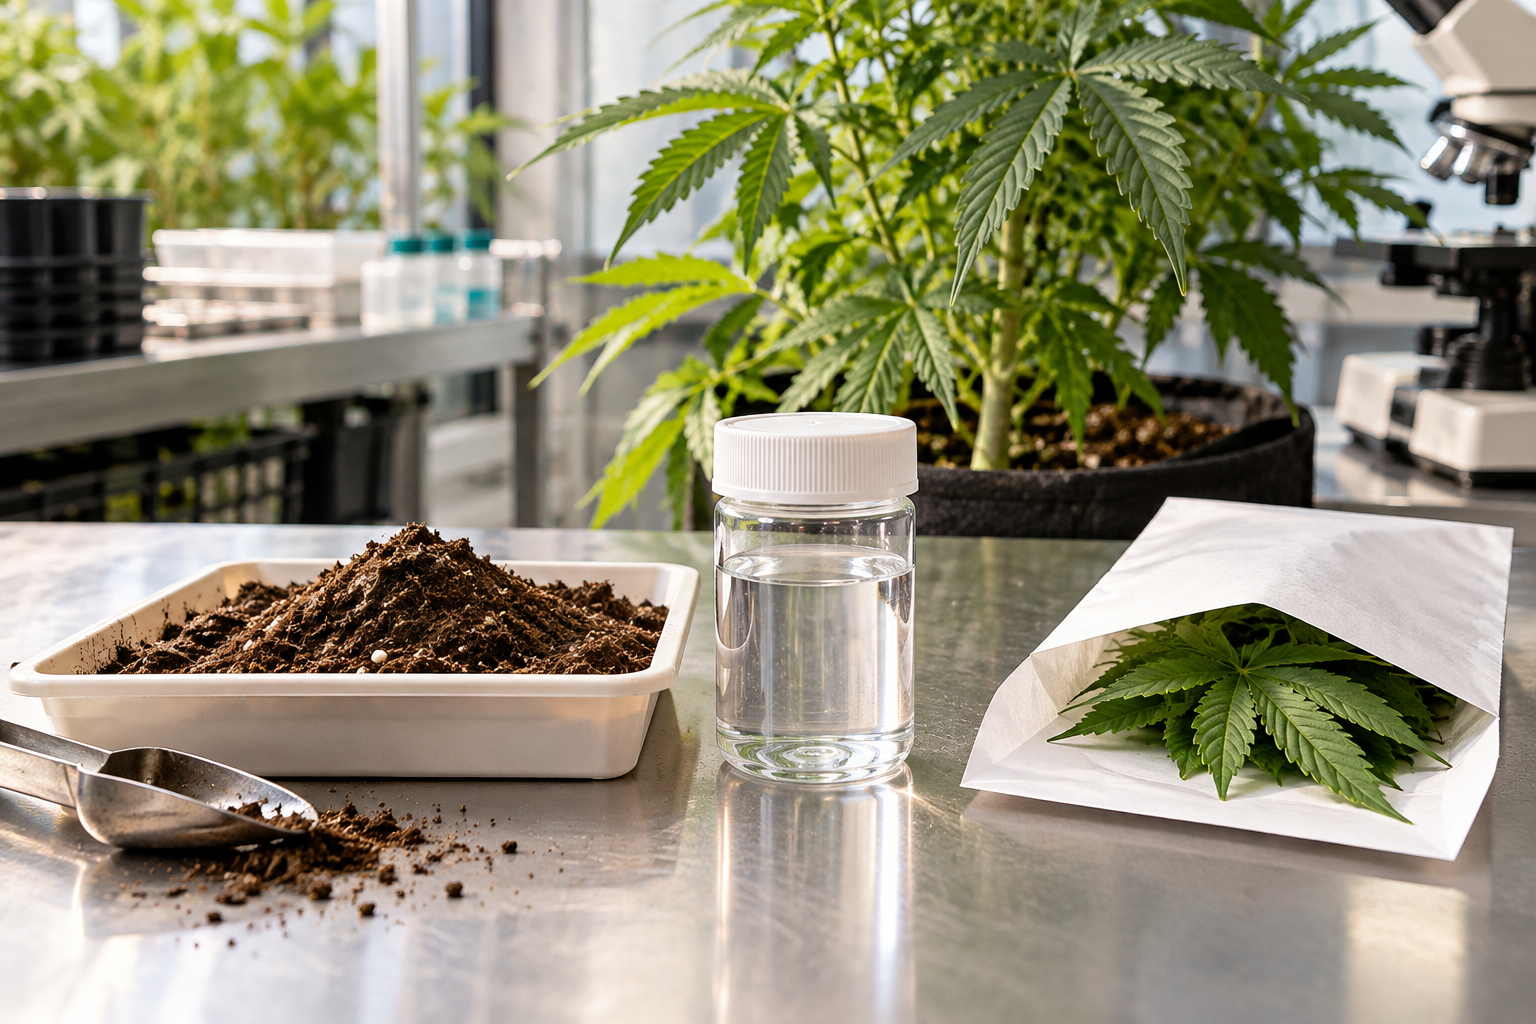
Use a water test to investigate what enters the system; use a soil or growing-media test to investigate the chemistry surrounding roots; use a plant tissue nutrient test to investigate what the plant has accumulated. Select the test that answers your first question. Pair tests when the discrepancy between nutrient supply and plant response is itself the problem. No routine fertility test proves that a plant is free of disease, pesticides, heavy metals, or oxygen stress unless those hazards are explicitly included in a suitable analysis.
This guide is about choosing and interpreting tests, not reprinting nutrient target charts or teaching a complete soil-sampling course. It applies to legal outdoor gardens, container media, indoor growing and managed hydroponic systems, with different sampling and interpretation rules for each.
Choose the Test That Matches Your Question
Start by writing your question in one sentence. “Why are the leaves yellow?” is too broad to choose a laboratory panel. “Has my source water changed since I switched wells?” points directly to source-water analysis. “Is the container’s active root zone accumulating salts despite normal input EC?” points to a standardized media test. “Did comparable leaves on affected plants accumulate less magnesium than those on healthy plants?” is a tissue-analysis question. The question determines both the sample and the interpretation.
The shortest useful answer
| Question | First test | Useful follow-up | What the first test cannot establish |
|---|---|---|---|
| What is coming from the tap, well, tank, or injector? | Source-water or separately labeled mixed-feed analysis | Compare the source with the finished irrigation solution and root zone | Whether roots absorbed the nutrients |
| What is the fertility and pH condition of native ground? | Appropriate field-soil fertility test | Matched tissue and site observations for symptomatic zones | Exactly what a plant absorbed or whether drainage works |
| What is happening chemically in coco or peat containers? | Soilless-media extraction with a stated method | Input-water analysis and matched tissue if uptake is uncertain | Root oxygen status or pathogen identity |
| What has the foliage accumulated? | Nutrient tissue analysis using a consistent leaf and stage | Matching media and irrigation samples | Why uptake was low or whether a spot is fungal |
| Is a visible lesion, root rot, or unusual deformation caused by disease? | Appropriate plant diagnostic laboratory | Fertility tests only when nutrition is a plausible contributor | A routine nutrient panel cannot identify the pathogen |
| Is land or flower contaminated? | Targeted environmental or product-contaminant testing | Test selection based on site history and applicable requirements | Routine fertility and nutrient tissue panels are not safety certificates |
A test result is useful only when its measurement matches the question. Before paying for a panel, read the laboratory’s analyte list, extraction method, accepted crop materials, sample instructions, interpretive reference and turnaround time. The name “complete soil test” has no universal meaning across laboratories.
Definition: Three different layers of evidence
Input: the water and fertilizer delivered. Root-zone supply: what the sampled soil or medium releases under a particular extraction method. Uptake status: the measured nutrient concentration in a specified plant tissue. The three may disagree without any one laboratory being wrong.
When one test is enough
A pre-season field-soil baseline may be enough to identify a lime or fertilizer planning question, provided the lab’s recommendations fit the soil and region. A new-well water test may be enough to reveal unexpectedly high alkalinity or sodium. A standardized repeated media test may be enough to document a salt trend after changing fertilizer strength. The moment a symptom cannot be explained by that result, widen the investigation rather than forcing the data to confirm the original hypothesis.
When paired testing is worth the cost
Pair media and tissue results when the medium appears nutrient-rich but the canopy has a persistent suspected deficiency. Pair source-water and media tests when pH drifts or salts accumulate across multiple plants receiving the same irrigation. In recirculating hydroponics, the reservoir and delivered solution are the nutrient environment, so repeated solution analysis plus a tissue test may be more informative than purchasing a field-soil package that has no relevant material to analyze.
What Each Result Measures and What It Cannot Show
Plants acquire mineral nutrients from the surrounding solution, but the journey from a laboratory number to uptake includes chemical availability, root contact, adequate water and oxygen, temperature, transport, and tissue growth. Testing one point in that pathway does not measure all of it.
Soil test: a method-specific estimate of nutrient supply
A routine native-ground fertility test usually describes soil pH and selected extractable nutrients. Depending on the package it may report organic matter, exchange capacity, buffer pH or lime requirement and soluble salts. “Extractable phosphorus” is not the same as all phosphorus physically present in the soil. A named extraction method such as Mehlich or Bray means nutrients have been recovered with a specified chemical process and interpreted using calibration appropriate to that system. Ask what the laboratory measures and which crop or regional guidance underpins its ratings.
A mineral-soil test does not directly reveal the oxygen status of a saturated root zone, how fast rainwater moves through a compacted layer or the plant’s actual nutrient uptake. The reported availability may be useful for fertilizer planning while the current plant is still unable to take up nutrients because roots are injured or the sampled zone differs from the one the plant is using.
Growing-media test: a snapshot of a different substrate
Peat, coco, bark and other container mixes are not simply miniature farm soils. Laboratories commonly assess their short-term solution chemistry through a saturated media extract (SME) or another declared extraction procedure. A grower may also monitor pH and EC through a standardized 1:2 extract or PourThru procedure. These methods do not produce interchangeable EC values. Different water volumes and extraction techniques change concentration. A “high” reading under one method may carry a different interpretation under another; compare the result only with the reference range specific to that procedure.
Drainage runoff can serve as a trend signal when its collection is standardized. One casual drainage reading after an unusually large watering is not a substitute for a proper root-media extraction. A surface pinch of potting mix is another misleading sample because salts often accumulate differently near the surface than in the active root zone.
Water test: what arrives before and after treatment
An irrigation-water panel can quantify pH, alkalinity, EC, calcium, magnesium, sodium, chloride and sometimes nitrate, bicarbonate or other relevant ions. Request the analytes that fit the problem and source. pH is an instantaneous measure of acidity; alkalinity describes acid-neutralizing capacity and helps explain sustained media-pH drift. Water with similar pH readings can have very different alkalinity. Similarly, EC indicates the combined electrical effect of dissolved ions, not the concentrations of individual nutrients.
A separate finished-feed or fertigation test answers what the injector, mixing procedure and source water deliver together. Do not call a sample collected after nutrient injection “source water”. Record the collection point, whether treatment or injection was operating, recent storage or rainfall conditions, and the exact sample time. For microbial water safety or drinking-water suitability, order dedicated certified tests rather than extrapolating from a routine irrigation chemistry panel.
Tissue test: nutrient status, not an explanation of its cause
Plant tissue nutrient analysis measures elemental concentrations in the submitted leaf, petiole or other specified material. Results may be reported as percent dry weight or mg/kg; their meaning changes with plant part, position, age, flowering stage and cultivar. The laboratory must identify what tissue it expects. A recently matured leaf is used in some cannabis research, but an experimental study’s sampling point is not automatically the correct protocol for every cultivar and stage.
A low result can reflect insufficient supply, restricted root function, antagonistic ions or prior growth conditions. A relatively high tissue concentration can also arise when growth slows and an element becomes concentrated in less biomass; it is not automatically proof that adding more would help. A tissue analysis cannot identify Botrytis, hop latent viroid, spider mites or pesticide residues unless a separate test for that target is specifically ordered.
Remember: Tests sample a particular place and time. A report is a measurement of the material submitted, not a retrospective movie of everything that happened to a plant.
What none of these tests can prove about root oxygen
Compacted mineral soil, saturated peat, a clogged drain and hydrophobic channeling can all change the water and air available to roots. A routine chemistry report may show secondary consequences, but it does not directly measure pore distribution or root oxygen. Assess container drainage, weight and dry-back patterns, soil structure, root condition, weather and irrigation performance alongside chemical results. If a physical or pathogen diagnosis is needed, order the corresponding service rather than guessing from EC.
Choose the Method for Your Growing System
The proper sample depends on whether the growing medium stores exchangeable nutrient reserves, whether it is a frequently fertigated container mix or whether nutrients circulate in a reservoir. Match the laboratory’s method to the material before collecting anything.
Native-ground garden and raised beds containing mineral soil
Use a field-soil fertility test calibrated for the relevant soil and management objective. Define separately managed areas before collecting a representative composite. A raised bed filled with imported mineral soil may be unlike the underlying native clay; do not blend the layers unless that exact mixture is the intended sampling unit. For a localized problem, take an affected-zone sample and a matched unaffected-zone sample separately. Field fertility tests may estimate seasonal reserves, but testing shortly after heavy topdressing or a concentrated fertilizer application can misrepresent the rest of the bed.
For detailed instructions on sampling depth, composites and zone maps, follow the existing soil sampling guide. This article’s decision is which laboratory question to attach to that sample.
Peat, coco and amended potting mixes
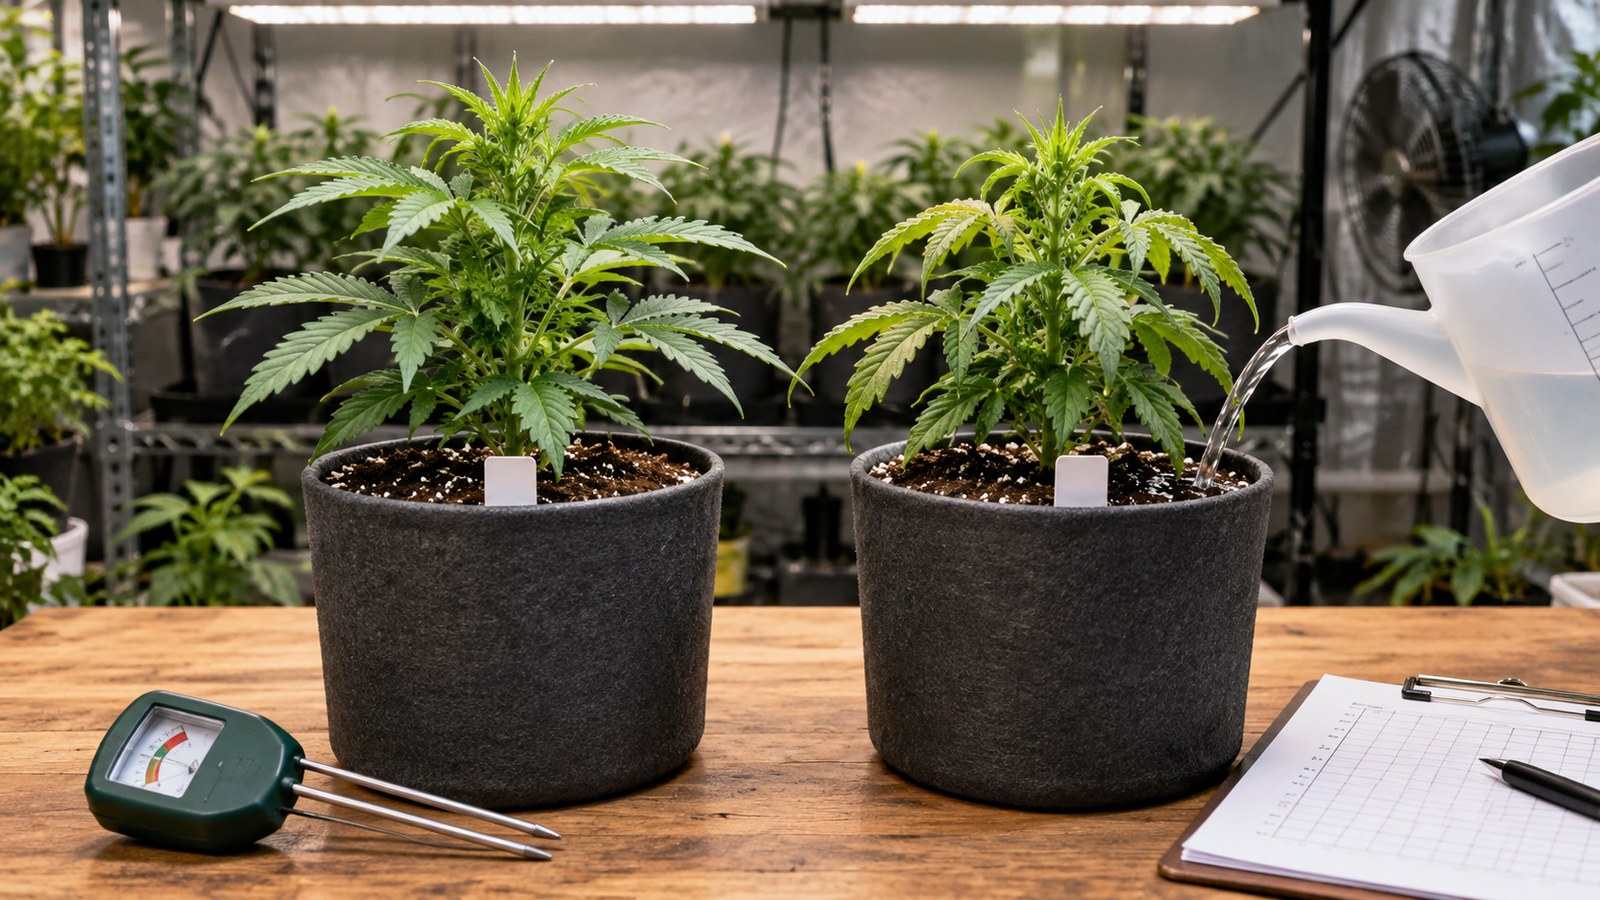
Confirm whether the laboratory offers SME or another soilless-media test. Specify peat, coco, compost content, slow-release prills, recent feeding and whether the material is fresh or has hosted a crop. Do not submit coco to a routine mineral-soil panel and interpret the resulting number with generic field-soil fertility recommendations. For diagnostic comparison, keep affected and unaffected pots in separate sample groups. The lab may instruct you to combine multiple cores from comparable pots for a group average, but a single sick plant that needs individual diagnosis should not disappear inside that average.
Soilless protocols differ even between reputable extension programs in the timing after fertilization or watering and in whether media should be shipped moist or air-dried. Follow the receiving laboratory’s procedure for its named method, and repeat that procedure consistently. Do not substitute generic internet directions where the lab’s instructions differ.
Hydroponics, recirculating reservoirs and drain-to-waste systems
Begin with separately labeled source water, mixed nutrient solution and, where appropriate, representative reservoir or return solution. Test or analyze the water at locations that answer the specific question: a well before treatment, a tank after treatment, an injector outlet after full mixing, or a reservoir after plants have been taking up nutrients. pH and EC trends can show changing chemistry, but they cannot disclose whether the drift is calcium, nitrate, sodium or some other ion. A full solution nutrient analysis can distinguish elements when the diagnosis justifies it.
In drain-to-waste coco, runoff measurements reflect both the sampling method and the irrigations that preceded collection. In recirculating systems, a return-line sample may differ from a freshly prepared tank because plants and evaporation have altered the solution. Water and solution analyses are meaningful only with clear sample-point labels.
Living soil and compost-rich systems
Distinguish total nutrients, exchangeable reserves, readily soluble ions and biological mineralization. A routine field-soil analysis or SME may answer part of the question, but neither alone predicts the precise daily release of nutrients from compost and organic amendments. Discuss sample type and extraction choice with a laboratory experienced in the material. Interpret results with soil moisture, temperature, irrigation and plant response. A biological test, if ordered, has its own intended measurements; it should not be treated as a direct substitute for nutrient analysis.
Warning: Do not let one test format choose your growing system for you
A routine soil fertility report, a potting-media SME, a casual runoff EC reading and a hydroponic solution assay represent different materials and procedures. Putting their numbers into one comparison column without method labels can create a false diagnosis.
A Repeatable Sampling and Submission Protocol
The most expensive error is often made before the sample reaches a laboratory. A report from a mixed, mislabeled or contaminated sample can be technically precise and practically useless. Use the following sequence whenever a test result may change your management decision.
Step 1: define the decision and name the sample locations
Write the question, what result would change your action and which competing explanations need to be ruled out. Draw a simple location map. Use unambiguous IDs such as W-SOURCE-A for source water, W-FEED-A for the mixed feed, M-PROBLEM-01 for affected media and T-NORMAL-01 for healthy tissue. Record crop stage, cultivar or plant ID, medium, irrigation schedule, recent fertilizer and spray history, weather and symptoms. Photograph the entire plant and the particular leaves or roots that prompted testing.
Step 2: contact the laboratory before collecting
Confirm that it accepts cannabis or hemp samples where legally permitted, what exact test it will perform, which sample tissue and stage its interpretation requires, how much material to supply, any refrigeration or shipping instructions, the analysis units and expected turnaround. Ask whether the report provides a validated cannabis-specific interpretation, an experimental reference or only general horticultural comparisons. Where the laboratory cannot accept material, seek a lawfully authorized alternative rather than shipping it without disclosure.
Step 3: isolate normal and abnormal areas
When comparing affected and apparently healthy plants, hold cultivar, development stage, medium and management history as similar as possible. Collect and label the two groups separately. Do not mix a chlorotic plant’s material into an otherwise healthy group and then expect the averaged result to identify the affected plant. If all plants are symptomatic, use prior baseline data and independently verified reference information, and acknowledge that the ideal matched comparator is missing.
Step 4: collect the correct water sample
Use the receiving laboratory’s bottle and handling instructions. For routine irrigation chemistry, sample a functioning line after stale water has been cleared as the laboratory directs. Identify whether the collection point is before filtration, after filtration, before fertilization or after complete injector mixing. Use separate bottles if you need to compare stages of treatment. Do not combine a well and a rainwater tank into one bottle. Record rainfall, source switching and whether storage has changed since the last analysis. Send promptly and follow required temperature or preservation instructions, especially when testing constituents that can change after collection.
Step 5: collect representative soil or media
Sample the active root zone at the agreed depth or location with clean tools. Follow the lab’s instructions on number of subsamples, handling of slow-release pellets and moisture condition. Keep distinct soil types, fertilizer histories and problem zones separate. A deep container can be layered: a handful from the crusted top does not represent the root zone beneath it. For a living crop, avoid unnecessary destruction of roots and disinfect shared sampling equipment appropriately between suspect plants. The detailed soil-collection method belongs in the existing sampling resource.
Step 6: collect consistent plant tissue
Confirm the exact leaf type, position and stage with the lab. Sample plants of similar age and keep affected and normal groups distinct. Tissue badly damaged by insects, disease or physical injury may be unsuitable for routine nutrient analysis unless the laboratory specifically requests it for a diagnostic comparison. Record recent foliar fertilizer or spray applications, dust and visible residues; these can contaminate measurements. Use the lab’s directions for washing, packaging, paper bags, drying, refrigeration and shipping. Do not copy one institution’s washing instruction into another lab’s procedure.
Step 7: send the context with the material
Include the growing medium, fertilizer formulation and recent changes, source-water identity, any injection or filtration steps, irrigation pattern, symptom location, sampling time, plant age and relevant weather. Ask the laboratory to keep paired samples linked in its report. If testing for pathogens, residues, metals or microbial safety, order those services explicitly and use their own prescribed collection protocols.
Field Advice: Label the containers before sampling. Writing a name on four bottles after leaving the garden is how “source water” becomes confused with “finished feed.”
Step 8: build a baseline you can repeat
Write down the test name, method, lab, units, collection point, sampling interval and collection conditions. A baseline collected before planting serves a different purpose from an emergency diagnosis during flowering. Use the same procedure when checking a trend. If a lab changes its extraction method or reference range, treat the new test as a new baseline unless the lab supplies a defensible conversion and interpretation.
“My coco runoff reads much higher than the feed. Should I flush immediately?”
Question sent by: Lucas Bennett, via email.
Not from that comparison alone. Check the meter and sampling method, document the previous irrigation and runoff fraction, and obtain a standardized media result if a root-zone decision is needed. Compare plant condition and new growth before choosing a correction.
Read Conflicting Results Without Guessing
Putting three reports side by side is useful only after confirming they are from the same crop period and comparable sampling units. Start with the lowest-cost plausible explanation that the data actually support, then ask which further measurement would distinguish it from its look-alikes.
| Observed combination | Reasonable interpretation | Next verification | Avoid |
|---|---|---|---|
| Source-water alkalinity is substantial; media pH drifts upward over successive tests | Water chemistry may be contributing to pH change | Check fertilizer reaction, amendments and standardized media trends with the lab | Chasing source-water pH alone without evaluating alkalinity |
| Media nutrients look sufficient; matching leaves test low for an element | Supply and uptake may be disconnected | Examine root function, moisture, temperature, pH, sampling age and ion interactions | Adding more of the element as the automatic first response |
| Media EC climbs with repeated feeding and crop growth slows | Soluble-salt accumulation is plausible, not proven as the only cause | Repeat the same extract method; review water, irrigation and roots | Comparing a PourThru value to an SME target |
| Tissue concentrations rise while the plant stops growing | Concentration may reflect less growth as well as uptake | Compare biomass, stage, repeated tissue sampling and input records | Claiming a high number proves superior health or yield |
| pH and EC appear acceptable but several plants wilt in persistently wet containers | A water, oxygen or root-health problem remains plausible | Inspect drainage, media structure, moisture history and roots; diagnose pathogens if warranted | Declaring roots healthy because nutrient numbers look normal |
| One affected plant differs sharply from its healthy comparator | A localized root-zone, irrigation or health factor may matter | Inspect that plant’s roots, dripper, container and matched media sample | Treating every plant from one abnormal sample |
Case A: yellow leaves, reasonable supply, weak uptake
Suppose the laboratory reports adequate extractable nutrients in the sampled root zone, but comparable recently mature leaves from symptomatic plants have a lower magnesium concentration than leaves from healthy plants. First verify both tissue groups were comparable in age and neither was contaminated by foliar sprays. Then inspect irrigation, root oxygen, root integrity, pH and competing ions. The combination supports a supply-versus-uptake problem; it does not identify one cause by itself. If the root zone has stayed saturated and the plant’s water use has declined, restoring an appropriate moisture and oxygen pattern may be more relevant than pouring in additional magnesium.
Case B: the same EC, different fertilizer chemistry
Two irrigation solutions can register the same EC while containing different proportions of nitrate, potassium, calcium, sodium and chloride. EC is a conductivity measurement of all contributing ions and therefore cannot tell you that an individual element is sufficient. If your diagnosis depends on a particular nutrient or salt, request a quantitative water or solution panel with the actual ion reported. Distinguish nitrate as nitrate-N from nitrate as the whole ion, and elemental P or K from label conventions when translating a report into a feeding calculation.
Case C: pH looks fine but alkalinity drives the long-term trend
An apparently acceptable one-time source-water pH does not rule out high alkalinity. Repeated delivery of bicarbonate-rich water can shift media chemistry, moderated by the fertilizer and buffering medium. Sample the source for alkalinity and other constituents, then compare standardized media-pH trends. Make a water-treatment decision only after confirming the total system and the safe handling requirements for any proposed correction.
Case D: field soil and peat report the same number
A field-soil report and an SME report may both display phosphorus in mg/L or ppm, but they have sampled different chemical pools with different procedures. Even two media laboratories can produce unlike values if one uses 1:2 extraction and the other SME. Do not graph the results as an improving or worsening trend simply because the units look identical. Ask the laboratory to interpret its own method, or resample using a consistent protocol.
Do: interpret a complete chain
Source identity, fertilizer input, tested medium, matched plant tissue, root condition and timing form a coherent record.
Avoid: averaging away the cause
Different soils, wet and dry corners, sick and normal plants, or different tissue ages should not be mixed merely to reduce laboratory fees.
Compare results to the right reference population
For tissue analysis, reference values should ideally match the crop, cultivar type, developmental stage, plant part and production conditions. Cannabis deficiency experiments have characterized symptoms and tissue concentrations in specific cultivars and systems, but they do not supply a universally validated sufficiency chart for every modern cultivar, leaf position and flowering stage. A reference developed in a different crop may help frame a question, but it cannot be called a validated cannabis threshold. Request a qualified interpretation if the laboratory only has survey data or experimental reference ranges.
Sampling Failures, Look-Alikes, and Missing Tests
A clean laboratory printout can still support the wrong action when sampling failed or the chosen panel was not designed for the suspected problem. Audit the evidence before buying a corrective product.
Mistake: treating a routine fertility test as a contamination screen
Many standard soil panels do not include lead, arsenic, cadmium, pesticide residues or other environmental contaminants unless specially ordered. Likewise, a routine tissue nutrient panel is not a consumer product safety test. Historical industrial uses, roadside fill, unknown imported soil or suspected chemical exposure justify a site-history assessment and a targeted laboratory request before cultivation or reuse. Do not assume low extractable heavy-metal nutrient values prove a site or finished flower is safe. Relevant legal testing standards are location-specific and must be checked with the proper authority.
Mistake: interpreting yellow or spotted tissue as a pure nutrition question
Leaf chlorosis can occur with nutrient shortage, high salts, waterlogging, damaged roots, some pests, pathogens and chemical injury. A nutrient panel does not establish which organism, if any, caused necrotic spots. A plant diagnostic service can assess suitable plant specimens and select disease assays; a separate chemical laboratory may be needed for suspected residues. If pathogen identity changes sanitation or treatment, use the dedicated root rot versus overwatering diagnostic framework for context, then follow appropriate laboratory instructions.
Mistake: assuming numbers from different methods are trends
SME, 1:2 and PourThru should each be interpreted with their own extraction-specific ranges. A repeated pH reading in a fertilizer tank and a report on dried field soil do not belong on one continuous pH chart. Even a single laboratory may change methods or reference data. Every record needs the sample material, method and units attached to the value.
Mistake: ignoring sample contamination and timing
Dust, fertilizer prills, foliar nutrient residues, dirty tools, old bottles and soil splashed onto leaves can distort a result. Delayed or poorly stored water and green tissue samples can change before analysis. A leaf selected weeks after symptoms first developed may not reveal the conditions that caused the initial injury. If the sample quality cannot be defended, repeat sampling rather than making a high-cost decision from a misleading report.
Mistake: importing numerical guidelines from other crops
University references often use validated thresholds for particular greenhouse ornamentals, field crops or vegetables. They can explain the testing method, but cannot be relabeled as universal cannabis fertility sufficiency values. Do not transplant a reference’s sample count, optimum EC, nitrate threshold or tissue percentage into a cannabis protocol without matching method, crop, stage and evidence. Laboratory-specific instructions govern sample size and reporting; cannabis-specific research should be cited with its cultivar and controlled conditions.
Warning: Stop before sampling a suspected hazardous area
Unknown industrial fill, dumped chemicals, contaminated irrigation, visible mold or suspected pesticide exposure may require special protective and analytical procedures. A routine grower kit is not a hazard assessment. Contact the appropriate environmental or diagnostic laboratory, follow local law and avoid moving potentially contaminated soil or plant material into clean areas.
Mistake: confusing diagnostic plant material with routine nutrient tissue
Nutrition laboratories often want undamaged leaves at a specified position. Plant disease clinics often want fresh tissue at the boundary between healthy and affected areas, possibly including roots. A sample that is perfect for one analysis may be poor for the other. Phone the receiving service, request the tests separately and package according to each protocol.
“My tissue test is low in calcium, but the nutrient tank has calcium. Which result is wrong?”
Question sent by: Sophie Tremblay, via contact form.
Neither result must be wrong. Confirm that the analyzed leaf matched the lab’s sampling method and check water movement, root health, root-zone conditions and potential ion interactions. The solution records what was supplied; the tissue records concentration in the sampled organ.
Correct One Cause and Verify the Result
Testing is an investigation, not a command to buy fertilizer. State your working hypothesis in a way a follow-up can disprove. “The plant needs more magnesium” is an intervention, not an explanation. “The symptomatic plants have limited magnesium uptake because their root zone remains saturated” is a hypothesis that predicts changes in moisture behavior, new growth and comparable test results after the root-zone condition improves.
1. Rank findings by their relevance and certainty
Separate verified observations (a measured source-water alkalinity, a standardized media EC trend, a matched tissue difference) from inferred mechanisms (root restriction, ion antagonism, precipitation). Mark what remains untested. Where reports conflict, first check sample identity, methods, dates, reference ranges and cultivar or stage compatibility. Correct a collection or interpretation error before attempting to correct the garden.
2. Choose the least disruptive intervention that matches the evidence
If the water analysis reveals unexpected sodium or high alkalinity, evaluate the source and full irrigation program rather than increasing nutrients to hide symptoms. If a standardized media test confirms accumulating soluble salts, review total input, leaching, drainage and medium-specific management. If matched tissue is low while medium supply is sufficient, investigate roots and environmental constraints before adding the element. A genuine supply shortfall may justify a targeted nutrient change based on a qualified interpretation, but avoid combining an extra supplement, new pH treatment and heavy irrigation on the same day.
3. Log the one change and establish a follow-up point
Document the previous and new input, exact date, dose or management change, plant stage, sample method and expected direction of response. When safe and practical, preserve a comparable unaffected management unit rather than altering every variable simultaneously. Do not withhold necessary treatment from a plant with serious damage merely to create an experiment. Allow an appropriate observation interval based on the issue and the sampling service; no one universal number of days applies to nutrient, water, media and tissue tests.
4. Recheck the measurement that should respond first
A source-water treatment should first change the delivered-water panel or directly measurable chemical parameter. A media-management correction should produce a credible change in a repeated test using the same method. Uptake and growth may respond later. Old leaf necrosis usually remains visible, so mark and photograph new growth, symptom progression and water use rather than waiting for dead tissue to become green again. Tissue reanalysis is useful when enough comparable new tissue has developed and the result would change the next decision.
5. Escalate if the predicted response does not occur
If the corrected source chemistry is verified but the medium still drifts, examine fertilizer reaction, stored media buffers, lime or other amendments, irrigation distribution and extraction methodology. If media chemistry normalizes but leaves continue to decline, reconsider roots, pests, disease, environmental stress and tissue sampling. A positive disease diagnosis changes the investigation; a negative nutrient test does not clear the plant of pathogens.
“Should I keep re-testing every day until the old leaves turn green?”
Question sent by: Maya Thompson, via Facebook page.
No. Recheck the parameter affected by the correction and observe new tissue or new symptoms. Repeat the original laboratory procedure when its turnaround and the biological response make another result meaningful. Damaged older leaves may never regain their former appearance.
Master Advice: A useful test earns its cost when it changes a decision. Do not repeat a panel simply because a number is available; repeat it when you know what result would confirm or overturn the current explanation.
The Test-Selection and Follow-Up Checklist
Before collecting any sample, decide which layer you need to investigate. A full set of soil, water and tissue panels can be valuable for a complex problem, but ordering all three without a question can still leave the grower uncertain. Work from the suspected mechanism toward the test that can distinguish it.
- Write one decision question and identify what result would change the action.
- Identify the material: mineral soil, soilless media, source water, mixed feed, reservoir solution or specified plant tissue.
- Confirm the laboratory accepts the crop and provides the exact requested analyses and method-specific interpretation.
- Separate problem and normal comparison zones with matching crop stage and management where possible.
- Order special disease, contaminant, residue or water-safety tests when those are the real questions.
During sampling
- Use the laboratory’s collection, container, shipping and preservation instructions.
- Record sample ID, location, date, fertilizer, irrigation, recent sprays and plant stage.
- Do not combine unlike growing zones or contaminate leaf samples with soil and foliar residues.
- Label source and finished-feed water separately and identify the medium extraction method.
After results arrive
- Read units, method, reference range and which analytes were actually measured.
- Distinguish nutrient supply, nutrient uptake and physical or disease limitations.
- Correct one defensible cause rather than stacking fixes.
- Repeat the relevant measurement with a comparable method and inspect new growth or progression.
- Escalate to an appropriate specialist or different test when the prediction fails.
A testing strategy is working when the reports, root-zone observations and plant response begin to tell the same story. Start with the simplest test that answers your question, preserve the context of the result and use a second test only when it can resolve a real uncertainty.
Educational content. Follow applicable cultivation, sample transport and laboratory rules in your location.
Share this article
A quick overview of the topics covered in this article.
Follow us
Latest articles
October 10, 2026
October 10, 2026