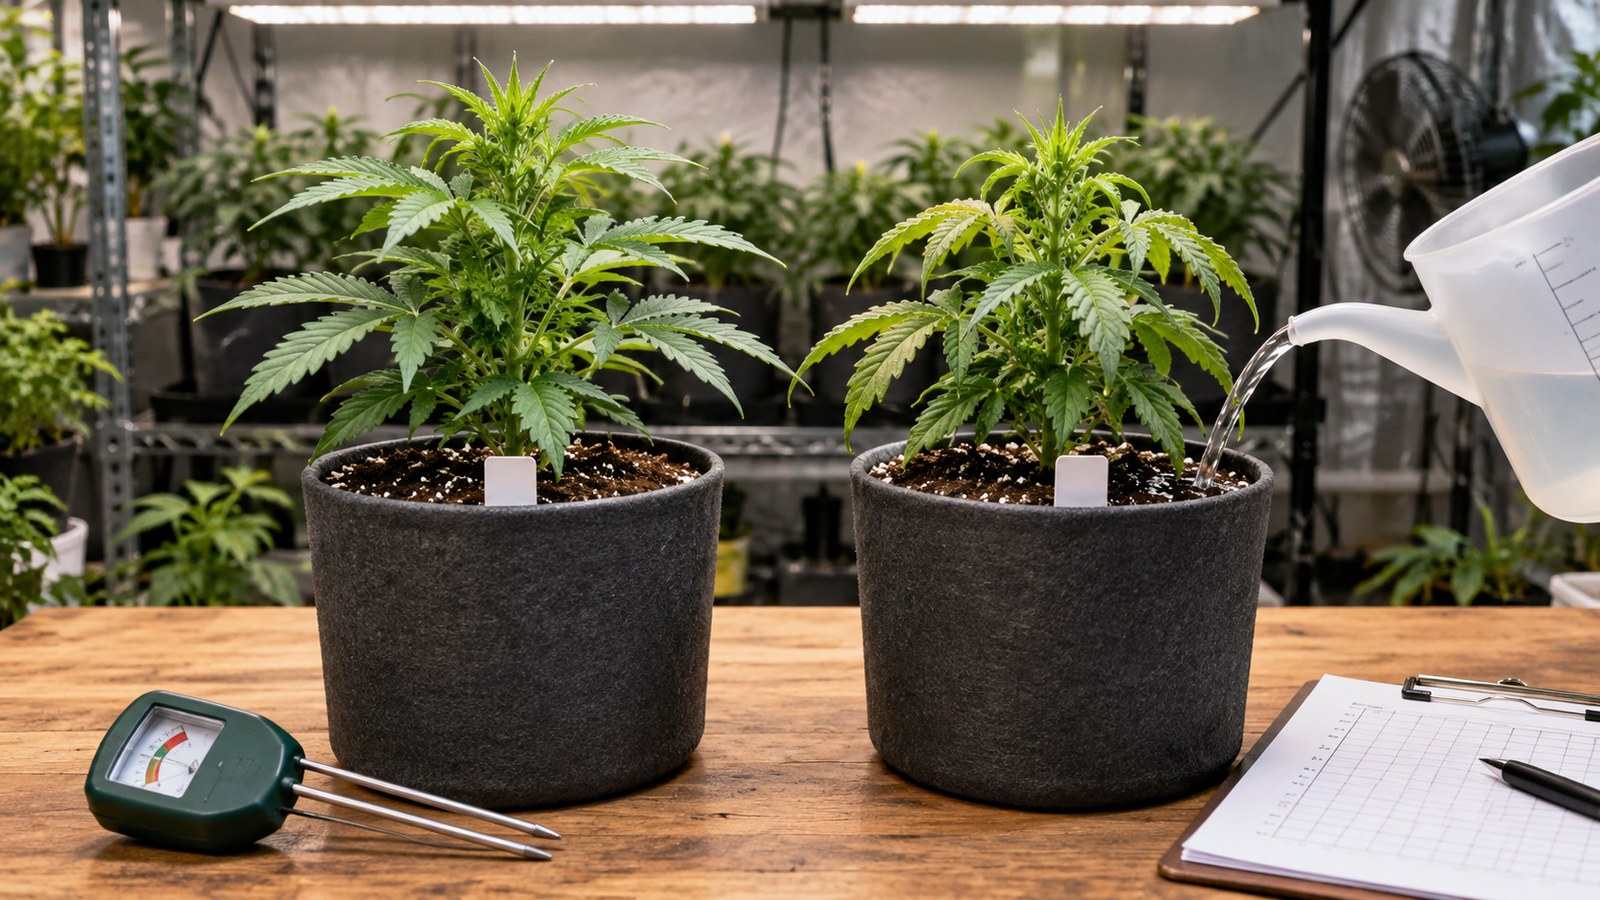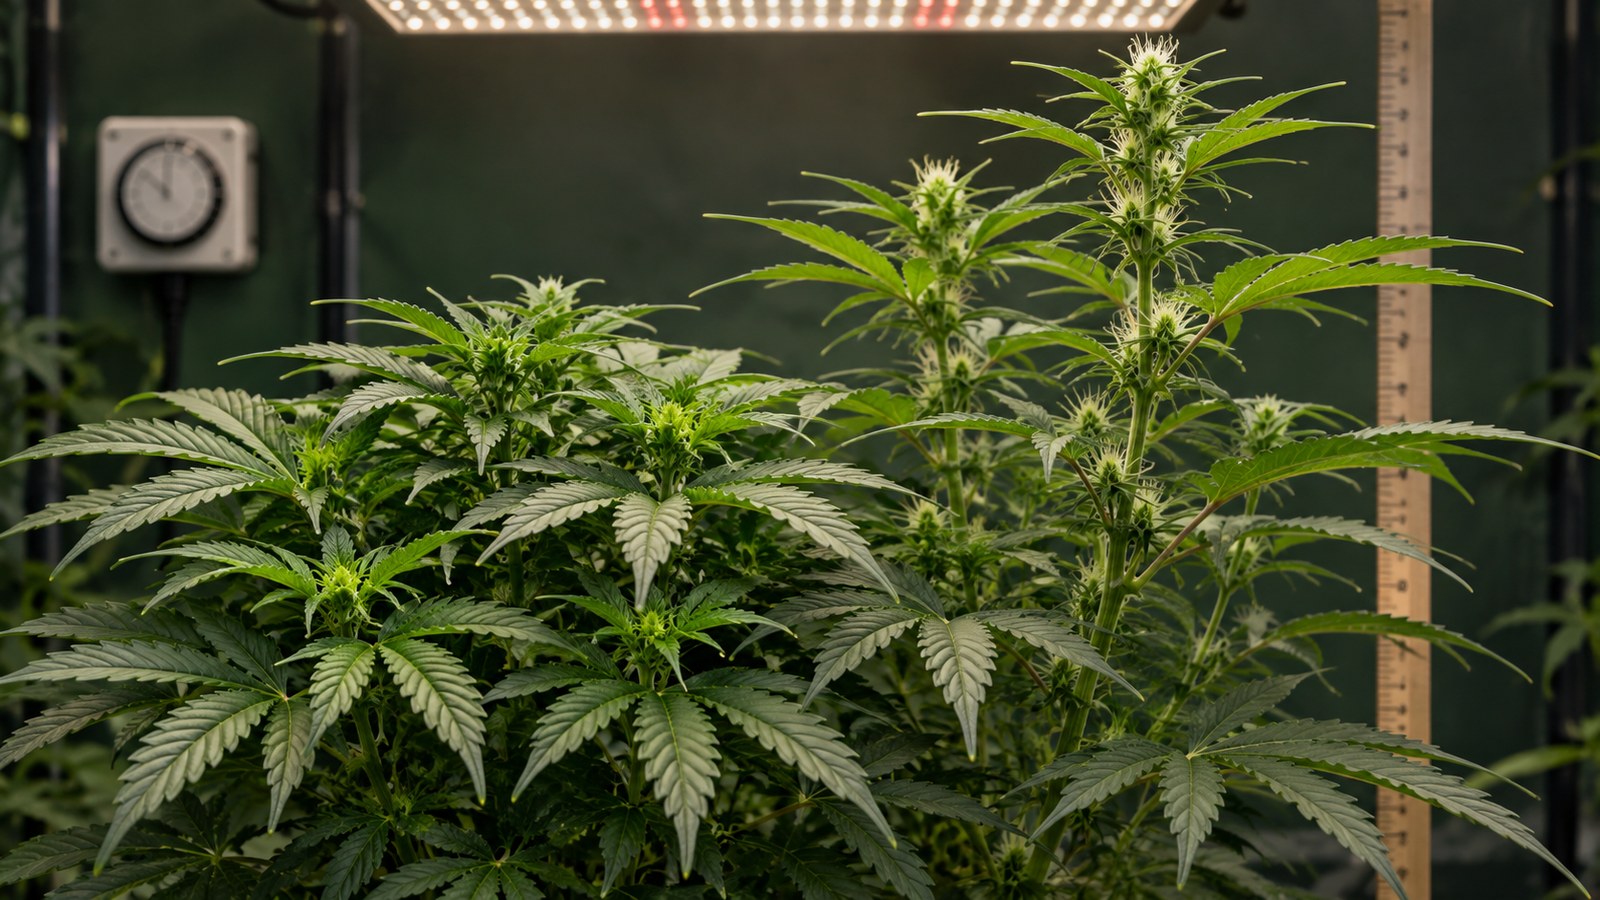
Cannabis Transition to Flower: When to Flip, Stretch, and the First Three Weeks
A healthy indoor plant fills most of its available canopy, but its tallest shoot is approaching the safe operating space beneath the fixture. You change the timer and a week later the shoots are still lengthening. Is the plant failing to flower, behaving normally, or responding to a problem? The answer depends on what changed after the light signal and on which structures are developing, not simply on the number of days since the switch.
Treat the vegetative-to-flowering transition as a controlled handover, not one moment when height growth stops and flower feeding begins. Decide whether a photoperiod-sensitive indoor plant is ready for the switch, establish a stable light cycle, measure its subsequent extension and reproductive development, preserve adequate complete nutrition, then verify that compact inflorescences are progressing. A date records the intervention. The plant supplies the evidence of its response.
This resource joins five closely related questions in one decision process. It is mainly about photoperiod indoor cultivation, with explicit outdoor and autoflower exceptions. For setup and the full cultivation cycle, use the complete indoor guide. For fertilizer formulations and medium-specific nutrient management, use the nutrients and fertilizers guide. Grow only where cultivation is lawful, and follow applicable facility and electrical safety requirements.
The Direct Answer: Make the Flip Decision Before the Timer Change
For a mature, photoperiod-sensitive cannabis plant indoors, the practical flip decision is a space-and-health decision. Make the change when roots and shoots are growing consistently, the canopy occupies a useful part of the illuminated footprint, the room has reserve height for continued extension, and the lighting and climate equipment can operate reliably through an uninterrupted dark period. Do not flip simply because the plant reached a universal age, node count, or fashionable height.
A commonly used indoor starting schedule is a long vegetative light period followed by a regular 12-hour light / 12-hour dark program. That schedule is an established horticultural practice and a research treatment, not proof that every cultivar has one critical day length or that flowers appear on day one. Controlled studies across cultivars demonstrate different photoperiod responses; some initiate under longer days, while inflorescence progression can remain incomplete under conditions that permitted initial signs.
When Should You Switch Cannabis to Flower?
Start with a measured final-space budget. Note the current tallest productive tip, the highest canopy position the fixture can safely accommodate according to its specifications and measured plant response, and the free distance between those points. Then assess horizontal crowding, inspection lanes, access to irrigation, support placement, and the expected variability of the cultivar. Your previous documented run of that exact material is more valuable than a generic “doubles in height” promise.
If the plant is weak, chronically overwatered, affected by active pests, or still recovering from a significant wound, the timer will not cure the cause. In a controlled room, correct the identifiable problem and observe renewed growth before choosing an induction date when feasible. Conversely, waiting for every square centimeter of the room to fill can leave no room for the rapid extension that follows induction. Balance useful canopy coverage against the reserve for its future shape.
Mark three different dates in your log: the photoperiod-change date, first verified terminal inflorescence initiation, and the time when extension clearly slows. The dates can differ. If one grower calls the timer change “flower day one” and another waits for clusters to appear, their week charts are not directly comparable.
What about outdoors and autoflowers?
Outdoor photoperiod plants experience a gradual seasonal change in day length rather than a grow-room timer switch. Use the observed transition and your cultivar history, not an assumed regional calendar date. Artificial light near the planting area can complicate night exposure, and the threshold varies with genetics. For the broader season, refer to the outdoor growing guide.
Autoflowering or photoperiod-insensitive material follows a different genetic flowering pathway. Reducing its light schedule is not the same flowering trigger as it is for a photoperiod-sensitive plant. Judge development directly and avoid using the indoor flip date to assign its bloom stage. The autoflower training resource addresses the separate limits on recovery and canopy interventions.
Definition: Flip date versus flower onset
The flip is the recorded change to an inductive indoor lighting schedule. Flower onset is an observed developmental event: reproductive structures begin organizing into a sustained inflorescence. These are useful separate timestamps. Isolated female flowers at nodes do not by themselves confirm a newly induced terminal cluster.
“I can see white hairs at two lower nodes. Do I need to switch the lights tonight?”
Question sent by: Logan Pierce, via email.
Not on the strength of those hairs alone. Solitary flowers can develop after sexual maturity without the short-day induction that establishes compact terminal inflorescences. Check canopy size, plant health, available headroom, cultivar behavior, and whether the room is ready for a stable flowering schedule. Record the node flowers as useful history, not a command to flip.
What Changes Biologically Between Vegetative Growth and Established Flowers
Flower initiation is not a simple transfer of all plant resources from leaves to buds overnight. Cannabis is capable of producing solitary flowers in leaf axils during adult growth under long days. An appropriate sequence of shorter days triggers architectural changes at shoot tips in photoperiod-sensitive material, organizing many reproductive units into compact inflorescences. Meanwhile stems, leaves and roots remain active, and elongation can accelerate temporarily.
Photoperiod is a developmental signal, not the flower itself
Plants perceive photoperiod through coordinated light-response and internal timing systems. In controlled cannabis experiments, the short-day response has included a first phase of rapid internode extension followed by reduced extension of newly formed internodes and condensation into inflorescences. When those experimental plants returned to long days, their floral architecture could loosen and vegetative-like shoots could eventually emerge. This supports continuity of the inductive signal, not a universal rule that three particular calendar days will complete induction in every cultivar.
Studies testing several indoor cultivars found meaningful differences in visible initiation and inflorescence development across photoperiod treatments. Certain plants showed early initiation under longer days without subsequent sustained growth of those flowers. A few white stigmas after changing a timer therefore do not prove the entire flowering program is progressing.
What Does Flowering Stretch Mean?
Flowering stretch describes the temporary continuation or acceleration of shoot and internode elongation around the transition. It can reposition leaf area and flower sites, changing height, branch spacing and future illumination. Stretch does not mean that mature buds are already being produced at maximum rate, nor does it always indicate inadequate light. Its expression depends on genotype, starting architecture and conditions.
One controlled photoperiod-and-hormone study observed a pronounced initial elongation phase under short days, followed by stabilized plant height as compact inflorescences developed. The reported days are properties of its experimental material, not a timer for deciding when every plant is finished stretching. A separate cultivar comparison found that longer flowering photoperiods could influence early growth and final inflorescence biomass in cultivar-dependent ways. Those results do not justify promising that one lighting schedule always yields more.
How stem extension and flower formation overlap
During the transition, some shoots gain length while their tips begin repeating small floral units. Internodes between the newest leaves may still be visible as terminal flower clusters become easier to identify. Older fan leaves continue intercepting light and supporting carbon assimilation. Root water uptake and mineral transport do not stop when the first stigmas appear. A grower who removes healthy leaves, cuts nitrogen and increases lamp intensity all at once cannot tell which change caused a later setback.
Use three independent observations: the change in length of marked shoots, the organization of the terminal reproductive structures, and the condition of the root-and-leaf system. None alone describes the complete transition. The fastest shoot may still stretch while another has already begun developing a compact flower tip.
Remember: Stretch is a measured change in stem extension. Flower onset is a change in reproductive architecture. They can overlap, and neither should be inferred from the other alone.
Why “the first three weeks” remains a planning label
The phrase is convenient for growers working with weekly logs, but it is not a standardized cannabis biological stage. In a controlled room it commonly refers to the early period after the timer change, when growers monitor extension, support clearance and inflorescence establishment. Published experiments have described distinct onset criteria, cultivar responses and rates of shoot extension. An outdoor plant may not have a flip date at all.
Use the label as a reminder to inspect frequently, not as a deadline for stretch to end or flowers to be a certain size. If the plant continues extending, measure that fact. If terminals stop developing despite a stable signal, investigate the light program and plant health rather than relabeling the calendar.
Variables That Change Timing, Stretch, and Feeding
The same photoperiod can produce different outcomes when the plant starts from a different size, genotype, root condition or environment. A readiness decision should identify which factors are under your control and which require observation rather than a number copied from another garden.
Genotype, maturity, and propagation history
Cultivar names and broad indica/sativa labels are unreliable substitutes for documented stretch and onset measurements. Within controlled studies, individual cultivars have responded differently to 12-, 13-, 14- and longer-hour light treatments. Seed-grown plants also pass through juvenile development; rooted cuttings from mature stock may be reproductively competent earlier. Autoflowering genetics introduce a separate reason that a timed switch may not be the relevant decision.
Preserve plant labels, propagation date, previous photoperiod and any records from the same genetic material. If no reliable history exists, leave a conservative space allowance without inventing a universal doubling factor. The right forecast is a range with a backup response, not a promise about final height.
Light signal, usable light, and equipment clearance
Verify what the timer actually does, including the dark interval, backup settings and whether an indicator or adjacent light intrudes. Use the appropriate grow-light measurement and manufacturer clearance guidance instead of assuming that a fixed hanging distance suits every fixture. Light intensity at the canopy and total daily light both change when hours are reduced; turning a lamp to maximum to compensate can create excessive intensity or temperature at the highest tips.
A stable, appropriately distributed light field matters more than choosing the highest available setting. Map high and low canopy positions and recheck when extension changes them. If the plant is approaching the fixture, preserve electrical and thermal safety; do not defeat fixture clearances or perform unstable last-minute electrical modifications.
Root-zone capacity and irrigation changes
A larger canopy with rapid extension can increase water demand, but roots must still function in a sufficiently aerated, appropriately moist medium. In coco and hydroponics, nutrient-solution composition and measured EC can change quickly. Pre-amended soil and living mixes release nutrients on another timeline. A plant showing wilting after a timer switch may have dry roots, saturated roots, damaged roots, heat exposure or a distribution problem. It is not automatically asking for stronger fertilizer.
Record the medium, water source, input concentration where relevant, method-specific root-zone measurements, pot weight or field moisture, drainage and water use. Interpret runoff EC cautiously because collection method and watering history affect the sample. If values or symptoms change together, correct the demonstrated problem rather than blaming the floral transition itself.
Environmental control and canopy access
Lighting changes can alter the room temperature pattern, transpiration and the timing of humidity peaks. A dark period may expose moisture-removal weakness that was less obvious during vegetative growth. As internodes extend and branches spread, airflow pathways and inspection access also change. Measure relevant day and night conditions at canopy level and look for condensation or persistent moisture rather than adopting an unsupported universal flowering RH number.
Outdoor plants add weather, latitude and seasonal timing to those variables; the same cultivar cannot be expected to enter flower on the same calendar date in every location. Environmental setbacks can delay or distort growth without changing the underlying genetic photoperiod mechanism.
Warning: Avoid a transition pile-up
A simultaneous timer change, harsh pruning, large nutrient-strength increase, aggressive light adjustment and irrigation reset creates both physiological stress and a diagnostic problem. Make only necessary corrections, record each one and verify the plant response before adding more interventions.
A Repeatable Flip-to-Early-Flower Observation and Response Method
A useful transition method starts with a baseline and ends only after a verified developmental response. The following sequence is designed for a lawful, controlled, photoperiod indoor grow. Adapt observation and root-zone checks to the actual system; do not use it as a fixed nutrient or lighting prescription.
Step 1: Map the plant and define the decision
Photograph the canopy from the same marked position and label a main shoot plus representative upper and lower laterals. Record their approximate height, terminal appearance, branch spacing and the available usable space beneath the fixture. Inspect the newest leaves for active growth and check that the root zone, irrigation and support system are functioning. Set an explicit decision: switch now, correct a problem and wait, or change the plant-space plan.
If the tallest tip cannot remain within safe clearance after further extension, changing the timer without a headroom plan is not preparation. Conversely, if the plant is healthy and has room to continue growing, there is no universal biological age that forces immediate induction. Use density, desired footprint, genotype history and health as the determining variables.
Step 2: Confirm the light schedule and preserve a separate onset log
For photoperiod-sensitive indoor plants, select an established inductive program appropriate to the cultivar and setup. A regular 12/12 schedule is a common baseline, but cultivar experiments demonstrate that it is not the unique biological optimum in every trial. Verify the timer through a complete light and dark cycle and prevent stray illumination where practicable. Do not repeatedly toggle photoperiods in response to impatience.
Enter the flip date as an equipment-management event. Photograph the same terminal sites over the following observation rounds. Mark first persistent inflorescence initiation separately; individual node flowers, one loose stigma and a vendor-predicted day do not replace that observation.
Step 3: Track extension and keep support usable
Measure the distance from a fixed reference to the same marked shoot tip using a ruler or fixed visual scale. Repeat under similar conditions, and record height change or internode development rather than guessing a stretch multiplier. Recheck lamp clearance and branch overlap at the same visit. Adjust fixtures only within manufacturer instructions and preserve accessible routes to water, inspect and eventually support flower-bearing branches.
Use existing soft ties and supports if the structure needs stabilization, but do not turn this transition resource into a topping or supercropping tutorial. Severe damage to rigid or flowering stems can consume recovery time and complicate later load-bearing. For detailed outdoor-style recovery reasoning, the broader outdoor guide provides context; this page remains focused on the transition decision.
The First Three Weeks of Cannabis Flowering
At the initial check, verify timer behavior, stable roots, canopy baseline and adequate space. On subsequent checks, look for extension rate, new terminal architecture and differences among branches. By the time clusters are clearly developing, document whether extension is tapering and whether lower or shaded sites lag. These are sequential checkpoints that may occupy different dates, not a promise that day seven, fourteen or twenty-one produces the same anatomy in every genotype.
| Observation checkpoint | What to record | Decision or follow-up |
|---|---|---|
| Before induction | Health, root status, marked tips, usable headroom, timer and support. | Correct active problems or create more room before committing. |
| Early response | Actual schedule, extension of the same tips, new reproductive organization. | Separate normal stretch from missing induction or light-system fault. |
| Cluster establishment | Repeated terminal flower units, branching and canopy distribution. | Recheck clearance, moisture removal and healthy leaf area. |
| Extension taper | Repeated measurements show less new internode extension; tips keep forming compact flowers. | Move from height management to stable flower-development inspection. |
| Uncertain progression | No sustained clusters, renewed leafy internodes, plant-wide decline or localized damage. | Check recent changes and look-alikes before intervening. |
Step 5: Adjust water and nutrition only when the evidence calls for it
Retain a complete nutrient supply through the stretch. If following a coherent fertilizer program, review how it handles transition and whether the medium already supplies nutrients. Change formulation or delivery gradually when supported by plant demand, root-zone measurements or a validated crop plan. Do not stack a bloom booster with a base feed simply because the timer changed. For complete nutrient chemistry and testing, follow the feeding guide.
Check for signs that point away from simple nutrient hunger: saturated root zone, rising EC without corresponding growth, uneven irrigation, sudden heat stress or pest activity. A single yellow lower leaf cannot identify N deficiency. Compare progression on old versus new leaves and the behavior of the same marked plant after one controlled correction.
Nutrient Management During the Flowering Stretch
Rapid stem and leaf construction continues while flower structures initiate, so nitrogen is still required for functional foliage, photosynthetic proteins and new tissue. Potassium, phosphorus, calcium, magnesium, sulfur and micronutrients also remain necessary. The practical objective is adequate, balanced nutrition with an active root zone, not abruptly substituting a high-phosphorus mixture for all vegetative nutrients.
A controlled flowering experiment using one high-THC cultivar in deep-water culture found a curved inflorescence-yield response to nitrogen and phosphorus, with no yield response to potassium within its tested range. This challenges routine high-K assumptions, but its treatment concentrations are not transferable as universal targets for potting soil, coco, outdoor ground or unrelated cultivars. Another CBD-focused experiment found a trade-off between fertilizer reduction, lower flower biomass and partly compensated CBD concentration. Do not confuse a higher concentration with a larger harvest.
Review the nutrient label correctly: elemental phosphorus and potassium concentrations reported in research are not the same labeling convention as the P2O5 and K2O equivalents printed in some fertilizer guarantees. A bottle marketed as “bloom” does not establish that the crop needs its entire dose, and an EC meter cannot reveal which particular ion is deficient. Use medium-appropriate analysis and the actual formulation when decisions require detail.
Feeding Cannabis Through the Vegetative-to-Flowering Transition
Keep a single change log for irrigation, base-feed formula, concentration, water quality and environmental shifts. A sensible sequence is to assess existing reserves and root function, continue complete nutrition, observe early growth response, then make small justified changes. In a pre-amended soil, additional fertilizer may be unnecessary at the flip; in an inert system a reliable complete solution may be essential from the start. Those cases cannot share an identical nutrient chart.
When the plant is using more water, increasing irrigation frequency without accounting for drainage and oxygen can make the root zone worse. When it is taking up less, the root zone may be cooler, saturated, saltier or diseased. Assess water use and root-zone conditions before changing the nutrient ratio. Do not diagnose every slow-stretching plant as phosphorus deficient or treat every tall-stretching plant with extra potassium.
“My fertilizer chart says bloom starts the same day I set the timer. Should I stop giving nitrogen immediately?”
Question sent by: Emily Dawson, via contact form.
No abrupt nitrogen cutoff is justified by the date alone. During stretch the plant still builds leaf and stem tissue, and flowering cannabis continues to respond to nitrogen supply in research. Check the complete formula, medium reserves, actual plant demand and root-zone measurements. Use the schedule as a starting framework and avoid adding extra phosphorus or potassium without evidence.
Pro Tip: When a correction is necessary, change one meaningful variable, document it and recheck the same plants. Otherwise improved color or worsening growth cannot be attributed confidently.
Common Mistakes and Look-Alikes During the Transition
Several symptoms can mimic either normal stretch or successful induction. Avoid translating one visual cue into a confident diagnosis. Compare the change with a known baseline, the equipment history and the specific tissue in which it began.
Solitary node flowers mistaken for full flower onset
Female node flowers may be visible before short-day induction. They show reproductive competence, not necessarily a condensed terminal inflorescence. Inspect multiple terminal shoots for repeated flower units that continue building over successive observations. Record isolated flowers without restarting the whole cultivation clock.
Light-seeking elongation mistaken for flowering stretch
Stems also elongate in response to inadequate light or unfavorable distribution. Normal transition stretch is diagnosed by the relationship to the documented photoperiod shift and the appearance of developing terminal reproductive architecture. A shaded lower lateral elongating weakly while the main top stays compact may require a different interpretation from a plant-wide response after the timer change. Verify measurement and equipment position before changing power.
Interrupted flowering or revegetation mistaken for a late stretch
Renewed internode separation within formerly compact flowers, new vegetative-looking shoots and a history of long-day exposure can raise concern about a reversed or disrupted flowering response. One odd leaflet is insufficient because cannabis leaf form also changes during normal development and stress. Verify the dark period and look for repeated change at marked reproductive sites. The topic of leaf-shape look-alikes deserves its own diagnosis, rather than assuming that every single-finger leaf signals revegetation.
Root and nutrition stress mistaken for a failed flip
Droop, marginal burn, lower-leaf yellowing and halted expansion can reflect waterlogging, drought, salinity, pH-related availability, pest damage or nutrient shortage. If multiple stressors began together with the timer change, the chronology is suggestive but not diagnostic. Inspect the whole plant, irrigation history and the active root zone before changing fertilizer composition. A strong feed cannot repair a root system that lacks oxygen.
Bloom boosters and calendar-based starvation
A large phosphorus or potassium addition can increase EC or interfere with nutrient balance without delivering proportional flower gains. The claim that nitrogen must be removed at the first stigma also ignores ongoing vegetative tissue construction. Published nutrient responses depend on cultivar, medium and experimental treatment, so they are not permission to copy a single concentrated dose into every system.
| Observed pattern | Do not assume | Check before correcting |
|---|---|---|
| White stigmas only at nodes | Timer change has already produced terminal flowering. | Inspect repeated development at marked shoot tips. |
| Height rises after induction | Light is too weak or flowers are failing. | Compare pre-flip baseline, terminal clusters, light field and cultivar history. |
| Former clusters produce long leafy growth | Every leaf abnormality is revegetation. | Audit photoperiod history and multiple reproductive sites. |
| Yellowing with wet medium | More bloom nutrients are needed. | Test/observe moisture, drainage, roots, pH and EC by system. |
| Tip burn after booster addition | The plant needs still more potassium. | Check changed formulation, concentration and root-zone accumulation. |
| No visible clusters on one late branch | Entire room never initiated flowering. | Sample other terminal branches and repeat the same observation. |
Warning: Do not force height management with unsafe equipment
If a shoot enters the fixture clearance zone, protect electrical and fire safety first. Do not bypass mounting instructions, suspend water near energized equipment or crush mature stems to satisfy a calendar target. Address the physical hazard using suitable equipment and a stable grow-space plan.
“The plant gained height, but its tops still look leafy. Does that prove I have a light leak?”
Question sent by: Samuel Reed, via Facebook page.
Not yet. Compare the actual timer operation and dark interval with repeated photos of several shoot tips. Early extension can precede obvious terminal clusters, and low-light elongation can look similar. A light leak becomes a stronger explanation if a real exposure is documented and reproductive development repeatedly fails or reverses. Check roots and general vigor too.
How to Verify Flower Initiation, Stretch, and Nutrient Response
A successful flip is not proved by the timer display, a tall plant or a single stigma. Verification means recording that a suitable light signal has been delivered, the expected sequence of morphology is appearing, and plant function remains stable enough to support it.
Verify the signal independently from the plant
Inspect the timer settings, actual on/off behavior and obvious light intrusion without improvising unsafe electrical tests. If a backup timer or controller is involved, verify its operating state rather than trusting its display. Document the lighting history. An apparent flowering problem cannot be interpreted confidently when the actual photoperiod is unknown.
Verify reproductive architecture at repeated fixed positions
Return to the same main and lateral tips with similar framing, a date and a simple scale. Look for continued formation and condensation of reproductive units. One photo can show flowers present; a sequence shows whether they are progressing. Controlled studies sometimes use a particular visible-stigma count to standardize their measurement, but that experimental definition is not a universal home-grow threshold.
Verify extension rate rather than guessing final height
Measure the same shoots through the transition. If the plant elongates strongly, recheck clearance and overlap. When successive measurements show extension slowing while flowers continue developing, the plant is shifting into a different architectural phase. If one branch keeps extending, confirm whether the pattern is genotype-specific, shaded, damaged or responding differently to the light distribution before applying a whole-room correction.
Verify nutrition from new growth and root-zone evidence
After an adjustment, watch for continued healthy development and the absence of expanding injury. Old yellow leaves or burnt margins will not automatically turn green again. A useful result is that new damage stops, growth proceeds and the root-zone measure moves toward the appropriate system-specific range. If symptoms progress, reconsider the diagnosis rather than stacking another product.
Write a compact log with separate fields: flip date, onset observation, tip measurements, light check, water use, medium status, nutrient changes and the date of the next reinspection. This allows later runs of the same cultivar to inform an actual headroom and transition plan rather than recycling a universal stretch multiplier.
Field Advice: Leave the next check with a falsifiable question: “Will this marked terminal show continued clustering while the height-change rate slows?” That is more useful than “It should be in week three by now.”
The Transition Decision Checklist and Related Resources
Before committing to induction, establish whether this plant has sufficient health and physical space. After the switch, preserve the light signal and review development using repeated observations. The checklist below makes the decision reproducible without turning a research treatment or vendor calendar into a universal rule.
Transition-to-flower decision checklist
- Cultivation and facility operation are lawful; electrical and fixture clearances are safe.
- Plant identity, photoperiod sensitivity, propagation history and recent stress are recorded.
- Roots, watering, newest growth and pest condition have been inspected before induction.
- Current canopy height, usable headroom, access and branch support are documented.
- The timer is verified; flip date is recorded separately from observed flower onset.
- The same main and lateral tips are photographed and their extension remeasured.
- Solitary node flowers are not confused with sustained terminal inflorescences.
- A complete nutrient supply is maintained; changes follow evidence rather than a bloom-label date.
- Root-zone moisture, drainage, medium-specific EC/pH and water use are checked when relevant.
- The first-three-weeks label remains an observation window, not a universal stretch deadline.
- A follow-up date, a specific expected response and a contingency action are written down.
The transition ends as a useful management category when compact flower structures are established and extension has sufficiently stabilized to manage the canopy primarily for flower development. That boundary is observed, not assigned by day twenty-one. Continue to protect healthy leaves, roots, light access and inspection access while using separate resources for later flower care, pest decisions and harvest readiness.
A well-managed flowering transition does not need a dramatic switch in every variable. It needs a deliberate induction decision, a stable signal, room for architectural change and measurements that tell you whether the plant is progressing or merely being pushed.
Educational content. Always follow your local laws.
Share this article
A quick overview of the topics covered in this article.
Follow us
Latest articles
October 10, 2026
October 10, 2026