
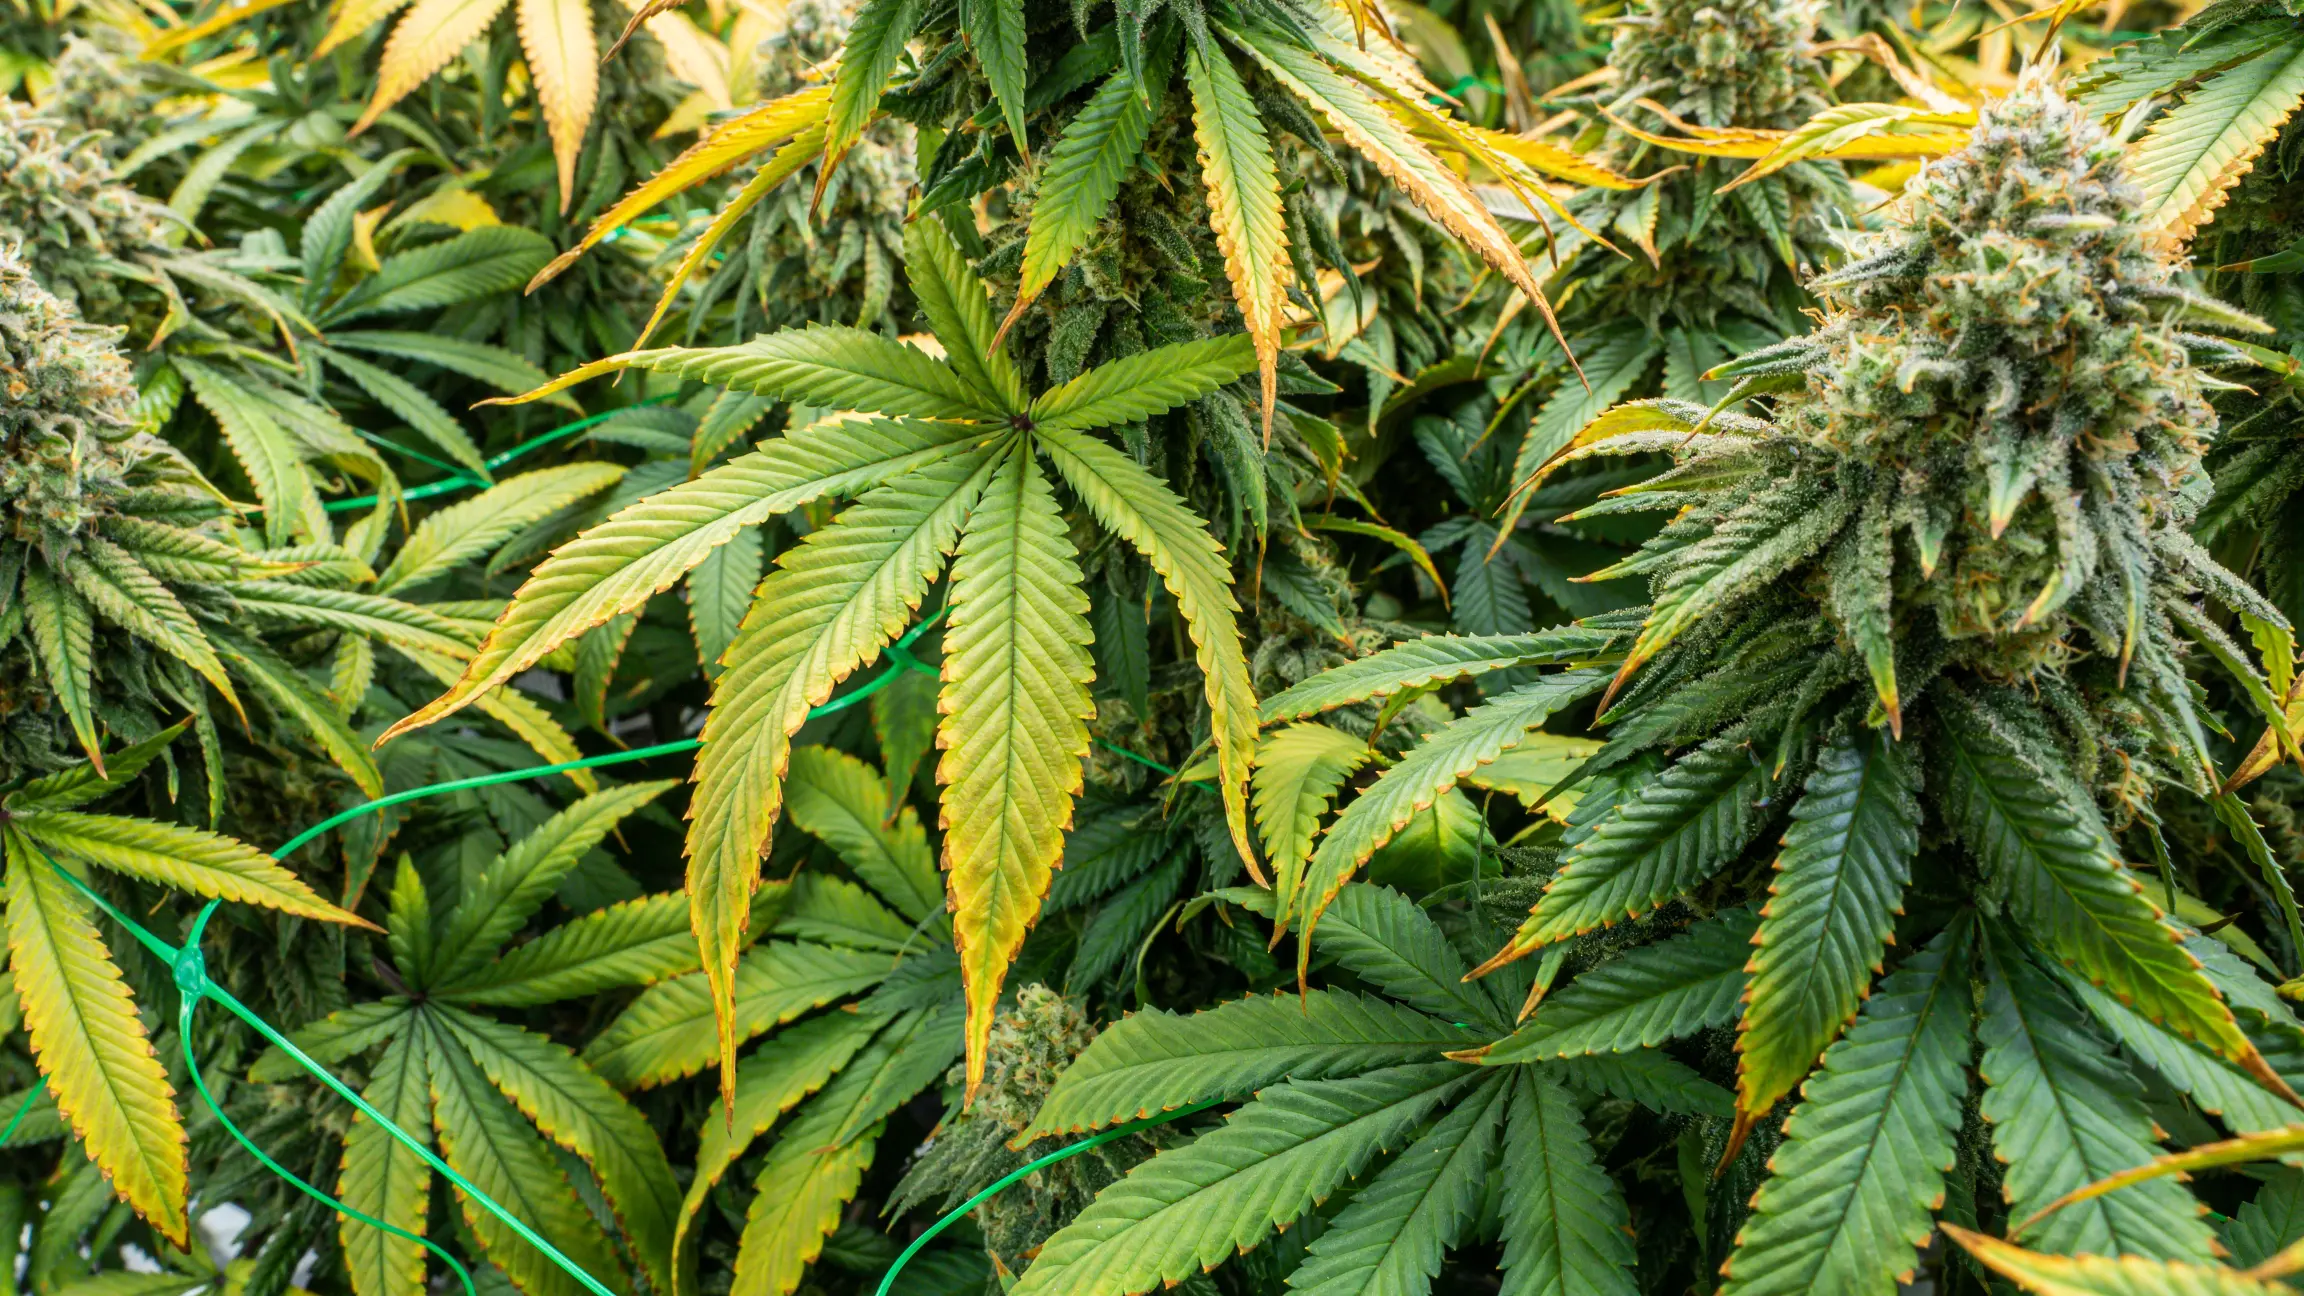
First Cannabis Grow Budget: Setup Cost, Low-Cost Options, and Where to Spend First
Direct Answer: First-Time Cultivator Startup Budget Matrix
Launching your first indoor cannabis cultivation setup requires an initial capital expenditure of $320 to $1,450, depending on enclosure scale, lighting quality, and environmental control infrastructure. A functional home grow requires four core engineering subsystems: high-efficiency photon delivery (LED lighting), odor mitigation and air exchange (ventilation), climate stability (temperature and humidity management), and root zone nutrition.
To make an informed financial decision, beginner cultivators must choose between three distinct entry-level operational tiers:
- Tier 1: Ultra-Low Budget Closet Conversion ($320 – $480): Converts an existing household closet or spare wardrobe using Panda poly film, a 150W high-efficiency quantum board LED, a 4-inch carbon filter exhaust fan, fabric pots, and organic living soil. Produces 3 to 6 ounces (85 to 170 grams) of dried flower per harvest.
- Tier 2: Entry-Level 2×2 ft / 2×4 ft Dedicated Tent ($550 – $850): Employs a dedicated 1680D reflective grow tent, a 240W bar-style LED, a 4-inch or 6-inch variable-speed EC inline fan, virgin Australian RC-48 carbon canister, and precision digital thermo-hygrometers. Produces 6 to 12 ounces (170 to 340 grams) per harvest.
- Tier 3: The Golden Standard 4×4 ft Setup ($1,150 – $1,450): The most cost-effective long-term architecture, featuring a 4×4 ft tent, 480W to 650W multi-bar LED, 6-inch EC exhaust system, small supplemental dehumidifier, and automated digital controls. Produces 1.5 to 2.5 pounds (680 to 1,130 grams) of premium flower, fully paying off all startup hardware in a single 120-day cycle.
| System Component | Tier 1: Closet ($350) | Tier 2: 2×4 ft Tent ($680) | Tier 3: 4×4 ft Tent ($1,320) | Allocation Priority |
|---|---|---|---|---|
| Enclosure / Tent | $25 (Panda Poly + Tape) | $90 (2×4 ft Oxford Tent) | $160 (4×4 ft 1680D Tent) | Moderate (Closet conversion viable) |
| LED Grow Light | $130 (150W Board, 2.6 μmol/J) | $260 (240W Bar, 2.8 μmol/J) | $520 (650W Bar, 2.8 μmol/J) | Highest: Never cut corners on photons |
| Exhaust Fan & Carbon Filter | $110 (4-inch AC Fan + Filter) | $160 (4-inch EC Fan + RC-48 Filter) | $230 (6-inch EC Fan + RC-48 Filter) | Critical: Non-negotiable for odor security |
| Circulation Fans | $15 (Standard 6-inch desk fan) | $35 (Oscillating clip fan) | $60 (2x EC Oscillating clip fans) | Moderate (Prevents microclimates) |
| Environmental Controls | $10 (Mechanical outlet timer) | $35 (Digital thermo-hygrometer) | $80 (Smart WiFi VPD controller) | Moderate to High |
| Pots & Substrate Media | $20 (2x 5-gal fabric pots + soil) | $35 (3x 5-gal pots + coco/perlite) | $60 (4x 5-gal pots + organic mix) | Low CapEx (Recurring OpEx) |
| Plant Nutrition / Fertilizer | $20 (Organic dry amendments) | $30 (Jack’s 321 dry salts) | $40 (Concentrated base salts) | Avoid boutique bottled lines |
| Diagnostic Instruments | $15 (Liquid pH drops / test kit) | $50 (Digital Apera pH pen) | $90 (Apera pH + EC combo meter) | High: Prevents nutrient lockouts |
| Dehumidifier (If Needed) | $0 (Rely on lung room draft) | $0 (Ambient home HVAC) | $240 (50-pint Compressor Unit) | Essential in late bloom if RH > 55% |
| Total Initial Investment | $345 | $695 | $1,480 | One-time capital investment |
| Expected First-Harvest Yield | 3 to 5 oz (85 to 140 g) | 8 to 12 oz (225 to 340 g) | 24 to 36 oz (680 to 1,020 g) | Based on 0.8 to 1.2 g/Watt |
| Retail Dispensary Value ($200/oz) | $600 – $1,000 | $1,600 – $2,400 | $4,800 – $7,200 | 100% Breakeven in Cycle 1 |
Allocate at least 40% of your total hardware budget directly to your LED grow light, and 25% to ventilation and odor filtration. The remaining 35% covers your enclosure, fabric pots, substrate, and diagnostic meters. Cutting your light budget in half to buy fancy automated controllers or eight bottles of nutrient boosters is the single most common mistake beginner growers make. Light drives photosynthesis; everything else merely supports it.
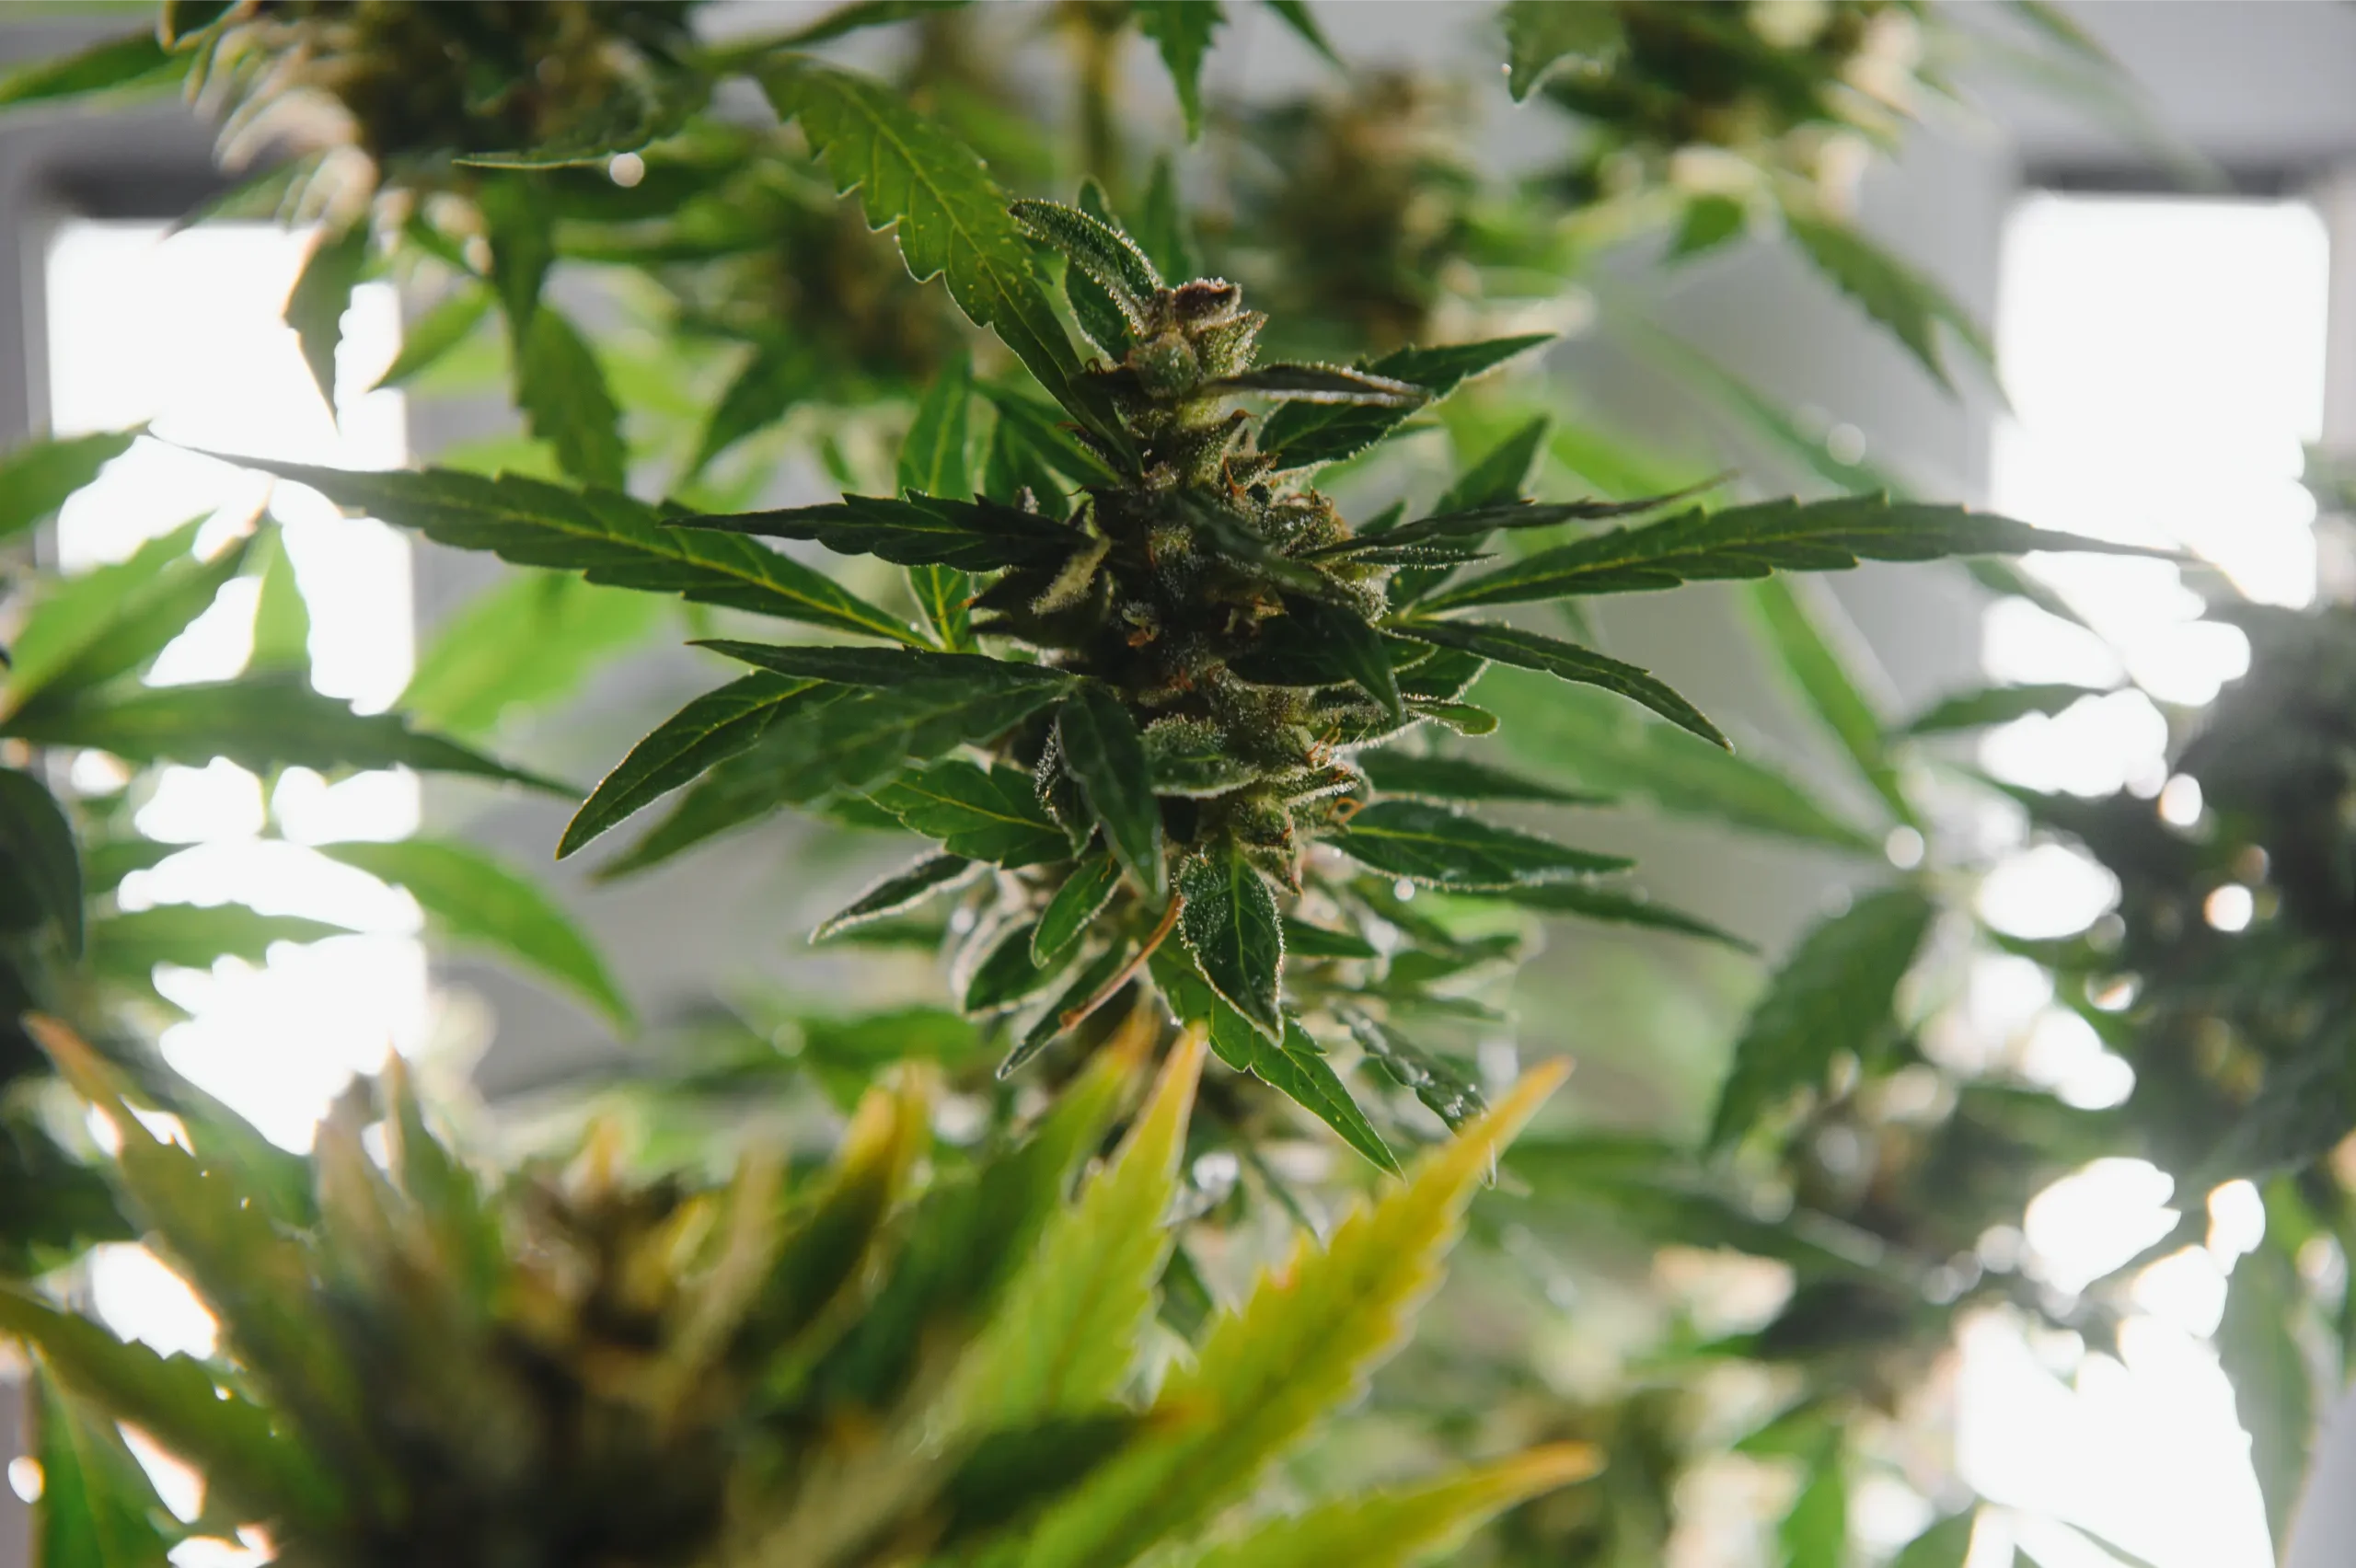
The Core Mechanism: Where to Spend Your Budget First
When building a first cultivation setup on a restricted budget, success is governed by Liebig’s Law of the Minimum: plant growth is dictated not by total resources available, but by the scarcest critical resource (the limiting factor). If you buy an expensive $800 LED light but pair it with a cheap $40 carbon filter that leaks raw skunk odor into your apartment building, your grow is an operational failure. Conversely, if you spend all your money on a premium tent and boutique nutrients but buy a weak 60W light bulb, your plants will produce loose, airy, underdeveloped larf.
1. The Non-Negotiable Core: Where You Must Spend First
- High-Efficiency LED Fixtures (≥2.6 μmol/J): Photosynthetic photons represent the fundamental fuel of plant biomass accumulation. Modern white-light LEDs using Samsung LM301B or LM301H diodes paired with 660nm deep red chips convert over 50% of electrical energy into usable photons, operating at high photosynthetic photon efficacy (PPE). Avoid obsolete high-pressure sodium (HPS) fixtures or old “blurple” purple-spectrum LEDs; their low efficiency dumps massive heat into your room while consuming twice the electricity for the same harvest weight.
- Virgin Activated Carbon Filter: Odor control is a legal, personal, and security priority. High-grade virgin Australian RC-48 or activated bituminous coal filters feature millions of microscopic pores that chemically adsorb volatile terpene molecules (such as myrcene, caryophyllene, and 3-methyl-2-butene-1-thiol). Cheap recycled pelletized carbon filters allow raw odor breakthrough within weeks.
- Quality pH Diagnostic Instrument: Cannabis roots can only absorb dissolved mineral cations and anions within a narrow rhizosphere pH window (5.8 to 6.2 in hydro/coco, 6.2 to 6.8 in soil). Feeding plants with uncalibrated pH causes catastrophic nutrient lockouts (iron chlorosis, calcium spotting, phosphorus starvation) that mimic deficiency symptoms. Invest $45 to $60 in a glass-electrode Apera or Bluelab digital pen; avoid cheap $12 yellow meters that drift out of calibration within days.
Low-Cost Options: Safe DIY Substitutions vs False Economies
Smart cultivators stretch startup capital by identifying safe do-it-yourself substitutions while strictly avoiding catastrophic compromises.
| Equipment Category | Safe Low-Cost DIY Substitution | Dangerous False Economy (Never Do This) |
|---|---|---|
| Enclosure / Walls | Line existing closet with black/white Panda film ($20) | Using kitchen aluminum foil (tears easily, creates hotspots) |
| Containers / Pots | Standard 5-gal food-grade plastic buckets drilled with holes ($4) | Pots without drainage holes (causes root rot and anaerobic suffocation) |
| Plant Nutrition | Commercial dry base fertilizer salts (Jack’s 321, $30 for 2 years) | Miracle-Gro time-release spikes (dumps toxic nitrogen in flower) |
| Ventilation Motor | Budget AC axial inline booster fan ($30, for veg only) | Household bathroom fan or PC fans with zero static pressure |
| Carbon Filter | Buy factory-packed virgin RC-48 canister ($65) | DIY carbon filter with pantyhose and aquarium carbon (100% fails) |
| Light Hanging Gear | Heavy-duty 1/8-inch ratcheting rope hangers ($8) | Zip ties, string, or wire (snaps under heat, dropping light on plants) |
Never attempt to build a DIY carbon filter using wire mesh, pantyhose, and loose aquarium carbon. Commercial horticultural filters are packed with virgin granulated carbon on high-frequency pneumatic vibrating tables that eliminate all microscopic bypass voids under mechanical compression. Hand-poured DIY carbon beds settle within days of fan operation, creating air bypass channels that vent 100% of pungent flowering terpenes directly into your living space. Odor security is the one area where DIY compromises are strictly fatal.
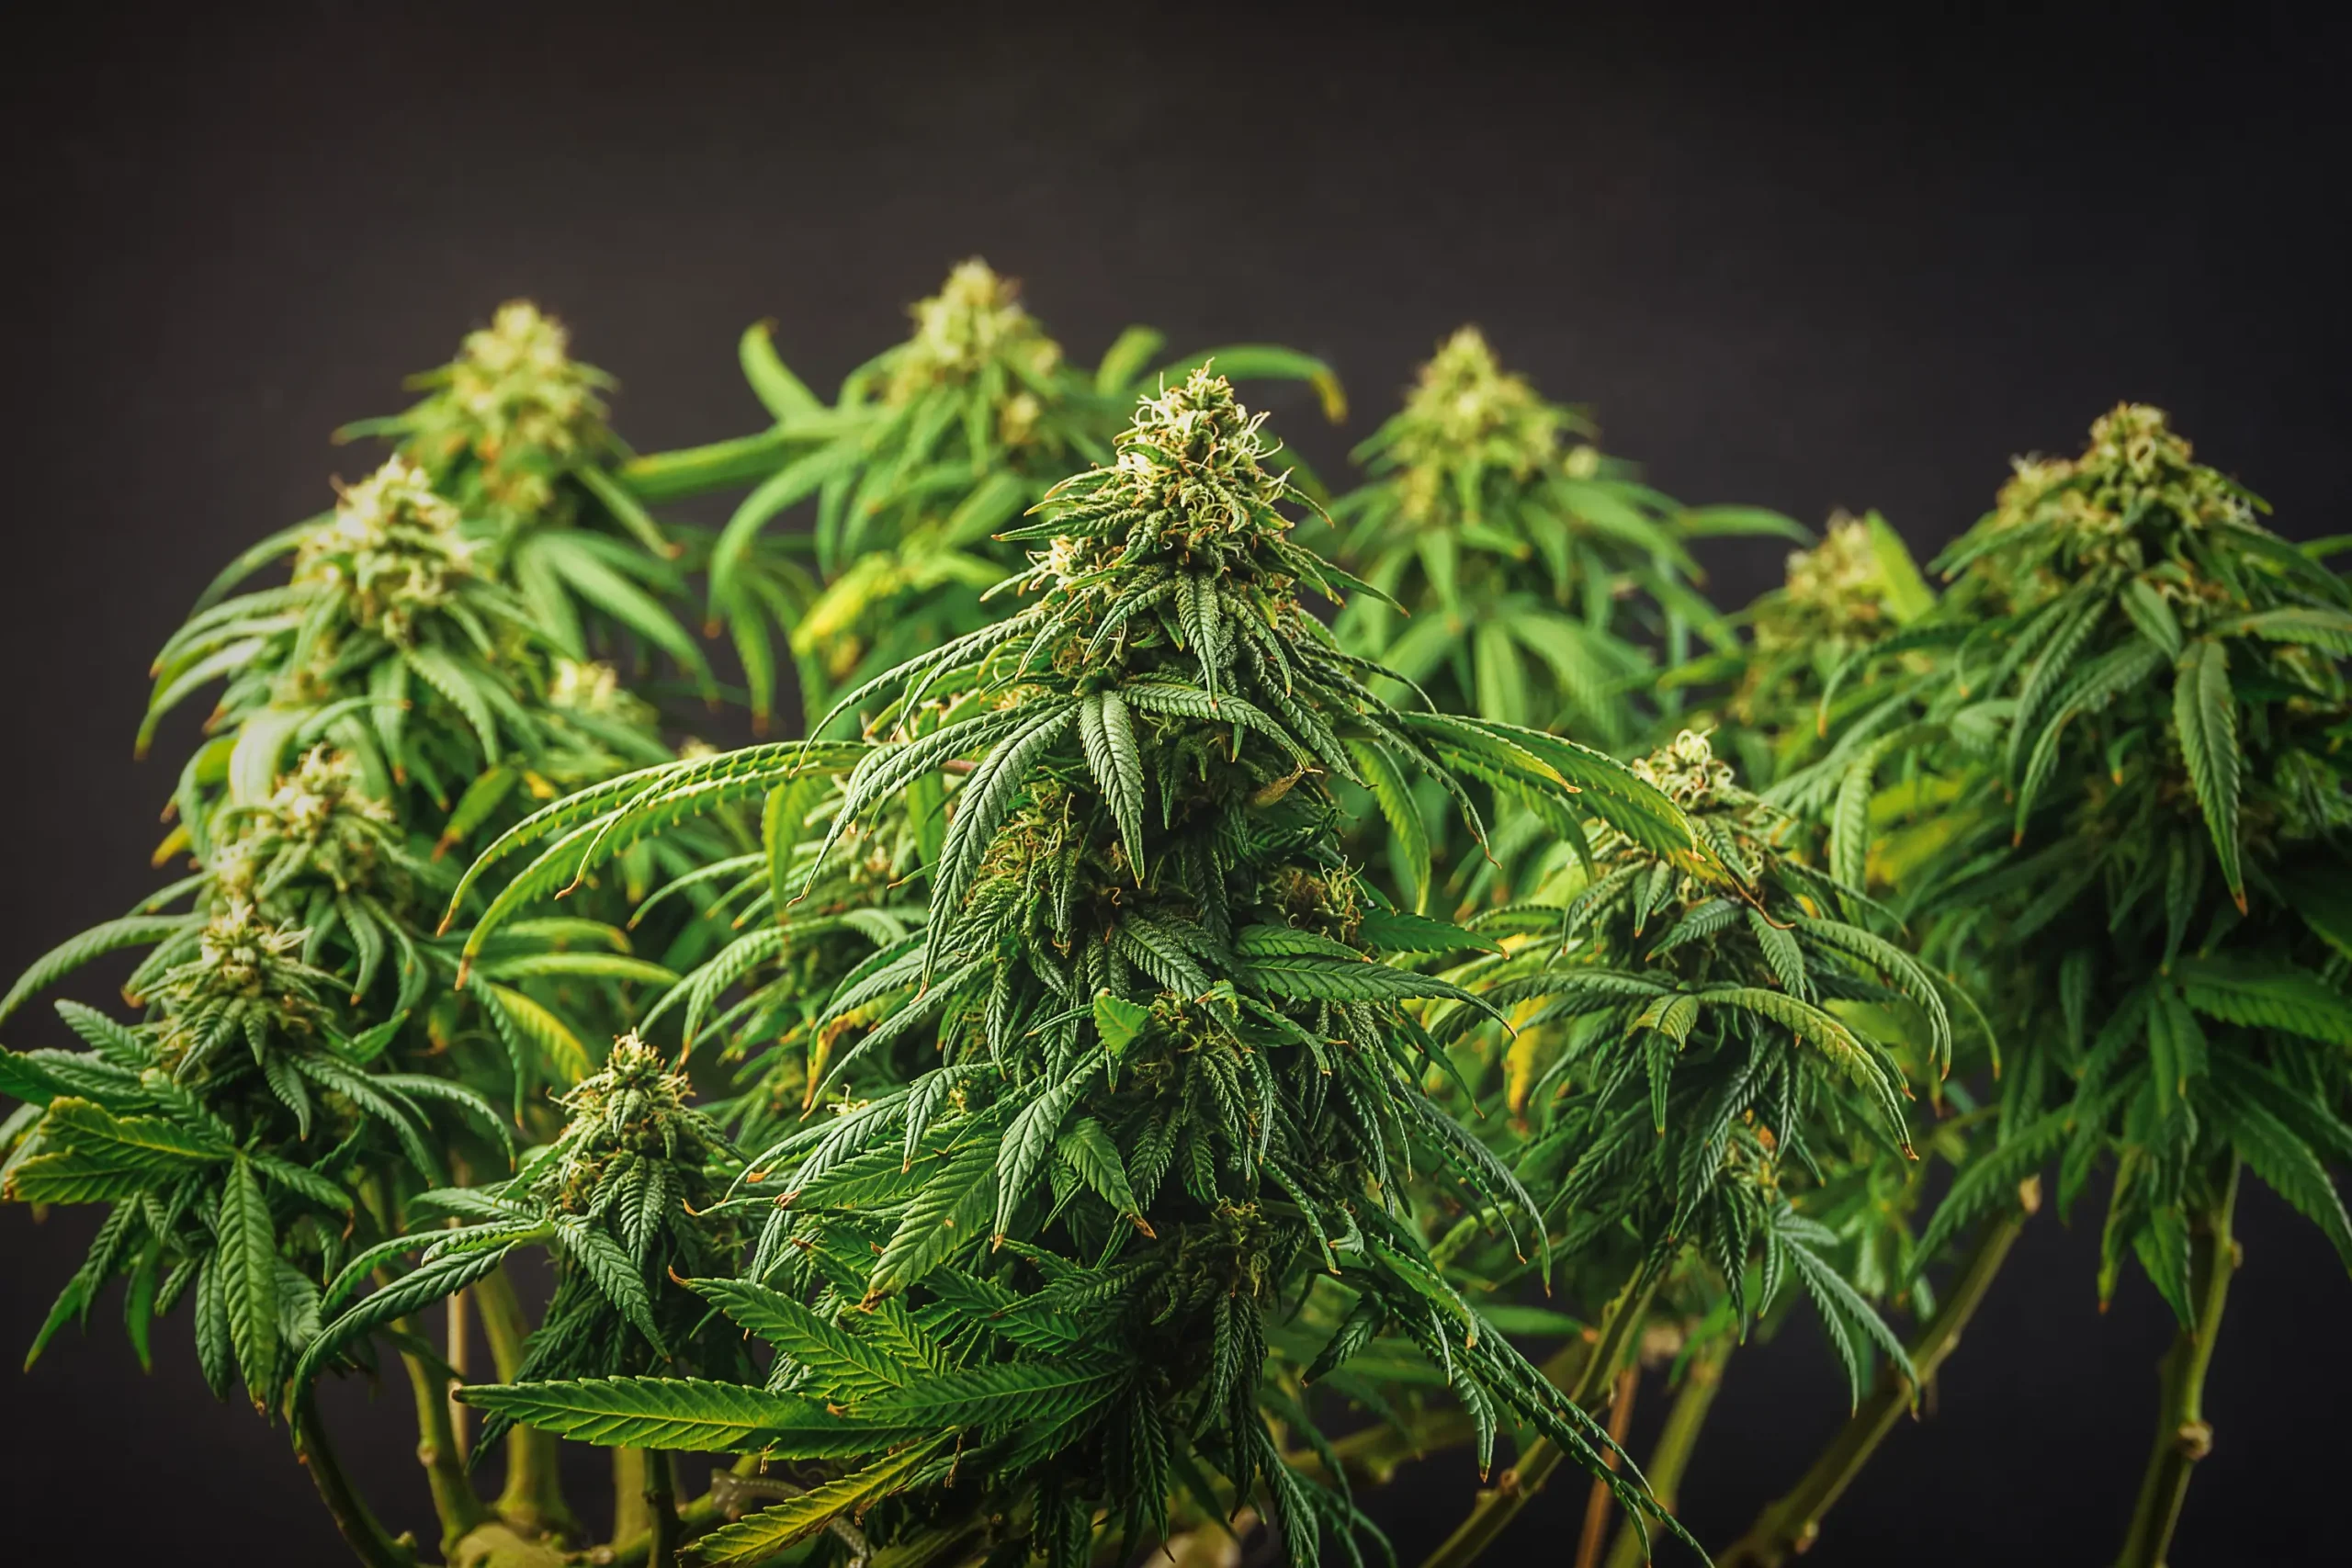
The First-Cycle Operating Cost Reality: Electricity, Water, and Consumables
Beyond initial hardware CapEx, first-time cultivators must budget for variable out-of-pocket operational expenses incurred across a typical 16-week growth cycle (4 weeks veg, 8 to 9 weeks bloom, 2 weeks dry/cure).
1. Electrical Power Budgeting
Calculate your exact electrical costs using your local utility tariff:
Electricity Cost = ≤ft( (Total Connected Watts × Daily Run Hours × Days / 1,000) ) × Utility Rate ($/kWh)
- Tier 1 Setup (150W Light + 30W Fan): Consumes approximately 3.2 kWh/day in veg (18h) and 2.5 kWh/day in flower (12h). Total cycle power: ~320 kWh. At the US national average of $0.16/kWh, total cycle electricity is $51.20.
- Tier 2 Setup (240W Light + 50W Fan/Equipment): Consumes approximately 5.4 kWh/day in veg and 3.9 kWh/day in flower. Total cycle power: ~540 kWh. At $0.16/kWh, total cycle electricity is $86.40.
- Tier 3 Setup (500W Light + 100W Fans + 200W Dehum avg): Total cycle power: ~1,100 kWh. At $0.16/kWh, total cycle electricity is $176.00.
2. Substrate, Water, and Seed Genetics
- Genetics ($30 to $60): A 3-pack or 5-pack of feminized autoflowering or photoperiod seeds from reputable breeders (such as Barney’s Farm, Humboldt Seed Company, or Mephisto Genetics). Sourcing verified feminized seeds eliminates the 50% waste of growing non-feminized males.
- Substrate ($20 to $40): One 50-liter bag of unamended coco coir plus perlite (for hydroponic style) or high-grade organic potting soil (such as FoxFarm Ocean Forest or Roots Organics).
- Water & Miscellaneous ($15 to $30): Reverse osmosis water refills (or an inexpensive carbon tap filter), 32-ounce mason jars for curing, and 62% Boveda humidity control packs.
Equipment Payback Analysis: Breaking Even in 120 Days
The financial justification for home cannabis cultivation is overwhelming when evaluated against commercial dispensary retail pricing. Consider the economic return of an entry-level Tier 2 setup (2×4 ft tent, 240W LED, 4-inch ventilation, total startup cost $695):
- Total Initial Capital Investment (CapEx): $695.
- First-Cycle Operational Expenses (OpEx): $86 (Electricity) + $35 (Seeds) + $25 (Substrate) + $15 (Nutrients) = $161 total OpEx.
- Total First-Year Out-of-Pocket Cash: $695 + $161 = mathbf{$856}.
- Conservative First-Harvest Yield: A beginner achieving a modest efficiency of 1.0 gram per Watt from a 240W LED harvests 240 grams (8.5 ounces) of dried cured bud.
- Retail Market Equivalent: In legal state dispensaries, top-shelf craft flower retails for $200 to $280 per ounce after state and municipal excise taxes. At $220/oz, 8.5 ounces costs $1,870 at retail.
- Net Financial Benefit (Harvest 1): $1,870 – $856 = mathbf{+$1,014 net savings in your pocket}.
Your initial equipment is 100% paid off before your first cure jar is finished. Every subsequent harvest costs only the $161 OpEx, delivering premium flower for less than $0.67 per gram ($18.90 per ounce) for years to come.
Should I buy a complete all-in-one grow tent kit on Amazon, or piece together equipment individually?
Question sent by: Tyler Braddock, via email.
“I have exactly $400 to start. Should I buy a complete all-in-one grow tent kit on Amazon, or piece together equipment individually?”
At a strict $400 budget, piece your equipment together individually rather than buying a generic $399 kit. All-in-one Amazon kits in this price bracket cut corners on the two most expensive components: they package weak, low-efficiency “blurple” or outdated quantum boards with cheap internal drivers, and noisy AC axial fans paired with sub-standard carbon filters that leak odor.
Instead, allocate your $400 strategically:
1. Light ($140): Buy a reputable 150W board with Samsung LM301B diodes (such as a VIPARSPECTRA XS1500 Pro or Mars Hydro TS1000).
2. Enclosure ($30): Skip the tent entirely for your first run. Clean out a 2×3 ft bedroom closet and line the walls with reflective Panda poly film.
3. Ventilation ($130): Buy a genuine 4-inch inline fan and virgin RC-48 carbon filter combo (AC Infinity or Vivosun S4).
4. Substrate & Seeds ($70): Buy 3 feminized seeds and a bag of premium organic soil. This custom setup will produce twice the yield of a cheap kit with zero odor risk.
Step-by-Step Equipment Selection and Procurement Sequence
Follow this systematic engineering workflow to procure and assemble your first indoor grow without costly mistakes:
Step 1: Measure Space and Electrical Headroom
Identify your grow space. Verify that the dedicated wall outlet is on a 15A or 20A circuit that does not share heavy household loads (such as space heaters, microwaves, or hair dryers). Calculate your planned continuous wattage to ensure it remains below the NEC 80% continuous load limit (1,440 Watts on a 15A 120V circuit).
Step 2: Procure the LED Grow Light
Select a fixture with verified independent photometric test reports (PPFD maps). Target an average canopy PPFD of 500 to 700 μmol/m²/s in late veg and 700 to 900 μmol/m²/s in flower without supplemental CO₂.
Step 3: Size the Exhaust Fan and Carbon Scrubber
Calculate your tent cubic volume (Length × Width × Height). Select an inline fan that exchanges the entire air volume at least once every 60 to 90 seconds under carbon filter static pressure resistance (minimum 100 to 200 actual CFM for a 2×4 or 4×4 tent).
Step 4: Execute a 48-Hour Dry Run Before Sowing Seeds
Assemble the tent, hang the light and fan, and run the entire system empty for 48 continuous hours with lights on and lights off. Log temperature and relative humidity. Verify that daytime temperatures stay between 75 °F and 82 °F (24 °C to 28 °C) and night temperatures stay above 65 °F (18 °C). Resolving climate imbalances before seedlings germinate prevents seedling damping-off and stunted roots.
3. Substrate Selection Economics: Organic Living Soil vs Coco Coir vs DWC
Choosing your growing substrate dictates not only your upfront supply costs but also your day-to-day margin of error and labor commitment:
- Organic “Water-Only” Living Soil ($45 to $75 initial cost): Premium pre-amended potting soils (such as SoHum, BuildASoil 3.0, or Roots Organics Lush) contain slow-release organic amendments (kelp meal, bone meal, crab meal, bat guano). For a beginner, organic soil is the most forgiving method: the complex soil microbial ecology acts as a biological buffer against pH drift and minor watering errors. You water with plain, dechlorinated tap water and top-dress once or twice with dry organic amendments ($15), completely eliminating expensive liquid nutrient regimens and digital EC meters.
- Buffered Coco Coir and Perlite ($35 to $55 initial cost): A 70/30 blend of pre-rinsed, calcium-magnesium-buffered coco coir with perlite functions as an inert hydroponic medium. Coco provides explosive vegetative growth rates (20% faster than soil) and superior root zone oxygenation. However, it requires daily fertigation with exact mineral salts and mandatory pH testing (5.8 to 6.2). Sparing $20 on substrate by skipping calcium-buffered coco results in severe calcium-magnesium lockout within three weeks of transplanting.
- Deep Water Culture Hydroponics (DWC, $80 to $150 per bucket): Suspending plant roots directly inside oxygenated nutrient solution using 5-gallon buckets and air pumps produces exceptional yields. However, DWC offers zero buffer capacity: a water pump failure, air pump stall, or reservoir water temperature exceeding 72 °F (22.2 °C) causes pythium root rot within 24 hours, demanding an expensive water chiller ($350) that breaks entry-level budgets.
4. Photoperiod vs Autoflower Economics: The Electricity Kilowatt-Hour Tradeoff
When budgeting your first production run, selecting between feminized autoflowering cultivars and feminized photoperiod strains has direct electrical utility and temporal consequences:
- Autoflower Electrical Duty Cycle: Autoflowering cannabis plants transition to flower based on biological age (typically day 21 to 28) regardless of light schedule. To maximize Photosynthetic Daily Light Integral (DLI), growers run lights on an 18/6 or 20/4 photoperiod for the entire 80-day lifespan. A 240W LED running 20 hours per day for 80 days consumes 384.0 kWh of electricity.
- Photoperiod Electrical Duty Cycle: Photoperiod varieties remain vegetative indefinitely until flipped to a strict 12/12 dark cycle. A standard photoperiod schedule comprises 28 days of vegetative growth at 18/6 (504 photoperiod hours) followed by 63 days of flowering at 12/12 (756 photoperiod hours), totaling 1,260 operating hours. A 240W LED consumes 302.4 kWh, representing an immediate 21% reduction in electrical power consumption.
- The Temporal Harvest Tradeoff: While photoperiods save electricity, autoflowers finish from seed to harvest in 75 to 85 days, allowing beginner growers with single-tent setups to achieve four complete harvests per year compared to three harvests for photoperiods. For a beginner seeking rapid production and forgiveness regarding accidental room light leaks during the dark period, autoflowers offer exceptional initial learning speed.
4. Post-Harvest Curing Infrastructure: Mason Jars vs Terpene Bags
The financial return of your grow is not realized when you chop the plant; it is solidified during the 14-day dry and 30-day curing phase. Over 30% of volatile aromatic monoterpenes can evaporate if harvest conditions are mismanaged:
- Ergonomic Trimming Shears ($15 to $28): Trimming an 8-ounce harvest requires 6 to 10 hours of hand scissor work. Cheap hardware-store scissors cause severe hand fatigue and blistered knuckles. Invest in flourine-coated, spring-loaded Japanese horticulture shears (such as Chikamasa B-500SL or Fiskars Micro-Tip) that resist sticky resin accumulation.
- Curing Containers: Traditional Glass Mason Jars vs Grove Bags: A case of twelve 32-ounce wide-mouth glass Ball mason jars costs approximately $18. Glass provides a non-reactive, 100% airtight seal. Each jar requires daily manual “burping” (opening for 10 minutes to release metabolic gases) during the first three weeks. Alternatively, modern craft growers utilize Grove Bags ($1.20 to $1.80 per 1-ounce bag) made from multi-layer TerpLoc polymers that passively vent excess moisture and carbon dioxide while retaining volatile terpenes, completely eliminating manual jar burping.
- Mini Digital Hygrometers ($12 for a 4-pack): Place an inexpensive miniature digital button hygrometer inside every curing vessel. If relative humidity reads above 65%, the buds are too moist and risk Botrytis mold; open the container immediately. If humidity reads between 58% and 62%, conditions are perfect for slow enzymatic chlorophyll breakdown and curing.
Common Beginner Financial Mistakes and Marketing Look-Alikes
Protect your capital by recognizing common deceptive marketing tactics in the hobbyist cultivation market:
- The “Equivalent Wattage” Deception: Many budget lights on online marketplaces claim to be “1000W” or “2000W LED Grow Lights” for $60. When measured at the wall with a Kill-A-Watt meter, they draw only 85 to 110 actual Watts. Always inspect the true wall draw wattage, not fictitious marketing comparison numbers.
- The Multi-Bottle Nutrient Trap: Beginner growers frequently spend $150 to $200 on elaborate 8-part bottled liquid nutrient feeding schedules. These formulas consist of 95% water and duplicate basic N-P-K mineral elements under proprietary labels. Stick to simple 2-part dry salts or organic super-soil top-dressing for your first three harvests.
- Buying an Undersized 4-Inch Fan for a 4×4 Tent: A 4-inch fan lacks the static pressure capability to pull air through a dense carbon filter inside a 128-cubic-foot tent. In mid-flowering, temperatures will spike above 90 °F. Invest in a 6-inch EC fan from day one; you can run it quietly at 40% speed while retaining massive cooling headroom.
Comprehensive Topic Deep Dives: First Grow Costs and Sizing
To cover every dimension of beginner budgeting without fragmenting content across multiple URLs, we address the four absorbed focus questions below:
1. How Much Does a First Cannabis Grow Cost?
The total out-of-pocket cost to set up and complete your first indoor cannabis harvest ranges from $350 for a minimalist closet build to $1,450 for a turn-key 4×4 ft tent setup. This all-inclusive figure covers equipment CapEx (tent, light, ventilation, pots, meters) plus first-cycle OpEx (seeds, soil, nutrients, and electricity). When amortized across the resulting 6 to 24 ounces of dried flower, your first harvest produces top-grade craft cannabis for approximately $1.50 to $2.00 per gram, saving $1,200 to $4,500 compared to legal dispensary purchases.
2. Can You Grow Cannabis Without Expensive Equipment?
Yes, but with strict biological and physical constraints. Cannabis is an adaptable weed that will grow under simple household conditions if given adequate light, water, and aerated soil. However, cutting corners on photons, light leaks, and odor filtration produces severe penalties:
- Growing on a windowsill yields loose, airy larf (typically under 10 grams) due to insufficient Daily Light Integral (DLI).
- Growing without a carbon filter guarantees that pungent terpene aromas will penetrate through doors, hallways, and HVAC ducting.
- Growing under unsealed closet doors with stray nighttime light leaks triggers hermaphroditic pollen sacs that fill your buds with seeds.
You do not need expensive commercial automation, but you must invest in the baseline trinity: a legitimate horticultural LED, an airtight dark enclosure, and an activated carbon exhaust system.
3. How to Build a Low-Budget Cannabis Grow Setup
Building a low-budget setup ($300 to $450) requires converting an existing domestic space rather than purchasing a prefabricated tent. Clean an unused bedroom closet. Mount a 4-foot section of 2×4 lumber across the upper shelving supports to hang your light. Line interior drywall with matte white Panda poly film ($20) to reflect 90% of photons back into the canopy. Purchase a 150W quantum board LED with Samsung diodes ($130), a 4-inch inline fan and carbon filter combo ($110), two 5-gallon fabric pots ($10), a bag of organic soil ($20), and a simple outlet timer ($10). Cut a passive intake port near the floor and vent exhaust air into an adjacent room or ceiling attic.
4. Where to Spend Your Grow Room Budget First
When funds are limited, execute this strict capital spending sequence: 1. LED Grow Light → 2. Carbon Filter & Inline Fan → 3. Accurate pH Meter → 4. Enclosure → 5. Substrate & Genetics. Your grow light dictates your ceiling yield potential, your carbon filter guarantees safety and privacy, and your pH pen prevents fatal root zone lockouts. Everything else (smart controllers, automatic watering, CO₂ bags, bud sweeteners) can be deferred until future cycles funded by your first harvest savings.
Final Decision Checklist and Next Weedth Resources
Execute this practical checklist to launch your first grow on budget with zero wasted capital.
First Grow Budget and Procurement Checklist
- Setup Scale Selected: Chosen between Tier 1 closet ($350), Tier 2 2×4 ft ($680), or Tier 3 4×4 ft ($1,320).
- True Wall Draw LED Verified: Verified true wattage draw at the wall with ≥ 2.6 μmol/J PPE (avoided “1000W equivalent” claims).
- Virgin Carbon Filter Included: Factory-packed RC-48 carbon canister budgeted; rejected DIY filter compromises.
- Dedicated Electrical Circuit Checked: Wall outlet verified to carry equipment load without tripping breakers.
- Digital pH Diagnostic Budgeted: Quality glass-electrode pH pen prioritized over cheap disposable meters.
- Feminized Seeds Sourced: Verified feminized seeds procured from elite breeders to eliminate male plant waste.
- Boutique Additives Avoided: Chose simple dry base salts or organic super-soil instead of expensive bottled lines.
- 48-Hour Dry Run Executed: Enclosure tested empty for 48 hours to confirm temperature and humidity stability.
- Curing Jars and Packs Procured: Glass airtight mason jars and 62% humidity packs budgeted for post-harvest cure.
- First-Cycle Breakeven Modeled: Confirmed that harvest yield will fully amortize hardware investment in 120 days.
Scientific References
- Zheng, Y. (Ed.). (2021). Handbook of Cannabis Production in Controlled Environments. CRC Press, Boca Raton, FL.
- Bugbee, B. (2016). Toward an optimal spectral quality for plant growth and development: the importance of radiation capture. Acta Horticulturae, 1134, 1-12.
- Bilodeau, S. E., Dufour, B., & Bouchard, J. (2019). Thermal and environmental control inside modern cannabis production facilities. Agronomy, 9(8), 443. DOI: 10.3390/agronomy9080443
- U.S. Energy Information Administration (EIA). (2023). Electric Power Monthly with Data for 2023. U.S. Department of Energy, Washington, DC.
- National Fire Protection Association (NFPA). (2023). NFPA 70: National Electrical Code (NEC). National Fire Protection Association, Quincy, MA.
- Kusuma, P., Pattison, P. M., & Bugbee, B. (2020). From physics to fixtures to food: current and potential LED efficacy. Horticulture Research, 7, 56.
Share this article
A quick overview of the topics covered in this article.
Follow us
Latest articles
November 2, 2026
November 2, 2026
November 2, 2026
November 2, 2026