
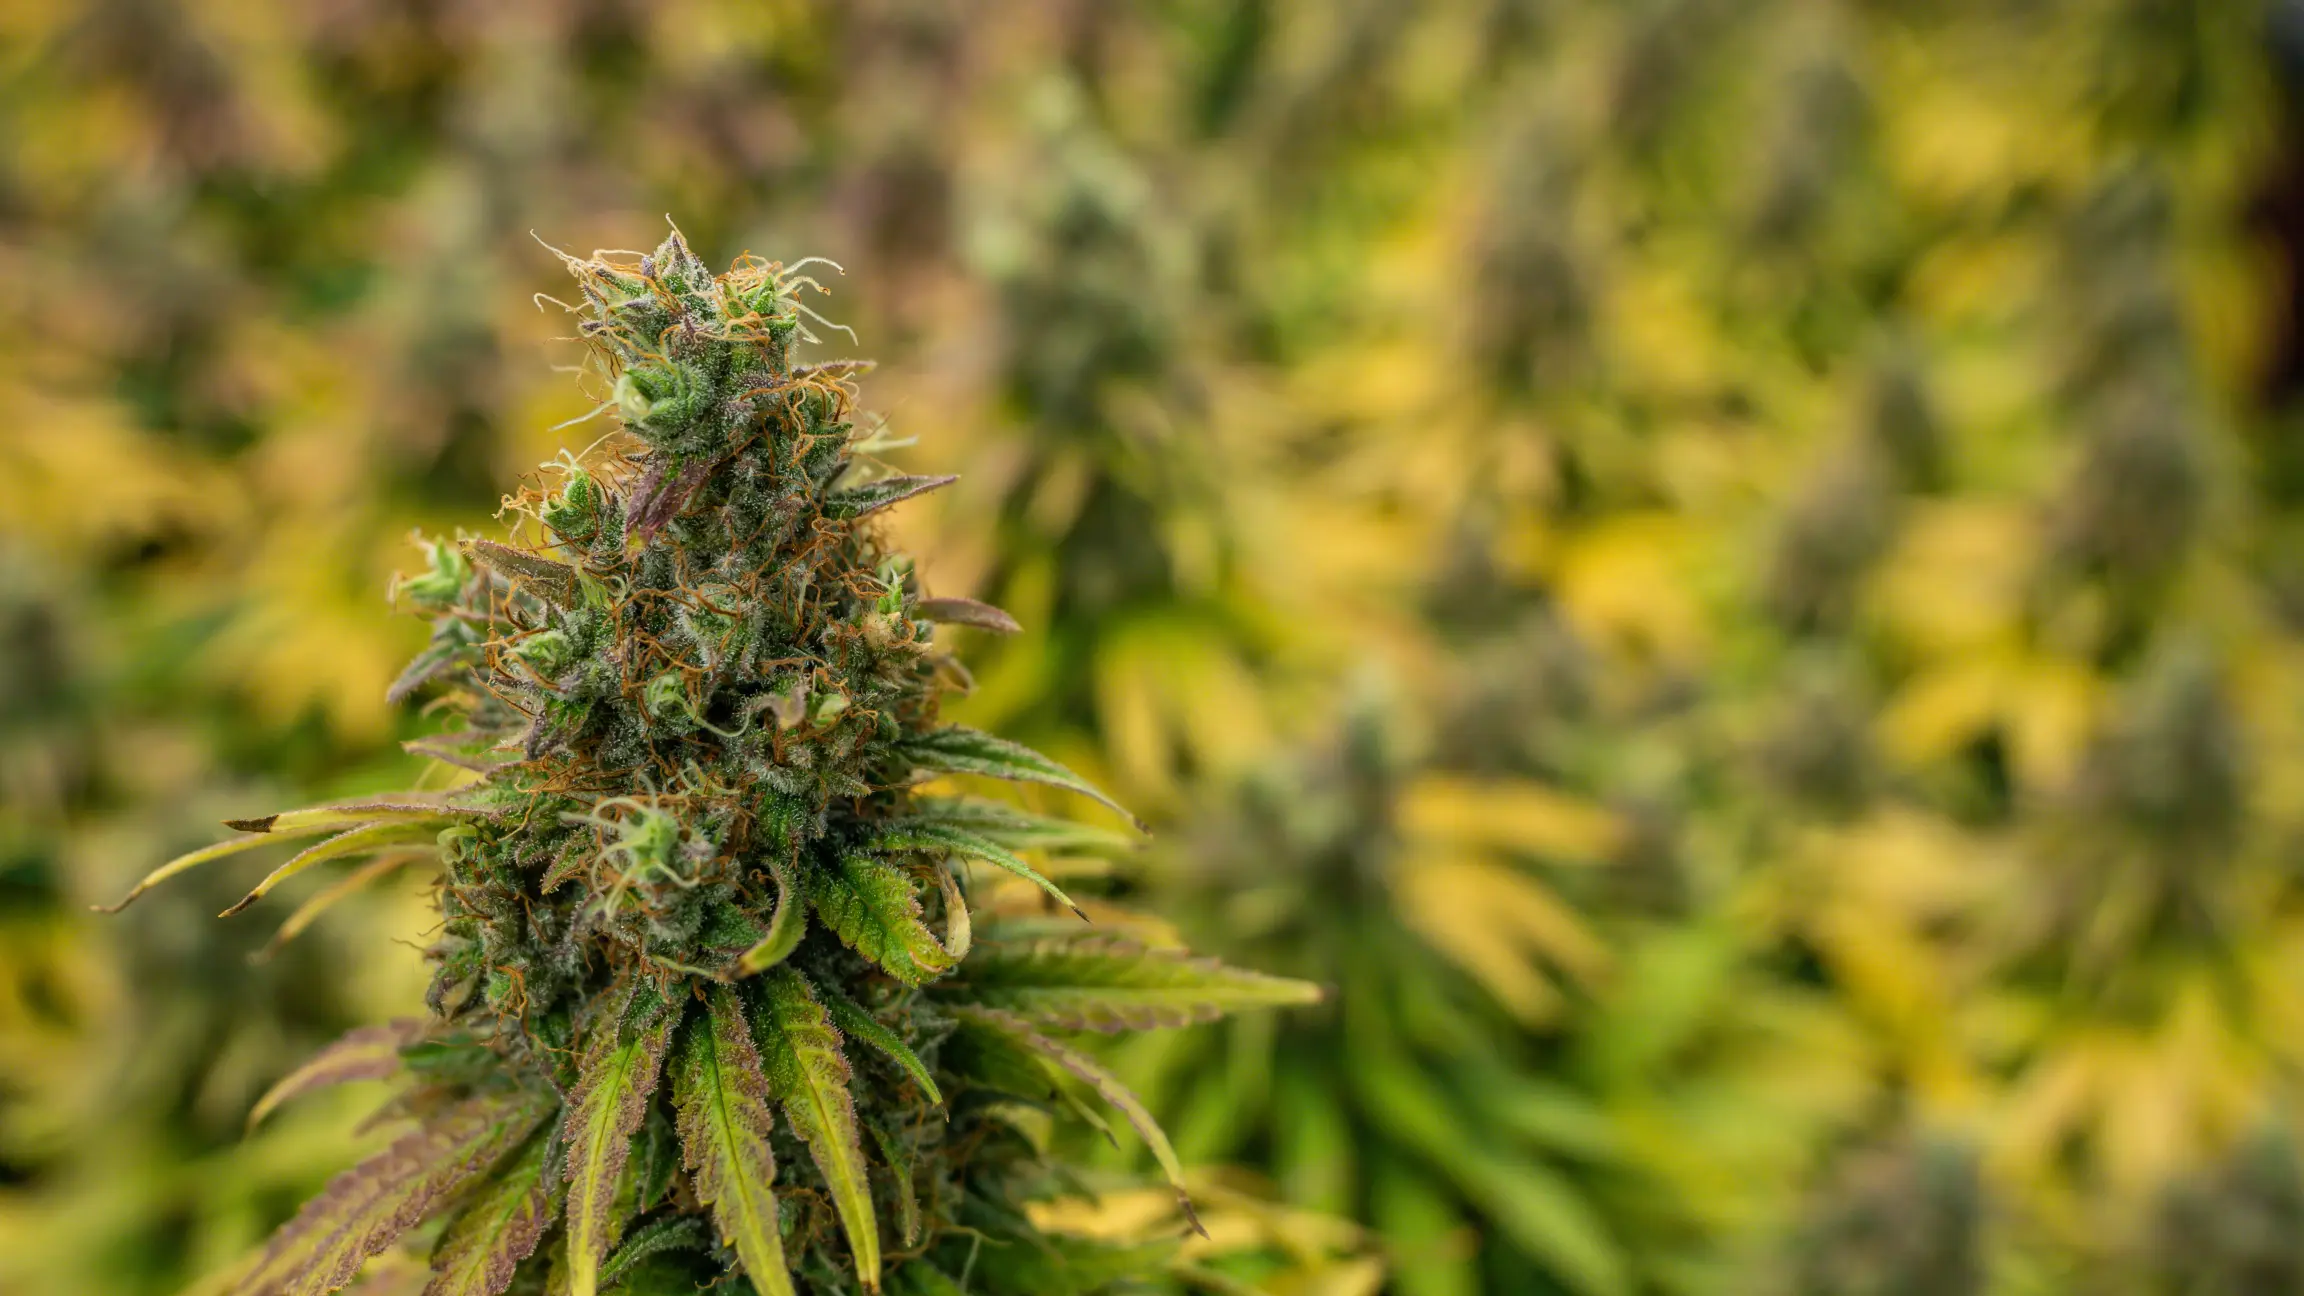
Complete Indoor Cannabis Growing Guide
Indoor cannabis cultivation represents a complete biological manufacturing cycle that transforms raw electrical energy, water, and mineral salts into dense aromatic resin. Executing this cycle smoothly requires an organized, stage-by-stage methodology where each phase prepares the plant architecture for the next.
From the moment a taproot cracks its seed shell to the final slow cure in glass jars, small operational decisions compound over three to four months. This comprehensive guide details the chronological path through germination, vegetative canopy structuring, the critical flowering transition, and post-harvest finishing.
Chronological Lifecycle Architecture and Timeframes
Understanding the physiological priorities of each lifecycle window prevents rushing vegetative growth or harvesting immature flowers.
Developmental Timeline Overview
A standard indoor photoperiod cycle spans approximately 14 to 18 weeks from seed to consumable dry flower. Germination and seedling establishment encompass the first two to three weeks, followed by three to six weeks of vegetative canopy development depending on container size and training objectives.
The generative flowering stage requires seven to ten weeks of uninterrupted 12/12 photoperiod lighting, followed by 10 to 14 days of controlled drying and a minimum of three weeks of jar curing to stabilize aromatic monoterpenes.
Hormonal Shifts Between Vegetative and Generative Growth
During vegetative growth, high levels of auxins and active gibberellins drive cell elongation, apical dominance, and root system architecture. When exposed to critical 12-hour darkness periods, phytochrome far-red levels drop, triggering florigen signaling that shifts meristematic tissue from producing fan leaves to forming calyxes.
Understanding this hormonal transition allows cultivators to alter nutritional inputs smoothly, tapering nitrogen concentrations while increasing phosphorus and potassium availability to support floral development.
Cannabis Phenological Progression: The sequential transition through distinct developmental stages, each characterized by specific hormonal triggers, cellular expansion rates, and mineral absorption profiles.
Practical questions from home cultivators often center on how these thresholds behave in real-world tents and small rooms.
“How do I know the exact day I should switch my indoor plants from vegetative 18/6 to flowering 12/12 lighting?”
Question sent by: Reagan Halvorsen, via email.
Flip your photoperiod when plants occupy roughly half of your vertical tent space and 70 to 80 percent of horizontal canopy area. Cannabis plants stretch 1.5 to 2 times their height during early flower. Flipping when the tent looks moderately full prevents upper colas from crowding the ceiling light fixture later in flower.
Checking your cultivar lineage helps you anticipate whether stretch will be modest or aggressive.
Germination and Seedling Nursery Management
Early seedling vigor establishes root vascular architecture that determines maximum nutrient transport capacity later in life.
Temperature and Moisture Triggers for Radical Emergence
Cannabis seeds require constant warmth (75 to 80 F / 24 to 27 C) and consistent moisture to activate gibberellic enzymes that break seed dormancy. Excessively wet media restricts oxygen diffusion, causing seed rot, while dry conditions stall embryo hydration.
Placing starter plugs in a humidity dome maintains 70 to 80 percent relative humidity, reducing transpirational stress while initial cotyledons deploy their first photosynthetic pigments.
Managing the Cotyledon to Vegetative Transition
Cotyledons supply stored embryonic nutrients for the first 7 to 10 days of life, making supplementary fertilizer completely unnecessary during emergence. Introducing fertilizer too early burns tender root tips and retards lateral root development.
As the first true set of serrated leaves expands fully, begin applying mild nutrient solutions (0.4 to 0.6 mS/cm EC) or rely on light pre-amended potting soil buffers.
| Germination Method | Moisture Retention | Oxygen Exposure | Handling Stress | Optimal Use Case |
|---|---|---|---|---|
| Direct in Starter Plug | Moderate to High | High | Very Low | Beginners and commercial plugs |
| Paper Towel Method | High | Low to Moderate | Moderate | Testing old seed germination rates |
| Direct in Final Soil Pot | Variable | Moderate | Zero | Autoflowering cultivars |
| Water Soak (18 to 24 hrs) | Saturated | Low | Moderate | Thick seed coats prior to plugging |
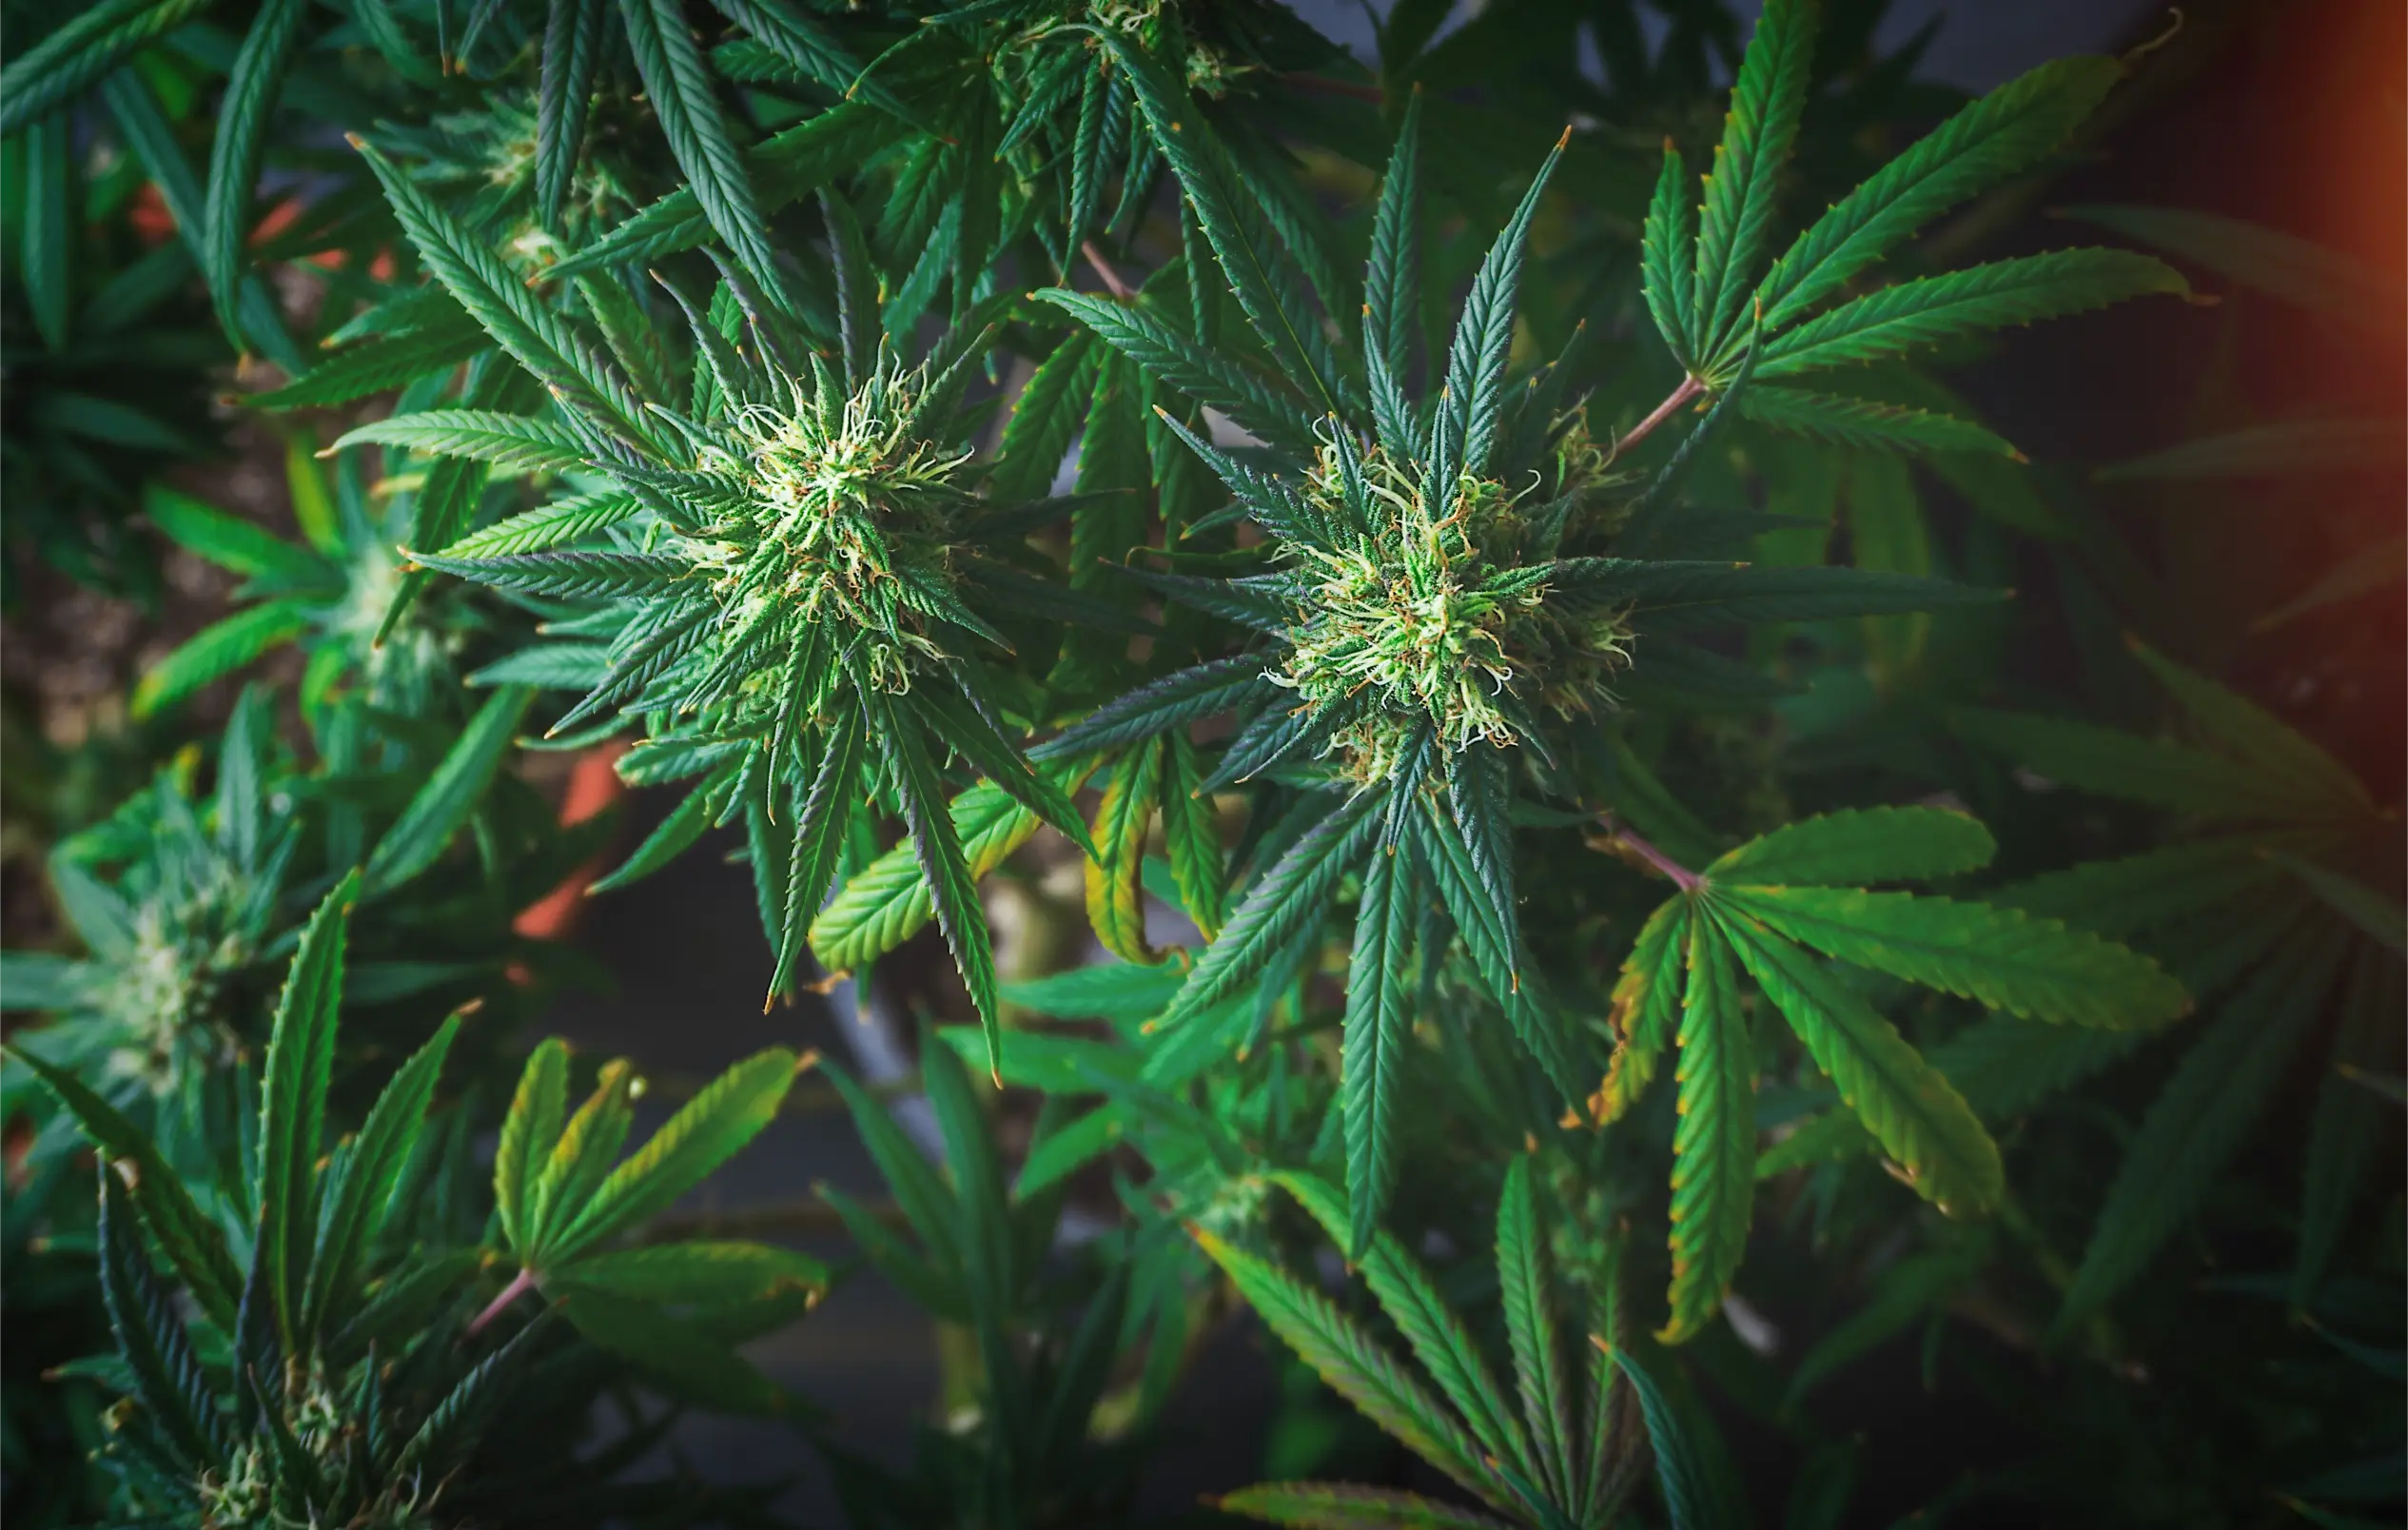
Gentle environmental conditions during the first fourteen days set a clean foundation for rapid vegetative expansion.
Vegetative Canopy Training and Structural Development
Manipulating apical dominance distributes growth hormones evenly across multiple main colas rather than concentrating yield in one central spire.
Apical Topping and Low Stress Training Mechanics
Topping removes the terminal shoot above the fourth or fifth node, interrupting dominant auxin transport and stimulating the lower two lateral branches to grow as co-dominant stems. This simple physical intervention transforms conical Christmas-tree plant architecture into a broad, multi-branched bush.
Low stress training (LST) involves gently pulling lateral branches downward using soft plant ties, aligning secondary shoots along a level horizontal plane that intercepts uniform light intensity from ceiling LED fixtures.
Establishing Trellis Scaffolding for Canopy Flatness
Installing a horizontal trellis net 8 to 12 inches above container rims provides anchor points to weave expanding shoots throughout the vegetative stage. Spreading branches across individual mesh squares ensures high light interception across all secondary growth sites.
A wide, flat canopy utilizes indoor lighting footprints with maximum efficiency, eliminating overshadowed popcorn bud development on lower shaded stems.
Do
- Weave lateral branches horizontally beneath trellis netting during the first three weeks of 12/12.
- Inspect glandular trichomes directly on floral calyxes with a 30x to 60x jewelers loupe before harvesting.
- Maintain dry room environmental conditions near 60 degrees Fahrenheit and 60 percent relative humidity.
- Check jar hygrometers daily during initial curing to ensure relative humidity remains between 58 and 62 percent.
Avoid
- Applying full-strength mineral fertilizers to delicate newly emerged seedlings.
- Allowing the grow tent to exceed 85 degrees Fahrenheit during peak flowering bulking.
- Judging plant harvest readiness solely by the percentage of darkened pistils.
- Pointing high-velocity circulation fans directly at hanging floral colas during the drying process.
Structuring a level canopy during vegetative growth dictates total flowering yield and light efficiency.
“Should I trim off all lower fan leaves before flipping my plants into the flowering cycle?”
Question sent by: Reagan MacLeod, via contact form.
Do not remove all fan leaves before flowering. Fan leaves store mobile nitrogen and carbohydrates that drive the intense vegetative stretch during weeks one through three of 12/12. Clear only the bottom third of spindly, heavily shaded growth (lollipop), and wait until day 21 of flower to conduct a thorough upper canopy defoliation.
Preserving healthy solar foliage during early stretch ensures vigorous floral initiation.
The Flowering Transition, Stretch, and Bud Formation
Switching light timers to 12/12 triggers intense vertical expansion followed by rapid floral calyx stacking.
Managing the First Three Weeks of Photoperiod Shift
During the initial three weeks of 12/12, internodal spacing widens rapidly as plants undergo the flowering stretch. Maintaining adequate nitrogen levels during this phase is vital because plants consume substantial nitrogen reserves to fuel new stem and foliage creation.
Tucking rapid-growing shoots beneath trellis netting during stretch keeps the canopy level and prevents upper stems from bleaching beneath intense light fixtures.
Mid-Flower Defoliation and Airflow Penetration
Performing a targeted defoliation around day 21 of flowering removes large internal shade fan leaves that block lower floral sites and trap transpirational moisture. Opening the under-canopy enhances horizontal airflow, drastically reducing botrytis risk in dense colas.
Cultivators should avoid stripping more than 20 to 25 percent of total foliage at once, as over-defoliation shocks plants and reduces photosynthetic carbohydrate synthesis.
| Flowering Phase | Weeks | Stretch Rate | Nutrient Focus | Canopy PPFD Target |
|---|---|---|---|---|
| Transition & Stretch | Weeks 1 to 3 | Rapid (1.5x to 2x height) | Balanced N-P-K + Cal-Mag | 600 to 750 umol/m2/s |
| Floral Stacking | Weeks 4 to 5 | Stops vertical elongation | Lower N, Elevated P & K | 750 to 850 umol/m2/s |
| Bulking & Resin Production | Weeks 6 to 8 | Dense calyx swelling | High K, Trace Micronutrients | 800 to 900 umol/m2/s |
| Ripening & Senescence | Final 1 to 2 Weeks | Zero growth, resin maturation | Plain water or low EC flush | 600 to 700 umol/m2/s |
Navigating the stretch and mid-flower transition smoothly sets up dense, mold-resistant floral development.
Cultivation Warning
Cultivars with narrow-leaf genetics can stretch up to 2.5 times their vegetative height during the first three weeks of 12/12. Ensure at least 18 inches of clearance remains between maximum canopy height and light fixtures.
Practical questions from home cultivators often center on how these thresholds behave in real-world tents and small rooms.
“Why do my dried buds smell like freshly cut lawn grass or hay after five days of drying?”
Question sent by: Reagan Gauthier, via contact form.
A hay smell indicates your drying room dried the flowers too rapidly, typically due to low humidity below 50 percent, temperatures above 70 F, or fans blowing directly on buds. Fast drying traps chlorophyll in plant tissue before it can break down enzymatically. Dry slowly over 10 to 14 days at 60 F and 60 percent RH to preserve terpenes.
Sweating buds in airtight jars at 60 percent relative humidity can gradually soften the harshness, but slow drying from day one is essential.
Trichome Assessment and Harvest Timing Precision
Evaluating resin head clarity under magnification reveals the precise biochemical peak of cannabinoid and terpene synthesis.
Anatomy and Glandular Maturation Stages
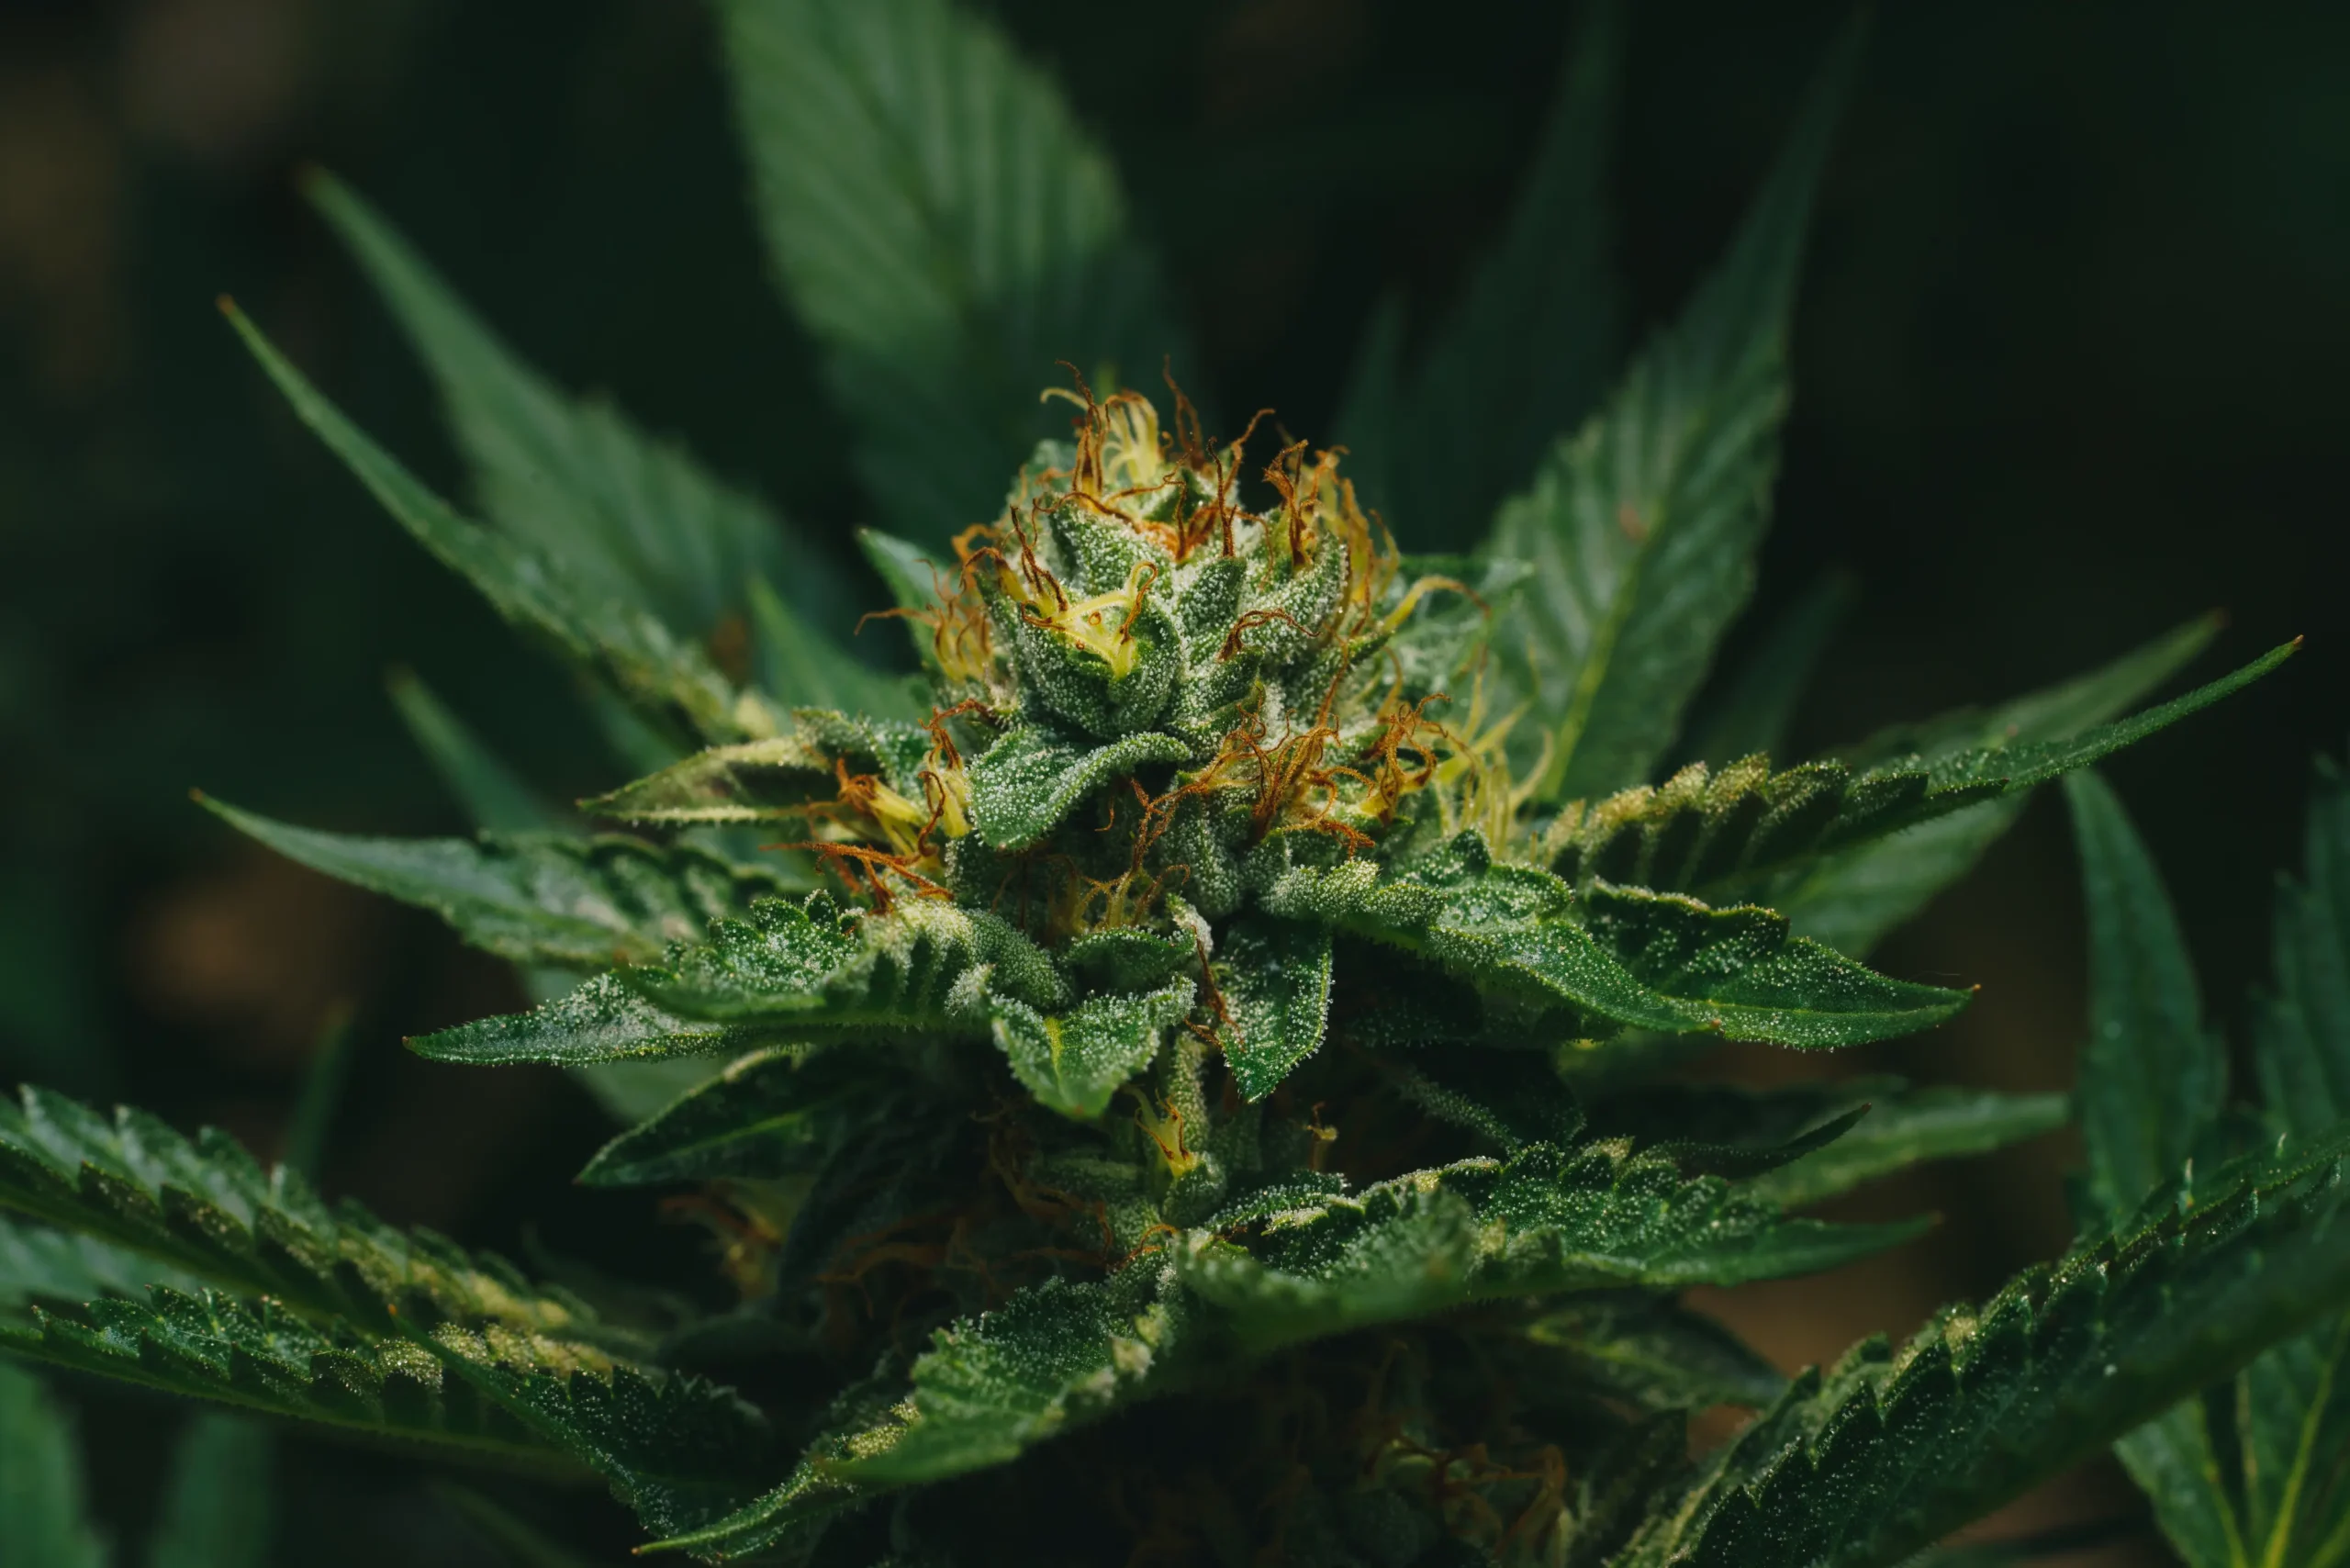
Capitate-stalked glandular trichomes contain the secretory disc cells responsible for synthesizing cannabinoids and volatile monoterpenes. Early in flower development, trichome heads appear glass-clear, indicating low total cannabinoid concentrations.
As synthesis peaks, heads become opaque milky white, signaling maximum THC content; subsequent degradation converts THC into CBN, causing trichome heads to turn amber-brown.
Optimal Harvest Window Determination
An ideal general harvest window occurs when roughly 80 to 90 percent of trichome heads are solid milky white with 5 to 10 percent turning amber, and virtually no translucent heads remaining. This balance delivers maximum aromatic expression and peak cannabinoid potency.
Examine trichome heads on true floral calyxes rather than surrounding sugar leaves, as leaf trichomes mature one to two weeks earlier than flower bracts.
Never judge harvest readiness by orange pistils alone. Pistils can turn brown prematurely from handling, low humidity, or spray contact while underlying trichomes remain predominantly clear.
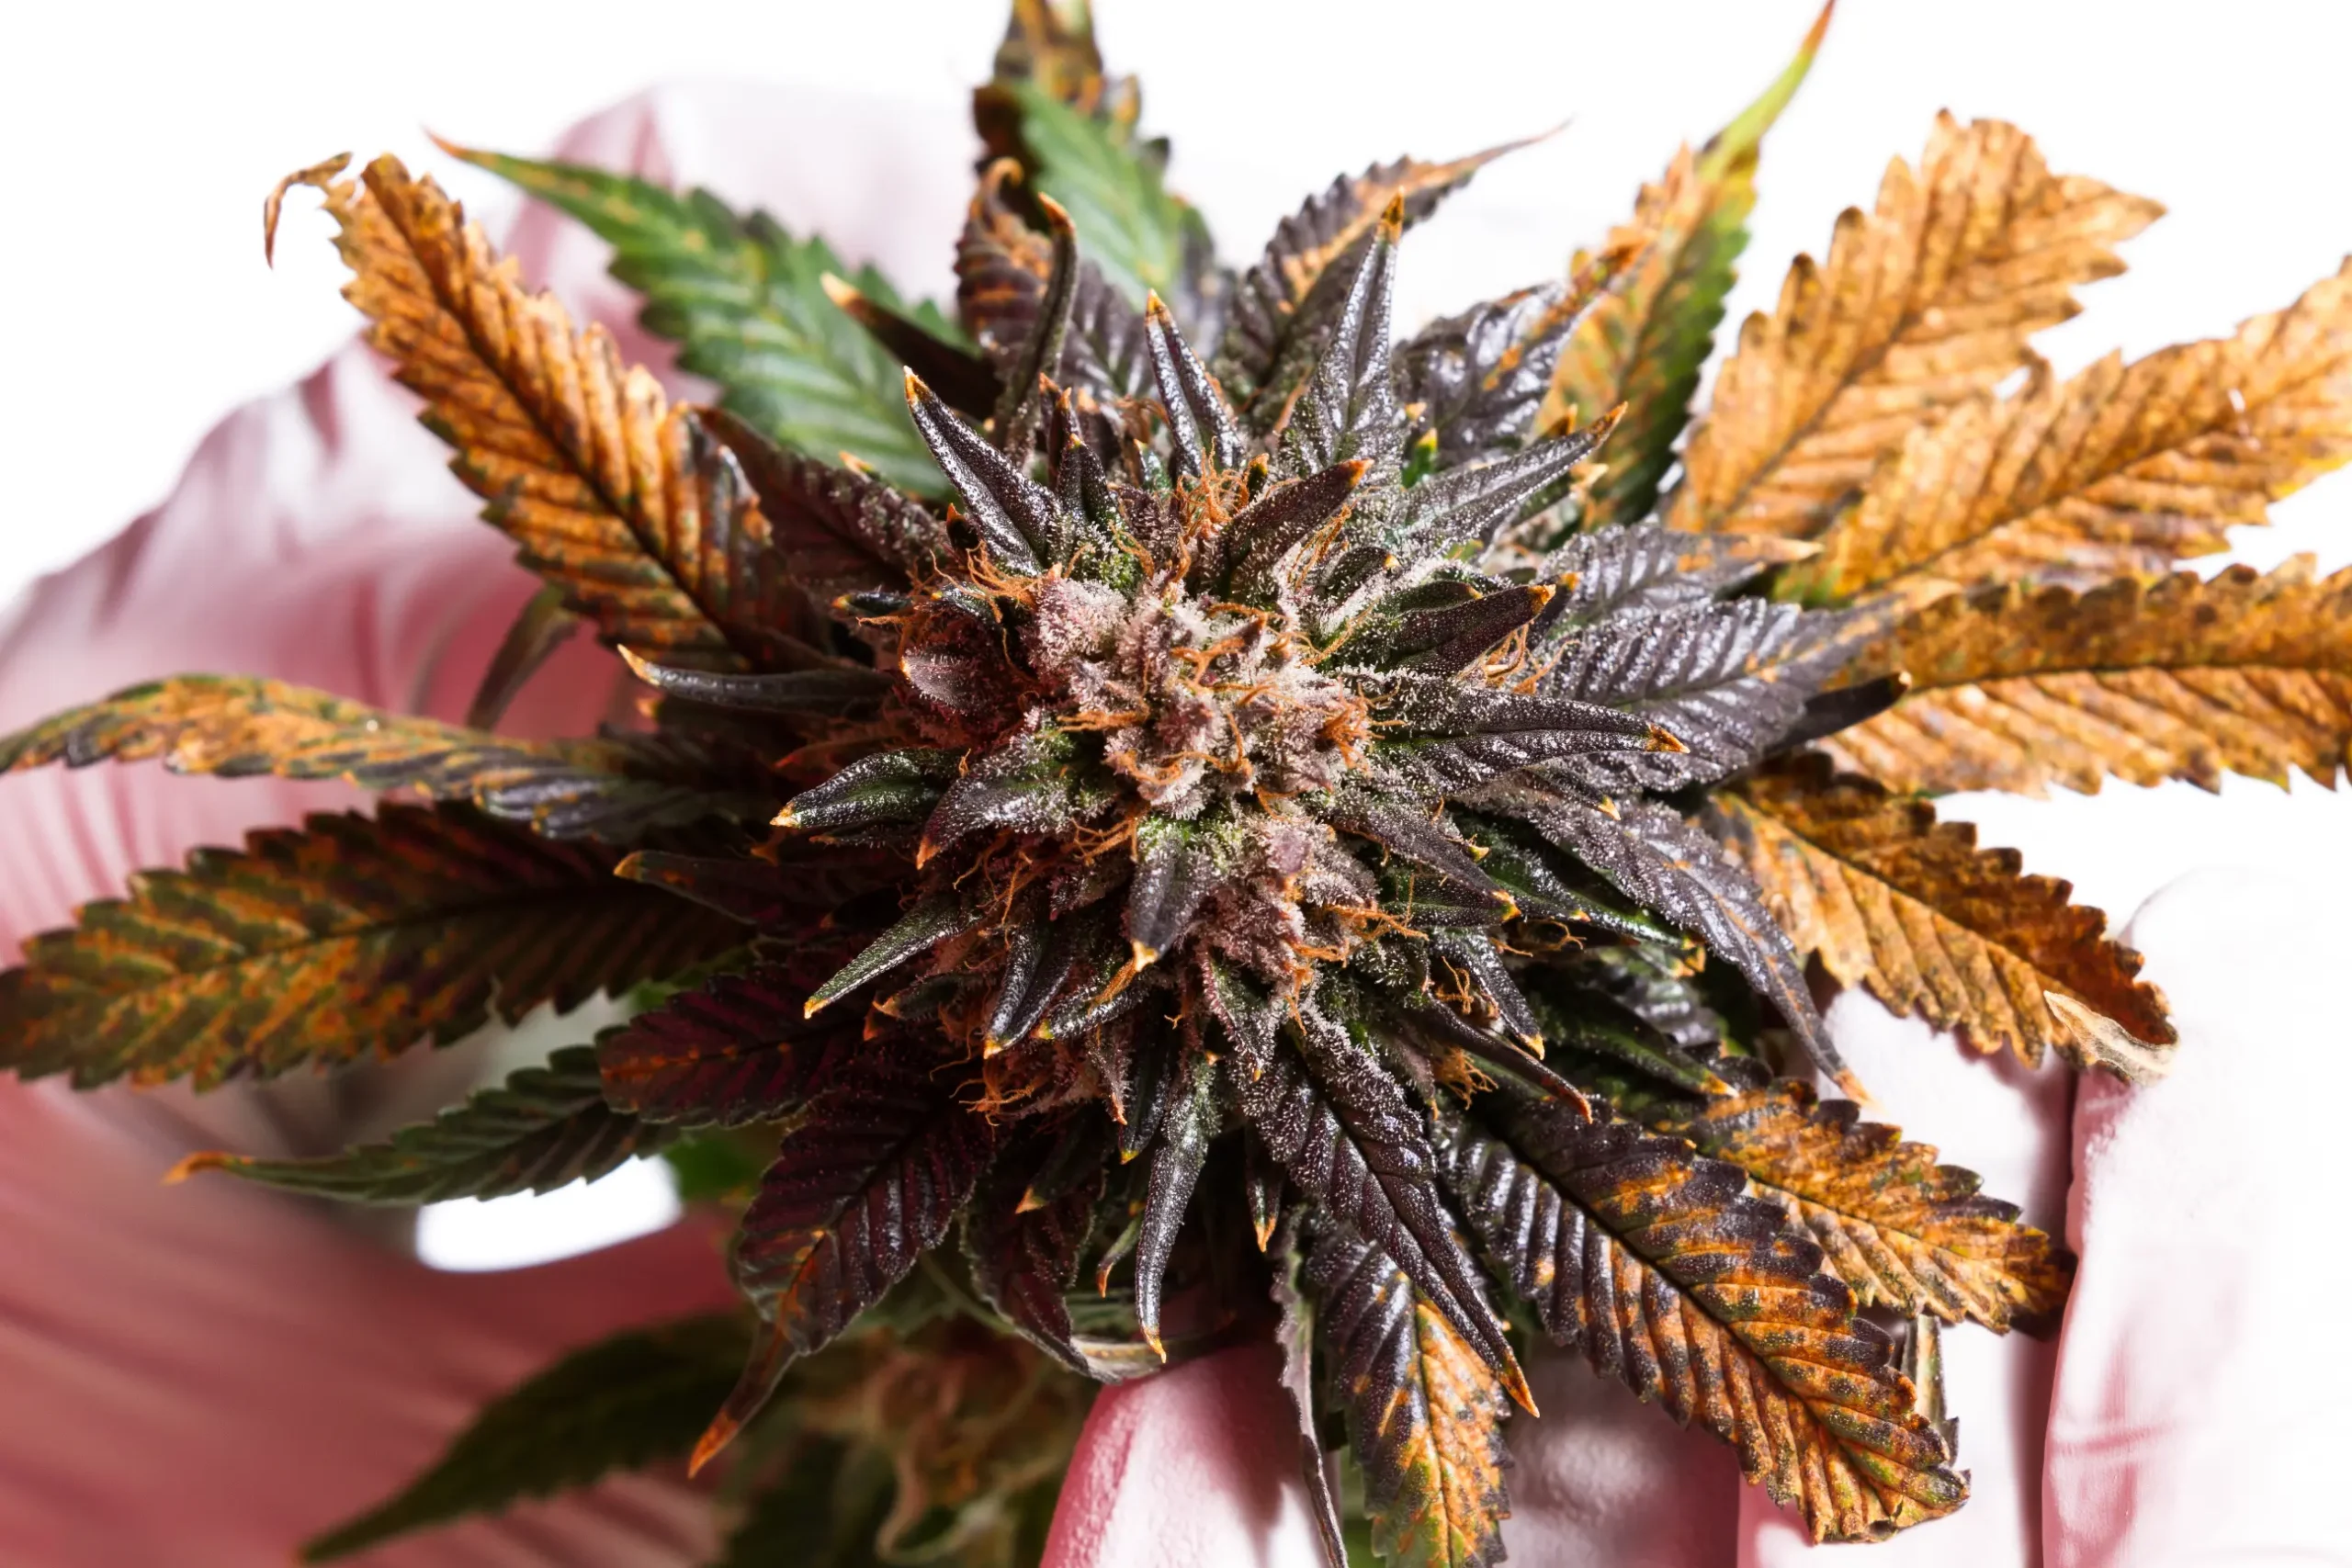
Timing harvest by microscopic trichome examination preserves the full genetic potential of the cultivar.
Controlled Post-Harvest Drying and Curing Parameters
Drying and curing preserve volatile aromatic terpenes and convert bitter chlorophyll into smooth, non-irritating smoke.
The 60 F and 60 Percent Relative Humidity Standard
Whole plants or whole branches should hang in total darkness at approximately 60 degrees Fahrenheit (15.5 C) and 60 percent relative humidity for 10 to 14 days. This slow dry rate allows moisture from dense stem cores to migrate outward evenly, avoiding case hardening.
Rapid drying under warm or dry airflow locks bitter chlorophyll within plant cells, producing an unpleasant hay or grass aroma that jar curing cannot completely eliminate.
Equilibration and Jar Curing Protocols
When small flower stems snap with slight flexibility rather than bending rubbery, flowers are ready for bucking, trimming, and glass jar curing. Pack jars loosely to 75 percent capacity and monitor internal humidity with miniature digital hygrometers.
Maintaining jar equilibrium between 58 and 62 percent relative humidity over three to six weeks allows natural enzymatic breakdown of starches, resulting in smooth combustion and rich terpene flavor.
Field Verification Checklist
- Verify light timer transitions cleanly between 18/6 vegetative and 12/12 flowering modes.
- Check that canopy tops maintain at least 12 to 18 inches of clearance from LED heat sinks.
- Measure container runoff EC to ensure salt accumulation does not exceed safe operating limits.
- Inspect leaf undersides and stem junctions weekly for early signs of insect activity or botrytis.
- Confirm drying enclosure maintains constant darkness and slow, indirect air circulation.
Patient post-harvest handling protects months of cultivation effort and seals aromatic quality.
“What should I do if my curing jars read 67 percent relative humidity 24 hours after jarring?”
Question sent by: Mackenzie Montague, via email.
Immediately empty the flowers from the jars and spread them across brown paper bags or clean cardboard trays for 12 to 24 hours. Humidity above 65 percent inside sealed jars creates an active mold risk. Once excess moisture evaporates, re-jar the flower and verify the hygrometer settles safely between 58 and 62 percent.
Checking curing jars twice daily during the first week ensures prompt moisture correction before botrytis can form.
Scientific References
- Bernstein, N., Gorelick, J., Zerahia, R., & Koch, S. (2019). Impact of environmental conditions on secondary metabolite production in Cannabis sativa L. Industrial Crops and Products, 139, 111467.
- Caplan, D., Dixon, M., & Zheng, Y. (2017). Optimal rate of organic fertilizer during the vegetative-stage for cannabis grown in two coir-based substrates. HortScience, 52(9), 1307-1312.
- Eaves, J., Eaves, S., & Taylor, C. (2020). The economics of light source selection for indoor cannabis cultivation. Agricultural and Resource Economics Review, 49(3), 478-495.
- Potter, D. J. (2014). A review of the cultivation and processing of cannabis (Cannabis sativa L.) for production of prescription medicines. Reviews in Analytical Chemistry, 33(4), 237-253.
Share this article
A quick overview of the topics covered in this article.
Follow us
Latest articles
November 9, 2026
November 9, 2026
November 9, 2026
November 9, 2026