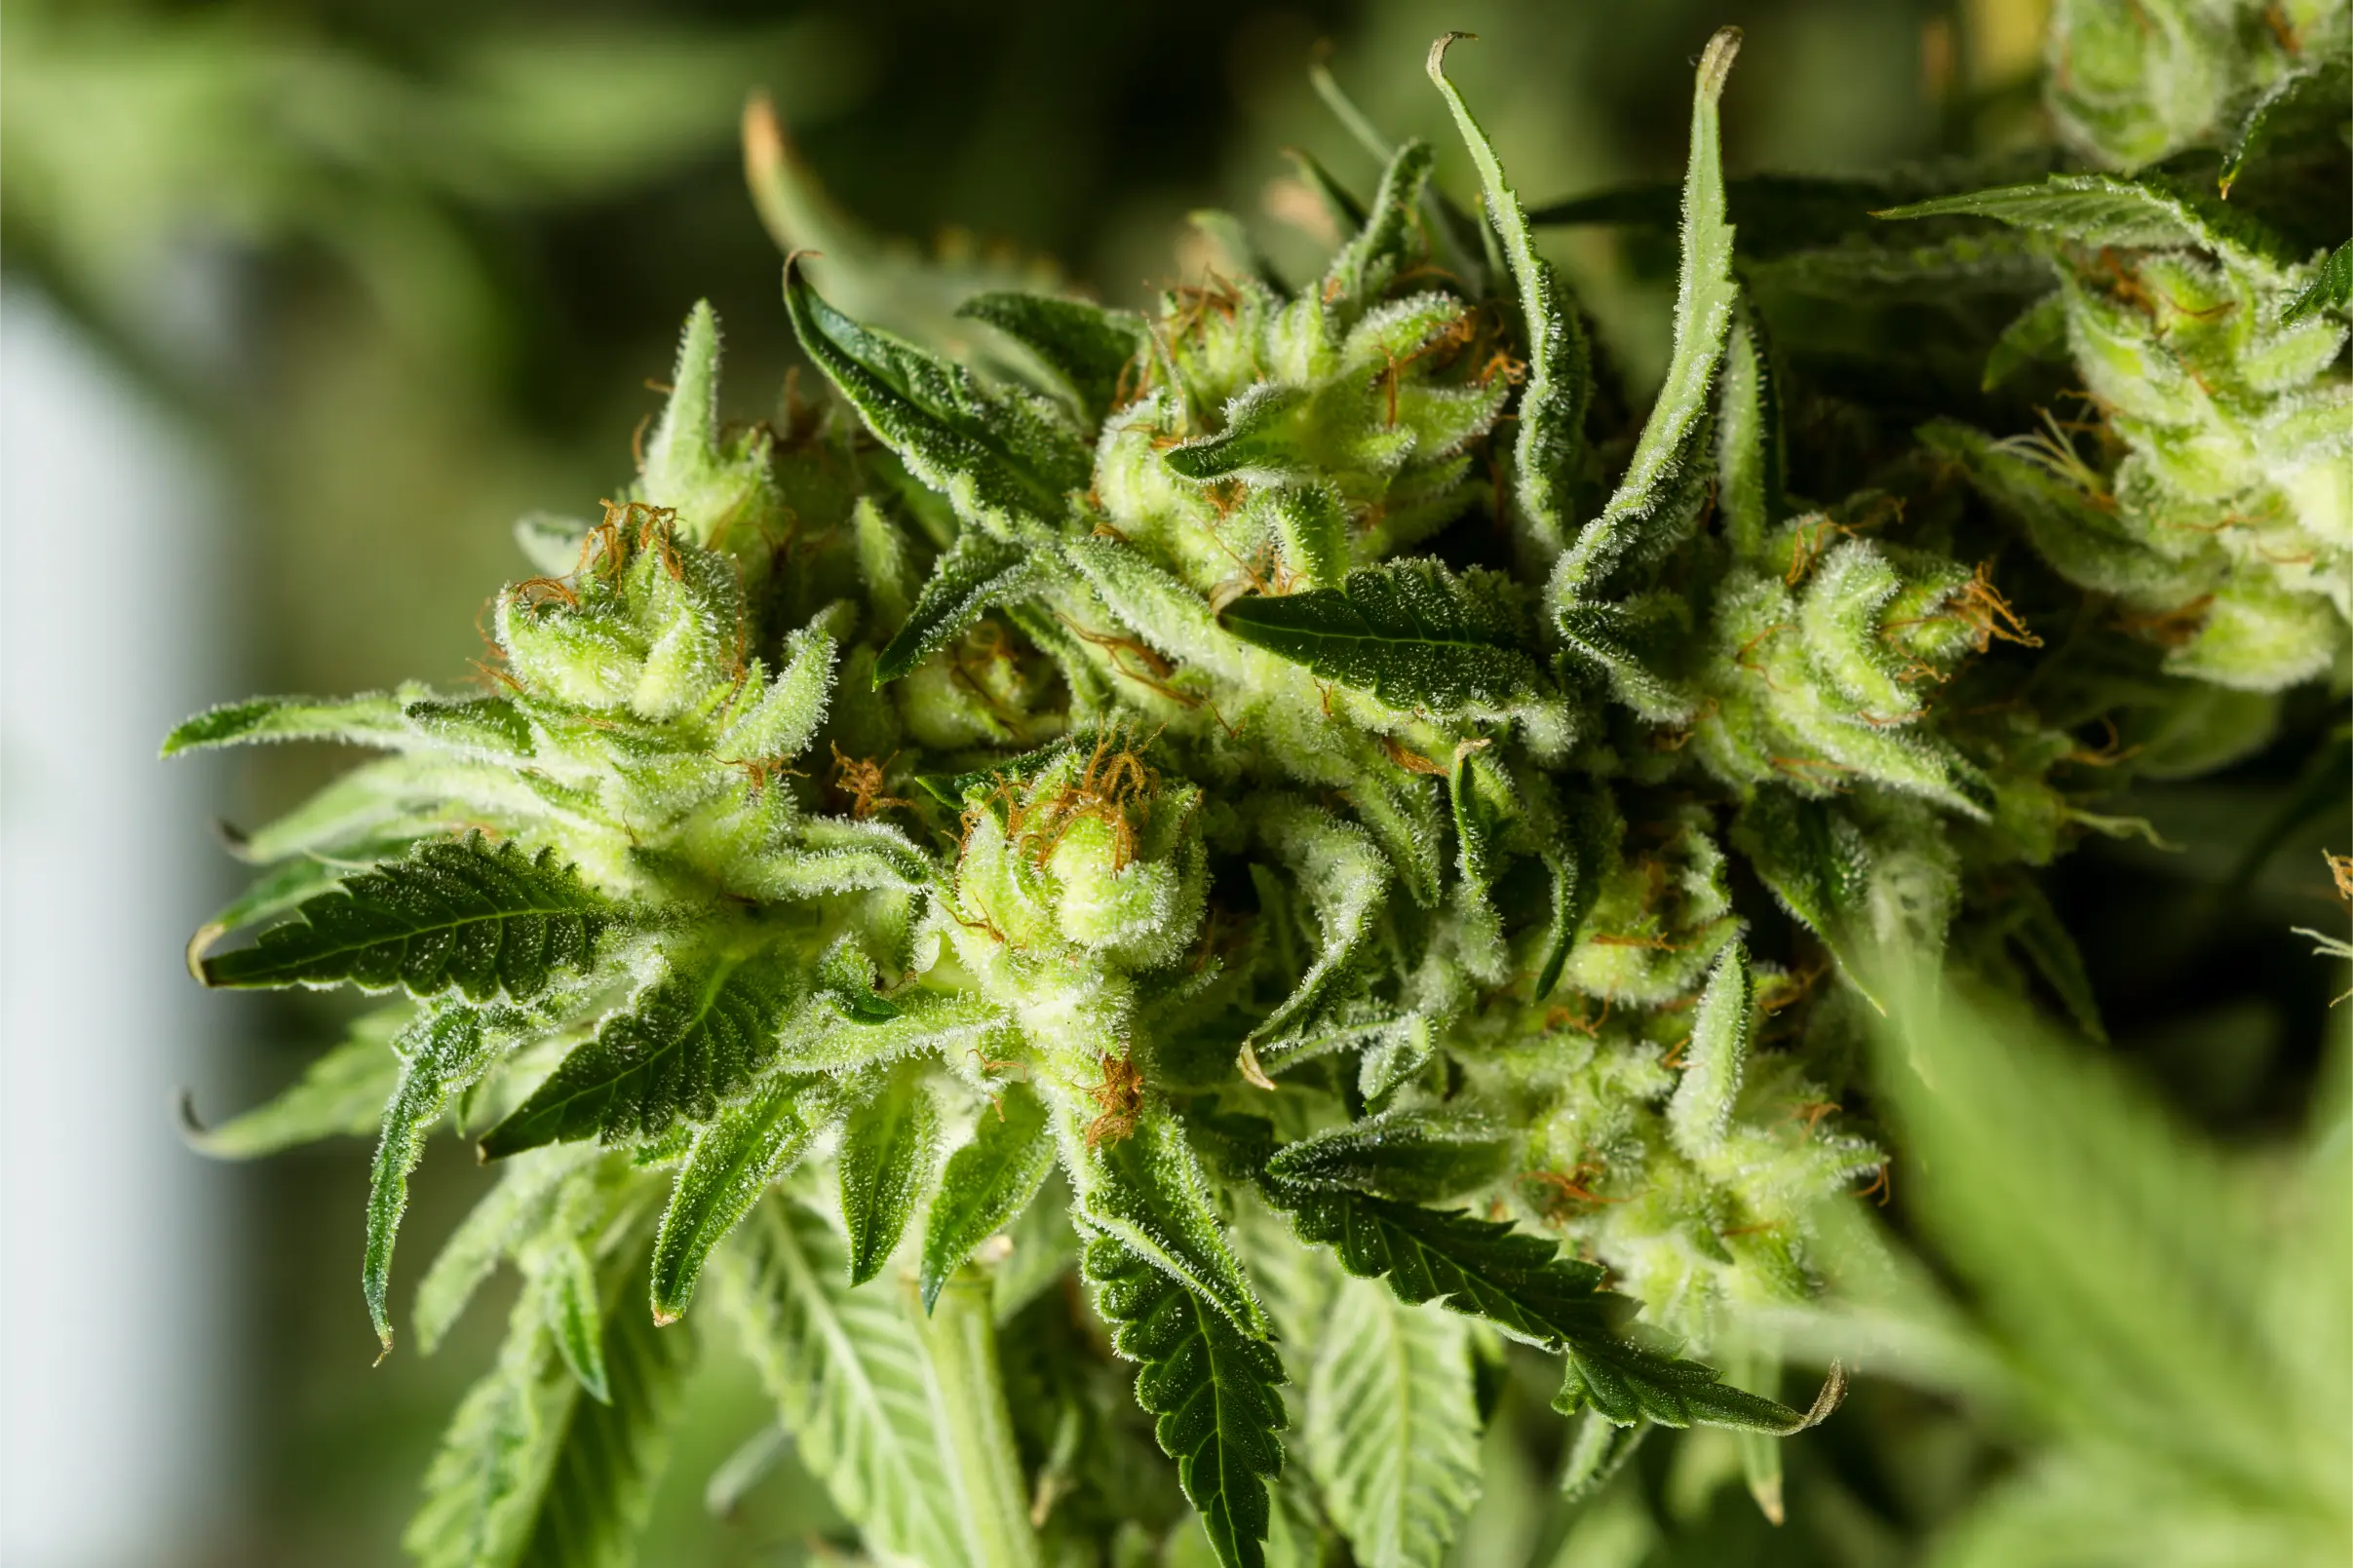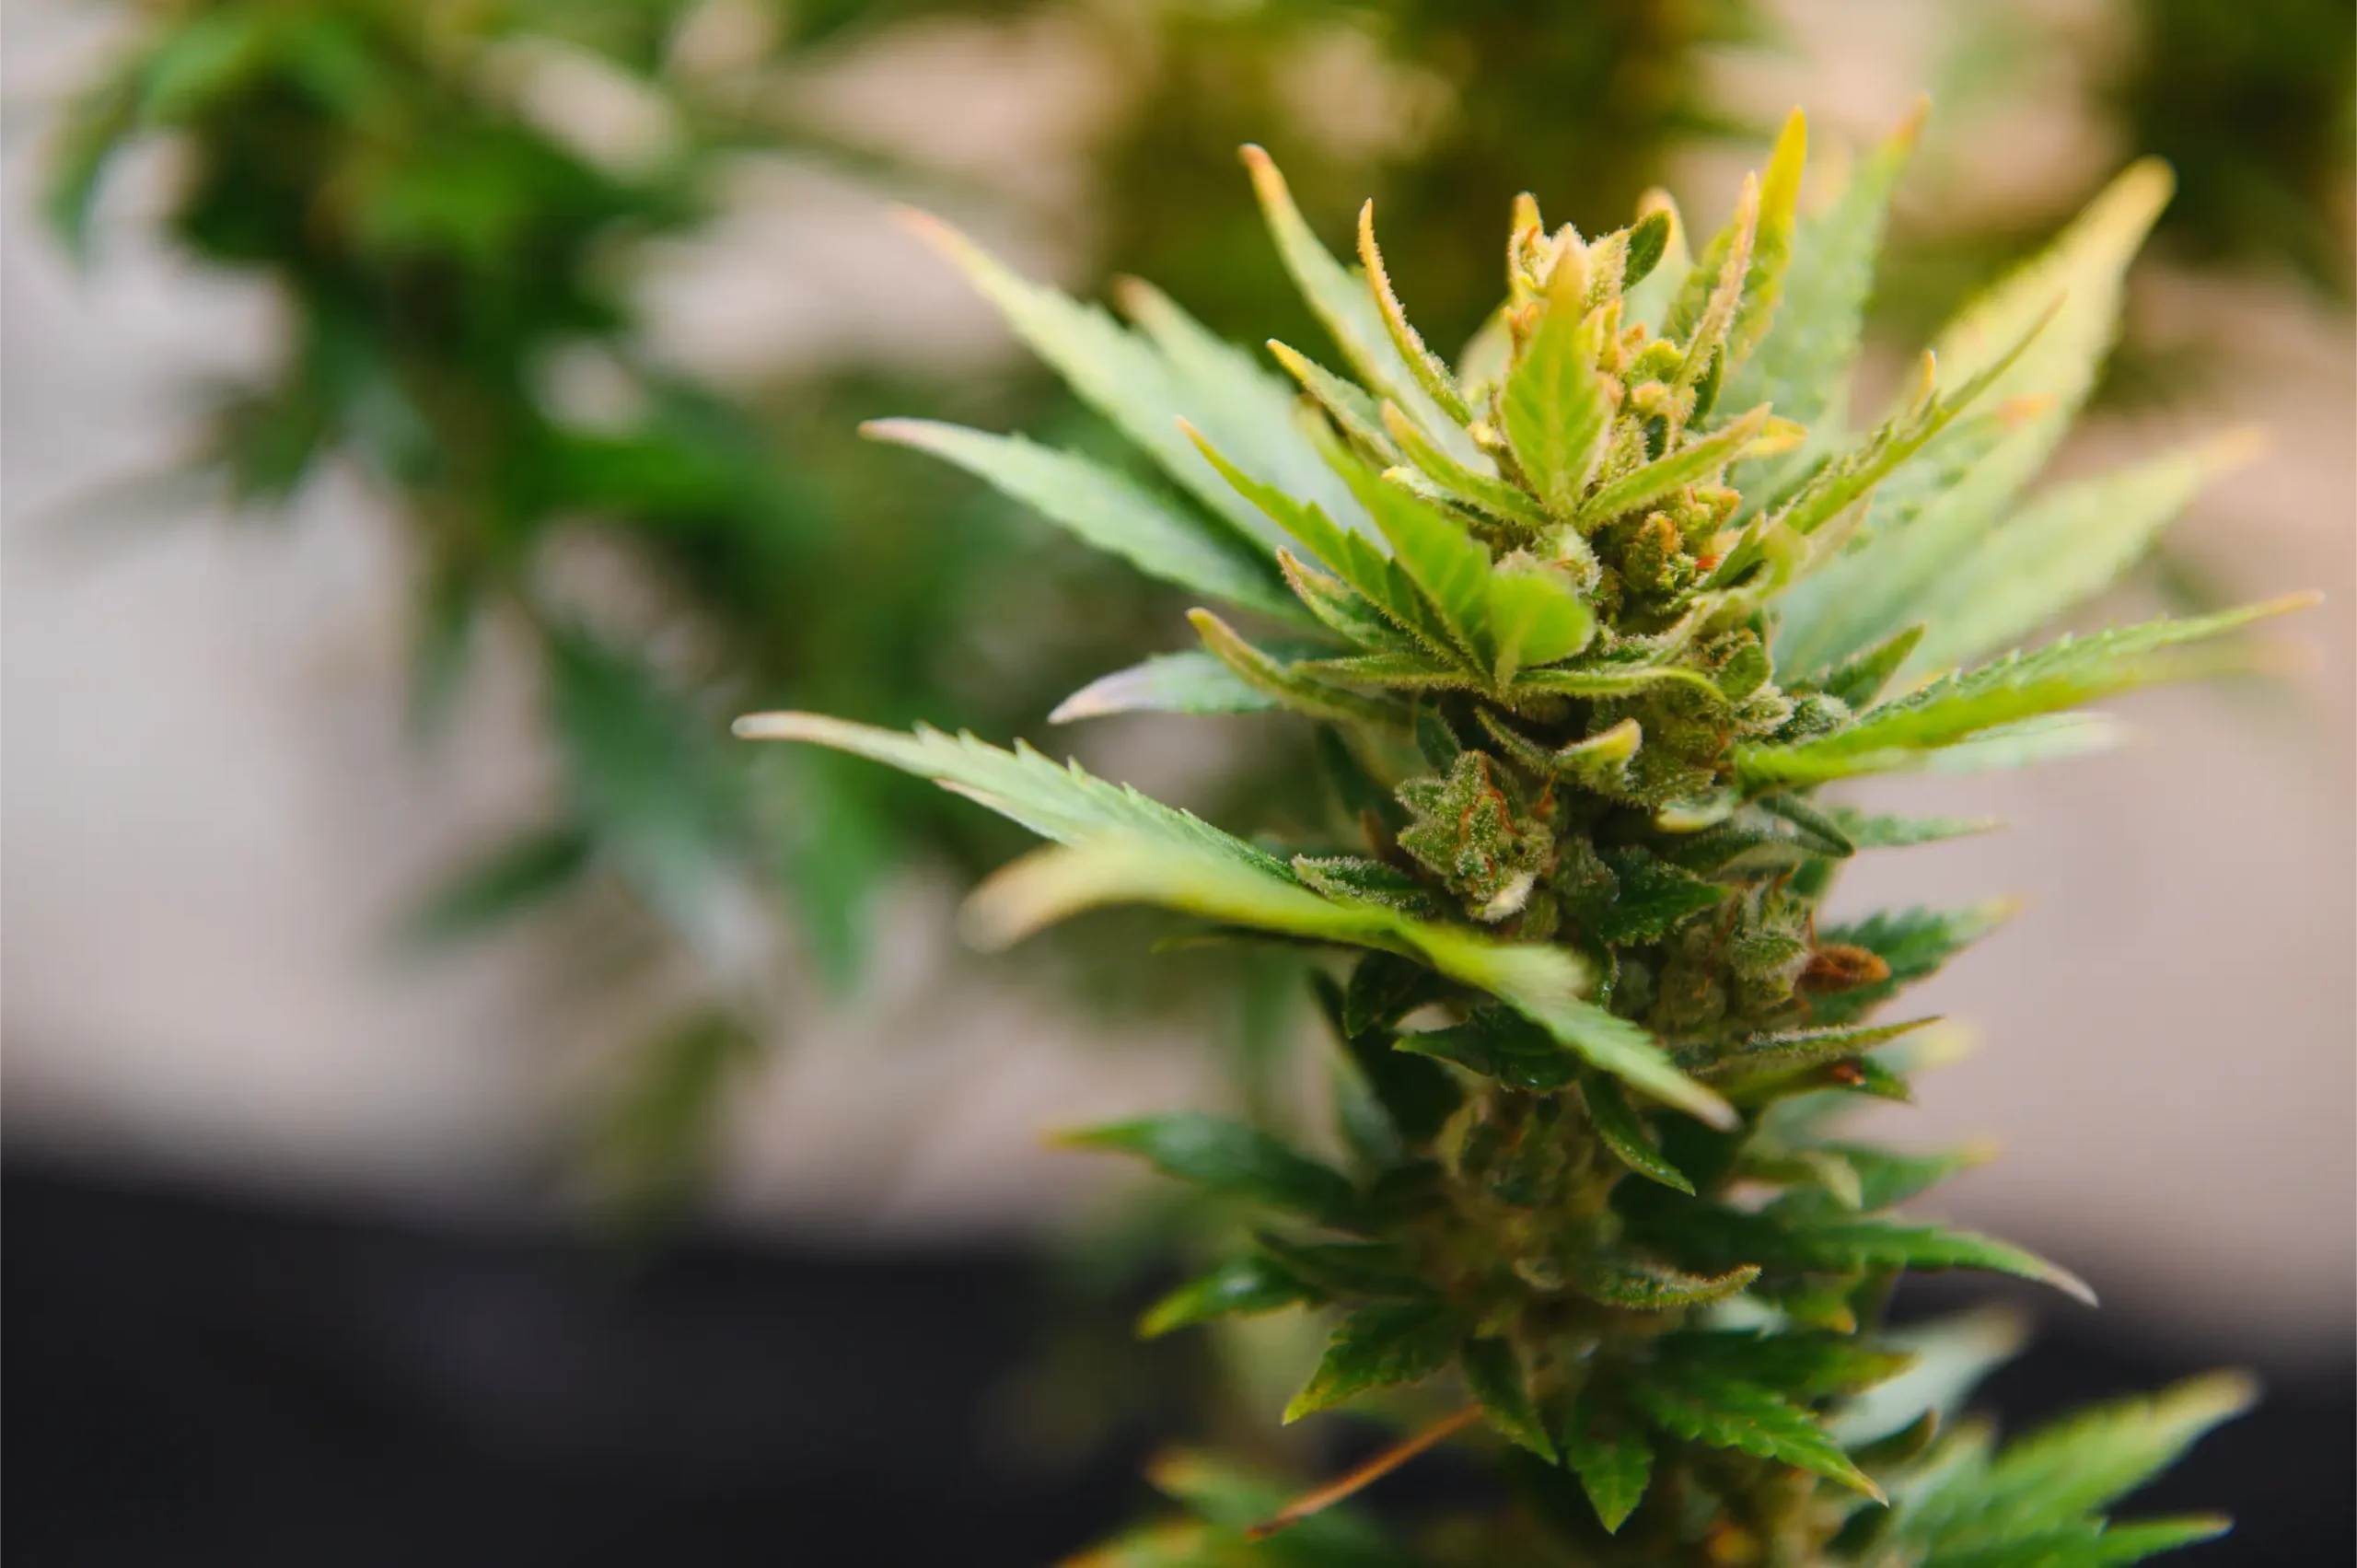
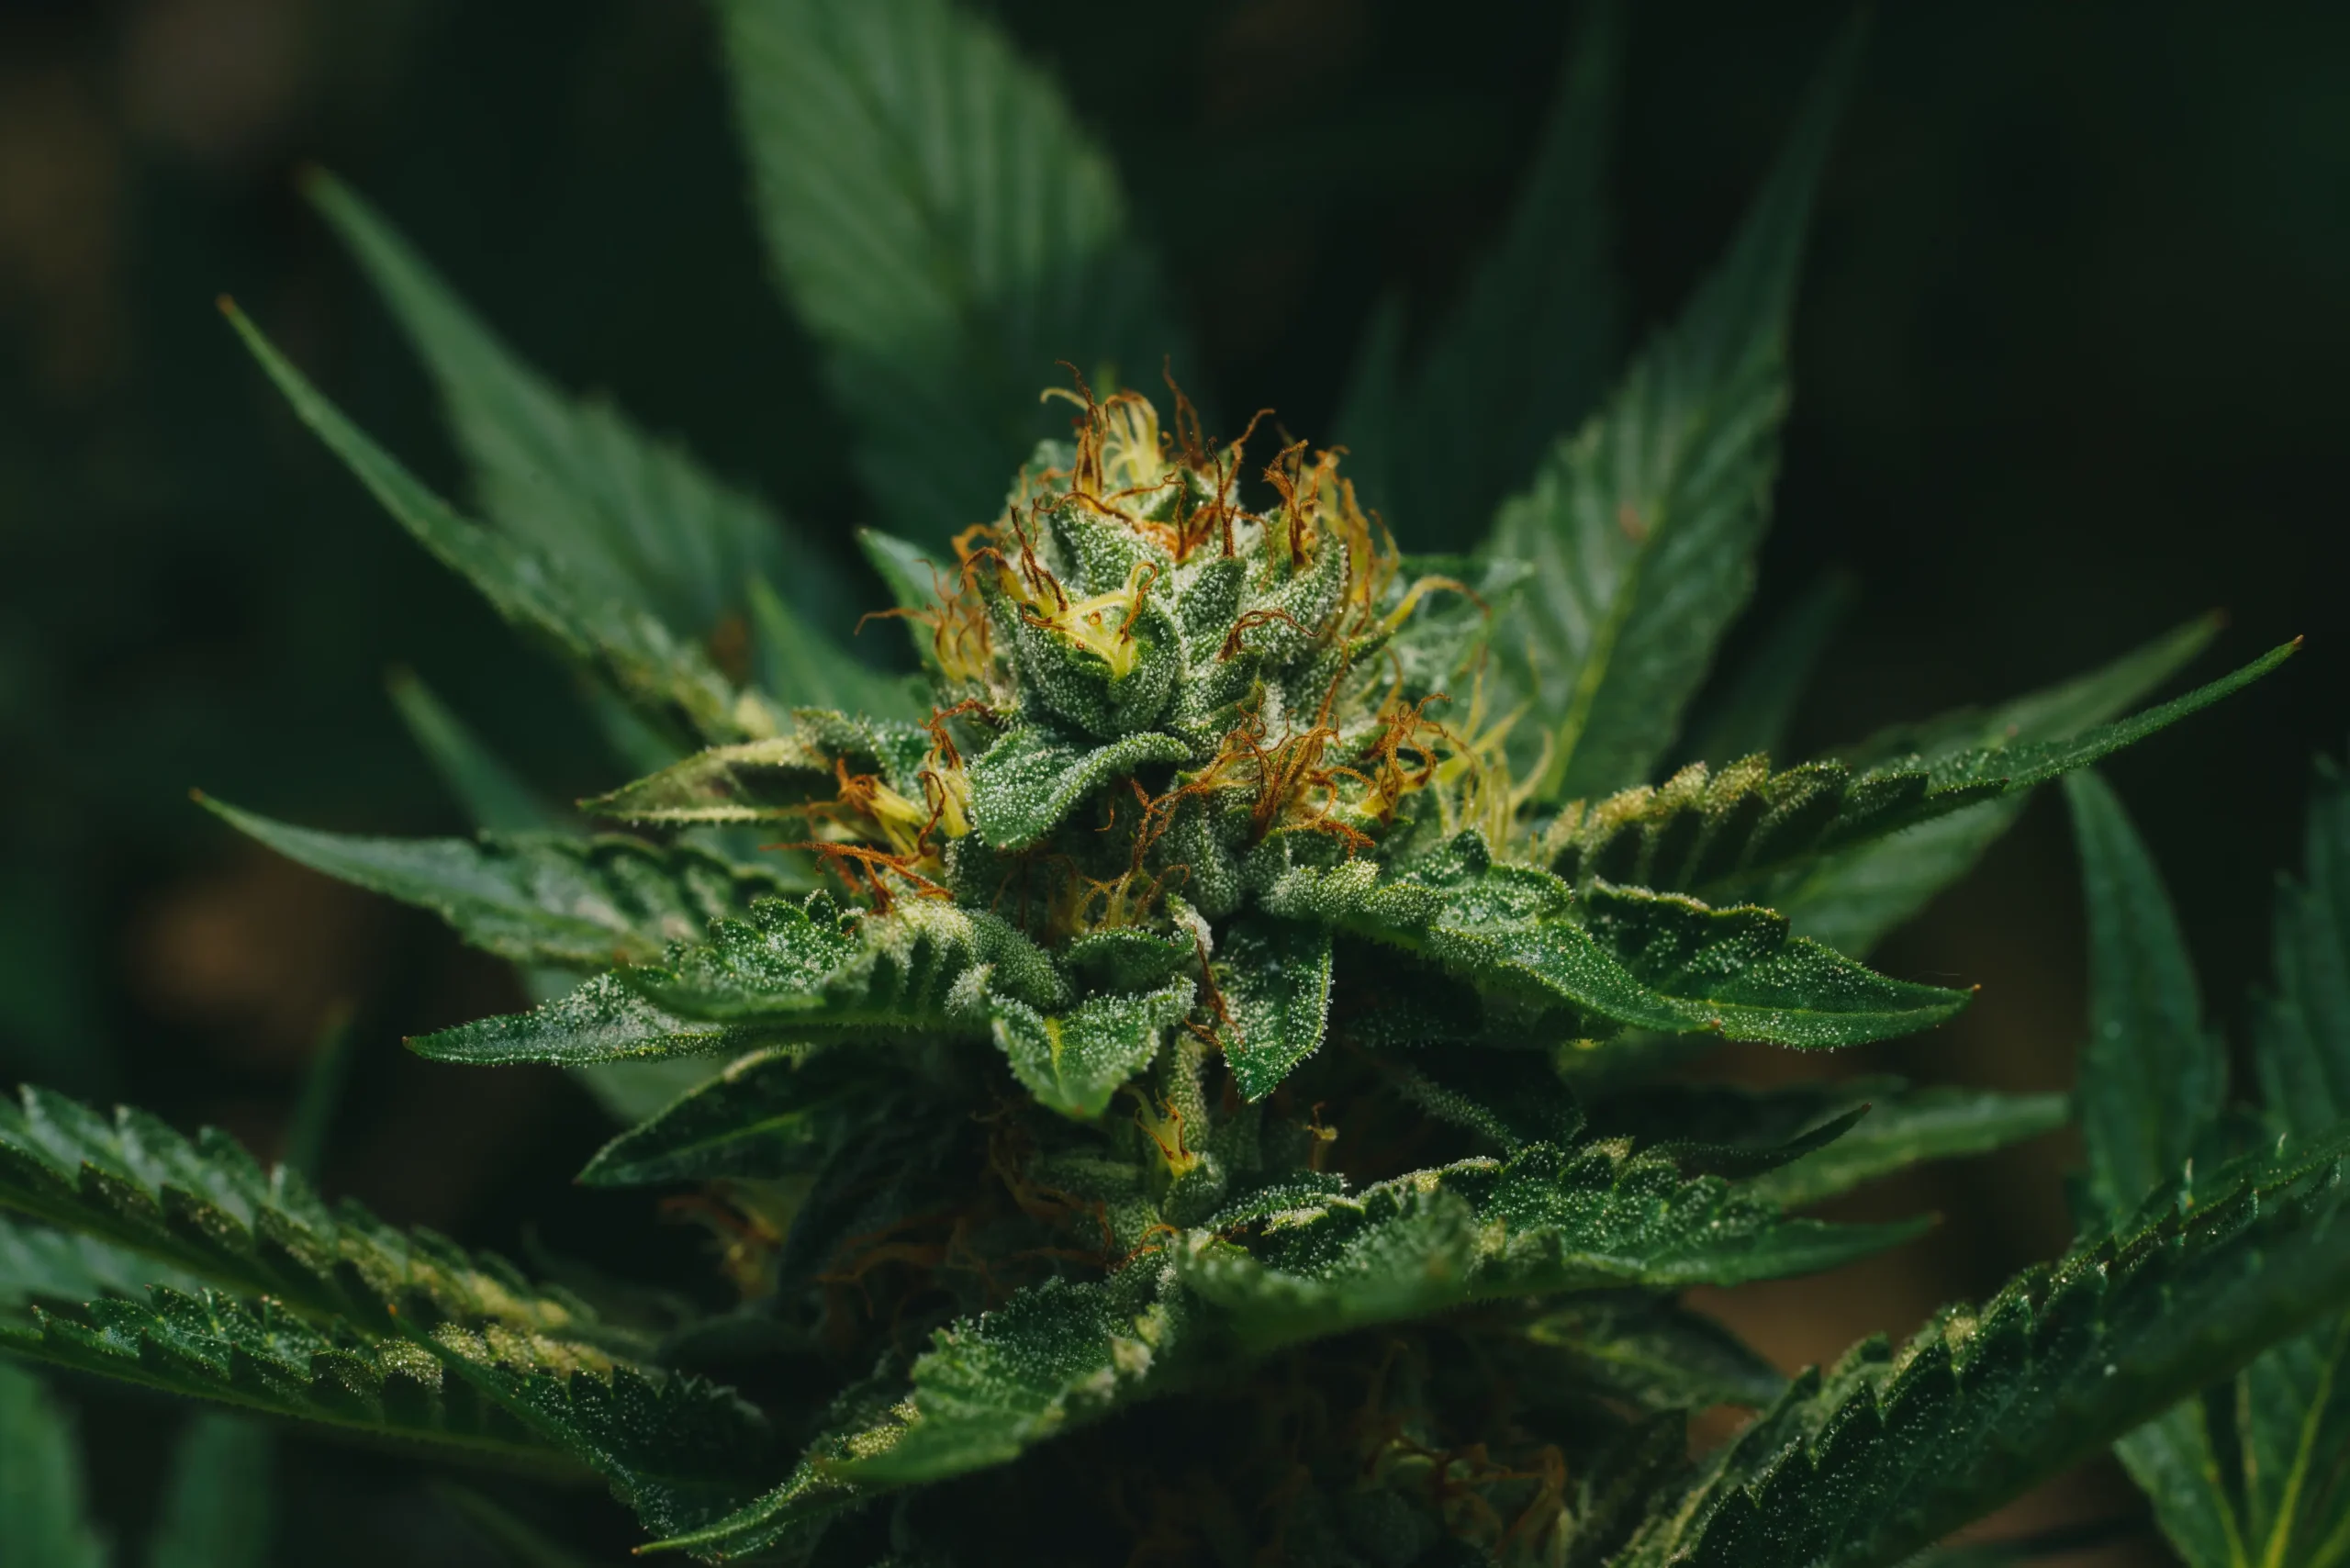
Autopot Watering and Reservoir Guide
In the competitive arena of controlled environment agriculture and indoor cannabis cultivation, automating irrigation without sacrificing root-zone oxygenation is a primary engineering objective. While motorized drip irrigation networks and closed-loop recirculating hydroponic setups offer precision, they introduce substantial technical vulnerabilities: high-pressure water pumps, digital solenoids, electrical timers, complex electronic relays, and the ever-present threat of catastrophic plumbing leaks or power outages. A single pump failure during peak flowering can decimate a commercial crop in less than twenty-four hours.
The AutoPot watering system represents an elegant, biologically driven alternative that has gained widespread adoption among both craft indoor growers and commercial licensed producers. Developed in the United Kingdom and deployed globally, AutoPot is a completely passive, gravity-powered subirrigation system that operates without electricity, motorized pumps, pressure regulators, or electronic timers. The entire system is governed by a purely mechanical, float-operated fluidic valve known as the AQUAvalve, which delivers nutrient solution to individual plant trays on demand based entirely on crop transpirational consumption.
However, despite its external simplicity, achieving consistent commercial success with AutoPots requires mastering the underlying physical and chemical dynamics of passive bottom wicking. Cultivators who treat AutoPots like conventional top-watered containers frequently suffer from substrate waterlogging, root asphyxiation, clogged supply lines, and catastrophic reservoir nutrient crashes. In this comprehensive technical guide, we dissect the internal mechanics of the AQUAvalve5, detail the mandatory substrate blending rules, evaluate mineral reservoir management, and outline step-by-step commissioning sequences for high-yield cultivation.
Mechanical Physics: The AQUAvalve5 Buoyancy Equilibrium
The core technological innovation of the AutoPot system is the AQUAvalve5, a pressureless mechanical float valve that replicates natural soil wet-dry cycles. Unlike conventional livestock float valves that maintain a continuous, fixed water level, the AQUAvalve employs a dual-float mechanism operating through atmospheric pressure and surface tension. When liquid fills the module tray to exactly 20 millimeters (3/4 inch), the top float rises and seals the supply inlet via a specialized silicone pad. Crucially, the valve remains locked shut as the plant drinks the water, allowing the tray to empty completely and admitting fresh atmospheric air to the bottom of the container. Only when surface tension in the lower float chamber breaks does the valve reset, initiating a fresh fill cycle.
Understanding this wet-dry dynamic is critical for cannabis cultivation. Cannabis roots possess exceptionally high respiratory oxygen demands. If roots remain continuously submerged in stagnant water without an intermittent dry-back period, dissolved oxygen levels plummet, root hairs asphyxiate, and opportunistic Pythium water molds rapidly colonize the root cortex. The AQUAvalve eliminates this hazard by forcing the container base to undergo a complete transpirational dry-down between irrigations, ensuring that root respiration and water absorption occur in harmonious physiological balance.
Furthermore, because the entire AutoPot network operates on gravity head pressure (typically between 0.5 and 2.0 PSI), the plumbing dynamics differ fundamentally from high-pressure automated drip systems. Water distribution lines cannot tolerate sediment particulates, organic viscous teas, or microbial slime that would easily pass through a 40-PSI commercial pump. Establishing a clean, mineral-based reservoir maintenance protocol is the paramount prerequisite for uninterrupted, hands-free operation.
The Mechanics of AQUAvalve5: Step-by-Step Fluidic Cycles
To operate and troubleshoot an AutoPot system effectively, cultivators must understand the mechanical sequence that occurs inside the AQUAvalve during each irrigation event. The modern AQUAvalve5 features an enlarged 9-millimeter internal bore (accommodating 1/2-inch and 3/8-inch supply piping) that dramatically reduces friction loss and mineral clogging compared to legacy 6-millimeter iterations.
The operational cycle proceeds through four distinct mechanical phases:
- Phase 1: Gravity Inflow and Tray Filling. Nutrient solution flows from the elevated central reservoir down through distribution tubing, entering the bottom inlet nozzle of the AQUAvalve. Water fills the tray basin, flooding the base of the plant pot. As the water level rises, liquid enters the internal float chambers through bottom slots.
- Phase 2: Hydrostatic Shut-Off. As the water level in the tray reaches precisely 20 millimeters, the upper primary float is lifted by buoyant force. An arm connected to this float presses a soft silicone pad firmly against the incoming brass nozzle, mechanically arresting the flow of water. The tray is now full, and water delivery stops completely.
- Phase 3: Transpirational Draw-Down (The Dry-Back Phase). The plant roots, aided by capillary wicking through the substrate, begin absorbing the 20mm pool of water. While the water level drops, the lower secondary float chamber traps a tiny reservoir of liquid via surface tension. This trapped fluid holds the upper float in its raised, closed position, preventing new water from trickling in while the tray is being emptied.
- Phase 4: Surface Tension Release and Valve Reset. Once the plant drinks every drop of water from the main tray floor, the water film inside the lower chamber finally recedes. Surface tension breaks, allowing air to enter beneath the lower float. The lower float drops, instantly releasing the upper float arm. The silicone pad lifts away from the nozzle, and gravity pushes fresh nutrient solution into the tray to begin the cycle anew.
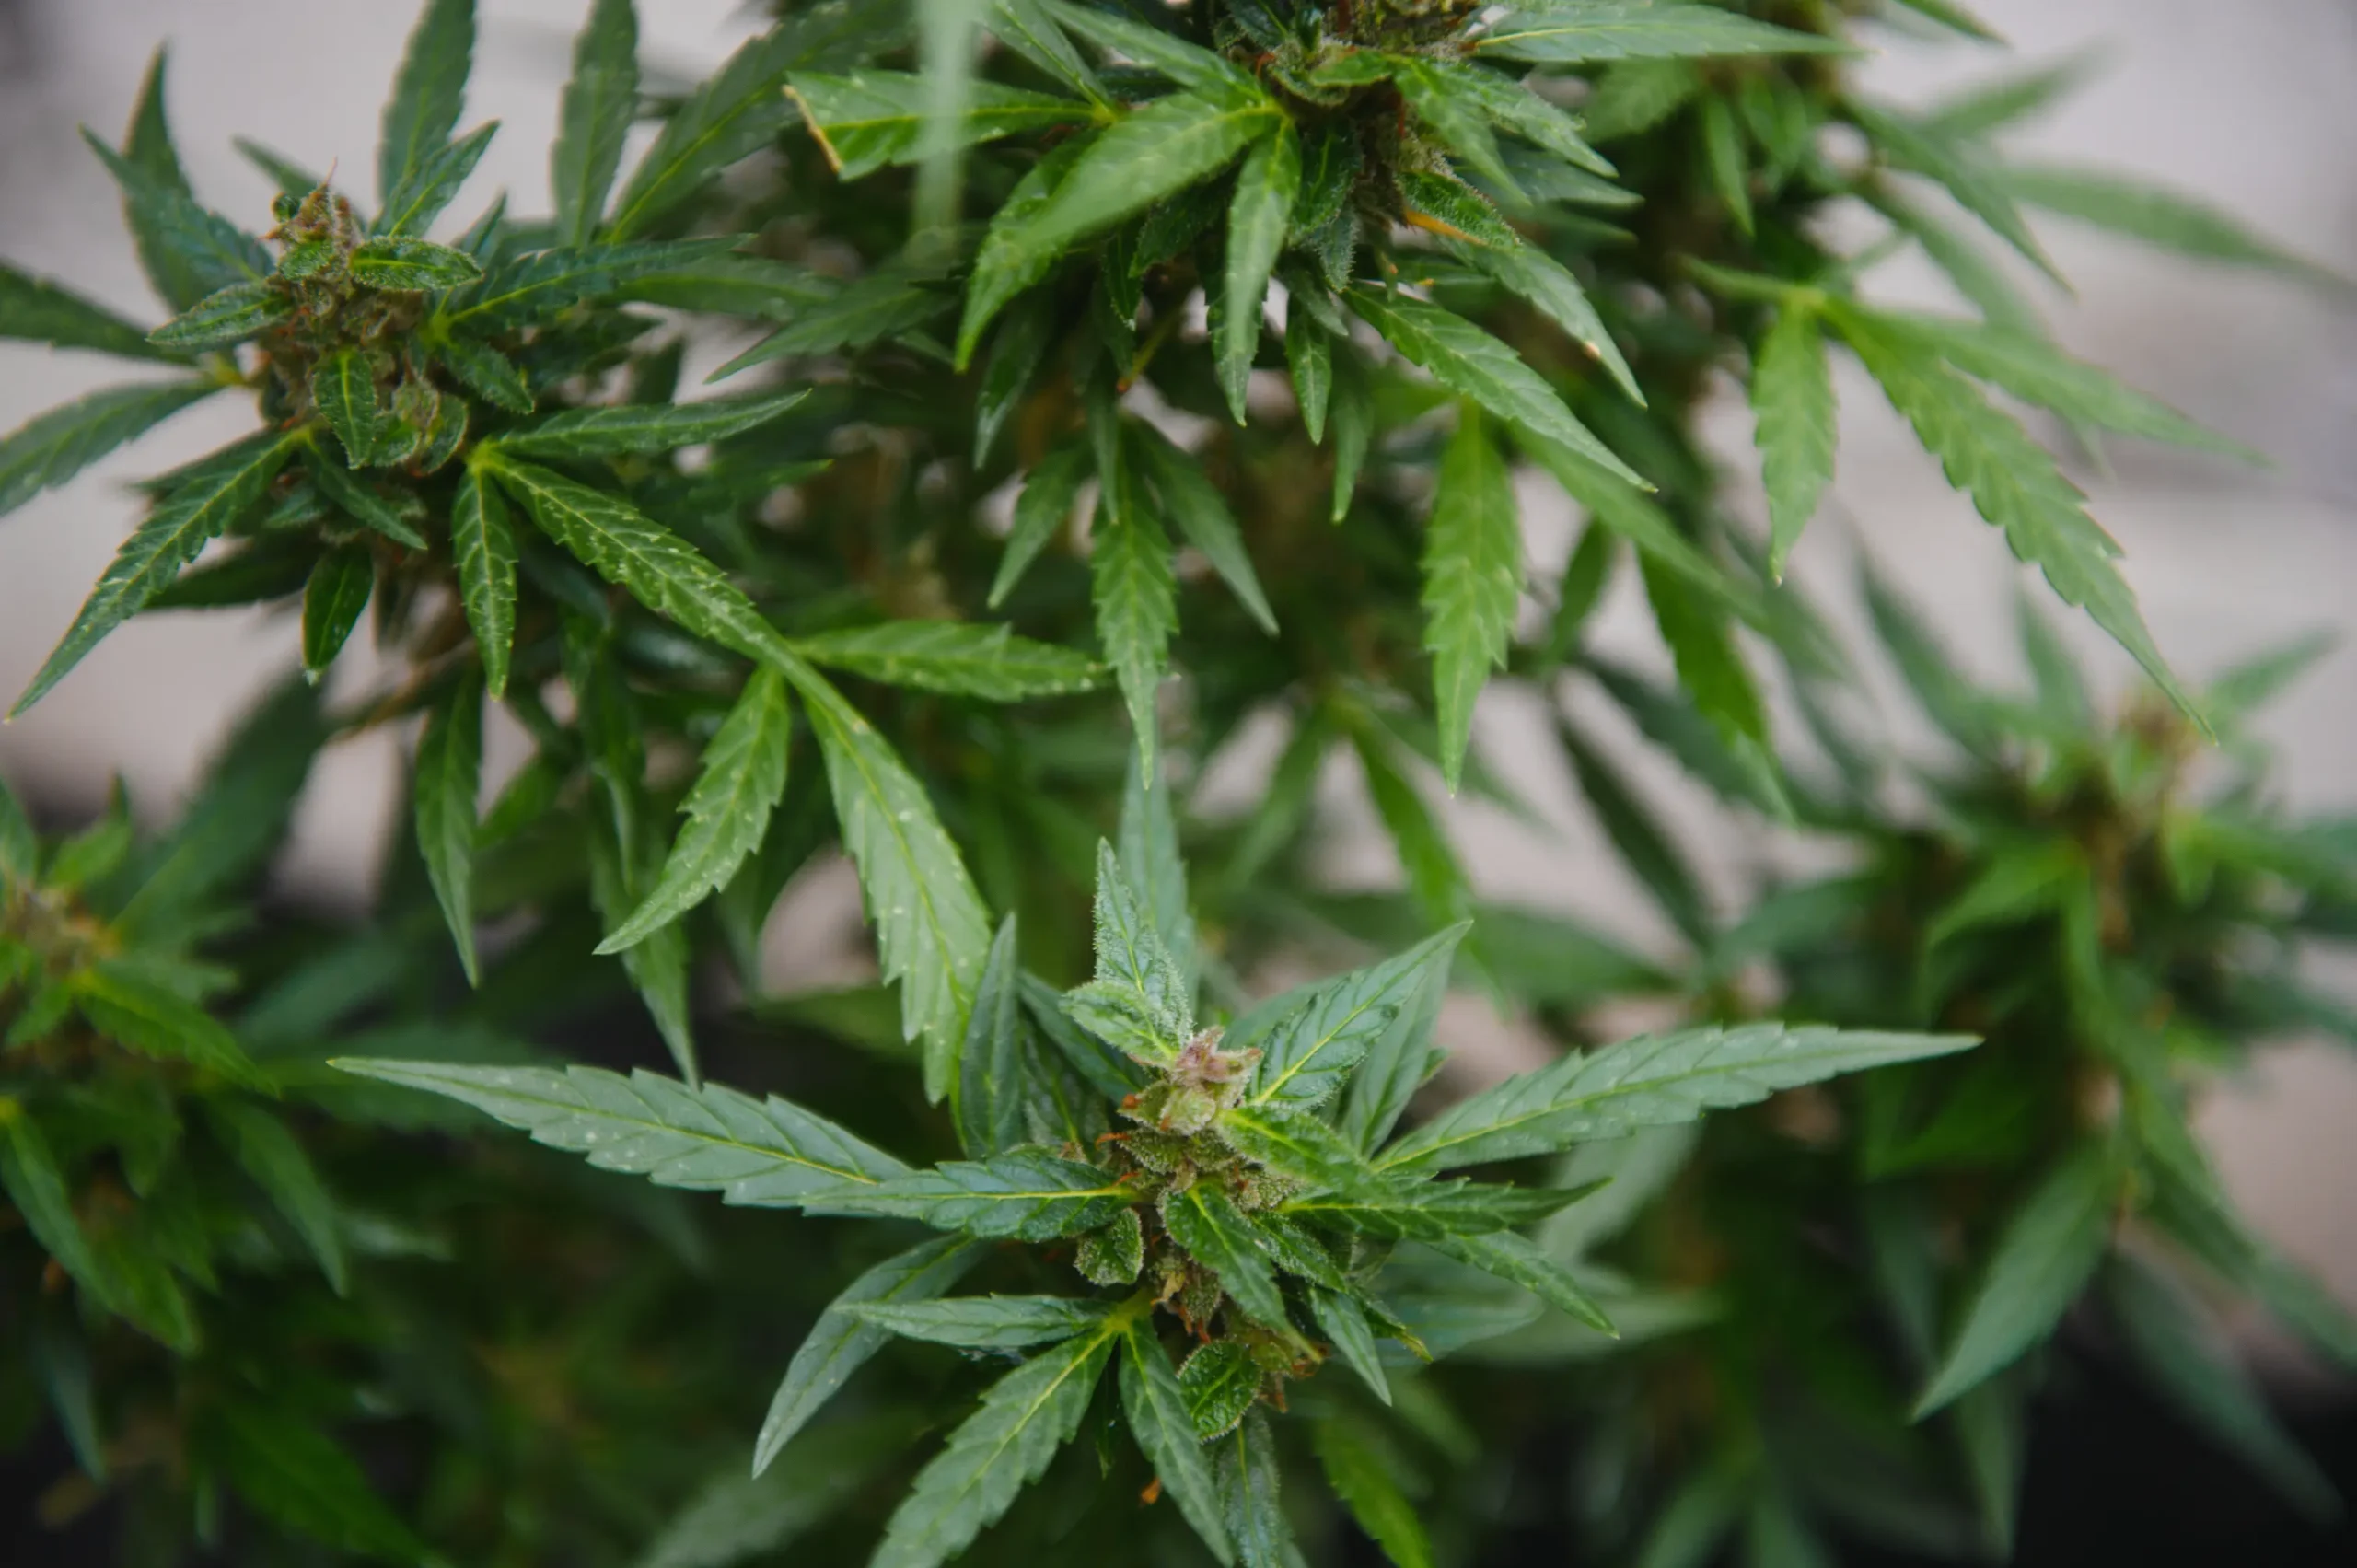
Figure 1: Uniform transpirational feeding through automated float-valve trays accelerates flower bud swelling while maintaining root-zone oxygenation.
This four-phase fluidic cycle ensures that irrigation is dictated entirely by plant transpiration rather than arbitrary timer programs. On hot, high-light days when the crop transpires heavily, the plant drinks the tray dry in three to four hours, prompting the valve to cycle multiple times daily. Conversely, during cool vegetative periods or cloudy dark cycles, transpirational pull slows, and the valve may remain closed for thirty-six hours until the plant naturally exhausts the water.
However, this mechanical precision relies entirely on the cleanliness of the silicone sealing pads. If a stray perlite particle, fine coco fiber, or mineral salt crystal becomes lodged between the silicone pad and the inlet nozzle, the upper float cannot achieve an airtight seal. Water will continue to seep past the obstruction, eventually overflowing the tray lip and flooding the cultivation facility floor.
Substrate Engineering: The Mandatory 50/50 Aeration Rule
The single most catastrophic mistake made by growers adopting AutoPots is filling the containers with standard, off-the-shelf potting soil or 100 percent pure coconut coir. In conventional top-watering, excess water drains out the bottom holes under gravity, pulling a fresh charge of air down through the medium. In AutoPots, water is wicked continuously upward from a 20mm standing pool, creating an elevated capillary fringe that holds high moisture content indefinitely.
If a grower utilizes a dense, fine-particulate substrate in an AutoPot, the air-filled porosity (AFP) collapses below 10 percent. The lower half of the pot becomes a dense, oxygen-starved mud ball. Roots trapped in this anoxic zone quickly suffocate, turn brown, and develop severe Pythium root rot. To maintain healthy gas exchange, AutoPot mandates that all substrates adhere strictly to the 50/50 Aeration Rule.
The substrate must consist of 50 percent absorbent, capillary-wicking base medium blended homogeneously with 50 percent inert, non-wicking coarse aeration aggregate:
- 50% Buffered Coconut Coir + 50% Coarse Horticultural Perlite: The industry gold standard for AutoPots. Coconut coir provides exceptional capillary wicking speed and high cation exchange capacity, while coarse #3 or #4 perlite creates permanent, non-collapsing macropores that remain filled with air even when the base of the pot is submerged.
- 50% Peat-Based Potting Soil + 50% Expanded Clay Pebbles (LECA): A popular choice for organic cultivators. The clay pebbles (screened to 8-16mm) provide substantial structural aeration. Note that clay pebbles must be thoroughly pH-stabilized in 5.5 water for several days before blending to prevent alkaline pH drift.
- 50% Coco Coir + 50% Screened Volcanic Pumice: An outstanding, permanent aeration mix favored by commercial no-till cultivators. Pumice does not float or crush over time, providing lifetime physical stability and excellent silica availability.
- The Sub-Surface Gravel Base (Optional but Recommended): Placing 2.5 to 5 centimeters (1 to 2 inches) of clean, washed expanded clay pebbles or coarse gravel directly in the bottom of the pot (covered by an AirBase or root barrier disc) creates an effective drainage reservoir that further protects the lower root core from standing water saturation.
Root Control Hygiene: The PotSock and Marix Barrier System
Cannabis roots are phototropic and hydrotropic; they actively seek out moisture and darkness. In an AutoPot tray, roots will naturally exit the bottom container drainage holes and grow directly toward the AQUAvalve cavity. If vigorous root hairs enter the valve mechanism, they will tangle around the float arms, preventing the valve from dropping or seating properly. Cultivators must always install copper-impregnated root control discs (PotSocks or black Marix root discs) at the base of the container, with the copper surface facing upward toward the roots. The microscopic copper ions act as a natural, non-phytotoxic root deterrent, pruning root tips before they can escape into the tray plumbing.
Proper pot packing technique is equally critical. Never pack, press, or tamp down the substrate when potting plants for AutoPot culture. The 50/50 blend should be loosely scooped into the container and settled by gently tapping the base of the pot against the floor twice. Excessive compaction crushes large macropores, slashes hydraulic conductivity, and severely impairs vertical wicking speed.
Furthermore, growers utilizing fabric aeration containers (such as AutoPot SmartPots) enjoy superior lateral aeration and air-pruning along the sidewalls. However, fabric pots can weep moisture across the tray lip if the fabric makes contact with outer walls. Ensure fabric containers are centered precisely within the plastic module trays with an even perimeter air gap.
Reservoir Setup, Nutrient Chemistry, and Gravity Hydraulics
In an AutoPot installation, the central nutrient reservoir is the engine that powers the entire facility. Because there are no mechanical pumps to force water through the lines, the system relies entirely on gravitational potential energy: Hydrostatic Pressure = Density x Gravitational Acceleration x Height.
To establish adequate fluid pressure across all modules, the base of the nutrient reservoir must be elevated at least 15 to 30 centimeters (6 to 12 inches) above the highest AQUAvalve in the garden. For large multi-tent installations or commercial tables running dozens of pots, elevating the reservoir 45 to 60 centimeters (18 to 24 inches) provides superior pressure head, ensuring rapid fill times and overcoming internal pipe friction across long distribution runs.
My AutoPot tray is constantly overflowing and flooding my grow tent floor; what is causing the AQUAvalve to fail to shut off?
Question sent by: Graham Scott, via email.
An overflowing AutoPot tray is almost always caused by a physical obstruction preventing the silicone pad on the upper float from creating an airtight seal against the inlet nozzle. Disconnect the AQUAvalve from the 9mm pipe and inspect the small yellow or white silicone pad seated in the float arm. The most common culprit is a tiny grain of perlite, a strand of coco fiber, or a crystallized mineral salt flake stuck directly to the face of the silicone.
To cure this, remove the silicone pad, wash it in clean warm water, and verify that it is inserted completely flat with its smooth face pointing outward. Next, check that your copper root control disc (PotSock) is installed correctly; if root hairs have escaped into the tray, they can physically wedge beneath the float arm, preventing it from rising. Finally, ensure your AQUAvalve body is clipped firmly into the tray base tracks, the tray is 100 percent level, and you are not running organic nutrients that leave sticky biofilms.
Nutrient selection is the most critical operational variable in AutoPot reservoir management. Because nutrient solution remains standing inside narrow 9-millimeter tubing and un-pressurized float chambers for days at a time, the feed solution must be 100 percent clean, completely water-soluble, and chemically stable. Cultivators must adhere strictly to these fertilizer guidelines:
- Strictly Use High-Purity Mineral Fertilizers: Deploy clean, fully chelated synthetic mineral nutrients (such as Athena Pro/Blended, Jacks 321, Canna Coco, or General Hydroponics Flora Series). These refined salts remain in liquid solution indefinitely without precipitating or creating biological sludge.
- Zero Thick Organic Amendments: Never add molasses, compost teas, kelp meal extracts, fish hydrolysate, or thick mycorrhizal suspensions to an AutoPot reservoir. Organic compounds rapidly ferment in warm, un-aerated reservoirs, creating thick bacterial slime that coats pipe walls, clogs 9mm nozzles, and ferments inside the tray basin.
- Submersible Wavemakers vs. Air Stones: Never use bubbling air stones to mix an AutoPot nutrient reservoir! Vigorously bubbling air through nutrient solution strips dissolved carbonic acid, driving reservoir pH upward by 1.0 to 2.0 points within twenty-four hours. Instead, install a small, low-wattage magnetic aquarium wavemaker or tiny submersible circulation pump directed across the bottom of the tank. Gentle fluid circulation keeps minerals dissolved without atmospheric aeration.
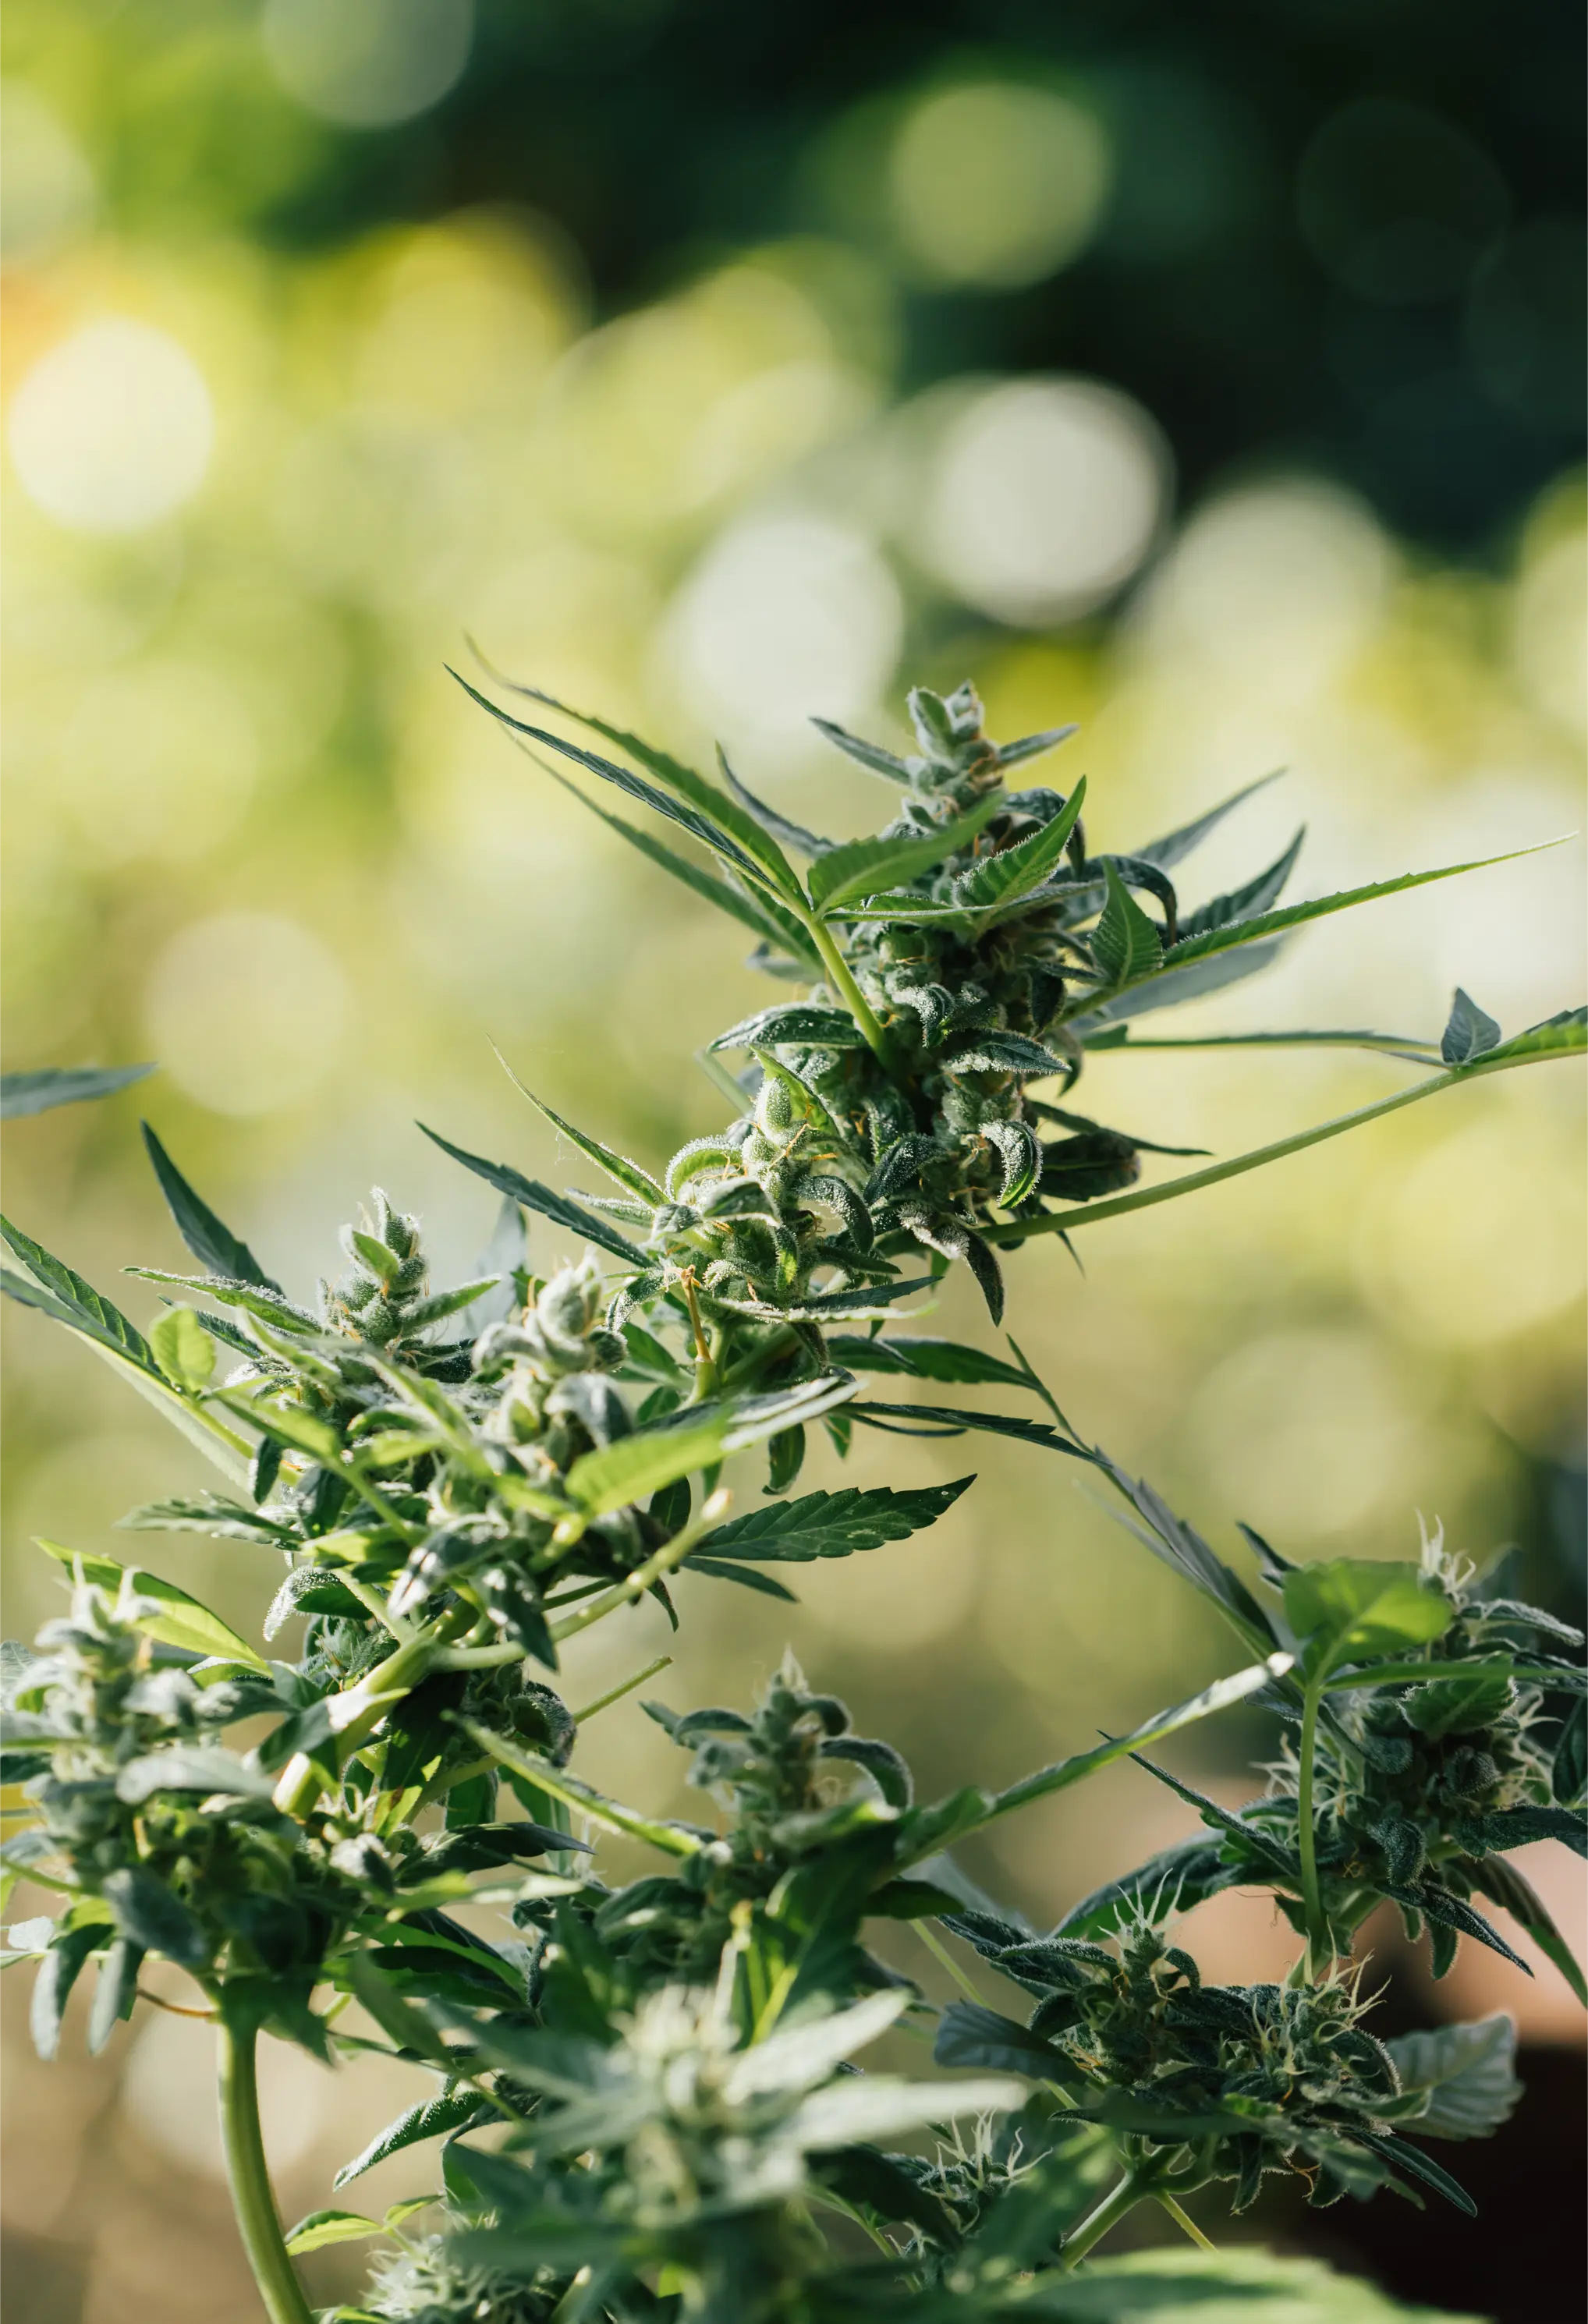
Figure 2: Balanced, non-fluctuating electrical conductivity in automated reservoirs prevents tip burn and optimizes vegetative transpiration rates.
AutoPot Module Form Factors and System Comparison
Designing an efficient commercial AutoPot layout requires careful attention to hydraulic trunk-and-branch plumbing architecture. While individual plant modules connect via 9-millimeter micro-tubing, large arrays running eight or more pots must employ a 16-millimeter (1/2-inch) rigid poly header pipe extending from the reservoir. Tapping 9mm branch lines directly into a large 16mm main header minimizes friction head loss, ensuring that pots located twenty feet away from the reservoir fill just as rapidly as pots sitting adjacent to the tank.
Furthermore, cultivators must choose module form factors that correspond directly with plant architecture, photoperiod scheduling, and canopy training goals. AutoPot manufactures several distinct modular configurations designed for different plant scales, vegetative durations, and medium preferences. The following engineering matrix compares the five primary AutoPot systems across container volume, root aeration, maintenance requirements, and ideal grow-room applications.
| AutoPot Model | Pot Volume & Type | Substrate Aeration Quality | Wicking Speed & Capacity | Maintenance Interval | Optimal Cultivation Style |
|---|---|---|---|---|---|
| 1Pot System (Standard) | 15 Liters (3.9 Gal) Rigid Plastic | Moderate (Base perforations) | Fast (Continuous 20mm pool) | Bi-Weekly Valve Check | Standard 4×4 or 5×5 tent grows (4-9 plants) |
| 1Pot XL System | 25 Liters (6.6 Gal) Rigid Plastic | Moderate to High (Deep pot profile) | Very High (Large root mass) | Bi-Weekly Valve Check | Large commercial plants, long vegetative cycles |
| SmartPot / Fabric AutoPot | 20 Liters (5.3 Gal) Geotextile Fabric | Extremely High (360° air-pruning) | High (Fabric wicking assist) | Weekly Inspection | High-transpiration coco coir craft cultivation |
| easy2grow System | Dual 8.5L (2.2 Gal) Rigid Plastic | Moderate (Shared tray basin) | Very Fast (Compact root core) | Bi-Weekly Valve Check | Sea of Green (SOG), commercial clone flowering |
| Auto8 / Multi-Tray Commercial | 8 x 15L Pots in Single Shared Tray | High (Integrated module grid) | Extremely High (Single AQUAvalve) | Weekly Valve & Line Audit | Commercial bench tables, large warehouse arrays |
As detailed in the matrix, the choice of container dictates root-zone respiration and maintenance protocols. For growers prioritizing maximum vegetative growth rates and heavy nutrient uptake, the 20-Liter SmartPot fabric system provides unmatched air-pruning and gas exchange. However, fabric containers require vigilant root-disc placement to prevent aggressive fibrous roots from migrating through the felt walls into the valve basin.
For commercial operators seeking maximum labor efficiency across hundreds of canopy square feet, the 1Pot XL (25-Liter) rigid plastic system provides an indestructible, easy-to-clean platform that supports massive multi-pound trees with minimal maintenance. The smooth plastic walls facilitate effortless root-ball extraction during post-harvest teardown, slashing turnaround times between crop cycles.
The 14-Day Commissioning Protocol: The Hand-Off Sequence
One of the most critical operational rules in AutoPot cultivation is that the automated reservoir must never be turned on immediately after transplanting. Novice growers who connect fresh transplants to active AutoPot trays almost invariably drown their seedlings within seven days.
Follow this strict four-phase commissioning protocol to ensure flawless root establishment:
Phase 1: Substrate Preparation and Potting. Blend your chosen 50/50 substrate (e.g., 50 percent coco coir and 50 percent coarse perlite). Place the copper PotSock or Marix root disc flat on the bottom of the pot. Fill the container loosely with medium without packing. Transplant your well-rooted seedling or vegetative cutting into the center.
Phase 2: Hand-Watering to Establish Capillary Bridges. Top-water the container thoroughly by hand using a balanced, light nutrient solution (EC 1.0 to 1.2 mS/cm, pH 5.8 for coco, 6.2 for soil). Ensure approximately 15 to 20 percent runoff exits the bottom holes. This top-watering hydrates the entire profile, settles dry air pockets, and establishes continuous liquid capillary bridges throughout the pot.
Phase 3: The Mandatory 10-to-14-Day Dry-Back Period. Place the potted plants into their dry AutoPot trays, but leave the main reservoir shutoff valve closed! Hand-water the containers from the top only as needed (typically once every 3 to 5 days, whenever the pots feel light upon lifting). During this critical two-week window, the young root system expands rapidly downward through the aerated substrate in search of moisture. Do not activate the automated system until root tips have colonized the entire depth of the pot.
Phase 4: Root Verification and System Activation. At day 10 to 14, gently lift the container and inspect the bottom drainage openings. You must see healthy, bright-white root tips emerging through the root control disc. Once lower root presence is visually confirmed, fill the central reservoir with calibrated nutrient solution, open the main supply valve, and purge air from the end of the line. The AQUAvalve will immediately flood the tray to 20mm, and the plants will transition seamlessly to automated bottom-feeding for the remainder of their lifecycle.
Operational Warning: The Permanent Ban on Post-Activation Top-Watering
Once the AutoPot system is turned on and plants are feeding from the bottom trays, top-watering is strictly prohibited! As water wicks continuously upward through the substrate, mineral salts are carried toward the surface where moisture evaporates, forming a white crust of concentrated fertilizer in the top inch of soil. If a grower pours water onto the top of an active AutoPot, this lethal salt crust will be instantly dissolved and washed down into the delicate lower root core, causing catastrophic osmotic shock, root burning, and leaf necrosis. Feed strictly from the bottom reservoir!
If foliar sprays or biological inoculants must be applied, apply them strictly as fine leaf mists during dark photoperiods rather than soil drenches. The root zone must remain under uninterrupted upward capillary wicking throughout the entire generative flowering stage.
Furthermore, growers should inspect module trays daily during the first week of automated activation. Confirm that the water level drops completely dry before the AQUAvalve resets, verifying that the mechanical dry-back cycle is functioning flawlessly under your specific environmental VPD conditions.
Diagnostic Troubleshooting Matrix for AutoPot Systems
When unexpected plumbing anomalies or crop stress symptoms arise in an AutoPot facility, technicians should follow this structured diagnostic checklist to isolate and correct the root malfunction rapidly.
- Symptom: Tray Remains Completely Dry Despite Full Reservoir. Check for airlocks in the 9mm supply line. Disconnect the pipe from the AQUAvalve and open the line valve to flush trapped air bubbles. Inspect the inline reservoir filter screen for sediment blockage. Verify that the reservoir shutoff tap is fully open and the tank is elevated at least 15cm above tray height.
- Symptom: Tray Floods Continuously and Overflows. Disconnect the AQUAvalve, remove both floats, and inspect the yellow silicone sealing pad. Clean away any debris, perlite grains, or salt crystals. Ensure the silicone pad is seated completely flat and level in its socket with the smooth surface facing outward. Verify that the valve body is snapped firmly into the tray tracks and the tray is 100 percent level.
- Symptom: Plant Stems Wilt While Tray Holds Water (Root Rot). The substrate lacks air-filled porosity. The grower used less than 50 percent aeration aggregate, or the plant was transitioned to automated feeding before roots colonized the bottom of the pot. Turn off the reservoir valve immediately, allow the pot to dry out for 48 hours, drench with 3 percent food-grade hydrogen peroxide (H2O2) to kill anaerobic pathogens, and increase canopy air movement.
- Symptom: White Salt Crust Spreading Across Soil Surface. This is completely normal physical behavior in subirrigated containers. As long as you continue to bottom-feed, the salts are harmless. If the crust becomes excessive, gently scrape off the top 0.5 centimeters of dry soil with a spoon and discard it; never top-water to wash it down.
- Symptom: Reservoir pH Rises Rapidly from 5.8 to 6.8+. Caused by running aggressive bubbling air stones in the reservoir, which strips dissolved CO2 from the solution. Remove all air stones immediately. Replace with a gentle magnetic wavemaker or small circulation pump that moves liquid without breaking surface tension.
Approaching AutoPot maintenance with systematic diagnostic discipline prevents catastrophic plumbing disasters and preserves pristine crop health throughout heavy vegetative and floral development.
AutoPot Assembly and Pre-Planting Inspection Checklist
Before transplanting crops into an AutoPot installation, verify that all mechanical, structural, and plumbing parameters satisfy this operational checklist.
- 50/50 Substrate Blend Confirmed: Verify that the potting medium contains exactly 50 percent coarse aeration aggregate (perlite, pumice, or clay pebbles) homogeneously blended throughout.
- Copper Root Disc Installed: Confirm that the PotSock or Marix copper disc is positioned flat at the base of the container with the copper side facing upward to prevent root escape.
- AQUAvalve Leveling Verified: Place a spirit bubble level across the tray base and AQUAvalve body. The module must be 100 percent horizontal; an unlevel tray causes floats to bind against sidewalls.
- Silicone Pad Seating Check: Inspect the upper float arm silicone pad under bright light to verify it is completely flush, clean, and free of manufacturing flash or indentations.
- Line Purge Valve Installed: Ensure every 9mm distribution line terminates in a manual flush tap or purge valve, allowing rapid weekly flushing of sediment and airlocks.
- Reservoir Elevation Confirmed: Verify that the bottom base of the central water tank sits at least 15 to 30 centimeters higher than the highest plant tray in the room.
Executing this thorough assembly checklist guarantees that automated gravity-fed subirrigation operates flawlessly from initial activation through final harvest.
Preventative Maintenance and Sanitation Schedule
To preserve long-term operational reliability, prevent biofilm accumulation, and extend equipment lifespan, commercial cultivators should adhere to this structured maintenance schedule.
| Maintenance Frequency | Target Component | Inspection and Service Action | Acceptable Operational Benchmark |
|---|---|---|---|
| Daily | Module Tray Water Depth | Visually confirm that tray water level is cycling between 0mm (dry) and 20mm (full). | Dynamic wet-dry cycling; zero standing water overflow. |
| Weekly | Distribution Line Flush Taps | Open terminal purge valves on 9mm lines for 10 seconds to flush settled mineral sediment. | Clear, unobstructed liquid flow; zero particulate accumulation. |
| Weekly | Reservoir Filter Screen | Close tank valve, remove internal mesh filter, and rinse clean under fresh running water. | 100% free-flowing filter mesh; zero organic biofilm slime. |
| Bi-Weekly | AQUAvalve Float Inspection | Lift valve cover and check float chambers for stray root hairs, perlite dust, or mineral scale. | Smooth float travel; clean silicone pad seating against nozzle. |
| Between Cycles | Full Plumbing Descaling | Fill empty reservoir with 5% food-grade citric acid solution; flush through all lines and valves. | Completely dissolves mineral salt scale; restores like-new flow rates. |
| Between Cycles | Silicone Pad Sanitization | Remove silicone pads, soak in warm water with mild detergent, inspect for physical wear. | Soft, pliable silicone; replace any pads exhibiting permanent indentations. |
Adhering to this routine maintenance schedule eliminates unexpected flooding emergencies, maintains pristine rhizosphere biosecurity, and ensures that AutoPot infrastructure delivers heavy, resinous cannabis harvests year after year.
Scientific References and Technical Standards
- Biernbaum, J. A. (1992). Subirrigation for greenhouse crops. HortTechnology, 2(3), 302-309.
- Handreck, K. A., & Black, N. D. (2002). Growing Media for Ornamental Plants and Turf (3rd ed.). UNSW Press, Sydney, Australia.
- Raviv, M., & Lieth, J. H. (2008). Soilless Culture: Theory and Practice. Elsevier Science, Amsterdam, Netherlands.
- Rouphael, Y., & Colla, G. (2005). Growth, yield, fruit quality and water use efficiency of hydroponically grown zucchini squash as affected by irrigation system and growing season. Scientia Horticulturae, 105(2), 177-195.
- van Iersel, M. W., Dove, S., Kang, J. G., & Burnett, S. E. (2010). Growth and water use of petunia as affected by substrate water content and daily light integral. HortScience, 45(2), 277-282.
Share this article
A quick overview of the topics covered in this article.
Follow us
Latest articles
November 6, 2026

November 6, 2026

November 6, 2026

November 6, 2026