
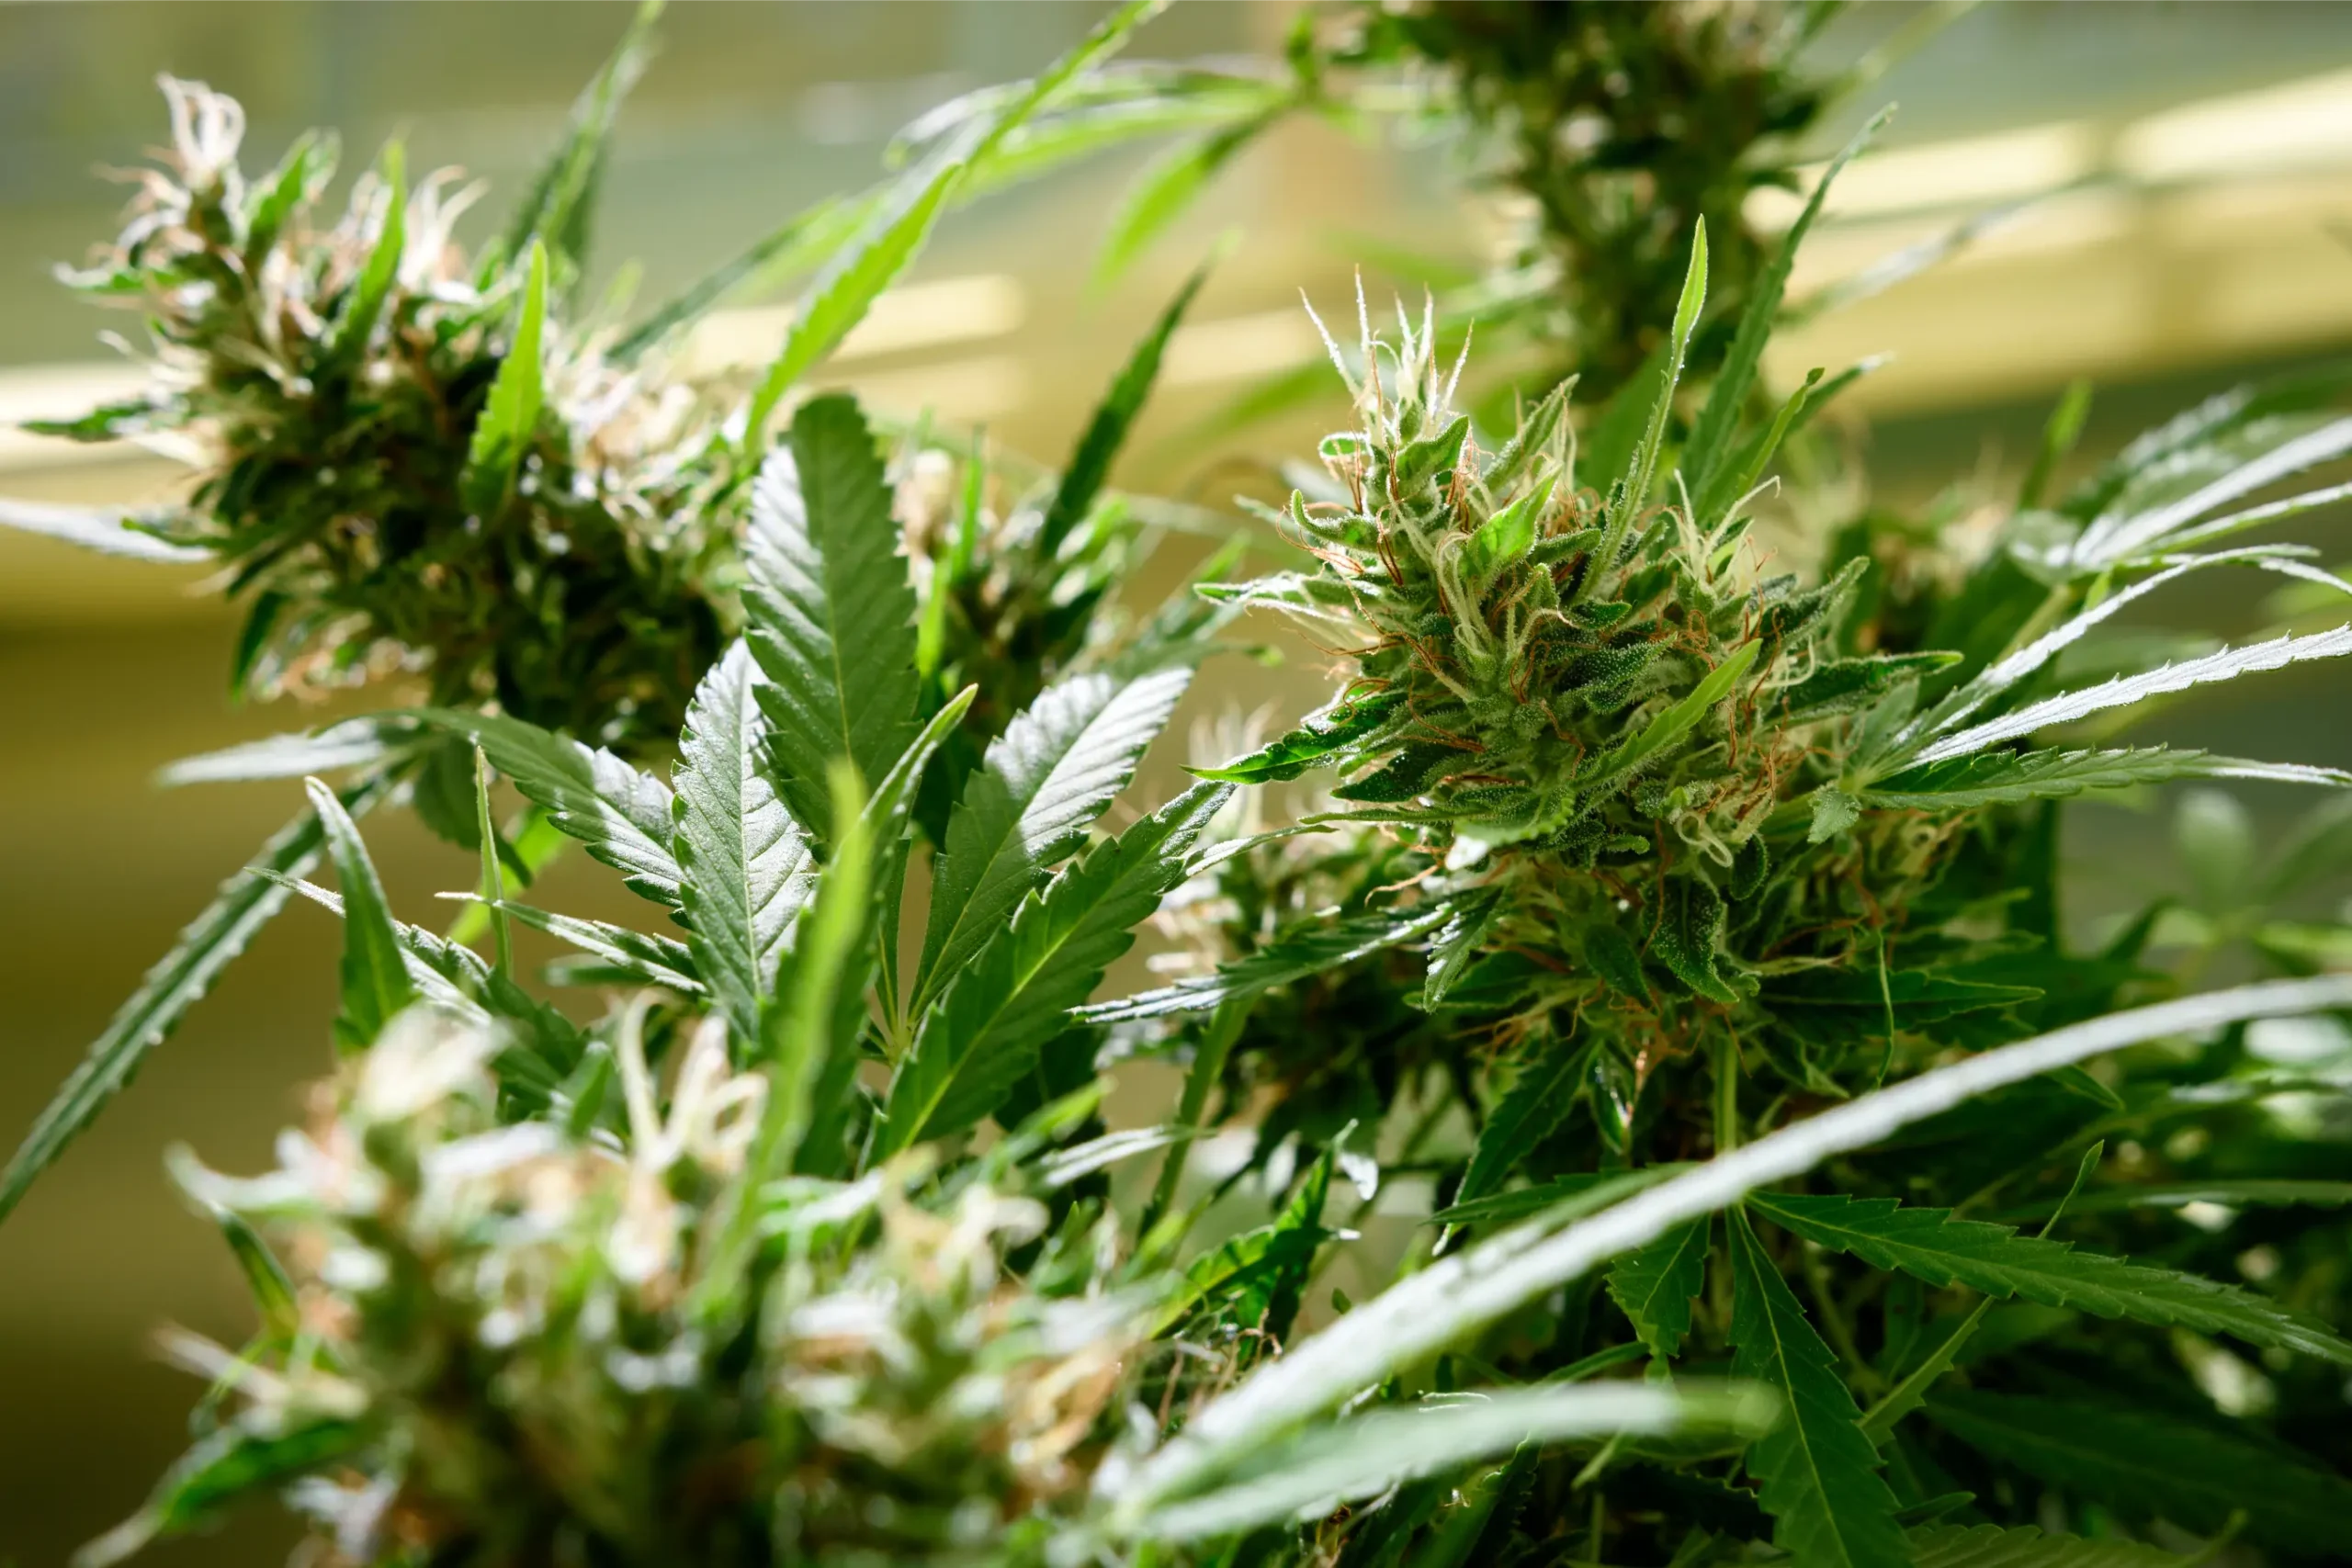
Botrytis Bud Rot on Cannabis: Diagnosis, Removal, and Prevention
Bud rot can remain hidden inside a dense cannabis flower while the outside still looks mostly normal. A single yellowing sugar leaf, a soft patch, or an area that feels unusually loose may be the first visible warning. By the time gray-brown fungal growth appears, internal tissue may already be extensively damaged.
Botrytis is one of the most important causes of cannabis bud rot, but not every brown flower is Botrytis. Other fungi, caterpillar injury, trapped moisture, dead plant tissue, and physical damage can produce overlapping signs. The safest response is to contain suspect material, inspect the flower interior, document the pattern, and treat contaminated flower as unusable while the cause is being confirmed.
If the plant has several unrelated symptoms rather than a flower-centered decay pattern, begin with the Common Cannabis Plant Problems symptom-first guide. For a broader disease and stress reference, use Cannabis Plant Problems A-Z.
What Botrytis Bud Rot Is
Botrytis bud rot, also called gray mold, is commonly associated with the fungus Botrytis cinerea. The organism has a broad host range and readily colonizes weak, wounded, aging, or dead tissue. On cannabis, maturing inflorescences are especially vulnerable because tightly packed floral tissue can hold humid air and conceal the earliest decay.
Botrytis can also affect leaves, stems, cuttings, and seedlings. Stem infections may form cankers, weaken branches, and produce spores during flowering. On flowers, infection can begin on a small bract leaf, damaged tissue, or another protected site before spreading through the inflorescence. This internal pathway explains why external inspection alone can underestimate the problem.
Bud rot
A descriptive category for decay within or around cannabis flowers. Botrytis is an important cause, but the causal organism should not be assigned from brown tissue alone.
Research on diseased cannabis flowers has recovered B. cinerea frequently, but it has also identified other organisms capable of contributing to flower decay. The practical rule is that “bud rot” describes the damaged flower, while “Botrytis” names a specific causal possibility. The distinction matters when a production decision depends on laboratory confirmation.
Visible mold or internal flower decay is a contamination problem, not a cosmetic defect. Drying, trimming, rinsing, or processing does not prove that affected material is safe to inhale, consume, or sell. Management should protect people and uncontaminated material before it attempts to preserve yield.
How to Identify Bud Rot Without Guessing
Begin with the whole plant and the crop pattern. Record whether the problem is limited to one dense cola, follows a cultivar, appears after rain or condensation, concentrates near a cold surface, or occurs in a section with poor air movement. Then inspect the affected flower with minimal disturbance.
Early signs can be subtle
A small sugar leaf that yellows, wilts, or dies while nearby leaves remain healthy can be an early clue. The leaf may pull away unusually easily because the tissue at its base is decaying. Affected flower tissue may lose its normal firmness, look dull or water-soaked, or develop a tan to brown patch hidden beneath the outer bracts.
These observations raise suspicion but do not confirm Botrytis. Normal leaf aging, a broken leaf stem, caterpillar feeding, or local physical injury can create a similar first impression. The next useful step is to inspect the point where the abnormal leaf enters the flower and compare it with a healthy flower of the same cultivar and stage.
Advanced signs carry more weight
As decay progresses, internal flower tissue may turn brown, gray, soft, dry, or crumbly. Gray-brown fuzzy growth and abundant dusty spores are strongly compatible with Botrytis. Under some conditions, small dark survival structures may form in affected tissue. A musty odor can accompany advanced decay, but smell is not a reliable safety test.
- Stop routine handling. Do not squeeze, shake, or break apart a suspect flower over healthy plants.
- Photograph the intact pattern. Capture the whole plant, the affected branch, the outer flower, and nearby healthy flowers.
- Inspect the flower interior. Use clean tools and a controlled area where debris cannot fall into the crop.
- Look for the damage center. Note whether decay began around a dead leaf, wound, insect feeding site, stem, or moisture-trapping interior.
- Examine adjacent flowers. The first visible site may not be the only affected site.
- Record the environment. Review humidity peaks, condensation, rain, irrigation, airflow, canopy density, and recent injuries.
Field Advice: Do not blow on gray or brown fungal growth to see whether it releases dust. Disturbance can move spores and erase useful evidence. Contain the material before opening it.
“One sugar leaf turned yellow and pulled out of the bud. Does that prove bud rot?”
Question sent by: WestCoastKev, via email.
No. It is an important warning because decay at the leaf base can loosen the leaf, but breakage, senescence, and insect injury can also cause a local dead leaf. Inspect the insertion point and flower interior with clean tools. Brown, soft, collapsing, or fungal tissue makes a rot diagnosis more likely.
Botrytis Bud Rot Look-Alikes
Flower color changes naturally during maturation, and cannabis flowers can be damaged by more than one biological or physical process. A useful diagnosis separates true decay from ordinary development and then distinguishes Botrytis from other causes when that distinction changes management.
| What you see | Possible explanation | Check next |
|---|---|---|
| Brown internal tissue with gray-brown fuzzy growth | Botrytis bud rot | Damage center, adjacent flowers, spores or fungal structures, moisture and wound history |
| Darkened stigmas while flower tissue remains firm | Normal maturation, pollination, or surface injury | Firmness, internal tissue color, progression, seed development, nearby damage |
| Chewed flower tissue with pellets or debris | Caterpillar feeding and secondary decay | Larvae, frass, silk, entry points, damaged bracts, nearby flowers |
| White superficial coating on leaves or flower-associated tissue | Powdery mildew or residue | Surface colony pattern, magnification, spray history, tissue condition beneath |
| White growth with hard black structures | Sclerotinia or another rot | Stem and flower tissue, survival structures, laboratory diagnosis |
| Blue-green, green, or differently colored post-harvest growth | Penicillium, Aspergillus, or mixed storage mold | Drying and storage history, condensation, microbial testing, lot containment |
| Localized dry brown tissue without spread | Heat, light, handling, or mechanical injury | Exposure pattern, broken tissue, progression, fungal signs, healthy comparison |
Powdery mildew and Botrytis should not be treated as interchangeable “mold” problems. Powdery mildew usually begins as a superficial white colony on living tissue. Botrytis bud rot commonly involves internal browning, tissue destruction, and gray-brown sporulation. Use the Cannabis Powdery Mildew guide when the main sign is white surface growth rather than internal flower decay.
Do
Use tissue integrity, internal progression, physical evidence, crop pattern, and laboratory support to build confidence.
Avoid
Calling every mature brown stigma, dead sugar leaf, or discolored flower Botrytis from appearance alone.
Why Botrytis Bud Rot Develops
Disease develops when a susceptible flower, viable inoculum, a favorable environment, and enough time occur together. Humidity does not create Botrytis by itself, but it can make infection, colonization, and sporulation much more likely when the fungus is present.
Dense flowers create their own microclimate
The air inside a compact cola can be more humid and less mobile than the air measured by a room sensor. Transpiration, overlapping bracts, dead leaf material, and cool nighttime conditions can hold moisture where the sensor cannot see it. A room average therefore cannot prove that every flower remained dry.
Large late-flowering plants also add substantial moisture to the production space. If dehumidification, heating, or air exchange does not match that changing load, humidity can rise around lights-off or during cool weather. Outdoor flowers face rain, fog, dew, and slow drying after storms.
Free water and long wet periods increase risk
Rain, overhead irrigation, condensation, and foliar applications can leave flower tissue wet. Protected interior surfaces may stay wet long after outer leaves appear dry. Repeated wetting during flower maturation is more concerning than one isolated humidity number.
Do not attempt to dry a wet flower with a harsh fan directed at one plant. Strong airflow can damage tissue and move contaminants while still failing to reach the flower interior. The goal is uniform air exchange and controlled humidity through the canopy.
Wounds and aging tissue provide entry points
Botrytis is well adapted to colonizing damaged, weak, or senescing tissue. Broken branches, pruning wounds, dead sugar leaves, insect feeding, rough handling, and flower abrasion can create favorable sites. Caterpillars are especially important outdoors because feeding injury and frass can occur inside flowers where secondary decay remains hidden.
Excessive nitrogen can encourage soft, dense growth and delay maturation patterns, but nitrogen level alone does not diagnose or prevent the disease. Nutrition should support healthy tissue without creating an overly lush canopy, and changes should be based on the actual program and plant response.
Cultivar and timing change susceptibility
Flower architecture, maturation time, and genetic susceptibility influence risk. Looser inflorescences may dry more readily than extremely compact flowers, but no structure is immune. A cultivar that finishes clean in one season may fail under a cooler, wetter, or more humid cycle.
Late flowering deserves closer scouting because flowers are larger, internal spaces are harder to inspect, and exposure time has accumulated. Cannabis greenhouse research supports daily scouting for bud rot from approximately the sixth week of flowering onward in susceptible production situations.
“The room humidity stayed in range. How did mold develop inside one cola?”
Question sent by: GreenhouseGary, via contact form.
The room reading may not represent the flower interior. Dense tissue, a cool surface, a brief lights-off humidity rise, localized poor airflow, or a wetting event can create a protected microclimate. Review time-series data and inspect airflow and condensation at flower level instead of relying on a single average.
What to Do When You Find Bud Rot
The immediate priorities are containment, removal of compromised material, protection of clean flowers, and preservation of evidence. Do not continue routine pruning, harvesting, or plant movement through the affected zone.
1. Establish a controlled work area
Restrict traffic around the suspect plant. Handle clean plants first and the affected area last. Prepare clean cutting tools, disposable or cleanable gloves, and a container or bag that can receive removed material without carrying it uncovered through the crop.
2. Remove affected material without shaking it
Remove the affected flower or branch far enough below the visible decay to avoid cutting through soft contaminated tissue. Place it directly into the prepared container. Do not break it apart over the canopy, compost it beside the grow, or leave it exposed in the room.
The correct removal boundary depends on the severity, plant architecture, production rules, and whether nearby tissue can be inspected. Widespread internal decay, multiple affected flowers, or stem involvement may justify removal of the whole plant rather than repeated spot cutting.
3. Inspect the surrounding risk zone
Check adjacent flowers, plants in the same airflow path, the same cultivar, and areas sharing recent wetting or condensation. Look inside dense flowers carefully and note dead sugar leaves, caterpillar evidence, wounds, soft tissue, and cankers. Record the number of affected plants and flowers so progression can be measured.
4. Correct the enabling condition
Address condensation, standing water, wetting, excessive density, blocked air paths, and humidity peaks without making several unrelated crop changes at once. Confirm that environmental equipment is functioning under the current plant load. Outdoors, improve support and airflow where practical and inspect promptly after rain or prolonged dew.
Do not smoke, vaporize, consume, sell, or blend visibly affected flower into clean material. Removing the brown center does not establish that the remaining flower is uncontaminated or suitable for use.
Control Options and Their Limits
Established decay inside a flower cannot be restored. Control programs are most useful before infection or at the earliest stage of disease pressure. Once visible rot is present, removal and containment remain central even if a lawful preventive product is part of the wider program.
Labels and local law come first
Products permitted for hemp or cannabis vary by country, state, province, license, production setting, crop stage, and intended use. A biological product, sanitizer, or reduced-risk ingredient used in a research trial is not automatically legal or appropriate for every cannabis crop.
Before any application, verify the exact product label and current local rules. Follow crop, disease, rate, timing, personal protective equipment, restricted-entry interval, preharvest interval, application method, and maximum-use instructions. Consider residue testing, worker exposure, beneficial organisms, flower quality, and the intended route of consumption.
Important: Research showing disease reduction under controlled conditions supports prevention as a strategy. It does not turn a trial product or active ingredient into a universal treatment recommendation.
Preventive programs are not rescue programs
Cannabis studies have reported reduced Botrytis pressure from some biological or reduced-risk products applied before visible disease under defined greenhouse conditions. Results depend on cultivar, timing, formulation, coverage, environmental pressure, and regulatory status. They do not show that spraying visibly rotting flowers makes them usable.
Repeated use of one mode of action can also select for reduced sensitivity in pathogen populations. Where professional production uses a registered disease-control program, product rotation and resistance management must follow the label and current local guidance.
Avoid unverified flower treatments
Household mixtures, late-flower washes, ozone exposure, heat treatments, and improvised oxidizers can injure plants, create residues, alter flower quality, or introduce worker hazards. A treatment described as natural, food-safe, or residue-free is not automatically suitable for inhaled cannabis flower.
Post-harvest remediation may lower certain microbial counts under controlled commercial systems, but it does not reverse decayed tissue or prove that home-treated flower is safe. Visible bud rot should remain outside the usable harvest.
| Situation | Primary decision | What not to assume |
|---|---|---|
| One suspicious dead sugar leaf | Contain, inspect the insertion point and flower interior, document, recheck neighbors | The leaf alone proves Botrytis |
| One confirmed rotting flower | Remove contained material, inspect the risk zone, correct conditions, increase scouting | One cut guarantees the plant is clean |
| Several flowers or plants affected | Map incidence, restrict workflow, consider whole-plant removal and diagnostic support | A last-minute spray restores the crop |
| Stem canker or branch failure | Inspect internal tissue and connected flowers; isolate and escalate diagnosis | The problem is limited to the visible flower |
| Post-harvest mold or decay | Contain the lot, stop mixing and packaging, review drying and storage records | Trimming the surface establishes safety |
“Can I cut away the brown part and keep the rest of the bud?”
Question sent by: BakedInBC, via email.
Do not treat the remaining portion of that flower as proven clean. Visible decay may underestimate internal spread, and handling can distribute spores and fragments. Remove the affected flower or branch as contained waste, inspect surrounding tissue, and keep compromised material out of the usable harvest.
How to Prevent the Next Bud Rot Outbreak
Prevention reduces inoculum, limits favorable moisture, protects flower tissue, and finds small outbreaks before they become crop-wide. The strongest program combines environment, canopy design, sanitation, plant selection, scouting, and production records.
Build uniform airflow before flowers become dense
Space and train plants so air can move through the canopy rather than only across its surface. Check corners, lower zones, wall edges, and the interior of large plants. Gentle, uniform leaf movement is more useful than one powerful fan that dries one side and leaves another side stagnant.
Canopy corrections are easier early in the cycle. Aggressive late defoliation can create wounds and does not open the interior of an already compact flower. Remove dead or unnecessary tissue carefully, using clean tools and a workflow that prevents debris from falling into flowers.
Manage humidity as a cycle
Log temperature and relative humidity through light transitions, irrigation events, weather changes, and the final weeks of flowering. Measure at crop level and compare high-risk locations. Watch for condensation on surfaces and for equipment that cannot keep pace with late-flower transpiration.
A universal humidity target cannot replace local observation. Cultivar, flower density, airflow, temperature, plant load, and outdoor weather change the safe operating margin. The practical objective is to avoid sustained humid pockets and free water while maintaining a stable crop environment.
Keep water off maturing flowers
Use irrigation methods that do not wet flowers. If foliage is unavoidably wetted outdoors or in a legal production practice, maximize the available drying period and inspect dense flowers afterward. Repair leaks, prevent standing water, and address condensation at its source.
Reduce wounds and hidden dead tissue
Support heavy branches, handle flowers gently, and time pruning so wounds are minimized during high-risk conditions. Monitor caterpillars and other flower-feeding pests because injury can open a pathway for secondary decay. Remove dead plant debris from the growing area instead of allowing it to remain inside the canopy.
Use cultivar and season records
Track bud rot incidence by cultivar, clone source, flower architecture, planting date, room, and season. A reputation for resistance is less useful than repeated results under your conditions. Where disease pressure is predictable, production scheduling and cultivar choice can reduce exposure during the riskiest weather.
Harvest and Post-Harvest Verification
Bud rot management does not end when the plant is cut. Infection that was hidden at harvest can become more obvious during trimming and drying, while poor post-harvest conditions can support additional microbial growth. Keep lots traceable and avoid mixing material before inspection is complete.
Inspect during harvest and trimming
Examine the interior of large flowers, especially from affected plants, nearby plants, and susceptible cultivars. Look for brown or gray tissue, unusual softness, dead leaf bases, fungal growth, and insect injury. Clean tools and work surfaces according to the production system, and separate suspect material immediately.
Verify drying conditions and lot integrity
Drying should be uniform enough to prevent wet pockets without forcing an uncontrolled outer-dry, inner-wet condition. Record room conditions, loading density, airflow, and the time required for the lot to reach its defined endpoint. Inspect again before packaging because some decay becomes easier to see as flowers are handled.
- Mark affected plants, branches, and surrounding inspection zones.
- Photograph the intact flower, internal damage, whole plant, and a healthy comparison.
- Contain suspect material before cutting or carrying it through the crop.
- Map incidence by cultivar, room zone, airflow path, wetting event, and flower stage.
- Inspect adjacent flowers, stems, wounds, dead sugar leaves, and caterpillar evidence.
- Review humidity peaks, condensation, rain, irrigation, plant density, and equipment performance.
- Correct the strongest supported environmental or workflow problem.
- Use only disease controls permitted by the exact label and jurisdiction.
- Reinspect the same route daily during active risk and late flowering.
- Separate suspect harvest lots and prevent mixing during drying, trimming, and packaging.
- Escalate to a plant diagnostic laboratory when organism identity changes a consequential decision.
- Reject visibly decayed or moldy flower from inhalation, consumption, and sale.
A response is working when new affected flowers stop appearing, the mapped incidence no longer rises, humidity and wetting events remain controlled, and repeated harvest inspections find clean internal tissue. If new rot continues, reconsider hidden stem infection, cultivar susceptibility, flower-feeding insects, localized microclimates, sanitation, and the accuracy of the original diagnosis.
The objective is not to make a contaminated flower look acceptable. It is to interrupt the disease cycle, protect clean material, and produce a harvest that can withstand careful inspection.
Share this article
A quick overview of the topics covered in this article.
Follow us
Latest articles
October 16, 2026
October 16, 2026
October 16, 2026
