
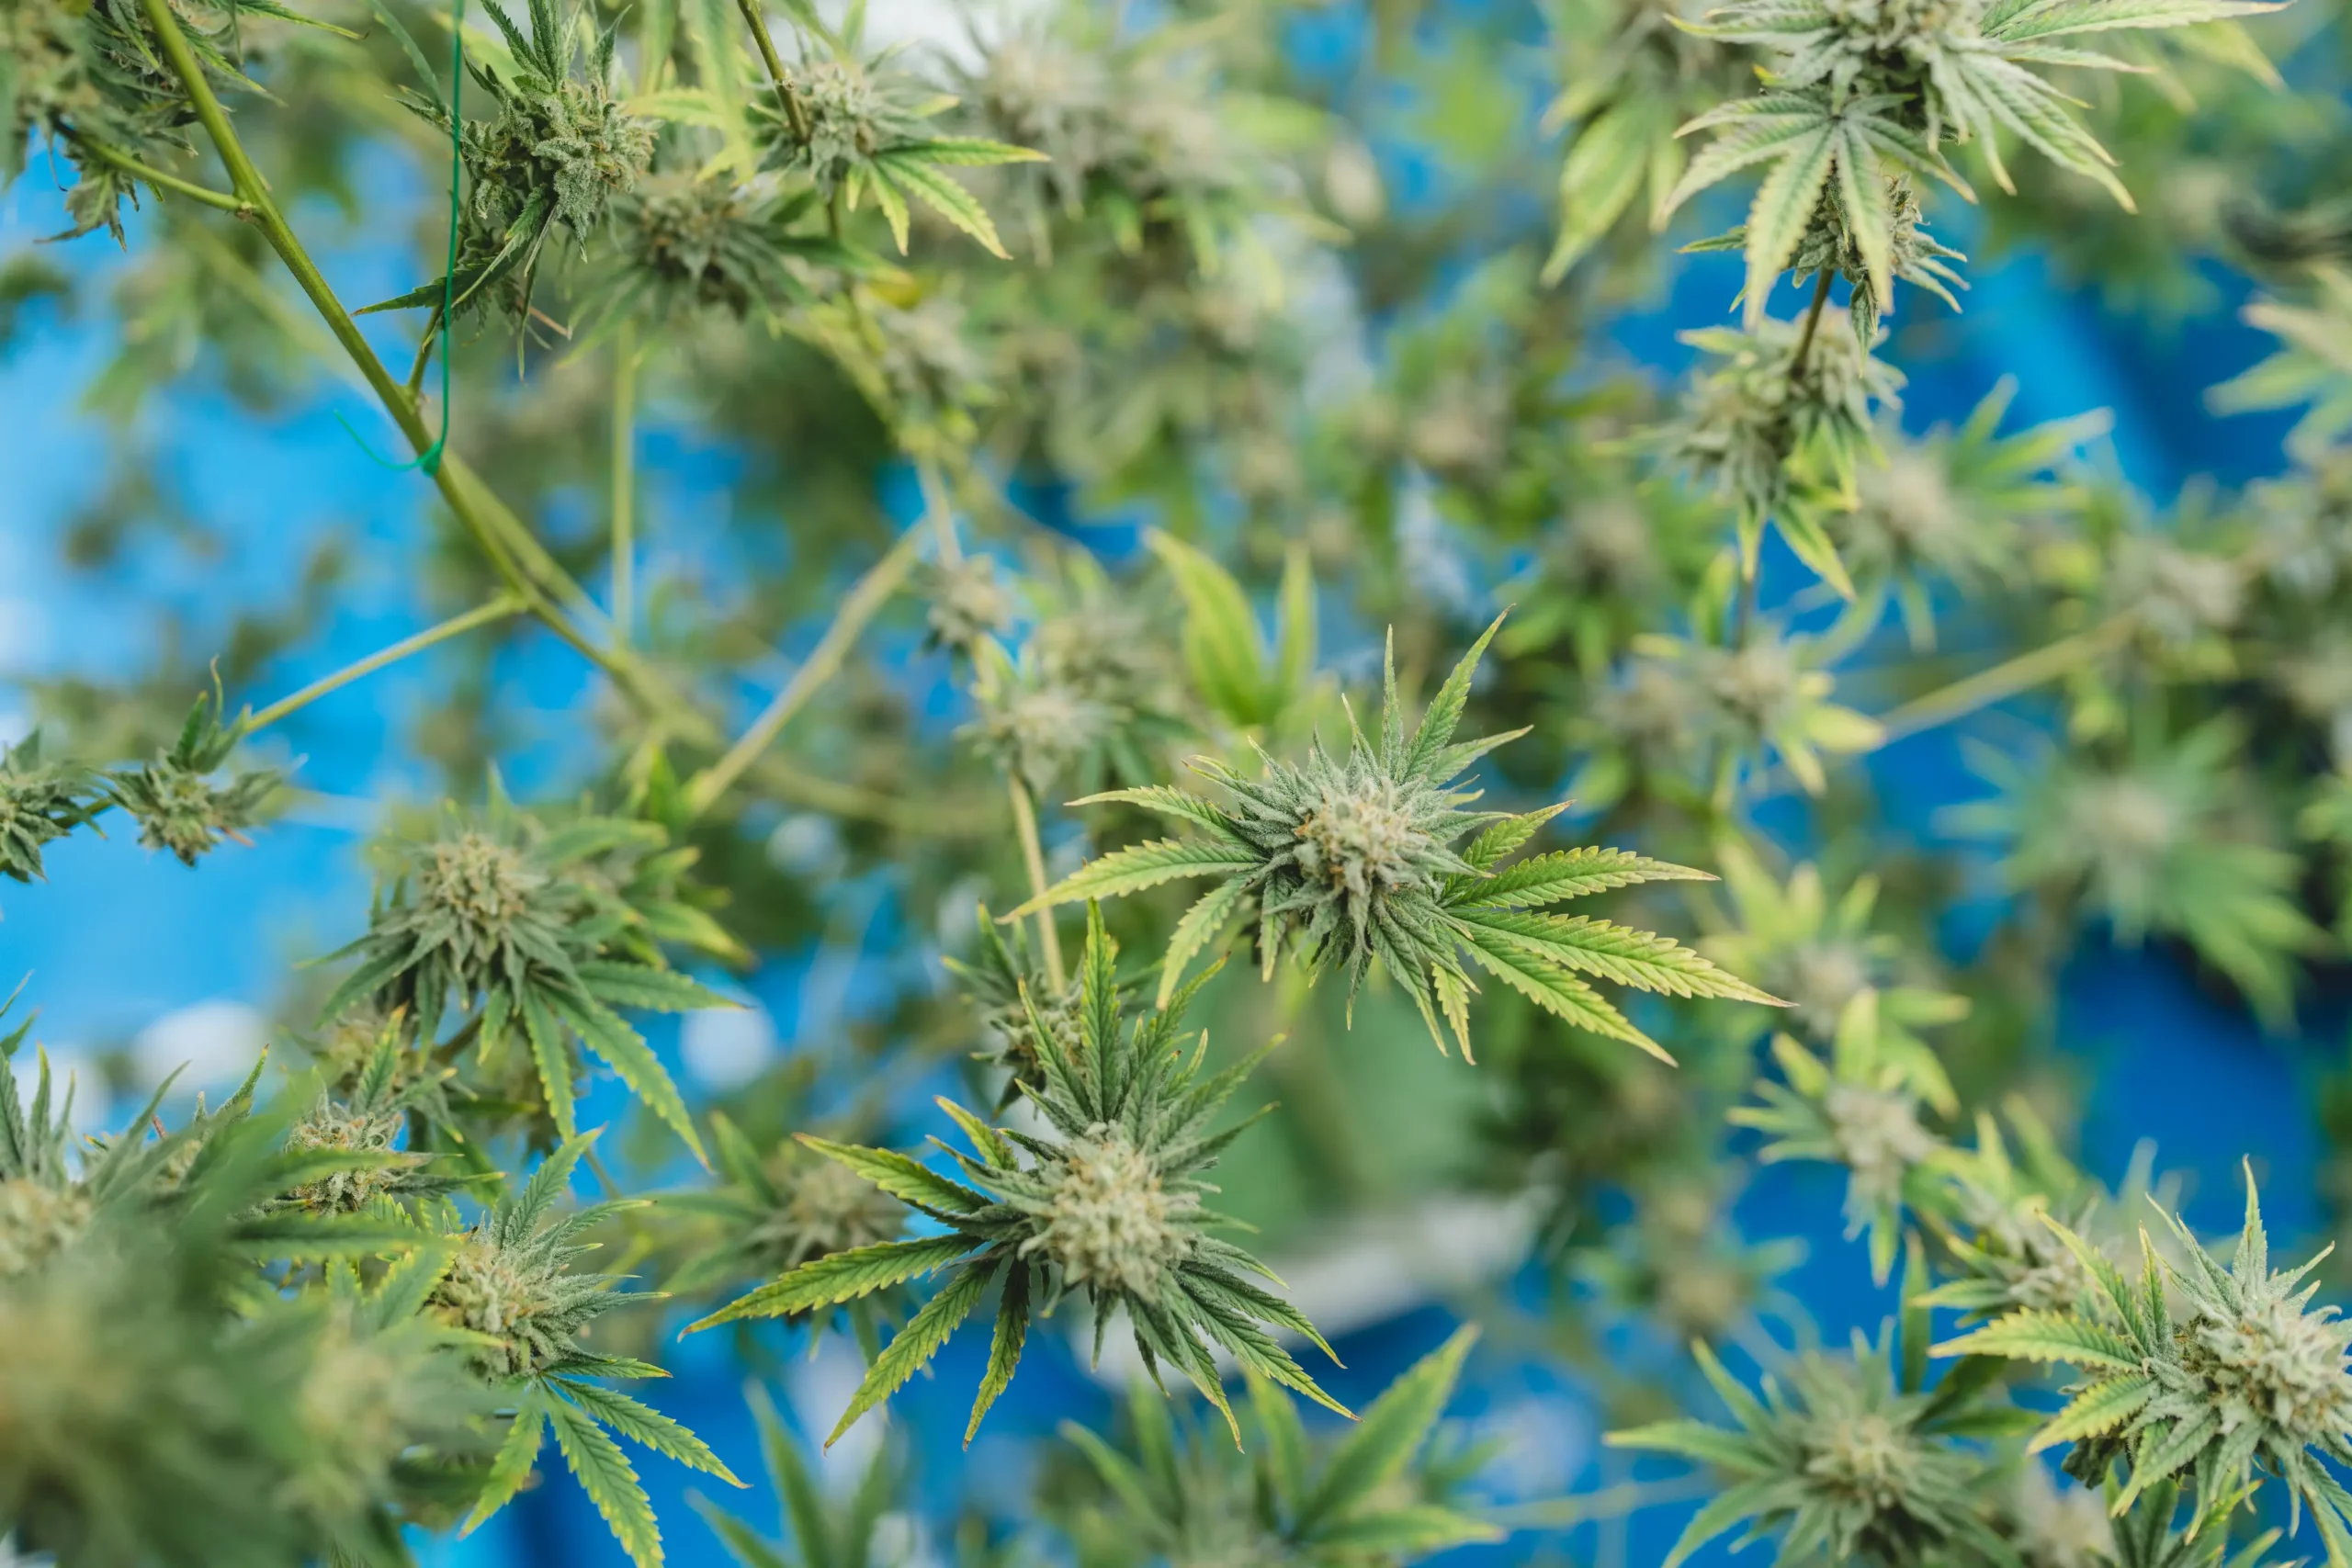
Cannabis Indoor Growing Basics
Indoor cannabis cultivation succeeds by replacing unpredictable outdoor weather with precise, deliberate environmental control. When you manage light intensity, temperature, air exchange, and root moisture within specific biological boundaries, plants grow vigorously with minimal pest pressure.
Rather than purchasing complex automated gear immediately, mastering fundamental indoor growing basics ensures predictable outcomes. This guide outlines the core biological pillars, foundational equipment sizing, and daily operational habits required to run a reliable indoor garden from start to finish.
Core Biological Pillars of Indoor Cannabis Cultivation
Cannabis plants require five balanced environmental inputs to sustain steady photosynthesis and healthy cell division indoors.
Photosynthetic Light Delivery and Daylength Cycles
Indoor lighting replaces natural sunlight using full-spectrum light-emitting diodes (LEDs) calibrated to deliver specific photosynthetic photon flux density (PPFD). Vegetative growth requires an 18-hour light and 6-hour dark photoperiod at 400 to 600 umol/m2/s, while photoperiod flowering begins when lights shift to an uninterrupted 12-hour dark cycle at 700 to 900 umol/m2/s.
Maintaining complete darkness during the 12-hour night cycle is critical because stray light leaks as low as 1 lux can interrupt phytochrome signaling, causing abnormal growth or hermaphroditic flower development.
Fresh Air Exchange and Boundary Layer Disruption
Plants deplete ambient carbon dioxide around their leaf surfaces within minutes in an unventilated enclosure. An inline exhaust fan must evacuate the entire tent air volume once every one to three minutes to maintain ambient carbon dioxide levels near 400 to 450 ppm.
Internal oscillating circulation fans work alongside exhaust systems to break down stagnant boundary layers on leaf surfaces, promoting steady transpiration and strengthening stems through gentle mechanical resistance.
Indoor Environmental Balance: The operational state where light intensity, ambient temperature, vapor pressure deficit, fresh air volume, and root-zone moisture work in harmony rather than stressing plant stomata.
Practical questions from home cultivators often center on how these thresholds behave in real-world tents and small rooms.
“How high should I hang my 150-watt LED light above my seedlings to prevent stretching without burning them?”
Question sent by: Vivian Langston, via grow journal submission.
Position a 150-watt LED roughly 24 to 30 inches above newly emerged seedlings, or dim the fixture to 30 to 40 percent power at an 18-inch distance. Measure light intensity to achieve 200 to 300 umol/m2/s PPFD. If stems stretch beyond two inches with thin stalks, lower the fixture two inches; if leaf edges curl upward, raise it slightly.
Reassessing fixture height twice weekly accommodates rapid seedling stem elongation without causing photonic bleaching.
Matching Tent Footprint to Lighting and Equipment Capacity
Sizing grow equipment to match the exact floor footprint prevents heat buildup, wasted electricity, and inadequate light coverage.
Calculating Usable Vertical Canopy Space
Compact grow tents often feature vertical heights of 60 to 80 inches, but usable plant height is significantly less. Subtracting container height (12 inches), ceiling carbon filter hanging depth (12 inches), and safe LED clearance (12 to 18 inches) leaves roughly 24 to 38 inches of true vertical canopy space.
Growers must account for the rapid 1.5x to 2x vertical stretch that occurs during the first three weeks of flowering, flipping vegetative plants when they reach roughly half their intended final height.
Static Pressure Losses in Ducting Runs
Exhaust fan cubic feet per minute (CFM) ratings drop substantially when air passes through carbon filters and flexible duct bends. A single 90-degree bend reduces airflow efficiency by approximately 20 to 30 percent, while a dense carbon bed adds continuous static resistance.
Selecting an inline fan with variable speed control and pulse-width modulation (PWM) allows growers to compensate for resistance without generating excessive fan vibration or noise.
| Tent Footprint | Target LED Draw | Exhaust Fan CFM | Typical Plant Count | Usable Canopy Area |
|---|---|---|---|---|
| 2×2 ft (60×60 cm) | 100W to 150W | 100 to 150 CFM | 1 plant | 4 sq ft (0.36 m2) |
| 2×4 ft (60×120 cm) | 200W to 260W | 150 to 200 CFM | 2 plants | 8 sq ft (0.72 m2) |
| 3×3 ft (90×90 cm) | 250W to 320W | 200 to 250 CFM | 2 to 4 plants | 9 sq ft (0.81 m2) |
| 4×4 ft (120×120 cm) | 450W to 650W | 350 to 450 CFM | 4 to 6 plants | 16 sq ft (1.44 m2) |
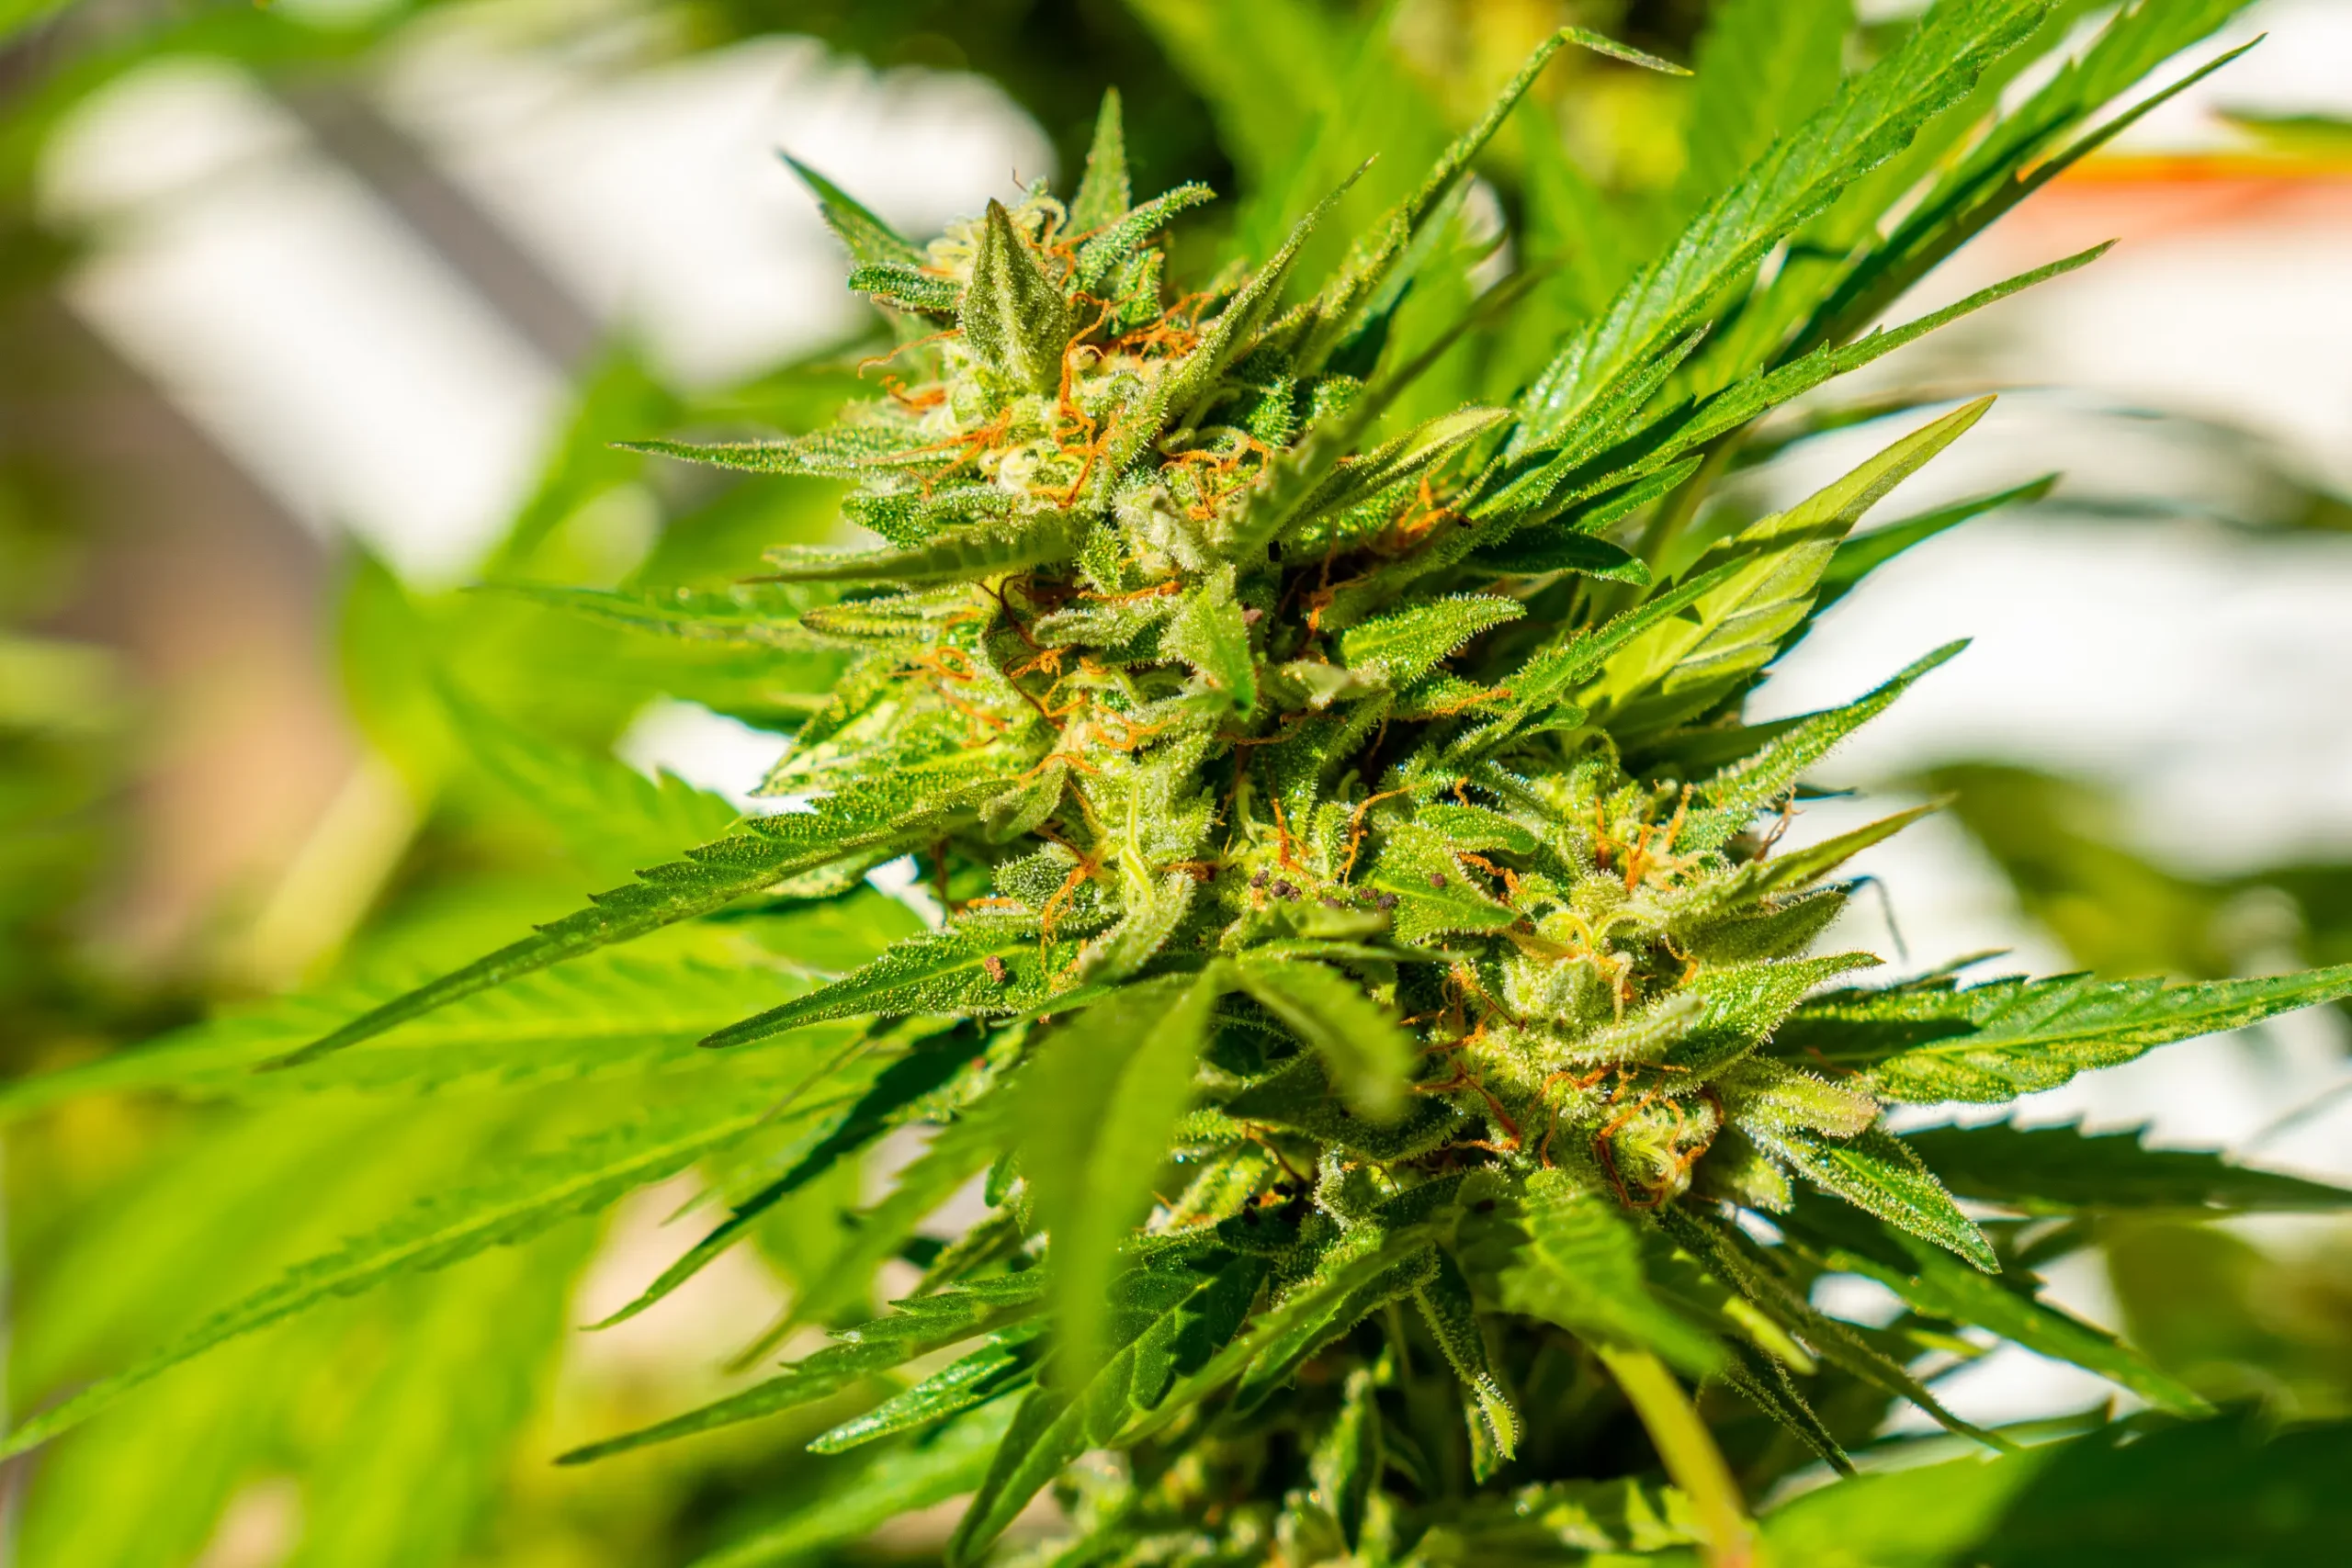
Proper equipment sizing ensures stable operating parameters across seasonal external weather shifts.
Root-Zone Environment: Mediums, Aeration, and Moisture Balance
The root zone requires consistent dissolved oxygen just as much as moisture and dissolved mineral ions.
Air-Filled Porosity and Container Selection
Fabric containers provide superior root aeration compared to rigid smooth-walled plastic pots by air-pruning root tips and preventing encircling root binding. As taproots reach the breathable fabric wall, tip desiccation encourages lateral root branching throughout the entire medium volume.
High air-filled porosity prevents perched water tables from forming at the base of the container, safeguarding delicate root hairs against fungal decay and hypoxic root suffocations.
Watering by Container Lift Weight
Novice cultivators frequently water on arbitrary calendar schedules rather than assessing physical medium dry-back. Lifting containers provides immediate, accurate feedback regarding remaining water mass.
Allowing topsoil to dry back two to three inches between irrigations draws fresh atmospheric oxygen into the pore matrix, stimulating vigorous root expansion and balanced transpiration.
Do
- Lift containers by hand to verify true water dry-back before applying new irrigation.
- Run inline exhaust fans continuously during flowering to ensure constant negative tent pressure.
- Mount all electrical cords, ballasts, and timers above floor level to prevent water hazards.
- Inspect leaf undersides under neutral white light at least twice per week for pest activity.
Avoid
- Watering on a strict calendar schedule without checking soil moisture or pot weight.
- Allowing absolute darkness to be broken during the critical 12-hour flowering night cycle.
- Placing oscillating circulation fans pointed directly at leaves from short distances.
- Stacking concentrated nutrient additives before confirming root-zone runoff electrical conductivity.
Mastering the wet-to-dry cycle is the most effective single habit for preventing early root stress.
“Do I need to leave my inline exhaust fan running when the grow lights turn off at night?”
Question sent by: Vivian Carmichael, via email.
Yes, exhaust fans must run 24 hours a day during both vegetative and flowering cycles. Plants continue transpiring water vapor throughout the dark period, and cooling air loses its capacity to hold moisture. Running exhaust continuously prevents dark-cycle humidity spikes and keeps carbon filters active for complete odor control.
Using a variable-speed controller allows you to reduce fan speed at night to conserve heat while maintaining air exchange.
Temperature, Humidity, and Vapor Pressure Deficit Regulation
Canopy transpiration rates depend on the physical difference between leaf internal vapor pressure and ambient air moisture.
Managing the Thermal Shift at Photoperiod Transition
LED fixtures emit substantial convective heat upward while producing minimal radiant infrared warmth compared to older high-pressure sodium bulbs. Consequently, leaf surface temperatures under LEDs typically measure two to three degrees Fahrenheit cooler than ambient air.
Growers must maintain ambient room temperatures slightly warmer (76 to 80 F) under LED fixtures to ensure optimal leaf internal temperatures for enzymatic photosynthetic processes.
Vapor Pressure Deficit Practical Thresholds
Vapor pressure deficit (VPD) quantifies the drying power of air surrounding the foliage. When VPD is too low (excessive humidity), transpiration stalls and calcium uptake declines; when VPD is too high (excessive dry heat), stomata close to prevent desiccation, halting growth.
Aiming for broad stage-appropriate VPD ranges rather than chasing precise decimals keeps the growing environment stable without forcing humidifiers and dehumidifiers into continuous operational conflicts.
| Growth Stage | Day Temperature | Night Temperature | Relative Humidity | Target VPD Band |
|---|---|---|---|---|
| Seedling / Early Veg | 75 to 80 F (24 to 27 C) | 68 to 72 F (20 to 22 C) | 65 to 70% | 0.6 to 0.9 kPa |
| Late Vegetative | 76 to 82 F (24 to 28 C) | 68 to 74 F (20 to 23 C) | 55 to 65% | 0.9 to 1.2 kPa |
| Early to Mid Flower | 74 to 80 F (23 to 27 C) | 66 to 72 F (19 to 22 C) | 45 to 55% | 1.2 to 1.4 kPa |
| Late Flower Ripening | 70 to 76 F (21 to 24 C) | 64 to 68 F (18 to 20 C) | 40 to 45% | 1.3 to 1.5 kPa |
Maintaining steady vapor pressure deficit protects nutrient mobility through all growth stages.
Cultivation Warning
When grow lights shut down, ambient air temperatures drop rapidly while plants continue transpiring, frequently driving relative humidity above 75 percent and risking fungal infection.
Practical questions from home cultivators often center on how these thresholds behave in real-world tents and small rooms.
“What is the simplest way to know if my small grow tent has adequate fresh air exchange?”
Question sent by: Vivian Caruso, via contact form.
Observe the fabric walls of your grow tent with all access zippers closed and the exhaust fan running. The walls should pull slightly inward, creating visible negative pressure without straining the zipper seams. If the walls balloon outward, your exhaust is undersized or your passive intake vents are too restrictive.
Maintaining steady inward pressure ensures all air exits exclusively through the carbon filter bed.
Developing a Consistent Daily Inspection Protocol
Spending five focused minutes inside the grow space each day catches environmental drifts before they manifest as chronic plant stress.
Leaf Posture and Canopy Color Assessment
Healthy cannabis leaves reach outward toward the light fixture with a subtle upward angle often described as praying. Drooping petioles indicate overwatering or root hypoxia, while cupped serrated leaf margins indicate excessive heat or radiant light stress.
Inspecting foliage under neutral white light reveals subtle chlorosis patterns between leaf veins that are completely invisible under purple or intense commercial amber lighting spectrums.
Root-Zone and Runoff Verification
Monitoring input water pH alongside container runoff electrical conductivity (EC) confirms whether nutrients are accumulating in the medium. In container systems, runoff EC that exceeds input EC by more than 0.5 mS/cm signals salt buildup that requires immediate dilution.
Checking runoff volume ensures water penetrates the entire root mass evenly rather than channeling down the dry perimeter of compacted root balls.
Cultivators who record minimum and maximum thermo-hygrometer readings daily catch seasonal climate shifts days before visible leaf yellowing or tip necrosis occurs.
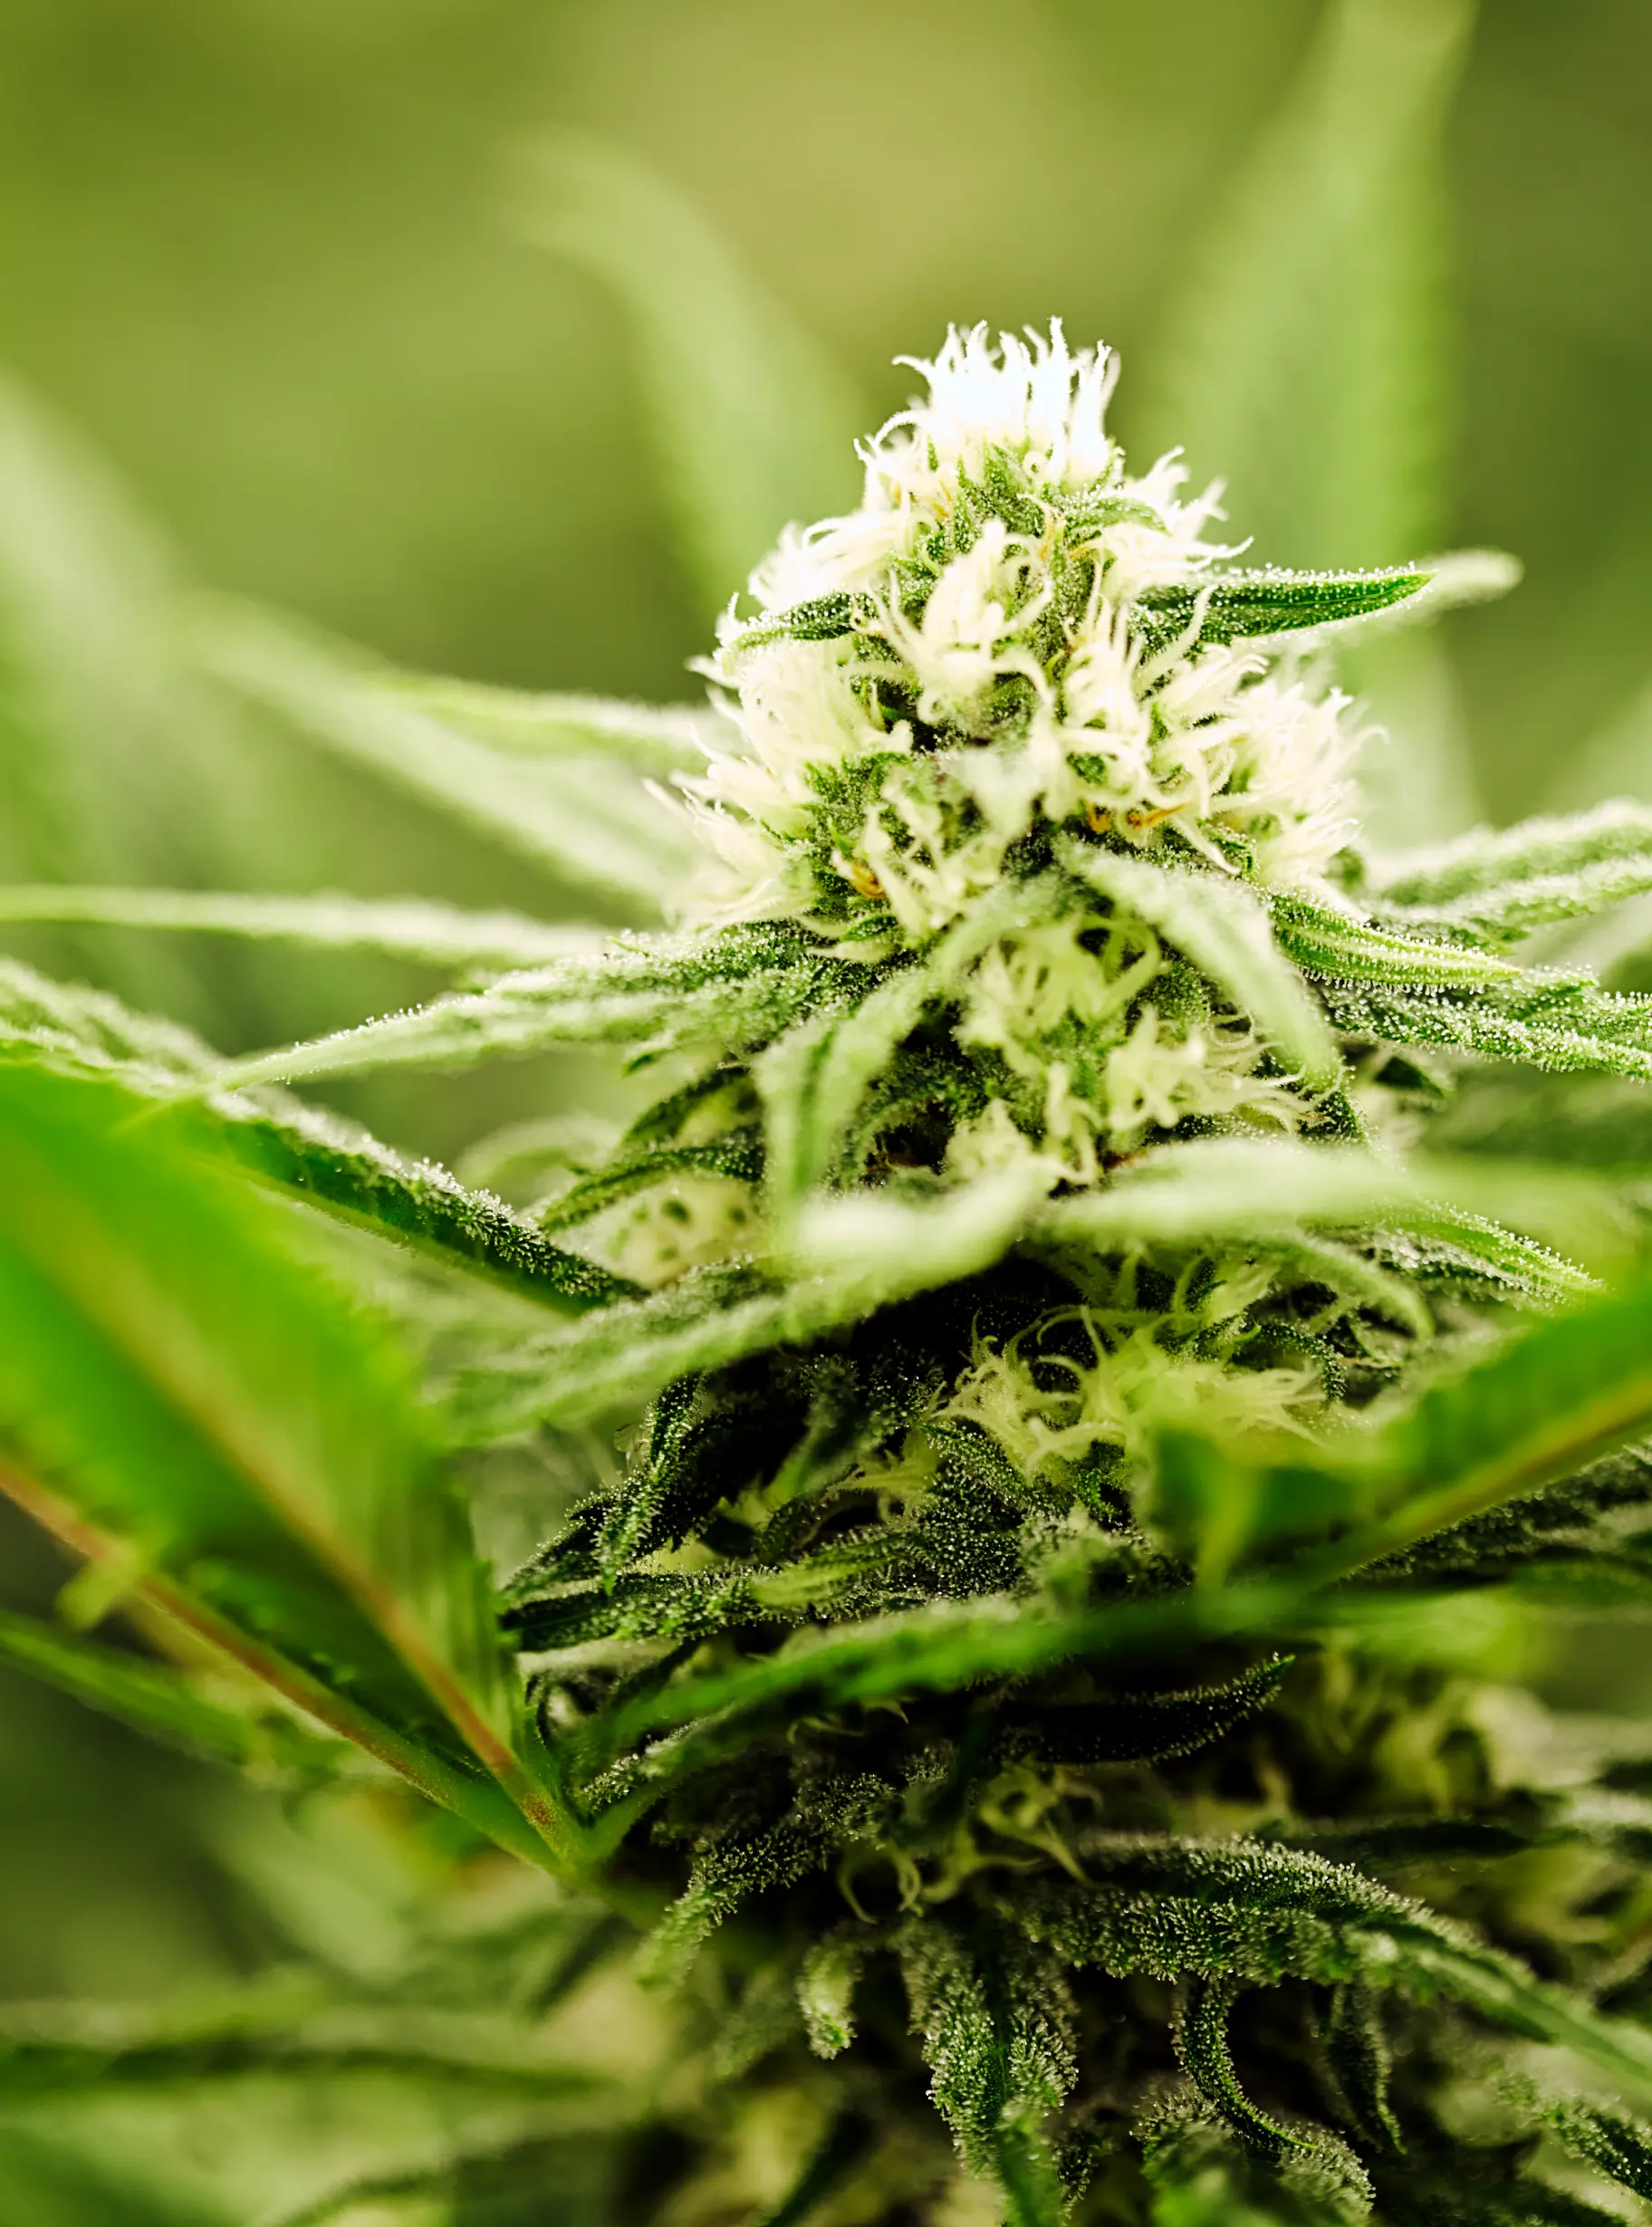
Structured daily observation replaces reactive guesswork with verifiable environmental feedback.
Operational Discipline and Sanitation Protocols
Cleanliness and mechanical consistency separate rewarding home gardens from cycles plagued by pests and electrical failures.
Biosecurity and Pest Exclusion indoors
Indoor grow rooms are closed ecosystems where insect pests thrive in the absence of natural outdoor predators. Cultivators should never enter an indoor grow space immediately after working in an outdoor garden without changing clothes and washing hands.
Installing fine mesh intake pre-filters prevents airborne insect pests such as fungus gnats, thrips, and aphids from entering the tent through passive air ventilation ports.
Electrical Safety and Wire Management
Indoor gardens combine high-voltage electrical ballasts with water reservoirs and automated irrigation lines. All power strips, ballasts, and timers must be mounted securely on exterior tent walls or elevated shelf framing above potential liquid spill levels.
Connecting all equipment through ground fault circuit interrupter (GFCI) outlets eliminates electric shock risks and safeguards household breakers against electrical short circuits.
Field Verification Checklist
- Confirm exhaust fan creates slight inward wall bowing indicating negative pressure.
- Verify daytime canopy temperatures remain between 75 F and 80 F under active LEDs.
- Check that thermo-hygrometer sensors rest at canopy height out of direct radiant light.
- Inspect container trays to ensure runoff water is removed within 30 minutes of irrigation.
- Examine foliage for uniform praying posture and vibrant green coloration across all nodes.
Standardizing hygiene and electrical protocols ensures safe, repeatable cultivation cycles year-round.
“How often should I clean my grow tent between successive indoor harvesting cycles?”
Question sent by: Vivian Dahlberg, via contact form.
Perform a complete scrub-down after every single harvest before introducing new plants or seedlings. Remove all plant debris, wipe down reflective wall surfaces with a 10 percent bleach solution or diluted hydrogen peroxide, vacuum floor liners, and wash inline intake pre-filters. Thorough sanitation breaks insect pest cycles and eliminates dormant fungal spores.
Allowing sanitized surfaces to dry completely with active exhaust before repopulating prevents disinfectant vapor buildup.
Scientific References
- Bugbee, B. (2016). Toward an optimal spectral quality for plant growth and development: The importance of radiation capture. Acta Horticulturae, 1134, 1-12.
- Chandra, S., Lata, H., Khan, I. A., & ElSohly, M. A. (2011). Temperature and light intensity effects on photosynthesis in Cannabis sativa L. Physiology and Molecular Biology of Plants, 17(3), 297-303.
- Nelson, P. V. (2012). Greenhouse Operation and Management (7th ed.). Prentice Hall.
- Taiz, L., Zeiger, E., Moller, I. M., & Murphy, A. (2015). Plant Physiology and Development (6th ed.). Sinauer Associates.
Share this article
A quick overview of the topics covered in this article.
Follow us
Latest articles
November 9, 2026
November 9, 2026
November 9, 2026
November 9, 2026