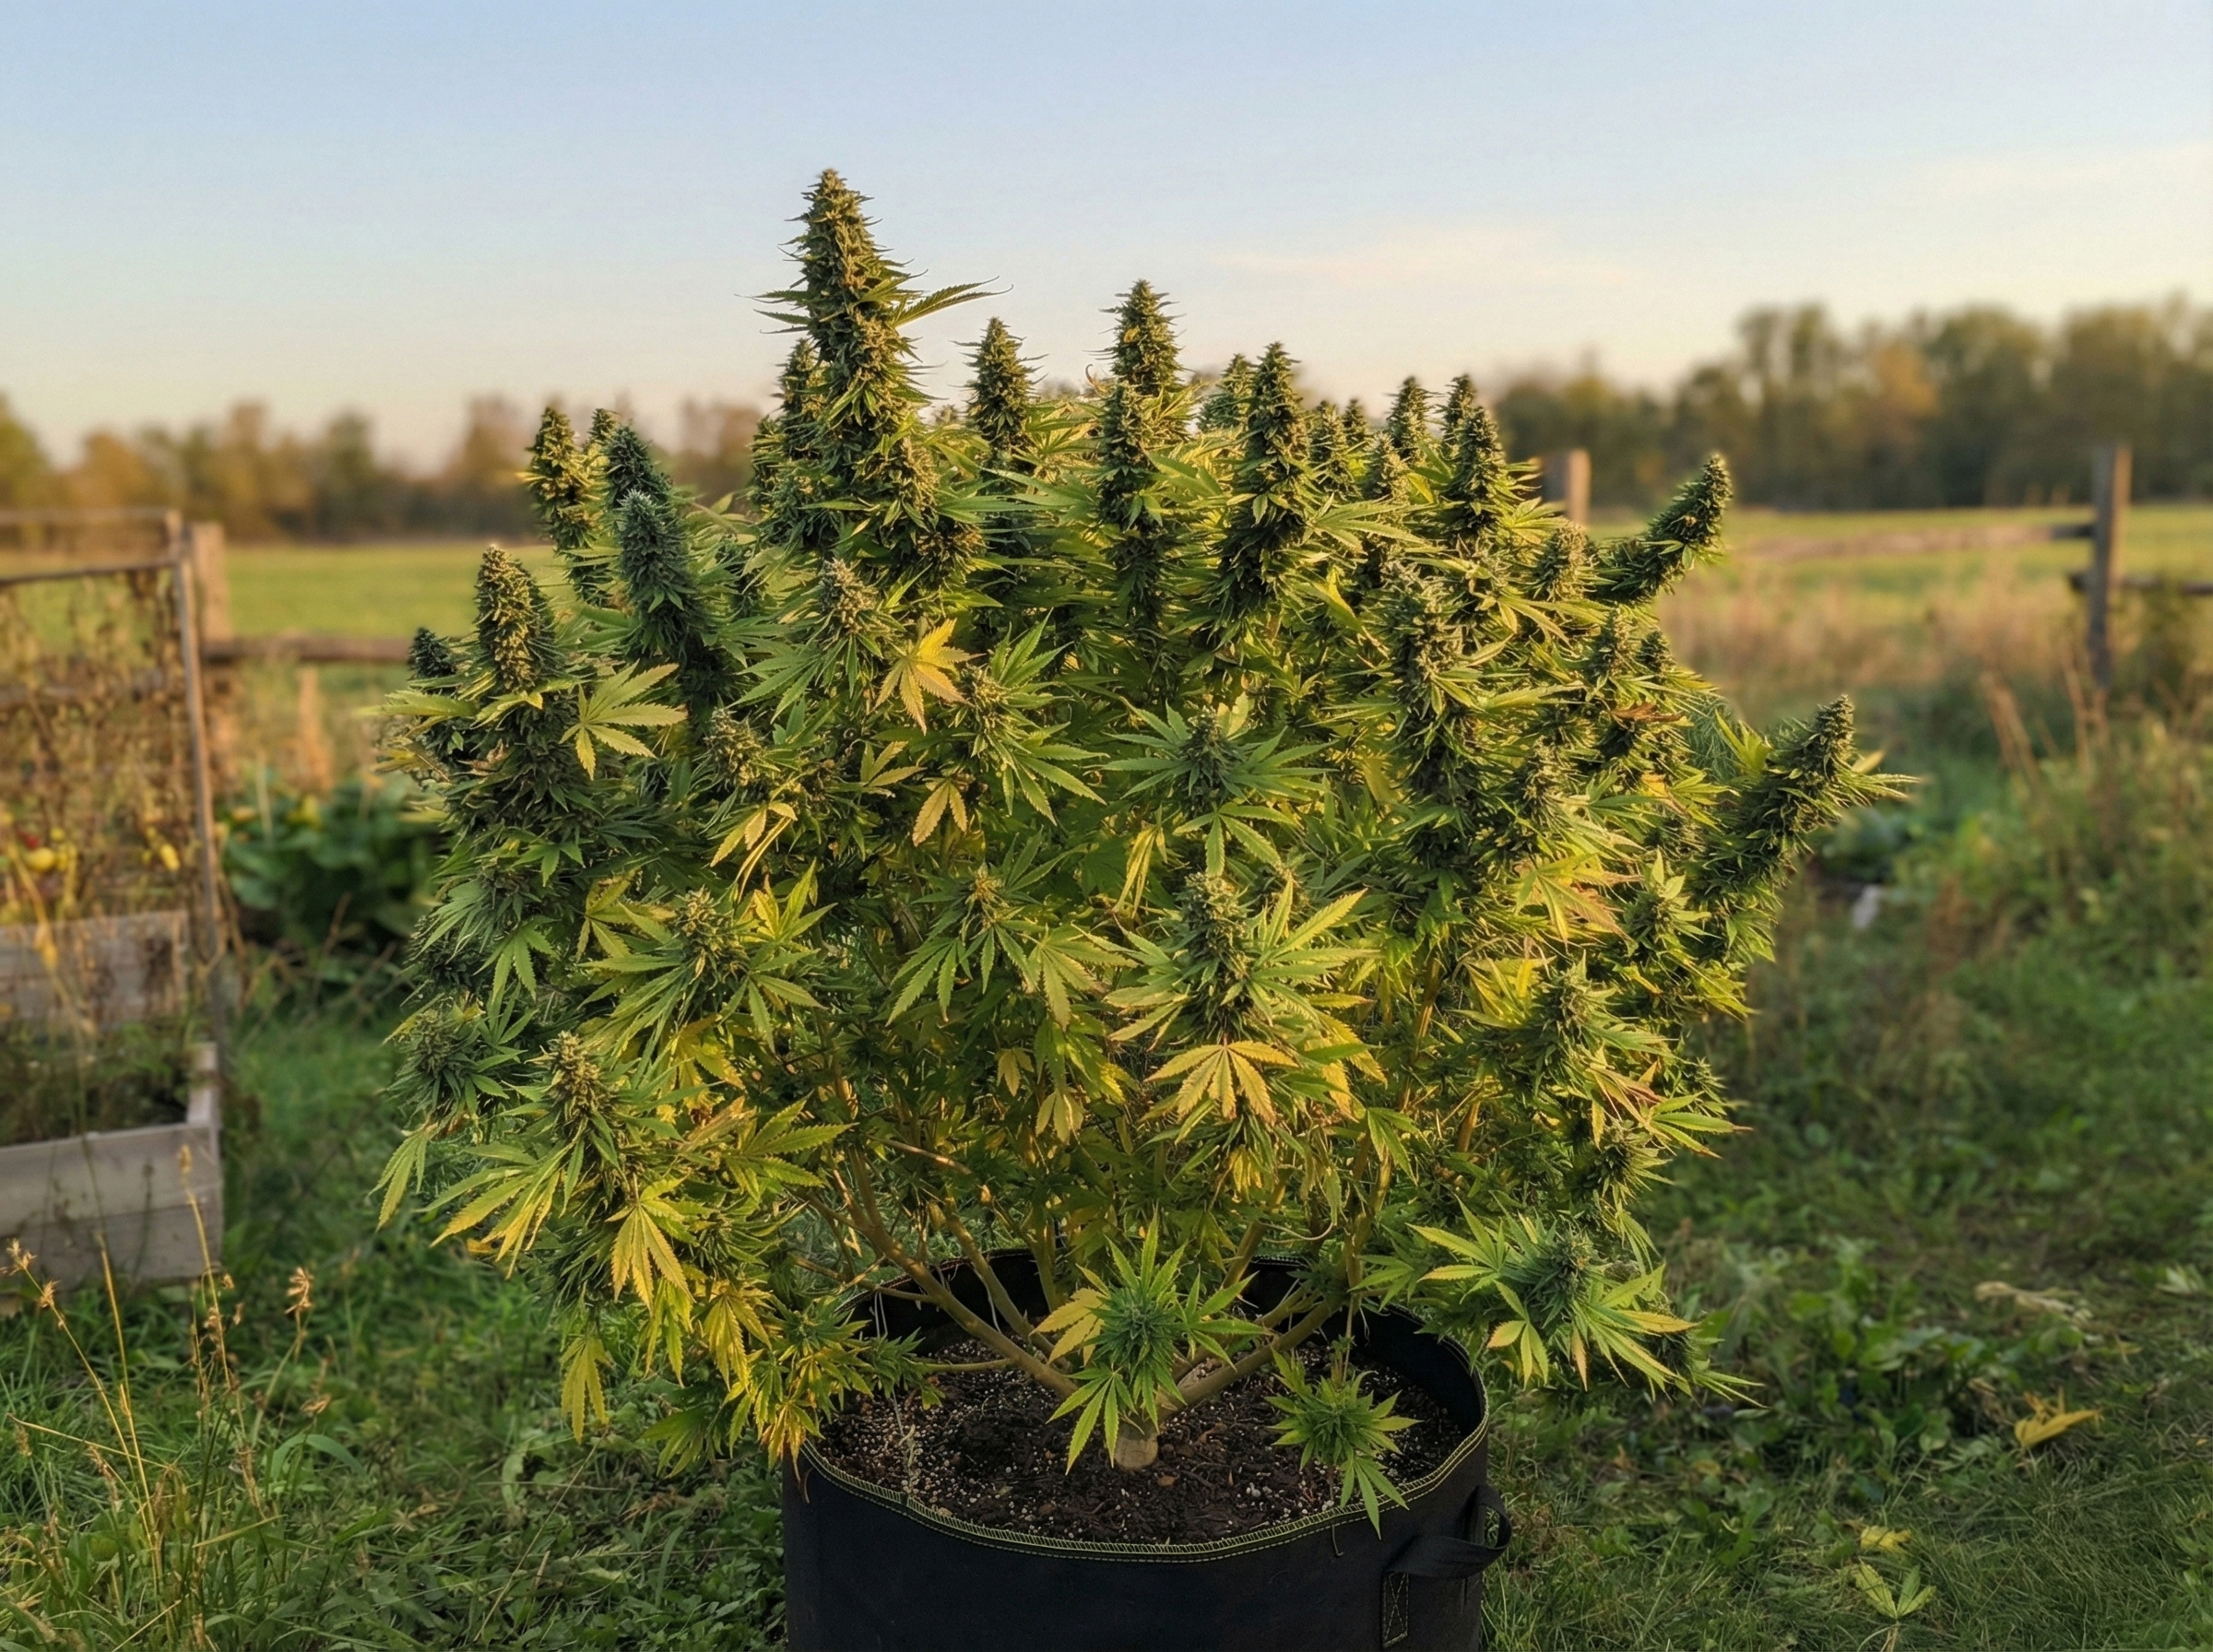
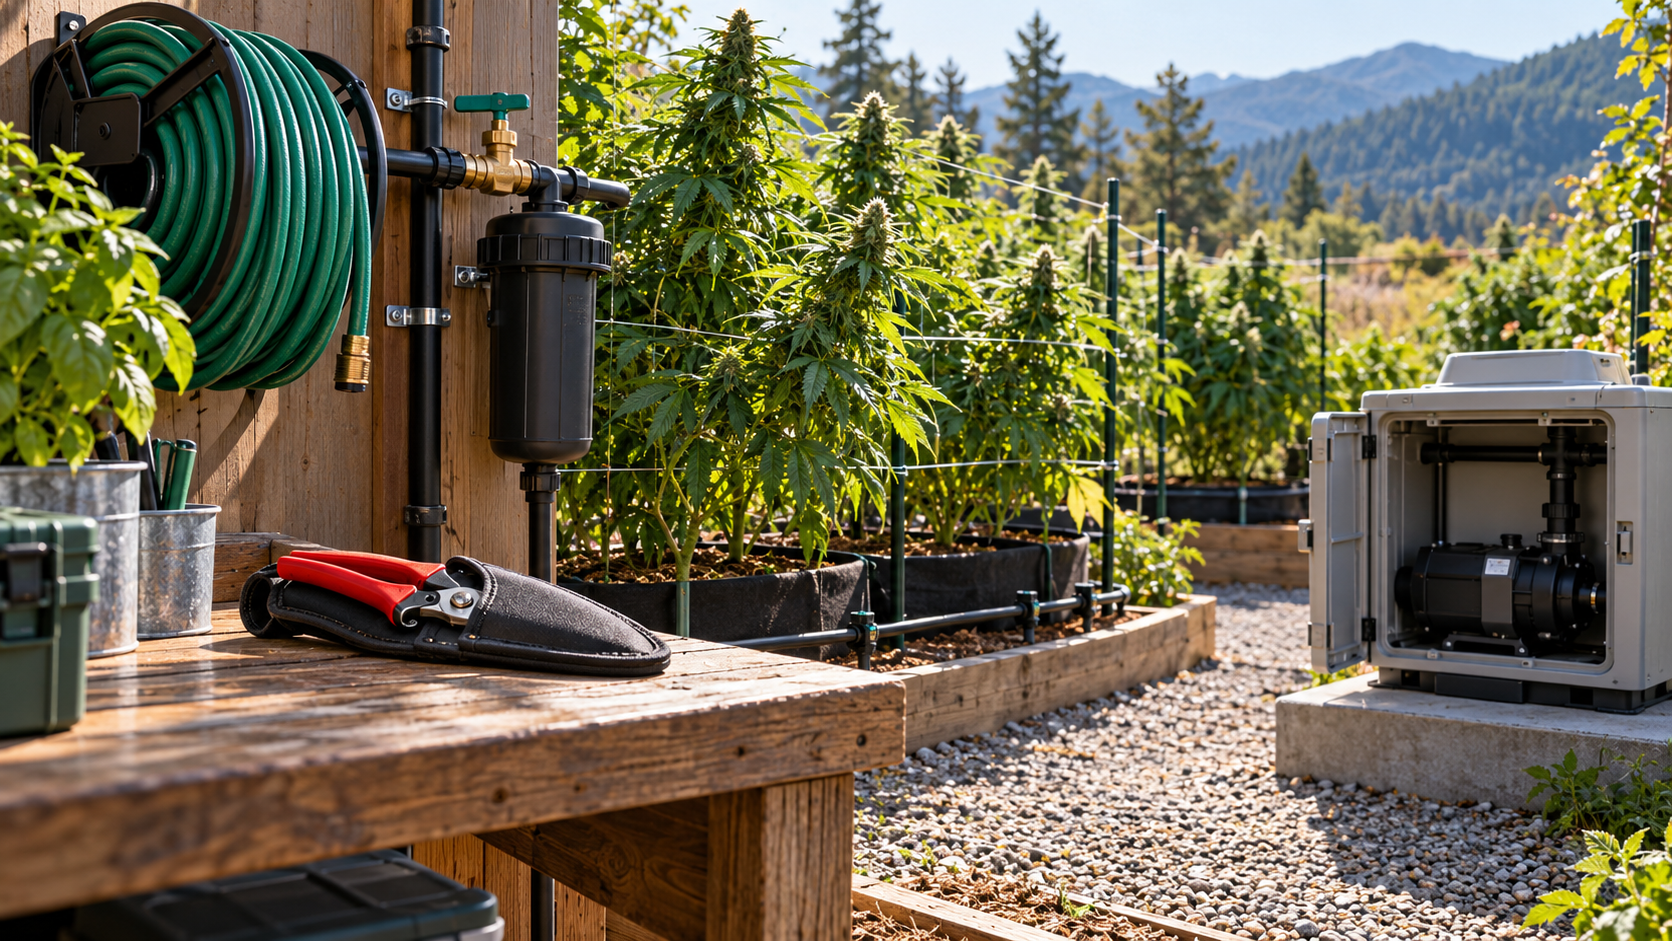
Garden Tool and Irrigation Safety
A safe outdoor cannabis garden is not simply one with sharp pruners, a neat hose reel and a working timer. Tools can injure people or move contaminated sap between plants. Irrigation equipment can introduce electricity into a wet work area, release stored pressure unexpectedly, contaminate a drinking-water supply or leave an unseen leak running near a foundation. The practical goal is to keep each tool and water system safe while it is operating, safe before anyone services it and demonstrably safe when it returns to use.
Start with a walk-through. Identify what can cut, pinch, strike, shock, spray, tip over or contaminate; trace where the water originates and where it can travel; locate every power source and shutoff; then give each hazard a control and a reinspection point. A garden with three hand-watered containers may need only a clean work area, reliable hose protection and sound hand tools. A larger site with pumps, automatic valves, fertigation and shared drinking-water connections needs a formal operating procedure and competent installation. Neither should assume that equipment is safe because it worked yesterday.
This guide addresses safe equipment selection, operation, maintenance and failure response in a lawful outdoor cultivation setting. It does not recreate hydraulic calculations, plant watering schedules or a complete disease-diagnosis course. For broader context see Weedth’s outdoor growing guide. For root-zone watering decisions use Cannabis Watering Basics, and for emitter sizing and pipe design use Drip Irrigation Design for Outdoor Cannabis.
Identify the Safety Decision Before Selecting a Tool or Irrigation System
Begin with the task, not the equipment catalog. Are you pruning one plant, cutting stakes, shifting an irrigation hose, repairing a filter, preparing a fertilizer tank or cleaning tools after removing infected tissue? Every operation has a different combination of people, movement, energy and contamination. The basic question is whether the task can be completed safely with available equipment, competent people and a reliable method for stopping it.
Trace four hazards through one ordinary watering task
Imagine watering mature containers using a hose connected to a household spigot. The hose crosses a walkway, its nozzle is left submerged in a mixing bucket and an electric extension lead supplies a nearby pump. Watering can succeed while several safety failures occur. Someone may trip over the hose; the nozzle can create a cross-connection to a drinking-water supply; the extension connection can become wet; and a trapped pressure spike may strike a person when a fitting is loosened. Successful irrigation proves none of those hazards has been controlled.
Classify the task using four questions. People: who could be injured, including visitors, children and workers? Energy: what electrical, mechanical, hydraulic, gravity or chemical energy is present, even after switching off? Pathways: where could water, fertilizer, contaminated sap, debris or a moving blade travel? Recovery: how will the operator isolate a fault and check that the correction worked? Write down the answer if the system is more complex than one person can reliably remember.
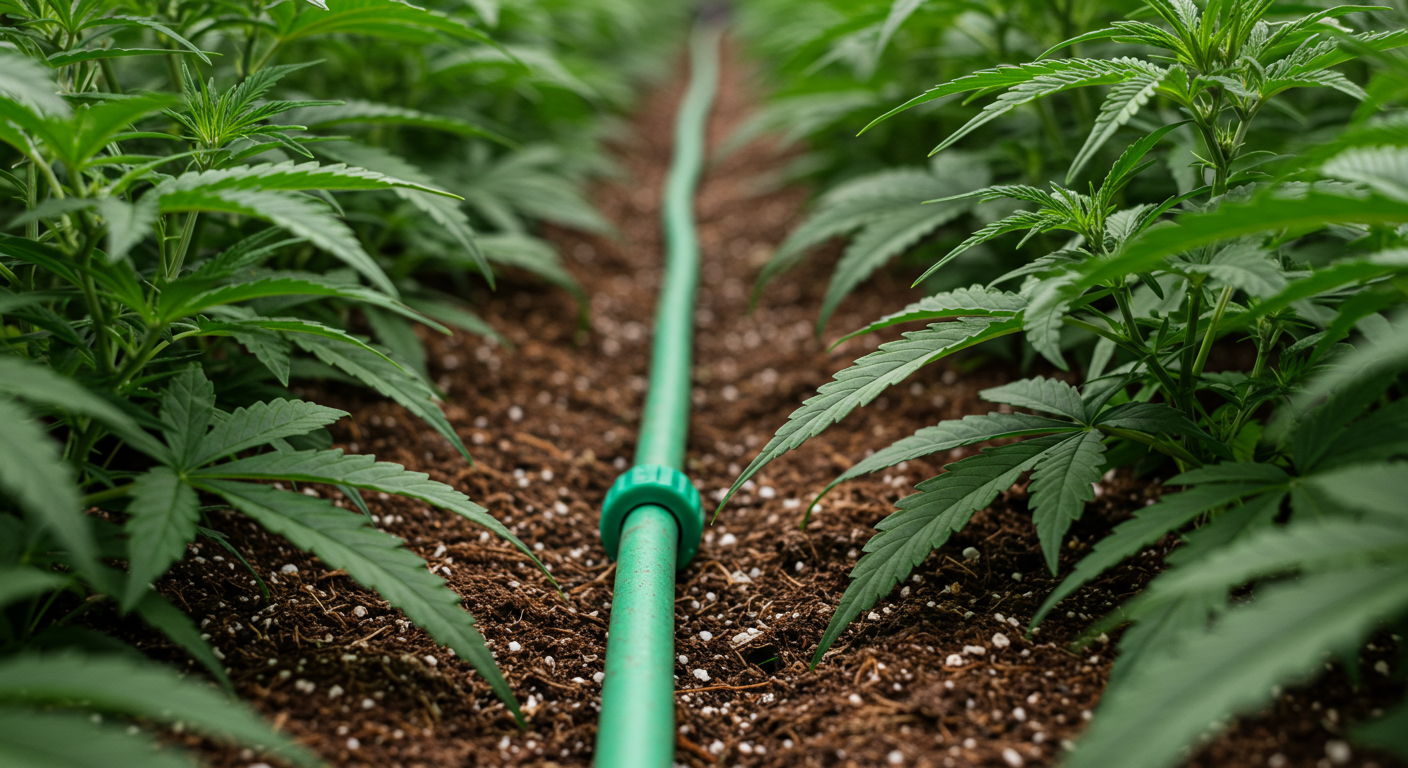
Use stop, isolate, correct and verify as the operating language
Stop if there is an exposed conductor, damaged plug, uncontrolled leak near energized equipment, missing guard, cracked pressurized fitting, unknown tank chemical, backflow incident or someone becoming unwell in the heat. Isolate the relevant energy or water supply using the safe upstream control without entering water or touching suspect electrical equipment. Correct only within your competence. Verify with a deliberate restart and observation from a safe position. A timer reset or fresh strip of tape is not verification.
Never retrieve an energized item from water
If a cord, pump, timer or powered tool falls into water, do not reach for it or walk into the flooded area. Keep others away, isolate power safely from a dry location and use a qualified electrician when isolation or equipment condition is uncertain. Ground-fault protection lowers risk but does not make contact with energized water safe.
Rank corrective actions by what they actually remove
Removing an unnecessary powered tool or relocating the work away from water eliminates a hazard more effectively than adding gloves while keeping the risky setup. Replacing a cracked hose with properly rated components is stronger than repeatedly clamping or taping it. Installing the appropriate approved water-supply protection is stronger than relying on someone to remember not to submerge a hose. Work procedures, warning signs and personal protective equipment remain valuable, but they should support physical safeguards rather than substitute for them.
For every fault, record the condition, exposed person or resource, immediate isolation, permanent repair, responsibility and evidence of successful retesting. Avoid invented numeric safety scores that pretend a low-numbered hazard is safe. A single exposed live connection or unprotected drinking-water cross-connection can require a stop regardless of any aggregate rating.
Define the limits of a general guide and local law
Electrical installation rules, plumbing codes, drinking-water protection, chemical labels, occupational obligations and cannabis cultivation permissions differ between jurisdictions. A US Occupational Safety and Health Administration (OSHA) construction example can illustrate good practice without automatically becoming the legal rule for a private garden or an agricultural workplace elsewhere. In fact, OSHA’s general-industry lockout/tagout regulation explicitly excludes agriculture from its own scope, although its underlying principles of controlling unexpected startup and stored energy remain useful when assessing pump servicing. Check the actual rules and employ licensed or qualified professionals for work that requires them.
Do not bypass safety devices to preserve a crop, invent a homemade chemical injector, run an unapproved electrical installation from a temporary cord for an entire season or keep operating until symptoms appear in a plant. Plants are a delayed indicator of equipment failure. Human injuries, polluted water and chemical release can occur before leaves show a problem.
Functional is not safe
Functional equipment completes the task. Safe equipment completes it without unacceptable foreseeable injury, contamination or environmental exposure, and can be isolated and serviced safely. Both outcomes must be checked independently.
Make the first site map useful for an emergency
Walk from the access gate to the farthest bed and mark the water shutoff, pump disconnect, protected power outlets, injection point, reservoir, exposed lines, fuel storage, drainage direction and first-aid access. Record where hoses or cords cross a route, where pooling occurs and where a future mature canopy may hide a valve. Include safe access for someone who did not install the system. Label controls in plain language without publishing sensitive cultivation location details.
The map should distinguish water-supply isolation from electrical isolation. A valve may stop irrigation without disabling an automatically controlled pump. A timer’s OFF command may not isolate the pump circuit. A pump’s power switch may stop rotation while pressure remains trapped downstream. The map is useful only if these separate functions have been identified and the operator knows what can safely be touched.
Use Pruners, Hand Tools and Outdoor Power Equipment Safely
Most routine cannabis work uses modest hand tools, but their familiarity can encourage shortcuts. Snips and secateurs are sharp enough to cause deep cuts, stakes and tensioned plant ties can recoil, and a shovel or mattock can strike hidden irrigation lines. Powered trimmers and drills add moving parts, noise, flying material and unexpected-start hazards. The appropriate equipment depends on the task, not the size or prestige of the garden.
Choose a tool that can make the cut without forcing it
Match the tool to stem diameter, hardness and accessibility. A sound, sharp bypass pruner can make a clean cut on suitable live material. For a woody branch beyond the tool’s rated capacity, use the correct lopper or pruning saw rather than twisting the pruner until the hinge fails. Avoid putting a second hand inside the cutting arc to increase leverage. Some cannabis branches become surprisingly woody late in the season; the tool’s design limit matters more than the species label.
Examine handles for splits, loose pivots, missing fasteners and slippery grips. Check whether the lock and spring operate normally. Inspect saw teeth and guards before cutting support timber. Remove damaged equipment from service, mark it clearly and replace or repair it correctly. A sharper tool generally needs less force, but the exposed cutting edge also demands deliberate handling, controlled body position and a sheath for carrying.
Position hands, feet, the branch and bystanders
Establish stable footing on dry, unobstructed ground before cutting. Work so the blade travels away from your body, and keep the supporting hand out of the blade’s path. Support a bending branch so it does not spring into the face when released. Do not pull large branches toward the body while making an awkward cut above shoulder height. A clear work platform or competent help is preferable to balancing on an unstable bucket or climbing unsupported trellising.
Wear footwear suited to slippery ground and use task-appropriate eye protection when cuttings, soil or fragments can strike the face. Gloves may help with thorns, splinters and abrasion, but choose them so they do not prevent secure control of the specific tool. Keep loose clothing, jewelry and dangling straps away from rotating equipment. Hearing protection and other PPE should follow the equipment manual and actual exposure, especially around brush cutters, pumps and generators.
Field Advice: Clear the working position before moving the plant. Put collected cuttings in a designated container immediately instead of leaving stems underfoot while carrying an open pruner to the next row.
Shut down powered equipment before clearing a jam
A tool that has stopped cutting may still be energized. Unplug a corded tool before cleaning, adjustment or accessory replacement. For a battery tool, follow its manual for switching off and removing or isolating the battery before approaching blades; some equipment has additional requirements. For fuel-driven equipment, follow the maker’s safe shutdown and spark-plug isolation procedure as applicable. Wait for moving parts to stop completely before reaching into a guarded area.
Never defeat a trigger, tape a switch on, remove a guard, use an improvised blade or reach under equipment while it is running. If stones, wire or irrigation tubing are hidden in grass, survey the area before mowing or trimming. Where a power tool would put a hose, net, plant tie or person inside the danger zone, change the method or clear the workspace rather than relying on reflexes. Restrict children and pets from the work area and store immobilized equipment securely after use.
Separate cutting work from irrigation and wet cleanup
Do not schedule corded cutting work in a wet area simply because the irrigation timer is convenient. Pause watering when dry access is necessary, move equipment to an appropriate workspace and use only tools explicitly rated for the prevailing conditions. If the ground remains muddy, choose another task or reschedule; adding a ground-fault circuit interrupter does not turn an unapproved tool into a wet-location tool.
After pruning, gather blades, screws, cable ties, cut wire and stakes. An overlooked metal clip may puncture a hose or become a flying object during later maintenance. Wind can move lightweight buckets and plastic fittings onto a path, while irrigation can hide them in standing water. Finish each tool task with an inventory and a short housekeeping walk.
Prevent lifting and repetitive-strain injuries
A watering can, full bucket or roll of wet hose becomes harder to control as it gets heavier and the path deteriorates. Place filling stations near the work, use hose reels or carts on stable routes and divide loads rather than carrying one large container across uneven ground. Do not twist while lifting a reservoir lid or drag a heavy pump by its power lead. Repetitive pruning warrants pauses, neutral wrist positions, grip adjustment and a tool suited to the user’s hand size.
Heat exposure changes these decisions. Heavy work in direct sun increases physical demand at the same time that protective clothing may restrict heat loss. Use local weather warnings, schedule difficult tasks during cooler periods where possible, provide drinking water and a cool rest place, and stop work if someone feels faint or weak. Confusion, collapse or other signs of severe heat illness require emergency response rather than finishing the irrigation round.
“My pruning shears are still cutting, but the handles slip and I have to twist them through thick stems. Can I keep using them?”
Question sent by: Marcus Reed, via E-mail.
Stop using that tool for those cuts. Inspect the grip, hinge and blade, then sharpen, repair or replace the tool as appropriate. Use a correctly sized lopper or saw for material beyond the pruner’s capacity. Cutting performance alone does not establish that the hinge or grip will withstand the next high-force cut.
Handle cuts and punctures as health events, not minor garden delays
Have clean water, suitable first-aid supplies and a way to contact emergency services. Clean and appropriately cover minor wounds, but obtain medical assessment for deep cuts, punctures, persistent bleeding, contaminated wounds or other concerning injuries. Soil and manure exposure can matter for tetanus prevention; vaccination and wound-management advice depends on the wound and the person’s history. Do not use plant-care disinfectants on skin or treat wound care as identical to sanitizing a pruning blade.
Keep Irrigation Water, Power and Moving Machinery Under Separate Control
Irrigation brings water to a site where pumps, extension leads, timers, valves, chargers, motors and controllers may be installed. An outdoor-rated label on one component does not certify an entire collection of plugs, splices and devices assembled beside a tank. Review the complete path from the supplying circuit to the pump, and from the pump to the wettest or lowest part of the site.
Start with the electrical source and its intended environment
Use properly installed equipment approved for outdoor exposure and for the actual wet or damp conditions specified by its manufacturer. Arrange suitable ground-fault protection where required and have a qualified electrician confirm the supply, circuit capacity, grounding, protective devices, equipment connections and inspection regime. Ground-fault circuit interrupter (GFCI) is the US term; similar residual-current protective devices may be specified elsewhere. A GFCI is an additional protective measure, not permission to run damaged equipment, submerge a connector or touch a wet energized appliance.
Locate connectors and controls where ordinary irrigation, rain runoff and accidental hose bursts cannot soak them. Do not put a junction beneath a drip emitter, near the bottom of a flood-prone pit or where runoff collects after storms. Keep cables away from blades, vehicle wheels, doors, sharp stakes and heat sources. Do not create unapproved raised connector bundles wrapped in plastic bags: trapped condensation, unsupported joints and mismatched fittings can introduce new hazards. Have appropriate permanent outdoor wiring designed and installed rather than treating household extension leads as an indefinite infrastructure plan.
Inspect cords and battery systems before every job
Look for cuts, exposed insulation, hot or discolored connectors, damaged strain relief, crushed jacket, loose plug pins and signs of water entry. A cord that operated after being pinched may still be unsafe. Remove a damaged item from use and arrange correct replacement. Follow the tool and cable maker’s ratings for current, cable length, connection type and outdoor service. Never remove a grounding pin or increase the fuse size to stop tripping. Repeated protective-device trips require fault investigation, not another reset.
Battery equipment removes the trailing mains cord but introduces its own hazard. Use the designated charger and battery, inspect for swelling, impact damage or overheating, and keep charging away from irrigation splash, flammable debris and direct conditions prohibited by the manual. Do not improvise battery connectors, charge a wet or damaged pack or leave a suspect pack in routine service. Remove or isolate the power source before blade changes and maintenance as instructed by the manufacturer. A battery tool can start unexpectedly even when nobody sees a cable.
Put pump maintenance outside the energized system
Pumps may restart automatically through a timer, float switch, pressure controller or remote schedule. Pressing STOP on a phone application or switching the timer to manual-off should not be mistaken for safe electrical isolation. Identify an accessible, appropriate disconnect that prevents unexpected startup, make sure affected users know the equipment is out of service, and verify the machine cannot restart before touching moving parts. On a workplace system, follow its applicable formal isolation procedure and authorized-person requirements.
Then address the water pressure and gravity head separately. Disconnecting electrical power does not necessarily empty a filter housing, pressure vessel, elevated reservoir or pipe. A pump may stop while a pressure tank keeps the line energized. The proper servicing sequence follows the equipment manual: close the relevant feed, isolate all possible sources, relieve trapped pressure through the designed vent or drain, verify zero hazardous pressure and only then open the intended service component. If the system has multiple feeds, automatic valves or a pressurized vessel whose release method is not understood, refer the work to a competent technician.
Important: A timer displaying OFF is not proof of electrical isolation, and a silent pump is not proof that a pipe or filter is depressurized. Confirm both conditions separately before servicing.
Know why wet work changes shock risk
Wet hands, puddles and damp surfaces can make unintended current paths more dangerous. Ordinary portable power tools should not be used in wet conditions unless explicitly approved for them. If an electrical component becomes wet or a protective device trips, do not test it by touching the housing or switching it back on repeatedly. Keep people clear, isolate from a dry safe location and have a qualified professional assess the component when appropriate. Do not assume a plastic-bodied or double-insulated tool is immune to water entering its housing.
Protect buried cables, pipes and drainage before digging
Stake installation and bed renovation may cross electric supply cables, pressurized mainlines, domestic water pipes or communications services. Identify the routes from site records and applicable local utility-location services before driving stakes or digging. Mark actual locations as accurately as possible and use safe excavation procedures appropriate to the service. Never assume a buried line follows the shortest visible path between a pump and a controller. If a cable or unknown service is damaged, stop, withdraw and contact the responsible utility or qualified professional.
A leak can redirect water into electrical equipment even when the original installation was dry. Include surface grading, hose orientation, drainage routes and possible blocked drains in the inspection. Where the pump shares a shelter with fertilizer concentrate or fuel, prevent leaks from reaching those materials. Separate incompatible chemicals and electrical switching equipment by proper design, not merely by placing bottles on a different shelf.
Make emergency shutdown accessible under real conditions
Can someone shut off the pump without climbing over plants or stepping into a flooded space? Can the upstream water be closed if a coupling separates? Does a second person know the controls? Are emergency responders able to find the shutoff without guessing? Clear controls of vegetation and store the site’s instructions where authorized operators can reach them. A lock intended for security must not create an unsafe emergency egress or disable required access.
Test ordinary shutdown and restart procedures before the season, during commissioning and after electrical changes, without deliberately creating a shock, dry-run or pressure-failure condition. Verification means the system responds correctly under the manufacturer-approved test process and controls remain accessible. Testing protective-device operation, electrical installations or water-utility equipment beyond user instructions belongs to competent professionals.
Separate and verify controls
Know how to stop water, isolate electrical supply and release stored pressure. Confirm all three states before working on a pump or pressure filter.
Trust a silent machine
Automatic starts, charged batteries, elevated tanks and pressure vessels can remain hazardous after a pump becomes quiet or a timer reports a completed cycle.
Protect the Water Source, Fertilizer System and Surrounding Environment
A hose normally delivers water outward, but pressure loss or a connection between supplies can allow contaminated water to flow backward. A fertilizer injector adds a potential chemical pathway; a submerged hose end adds a simple but easily missed cross-connection. Water safety starts upstream of the crop, where the drinking-water connection, well, tank or pond must be protected from water returning from irrigation.
Understand backsiphonage and backpressure
Backsiphonage occurs when pressure drops in the supply and water is drawn backward through a connection. A hose submerged in a fertilizer bucket creates one possible pathway. Backpressure occurs when downstream pressure exceeds supply pressure, which can happen with certain pump or injection arrangements. Both mechanisms can carry contaminants toward a potable line or another source. An apparently clean bucket does not remove the need for protection, because dirt, plant debris or cleaning products can enter later.
A physical air gap is one recognized separation method when correctly designed for the connection and local code. An approved backflow prevention assembly is another, chosen according to the hazard, water source, system configuration and authority requirements. A cheap hose fitting, plain inline check valve and reduced-pressure-zone assembly are not interchangeable devices. The appropriate protection for a hose connection can differ from that required for a fertilizer or pesticide injection system. Consult the water supplier or qualified backflow professional and document approved assembly selection, correct placement, inspection and required testing.
Never place a filling hose below the mixing tank’s waterline
Even without automated injection, filling a nutrient tank through a loose hose creates a possible contamination pathway if the outlet becomes submerged. Keep an appropriate physical separation or use the approved protective arrangement. Secure the hose so it cannot fall below the waterline when the operator steps away. Do not suspend the nozzle from an electrical cable or clamp it in a position that could topple the vessel. Provide an overflow route that does not reach a wellhead, public drain, neighboring land or energized equipment.
For larger installations, label the drinking-water and irrigation connections and avoid undocumented interconnections. If a suspected backflow incident occurs, stop the system, prevent consumption or other inappropriate use of potentially affected water and contact the water supplier or relevant health authority for isolation, testing and clearance instructions. A reading of normal pH or EC cannot establish microbiological or chemical safety.
Treat fertilizer injection as a protected chemical process
Fertigation introduces concentrated materials into flowing irrigation water. The system must keep chemical solution from returning to the source or flowing into unintended branches when the pump stops. University irrigation guidance describes arrangements that include upstream backflow protection, injection-line check valves, low-pressure drains, vacuum relief and pump interlocks where specified. The exact combination depends on the system and applicable rules. A fertilizer-only system is not automatically identical to pesticide chemigation, and different jurisdictions assign different device requirements.
Before energizing an injector, confirm that the chemical is appropriate for the intended use, the injector and tubing are compatible with it, the water-supply protection is approved, the injection line is secured, and loss of main flow will stop chemical feed. Calibrate injection only according to the device’s documented procedure, with suitable PPE and secondary containment. Test flow-failure protections through an approved commissioning procedure rather than creating an improvised chemical spill. If no one at the site can explain the supply protection and interlock behavior, do not operate the chemical injector.
Pesticide chemigation introduces an additional legal and toxicological burden. The product must be lawful for the crop and use in that jurisdiction and its label must permit the relevant irrigation application. The US Environmental Protection Agency’s chemigation labeling guidance describes safeguards for systems connected to public water supplies and different irrigation types; it is not a universal permission to inject a chemical into cannabis water. When authorization, labeling, engineering or training is uncertain, do not use pesticide injection. Seek qualified advice rather than copying a diagram from another state.
Do not use a submerged hose or improvised injector on a drinking-water supply
Identify and install the backflow protection required for the actual connection and hazard. An ordinary check valve, timer, filter or shutoff is not automatically a compliant substitute. If backflow may have occurred, contact the water supplier or relevant health authority before assuming the water remains suitable for consumption.
Separate source-water safety from nutrient measurement
A pH meter tells you acidity or alkalinity at the measured moment; an EC meter estimates dissolved ionic conductivity. Neither identifies pathogens, pesticides, fuel residues, lead or all individual ions. Rainwater can collect bird droppings, roof debris and chemicals. Pond water can contain variable biological material and sediment. A well may have its own chemistry and contamination risks. Select testing and treatment from the source, use and known local hazards instead of calling clear water safe.
Keep potable water used for drinking separate from nonpotable irrigation supplies, label outlets where needed and prevent accidental switching. Never fill drinking bottles at a hose connected to an untreated pond tank or a fertilizer circuit. If rainwater and treated domestic water are both present, design their separation so neither can contaminate the other. For plant-nutrition chemistry and monitoring, consult Cannabis Irrigation Water Chemistry; the present page focuses on source protection and safe handling rather than nutrient targets.
Handle fertilizers and cleaning products without creating a new exposure
Keep concentrated fertilizers, acids, cleaning agents and other products in their original labeled containers with secure caps. Store them according to the label, protected from unauthorized access and from floods, drain paths and incompatible products. Never transfer concentrated chemicals into a drink bottle or an unmarked watering jug. Use eye and skin protection specified by the product, provide appropriate ventilation and a clean water source for first aid, and follow the product’s spill instructions.
Do not mix bleach with ammonia, acids, descalers or unidentified residues. A product suitable for cleaning one component may damage another material or be unsafe for an irrigation line. Do not invent a universal chemical-flushing recipe or pour concentrated cleaners into soil to treat a blocked emitter. If chemical compatibility or handling cannot be verified, stop and use the manufacturer’s service instructions or professional help. Capture and dispose of concentrated cleaning liquids and fertilizer waste according to local rules rather than dumping them where they can reach storm drains or waterways.
Inspect reservoirs without entering them
Covered tanks should have stable supports, accessible service points, secure lids and protection against falls, unauthorized entry and animal contamination. Keep children and pets away from open tanks, ponds and inspection hatches. Do not lean across an unstable tank edge to retrieve a float. Never enter a cistern, buried chamber, large storage tank or other potentially confined space to clean or retrieve equipment. Oxygen depletion, toxic atmosphere, drowning and difficult rescue can combine even when the opening looks manageable. Inspection or entry requiring a confined-space assessment belongs to trained specialists with the proper equipment and rescue arrangements.
Remember: Water that is chemically suitable for roots is not automatically suitable for drinking, equipment sanitation or human contact. The intended use determines what must be tested and how the source must be protected.
Plan runoff and leaks as part of the safety system
Locate mixing and service areas on stable ground with spill containment and drainage that will not carry concentrate into the garden’s public access routes, wells, streams or neighboring property. Keep the lowest valve, filter and hose end accessible so a leak can be isolated without wading through runoff. Inspect downhill paths after storms. A leak that appears contained at the manifold can travel underground, undermine a post or saturate an electrical enclosure somewhere else.
Water-saving design and water-supply protection support each other but are not synonymous. A well-calibrated irrigation system may use less water while still having an unsafe backflow connection. A fully protected drinking-water source does not prove efficient irrigation or a sound nutrient program. Verify each performance goal independently.
Build a Safe Inspection, Isolation and Irrigation Maintenance Procedure
Maintenance failures often occur when a minor problem interrupts the normal routine. A clogged dripper appears during a hot afternoon, so someone unscrews the filter without checking pressure. A split lateral is repaired with whatever hose is nearby. A valve is opened to flush sediment while someone stands directly in front of the outlet. The underlying failure may be small, but the rushed correction adds human and system risk. Make safe isolation the first step of troubleshooting, not the last step after something sprays.
Commission the system before the first unsupervised watering
Before planting or relying on automatic irrigation, inventory the water source, protective devices, valves, filter, regulator, pump, electrical isolation, pressure rating, tubing and outlets. Confirm that each component is compatible with the expected pressure and water chemistry. Secure lines against movement, provide an accessible downstream flush point and route hoses so they do not cross walkways or emergency exits. Make sure access to shutoffs will remain possible when plants reach full size.
Run the system according to the manufacturer’s commissioning method with people clear of suspect connections. Look for leaks, tube expansion, loose fittings, abnormal vibration, water hammer, tripping devices and unexpected flow at closed outlets. Measure the operating pressure at appropriate service points and record representative emitter output when safely accessible. Do not use hands to search for a pinhole jet or place the face near a fitting under test. A visual check from a safe distance, gauges and appropriately rated instruments provide safer evidence.
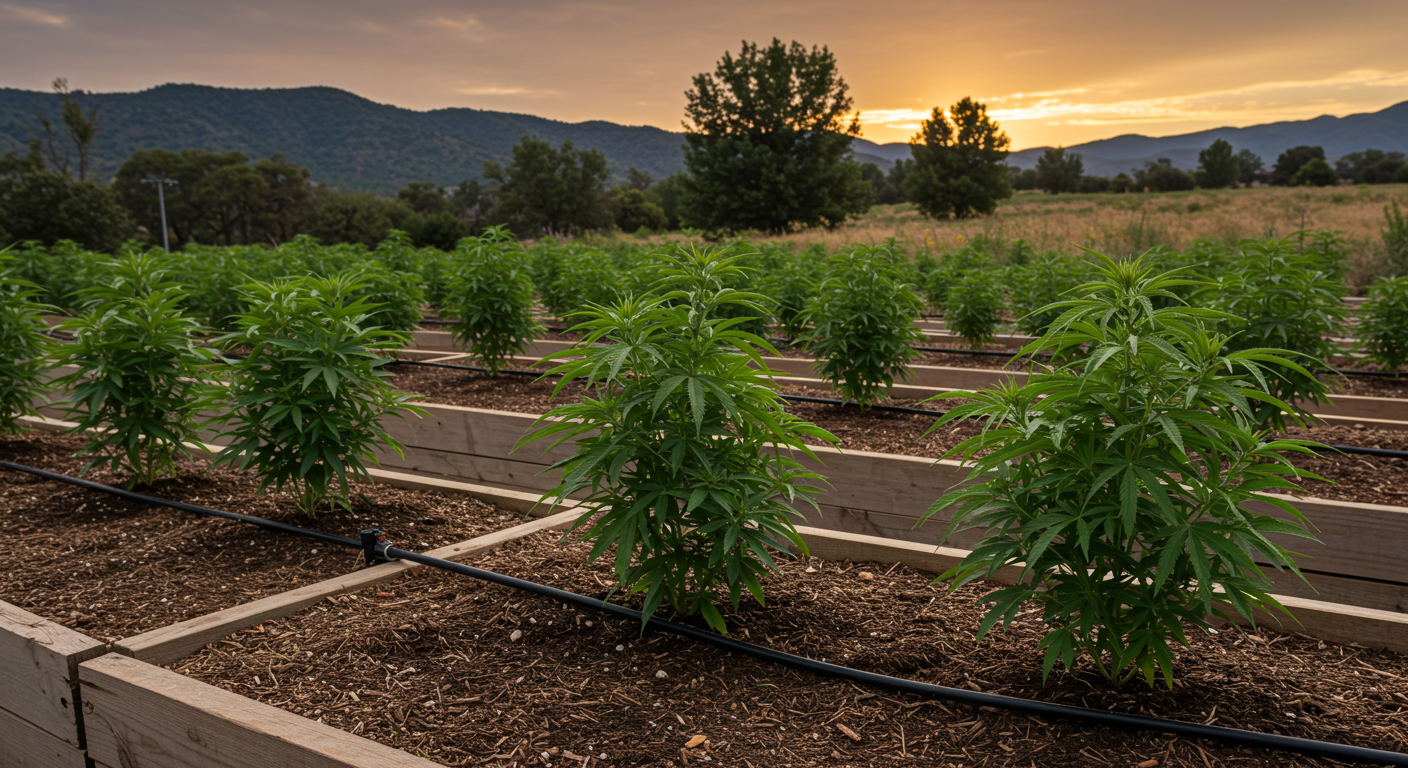
Understand pressure as stored energy, not just a gauge reading
Water pressure can remain in hoses, filters and tanks after the source stops. An elevated reservoir creates gravity head even without a pump. Pressure can also reappear when an automatic valve opens or a second feed remains connected. Before opening any pressurized part, identify all supplies, isolate them, relieve pressure via the approved drain or vent and confirm the pressure is safely removed. Inspect and service only after moving parts are immobilized and appropriate electrical isolation is completed.
Use the filter manufacturer’s approved opening sequence. Some housings require specific valve positions to avoid backflow or contamination during service. Do not unscrew a bowl while the housing is pressurized, point a flush opening toward people or reuse a cracked housing. Never substitute a different-pressure fitting merely because it fits the thread. Replace seals and components with suitable rated parts, restore guards and covers, then restart slowly under controlled conditions.
Measure operating pressure without unsafe improvisation
Pressure is useful when a system has been equipped with appropriate accessible gauge ports. Measure at the locations established during commissioning, such as upstream and downstream of a filter and near a difficult lateral. Note whether a gauge is reading with water flowing or with all outlets shut: dynamic and static readings answer different questions. A pressure drop across a dirty filter can indicate a restriction, but its interpretation depends on flow, the filter’s clean baseline and the maker’s specifications.
Do not drill a live line to add an improvised gauge tap. Do not install a gauge with an unsuitable rating or expose an operator to an unsecured test assembly. If the test location is not designed for safe measurement, stop and have a competent installer add the correct fitting under isolated conditions. Pressure numbers are part of hydraulic diagnosis, not proof that human and environmental safeguards are adequate.
Flush lines without spraying people or spreading contamination
Flushing clears settled debris only when the system has a suitable, safely directed outlet. Isolate or depressurize for opening the specified end where required by the hardware instructions, position the discharge into a secure collection area and then operate the designed flushing sequence. Keep people away from the jet, protect eyes as appropriate and prevent dirty water from reaching public pathways, open wounds or drinking-water equipment. Do not let concentrated fertilizer or chemical-cleaning solution drain into soil or waterways without an approved disposal plan.
After flushing, reseal the outlet correctly, restore normal valve positions and inspect the pressure and emitter output. A clean-looking discharge does not show that every emitter is open; some particles remain attached or a root-zone wetting problem can persist despite clear water. For the detailed hydraulic decision and clogging mechanisms, see Filters, Pressure, and Clogged Drippers.
Use filtration as equipment protection, not water disinfection
A filter selected to trap sediment entering an emitter is not automatically capable of removing dissolved metals, chemical residues or microbial contamination. A clear water sample downstream of a screen filter may still be unsuitable for drinking or another hygiene use. Select filter specifications from the actual emitter and contaminant profile. Keep filter bowls accessible, watch for leaks and restore their seals after service. If the source is a pond, rain tank or well, adjust inspection frequency to observed debris and filter behavior rather than copying an arbitrary calendar.
Filter cleaning is not necessarily the remedy for every low-output symptom. Weak flow across an entire zone may originate at the source, partially closed valve, pressure regulator or electrical supply. One weak outlet suggests a local kink or blockage. A cluster of failures after fertilizer injection points toward compatibility, precipitation or an injection-line issue. Use measurements to locate the restriction before changing pressure or applying a chemical cleaner.
| Observed condition | Immediate safe response | Evidence to collect once isolated or safely operating | Return-to-service test |
|---|---|---|---|
| — Wet or damaged electrical connector | Keep clear; isolate upstream from a dry location; professional assessment if uncertain | Water-entry path, cable damage, enclosure rating, protection-device behavior | Qualified clearance; protected restart; no recurring trip or leak |
| — Filter housing sprays or cracks | Stop source, isolate feeds, relieve pressure by approved means; keep clear | Pressure history, housing rating, seals, mounting and damage | Correctly rated replacement; staged pressurization without leaks |
| — One emitter stops flowing | Avoid live cutting or unsafe pressure adjustments | Same-position flow, tubing bend, obstruction, nearby operating pressure | Measured emitter flow restored; root-zone moisture checked |
| — Whole zone goes weak | Check for flooding and unsafe pump behavior; isolate for repair | Source capacity, upstream/downstream filter pressure, valves, regulator, leaks | Baseline flow and pressure recovered at representative points |
| — Hose-end chemical suction or backflow suspected | Stop, isolate affected water and prevent use; notify supplier/authority | Connection pathway, failed protective device, incident timing and materials | Approved protection repaired and required water clearance obtained |
| — Unsafe slippery route or hose trip | Stop traffic/work, reroute, drain and secure crossing | Route, leak source, visibility, access and changing canopy | Walk route safely in normal and post-irrigation conditions |
Control fuel, hot exhaust and noise where motor-driven pumps are used
Combustion engines add fuel, heat, moving parts, noise and carbon monoxide. Follow engine and generator placement guidance for the exact equipment, keep exhaust away from openings and occupied areas, never run gasoline equipment in enclosed or partly enclosed spaces, and stop and cool engines before refueling. Store fuel in approved containers away from ignition sources and drainage. A garden shed with the door open is not automatically a safe place for a running generator or pump engine.
During wildfire weather or other local restrictions, permitted engine operation may change. Do not start equipment that conflicts with official restrictions or use a generator to evade an unsafe power installation. For landscape-scale ignition assessment and evacuation planning, Weedth’s separate fire-safety resource should carry the detailed fire-weather discussion once its public URL is verified. Here the equipment-specific rule is to remove preventable ignition sources and retain a safe shutdown path.
Winterize and restart without compressed-air improvisation
Freezing can crack filters, pressure regulators, valve housings and backflow assemblies. Follow the manufacturer’s draining and storage instructions, and the water utility’s rules for its protection device. Some buried or rigid systems are professionally blown out with compressed air, but compressed air can eject components or overpressurize tubing. Do not attach a shop compressor and guess a safe pressure from an unrelated garden guide. Use trained service where required, with ratings and proper pressure controls.
At spring restart, inspect damage from frost, ultraviolet exposure, rodents, mowing and the previous year’s repairs. Flush and service through approved procedures, then create a new measured baseline if the layout, components or pressure have changed. A system that survived winter visually may still have a split under a clamp or a blocked vent in a protective assembly.
Keep Tool Sanitation and Irrigation Hygiene Separate From Human Safety
Garden hygiene is often reduced to dipping scissors into alcohol, but a credible protocol begins by identifying what was contaminated. Mud on a shovel, sticky sap on a pruner, algal debris in a tank and an HLVd-positive plant’s residue do not present identical hazards or respond equally to a single cleaning step. Cleaning removes material. Disinfection targets susceptible organisms under specific conditions. Neither is a substitute for separating known infected stock.
Move through the garden from lower to higher disease risk
Where practical, inspect and work on healthy plants before symptomatic or confirmed infected plants, and assign separate tools to suspect material. Avoid moving contaminated soil, root fragments, ties or plant debris from one production block to another. A designated container for suspect cuttings helps keep them off walkways and away from shared tools. If a disease of concern can spread mechanically, handle the affected area last and follow a pathogen-specific sanitation and testing plan rather than relying on an ordinary end-of-day wipe.
Clean tools after contact with soil, compost, manure and diseased tissue before they reach other areas or are stored. Some contamination is visible; some may not be. The consequence depends on whether the organism is viable, reaches a susceptible plant and encounters favorable conditions. A dirty tool is a risk pathway, not proof that every plant it touches will become diseased. Record plant IDs and tool movements when investigating an outbreak.
Remove dirt and sap before using a disinfectant
Brush or wash loose soil and plant material from the implement, then clean sticky residues and visible deposits using a method appropriate to the tool. Follow the disinfectant’s label for use site, dilution if any, contact time, PPE, rinsing and environmental disposal. Allow metal to dry and maintain it according to the maker’s instructions to prevent corrosion. A product that kills certain human pathogens on a countertop is not automatically validated against every plant pathogen in organic sap.
University Extension guidance differs somewhat on specific disinfectants and emphasizes that cleaning first matters. Iowa State Extension notes 70% alcohol can be practical for routine pruner sanitation but may fail against particular pathogens such as fire blight under some conditions. University of Minnesota Extension similarly describes limits and the need for tools to be physically clean. Their general garden advice does not validate a quick alcohol wipe against hop latent viroid or every cannabis disease. Rather than hiding the difference, choose the protocol for the pathogen and practical site risk.
Use cannabis-specific HLVd research without turning a laboratory treatment into a field recipe
Hop latent viroid (HLVd) provides a useful example of why pathogen-specific evidence matters. A 2025 cannabis study documented HLVd in symptomless source plants and demonstrated routes of spread in a research system. Its chemical experiments measured the persistence or loss of detectable viroid RNA under particular sap, tissue and water treatments. For example, alcohol did not eliminate amplification under the study’s tested sap treatment, while some bleach and hypochlorous-acid conditions degraded detectable RNA in certain preparations. Intact tissue behaved differently from extracted sap.
Loss of an RT-PCR band is not the same experiment as proving that a tool cannot transmit an infectious viroid. The laboratory concentrations, exposure conditions and sample matrices cannot simply be copied as a universal routine for growers. Choose a pathogen-appropriate protocol issued by a qualified laboratory, extension specialist or authorized sanitation program. Keep affected stock isolated and use validated testing where HLVd status matters. Never assume a clean-looking mother plant, a quick 70% alcohol wipe or one untreated negative observation certifies freedom from infection.
Do not invent a stronger mix for a harder pathogen
Higher chemical concentration can corrode equipment, harm people, injure plants or produce dangerous fumes without proving the target organism has been controlled. Follow validated product and pathogen protocols. Never mix bleach with ammonia, acids or other cleaners, and do not use household surface disinfectants directly on flowers.
Keep irrigation-water hygiene distinct from tool hygiene
A reservoir, emitter and recirculating system can carry sediment, biofilm or contaminants even when pruning tools are clean. Inspect tanks for open covers, sediment, odor changes, algae, damaged screens and evidence of animal access. Keep fittings and sampling containers clean. Sample where the question requires: source water before treatment for incoming-water risk, tank water for stored-water condition, and a far outlet for delivery-system change. One sample at the source cannot prove all downstream lines are in the same condition.
Do not inject surface disinfectants, chlorine products, acid or peroxide into irrigation by guesswork. The appropriate treatment depends on contaminant identification, material compatibility, emitter design, crop and local rules. If water contamination is suspected, suspend the affected use, identify the pathway, consult a qualified laboratory or water professional when necessary and verify using tests matched to the suspected issue. Replacing one slimy line is not proof that a connected storage tank or adjacent branch has been cleared.
Recognize the difference between healthy appearance and verified sanitation
Plants may look normal for some time after exposure to a pathogen. A tool may look bright after cleaning while viable contamination remains in hinges or sticky residues. Conversely, a visible film in a reservoir is not an automatic diagnosis of a particular disease. Verification should match the purpose: a clean visual inspection for removed debris; documented chemical concentration and contact time where specified; qualified water tests where contamination is suspected; and appropriate plant testing where a specific systemic pathogen such as HLVd is at issue.
Do not spray diseased flower with sanitizer to rescue it, and do not assume additional irrigation or drying makes suspect material safe to consume. If disease status affects disposal or harvest decisions, keep that issue separate from this equipment-safety guide. Weedth’s broader plant-problem and disposal resources can address diagnosis and material fate when their corresponding live URLs have been verified.
“I cleaned the mud off my pruners and wiped them with rubbing alcohol. Are they now safe to use on a suspected HLVd plant and then on healthy plants?”
Question sent by: Sophie Tremblay, via Facebook page.
No such guarantee follows from the wipe. Keep dedicated tools for the suspect plant, avoid moving sap between blocks, and follow a pathogen-specific validated sanitation and testing procedure. General pruning-tool advice does not establish HLVd decontamination, and a laboratory RNA result cannot be turned into a universal field exposure time.
Diagnose Equipment Failures Without Turning Repairs Into New Hazards
A useful inspection is comparative. It asks what changed relative to a known-good condition, where that change began and whether people or shared resources must be protected before investigating. A plant wilting beside a silent emitter is one clue, but a flooded outlet, burned connection or unusually warm pump is a more immediate stop-work signal. Do not let an urgent crop problem override the order of isolation and diagnosis.
Separate an unsafe fault from an irrigation-performance fault
At the first sign of trouble, look from a safe position for exposed electricity, pressure spray, ruptured pipe, contaminated water, escaping chemical, unstable tank, dangerous access or people in distress. If any is present or plausibly involved, stop and isolate the affected work, secure the area and obtain the appropriate professional or emergency response. Only after these hazards are controlled should the investigation move to a plant symptom, weak emitter, pressure change or uneven root-zone moisture.
If no immediate hazard exists, examine the recorded baseline: zone ID, source and downstream pressure, filter differential if provided, pump behavior, last completed irrigation, representative measured flows and recent maintenance. Compare the start, middle and far end of the zone. A change at every location suggests a source, control or common upstream problem; one abnormal location suggests a local restriction or leak. This is a diagnostic pattern, not a guarantee. A leak or intermittent valve can affect multiple points in unpredictable ways.
Distinguish leaks, clogs, pressure surges and root-zone symptoms
An emitter that barely drips may be clogged, pressure-starved or deliberately rated for low flow. A sudden large wet patch may indicate a split tube, displaced emitter, submerged low point or water crossing the surface from elsewhere. A brief bang on valve closure suggests a transient hydraulic event that should be assessed using the equipment’s design and operating conditions. Do not respond by adding pump pressure or tightening every fitting until the actual mechanism has been identified.
Plants can also show drought symptoms when roots are waterlogged or diseased. Confirm whether the intended water volume arrived and where it went. After repairing a delivery fault, inspect moisture at more than one depth and position before changing the watering program. A pump can restart successfully while a container continues to channel water past a dry center. Root-zone diagnosis belongs in the watering guide; this safety resource ends with verifying that the delivery system is sound and the site remains safe.
Apply a controlled repair sequence
Use the sequence below as a planning framework, not as a substitute for the equipment manufacturer’s approved service instructions or any required professional procedure.
- Observe and protect: record the fault from a safe position, keep people away from spray, electricity or moving parts and identify whether emergency help is needed.
- Isolate relevant sources: stop and prevent unexpected restart, separate electricity and all water feeds, and control chemical injection or gravity flow as applicable.
- Remove stored energy: use designed pressure-relief and drainage points, verify the system is safe to open and follow authorized procedures when multiple energy sources exist.
- Find the cause: inspect the specific failed part, ratings, connections and relevant upstream conditions rather than guessing from plant appearance alone.
- Repair appropriately: install compatible correctly rated components, restore guards, labels and backflow protections, and ensure no temporary bypass remains.
- Restart deliberately: clear people from the work area, restore supplies in the approved order and bring the system into service without sudden exposure.
- Verify the original defect: compare pressure, flow, leakage, source protection and accessibility with the recorded baseline; then inspect root-zone delivery where relevant.
- Document and revisit: record repair, responsible person, measurements and the next comparable operating check, especially for intermittent problems.
Make post-repair testing specific to the fault
After a coupling replacement, check for leakage and proper pressure while the equipment operates within its specified range. After a clogged-emitter repair, collect a measured flow from the same outlet and compare it with unaffected outlets; then assess the actual wetting pattern. After a backflow protection failure, a visual repair is not enough: follow required inspection, performance testing and water-supply clearance. After an electrical problem, do not declare success because the pump briefly turns on. The relevant device and installation require the approved electrical check.
When a failure cannot be reproduced, note that the result is provisional rather than claiming the system is repaired. Log weather, the affected zone, time, automatic valve state and whether another water user was operating. Reinspect during the next comparable cycle without deliberately exposing someone to danger. An intermittent fault often needs a trained technician and a clearer history, not repeated hurried adjustment.
Know when normal gardening must give way to emergency action
Electrical shock, serious bleeding, high-pressure injection wounds, chemical exposure, severe heat illness and entrapment require appropriate emergency response. Do not touch a person while they remain in contact with an energized supply; ensure the scene is electrically safe before assisting and contact emergency services. A high-pressure water injury can look small on the surface yet involve serious internal damage, so seek urgent medical evaluation rather than treating it as an ordinary scratch. Follow the chemical label, safety data sheet and poison-control or emergency advice for exposures.
If someone collapses in the heat or develops confusion, stop work and obtain emergency help while moving and cooling the person safely. If a large tank or confined space is involved, do not enter for an impulsive rescue. Summon appropriately trained emergency personnel. The location of first-aid equipment, emergency numbers and a clear access route must already be part of the site plan, not discovered during the incident.
“The timer finished and the pump is quiet. Can I open the filter bowl immediately to remove the debris?”
Question sent by: Daniel Brooks, via contact form.
No. Determine how the pump is electrically isolated and whether a pressure tank, elevated source, second feed or trapped line pressure remains. Follow the filter and system’s approved isolation and pressure-relief procedure, verify the safe condition and only then open the housing. A completed timer cycle proves neither electrical isolation nor depressurization.
| Claim or shortcut | Why it is unreliable | Safer decision |
|---|---|---|
| — “The timer ran, so irrigation succeeded.” | A broken line, empty tank, clogged emitter or closed valve can coexist with a normal timer log. | Verify delivery and representative root-zone wetting. |
| — “The GFCI makes a wet extension safe.” | Protection does not approve damaged tools or submerged connections for wet use. | Use correctly rated, installed equipment; isolate and repair faults. |
| — “A check valve protects any potable connection.” | Hazard degree and local code determine the proper assembly and testing. | Obtain approved backflow design from the relevant authority. |
| — “Zero pump noise means zero pressure.” | Trapped pressure, elevated tanks and pressure vessels may remain energized. | Isolate every feed; relieve and verify pressure by approved means. |
| — “A quick alcohol wipe removes every plant disease.” | Pathogen, substrate, organic matter and contact conditions change efficacy. | Clean first; use a validated pathogen-specific protocol where needed. |
| — “Clear filtered water must be safe.” | Visible clarity and EC do not identify all microbes or chemical contaminants. | Test for the actual intended use and protect the water source. |
Record near misses as system evidence
A fitting that nearly struck a worker, a hose that repeatedly snags a foot, a rain-soaked connector discovered before energizing or a chemical line disconnected before it reached a drain are useful warnings. Note the actual mechanism, not merely that an accident was avoided. Change the location, equipment or procedure, assign responsibility and check the corrected arrangement after the next normal operation. A near miss becomes preventive information only when it produces a verifiable change.
Use a Repeatable Safety Checklist Before, During and After the Season
The best safety procedure is one that survives busy harvest days, staff changes, heat waves and a sudden need to replace a valve. Write the checks in the order they are performed, place them close to the equipment and update them when the site changes. Avoid a giant generic checklist that nobody uses. The field process should make it obvious when the system may proceed, when one component needs isolation and when professional or authority review is required.
Before commissioning: inspect the entire site as a connected system
Begin at the legal water source and power supply. Confirm the route of every connection, actual backflow risk, location of the correct approved protective assembly, equipment suitability, accessible isolation, expected pressure rating and emergency route. Inspect hose crossings, exposed cables, tanks, chemical stores and powered tools. Photograph or record the baseline condition of high-risk connections so later damage is easier to identify. Confirm operators understand which changes they may make and which require a professional.
Test each irrigation zone through the manufacturer’s approved start and stop procedures. Observe leaks, operating pressure and representative outlet flow, and confirm the water is arriving at the intended root zone. Check that doors and lids close, tools can be stored safely and the last plant in the row does not obstruct valves. Keep a record of repaired defects and the date the installation was released for normal use. A component replaced just before planting deserves the same commissioning attention as a newly installed system.
Before each work session: a short operator check
Walk the route while it is dry enough to inspect safely. Look for open tanks, trip hazards, damaged hoses, wet connectors, exposed blades, loose fittings, new leaks, chemical spills and obstructed exits. Confirm that power tools and irrigation are scheduled so unsafe wet work is not created. Review local weather for conditions affecting electrical exposure, heat, storms and fire restrictions. The daily check can be brief when the baseline is stable, but an unsafe exception must stop the affected operation.
Before anyone starts work
- Confirm lawful site access, responsible operator and emergency contact route.
- Find upstream water isolation, electrical disconnect and approved pressure-relief points.
- Keep hoses, cords and tools clear of walkways, doors and emergency exits.
- Inspect pruners, handles, blades, guards, locks and power-tool accessories for damage.
- Check that electrical connections are appropriate for the location and remain dry and protected.
- Confirm the required ground-fault protection and equipment inspections are in place.
- Check potable-water protection and keep filling hoses out of mixing solutions unless an approved arrangement permits otherwise.
- Check tank lids, spill containment, chemical labels and restricted access.
- Inspect hoses, filters, manifolds and supports for visible defects before pressurization.
- Keep PPE, drinking water, shade and first-aid access appropriate to the task.
- Use designated tools and workflows for suspect or confirmed infected plant material.
- Stop and isolate any fault whose safety cannot be established before proceeding.
During operation: watch the start, the difficult point and the finish
Observe the initial pressurization from a safe position, check the farthest or highest practical outlet, then inspect a known weak point and the shut-down behavior. This does not require standing over every emitter through the entire event. It means choosing representative locations that reveal faults and rotating additional positions as conditions change. Confirm the tool operator and irrigation operator cannot unexpectedly energize equipment under maintenance, and communicate changes in valve or controller state.
When applying nutrients, monitor the injection and water-flow arrangement through approved controls. Stop the injector if the flow or backflow protection is compromised. When using hand tools, keep a designated collection and tool-placement area. If a new hazard appears, stop the affected activity rather than continuing while another person investigates beside operating equipment.
After operation: close the loop
Confirm that water stops where intended, the pump does not cycle unexpectedly, no new leak appears and the path remains clear. Drain, clean or stow tools according to the task and storage instructions. Secure chemical products and water tanks. Review whether the reported irrigation volume matches observed delivery; record pressure and emitter deviations if the system has meaningful measurement points. A clean work area reduces both injury risk and future pathogen movement.
Weekly and event-based inspections
At a suitable interval for the actual site, test accessible fittings and representative emitters, service filters through the safe procedure and inspect backflow assemblies as required by the authority and manufacturer. Look for sun damage, animal chewing, rubbing against stakes, salt deposits, leaks under containers, buried hoses emerging above ground and valves hidden by foliage. Review tool sanitation records if disease is present and note whether suspect material ever crossed into a healthy block.
Repeat relevant checks immediately after major storms, flooding, freezing, equipment relocation, new fertilizer injection, a protective-device trip, chemical spill or a repaired pressure fault. Storm damage may create problems outside the previous inspection route, so expand the survey to the entire exposed connection network. An annual inspection that misses a high-risk post-storm event is less useful than a risk-based program with documented triggers.
At season end: prepare a truthful next-season baseline
Depressurize, drain and store components according to their manuals and local requirements. Clean tools, remove unsafe temporary cable and hose arrangements, inspect storage and responsibly dispose of damaged parts and relevant residues. Record the condition of electrical equipment, backflow testing, major leaks, replaced components, seasonal failures and any contamination incident. Note what design changes must happen before the next start, not just how many repairs were completed.
Keep two kinds of success separate. Safety success: no unresolved electrical, chemical, pressure, access or contamination hazard remains. Operational success: the irrigation system delivers the intended volume and distribution without hidden failures. Both need evidence. A healthy-looking crop proves neither outcome, and a pristine safety checklist cannot establish root-zone performance without measurement.
Master Advice: Treat the first safe shutdown, the most difficult service point and the next successful restart as parts of one design. If someone cannot safely isolate, repair and verify a system, that system is not ready to be trusted with routine unattended operation.
Share this article
A quick overview of the topics covered in this article.
- Identify the Safety Decision Before Selecting a Tool or Irrigation System
- Use Pruners, Hand Tools and Outdoor Power Equipment Safely
- Keep Irrigation Water, Power and Moving Machinery Under Separate Control
- Protect the Water Source, Fertilizer System and Surrounding Environment
- Build a Safe Inspection, Isolation and Irrigation Maintenance Procedure
- Keep Tool Sanitation and Irrigation Hygiene Separate From Human Safety
- Diagnose Equipment Failures Without Turning Repairs Into New Hazards
- Use a Repeatable Safety Checklist Before, During and After the Season
Follow us
Latest articles
October 24, 2026
October 24, 2026
October 24, 2026