
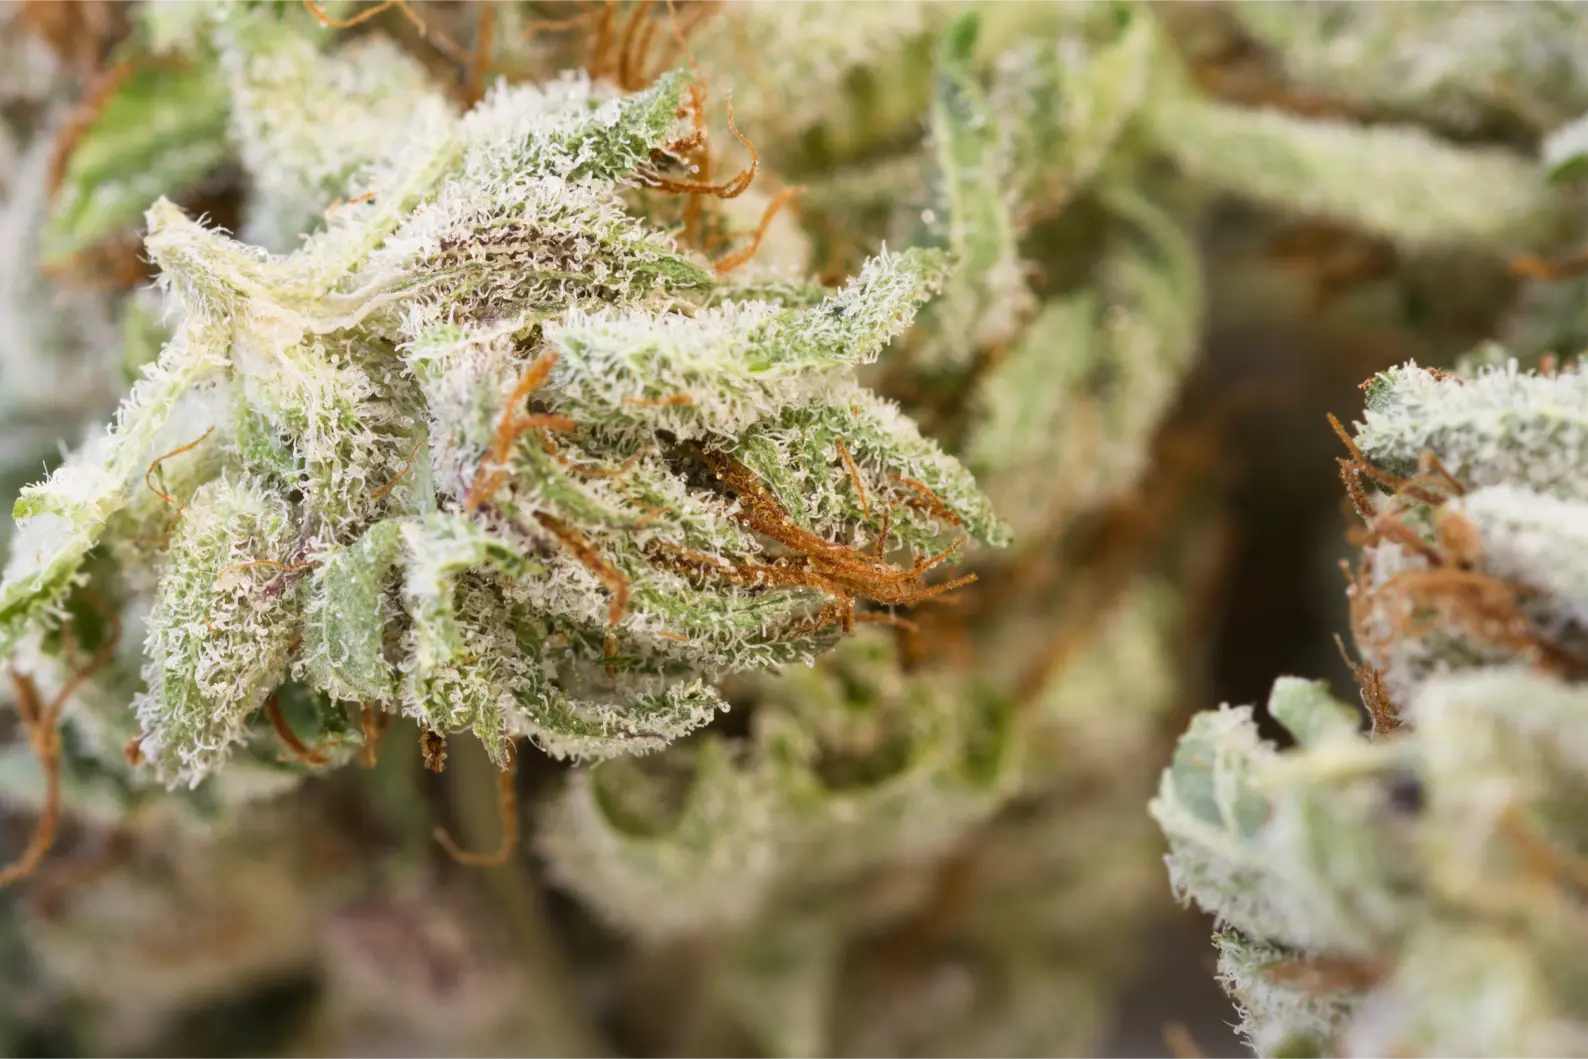
How to Remove Suspect Flower Without Spreading Spores
A suspect cannabis flower should be treated as a contamination problem before it is treated as a trimming problem. If a flower is browning internally, collapsing, carrying gray or colored fungal growth, or otherwise looks consistent with rot, the goal is not simply to cut away what looks bad. The goal is to remove a possible inoculum source while disturbing it as little as possible, keep contaminated tissue away from healthy flowers, and then verify whether disease continues elsewhere.
That matters because Botrytis and other flower-infecting fungi can produce large numbers of spores on diseased tissue. Air movement, splashing water, handling, cutting, or shaking can move propagules away from the original site. Cannabis inflorescences also contain tight internal spaces, so decay may extend farther inside a flower than the outside surface suggests.
This resource provides a repeatable removal procedure. It does not assume every brown flower is Botrytis, it does not provide a universal cut-back distance, and it does not turn sanitation into a substitute for diagnosis. Broader outdoor disease prevention belongs in Weedth’s Outdoor Grow Comprehensive Guide.
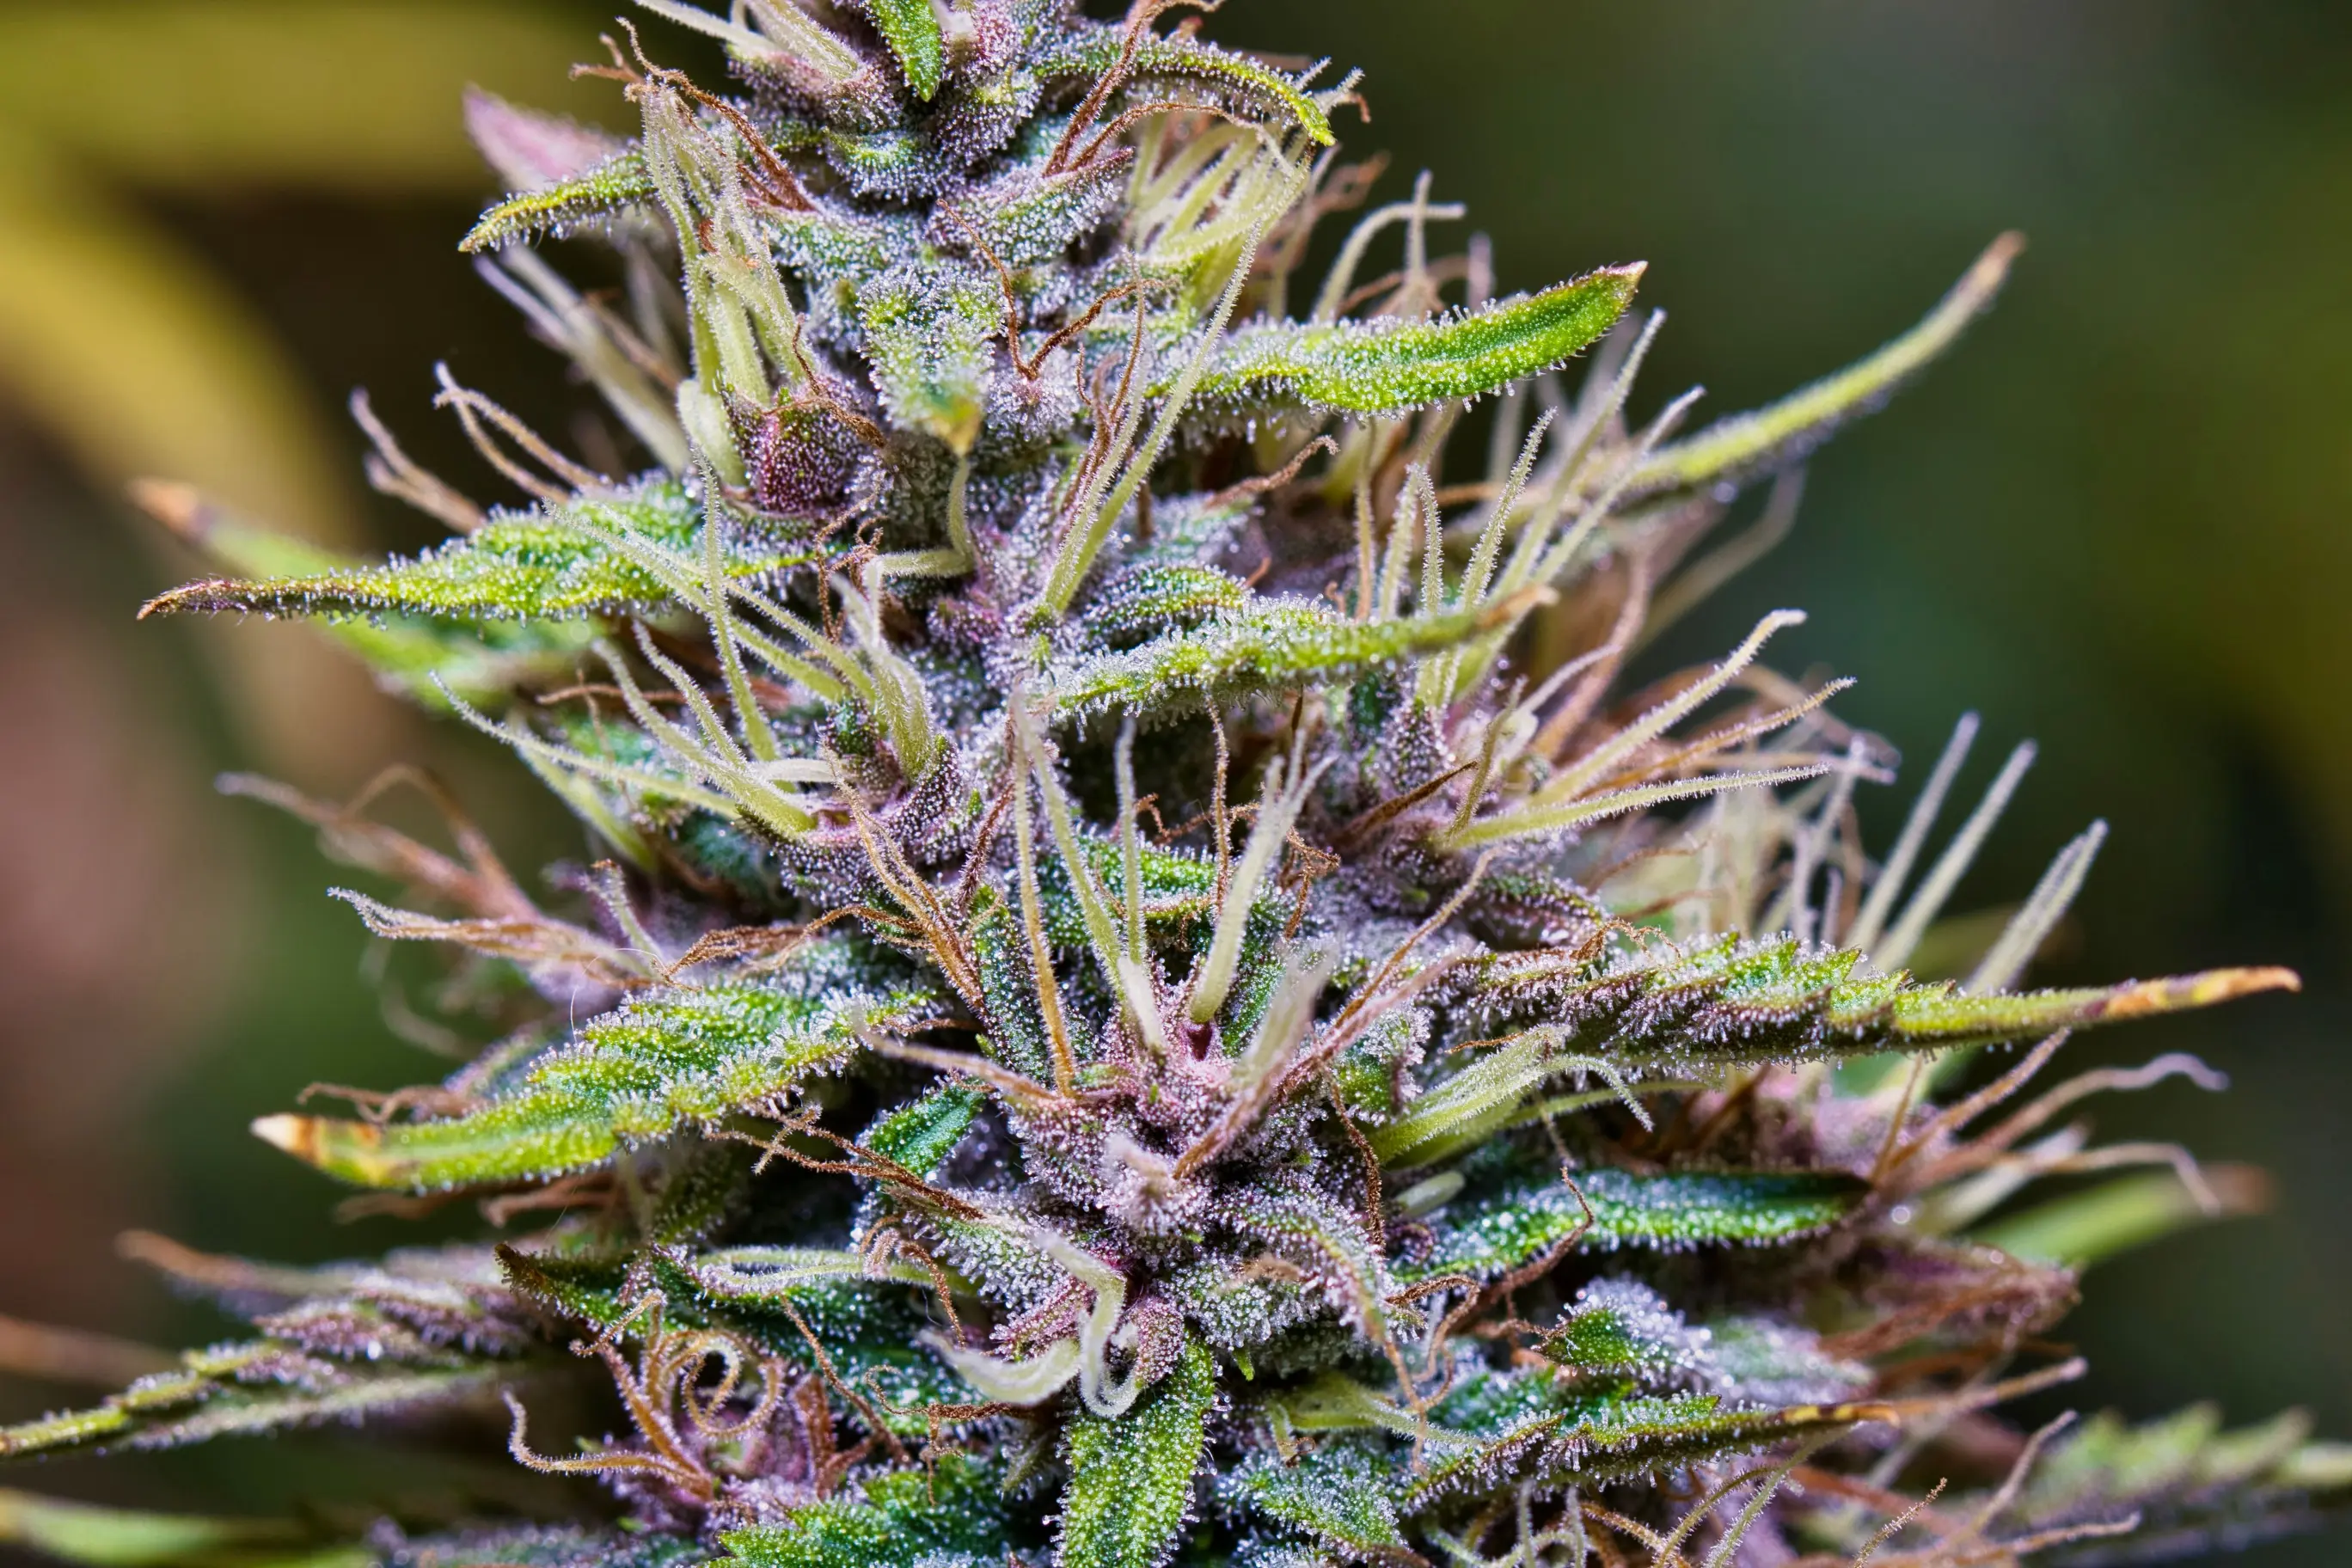
What Suspect-Flower Removal Can and Cannot Do
Removing diseased flower is a sanitation tactic. It reduces the amount of infected tissue that can continue to decay, sporulate, and expose neighboring tissue. Cannabis disease literature specifically describes removal and destruction of Botrytis-infected inflorescences as a way to reduce secondary inoculum, although it also warns that removal alone may not stop an outbreak because these fungi can reproduce rapidly and produce large numbers of propagules.
The practical target is therefore narrower than “save the crop with one cut.” You are trying to remove one suspected source, prevent that handling event from becoming a dispersal event, and then find out whether the rest of the plant remains stable.
Inoculum is the material capable of starting new infection
For a sporulating fungus, inoculum may include spores produced on infected tissue. Depending on the pathogen, infected plant fragments, mycelium, survival structures, or contaminated debris can also carry the organism. Removing visible disease reduces a source of inoculum but does not prove that every nearby flower is unexposed.
Removal is strongest when it happens before heavy sporulation
Botrytis can move from early internal necrosis to visible gray sporulation. The earlier a genuinely infected flower is identified and removed, the less diseased biomass is available to produce additional spores. That is one reason routine inspection matters more than waiting for an entire cola to become visibly moldy.
Early detection is not always easy. Research on cannabis Botrytis shows that disease can develop inside the inflorescence and may remain externally subtle until inner tissue has already decayed. A yellowing bract leaf or localized necrosis can be an early clue, but neither is diagnostic by itself.
Remember: The safest removal event starts with the smallest reasonable amount of handling. Do not squeeze, shake, smell closely, or repeatedly pull apart a suspect flower simply to satisfy curiosity.
Removal does not prove the diagnosis
Gray mold is important, but cannabis flowers can also be affected by Fusarium, Penicillium, powdery mildew, insect feeding, mechanical injury, senescence, spray injury, and post-rain damage. Cannabis pathology studies have recovered several fungi from rotting inflorescences, and the visible color of damaged tissue alone cannot reliably separate them.
If the exact diagnosis changes the management decision, save a diagnostic sample according to the receiving laboratory’s instructions rather than handling it like ordinary waste. A plant clinic may want a particular amount of symptomatic and healthy-border tissue, specific packaging, or refrigeration. Do not improvise a sealed wet sample and mail it without instructions.
“If I see one brown patch inside a cola, should I remove only that brown piece?”
Question sent by: Ethan Brooks, via email.
Usually the first decision should be larger than picking individual brown bracts. Rot can extend internally beyond the exact tissue you can see, and digging through a flower in place increases disturbance. Remove a structurally sensible unit, such as the suspect flower section or branch, through tissue that appears sound. If decay reaches the supporting stem or multiple flowers on the branch are affected, the removal unit should expand accordingly.
Visible moldy flower is not a salvage project
Once harvested flower has visible fungal growth or clear rot, the quality problem is no longer cosmetic. Reviews of cannabis contamination describe fungi such as Aspergillus, Penicillium, Fusarium, and Botrytis on inflorescences and discuss potential respiratory and mycotoxin concerns. Visible moldy material should not be presented as safe to smoke, vape, or otherwise consume after trimming, rinsing, drying, or curing.
Do not inhale a spore cloud to identify it
General mold-exposure guidance recommends minimizing inhalation and skin or eye contact during cleanup. If tissue is visibly dusty or heavily sporulating, use appropriate protection and avoid handling it if you have asthma, chronic lung disease, significant mold allergy, or immune suppression. Commercial workplaces should follow their occupational-safety requirements.
Why Disturbing Suspect Flower Can Spread Inoculum
A sporulating flower is biologically different from a clean branch that merely needs pruning. Botrytis produces abundant conidia that are readily moved by air currents. Horticultural disease guidance repeatedly warns that gray mold spores are easily dispersed when infected tissue is disturbed, and greenhouse sanitation programs emphasize removing infected material without carrying an open source through the crop.
Air movement can become a transport pathway during the removal itself
Airflow is normally part of disease prevention because it helps reduce condensation and slow-drying zones. During a removal event, however, a strong fan blowing directly across a sporulating flower can carry loosened spores across neighboring flowers. The answer is not to shut down the entire environmental system for an arbitrary period. It is to prevent a direct high-velocity air stream from crossing the work area while you make the cut, then immediately restore normal environmental control.
There is no evidence-based universal “fan-off time” for cannabis flower removal. Indoor systems differ too much in room volume, dehumidification, exhaust design, temperature, plant density, and disease pressure. Treat airflow during removal as a local contamination-control decision, not as a new humidity problem.
Water can also move or activate the problem
Botrytis spores can be moved by splashing water, and persistent flower wetness creates conditions favorable to infection. For that reason, do not reflexively mist the suspect cola with plain water, peroxide, oils, soaps, or another homemade spray in an attempt to “hold spores down” before cutting. Adding liquid to a dense inflorescence can complicate diagnosis and create another wetting event.
If a crop-legal product is being considered for disease management, that is a separate pesticide and flower-safety decision. Physical removal should not be used as a reason to improvise a foliar treatment on harvestable flower.
Control the movement path
Prepare the bag, tool, route out of the grow, and sanitation materials before touching the suspect flower. Keep the removed tissue contained from cut to disposal.
Carry an open infected cola through the canopy
Walking an uncovered sporulating flower past healthy plants creates unnecessary opportunities for air currents, clothing, and contact to move spores.
Dense flowers can hide disease from surface inspection
Cannabis Botrytis research describes cavities and protected internal spaces within inflorescences where infection can develop. Internal decay may be present before the outside of the flower looks extensively affected. This is why “I cut off every gray spot” is a weak endpoint. The visible sporulation may be only the surface expression of a larger internal lesion.
At the same time, aggressively opening every neighboring cola can create its own damage and handling risk. Use the least disruptive inspection that answers the question. If you need to open a suspicious flower for diagnosis, it is often cleaner to remove the suspect unit first, contain it, and examine it away from the healthy canopy.
Dead and dying tissue can keep producing inoculum
Botrytis is well adapted to colonizing senescent and damaged tissue. Diseased flower left on the plant, infected debris dropped onto the floor, and cull piles kept close to the grow can remain part of the pathogen cycle. Removal therefore includes the floor and work surface, not just the branch.
After the cut, check whether any infected fragments fell onto leaves, media, benches, trays, or the ground. Pick them up without dry sweeping or blowing. Dry sweeping and compressed air are exactly the kinds of disturbance that can aerosolize spores.
Decide How Much Tissue to Remove
The most common request for this problem is a fixed number: how many inches or centimeters below the rot should you cut? General horticultural sources sometimes give crop-specific margins, but there is no evidence-backed universal cut-back distance for cannabis flowers. Flower architecture, internal spread, branch structure, pathogen identity, and the position of the lesion all change the decision.
Use anatomy and disease pattern instead of a ruler alone.
Start with the smallest removal unit that does not require dissecting disease in place
If one discrete flower cluster is suspect and the supporting tissue below it appears healthy, removing the whole suspect cluster at a clean structural cut can be reasonable. If several flowers on one branch are affected, or the lesion reaches the stem, removing the branch may create a cleaner endpoint than making multiple cuts around individual pockets of decay.
If disease appears at multiple points across one plant, the problem has moved beyond local trimming. At that stage, repeatedly operating inside the canopy may create more contact and more open wounds while leaving hidden disease behind. Isolation, diagnostic escalation, early harvest of clearly unaffected material where appropriate and legal, or removal of the plant may deserve consideration based on crop value and disease extent.
| Observation | Removal Decision |
|---|---|
| One localized suspect flower, supporting stem looks sound | Remove the suspect flower as one unit rather than picking individual necrotic bracts. Make the cut through tissue that appears structurally and visually sound. |
| Decay or canker extends into the supporting stem | Expand the removal to a structural point below the affected stem tissue. Do not leave a visibly compromised stub because the outer flower was removed. |
| Several flowers on the same branch are suspect | Consider removing the branch as the contamination unit. Multiple small cuts can create more handling and still miss internal spread. |
| Multiple branches or plants develop new suspect sites | Stop treating the event as one bad flower. Escalate scouting, diagnosis, environmental correction, and crop-level containment. |
| Diagnosis is uncertain and the result changes management | Collect a diagnostic sample according to the plant clinic or laboratory protocol before discarding all evidence. |
Visible gray sporulation raises the containment priority
A flower covered in dusty gray sporulation should be handled more conservatively than a flower with one nonsporulating brown spot. When the tissue is actively producing spores, any touch can become a dispersal event. Prepare containment first and make as few movements as possible.
When geometry allows, place an open disposal bag below or loosely around the suspect flower before detaching it, without squeezing or scraping the flower against the bag. If bringing a bag over the attached cola would cause more disturbance, make one controlled cut and lower the tissue directly into the waiting bag. Close it before moving it through the grow.
Field Advice: The best containment move is the one that reduces motion. Do not force the flower into a bag while it is still attached if that requires twisting, compressing, or brushing it against healthy tissue.
Do not use color alone to decide the cut
Healthy cannabis flowers naturally change as they mature. Pistils brown. Older sugar leaves senesce. Purple or dark pigmentation can be genetic. A rubbed flower can bruise. A dead caterpillar-damaged pocket can collapse. None of these observations automatically proves fungal disease.
Look for a pattern: progressing internal necrosis, soft or collapsing tissue, gray or other fungal growth, abnormal moisture retention, a dead sugar leaf that pulls from a decaying interior, stem involvement, or repeat appearance in similar microclimates. When the plant is valuable and the pattern is unclear, diagnostic confirmation is stronger than repeated speculative cutting.
“Should I open nearby buds to make sure the rot did not spread inside?”
Question sent by: Julia Schneider, via contact form.
Inspect nearby flowers, but do not aggressively pry every dense cola apart. Start with the flowers that share the same branch, contact point, slow-drying pocket, or environmental exposure. Look for early clues first. If one flower needs destructive internal inspection, remove that suspect unit and examine it away from the healthy canopy rather than repeatedly opening it in place.
Flower architecture and environment change risk after the cut
Dense inflorescences can retain moisture and hide internal disease more readily than open flowers. Cannabis disease literature notes cultivar differences in Botrytis susceptibility and associates large, tightly packed inflorescences with greater disease development than looser forms under comparable pressure.
That does not mean genetics alone decides the outcome. Rain, condensation, nightly humidity, canopy density, dead tissue, branch contact, insect injury, and drying rate interact with flower architecture. Weedth’s What “Mold Resistant” Should Mean on Cannabis Seed Listings explains why resistance claims should be interpreted as relative, not absolute.
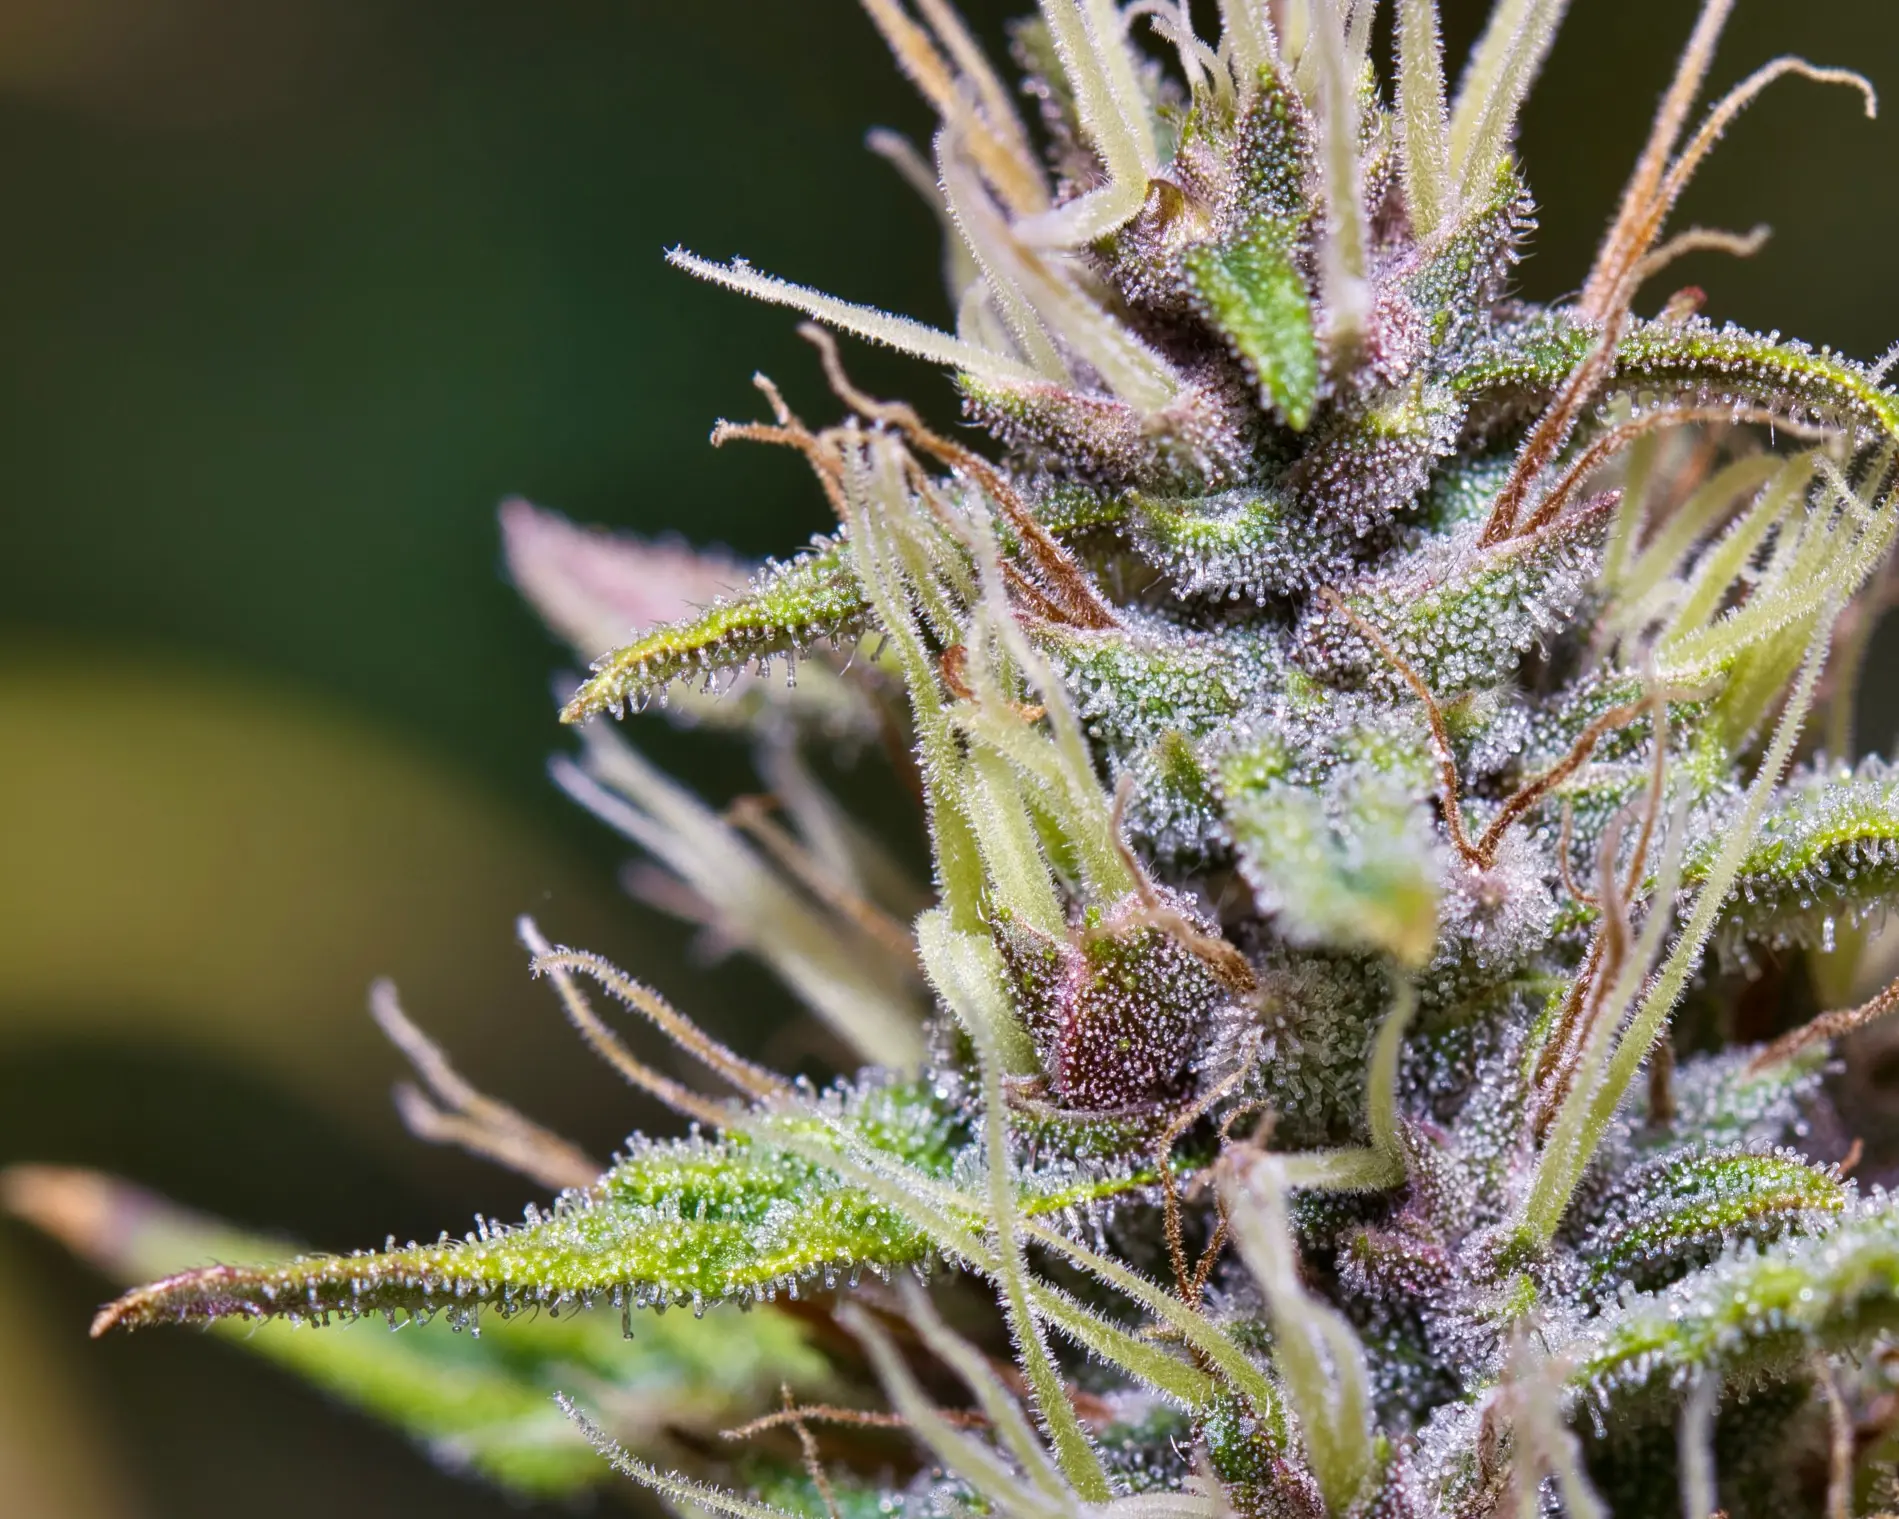
A Repeatable Low-Disturbance Removal Workflow
A good removal procedure can be repeated by the same grower a week later and produce comparable observations. The workflow below deliberately separates observation, containment, cutting, cleanup, environmental correction, and verification.
Step 1: Stop routine canopy work when the suspect flower is found
Do not finish defoliating three more plants before returning to the moldy flower. Once a potentially sporulating infection is identified, stop moving tools and hands through healthy flowers. Record the plant identity and location before touching the lesion.
Take a whole-plant photograph, a branch-level photograph, and a close-up if that can be done without manipulating the flower. These images establish the baseline and help you compare the same area later. Weedth’s Post-Storm Cannabis Inspection uses the same principle: documentation is evidence of progression, not diagnosis by itself.
Step 2: Map the immediate exposure zone
Before removal, identify the flowers that physically touch the suspect site, share the same dense branch pocket, sit directly downwind of a strong local fan, or have the same wetting history. You do not need to invent a safe radius. You need a reproducible list of places to recheck.
Count and record the number of suspect sites you can see before intervention. “One affected flower on plant A7, upper west branch” is more useful than “some bud rot.” If the count rises on later inspections, the sanitation event did not end the disease process.
Use incidence and progression when no treatment threshold exists
Incidence is how many plants or sites are affected. Progression is whether lesions enlarge or new sites appear over time. For home cannabis disease management, these observations are often more defensible than inventing a universal number of moldy flowers that automatically triggers whole-plant removal.
Step 3: Prepare the exit path before you touch the flower
Have the disposal container open and close to the work. Clear a direct route out of the crop. Bring a clean cutting tool, a second clean tool if available, disposable gloves, and whatever sanitation materials your validated tool protocol requires.
Do not place the waste bag on top of neighboring plants. Do not plan to carry the cut flower across the room in your hand. Do not leave contaminated debris in an open bucket beside the canopy.
Step 4: Reduce direct air blast across the work zone
If a circulation fan is blowing directly across the suspect flower toward healthy plants, redirect it or briefly pause that local fan while the removal is performed. Keep the larger environmental system functioning safely and restore normal air movement immediately afterward.
Outdoors, choose the calmest practical moment if the flower is visibly dusty and the removal can wait without allowing rain or dew to re-wet it. Do not postpone an obvious active infection for days chasing perfect weather. The decision is a balance between removing a source promptly and avoiding unnecessary dispersal.
Step 5: Protect yourself from visible mold
Wear gloves so contaminated tissue and sap do not move directly onto your hands. When tissue is visibly moldy or dusty, general mold-cleanup guidance supports respiratory and eye protection as well. Avoid putting your face close to the flower to smell it.
If you are immunocompromised or have significant respiratory disease, asthma, or mold allergy, do not treat hands-on removal of heavily moldy material as a trivial gardening task. Reduce exposure and have another appropriately protected person handle it where possible.
Avoid dry brushing, compressed air, and shaking
These actions create exactly the kind of physical disturbance that can move fungal particles away from the original lesion. Pick up debris gently and contain it. Do not try to “clean” a moldy flower while it remains on the plant.
Step 6: Contain, cut once where practical, and lower the tissue into the bag
Support the branch from a clean point that does not require gripping the diseased flower. Position the disposal bag to receive the material. Make the cut at a structurally sensible point through tissue that appears unaffected, based on how far the visible lesion or stem damage extends.
Avoid sawing back and forth through a tough stem with dull scissors. A clean cut reduces repeated movement and additional wounding. If the flower is on a branch that must be moved to access the cut, move the branch slowly and keep it from brushing neighboring flowers.
Do not rely on a fixed one-inch, two-inch, or five-centimeter rule. Those numbers can be useful in particular crops or protocols, but cannabis Botrytis can develop internally and branch geometry varies. The correct removal unit is the one that gets you beyond visible compromised tissue without creating a series of unnecessary cuts.
Step 7: Seal the removed tissue before transport
Close the bag or container before walking it through the grow area. Greenhouse Botrytis guidance specifically recommends keeping contaminated debris bags closed during transport because spores can escape from open waste. Do not maintain a nearby cull pile that can continue producing spores next to the crop.
Disposal rules vary. Follow local waste, composting, plant-disease, and regulated-cannabis requirements. If a diagnostic sample is needed, separate it from disposal material and package it exactly as the receiving laboratory requests.
Step 8: Clean the work area and change contaminated contact surfaces
Look for fallen bracts, fragments, or gray dust on the floor, bench, container rim, gloves, and nearby support material. Remove solid debris gently. Change disposable gloves before touching healthy flowers if they contacted suspect tissue.
Clean and disinfect cutting tools using a pathogen-appropriate method before they return to healthy plants. The exact chemistry, concentration, and contact time should come from the disinfectant label or a validated disease protocol. A quick wipe should not be assumed to cover every viroid, virus, bacterium, and fungus equally.
Step 9: Correct the environment that made the lesion plausible
Removal reduces inoculum; it does not change the moisture conditions that supported infection. Check whether flowers are touching, whether dead leaves are trapped inside the canopy, whether rain protection is trapping humid air, whether irrigation is wetting flowers, and whether dense interior tissue stays damp after the outer surface dries.
For outdoor crops, Weedth’s Outdoor Cannabis in Humid Subtropical Climates explains why ambient relative humidity alone is not enough. The useful observation is how long the actual flower interior remains wet or slow to dry under the site’s airflow and weather pattern.
Master Advice: Do not respond to one moldy flower by creating a second problem. Aggressive late defoliation, heavy spraying, branch bending, or excessive fan speed can wound plants, wet flowers, or create new contact. Correct the specific drying or sanitation failure you can actually observe.
Step 10: Mark the plant for repeat inspection
The removal event is not finished when the bag leaves the room. Mark the plant and the affected branch location in your notes. Revisit the same nearby flowers and the same slow-drying zones on subsequent inspections.
Track whether new suspect sites appear, whether the cut surface remains sound, whether neighboring flowers develop internal browning, and whether environmental corrections improve drying. If the disease pattern expands, escalate rather than repeating endless spot removal.
“Can I just cut the bad bud and spray the rest of the plant with peroxide?”
Question sent by: MapleGrower, via Facebook page.
Do not treat peroxide or any other spray as an automatic second step. A foliar application can add moisture, create residue questions, injure flower tissue, and may not match the pathogen or the legal use pattern. First remove the suspect source, restore drying conditions, inspect the remaining crop, and identify the problem. Any pesticide or biocontrol decision should be separate and product-specific.
| Finding | Possible Cause | How to Confirm | Corrective Action | Prevention |
|---|---|---|---|---|
| Brown, soft internal flower tissue | Botrytis or another flower rot | Check internal progression, sporulation, stem involvement, and submit a sample when identification matters | Remove the suspect unit with low disturbance and correct moisture retention | Frequent flower scouting, dry canopy management, sanitation |
| One dry brown patch immediately after wind or hail | Mechanical bruising or tearing | Compare with event timing and recheck for progression, softening, or fungal growth | Stabilize damage and remove failed tissue if needed | Branch support and storm preparation |
| White surface material without internal rot | Powdery mildew, spray residue, dust, or another surface contaminant | Inspect distribution and morphology with magnification; use diagnostics when uncertain | Do not diagnose Botrytis from color alone | Clean inputs, scouting, disease-specific management |
| Rot around frass or chewed flower tissue | Insect feeding with secondary microbial decay | Look for larva, feeding tunnels, frass, and adjacent damaged flowers | Remove contaminated flower and address the pest separately | Flower scouting and stage-appropriate exclusion or control |
| Multiple new lesions after earlier removals | Ongoing disease pressure, hidden infections, or unchanged environment | Map new sites, compare photos, inspect drying pattern, seek laboratory diagnosis | Escalate from spot removal to crop-level containment and diagnosis | Reduce inoculum sources and correct the environmental driver |
Common Mistakes, Look-Alikes, and Shortcuts
Most poor removal outcomes come from one of two errors: handling genuine disease too casually, or treating ordinary flower damage as a confirmed fungal outbreak. The removal method needs enough caution to control contamination without turning every brown pistil into an emergency.
Mistake: squeezing the flower to see how far the rot goes
Softening can help distinguish decay from dry senescence, but repeatedly compressing a visibly moldy cola is unnecessary. It breaks tissue, dislodges spores, and transfers contamination to gloves. If internal inspection is needed, remove the suspect unit first and perform the destructive check away from healthy flowers.
Mistake: shaking the branch before cutting
Growers sometimes shake outdoor branches to remove dew or rain. That is a different task from handling a sporulating flower. A branch carrying visible gray mold should not be whipped, tapped, blown with compressed air, or shaken over neighboring plants.
Mistake: cutting individual rotten bracts out of a dense cola
Micro-trimming around visible rot can leave diseased interior tissue and requires prolonged manipulation. The denser the flower, the weaker the assumption that the visible edge equals the biological edge. Remove a practical flower or branch unit instead of performing surgery inside the canopy.
Remove the contamination unit
Think in whole flower clusters, branch sections, or the plant when disease extent requires it. Make fewer, cleaner movements.
Excavate visible rot piece by piece
Picking through a dense flower can disperse spores and still leave internal disease behind.
Mistake: assuming all brown pistils mean bud rot
Pistils naturally change color with flower maturity and can brown after pollination, physical contact, heat, wind, or other stress. Botrytis can infect stigmatic tissue, but pistil color alone has poor specificity. Look for tissue collapse, internal necrosis, abnormal bract death, mycelium or sporulation, stem lesions, and progression.
Mistake: assuming every white or gray surface deposit is fungal
Foliar sprays, mineral deposits, dust, insect cast skins, and powdery mildew can produce pale surface material. Botrytis is often associated with decaying tissue and gray sporulation, while powdery mildew more commonly begins as a surface colony. Neither should be diagnosed from a single low-quality photograph when the decision is consequential.
Mistake: moving from the suspect plant straight into harvest work
Gloves, scissors, sleeves, bins, and trim surfaces can become contact points. Finish the contamination-control sequence before returning to healthy flower. At minimum, change contaminated disposable gloves, clean and disinfect reusable tools, remove plant debris, and prevent the waste container from becoming an open spore source.
Mistake: using a hard numerical threshold that has no evidence
There is no universal rule that one affected bud means the plant is safe, two affected buds mean early harvest, or three mean destroy the plant. Disease pressure, crop system, legal requirements, plant value, pathogen identity, flower stage, and rate of new disease all matter.
Use the evidence you can actually collect: number of affected sites, whether new lesions appear, whether disease reaches stems, whether multiple plants are involved, whether the environment remains conducive, and whether laboratory confirmation identifies a pathogen requiring stronger containment.
Do not dry visibly moldy flower beside clean harvest
Removal from the living plant does not turn contaminated flower into usable material. Keeping suspect or visibly moldy material in the drying room can add another inoculum source around harvested flowers.
Look-alike: caterpillar or other insect damage
Flower-feeding insects can create brown pockets, frass, dead bracts, and entry wounds that later become colonized by fungi. The immediate removal procedure may still be appropriate for rotten material, but the prevention step changes. If you remove the rot and ignore the larva or moth pressure, new wounds can keep appearing.
The broader Outdoor Grow Comprehensive Guide covers flower scouting and integrated pest management. Keep this resource focused on removing suspect tissue without making the dispersal problem worse.
Look-alike: storm bruising and slow drying
After hail, branch rubbing, or heavy rain, damaged flower tissue can brown before a fungal colony is visible. This is exactly where repeat photography and reinspection help. Mechanical injury should stabilize as the event passes. Active rot is more likely to progress, soften, spread internally, or produce fungal growth under conducive conditions.
Use Weedth’s Post-Storm Cannabis Inspection when the history includes recent severe weather.
How to Verify the Removal Worked
The correct verification question is not “Did the cut look clean?” It is “Did the disease process stop expanding after the source was removed and the environmental problem was corrected?”
Return to the same marked locations
Inspect the branch that was cut, physically adjacent flowers, slow-drying canopy pockets, and any plants that showed similar symptoms. Use the same camera angle where possible. Compare with the baseline rather than relying on memory.
Old damage will not turn healthy again. A brown scar on a remaining stem is not failure if it stays dry and stable. The concerning signal is new softening, expansion beyond the original boundary, new sporulation, or additional affected flowers.
Track new cases, not just the original lesion
If no new suspect flowers appear through repeated inspections and the remaining flowers dry normally, confidence in the correction increases. If new sites continue appearing, treat that trend as evidence that inoculum, hidden infection, environmental conditions, or another transmission pathway remains active.
Do not convert one quiet inspection into proof of eradication. Botrytis can develop internally, and weather can temporarily suppress visible sporulation without removing infection.
Verify the environment at flower level
Check what changed after the intervention. Did touching branches get separated? Did a rain cover begin venting again? Did a dead leaf remain trapped inside a cola? Does the inner flower still feel or appear slow to dry compared with surrounding tissue? Does condensation form at night even though daytime ambient RH looks acceptable?
Ambient sensor data is useful context, but a room or weather-station reading does not measure the microclimate in every dense inflorescence. Observed flower dry-down remains part of verification.
Important: A lower RH reading after removal does not prove the pathogen is gone. Environmental correction reduces future risk. Disease verification still requires plant observation.
Escalate when the pattern is larger than one sanitation event
Seek diagnostic support when multiple plants develop similar flower rot, symptoms return after repeated removals, unusual pink, white, black, or other fungal growth appears, stem cankers develop, or the crop value justifies knowing the pathogen. Cannabis research has documented Botrytis, Penicillium, Fusarium, powdery mildew, and other fungi associated with flower disease, so visual shorthand can become misleading.
Commercial and regulated growers may also have mandatory destruction, quarantine, pesticide, worker-safety, sampling, testing, or recordkeeping requirements. Follow the rules that apply to the crop and jurisdiction rather than substituting a home-garden sanitation workflow for a compliance program.
Verification can reveal a prevention problem outside the flower
If rot repeatedly appears in the same physical zone, look beyond the pathogen name. A branch may be pressed against another cola. Air may short-circuit around a dense interior. Rain may enter from one side. An irrigation emitter may wet low flowers. A support net may hold dead leaves against buds. The pattern can identify the site feature that keeps recreating risk.
Final Removal and Reinspection Checklist
Use this checklist when a flower becomes suspicious enough that you are considering removal. It follows the same decision chain every time so a stressful discovery does not turn into random cutting and spraying.
Remove, contain, correct, and verify
- Stop routine work through healthy flowers once a potentially sporulating site is found.
- Record plant ID, branch location, number of suspect sites, and baseline photographs before manipulation.
- Inspect the immediate branch and neighboring slow-drying flowers without aggressively opening every cola.
- Prepare a closeable waste container, clean cutting tool, gloves, and a clear route out of the crop.
- Reduce direct air blast across a visibly sporulating flower during the actual removal without disabling environmental control longer than needed.
- Contain the flower with the least disturbing method available and avoid squeezing, shaking, brushing, or misting it.
- Cut at a structurally sensible point beyond visibly compromised tissue. Do not use an invented universal distance.
- Seal removed material before carrying it through healthy plants.
- Clean fallen debris and contaminated work surfaces gently. Do not dry sweep or blow spores around.
- Change contaminated gloves and clean/disinfect tools before returning to healthy plants.
- Correct the observed moisture, contact, sanitation, airflow, or injury problem that made the site vulnerable.
- Recheck the same marked flowers and branch positions for new lesions, internal browning, or sporulation.
- Escalate to laboratory or plant-clinic diagnosis when new sites continue appearing or the pathogen identity changes the management decision.
- Discard visibly moldy flower rather than treating trimming, rinsing, drying, or curing as proof that it is safe to consume.
A successful removal event is quiet. The suspect material leaves the crop without being shaken through it, the tool and contact surfaces are reset before healthy work resumes, the flower environment becomes less favorable to decay, and repeat inspection shows no continuing expansion. The cut is only the middle of the procedure. Verification is the endpoint.
Share this article
A quick overview of the topics covered in this article.
Follow us
Latest articles
September 26, 2026
September 26, 2026
September 26, 2026
September 26, 2026
