
Can Any LED Light Be Used as a Grow Light for Cannabis?
You can place a cannabis plant under almost any white LED and see a response. New leaves may turn toward it, a seedling may stay alive, and a small plant may continue growing. That does not mean every LED is ready to carry a productive canopy through flowering.
The useful answer is yes, an ordinary LED can grow cannabis if enough suitable light reaches the leaves for the right number of hours. The practical answer is that most household bulbs and general-purpose shop lights are designed to illuminate rooms for people, not to deliver strong and even photon density across a cannabis canopy. They can be useful for seedlings, clones, mothers, a very small vegetative plant, or supplemental lighting. Mature flowering usually exposes their limits.
Let us make that distinction measurable. We will look at real power draw, the misleading language of “equivalent watts,” beam shape, PPFD, daily light integral, spectrum, distance, canopy area, electrical safety, and the signs that tell you whether the light is actually doing its job. If you already own ordinary LEDs, you will also get a practical way to test them before buying more equipment.
Use this guide only for lawful cultivation with the property owner’s permission. Follow local rules for plant numbers, locked access, electrical work, ventilation, odor, and alterations to a property. Ask a qualified electrician to assess permanent wiring, circuit capacity, wet-location protection, or any installation beyond your competence.
An LED becomes a useful grow light through performance, not through its label.
LED describes the technology that creates light. A grow light is a lighting system used to deliver a suitable photon quantity, spectrum, distribution, and daily dose to a plant. A household bulb can perform a limited grow-light role, while a poorly designed product sold as a grow light can still perform badly.
Can any LED light grow cannabis?
In the strict biological sense, many LEDs can support photosynthesis. White household LEDs normally contain blue-emitting diodes coated with phosphor, which converts part of that output into a broader visible spectrum. Red, green, and blue photons within that white light can all contribute to plant processes. Cannabis does not inspect the package for the words “full spectrum.” It responds to the photons that actually reach its tissues.
The limitation is usually quantity and distribution rather than the complete absence of usable wavelengths. A 9-watt household bulb may provide useful light to one seedling placed close below it, yet leave a wider canopy severely underlit. Several bulbs can increase output and spread, but the collection of sockets, adapters, cables, and heat points can become awkward or unsafe before it becomes an efficient flowering system.
It also helps to separate survival from productive cultivation. A plant that remains green and slowly elongates is growing, but it may not be building the compact leaf area, strong branches, root demand, and flower mass expected from a controlled indoor crop. The question is not only, “Can this LED keep the plant alive?” It is, “Can this complete setup deliver an appropriate daily light dose across the canopy without creating a new problem?”
What to Remember: Ordinary white LEDs are not automatically unusable, and horticultural LEDs are not automatically good. Judge the light at the canopy by measured output, coverage, heat behavior, construction, and the job you expect it to perform.
| Light Type | Seedling Suitability | Energy Efficiency | Heat at Canopy | Cost Profile | Controls | Best Use Cases |
|---|---|---|---|---|---|---|
| Household A-shape LED bulb | Useful when close enough and spread across a small tray. | Efficient for human lighting, but much output may miss the canopy. | Low per bulb, with heat concentrated at the base and driver. | Low per bulb; scaling needs more sockets and hardware. | Usually simple on or off operation; household dimmer compatibility varies. | One or a few seedlings, fresh clones after rooting, a tiny maintenance plant, or local supplementation. |
| LED floodlight or spotlight | Can work if intensity is reduced or distance is increased. | Directional output can place more light on leaves than an omnidirectional bulb. | Moderate at close range; housing and driver need airflow. | Low to moderate, depending on weather rating and output. | Often fixed output with limited horticultural data. | Small defined areas, side lighting, or experiments where output is measured. |
| LED shop light | Often useful over shallow propagation shelves. | Reasonable for low to moderate intensity, but model quality varies. | Spread across a long fixture rather than one bulb base. | Moderate; multiple units may be needed for a wider area. | Commonly on or off, sometimes linkable or dimmable. | Seedlings, clones, mothers, leafy vegetative shelves, and supplemental daylight. |
| Screw-in horticultural LED bulb | Useful when its output and minimum distance suit young plants. | May direct more plant-usable output downward than a household bulb. | Can run hot at the heat sink, especially in a closed shade. | Moderate per lamp; becomes expensive when many are required. | Usually on or off; some products offer limited dimming. | One small plant, a compact shelf, or targeted supplementation. |
| Purpose-built horticultural LED fixture | Very useful when dimmed or hung according to measured guidance. | Often publishes photon efficacy and total PPF for comparison. | Distributed across boards or bars; total room heat still follows electrical input. | Higher initial cost, with fewer sockets and better scaling. | Dimming is common; some models support external controls. | Full-cycle canopies, especially established vegetative growth and flowering. |
The 150-watt problem: actual watts are not equivalent watts
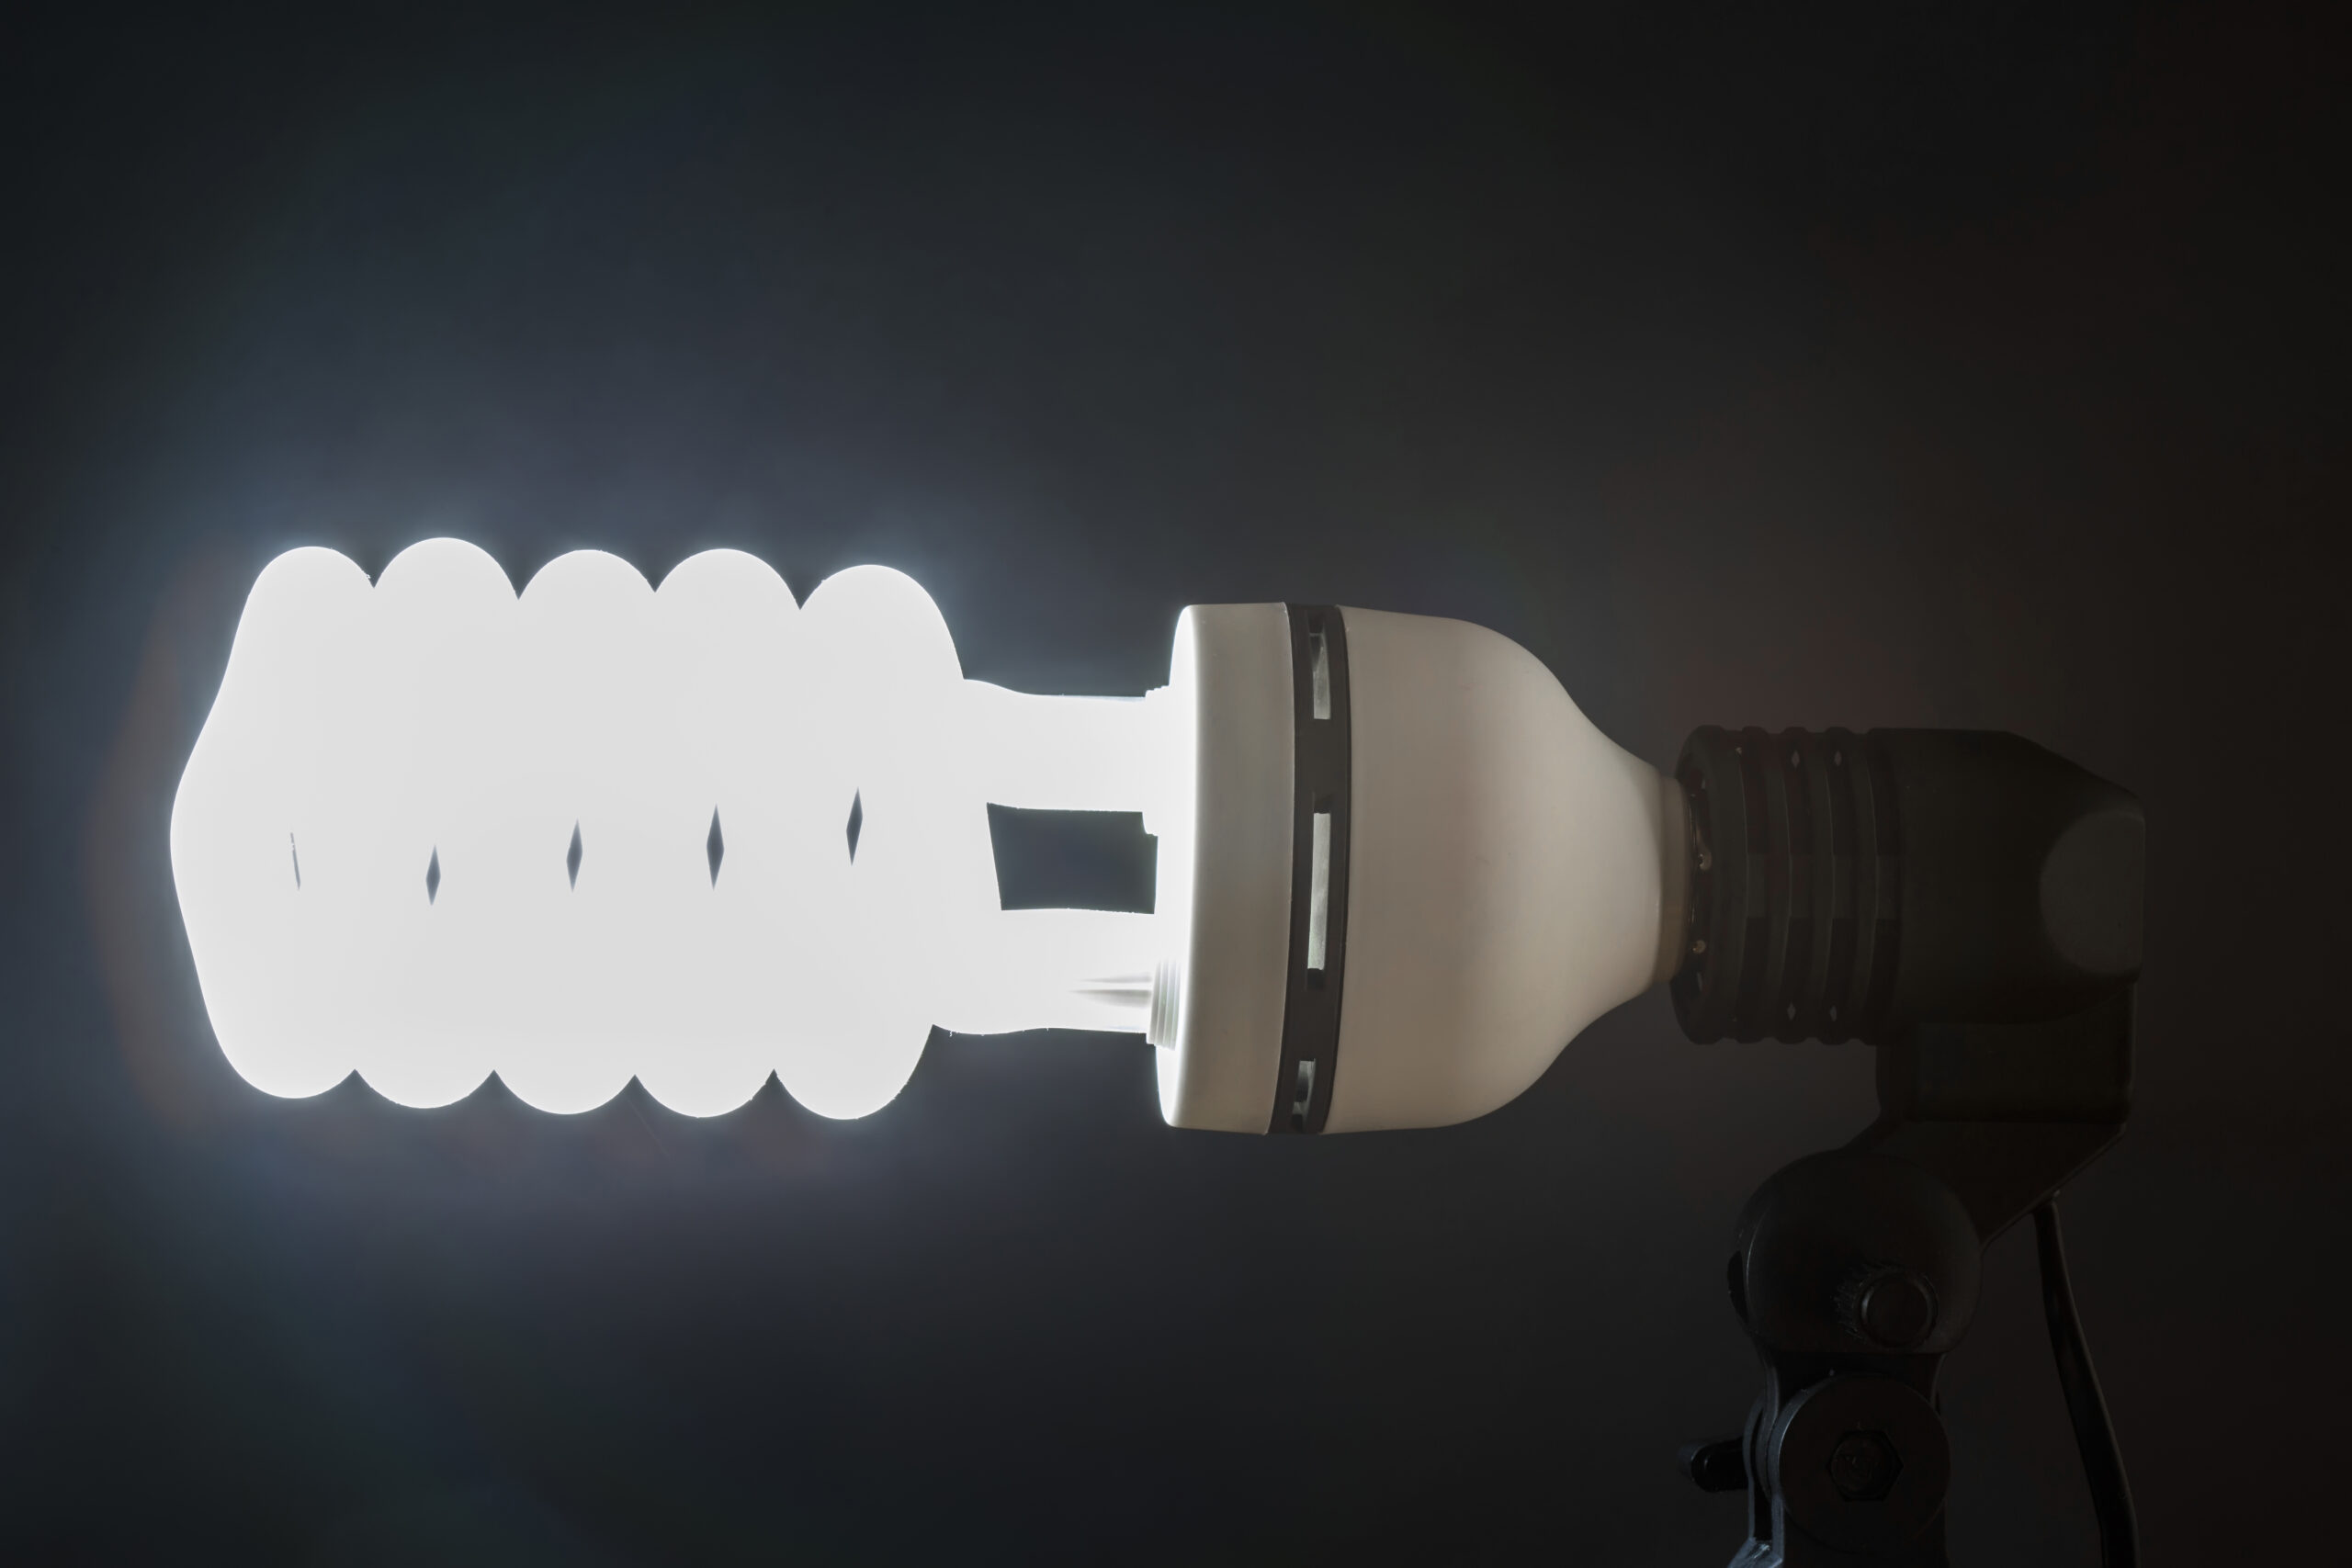
One of the most confusing claims in articles and product listings is that a “150-watt LED bulb” can grow a small plant. That phrase can describe two very different products. A true 150-watt LED draws roughly 150 watts from the wall and is a powerful light source with substantial heat to manage. A common household bulb labeled “150 W equivalent” may draw only about 20 watts while producing a similar human-visible brightness to an old 150-watt incandescent lamp.
Equivalent wattage is a consumer comparison. It does not describe electrical load, plant-usable photon output, or cannabis coverage. Actual watts describe power consumption, but they still do not tell you how efficiently the lamp converts electricity into photosynthetic photons or where those photons land. A directional 20-watt lamp can be more useful over a tiny tray than an omnidirectional bulb of similar draw, yet neither number proves flowering capacity.
Read the Lighting Facts label and product specifications carefully. Find the actual input wattage first. Then look for beam angle, lumens, correlated color temperature, dimming restrictions, enclosed-fixture approval, and operating-position limits. These details help explain the lamp, but a household label usually does not provide PPF, photon efficacy, a spectral distribution graph, or a PPFD map.
Important: Never size a cannabis light from “incandescent equivalent” wattage. Record the actual electrical draw and evaluate the light reaching the complete canopy. Equivalent watts are not a horticultural measurement.
“My bulb says 150 W equivalent but only uses 19 W. Which number matters?”
Question sent by: Ethan Parker, via e-mail.
The 19-watt figure describes electrical input and is the number used for circuit load and operating cost. The 150-watt-equivalent claim compares visible brightness with an old incandescent bulb. Neither number tells you the PPFD at the leaves. Treat it as a 19-watt LED, place it in a compatible open fixture, then measure or map the light over the small area you expect it to cover.
What makes a horticultural LED different?
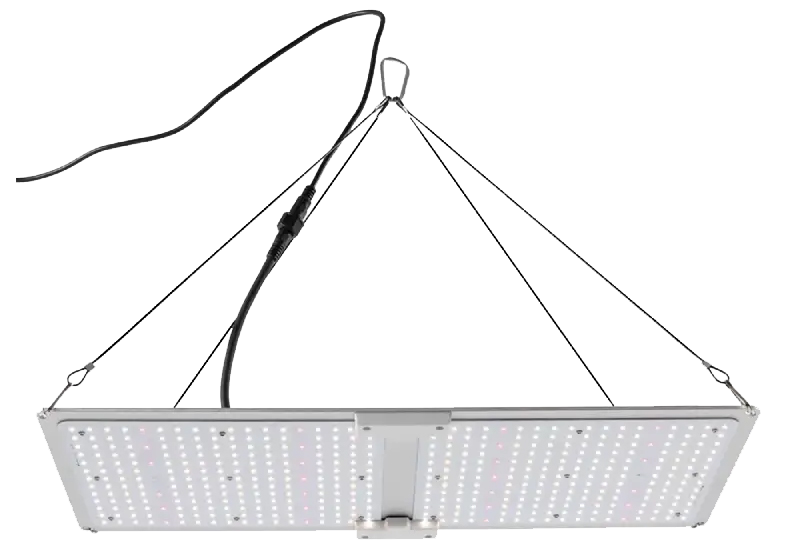
A horticultural LED fixture is designed around a target growing area rather than the visual comfort of a room. Its diodes, optics, bars, boards, driver, frame, thermal path, hanging system, and controls are chosen to deliver photons toward a canopy for many hours each day. Better products publish enough data for the grower to compare performance rather than relying on color names or dramatic photographs.
That does not mean every grow light has an exotic spectrum. Many successful fixtures use broad white diodes combined with deep red or other channels. The practical advantages often come from higher photon output, directional distribution, large heat-sink area, dimming, tested electrical construction, and a shape that spreads light across a square or rectangular canopy.
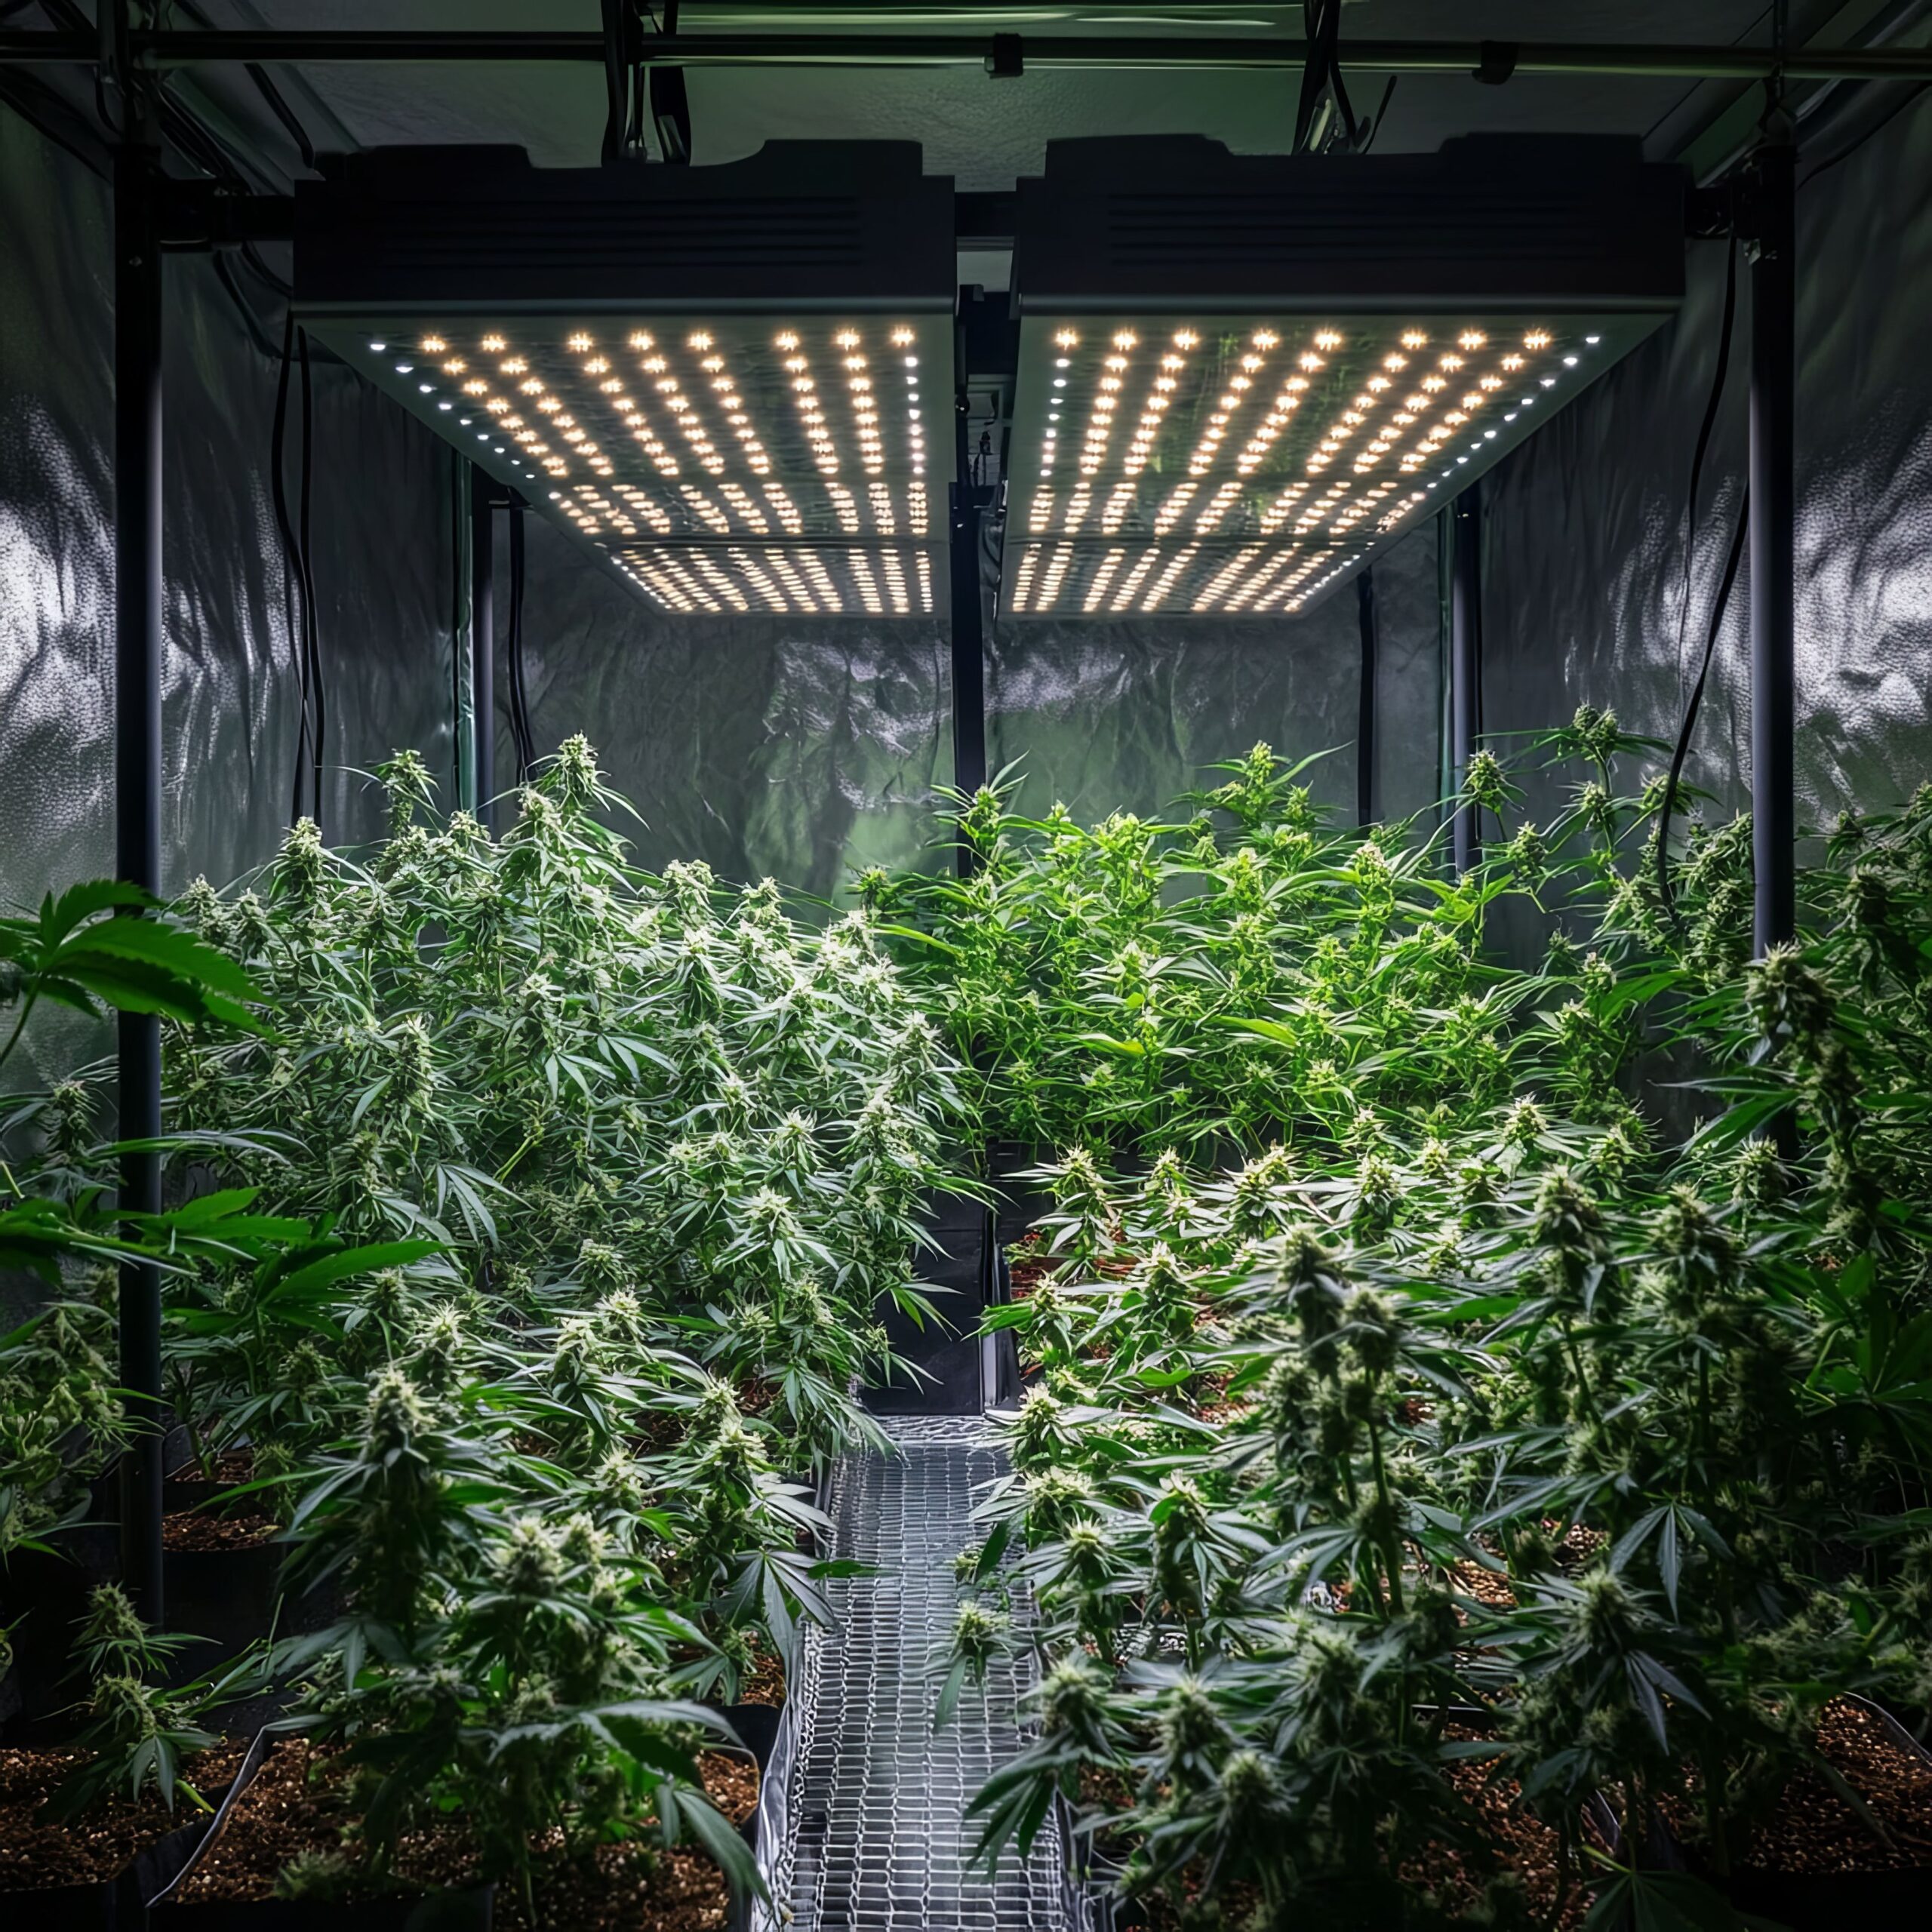
A credible specification package may include actual input power, PPF, photosynthetic photon efficacy, spectral distribution, recommended mounting heights, a measured PPFD grid, dimming range, safety certification, ingress or damp-location information, warranty terms, and expected output maintenance. Household bulbs are normally tested and labeled for human illumination. Their thermal management and diffuser geometry serve that purpose, which is why simply removing the diffuser or crowding several bulbs inside a shade is not a sensible shortcut.
| Specification | Why it matters at the canopy |
|---|---|
| Actual input power | Shows electrical draw and helps estimate operating heat and cost. It does not measure usable light by itself. |
| PPF | Describes the photosynthetic photons emitted by the complete fixture each second. It does not show distribution. |
| Photon efficacy | Compares photon output with electrical input in micromoles per joule. Use complete fixture data, not diode-only marketing. |
| PPFD map | Shows how photon density changes across the intended area at a stated height. Average, minimum, and edge values matter more than one center maximum. |
| Spectral distribution | Shows the actual balance of wavelengths. Color temperature and words such as “sunlike” cannot provide the same information. |
| Dimming range | Lets one fixture serve young and mature plants while giving the room space to respond to heat or water demand. |
| Thermal design | Keeps diodes and drivers within their operating limits. Excess heat accelerates output loss and component failure. |
| Safety and environmental rating | Helps determine whether the product suits long daily operation near humidity, irrigation, and suspended hardware. |
PPFD and DLI decide whether the light is enough
Plants use photons, and the amount arriving at the canopy is commonly described as photosynthetic photon flux density, or PPFD. It is measured in micromoles per square meter per second. A bulb can look painfully bright to your eyes while delivering modest PPFD because human vision is most sensitive to some wavelengths and does not judge plant lighting in the same way.
Daily light integral, or DLI, adds time to intensity. It describes the total photosynthetic photon dose delivered to a square meter during one day. The calculation is:
DLI = PPFD × light hours × 0.0036
For example, 200 PPFD over 18 hours provides about 13.0 mol/m2/day. The same 200 PPFD over 12 hours provides about 8.6 mol/m2/day. Extending the day increases DLI, but it does not fix uneven coverage, change a photoperiod cultivar’s need for uninterrupted darkness during flowering, or make overloaded wiring acceptable.
| Parameter | Target Range | Warning Zone | What It Means |
|---|---|---|---|
| Freshly emerged seedling or rooted clone | About 100 to 250 PPFD | Very low light that causes persistent stretch, or strong light before roots can support demand | Household bulbs and shop lights may be useful when they cover the tray evenly and remain thermally safe. |
| Established vegetative canopy | About 250 to 500 PPFD | Weak edges, excessive center intensity, or rapid increases without acclimation | Ordinary fixtures may handle a small shallow canopy, but scaling and uniformity become more difficult. |
| Established flowering without supplemental CO2 | About 500 to 900 PPFD | Large parts of the canopy below the productive range, or unsupported intensity that causes bleaching and stress | A measured horticultural fixture is usually the simpler and safer route for a meaningful flowering area. |
| Daily dose at 200 PPFD for 18 hours | About 13.0 mol/m2/day | Extending hours to hide weak instantaneous intensity | Useful for some young plants, but the stage, cultivar, and response still determine suitability. |
| Daily dose at 700 PPFD for 12 hours | About 30.2 mol/m2/day | High demand without matching roots, water, temperature, airflow, and CO2 | A productive flowering dose only when the whole environment can support it. |
These are starting ranges, not universal prescriptions. Cultivar, acclimation, canopy depth, temperature, leaf temperature, carbon dioxide, root health, water availability, and the instrument used to measure light all influence the useful range. A moderate uniform canopy can be more productive than a high center reading surrounded by weak corners.
Master Advice: Map the whole canopy. A single reading directly below the brightest diode cannot tell you whether the plant’s outer branches receive enough light or whether the center is being pushed too hard.
Where ordinary LED bulbs can work well
Household LEDs are most defensible where the canopy is small, shallow, and easy to inspect. A few broad white bulbs can provide an inexpensive propagation zone. A linear shop light can cover a tray of rooted cuttings. A directional flood can support one side of a compact maintenance plant. In these roles, the crop does not need flowering-level intensity and the grower can keep the leaves close enough to use the limited output.
Seedlings and young clones
Young plants need gentle, even light while roots establish. Too little light encourages long weak stems and slow leaf expansion. Too much light can increase water demand before the root system can supply it. Ordinary white LEDs can fit this stage because the area is small and the fixture can often be placed close without excessive radiant heat.
Start with enough distance to avoid heating or bleaching the highest leaves. Check every corner of the tray, because one bulb creates a circular hotspot while rectangular trays extend beyond it. Rotate only as a temporary way to learn about unevenness. The better correction is to change spacing, add a suitable reflector or second fixture, reduce the tray size, or use a longer propagation light.
Mothers and slow maintenance growth
A mother plant kept for cuttings does not always need maximum growth speed. Moderate white light can help keep water use, pruning, and vertical growth manageable. The limitation is plant size. As branches expand beyond the useful footprint, inner and lower growth becomes weak, internodes lengthen, and the plant may become harder to maintain.
Prune for a shallow reachable canopy and confirm that new shoots develop across the whole plant. If only the center grows vigorously, the light is not covering the mother simply because the room looks bright.
Daylight supplementation
A household LED can supplement a bright window or greenhouse corner when natural light is variable. In that role, it is adding photons rather than carrying the complete crop alone. Measure both conditions if possible: natural light changes by hour, weather, season, latitude, glass type, and shading, while the electric lamp remains predictable.
Do not place an electrical lamp where condensation, splashing, or unstable hanging becomes likely. A bright window also does not guarantee a correct cannabis photoperiod. Photoperiod plants need a controlled and uninterrupted dark period during flowering.
“Can four regular LED bulbs handle one cannabis seedling?”
Question sent by: Lauren Mitchell, via Facebook page.
They may be more than enough, not enough, or badly distributed. The answer depends on actual watts, beam shape, distance, spacing, and the size of the leaf area. Begin with the bulbs spread across the tray rather than clustered in one point. Check PPFD if possible, watch stem extension and leaf posture, and remove or raise bulbs if the young plant shows bleaching, upward cupping, or a hot leaf surface.
Why flowering reveals the weakness of household LEDs
Flowering cannabis asks the light to cover a wider and denser canopy for a shorter daily photoperiod. The leaves and developing flowers need enough photons across many sites, not only at the top of one central cola. A weak lamp may initiate flowers because the photoperiod is correct, yet produce airy growth, slow mass accumulation, shaded lower sites, and uneven maturity.
Ordinary bulbs can technically flower a very small trained plant if enough of them are placed close and safely. The engineering problem is scale. Every added bulb needs a socket, mechanical support, spacing, electrical connection, and a path for heat. Omnidirectional bulbs waste part of their output upward or sideways. Diffusers soften glare for people but can reduce useful directionality. The center may become too intense while the outer canopy remains weak.
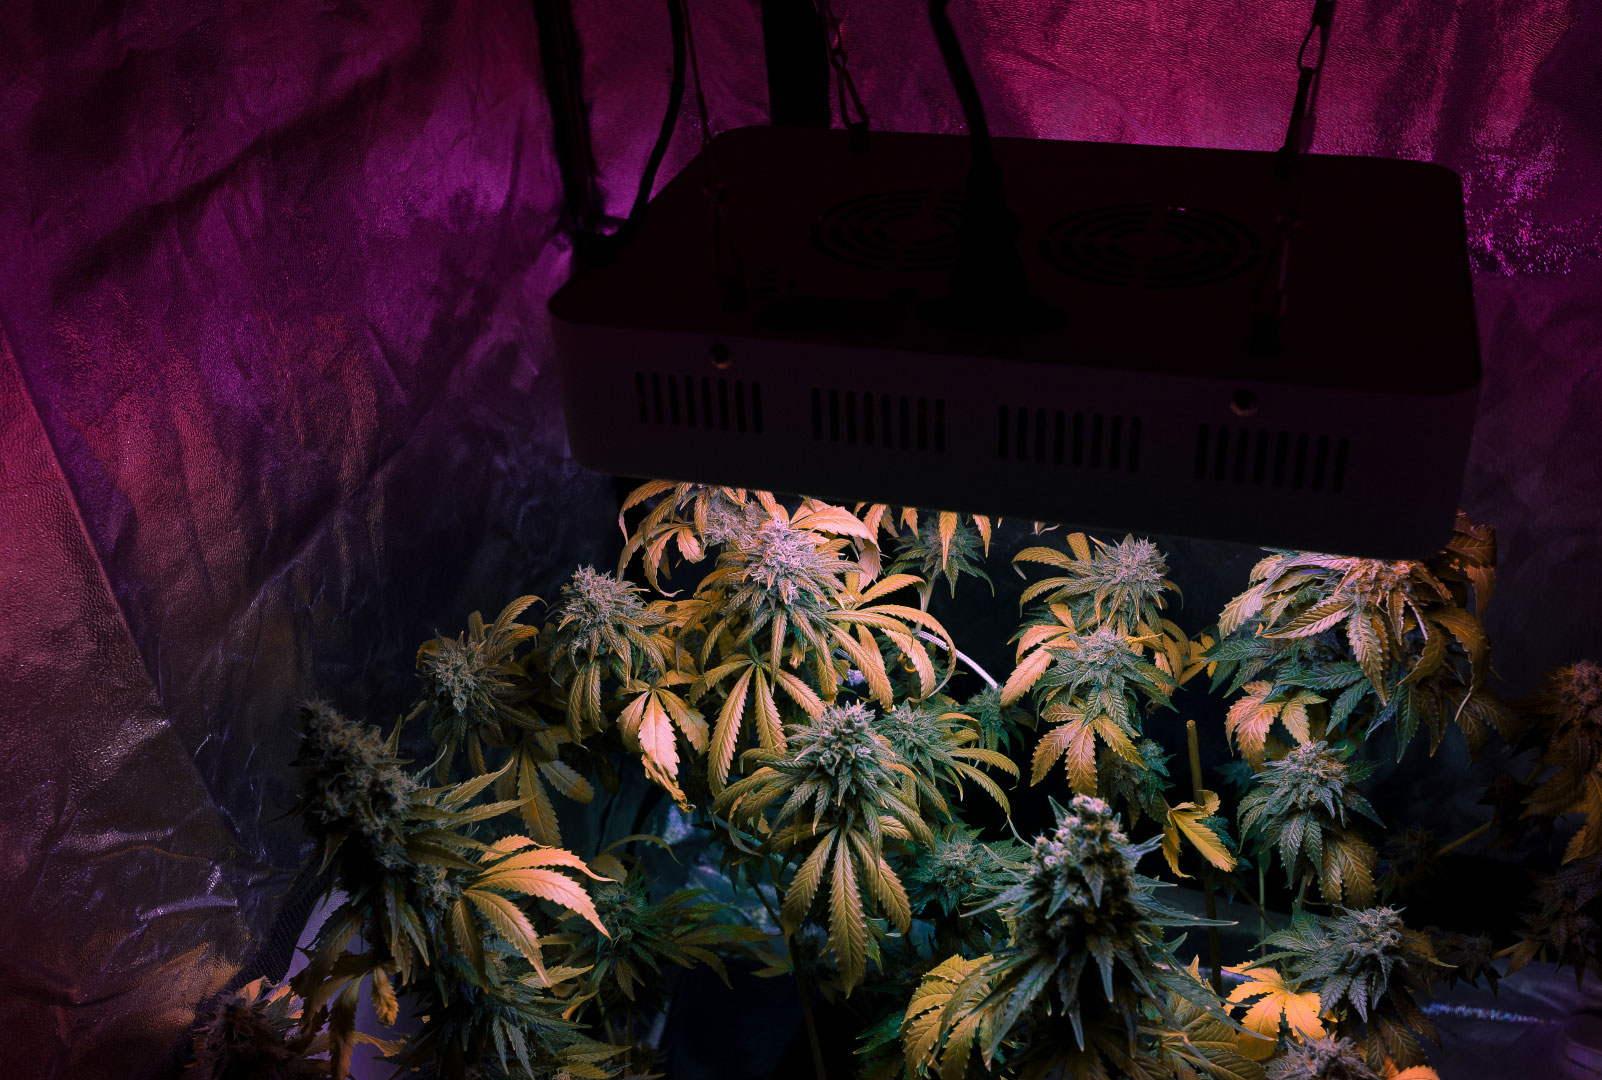
Controlled cannabis research repeatedly shows that light intensity can affect flower yield and structure, while the economic value of added intensity depends on fixture efficacy and the rest of the environment. This is why a lamp that succeeds during propagation can disappoint later. The plant has not become incompatible with white LED. The canopy has outgrown the lamp’s useful photon area.
Advice: If an ordinary LED setup reaches its limit during vegetative growth, upgrade before the canopy is locked into flowering. It is easier to acclimate a healthy, trainable plant to a measured fixture than to rescue a stretched, uneven canopy after flower sites are established.
Color temperature is not a cannabis spectrum report
Household white LEDs are often sold as 2700 K, 3000 K, 4000 K, 5000 K, or 6500 K. Correlated color temperature describes how warm or cool the light appears to human vision. A lower number looks warmer and usually contains a stronger visible red balance. A higher number looks cooler and often has a larger blue fraction. It does not reveal every wavelength or guarantee a specific plant response.
Cannabis can grow under warm, neutral, or cool white LEDs when intensity and daily dose are suitable. A cool-white bulb may support compact vegetative morphology, while a warm-white bulb can contribute useful red photons. That does not create a rule that 6500 K is required for vegetative growth or 2700 K is automatically a flowering lamp. Two products with the same CCT can have different spectral distributions, efficacy, optics, and output.
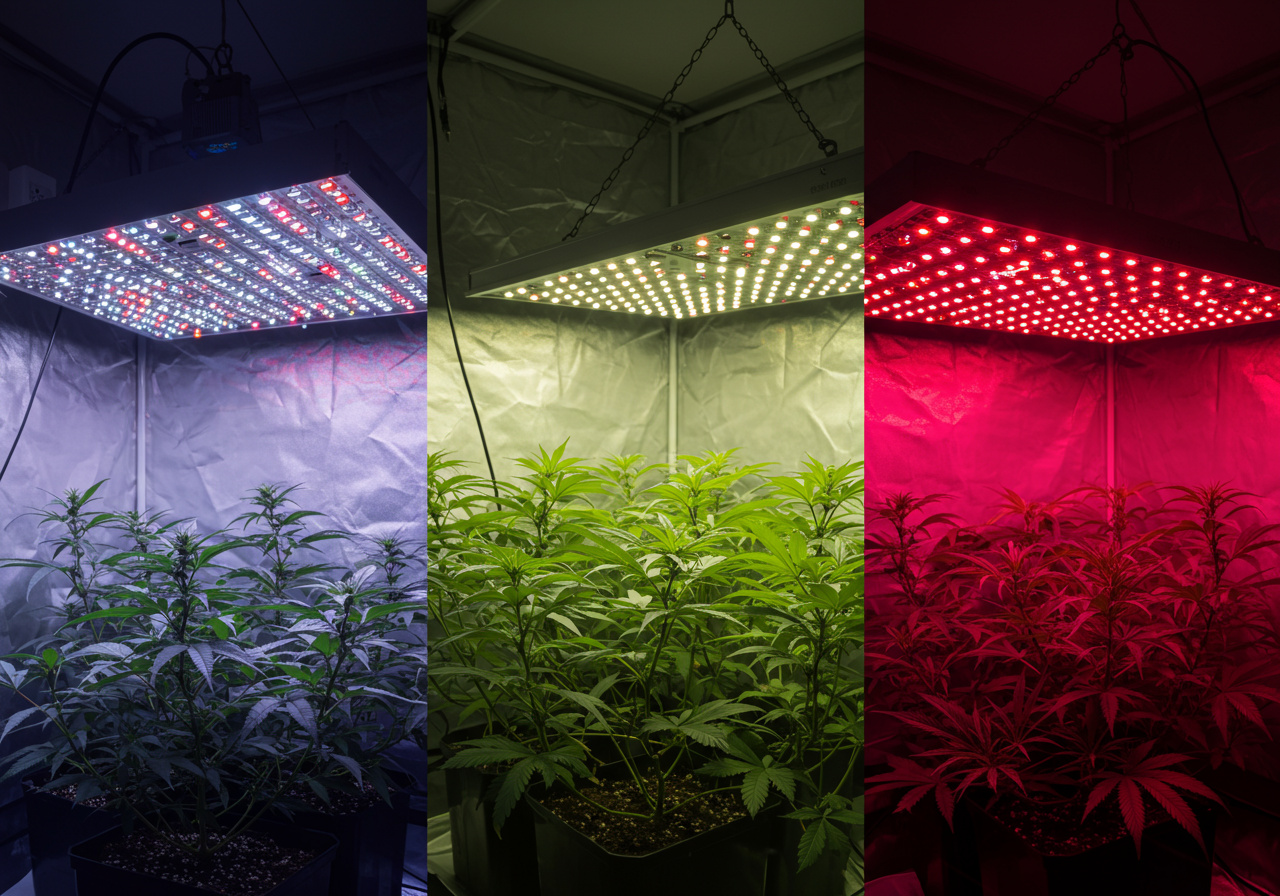
Color rendering index, or CRI, describes how naturally colors appear to people under a light. A high-CRI white source can make leaf inspection easier, but CRI is not a measure of photosynthetic output. Lumens and lux are also weighted for human vision. They can be useful for repeatable comparisons between similar white LEDs, yet they are not interchangeable with PPFD across different spectra.
Build a measured white-light baseline
Choose a sensible CCT, map the canopy, calculate DLI, keep the plant level, and adjust one variable at a time. Use neutral white light when inspecting leaf color, pests, and flower condition.
Treating Kelvin as a growth-stage switch
Do not assume a 6500 K household bulb is a complete vegetative system or that a 2700 K bulb becomes a flowering fixture. Color appearance cannot replace photon output, coverage, thermal design, and safety data.
How to test the LED lights you already own
You do not need to discard every household bulb before learning what it can do. Start with a small defined area and treat the setup as a testable system. The goal is to find the useful footprint, not to prove that the bulb is good or bad as a product category.
1. Record the exact lamp and actual power draw
Photograph or write down the model, input watts, voltage, CCT, lumen output, beam angle, dimming restrictions, enclosed-fixture rating, and safety marks. Ignore equivalent wattage for horticultural sizing. If the lamp is old, discolored, flickering, buzzing, cracked, or unusually hot, replace it rather than testing it above a crop.
2. Define the canopy before measuring
Measure the leaf area in length and width. A lamp cannot cover an abstract plant count. One trained plant may fill 2 by 2 feet, while several young plants may occupy less than half that area. Mark a simple grid across the intended canopy so the center, corners, and edges are all checked at the same height.
3. Measure PPFD, or make a cautious comparison
A calibrated quantum sensor gives the strongest direct measurement. A suitable meter can reveal whether the lamp creates an intense center and weak edges. Consumer phone apps and lux meters may help compare positions under similar white light, but their spectral response, diffuser, camera calibration, angle, and device model can introduce large errors. Use them as mapping aids, not as unquestioned laboratory instruments.
If no meter is available, plant behavior becomes a slower diagnostic tool. Keep the photoperiod stable, record distance, and avoid changing feeding, temperature, and watering at the same time. Watch new growth over several days rather than reading one leaf in isolation.
4. Calculate the daily dose
Use the average PPFD across the grid, not the maximum center reading. Multiply it by the light hours and 0.0036 to estimate DLI. If the average is low, extending the day can increase DLI during vegetative growth or for an autoflower, but it also increases electricity, heat exposure, and operating hours. It cannot replace the dark period required for photoperiod flowering.
5. Check leaf temperature and fixture temperature
LEDs are efficient, not heat-free. Household lamps move heat into the base, driver, and heat sink. Crowding them together, enclosing them in a shade, covering ventilation openings, or using them above the listed ambient temperature can shorten life and reduce output. Check the lamp holder, plug, cord, connector, and surrounding material for abnormal heat.
6. Decide whether the system can scale safely
If the bulb covers one square foot adequately but the intended canopy is four times larger, ask what scaling requires. Four lamps may not create four times the useful coverage if they are clustered, blocked, or mounted at different heights. Count actual watts, sockets, connectors, supports, and heat sources. Compare that complete assembly with one tested horticultural fixture before buying another handful of parts.
“Can I trust a phone PAR app to decide whether my bulbs are enough?”
Question sent by: Jordan Ellis, via e-mail.
Use it cautiously. A phone app can help you compare the center with the edges and repeat the same measurement after moving a lamp. It may be inaccurate in absolute PPFD because phones have different cameras, filters, diffusers, and calibration. If the decision affects a full flowering canopy or an expensive purchase, compare the app with a known meter or use reliable fixture data. Do not turn a precise-looking screen number into false certainty.
Building a small multi-bulb setup without creating a hazard
Several ordinary bulbs can create a useful propagation or compact vegetative area when they are spaced across the canopy. The safest layout uses listed lamp holders and fixtures, stable noncombustible support, strain relief, correct socket ratings, airflow around every driver, and wiring kept away from irrigation. The bulbs should point toward the plants without contacting leaves, fabric, plastic covers, or reflective material.
Do not remove diffusers, drill lamp housings, tape bulbs into place, hang assemblies from their power cords, or exceed the fixture’s lamp rating. Do not assume that a socket splitter is suitable because the combined LED wattage looks low. Mechanical load, heat around the bases, contact quality, and the rating of every component still matter.
Extension cords should be temporary rather than permanent wiring. Add the actual wattage of every lamp and device on the circuit, including fans, heaters, humidifiers, dehumidifiers, pumps, and controllers. Water containers should not sit above power strips or connections. Use electrical equipment suited to the location, and have a qualified professional assess the installation when you cannot verify circuit capacity or protection.
More bulbs mean more failure points.
Do not overload lamp holders, socket splitters, power strips, extension cords, timers, or the branch circuit. Keep connections dry and uncovered, replace damaged components, use properly rated equipment, and secure every fixture independently. If a plug, socket, driver, cable, or connector becomes hot, discolored, loose, noisy, or smells abnormal, disconnect power and correct the cause before operating the garden again.
Household LED bulbs versus shop lights
A household A-shape bulb is designed to spread visible light around a room. That shape can waste output above and beside the canopy unless a compatible reflector directs it downward. The bulb’s small source also creates a steep intensity gradient: close leaves receive much more light than leaves a short distance away.
A shop light distributes diodes along a bar or strip, which can improve uniformity over a shallow shelf. It may be easier to position several parallel fixtures than many individual bulbs. The limitations are output, driver quality, linkable-connection ratings, moisture suitability, and the absence of horticultural test data. Some shop lights work well for propagation; others are visibly bright but weak at the plant.
A screw-in horticultural bulb often directs light downward and may publish PPF or a recommended footprint. It can be a useful middle option for one small plant. Scaling several high-output bulbs may still cost more, use more hardware, and produce poorer uniformity than one bar or board fixture sized for the same canopy.
Pro Tip: If you must choose between adding another bulb directly above the center and improving edge coverage, map the canopy first. The center often has enough light long before the outer branches do.
Common symptoms when the LED setup is wrong
Light problems do not create one unique symptom. Stretch, bleaching, droop, pale growth, heat stress, irrigation errors, wind stress, and nutrient problems can overlap. Diagnose by pattern: where the symptom appears, how it relates to the brightest area, what changed, and whether roots and environment can support the current intensity.
| Symptom | Possible Cause | How to Confirm | Corrective Action | Prevention |
|---|---|---|---|---|
| Long internodes and leaning | Low PPFD, one-sided light, or a fixture too far from the canopy. | Compare center and edge readings; check whether new growth points toward one lamp. | Improve distribution, reduce the canopy area, or lower the fixture within safe thermal limits. | Map the tray or canopy before plants begin rapid extension. |
| Strong center with weak outer branches | Narrow beam, clustered bulbs, or a footprint larger than the useful light area. | Measure a grid at one level and compare growth across the plant. | Spread sources, train to a smaller area, or replace the assembly with a wider fixture. | Choose by PPFD map and real canopy dimensions rather than plant count. |
| Pale or bleached upper growth | Excessive PPFD, close hotspot, heat, or root-zone stress near the brightest site. | Check whether damage is strongest directly below the lamp; compare leaf temperature and root conditions. | Raise or reduce the light, then correct confirmed environmental or root causes separately. | Increase intensity gradually and preserve distance as the canopy rises. |
| Upward leaf-edge curl | High light, warm leaf surface, dry air, direct fan stress, or a combination. | Measure PPFD, temperature, humidity, leaf temperature, and fan direction. | Make one evidence-based correction and watch new growth. | Keep environmental notes as the light level changes. |
| Slow flowering and airy sites | Low average PPFD, shaded canopy, excessive depth, or broader plant limits. | Map productive sites, inspect root health, and compare daily dose with the stage. | Improve coverage before late flower, remove unrealistic canopy area, and support the environment. | Enter flowering with a level canopy and a measured full-cycle light plan. |
| Flicker, cycling, hot plug, or odor | Failing driver, incompatible dimmer, poor connection, overload, or damaged equipment. | Disconnect power and inspect the listed components and ratings. | Stop using the affected equipment and replace or professionally correct the cause. | Use rated fixtures, avoid improvised adapters, and inspect connections routinely. |
Old damaged tissue may not return to its original color or shape after the light is corrected. Judge recovery through stable posture and healthy new growth. Avoid feeding more simply because leaves look pale beneath the brightest point. Excess nutrition can create a second problem while the light or root-zone issue remains.
How ordinary LEDs change watering and room behavior
A weak household setup may keep the medium wet longer because leaf area, temperature, and transpiration remain modest. When more bulbs are added or the plant is moved to a horticultural fixture, water use can increase after acclimation. The correct response is not an automatic watering schedule. It is to watch pot weight, moisture at depth, root-zone aeration, leaf temperature, and the rate at which the canopy develops.
LEDs still add their electrical input to the room as heat. A collection of small bulbs can feel cooler at the leaf surface than HPS, but their drivers and bases release heat into the enclosure. Raising air temperature without controlling humidity changes vapor pressure deficit and water demand. Dense wiring and fixtures can also obstruct circulation above the canopy.
A brighter replacement does not require an immediate jump in fertilizer. Light can raise growth potential only when roots, water, mineral nutrition, carbon dioxide, temperature, humidity, and leaf area are ready. Acclimate intensity in steps, keep the recipe stable, and let plant response justify the next increase.
“I replaced six household bulbs with one grow light. Should I feed more immediately?”
Question sent by: Riley Thompson, via X.
No. First dim or raise the new fixture to a measured starting level and give the canopy time to acclimate. Watch leaf posture, temperature, irrigation demand, root-zone EC, and new growth. Increase feed only when the established nutrition program, medium, water quality, and plant response support that change. More light can increase demand, but it does not prove that nutrients were the previous limitation.
Can household LEDs affect bud quality?
Light quantity and distribution can influence flower mass, density, architecture, and the amount of productive tissue across the canopy. Spectrum can also affect morphology and secondary metabolism under particular conditions. That does not create a direct rule that household LEDs produce poor flavor or that an expensive fixture guarantees stronger aroma.
Final flower quality develops through genetics, healthy leaf function, root-zone stability, temperature, humidity, irrigation, nutrition, harvest timing, handling, drying, curing, and storage. An underpowered lamp can limit biomass and create uneven maturity. An overly intense or hot setup can stress upper flowers, accelerate dry-back, and make environmental control harder. Both conditions reduce the grower’s ability to carry healthy tissue into harvest.
A broad white household LED may have enough spectrum for photosynthesis, but it usually lacks the output and coverage data needed to plan a uniform flowering crop. A horticultural fixture does not add a secret flavor wavelength. It gives you a more predictable platform for delivering and repeating the light environment that preserves plant function.
Remember: Light technology supports quality by keeping the whole canopy productive and the room manageable. It cannot replace genetics, stable roots, correct harvest timing, or a careful dry and cure.
When upgrading becomes cheaper than adding more bulbs
Household bulbs look inexpensive because the first lamp and socket cost little. The calculation changes when the canopy needs six, eight, or twelve bulbs, several splitters, hangers, reflectors, extension leads, and a timer that can carry the load. Add the time required to space, inspect, clean, and replace those parts. Then compare total power draw and the useful area, not the number of lamps.
A purpose-built fixture may cost more at the beginning yet provide dimming, fewer connections, better thermal design, published photon output, and a measured rectangular footprint. It may also let you move the driver outside a small tent. These advantages can reduce operating complexity even when the efficiency difference is modest.
Keep an ordinary setup when it safely handles a propagation shelf, maintenance plant, or small supplemental role. Upgrade when you need a wider productive canopy, stronger flowering intensity, better uniformity, fewer electrical connections, or repeatable performance. Do not replace equipment only because a product page makes the current lamp look old.
Here is a practical recommendation for using ordinary LEDs without letting the setup grow out of control.
Give household bulbs one clearly defined job. Use them for a small propagation tray, one compact maintenance plant, a measured side-lighting gap, or temporary support while a suitable fixture is arranged. Mark the area they actually cover, record the distance and photoperiod, and stop expanding the canopy beyond that boundary.
When the plant begins to outgrow the measured footprint, compare the complete multi-bulb assembly with one dimmable horticultural fixture. Include sockets, supports, connections, power, heat, service life, and your time. This keeps the decision tied to plant performance and room safety rather than to the price of one more bulb.
A practical upgrade path from household bulbs
If the current plant is healthy, an upgrade does not need to be dramatic. Measure the existing canopy and keep its photoperiod unchanged. Install the new fixture at the manufacturer’s conservative height or a low dimmer setting. Match the previous average PPFD as closely as possible, then increase gradually as the plant demonstrates stable water use, leaf posture, and new growth.
Do not change the light, feed concentration, irrigation frequency, container, training method, and room temperature on the same day. Several simultaneous changes make stress difficult to diagnose. If the old bulbs provided useful side coverage, keep them off initially. Add them later only when a measured gap remains and every connection is still safe.
A healthy transition is visible in the next growth: level leaves, controlled internodes, increasing water use that matches root development, and similar vigor across the canopy. Persistent paling, hard upward cupping, stalled tips, unusually rapid dry-back, or a strong center-to-edge difference means the light plan needs another look.
Check these points before asking an LED to carry the crop.
- Record actual input watts rather than equivalent watts.
- Define the real canopy in length, width, and height.
- Map the center, corners, and edges at one canopy level.
- Calculate DLI from average PPFD and the real photoperiod.
- Confirm that spectrum claims are supported by usable output data.
- Keep every driver, socket, plug, and connection ventilated and dry.
- Add the full circuit load, including environmental equipment.
- Acclimate plants after any major increase in intensity.
- Watch new growth instead of expecting old damage to reverse.
- Upgrade when coverage and safety require more hardware than the job justifies.
Frequently asked questions about regular LEDs and cannabis
Can a normal white LED bulb grow cannabis from seed to harvest?
It may complete the biological cycle if enough light reaches a very small plant, but one ordinary bulb is unlikely to provide strong, even flowering intensity over a useful canopy. Seedlings and small vegetative plants are the more realistic role. Flowering should be judged by measured PPFD, daily dose, coverage, and the safety of the complete assembly.
Do regular LED bulbs contain the right spectrum for cannabis?
Broad white household LEDs normally contain plant-usable wavelengths and can support photosynthesis. Spectrum is only one part of the answer. Output, beam shape, distance, duration, canopy size, and environmental conditions usually determine whether the lamp is useful.
Is a 5000 K LED good for cannabis seedlings?
A 5000 K white LED can support seedlings when the intensity is gentle and even. The Kelvin label does not determine placement or coverage. Check actual watts, beam shape, distance, leaf temperature, and plant response.
Is 3000 K or 4000 K better for a full cycle?
Either can work when the fixture delivers an appropriate spectrum and enough uniform PPFD. A 3000 K product generally appears warmer and a 4000 K product more neutral, but CCT cannot reveal the complete spectral distribution. For a full cycle, fixture data and canopy performance matter more than choosing between those two numbers in isolation.
Can I use LED strip lights to grow cannabis?
Low-power decorative strips are usually too weak and thermally unsuitable as a primary light. Purpose-built LED strips or modules can be used when their driver, heat sink, output, mounting, insulation, and environmental protection are engineered correctly. Bare strips stuck to improvised surfaces are not a safe substitute for a tested fixture.
Can I mix household LEDs with a grow light?
Yes, when the added lamp solves a measured coverage gap and all hardware is properly supported and rated. Map the canopy before and after the addition. Do not add a household bulb solely to change the visible color or because one branch looks smaller for reasons that may involve roots, training, or airflow.
Will running a weak LED for 24 hours make it equivalent to a stronger light?
No. More hours increase DLI, but the plant still experiences the instantaneous PPFD and the fixture still has the same distribution. Photoperiod flowering requires reliable uninterrupted darkness, and continuous operation increases heat and component hours. Use a stable stage-appropriate schedule and solve inadequate coverage directly.
How close should a household LED be to cannabis?
There is no universal distance because bulb wattage, optics, diffuser, airflow, fixture orientation, and plant stage differ. Use measurements and the product’s operating limits. Move the light gradually while checking leaf temperature, PPFD distribution, stem extension, bleaching, and upward edge curl.
Are lumens useless for comparing household LEDs?
Lumens are designed around human vision, so they do not measure plant-usable photons directly. They can still help compare similar white bulbs when no horticultural data exist, especially if spectrum and beam shape are close. Do not convert a lumen figure into confident cannabis coverage without checking the canopy.
Can one shop light flower cannabis?
It depends on the exact fixture, mounting height, canopy area, and measured output. Many shop lights are useful for propagation or vegetative shelves but provide weak flowering PPFD over a mature canopy. Reduce the intended area and measure it before assuming that a long bright fixture is a high-output fixture.
Give every LED a defined job
Any LED can be called a grow light when it is used around a plant, but that name does not prove that it can support the intended cannabis canopy. Ordinary white bulbs and shop lights can be practical for propagation, mothers, compact vegetative growth, daylight supplementation, and temporary support. They become harder to justify as the canopy widens and flowering demand rises.
Start with the job. Measure the canopy, record actual watts, map photon distribution, calculate daily dose, and check the complete electrical and thermal system. If the ordinary LED handles that defined area safely, use it with confidence. If the setup needs a growing collection of sockets and adapters while the edges remain weak, the plant has already answered the question.
A horticultural fixture is not valuable because cannabis recognizes its label. It is valuable when it makes adequate, even, repeatable light easier to deliver. That is the standard every LED should meet.
Selected research behind this guide
The recommendations above combine horticultural lighting standards, university extension guidance, electrical safety information, and controlled cannabis research:
- Oklahoma State University guidance on LED grow lights, PPF, PPFD, DLI, placement, and coverage
- University of Minnesota guidance on indoor plant lighting measurements, distance, spectrum, and duration
- ANSI/ASABE S640 definitions for plant-light quantities and units
- Controlled study of cannabis yield, potency, photosynthesis, and increasing LED light intensity
- Cannabis research on spectrum, blue-photon fraction, fixture efficacy, yield, and production economics
- Cannabis study using fluorescent, horticultural LED, and generic white LED sources at measured PPFD
- ENERGY STAR explanation of LED thermal management, directionality, and output maintenance
- US Consumer Product Safety Commission guidance on extension-cord loading, heat, damage, and fire prevention
Share this article
A quick overview of the topics covered in this article.
Follow us
Latest articles
September 26, 2026
September 26, 2026
September 26, 2026
September 26, 2026
