Beginner Cannabis Grow Checklist: Everything to Do Before Germination
In indoor cannabis cultivation, the single most common mistake committed by novice growers is cracking valuable seeds before their physical growing environment is completely assembled, tested, and calibrated. Driven by natural excitement, beginners often place premium feminized or autoflowering seeds between moist paper towels on day one, only to discover forty-eight hours later that their grow tent runs dangerously hot, their exhaust fan creates violent negative pressure, their pH pen is uncalibrated, or their electrical circuit breaker trips under load.
Attempting to assemble ventilation ductwork, troubleshoot high temperatures, or wire digital climate controllers while a fragile, newly sprouted seedling is wilting on a windowsill induces intense stress for both the grower and the plant. A germinated cannabis seed is an extraordinarily vulnerable biological organism. In its first fourteen days of existence, a seedling possesses zero carbohydrate reserves, a paper-thin epidermal cuticular layer, and a delicate primary taproot that can be killed within hours by dry substrate, cold root-zone temperatures, or toxic manufacturing fumes off-gassing from unwashed plastic equipment.
Professional controlled environment agriculture (CEA) operates under a completely different paradigm: the pre-flight commissioning workflow. Commercial facilities never introduce living plant tissue into an unverified cultivation zone. Instead, engineers execute exhaustive empty-room dry runs, verifying electrical circuit safety margins, checking thermal dissipation profiles, logging vapor pressure deficit (VPD) stability across 24-hour day and night cycles, and calibrating analytical chemical instrumentation before a single seed is moistened.
By treating your personal grow tent or spare room as a precision cleanroom and completing every mechanical, electrical, and hydrological task in advance, you eliminate the frantic troubleshooting that leads to stunted seedling growth and high seedling mortality. In this authoritative technical guide, we present the comprehensive pre-germination checklist: an exhaustive, step-by-step commissioning protocol designed to ensure your indoor space is fully stabilized, safe, and ready to nurture your crop from radical emergence to a bountiful harvest.
The Golden Rule of CEA: The 48-Hour Empty-Room Burn-In Test
Never place germinating seeds or tender seedlings into a newly assembled grow tent without first executing a mandatory 48-hour empty-room burn-in test. Assemble all mechanical equipment: your LED light fixture, inline exhaust fan, carbon filter, oscillating circulation fans, humidifier, and digital environmental controllers. Run the system through two full simulated photoperiod cycles (such as 18 hours with lights energized at 100 percent power, followed by 6 hours of complete darkness). Continuously log ambient temperature, relative humidity, and calculated vapor pressure deficit (VPD) using a digital data-logging hygrometer. If temperature spikes above 85 degrees Fahrenheit or relative humidity plunges below 50 percent during lights-on, you must resolve these thermodynamic imbalances while the space is empty, rather than subjecting fragile seedlings to environmental shock.
The pre-germination journey begins with thorough physical space sanitation and structural inspection. Whether you are assembling a brand-new commercial grow tent out of the shipping carton or resetting a space previously utilized for indoor gardening, unseen contaminants represent an immediate existential threat to young seedlings. New grow tent fabrics, plastic drainage saucers, and vinyl ductwork frequently harbor residual volatile organic compounds (VOCs) and petroleum oils left behind by industrial manufacturing processes, which can off-gas under the intense heat of horticultural lights.
To eliminate chemical residues and biological pathogens, conduct a comprehensive two-stage wash-down. First, scrub all interior reflective Mylar walls, powder-coated steel frame poles, and waterproof floor pans with warm water and mild, unscented dish soap to strip away manufacturing oils. Follow this with a thorough sanitizing rinse using a 10 percent food-grade hydrogen peroxide solution, a 70 percent isopropyl alcohol spray, or a dilute peracetic acid wipe. Allow the enclosure to dry completely with the exhaust fan operating at maximum speed for twelve hours to purge all airborne sanitizing vapors.
If the tent or room was previously used for any botanical purpose, assume that microscopic fungal spores (such as Botrytis cinerea and powdery mildew) or insect eggs (two-spotted spider mites and fungus gnats) are dormant within corner crevices, zipper seams, and intake mesh screens. Vacuum the entire space using a sealed HEPA-filter vacuum cleaner, paying meticulous attention to stitching seams and floor corners, before wiping down every surface with a broad-spectrum fungicidal wash.
Electrical Safety Engineering: The 80 Percent Continuous Load Rule
Electrical safety is the paramount non-negotiable prerequisite of indoor cannabis cultivation. Under the National Electrical Code (NEC Article 210.20), an electrical circuit must not be loaded beyond 80 percent of its maximum rated capacity for continuous loads (defined as any operational load sustained for three hours or longer). A standard domestic residential 15-amp, 120-volt circuit delivers 1,800 watts of theoretical maximum capacity, meaning its safe continuous operational limit is precisely 1,440 watts (15 A x 120 V x 0.80). Calculate the combined wattage of your LED luminaire (e.g., 650 W), compressor dehumidifier (450 W), inline exhaust fan (75 W), oscillating fans (40 W), and ultrasonic humidifier (35 W). If your total connected draw approaches or exceeds 1,440 watts, you must split equipment across separate, dedicated household circuit breakers to prevent dangerous wire overheating and nuisance breaker trips.
Calculating your electrical continuous load profile ensures that your indoor garden will operate safely for months without risking fire hazards or catastrophic power interruptions. Beyond calculating total wattage, cultivators must inspect the physical delivery infrastructure. Never connect high-draw horticultural equipment through thin, ungrounded domestic extension cords. If an extension lead is unavoidable, deploy a heavy-duty, commercial-grade 12-gauge or 14-gauge grounded cord rated for exterior contractor use.
Furthermore, indoor grow spaces inherently combine two hazardous elements: high-voltage alternating electrical current and high volumes of liquid water. Protect your facility by confirming that your wall receptacle is equipped with a functional Ground Fault Circuit Interrupter (GFCI). A GFCI receptacle continuously monitors the current balance between hot and neutral conductors, instantly severing electrical power within milliseconds if a current leak (such as water splashing into a power strip) is detected, preventing fatal electrical shocks.
Finally, practice disciplined cable management. Mount all power distribution strips, digital timer boxes, LED driver ballasts, and environmental controllers high on the exterior tent poles or adjacent drywall, well above the highest potential water line. Fasten loose power cables securely using heavy-duty nylon zip-ties, and establish drip loops (curving cords downward below the receptacle before rising into the plug) on every electrical wire so that any condensation running down a cord drips safely onto the floor rather than into an energized socket.
Additionally, install an independent smoke detector and an automatic clean-agent thermal fire extinguisher directly above your main power distribution panel. Modern aerosol or clean-gas suppression canisters activate automatically if ambient temperatures exceed 155 degrees Fahrenheit, neutralizing electrical flare-ups instantly without discharging corrosive dry powders onto expensive horticultural fixtures.
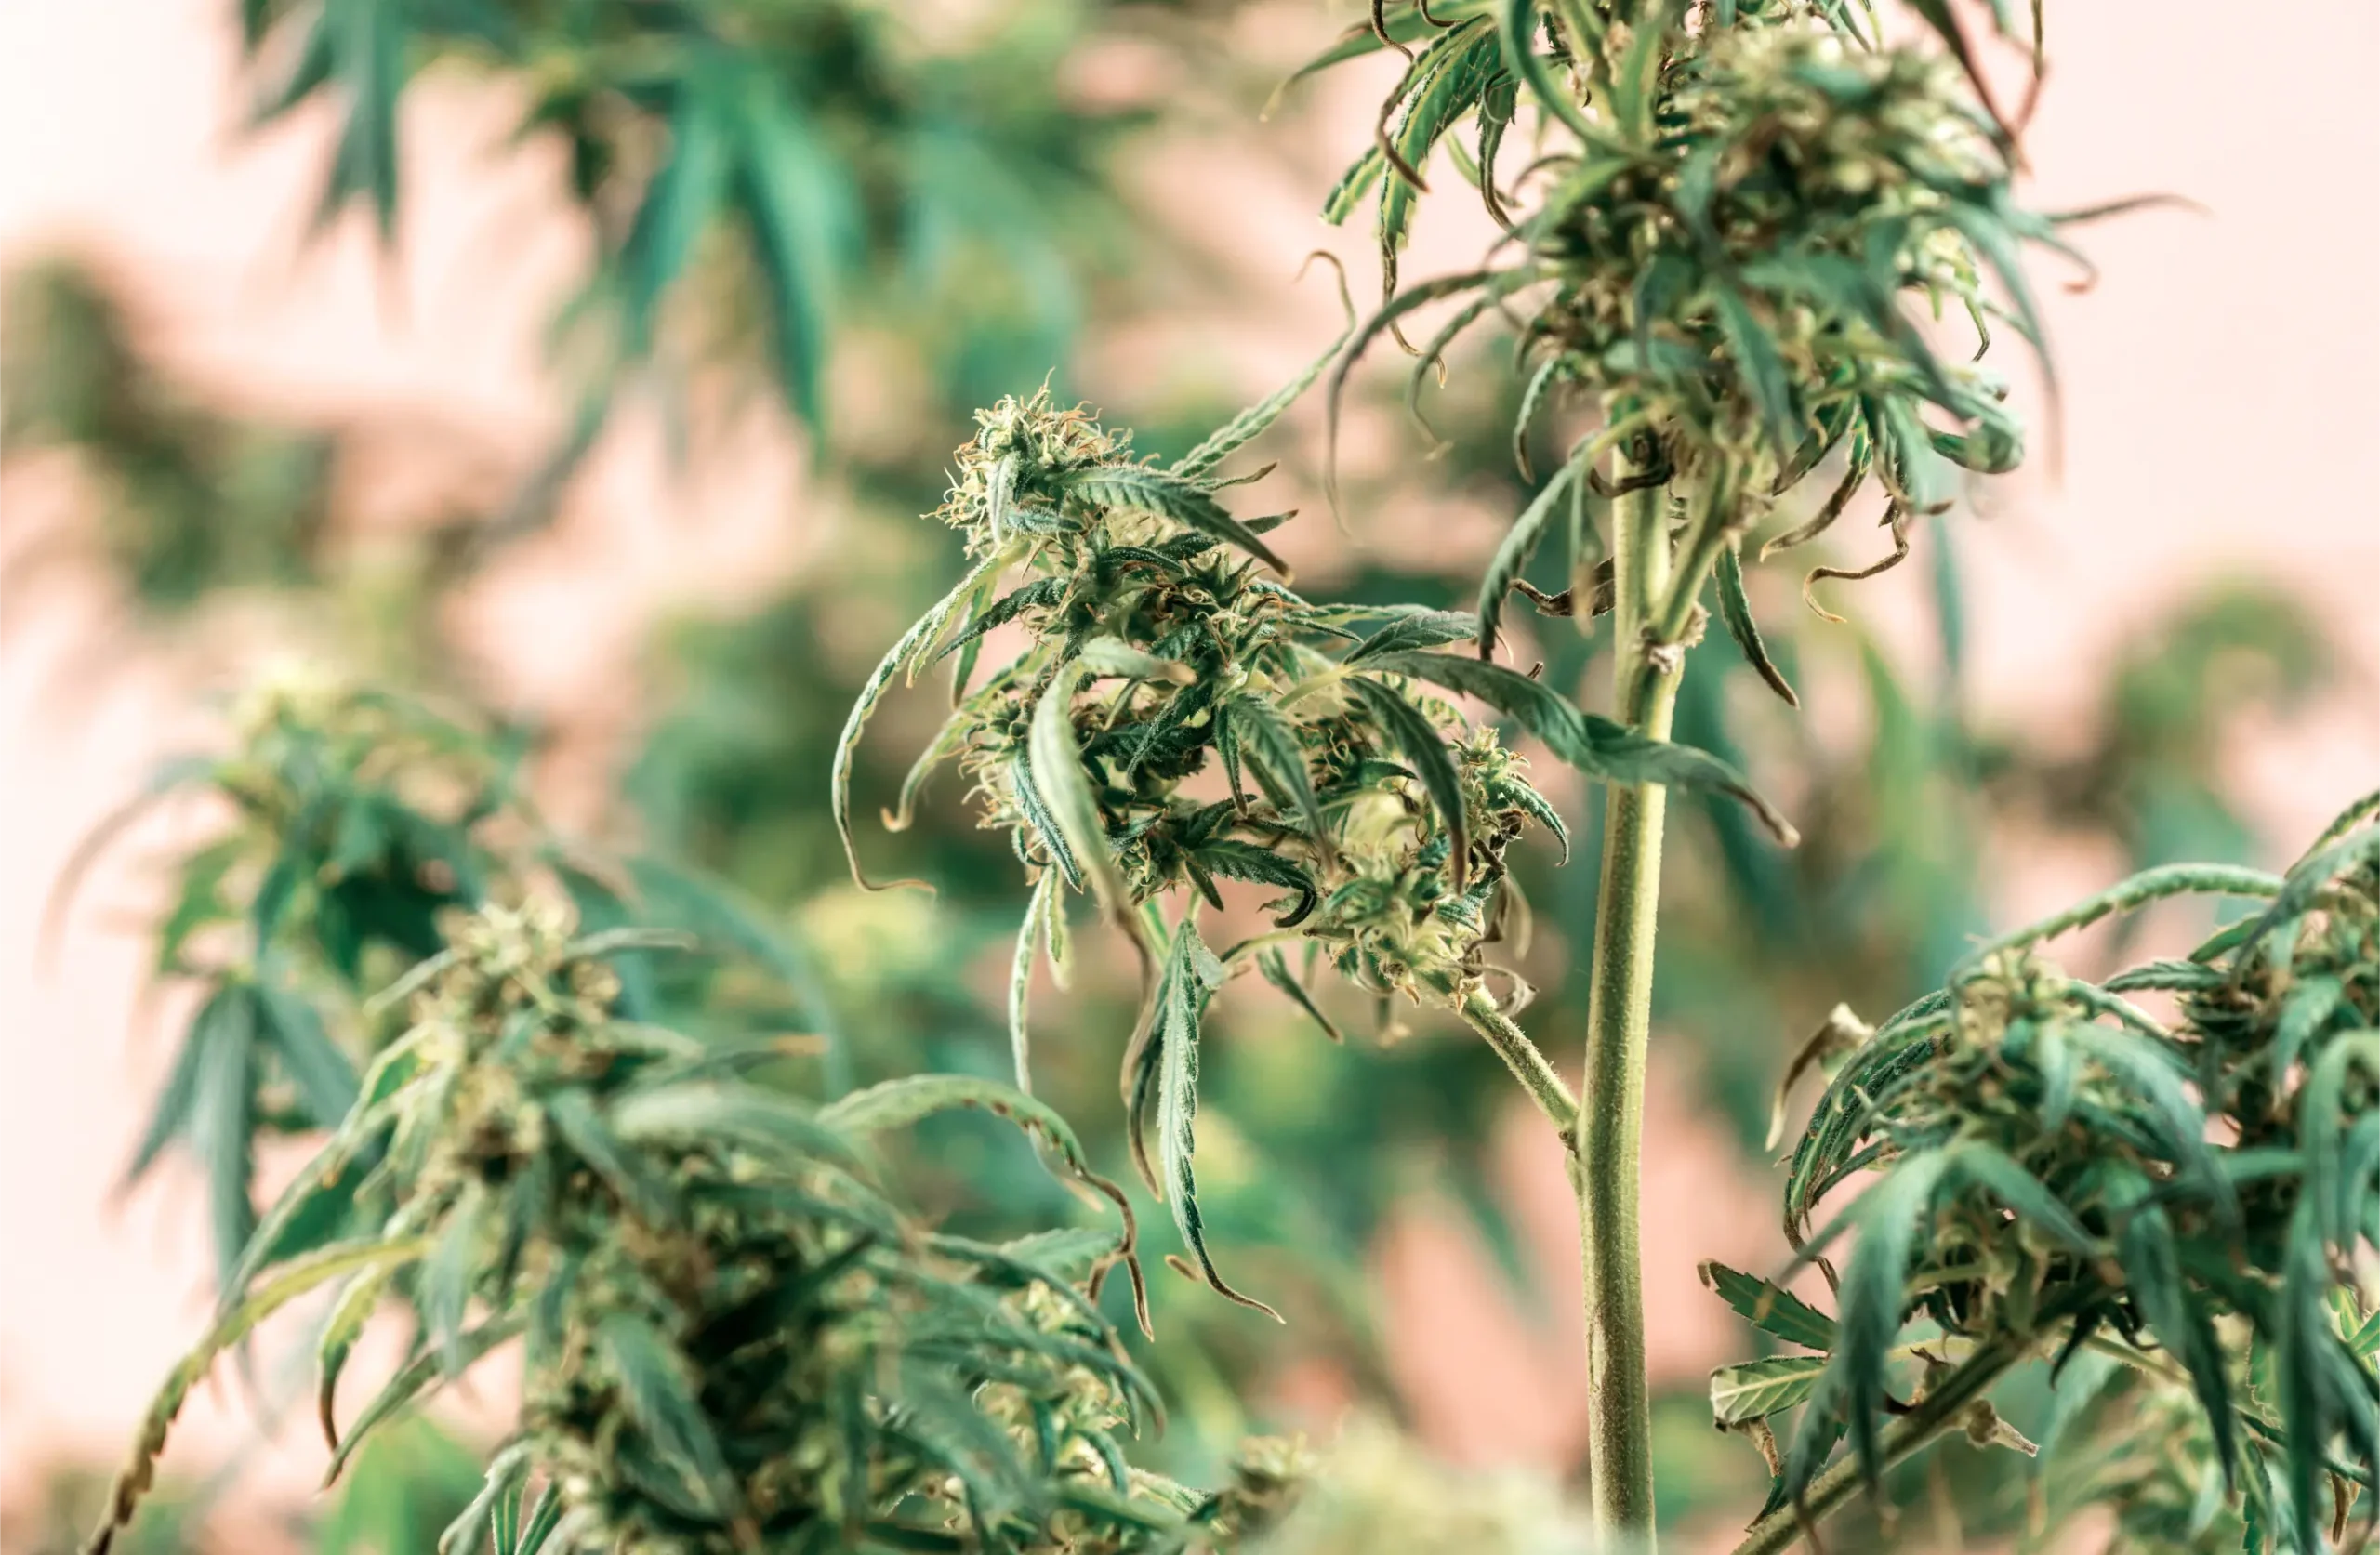
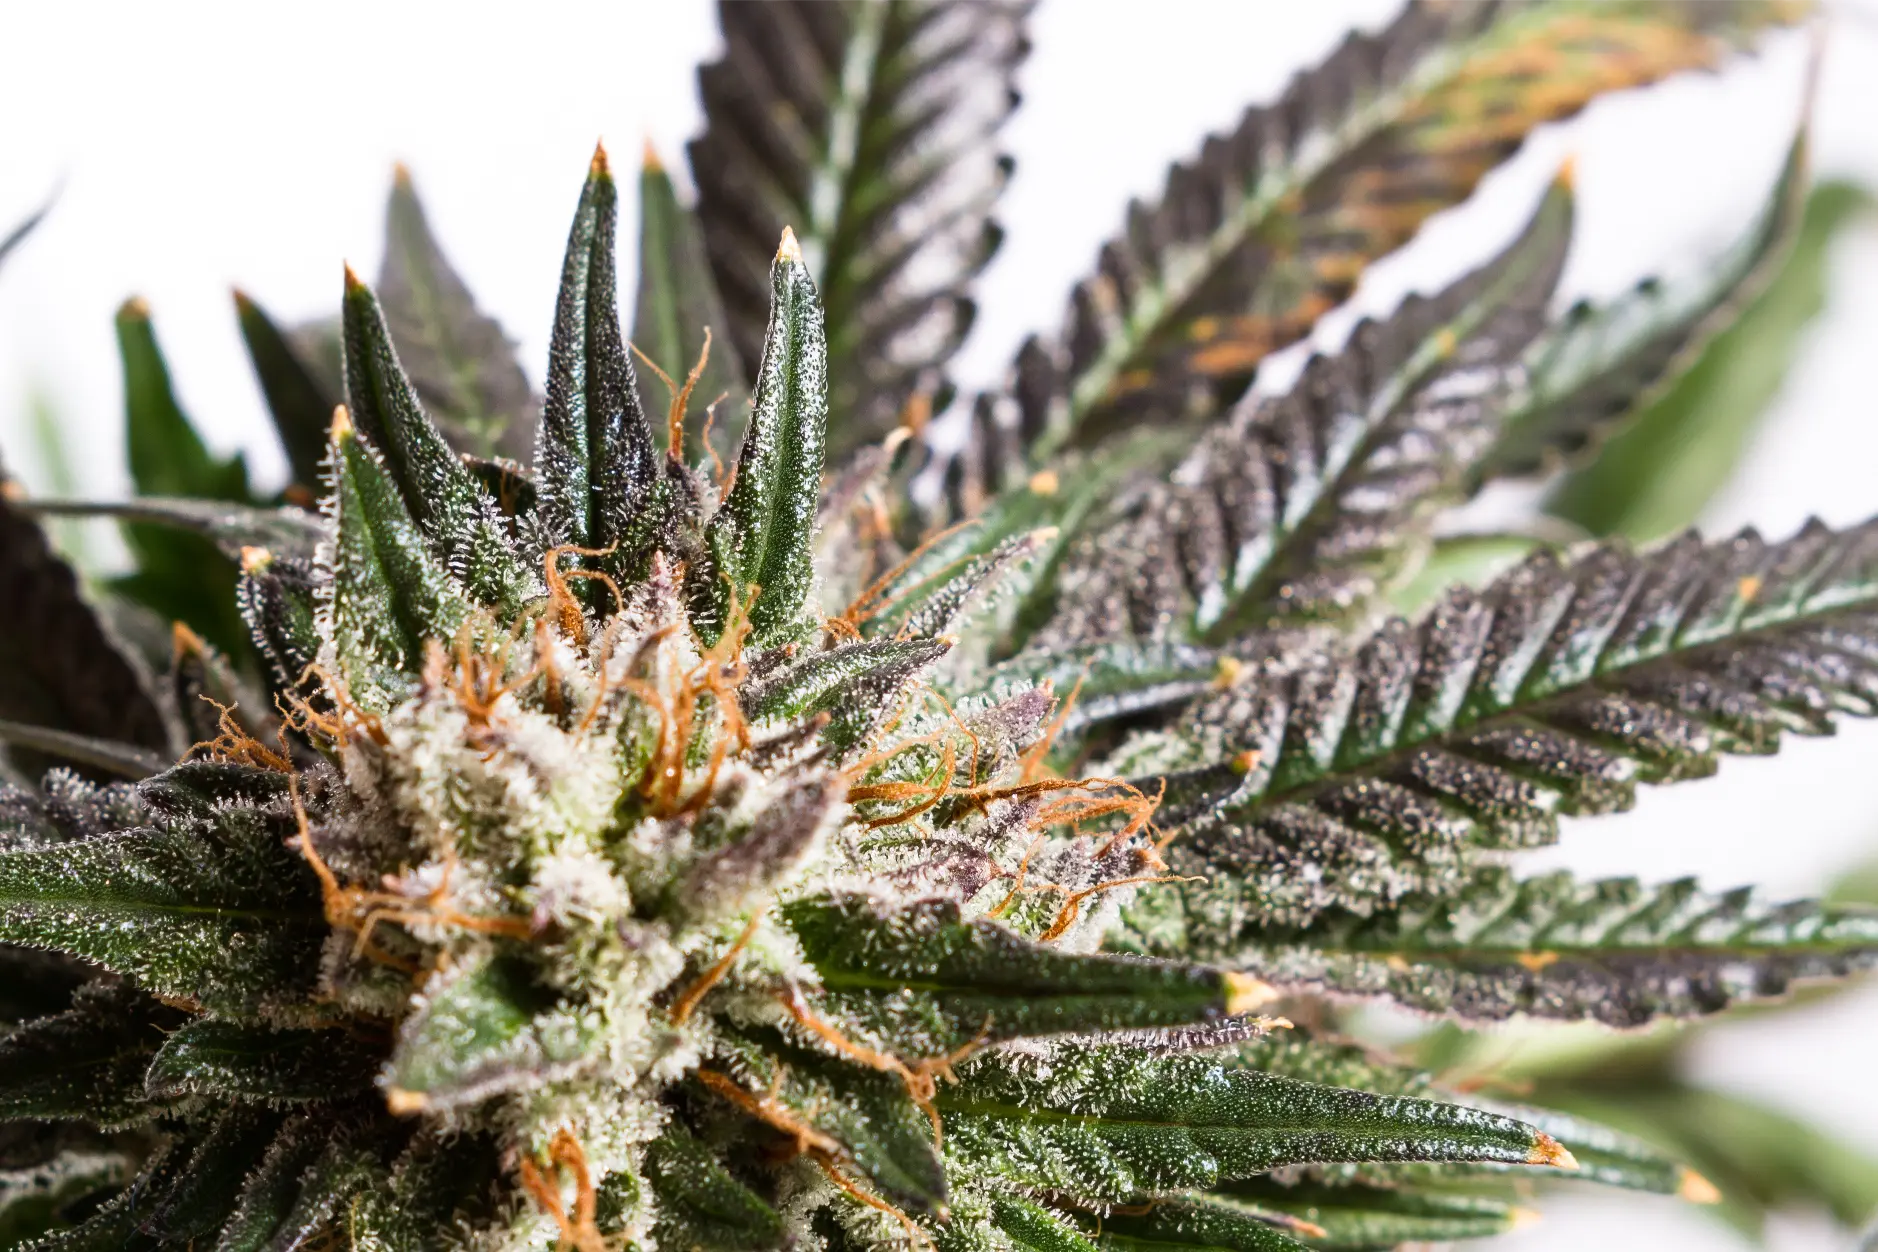
Figure 1: Thorough pre-germination commissioning of ventilation, cable management, and climate controls guarantees a safe, stable environment for newly emerged seedlings.
Once electrical infrastructure is validated, turn your focus to the ventilation, ductwork, and odor mitigation subsystem. Proper airflow is the circulatory system of an indoor garden: it extracts sensible thermal heat generated by lighting ballasts, evacuates latent humidity transpired by plant leaves, replenishes carbon dioxide required for Calvin-cycle carbon fixation, and maintains negative pressure to prevent pungent odors from escaping into residential living spaces.
Inspect your inline exhaust fan and carbon filter configuration. For optimal mechanical efficiency and noise reduction, mount the carbon filter inside the upper ceiling of the grow tent, connect it directly to the intake collar of your inline fan using a rigid or taut flexible duct coupling, and discharge warm exhaust air out through an upper ventilation port. Ensure that flexible aluminum ducting is pulled tight and straight; every sagging bend or sharp 90-degree elbow in flexible ducting increases static friction resistance, reducing fan volumetric airflow capacity by up to twenty percent per bend.
Verify negative air pressure by closing all tent access doors and inspection zippers completely, opening one lower passive mesh intake flap, and powering on the exhaust fan to fifty percent speed. Within ten seconds, the reflective Mylar walls of the tent should bow gently inward by one to two inches. This visible inward deflection confirms that air is entering exclusively through your filtered passive intake and exiting through the activated carbon scrubber, guaranteeing zero unfiltered odor leaks during future flowering stages.
The Light-Proofing Verification Protocol: The 10-Minute Dark Adaptation Test
Photoperiod cannabis varieties require absolute, uninterrupted darkness during their 12-hour flowering night cycles to synthesize floral induction hormones. Light leaks as faint as 0.5 lux (equivalent to the glow of an indicator LED or a pinhole zipper leak) can disrupt phytochrome signaling, causing severe floral abnormalities, delayed maturation, and catastrophic hermaphroditic pollen sack formation. Test light-proofing before germination: step completely inside your assembled grow tent, zip all access doors fully shut, power off all internal lights, and remain inside in total silence for ten full minutes. It takes human ocular rod cells approximately ten minutes to adapt to deep darkness. Once your eyes are fully dilated, search meticulously for glowing pinholes along zipper seams, uncinched ducting ports, or illuminated indicator lights on power strips. Seal every light leak using opaque black foil tape.
Water preparation and analytical instrument calibration represent the next indispensable pillar of pre-germination readiness. Cannabis root hairs are acutely sensitive to the mineral chemistry, dissolved oxygen content, and hydrogen ion concentration (pH) of applied irrigation water. Attempting to manage watering using cheap litmus paper strips or uncalibrated digital pens guarantees chronic micronutrient lockout during early vegetative growth.
Acquire high-quality digital pH and electrical conductivity (EC) telemetry pens (such as Apera Instruments or Bluelab probes). Before wetting your first seed, perform a precision two-point or three-point chemical calibration using certified 4.01, 7.00, and 10.01 pH reference buffer solutions. Next, calibrate your conductivity meter using a certified 1,413 microSiemens per centimeter (or 2.76 mS/cm) standard calibration standard. Store glass pH probe bulbs permanently in specialized 3M potassium chloride (KCl) probe storage solution; allowing a pH glass bulb to dry out permanently destroys its microscopic hydration gel layer, rendering future readings wildly inaccurate.
Next, analyze your baseline source water. If utilizing municipal tap water, test its baseline electrical conductivity: tap water with an EC below 0.3 mS/cm (under 150 PPM on the 500 scale) is generally suitable for soilless cultivation. If your municipal water registers an EC above 0.5 mS/cm, it contains heavy concentrations of dissolved calcium carbonate, sodium, or agricultural runoff, demanding the installation of a 4-stage reverse-osmosis (RO) filtration system to establish a pure 0.0 EC baseline. Furthermore, municipal water supplies frequently contain chlorine or chloramines used as municipal biocides. While pure chlorine can be off-gassed by bubbling water with an air stone for 24 hours in an open bucket, chloramines (chlorine bonded to ammonia) do not evaporate and must be neutralized using an inline catalytic carbon filter or a few drops of sodium thiosulfate dechlorinator.
Can I germinate my cannabis seeds directly in my final 5-gallon fabric pots of amended soil, or should I start them in smaller starter plugs?
Question sent by: Nathan Brooks, via email.
For standard photoperiod feminized seeds, you should unequivocally start in small starter plugs or 1-quart nursery containers rather than planting directly into final 5-gallon containers! In a large 5-gallon container, a tiny seedling with a two-inch taproot drinks only a few milliliters of water per day. If you soak the entire 5-gallon pot, the vast volume of moist substrate remains saturated and anaerobic for ten to fourteen days, suffocating delicate root hairs, inviting Pythium damping-off fungal pathogens, and stunting early vegetative growth.
Starting in a 1-quart container or peat plug allows the root system to colonize the media rapidly, drying back every two to three days and creating optimal wet-dry cycles that pull fresh atmospheric oxygen into the root zone. You can then transplant into your final 5-gallon container once the root ball has fully woven through the smaller pot. The single exception to this rule is day-neutral autoflowering seeds: because autoflowers operate on an un-pausable internal genetic clock and recover poorly from root transplant shock, experienced autoflower growers frequently plant directly into final 3-to-5-gallon pots, taking extreme care to water only a tiny 3-inch circular radius around the stem during the first two weeks.
Substrate preparation and container staging must be completed twenty-four to forty-eight hours prior to seed wetting. The physical and chemical properties of your growing medium dictate water holding capacity, air-filled porosity, and cation exchange dynamics. Placing a germinated taproot into dry, cold, or chemically unbuffered media causes instant root tip desiccation and severe seedling shock.
If cultivating in coconut coir, verify that your coir has been thoroughly washed and buffered with calcium and magnesium nitrates. Raw, unbuffered coco fibers are naturally saturated with sodium and potassium ions that chemically bind dissolved calcium, starving young seedlings of vital cell-wall building blocks. Pre-hydrate your coco coir using a mild nutrient solution formulated with 150 PPM of Cal-Mag and an overall electrical conductivity of 0.8 to 1.0 mS/cm at a balanced pH of 5.8 to 6.0. The coir should feel uniformly moist, like a wrung-out sponge: squeezing a fistful of media firmly should release only a single drop of water, ensuring ideal air-filled porosity (approximately 20 to 25 percent dissolved oxygen space).
If utilizing peat-based living organic soil or super-soils, be cautious of nutrient concentration. Highly amended living soils formulated for mature flowering plants are far too hot (excessive soluble nitrogen and potassium salts) for tender embryonic seedlings, causing instant root-burn and seedling stunting. Pack the lower two-thirds of your container with your rich super-soil, but fill the top third and central core with a mild, low-nutrient seedling starter soil (such as light peat moss with perlite). This allows the taproot to establish vigorous branching in a gentle root zone before driving deeper into the rich nutrient reserves below.
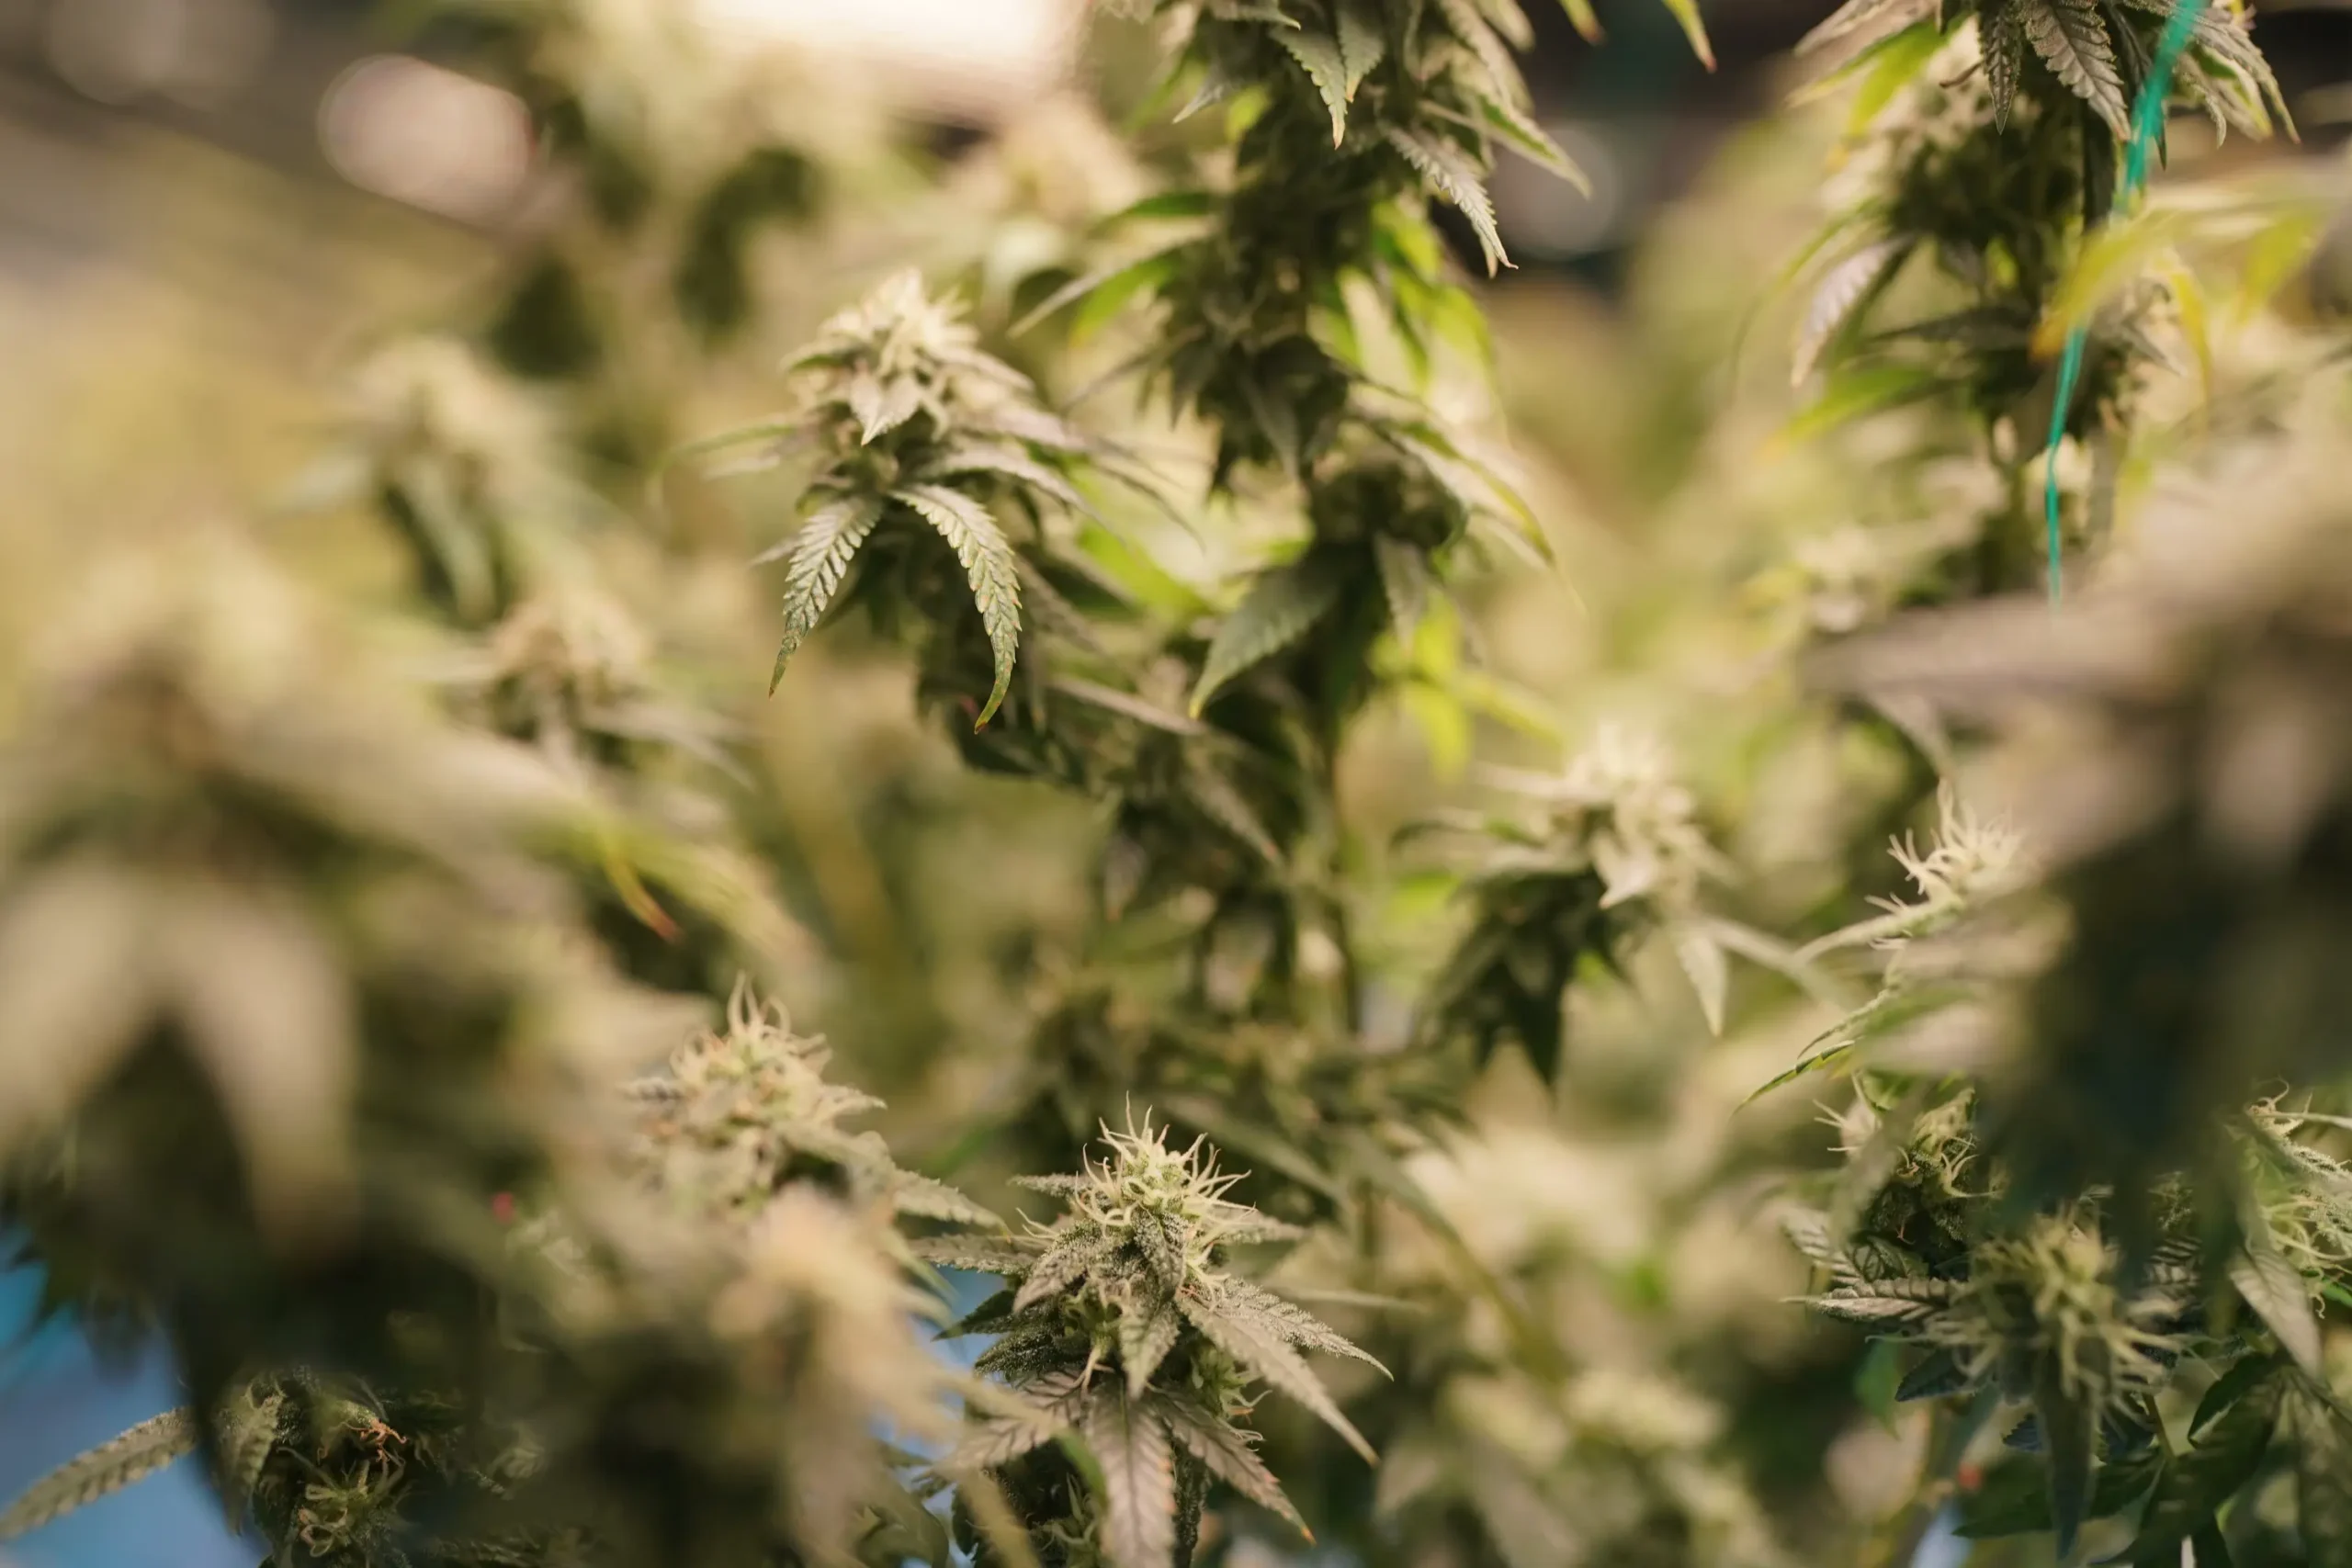
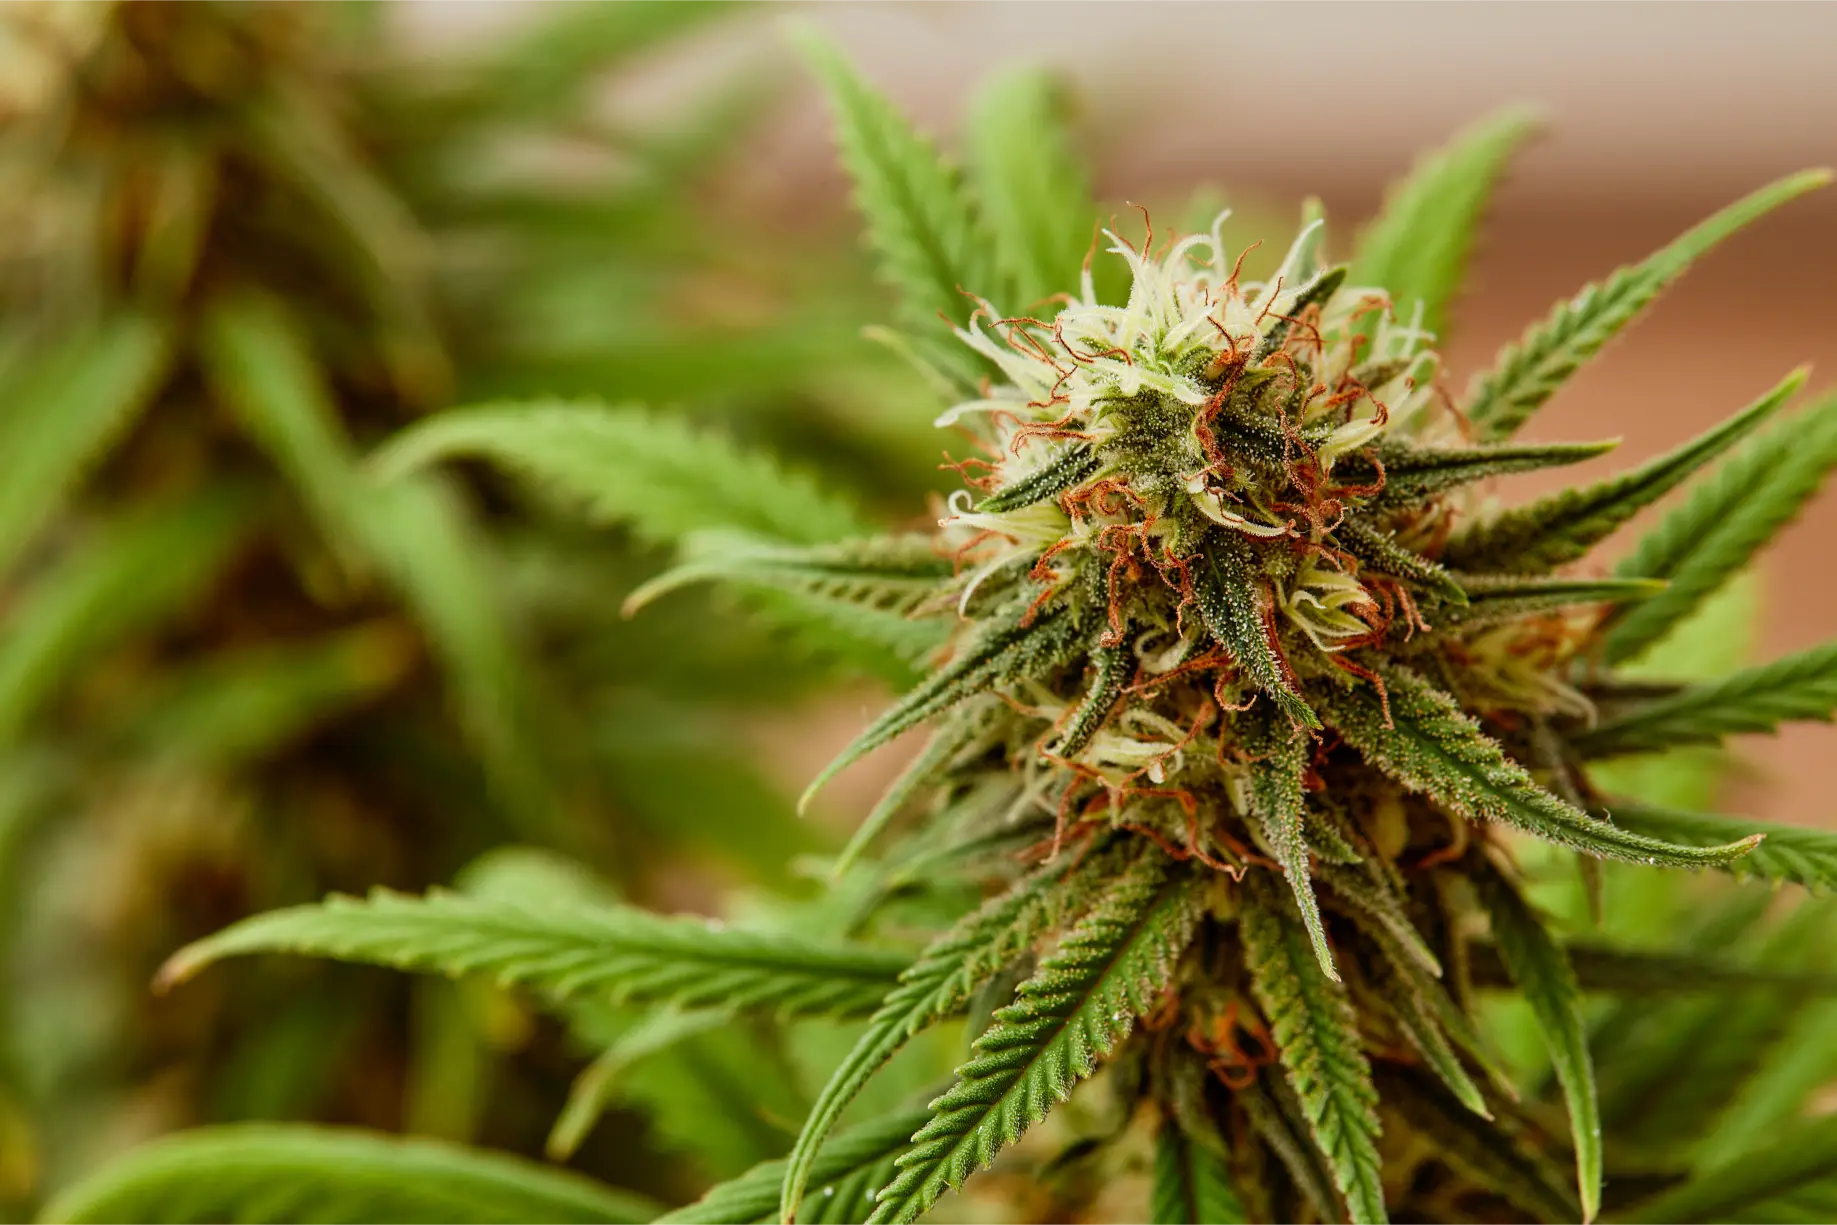
Figure 2: Optimal substrate moisture priming and balanced pH prevent seedling damping off, establishing a vigorous foundation for rapid vegetative canopy expansion.
Furthermore, ensure that every container is equipped with an elevated drainage assembly. Never allow plant pots to sit flat against the bottom of drainage saucers or tent floor pans. When excess water drains from a container, a pot sitting flat reabsorbs that stagnant, mineral-heavy runoff through bottom drainage holes via capillary wicking, keeping the lower third of the root ball permanently waterlogged and hypoxic. Position heavy-duty plastic pot elevators beneath every container to establish an unbroken two-inch air gap above drainage saucers.
The final operational milestone is commissioning the dedicated germination and seedling nursery station. Germinating cannabis seeds require four specific environmental parameters: darkness during initial cracking, constant warmth (substrate temperature between 75 and 80 degrees Fahrenheit / 24 to 27 degrees Celsius), steady moisture without standing water, and high relative humidity (70 to 80 percent) immediately upon hypocotyl emergence.
Assemble your seedling humidity dome, propagation tray, and thermostatically controlled horticultural heat mat. Never place a propagation tray directly onto a heat mat without inserting the mat’s digital temperature probe directly into a sample starter plug. A heating mat run without an external thermostat probe can easily reach 95 degrees Fahrenheit, literally cooking delicate germinating embryos. Set the thermostat to 78 degrees Fahrenheit (25.5 degrees Celsius) and allow the tray to stabilize for twenty-four hours before placing seeds inside.
To ensure zero mechanical or operational oversights before initiating your grow, audit your entire cultivation facility against the following comprehensive pre-flight verification matrix.
| Facility Subsystem | Standard Commissioning Test | Target Operational Benchmark | Corrective Action if Benchmark Fails |
|---|---|---|---|
| Electrical Infrastructure | Total continuous wattage load calculation across circuits. | Combined connected draw <80% of circuit capacity (<1,440W on 15A). | Split equipment across separate household breakers; deploy 12-gauge cords. |
| Thermal & VPD Stability | 48-hour empty-room burn-in test under 100% LED power. | Day: 75-80°F / 65-70% RH (VPD 0.8-1.0 kPa); Night: 68-72°F / 60% RH. | Adjust exhaust fan speed; install supplemental humidifier or cooling AC. |
| Negative Static Pressure | Visual tent wall deflection check at 50% exhaust speed. | Mylar walls bow gently inward 1-2 inches; zero escaping air at seams. | Adjust intake mesh flap sizing; seal duct connections with foil tape. |
| Light-Proofing Integrity | 10-minute dark adaptation inspection from inside sealed tent. | Zero visible light leaks (<0.1 lux); total dark immersion confirmed. | Seal zipper pinholes and uncinched port collars with black foil tape. |
| Telemetry Calibration | Chemical buffer calibration of digital pH and EC probes. | pH reading accurate within ±0.05 in buffer; EC accurate within ±0.02. | Replace probe batteries; clean glass bulb; replace degraded probe sensor. |
| Water Quality & Baseline | Baseline source water electrical conductivity and chlorine audit. | Tap water EC <0.3 mS/cm (<150 PPM); chlorine neutralized to 0.0 PPM. | Deploy 4-stage reverse-osmosis filtration; aerate or dechlorinate water. |
| Nursery Germination Mat | Thermostatic probe calibration inside moist starter plug. | Substrate core temperature locked at 75-78°F (24-25.5°C) continuously. | Reposition sensor probe into plug center; verify thermostat relay function. |
Executing this structured pre-flight audit transforms indoor cultivation from an unpredictable, anxiety-inducing trial into a repeatable, scientific discipline. When you know with absolute empirical certainty that your tent maintains ideal seedling VPD, your ventilation exhausts clean, filtered air, your electrical cords are safely routed above water lines, and your analytical instrumentation is chemically calibrated, you can moisten your seeds with complete peace of mind.
The time invested in pre-flight commissioning pays exponential dividends throughout the crop lifecycle. Seedlings that emerge into a perfectly tuned, stable microclimate develop robust root networks in half the time, transitioning smoothly into vigorous vegetative growth without suffering the common setbacks that permanently cap final flower yield and cannabinoid potency.
Furthermore, having spare replacement parts staged on-site prevents middle-of-the-night emergencies. Keeping a backup digital timer, an extra oscillating fan, extra duct clamps, and replacement pH calibration packets ensures that unexpected minor hardware failures during week one do not derail your entire propagation cycle.
To assist with final preparation, review and check off every operational milestone on this definitive pre-germination checklist before initiating seed hydration.
- Cleanroom Disinfection Completed: Wipe all tent Mylar walls, framework poles, and floor liners with 70% isopropyl alcohol or 10% hydrogen peroxide.
- Electrical Breaker Capacity Verified: Confirm total continuous connected wattage remains below 80% of circuit rating; verify functional GFCI outlet.
- Cables Routed and Elevated: Mount all power strips, timers, and ballasts high on walls; establish physical drip loops on all power cords.
- 48-Hour Burn-In Test Passed: Run tent under full lights for 48 hours; verify stable 75-80°F temperature and 65-70% RH with lights energized.
- Negative Air Pressure Confirmed: Verify inward bowing of tent walls; seal all duct connections with commercial metal foil tape.
- Light-Proofing Test Executed: Complete 10-minute dark adaptation test inside tent; confirm zero pinhole light leaks along zippers.
- pH and EC Telemetry Calibrated: Calibrate digital pens using certified 4.01/7.00 pH buffers and 1,413 uS/cm conductivity reference solution.
- Substrate Pre-Moistened and Buffered: Buffer coco coir with Cal-Mag (EC 0.8-1.0); pre-moisten peat media to wrung-sponge consistency at pH 5.8-6.2.
- Elevated Pot Risers Positioned: Position heavy-duty plastic pot elevators beneath every container to guarantee an air gap above drainage saucers.
- Germination Heat Mat Calibrated: Insert thermostat probe into a sample starter plug; verify stable 78°F substrate temperature.
Following this structured pre-flight protocol ensures that your indoor cultivation facility functions with commercial-grade reliability. Rather than reacting frantically to environmental crises after seedlings have sprouted, you create an environment where high-grade cannabis genetics can thrive from the very first hour of germination.
Establishing a dedicated workspace for nutrient mixing and plant maintenance further streamlines daily operations. Set up a clean utility table adjacent to your tent equipped with graduated measuring syringes, clean mixing buckets, a waterproof notepad, and a digital scale for dry amendment weighing. Staging these cultivation supplies in advance eliminates clutter inside the grow room and prevents cross-contamination.
Additionally, verify your secondary containment protocol. Placing a high-walled waterproof utility tray beneath your nutrient mixing station and inside the grow tent floor provides an essential physical barrier against accidental spills, protecting residential flooring and lower electrical connections from water damage.
To guide your scheduling in the days leading up to seed cracking, the following timeline calendar outlines the structured operational workflow across the final two weeks of facility preparation.
| Timeline Phase | Primary Operational Target | Key Actions and Deliverables | Success Metric |
|---|---|---|---|
| 14 Days Before Germination | Space Assembly & Disinfection | Assemble tent frame; wash Mylar with 70% isopropyl; vacuum crevices. | Sterile, odor-free cleanroom; zero manufacturing residue. |
| 10 Days Before Germination | Electrical & Cable Commissioning | Mount ballasts and power strips; calculate circuit wattage; verify GFCI. | Continuous electrical draw <1,440W; elevated cords with drip loops. |
| 7 Days Before Germination | Ventilation & Duct Sealing | Hang carbon filter and inline fan; tape duct joints; test negative pressure. | Visible wall deflection; zero static friction whistling; tight seals. |
| 5 Days Before Germination | 48-Hour Empty-Room Burn-In | Run 18/6 cycle under full lights; log temperature, RH, and VPD. | Temperature locked at 75-80°F; RH 65-70%; VPD 0.8-1.0 kPa. |
| 3 Days Before Germination | Telemetry Calibration & Water Prep | Calibrate pH and EC meters; test tap water baseline; set up RO filter. | Calibrated instrumentation; source water EC <0.3 mS/cm. |
| 2 Days Before Germination | Substrate Hydration & Pot Staging | Buffer coco with Cal-Mag; hydrate media; position pots on elevators. | Media at field capacity (wrung sponge); unbroken drainage air gap. |
| 1 Day Before Germination | Nursery Station Stabilization | Set up humidity dome; insert heat mat probe into plug; test 78°F setpoint. | Stable 78°F plug temperature; dome RH >75%; gentle seedling light set. |
| Day 0 (Germination Launch) | Seed Wetting & Radical Emergence | Place seeds in moist starter plugs or water glass; maintain dark warmth. | 100% germination rate; rapid radicle emergence within 48-72 hours. |
Adhering to this structured developmental schedule guarantees that your indoor garden launches with absolute technical confidence. As your newly emerged seedlings unfold their bright green cotyledons under gentle, calibrated light, you will experience the deep satisfaction of knowing that every mechanical, electrical, and hydrological detail was engineered for their ultimate success.
As your cultivation journey unfolds, this comprehensive pre-flight checklist will serve as the standardized operational baseline for every future cycle. Successful commercial cultivators conduct these identical verification procedures before every crop reset, ensuring that worn exhaust belts, saturated carbon filters, and drift-prone sensors are identified and remediated before planting. Embracing this disciplined engineering mindset elevates your home garden from casual hobbyism to true craft horticultural mastery.
Indoor cannabis cultivation is a masterclass in controlled environment biology. By establishing rigorous preparation habits from day one, you build the foundation upon which heavy yields, exceptional cannabinoid potency, and unforgettable terpene complexity are consistently achieved cycle after cycle.
Scientific References and Technical Standards
- ASABE Standards (2017). ANSI/ASAE S398.1: Procedure for Sprinkler Testing and Performance Reporting. American Society of Agricultural and Biological Engineers, St. Joseph, MI.
- Bugbee, B. (2016). Toward an optimal spectral quality for plant growth and development: The importance of green light and far-red radiation. Acta Horticulturae, 1134, 1-12.
- Eaves, J., Eaves, O., & Chandra, S. (2020). The economics of indoor cannabis cultivation: Energy, labor, and production efficiency. Agricultural and Resource Economics Review, 49(3), 478-498.
- Handreck, K. A., & Black, N. D. (2002). Growing Media for Ornamental Plants and Turf (3rd ed.). UNSW Press, Sydney, Australia.
- National Fire Protection Association (2020). NFPA 70: National Electrical Code (NEC). NFPA, Quincy, MA.
- Taiz, L., Zeiger, E., Møller, I. M., & Murphy, A. (2015). Plant Physiology and Development (6th ed.). Sinauer Associates, Sunderland, MA.
- Zheng, Y. (Ed.). (2021). Handbook of Cannabis Production in Controlled Environments. CRC Press, Boca Raton, FL.
Share this article
A quick overview of the topics covered in this article.
Follow us
Latest articles
November 7, 2026
November 7, 2026

November 7, 2026