
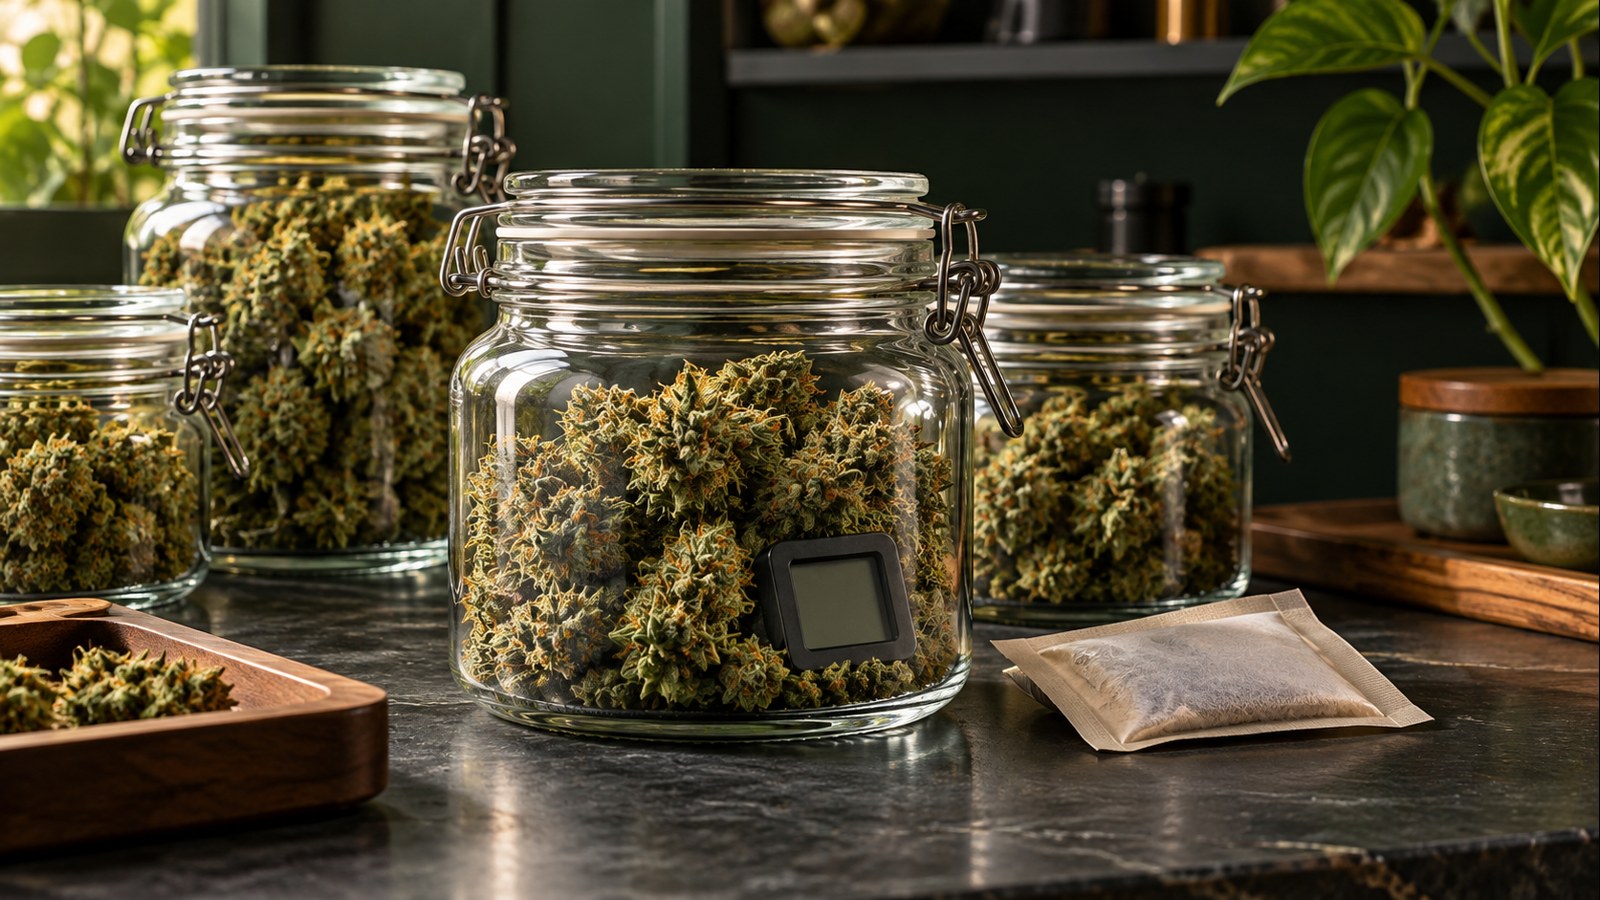
Common First Indoor Grow Mistakes and How to Prevent Them
Almost every first-time indoor cannabis cultivator makes mistakes born out of enthusiasm rather than neglect: cranking a brand-new 500-watt LED grow light to 100% power over two-week-old seedlings, watering pots every single morning on a calendar schedule, or letting vegetative plants grow five feet tall before switching the timer to 12/12. Because an indoor grow tent is a closed, high-intensity ecosystem with no natural rain or wind buffers, small operational miscalculations compound rapidly.
The good news is that first-grow failures follow an extraordinarily predictable pattern from germination to harvest. This guide walks chronologically through the six most costly indoor cultivation mistakes – early photon overload, calendar overwatering and uncalibrated pH drift, vertical headroom miscalculation at flip, over-defoliation and nutrient toxicity, dark-period humidity spikes, and premature harvest – and provides exact numeric guardrails to prevent each one.
Mistake 1: Blasting Young Plants With 100% LED Power or Hanging Lights Too Close
Modern full-spectrum LED arrays run cool to the back of your hand, tricking first-time growers into delivering three times more photon flux than young roots can support.
Why the ‘Back-of-the-Hand Heat Test’ Fails Under Modern LEDs
Older cultivation books written for high-pressure sodium (HPS) lamps taught growers to hold the back of their hand at canopy height for 30 seconds and lower the lamp until it felt warm. Because high-efficacy white LED boards emit minimal forward infrared heat, you can hang a 600-watt LED 10 inches above a two-week-old seedling and feel barely any warmth on your skin while delivering an overwhelming 1,100 umol/m2/s of Photosynthetic Photon Flux Density (PPFD).
Young seedlings and freshly transplanted clones possess a tiny root surface area that can only supply water and calcium for 150 to 300 umol/m2/s of photon flux. Blasting them with 75% to 100% LED power causes photo-inhibition, stunts internodal elongation into a tight cabbage-like rosette, curls leaf margins upward, and induces interveinal yellowing on the newest leaves within 72 hours.
Prevention: Stage-Matched Dimmer Settings and Hanging Heights
Prevent early photon stress by hanging your LED fixture 20 to 24 inches above the canopy and using the onboard dimmer knob from Day 1. Run a 300W-650W tent LED at 20% to 30% dimmer power for seedlings and clones (targeting 150-250 umol/m2/s), step up to 45% to 60% power across vegetative growth (350-600 umol/m2/s), and only advance to 75% to 100% power after week two of 12/12 flowering once floral sites and root mass are fully developed.
Verify your settings using the manufacturer’s published PPFD grid chart or a smartphone PAR meter app equipped with a paper cosine diffuser, and watch upper leaf posture two hours into the light cycle: flat or slightly elevated leaves confirm ideal intensity, whereas upward-canoeing serrated edges signal that you should dim the light by 10%.
Photo-Inhibition in Young Canopy Tissue: Photo-inhibition occurs when incoming light energy (PPFD) exceeds the capacity of the Calvin cycle and root water transport to utilize those photons, generating reactive oxygen species that bleach chlorophyll and stunt cell expansion in young cannabis leaves.
Practical questions from home cultivators often center on how these thresholds behave in real-world tents and small rooms.
“Should I start my very first indoor grow with autoflower seeds because they are marketed as easier for beginners, or with feminized photoperiod seeds?”
Question sent by: CascadeGrower_p2_92_1, via contact form.
Feminized photoperiod seeds are significantly more forgiving and educational for a first-time indoor grower than autoflowers. Because autoflowers automatically begin flowering around Day 21 to 25 from sprout regardless of plant size, any common beginner mistake in the first three weeks – such as overwatering, cold roots, or LED light stress – permanently stunts the plant into a tiny 10-inch bonsai with no time to recover. With feminized photoperiod plants on an 18/6 schedule, if you make a mistake in week two, you simply fix the issue, let the plant recover and fill the canopy for an extra two weeks in veg, and flip the timer to 12/12 only when the plant is 100% healthy and sized properly.
Starting with two or three plants of the same stable feminized photoperiod cultivar also makes canopy height management and nutrient mixing much simpler than running four wildly different cultivars at once.
Mistake 2: Watering by the Calendar and Trusting Uncalibrated pH Pens
Overwatering is not pouring too much water in a single session; it is watering too frequently before the substrate has drawn fresh oxygen back into its pore spaces.
How Calendar Watering and Giant Starter Pots Suffocate Roots
Beginners frequently plant a germinated seed directly into a 5-gallon pot and pour two cups of water around the stem every single morning ‘so it never gets thirsty.’ Because a two-week-old seedling transpires less than 50 mL of water per day, the lower two-thirds of that 5-gallon soil pot remains continuously saturated and anaerobic. Deprived of dissolved gaseous oxygen (`O2`), root hairs halt respiration, turn brown, and cause the entire plant to droop with stiff petioles and yellow lower leaves.
Replace calendar schedules with the lift-and-weigh method and staged container sizes. Start seeds in solo cups (0.25 L) or 1-gallon pots before transplanting to 3-to-5-gallon fabric pots in mid-veg. When watering soil or peat, saturate the entire medium slowly until 10% to 15% runoff appears in the saucer, lift the pot to memorize its heavy saturated weight (or weigh it on a $15 luggage/postal scale), and do not water again until the pot loses 50% to 60% of that total weight.
Preventing Phantom Lockouts From Uncalibrated pH Meters and Perched Runoff
The twin brother of overwatering is pouring un-pH’d tap water (often pH 7.6 to 8.4) or trusting a $12 digital pH pen that has never been calibrated in buffer solution. When root-zone pH drifts outside 5.7-6.1 in coco/hydro or 6.2-6.7 in peat/soil, iron, calcium, and magnesium precipitate or lose charge affinity, starving the canopy even when plenty of fertilizer is present.
Calibrate a quality glass-bulb pH meter every 7 to 14 days in pH 7.01 and 4.01 solutions, and always elevate fabric pots on plastic drainage risers inside their saucers. If you leave a fabric pot sitting flat in a puddle of 20% runoff water after irrigation, the medium wicks those concentrated waste salts right back up into the root zone, spiking substrate EC and burning leaf tips.
Matching Watering Rules to Your Specific Substrate (Soil vs Coco Coir)
Another frequent first-run mistake is applying soil watering rules to buffered coco coir, or vice versa. Peat and organic soil mixes hold high water volume and require full wet-to-dry cycles (waiting 3 to 5 days between waterings until the pot feels light) and alternating plain pH-adjusted water with nutrient feeds unless running water-only living soil.
Coco coir with perlite behaves like a drain-to-waste hydroponic medium: it should never be allowed to dry out past 50% moisture (as drying concentrates pore-water EC sharply) and must receive balanced nutrient solution + Cal-Mag at pH 5.7-6.0 on every single irrigation to 15%-20% runoff.
| First-Grow Mistake | Typical Beginner Habit | Plant Symptom Produced | Exact Prevention Protocol |
|---|---|---|---|
| 100% LED Power in Seedling/Early Veg | Hanging 500W LED at 14 in & 100% power on Day 10 | Stunted rosette nodes, upward leaf tacoing, pale yellow tops | Dim LED to 25-35% (150-300 PPFD) at 20-24 in height |
| Watering by Calendar instead of Weight | Giving 1 quart of water every morning in a 5-gal soil pot | Drooping leaves, stiff curved petioles, slow pale growth | Saturate to 15% runoff, then wait until pot loses 50% weight |
| Sitting Pots in Perched Runoff Water | Leaving fabric pots soaking in full drip saucers | Burnt brown leaf tips, runoff EC >3.0 mS/cm, pH crash | Set pots on 2-inch slotted plastic risers & vacuum saucers dry |
| Flipping to 12/12 When Tent Is 80% Full | Waiting until veg plants are 42 in tall in a 72 in tent | Colas grow past the LED, severe light bleaching & foxtailing | Flip to 12/12 when canopy reaches 45-50% of max usable height |
| Harvesting by Orange Pistils Alone | Chopping at Week 6-7 when hairs turn red/orange | 30-40% lost yield weight, clear trichomes, racy short effect | Wait for pistils to recede, calyxes to swell, and 80%+ cloudy heads |
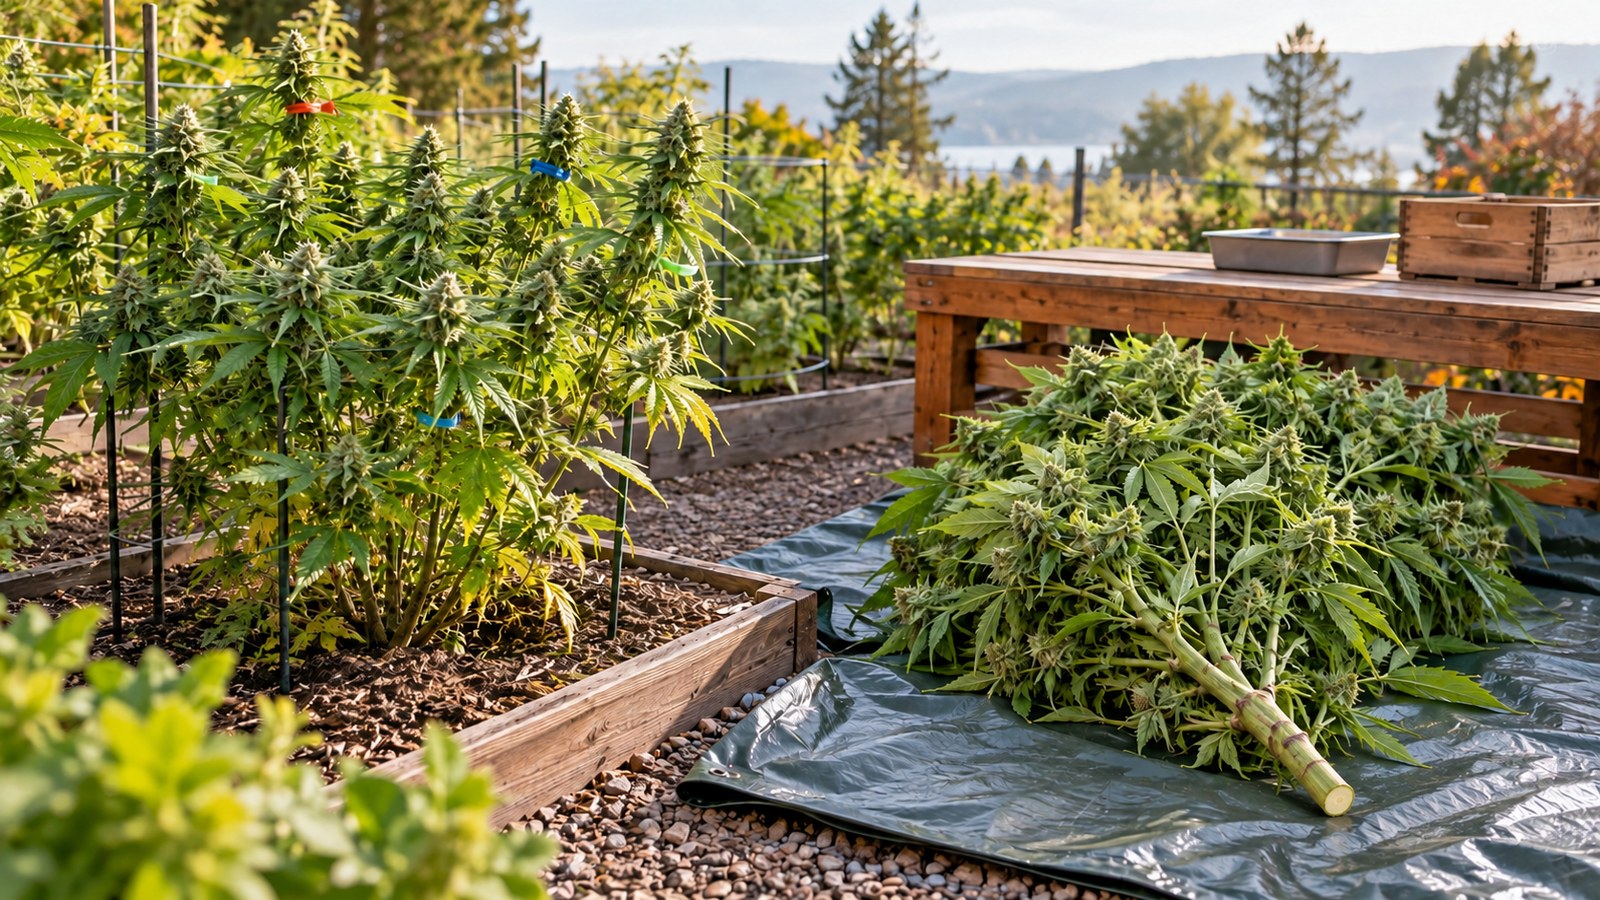
Once your plants are growing vigorously through the vegetative stage, the next major trap arrives when deciding how tall to let them grow before switching to 12/12.
Mistake 3: Flipping to 12/12 Too Late and Running Out of Vertical Headroom
First-time growers routinely underestimate the three-week flowering stretch, turning a lush vegetative tent into an overcrowded jungle pressed directly against the LED diodes.
The 2x to 3x Flowering Stretch Surprise
During weeks four and five of vegetative growth, a cannabis plant sitting 24 inches tall inside a 6.5-foot-tall tent looks deceptively small, tempting the grower to veg for another three weeks until the plant is 40 inches tall. What first-time growers do not realize is that switching the photoperiod from 18/6 to 12/12 triggers a massive gibberellin hormone surge over the first 18 to 24 days of flowering that causes stems to double or triple in vertical height.
When a 40-inch vegetative plant stretches 2x to 80 inches inside a tent whose LED fixture cannot be raised higher than 62 inches above the pot rim, the main colas grow straight into the diodes. The top 8 inches of the colas bleach white, terpene volatiles evaporate, and shaded lower branches suffocate from blocked airflow.
Prevention: The 45%-50% Vertical Flip Rule and Early Canopy Training
Calculate your exact vertical flip line on Day 1 and mark it on the inside back wall of your tent with a strip of colored tape. Subtract your pot height (12 inches), top exhaust/ratchet space (8 inches), and minimum safe LED-to-cola distance (16 inches) from your total tent height: in an 80-inch-tall tent, `80 – 36 = 44 inches` of maximum finished plant height above the pot rim.
Divide that 44-inch maximum height by 2.0 to account for a 2x hybrid stretch, and place your tape marker at 20 to 22 inches above the pot rim. Top your plants once at the 5th node during mid-veg, bend tall branches horizontally using low-stress training (LST) ties or a trellis net so the canopy fills 75% of the floor footprint horizontally, and flip your timer to 12/12 the day the flat canopy reaches your 20-inch tape mark.
Do
- Use your LED dimmer knob and manufacturer PPFD charts to start seedlings at 150-250 umol/m2/s before ramping up through veg and flower.
- Water soil and peat containers thoroughly to 10%-15% runoff, then wait until the container loses 50% of its weight before watering again.
- Mark your 45%-50% maximum usable vertical height on the tent wall and flip to 12/12 when the trained canopy reaches that line.
- Verify harvest readiness by checking that calyxes have swollen and bract trichomes (not sugar leaves) are 80%-90% cloudy with 10%-20% amber.
Avoid
- Running a high-wattage LED grow light at 100% power over young seedlings or clones based on the old back-of-the-hand heat test.
- Watering young plants in oversized 5-gallon pots every single day on a calendar schedule while leaving pots sitting in standing runoff.
- Stacking full-strength base nutrients with heavy PK boosters without checking runoff EC, or stripping 80% of fan leaves off stressed plants.
- Chopping your harvest at week 6 or 7 just because pistils turned orange or the seed packet claimed a 55-day flowering time.
As the plant transitions into flowering and stretches toward the light, two mid-cycle temptations emerge: over-feeding bloom boosters and stripping away too many fan leaves.
“I accidentally waited too long to flip to 12/12 and now in week two of flower my tallest branches are only 8 inches away from my LED at the top of the tent. How can I save them?”
Question sent by: CascadeGrower_p2_92_2, via contact form.
First, immediately remove the rope ratchets holding your LED and clip the light frame directly to the top ceiling bar with short steel carabiners (and move your inline exhaust fan/filter outside the tent if needed) to gain an extra 6 to 10 inches of vertical clearance. Second, perform gentle ‘supercropping’ on the tallest stretching branches before stems turn rigid at week three: roll the stem between your thumb and forefinger 10 to 12 inches below the tip for 15 seconds until the inner pith softens without tearing the outer green bark, gently bend the branch over at a 90-degree horizontal angle, and secure it to a trellis net or stake.
Within 48 hours, the apical tip will turn back upward toward the light and form a strong reinforced knuckle at the bend while keeping the cola safely below the high-PPFD danger zone.
Mistake 4: Over-Feeding PK Boosters and Over-Defoliating Stressed Plants
More fertilizer does not create bigger buds, and stripping 70% of the solar panels off a struggling plant only starves developing flowers of carbohydrates.
Why ‘Full-Strength Feed Charts’ and Heavy PK Stacking Burn Roots
Many commercial nutrient manufacturers print aggressive feed charts calibrated for commercial sealed rooms running 1,100 PPFD and 1,200 ppm CO2, or designed to sell five overlapping booster bottles. When a home grower in a standard tent mixes a two-part base nutrient at 100% chart strength and then stacks a mid-flower PK 13/14 booster, a bloom enhancer, and extra Cal-Mag on top, total input EC spikes past 2.4 to 2.8 mS/cm.
Within ten days, runoff EC climbs past 3.5 mS/cm, leaf tips burn crispy brown and curl upward, and excess potassium and phosphorus competitively lock out calcium and magnesium uptake. Start every nutrient line at 50% to 70% of the bottle’s recommended chart dosage, guide your adjustments strictly by calibrated EC readings (capping most indoor tent grows at 1.6 to 2.0 mS/cm peak in mid-flower), and check weekly runoff EC to confirm the plant is actually consuming what you pour.
Balanced Defoliation Versus Stripping Solar Panels Too Aggressively
High-intensity defoliation techniques (‘schwazzing’ or stripping 80% of all fan leaves at days 1 and 21 of flower) are designed exclusively for hyper-vigorous, multi-tiered commercial clones grown in automated hydroponics. When a beginner strips almost every fan leaf off a seed plant that is slightly underwatered or pH-stressed, photon energy falls straight through the bare branches onto the tent floor and bud swell stalls completely.
Follow the conservative 20% to 25% rule on your first grow: 5 days before flipping to 12/12, clean up the bottom 25% of shaded undergrowth (‘lollipopping’) that receives no direct light; then around Day 21 of 12/12 (once vertical stretch finishes), selectively remove only large inward-facing fan leaves that are directly shading lower bud sites or overlapping wetly against neighboring leaves.
| Mid-to-Late Flower Phase | Common Beginner Over-Reaction | Physiological Damage Caused | Disciplined Field Practice |
|---|---|---|---|
| Days 1 – 14 of 12/12 (Stretch) | Switching to zero-nitrogen bloom feed on Day 1 of flip | Lower & mid canopy turns pale yellow by Week 3 of flower | Feed vegetative or transition NPK for first 10-14 days of 12/12 |
| Day 21 Defoliation Window | Stripping 80% of all fan leaves down to bare stems | Light hits tent floor; carbohydrate production & bud swell stall | Remove bottom 25% larf + only overlapping interior fan leaves |
| Weeks 4 – 6 Peak Bloom | Stacking full-chart base feed + double PK booster (>2.6 EC) | Osmotic root burn, burnt tips, pH crash, locked-out calcium | Hold total EC at 1.6-2.0 mS/cm; verify runoff EC stays within +0.3 |
| Weeks 6 – 9 Lights-Off Period | Letting dark-period RH spike to 75% or turning fans off | Internal Botrytis bud rot inside thickest main colas | Run exhaust & clip fans 24/7 + lung-room dehumidifier at 45-50% RH |
Once your colas begin stacking dense weight in weeks five through eight of flower, protecting them from nighttime humidity spikes and premature harvest becomes your final priority.
Cultivation Warning
Once vertical stretch stops around Day 21 to 24 of 12/12, cannabis shifts its hormonal budget away from producing new vegetative fan leaves; stripping healthy outer fan leaves in weeks 5 through 8 permanently removes photosynthetic capacity that the plant cannot replace.
Practical questions from home cultivators often center on how these thresholds behave in real-world tents and small rooms.
“Why do the trichomes on my small sugar leaves look 30% amber under my loupe at week seven of flower while the buds themselves still look skinny and covered in white hairs?”
Question sent by: CascadeGrower_p2_92_3, via email.
Sugar leaves emerge weeks before the main floral bracts finish stacking, and their exposed surfaces experience higher light intensity, air movement, and physical brushing, which causes sugar-leaf trichomes to oxidize from cloudy to amber 10 to 18 days earlier than the trichomes on the actual buds. If you judge harvest readiness by looking at sugar leaves, you will harvest two weeks too early every single time.
Always brace your hand against the tent pole and focus your 40x-60x loupe directly onto the rounded, tear-shaped calyx clusters forming the body of the mid-tier and upper buds.
Mistake 5: Ignoring Lights-Off Humidity Spikes and Dark-Period Light Leaks
What happens inside your grow tent during the 12-hour dark cycle of flowering is just as critical as what happens when the lights are on.
Controlling the 30-Minute Post-Lights-Off Dew Point Surge
Many beginners check their tent thermo-hygrometer only at mid-day when the LED is warming the air to 79 F and relative humidity reads a comfortable 50% RH. The moment the grow light clicks off for the 12-hour night cycle, however, air temperature inside the tent drops by 8 to 12 degrees Fahrenheit while the warm, wet root balls and dense colas continue releasing water vapor for another hour.
Because cooler air holds significantly less moisture, relative humidity inside the tent routinely spikes from 50% to 72%-80% within 45 minutes of lights-out, condensing liquid water deep inside your thickest buds and triggering `Botrytis` bud rot. Check the 24-hour ‘MAX RH’ memory button on your hygrometer every morning, keep your inline exhaust and oscillating fans running 24/7, and set a compressor dehumidifier in the lung room to hold late-flower humidity at 42% to 50% RH day and night.
Eliminating Pinhole Light Leaks and Glowing Power Strip LEDs
Photoperiod cannabis measures night length via phytochrome photoreceptors (`Pfr` reverting to `Pr` during uninterrupted darkness). If a glowing red power-strip switch inside the tent, an uncovered dehumidifier screen, or an open passive intake flap shines even 1 to 2 lux of light onto flowering branches during the 12-hour dark period, floral hormones become confused.
Dark-period light pollution causes two severe failures: (1) stress-induced hermaphroditism (producing yellow banana-like pollen anthers that seed the entire crop) and (2) ‘re-vegging’ (where maturing colas suddenly shoot out smooth, single-bladed vegetative leaves from the tops of the buds). Stand inside your zipped tent for three minutes with the grow light off and the outer room lights on before Day 1 of 12/12 to tape over every single glowing LED or light leak.
The glowing neon-orange rocker switch on a standard household power strip mounted inside a grow tent emits more than enough red-spectrum light (600-660 nm, the exact wavelength that resets phytochrome night length) to cause hermaphroditic pollen sacs on the nearest plant.
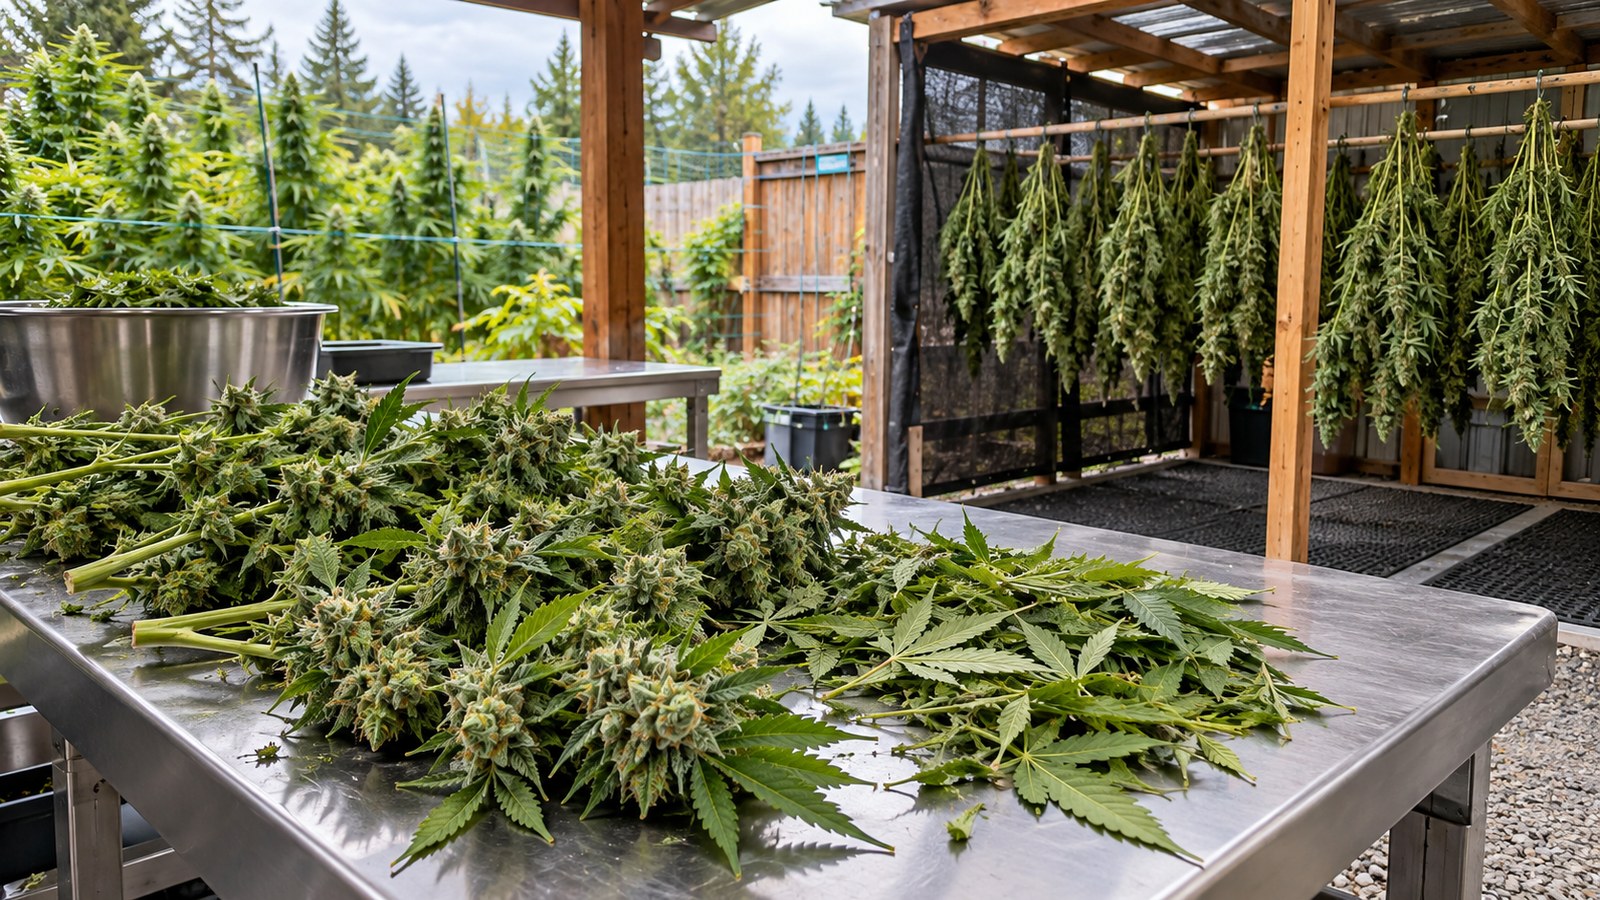
After navigating eight weeks of flowering without light leaks or mold, the final hurdle is resisting the temptation to chop the plants down two weeks before they finish swelling.
Mistake 6: Harvesting 2 to 3 Weeks Early Based on Pistil Color or Breeder Ads
Impatience during the final 15 days of flowering costs first-time growers up to 35% of their potential harvest weight and terpene depth.
Why Pistil Browning and ’56-Day’ Seed-Pack Labels Are Unreliable
Around week six or seven of 12/12, the white hair-like stigmas (pistils) on cannabis flowers naturally begin oxidizing to orange or rust-brown, and seed-bank marketing descriptions often advertise ‘8-week (56-day) flowering.’ Excited beginners see orange hairs on day 52 and harvest immediately, unaware that pistils can turn brown weeks early from wind, low humidity, foliar brushing, or simple genetics while the actual seed bracts (calyxes) beneath them have not yet swelled.
During the final two to three weeks of flowering (typically days 56 through 70 for most modern hybrids), cannabis undergoes a dramatic late-stage ripening phase: new white pistils stop emerging, existing orange hairs recede inward as the bulbous resin-covered calyxes swell outward to double their density, and cannabinoid/terpene synthesis peaks. Chopping before calyx swell leaves you with airy, grassy buds that shrink to 15% of their wet weight when dried.
Verifying Maturity With a 40x-60x Loupe on Bract Trichome Heads
Determine your exact harvest day by combining whole-plant morphological cues (swollen calyxes, receded pistils, slowed daily water uptake, and natural autumn fade on fan leaves) with a 40x to 60x illuminated loupe inspection of the glandular trichome heads. Always inspect the trichomes sitting directly on the swollen floral bracts (calyxes) of mid- and upper-canopy buds – never on the small protruding sugar leaves, whose trichomes turn amber 10 to 14 days earlier than the actual bud.
Wait until transparent, glass-clear trichome heads (which contain precursor CBGA and low THCA, producing a jittery, short-lived effect) transition to 80% to 90% milky-white/cloudy (peak THCA and terpene content) with 10% to 20% warm amber heads before cutting the plant down and beginning a slow 10-to-14-day 60/60 dry.
Field Verification Checklist
- Set LED hanging height to 20-24 inches and dim power to match stage PPFD targets (200 seedling / 500 veg / 800 flower).
- Calibrate your digital pH and EC pens every 14 days and elevate all fabric pots on slotted risers above their drip saucers.
- Measure vertical headroom and flip the photoperiod to 12/12 when the vegetative canopy reaches 45% to 50% of max usable plant height.
- Check the 24-hour MAX RH log on your canopy hygrometer daily in flower to ensure lights-off humidity stays below 50%-52% RH.
- Inspect actual calyx trichome heads at 40x-60x magnification and wait for 80%+ cloudy / 10%-20% amber before harvesting.
Use the five-point first-grow prevention checklist below from seedling to harvest to bypass every common beginner pitfall on your very first cycle.
“How many plants should I put inside a 2×4 or 4×4 grow tent on my very first indoor run so it does not get overcrowded?”
Question sent by: CascadeGrower_p2_92_4, via reader Q&A form.
Less is almost always more on your first cycle because fewer containers mean half the hand-watering time, easier reach to the back corners for pest scouting, and much better airflow between branches. For a 2×4 tent, two plants in 3- or 5-gallon fabric pots is ideal; for a 4×4 tent, three to four plants in 3- or 5-gallon fabric pots is the sweet spot.
Four well-trained plants in a 4×4 tent with a 5-week veg will yield the exact same (or higher) dry weight as nine crammed plants while cutting your risk of late-flower humidity spikes and powdery mildew in half.
Scientific References
- Rodriguez-Morrison, V., Llewellyn, D., & Zheng, Y. (2021). Cannabis yield, potency, and leaf photosynthesis respond differently to increasing light levels in an indoor environment. Frontiers in Plant Science, 12, 646020.
- Livingston, S. J., Quilichini, T. D., Booth, J. K., Wong, D. C. J., Rensing, K. H., Laflamme-Yonkman, J., Castellarin, S. D., Bohlmann, J., Page, J. E., & Samuels, A. L. (2020). Cannabis glandular trichomes alter morphology and metabolite content during flower maturation. The Plant Journal, 101(1), 37-56.
- Cockson, P., Landis, H., Smith, T., Hicks, K., & Whipker, B. E. (2019). Characterization of nutrient disorders of Cannabis sativa. Applied Sciences, 9(20), 4432.
- Punja, Z. K., Collyer, D., Scott, C., Lung, S., Holmes, J., & Sutton, D. (2019). Pathogens and molds affecting production and quality of Cannabis sativa L. Frontiers in Plant Science, 10, 1120.
Share this article
A quick overview of the topics covered in this article.
Follow us
Latest articles
November 7, 2026
November 7, 2026
November 7, 2026
November 7, 2026