
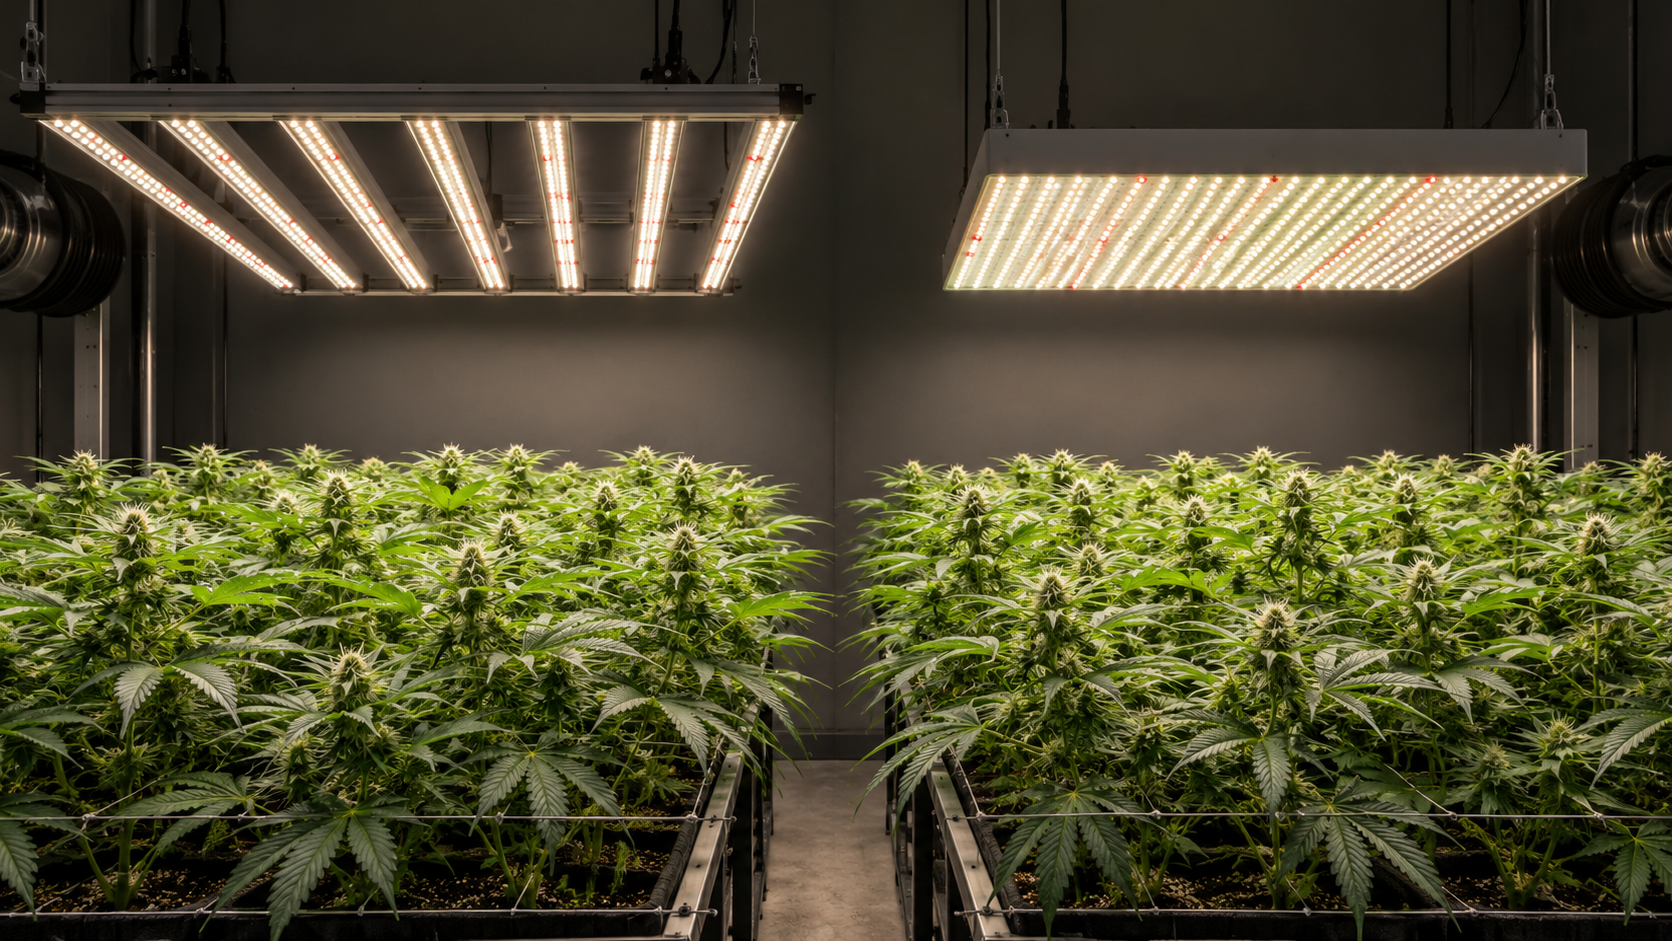
How to Diagnose Indoor Cannabis Problems Step by Step
When an indoor cannabis plant develops yellow interveinal stripes, rusty brown spots, or drooping leaves, the most common mistake is immediately comparing a single leaf against an illustrated ‘nutrient deficiency chart’ and dumping extra fertilizer into the pot. In controlled-environment agriculture, over 80% of visual leaf symptoms that look like mineral deficiencies are actually secondary symptoms triggered by root-zone pH drift, salt accumulation, overwatering hypoxia, excessive LED photon flux, or microscopic pests.
Adding extra bottled nutrients when a plant is suffering from pH lockout or light stress only accelerates root osmotic burn and deepens the crisis. This guide provides a disciplined, five-step diagnostic decision tree that works from canopy location down through root-zone chemistry, atmospheric VPD, and microscopic pest inspection so you can isolate and fix the true root cause on the first try.
Why Leaf Deficiency Charts Alone Mislead Indoor Growers
A leaf turns yellow or necrotic in only a handful of visual ways, even though twenty completely different environmental, root-zone, and biological triggers can cause that exact same appearance.
The Difference Between True Scarcity and Induced Lockout
Every commercial cannabis base nutrient contains more than enough nitrogen, phosphorus, potassium, calcium, magnesium, and trace micronutrients to grow healthy plants when fed at standard rates. When a leaf displays classic ‘calcium deficiency’ rust spots or ‘iron deficiency’ apical yellowing indoors, it is rarely because calcium or iron is missing from your bottle; instead, an out-of-range root-zone pH, cold wet substrate, or high EC salt buildup is blocking the root hairs from absorbing the minerals sitting right next to them.
This distinction between a true scarcity (underfeeding) and an induced lockout (environmental or chemical blockage) is why visual leaf charts fail when used in isolation. If you treat an induced calcium lockout at pH 5.1 by pouring in more Cal-Mag, the unabsorbed salts raise rhizosphere osmotic pressure further and burn the root tips.
The Five-Step Diagnostic Sequence (Location -> Root Zone -> Climate -> Pests -> Fix)
To avoid chasing symptoms backward, always execute your diagnostic audit in the exact order that plant physiology operates: Step 1: Map the vertical canopy location and symmetry of the symptom (Old/Lower vs New/Upper vs Whole Plant); Step 2: Audit root-zone moisture, temperature, and runoff pH/EC; Step 3: Audit canopy PPFD, leaf surface temperature, and VPD; Step 4: Inspect abaxial leaf surfaces and stems at 40x-60x magnification for pests and pathogens; and Step 5: Apply a single-variable correction and monitor new growth for 72 hours.
Walking through Steps 1 through 4 takes less than 15 minutes at the tent and eliminates guesswork before you touch a single nutrient bottle.
Phloem Mobility (Mobile vs Immobile Elements): Mobile nutrients (N, P, K, Mg) can be dissolved out of older lower leaves and transported upward through the phloem to feed new shoots when scarce; immobile nutrients (Ca, Fe, S, B, Zn, Mn, Cu) are locked permanently into cell walls once deposited, so shortages appear exclusively on newest upper growth.
Practical questions from home cultivators often center on how these thresholds behave in real-world tents and small rooms.
“My upper fan leaves directly under my LED have brown rust spots and yellow edges that look just like a calcium and potassium deficiency chart, so why did adding more Cal-Mag make it worse?”
Question sent by: CascadeGrower_p2_91_1, via email.
When symptoms appear exclusively on the upper leaves sitting closest to a high-output LED while shaded lower leaves look fine, the primary trigger is almost always excessive photon flux (PPFD) combined with root-zone salt buildup or low VPD, not a lack of calcium in your bottle. High PPFD pushes upper-leaf cellular demand past the speed of xylem water transport, and pouring extra Cal-Mag into the pot spikes runoff EC above 2.5-3.0 mS/cm, which acidifies the medium and locks out potassium.
Dim your LED by 15% to 20%, irrigate with a balanced 1.4-1.6 mS/cm base feed at pH 5.9-6.2 to 25% runoff, and watch the new upper shoots recover within four days.
Step 1: Map Symptom Location and Phloem Mobility Across the Canopy
Where a symptom starts vertically and horizontally inside the tent immediately cuts the list of possible culprits in half.
Lower and Older Leaves First: Mobile Nutrients, Shade Senescence, or Root-Bound Stress
If discoloration, yellowing, or marginal browning starts exclusively on the oldest fan leaves at the bottom third of the plant and progresses steadily upward while the upper canopy remains green, you are dealing with a phloem-mobile translocation process. The plant is actively dismantling chlorophyll and amino acids in its oldest solar panels to ship Nitrogen (`N`), Phosphorus (`P`), Potassium (`K`), or Magnesium (`Mg`) up to the growing meristems.
Within the lower tier, look at the pattern on the leaf blade: uniform pale-green-to-yellow fading from the tip toward the petiole points to Nitrogen depletion; bright interveinal yellowing where the veins stay sharp green points to Magnesium translocation; dark dull foliage developing yellow-to-crispy necrotic leaf edges points to Potassium shortage; and dark olive leaves developing bronze/purplish blotches on lower nodes point to Phosphorus limitation or cold roots.
Upper and Newest Growth First: Light/Heat Stress, Immobile Nutrients, or Apical Mites
If the bottom two-thirds of the plant look lush and green while yellowing, bleaching, twisting, or rust spotting appears on the highest colas and newest emerging shoots, rule out mobile N-P-K deficiencies immediately. Top-down symptoms are driven by one of three causes: (1) excessive photon flux (PPFD) or radiant heat from the LED fixture directly overhead; (2) lockout or transport failure of an phloem-immobile element (Calcium, Iron, Sulfur, Boron, or Zinc); or (3) microscopic broad or russet mites feeding inside the tender apical meristems.
Notice whether the upper symptom follows the footprint of the light: if only the tallest central branches directly beneath the center of the LED exhibit upward-curled (‘tacoing’) serrations, bleached white/yellow tips, or interveinal rust spots while shorter perimeter branches look healthy, high PPFD is driving localized transpiration and calcium demand beyond what the roots can supply.
Whole-Plant or Single-Side Patterns: Vascular Root Crises vs Microclimate Blasts
When the entire plant from bottom to top droops, loses turgor, or turns pale simultaneously within 24 to 48 hours, the problem sits at the master bottleneck: the root system and stem vascular cylinder. Whole-plant wilting means roots are either suffocating in waterlogged anaerobic media (overwatering/root rot), desiccated in bone-dry media (underwatering), or shocked by an extreme VPD or EC spike.
Conversely, if clawing, bronzing, or stippling affects only one side or one corner of the canopy across both upper and lower nodes on that side, look for a localized physical stressor: a stationary clip fan blasting that quadrant (windburn), a cold air draft from an intake duct, or a localized spider mite hotspot spreading from one corner pole.
| Canopy Symptom Zone | Specific Visual Pattern | Primary Physiological Suspects | Immediate Step-2 / Step-3 Check |
|---|---|---|---|
| Lower / Old Leaves Only | Uniform pale yellow fade moving upward | Nitrogen (N) depletion or root-bound pot | Check runoff EC (likely low) and pot root density |
| Lower / Mid Leaves | Green veins with yellow interveinal stripes | Magnesium (Mg) deficiency or low pH (<5.6 coco / <6.0 soil) | Measure runoff pH and check Mg/Epsom rate under LEDs |
| Upper / Newest Shoots | Bright yellow new growth from base of leaflet outward | Iron (Fe) or Sulfur (S) lockout from high pH or cold wet roots | Verify root-zone pH is not >6.5 hydro/coco or >7.0 soil |
| Upper Canopy Under LED | Upward tacoing edges + rust spots on top fan leaves | Excessive PPFD (>850 without CO2) + Calcium transport limit | Measure PPFD, leaf temp, and coco runoff pH/EC |
| Whole Plant Simultaneously | Limp drooping leaves with stiff curved petioles | Overwatering / root hypoxia or Pythium root rot | Lift pot to check heavy weight; inspect drainage and root smell |
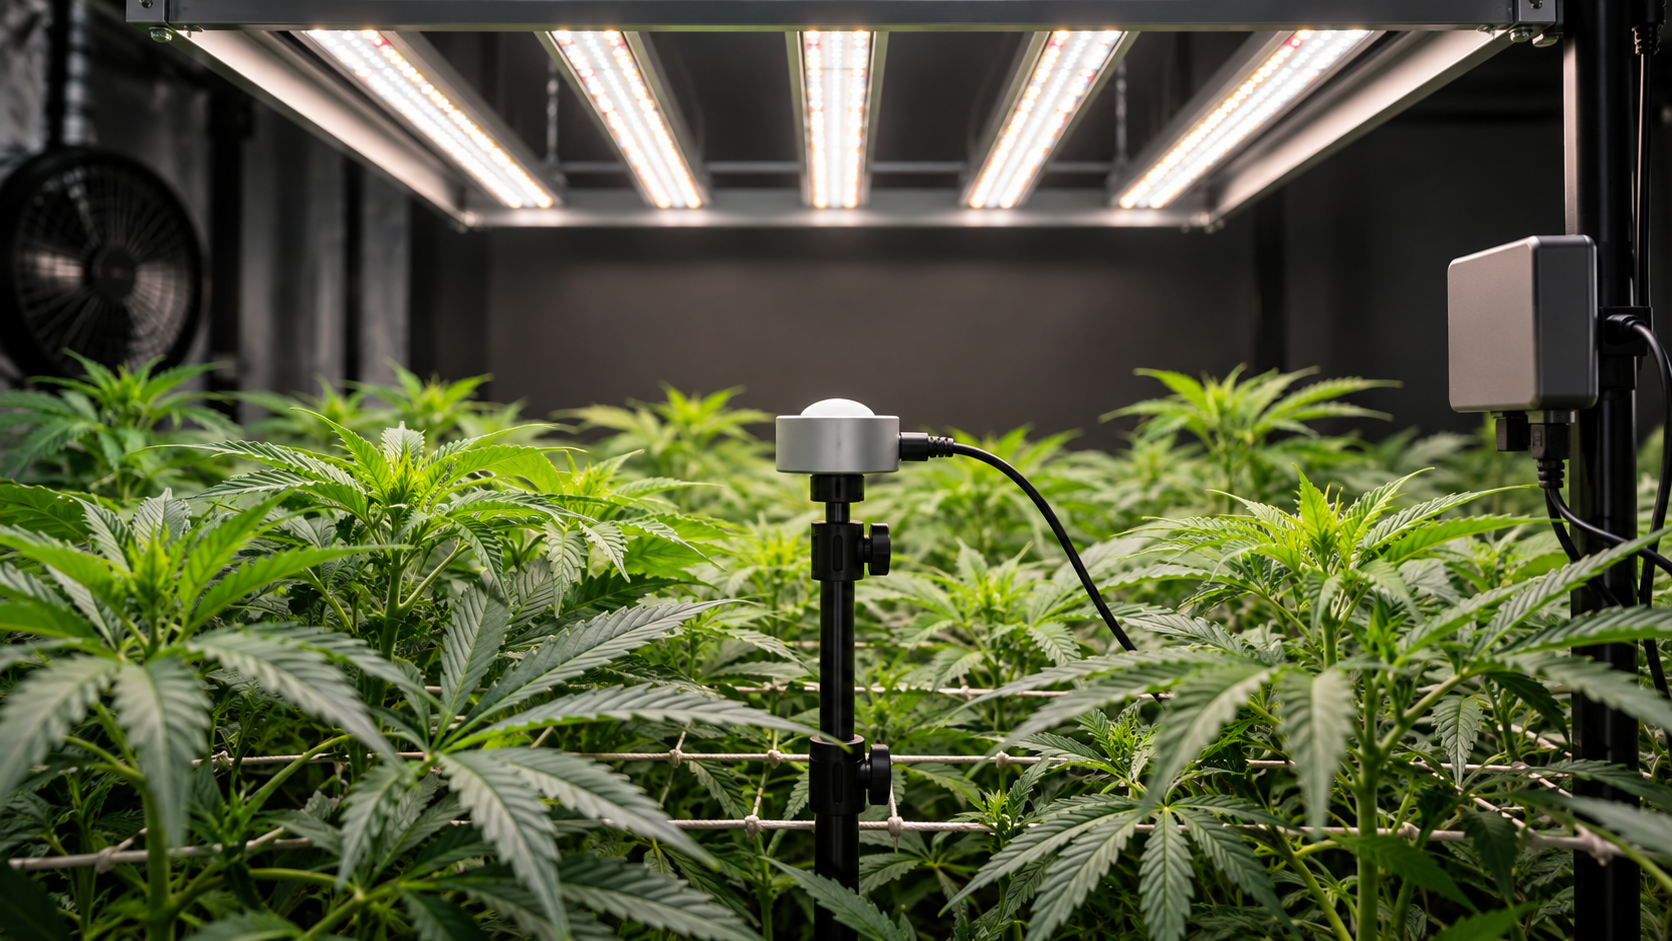
Once Step 1 maps the symptom zone, Step 2 moves immediately to the container to verify whether the root zone is causing the problem.
Step 2: Audit Root-Zone Moisture, Temperature, pH, and Runoff EC
Never adjust your nutrient formula until you have lifted the container and measured a fresh 15% to 20% runoff sample with calibrated meters.
Evaluating Wet-Dry Cadence, Container Weight, and Root Temperature
Before pouring any liquid into the pot, lift the container with both hands and check when it was last watered. In soil and peat mixes, watering every day or two when the lower half of the pot is still heavy displaces all gaseous oxygen from the pore spaces; without oxygen, root hairs stop producing ATP, cease active mineral uptake, and leak ethylene gas that causes leaves to droop with stiff, turgid petioles and develop necrotic blotches.
Next, insert a probe thermometer 3 inches deep into the substrate: if root-zone temperature sits below 64 degrees Fahrenheit (18 C) on a cold floor, phosphorus and magnesium uptake drops by more than 50% regardless of how much fertilizer is present, turning petioles purple and leaves pale.
Running the Pour-Through Runoff pH and EC Diagnostic Test
Calibrate your digital pH and EC meters in fresh standard solutions, then irrigate the symptomatic plant slowly with your standard nutrient feed (or pH-balanced low-EC water for organic soil) until 15% to 20% of the applied volume drains into a clean saucer. Collect that runoff immediately and compare its pH and EC against your input numbers.
Interpret the delta using three clear rules: (1) High Runoff EC + Low Runoff pH: If runoff EC is 0.6 to 1.5+ mS/cm higher than input EC and runoff pH has crashed below 5.5 in coco or 5.8 in soil, accumulated fertilizer salts are acidifying the medium and locking out calcium, magnesium, and potassium. (2) Low Runoff EC + Pale Lower Leaves: If runoff EC is lower than input EC (or <0.8 mS/cm in mid-veg/flower), the plant is genuinely hungry and needs a 0.2-0.4 mS/cm feed increase. (3) High Runoff pH (>6.5 coco / >7.1 soil): Carbonate buildup or under-acidified water is locking out iron, manganese, and boron on upper growth.
Do
- Start every diagnosis by mapping whether symptoms appear on old lower leaves (mobile), new upper growth (immobile/light), or the whole plant.
- Calibrate your pH and EC pens and measure both input and 15%-20% runoff before changing any fertilizer ratios.
- Verify canopy PPFD, leaf surface temperature, and 24-hour VPD highs and lows whenever upper leaves curl upward or develop rust spots.
- Inspect the abaxial (underside) surface of symptomatic leaves and apical tips at 40x-60x magnification to rule out mites and thrips.
Avoid
- Diagnosing a plant solely by matching a single leaf against an online deficiency chart without checking root-zone pH and runoff EC.
- Dumping extra Cal-Mag or PK booster into a container that is already suffering from high-EC salt buildup or low-pH lockout.
- Flushing coco coir with plain unbuffered water, which strips calcium and magnesium from the medium’s cation exchange sites.
- Staring at dead brown necrotic spots waiting for them to turn green again instead of monitoring new apical growth over 72 hours.
If root-zone moisture, temperature, pH, and EC all test within normal target ranges, Step 3 shifts your investigation upward to photon intensity and atmospheric VPD.
“How can I tell the difference between an overwatered cannabis plant and an underwatered cannabis plant when both of them have drooping leaves?”
Question sent by: CascadeGrower_p2_91_2, via contact form.
Use two instant physical checks: container weight and petiole posture. First, lift the pot: an overwatered pot feels heavy and wet, whereas an underwatered pot feels feather-light and dry. Second, look at the leaf stems (petioles): on an overwatered plant suffering from root hypoxia, the leaf blades curl downward heavily while the petioles stay stiff and arched outward; on an underwatered plant lacking hydraulic turgor pressure, both the leaf blades and the petioles hang completely limp against the main stem.
An underwatered plant will perk back up to a normal horizontal posture within 30 to 90 minutes of a thorough irrigation, whereas an overwatered plant requires 2 to 4 days of dry-back and warm airflow to recover.
Step 3: Audit Canopy PPFD, Leaf Surface Temperature, and VPD
High-efficiency LED fixtures can easily push photosynthetic demand past what a plant’s vascular system can support at ambient CO2.
Diagnosing Photon Stress, Light Bleaching, and High-PPFD Calcium Demand
Measure the hanging distance from your LED diodes to the highest colas and verify canopy PPFD using the manufacturer’s PAR map or a calibrated cosine meter. At ambient carbon dioxide levels (400-450 ppm), cannabis photosynthesis saturates around 750 to 900 umol/m2/s in flower (and 500 to 650 umol/m2/s in veg). When upper branches stretch within 10 to 12 inches of a full-power LED and receive 1,050+ umol/m2/s without supplemental CO2, excess photon energy generates reactive oxygen species that bleach upper bud tips white or yellow and scorch upper fan leaves.
Even at 800 umol/m2/s, intense LED light drives rapid cellular division in upper leaves that demands continuous xylem delivery of calcium and magnesium. If dimming your LED by 15%-20% or raising the fixture by 6 inches halts upper-leaf tacoing and spotting within 72 hours, photon flux was the primary driver.
Checking Day/Night VPD Extremes and Dark-Period Swings
Point an infrared (IR) thermometer at the upper fan leaves to record actual leaf surface temperature (typically 2 to 4 F cooler than ambient air under LEDs) and cross-reference your canopy thermo-hygrometer’s 24-hour min/max log. If daytime relative humidity sits below 40% at 82 F (pushing VPD above 1.7 to 2.0 kPa), stomata slam shut to prevent hydraulic cavitation, halting calcium transport and curling leaf edges upward.
Conversely, if humidity sits at 75%-80% in mid-to-late flower (VPD below 0.6 kPa), transpiration slows to a crawl, starving upper bracts of calcium and boron while inviting fungal pathogens.
| Step-2 / Step-3 Test Result | What the Numbers Mean | Visual Symptom It Explains | Exact Single-Variable Fix |
|---|---|---|---|
| Input EC 1.6 -> Runoff EC 3.1 mS/cm & pH 5.2 | Severe root-zone salt accumulation & acid crash | Burnt tips + interveinal rust spots (induced Ca/K lockout) | Irrigate with 1.2 mS/cm balanced feed at pH 6.0 to 30% runoff |
| Input EC 1.2 -> Runoff EC 0.6 mS/cm & pH 6.1 | True mineral depletion (plant eating faster than fed) | Bottom-up uniform yellowing of older fan leaves | Increase base nutrient feed strength to 1.5-1.6 mS/cm |
| Runoff pH/EC normal, but PPFD is 1,050 at top colas | Photo-inhibition / light stress at ambient CO2 | Tacoing upper leaves, yellow upper veins, white cola tips | Dim LED by 20% or raise fixture 6-8 inches to hit 750-850 PPFD |
| Heavy wet pot after 4 days + 63 F floor temp | Root hypoxia & cold-induced P/Mg uptake stall | Drooping leaves with stiff purple petioles and pale growth | Place pot on risers, warm lung room to 75 F, wait for 50% dry-back |
When root-zone chemistry and canopy climate check out, or when leaf lesions look asymmetrical and stippled, Step 4 zooms in with magnification to check for biological culprits.
Cultivation Warning
When correcting high runoff EC in coco coir, never flush with plain tap or RO water containing zero calcium and magnesium; plain water strips divalent Ca2+ and Mg2+ off the coco cation exchange sites, causing severe post-flush lockout. Always reset coco using a mild 0.8 to 1.2 mS/cm balanced nutrient solution at pH 5.8-6.0.
Practical questions from home cultivators often center on how these thresholds behave in real-world tents and small rooms.
“Why are all the leaf stems (petioles) on my indoor plant turning purple even though my runoff pH and EC are completely normal?”
Question sent by: CascadeGrower_p2_91_3, via contact form.
Purple or red striping along the upper surface of leaf petioles (while the main woody stems and leaf blades remain healthy green and growing fast) is very frequently a harmless anthocyanin pigment response triggered by direct blue/UV LED light hitting the exposed petiole or genetic predisposition, rather than a phosphorus deficiency. True phosphorus deficiency causes dark dull-green or bluish leaves, slow stunted growth, and bronze-to-purple necrotic blotches on the actual leaf blades of older lower foliage, often triggered by cold root zones below 64 F.
You can easily verify if petiole purpling is just light-tanning by looking at the shaded underside of the exact same petiole: if the top is purple where LED light hits it and the bottom is bright green, your nutrition is completely fine.
Step 4: Inspect Abaxial Leaf Surfaces and Stems at 40x-60x Magnification
Several arthropod pests and fungal pathogens mimic nutrient deficiencies so closely that only a 40x to 60x loupe inspection can separate them.
Separating Mite and Thrips Damage From Calcium or Magnesium Deficiencies
From three feet away, the fine white-and-yellow pinprick stippling caused by two-spotted spider mites feeding on the underside of mid-tier fan leaves frequently gets misdiagnosed as an early calcium or magnesium deficiency. Flip the spotted leaf over and examine the abaxial midrib and vein junctions under 40x-60x magnification: if you see tiny oval mites (0.4 mm with two dark side spots), amber/clear spherical eggs, or fine silk threads, no nutrient adjustment will solve the problem.
Even more deceptive are hemp russet mites and broad mites, which inject toxic saliva into newest apical shoots that causes twisted, glossy, bronze-tinted new growth with upturned margins – a dead ringer for severe light stress, heat stress, or micronutrient toxicity. Scanning the deepest crevices of the newest terminal shoot at 60x to 100x magnification reveals tiny, slow-moving beige wedge-shaped bodies (russet mites) or football-shaped dotted eggs (broad mites).
Checking Root Tips, Stem Bases, and Inner Colas for Pathogens
If a single branch or whole plant wilts despite moist substrate and normal EC, inspect the root zone and lower stem collar. Gently slide a small root ball or check fabric pot drainage seams: bright white roots confirm healthy aeration, whereas brownish-tan roots whose outer cortex sloughs off between your fingers like wet tissue paper confirm `Pythium` or `Phytophthora` root rot.
In late flower, if a single small sugar leaf protruding from a dense cola suddenly turns crispy yellow or brown while surrounding fan leaves are green, gently tug that sugar leaf while wearing gloves. If the petiole slides out effortlessly with gray-brown decay at its base, internal `Botrytis` bud rot is present.
Anytime a plant develops twisted, stunted, or canoeing apical tips that look like boron, zinc, or calcium deficiency despite normal 5.9 runoff pH, check the newest terminal bud at 60x magnification first; hidden russet or broad mites account for the vast majority of sudden apical distortion in clone-sourced gardens.
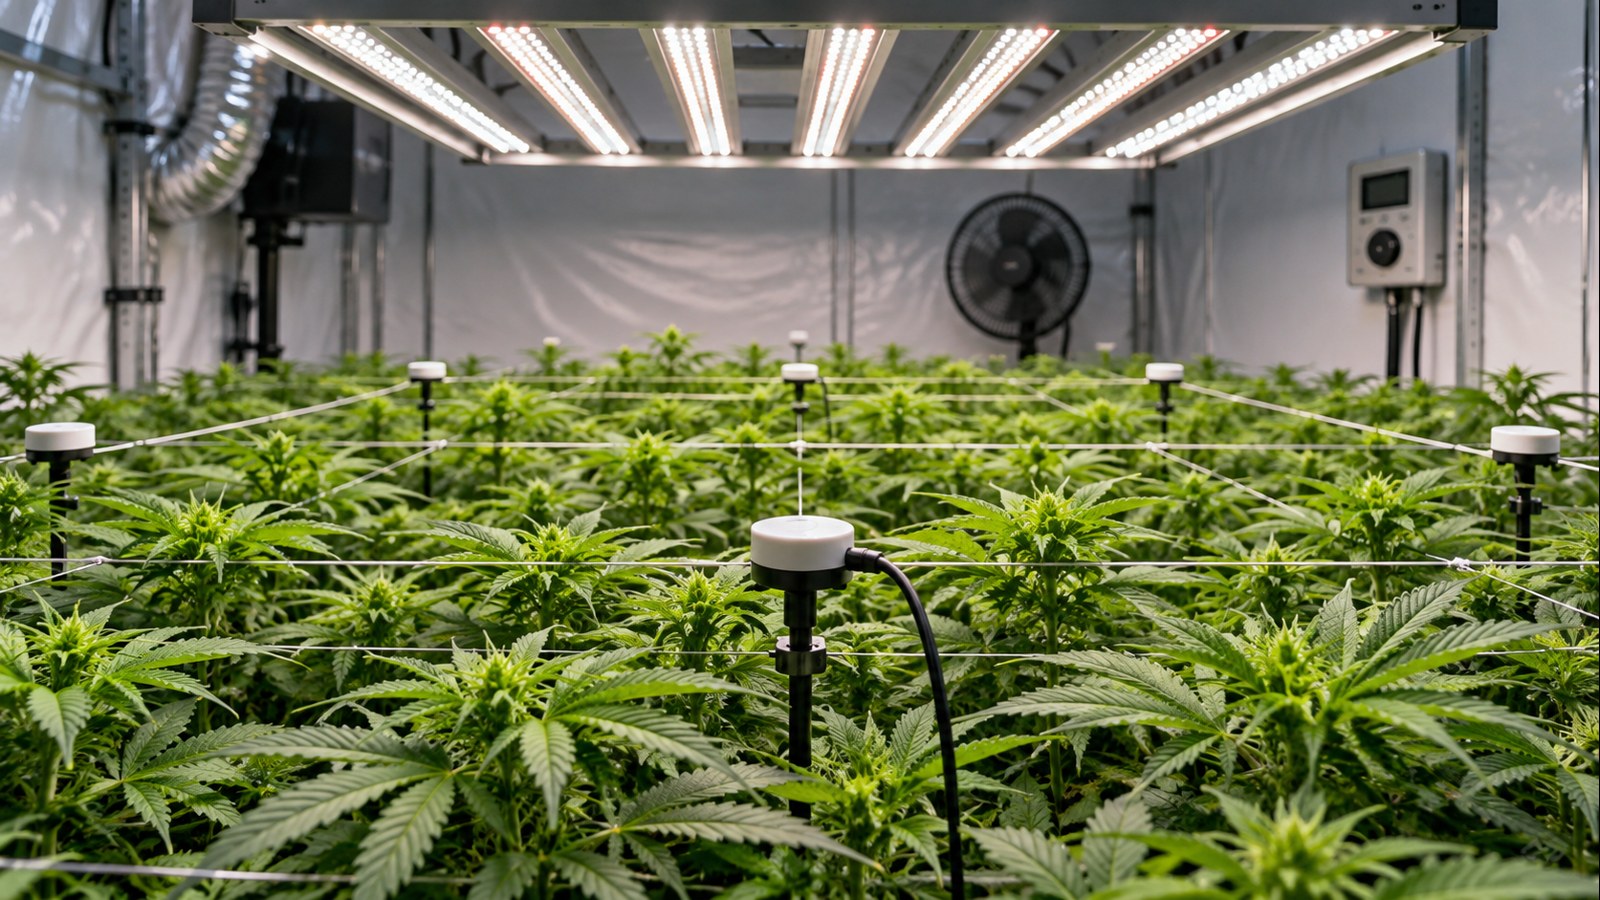
Once Steps 1 through 4 isolate the single primary bottleneck, Step 5 executes a clean, verifiable correction without over-correcting.
Step 5: Execute a Single-Variable Correction and Verify 72-Hour Recovery
Discipline during the recovery phase is what separates experienced cultivators from beginners who ping-pong their plants from one crisis to the next.
Applying the Hierarchy of Limiting Factors One Step at a Time
When your four-step audit identifies an out-of-range variable, correct only that primary constraint and log the exact change, date, and baseline photo in your grow log. For example, if Step 2 revealed that your coco runoff EC climbed to 3.0 mS/cm with a runoff pH of 5.3, perform a single reset irrigation using 1.3 mS/cm balanced nutrient solution at pH 5.9 until runoff EC drops below 1.6 mS/cm – and do not simultaneously strip fan leaves, spray foliar fertilizers, or change light spectrum.
If both high PPFD (950 umol/m2/s) and high runoff EC (2.8 mS/cm) are present, dimming the light by 15% while resetting the root zone is safe because dimming reduces metabolic strain while the roots recover.
Evaluating Recovery on New Growth Over 72 to 120 Hours
Wait a full 72 to 120 hours after your correction before making any further changes. Remember that older leaves with necrotic brown spots, burnt tips, or severe interveinal bleaching will never turn green again; evaluate success strictly by confirming that existing blemishes have stopped spreading and that newly unfolding apical leaves display normal turgor and uniform green coloration.
Follow the five-step diagnostic checklist below whenever an indoor plant shows signs of stress to resolve issues quickly and methodically.
Field Verification Checklist
- Step 1 (Location): Map symptom zone under 5000K white light (Lower/Old = Mobile N-P-K-Mg; Upper/New = Light/Heat or Immobile Ca-Fe-S; Whole = Roots/VPD).
- Step 2 (Root Zone): Lift container to verify moisture weight, check substrate temperature (target 68-75 F), and test 15-20% runoff pH and EC.
- Step 3 (Environment): Measure canopy PPFD (or LED distance/dimmer) and verify 24-hour temperature, RH, and VPD stay within stage targets.
- Step 4 (Biology): Scan the abaxial surface of affected leaves and newest apical shoots with a 40x-60x loupe and check pot-rim sticky cards.
- Step 5 (Action): Execute one targeted correction based on your out-of-range measurement and log recovery on new growth after 72 to 120 hours.
Working through these five sequential steps turns every plant symptom into a clear, solvable measurement check rather than a guessing game.
“If I find that my soil runoff pH has dropped to 5.3 in week four of flower, how much water should I flush through the pot to fix it?”
Question sent by: CascadeGrower_p2_91_4, via email.
Avoid drowning a soil pot with 3x to 5x its volume of plain water in one sitting, which compacts peat/soil structure and suffocates roots for a week. Instead, irrigate slowly with 1.5x to 2x the pot volume using pH 6.8 to 7.0 water containing a half-strength dose of balanced bloom nutrients (plus 1 tablespoon per gallon of superfine dolomitic limestone or liquid limestone buffer if using acidic peat), extract all standing runoff from the saucer immediately, and place a fan blowing across the fabric pot to accelerate dry-back.
Re-test runoff pH on the next normal watering 3 to 4 days later; stepping soil pH back up from 5.3 to 6.1-6.3 gradually over two irrigations is much safer for root hairs than a single massive flood.
Scientific References
- Cockson, P., Landis, H., Smith, T., Hicks, K., & Whipker, B. E. (2019). Characterization of nutrient disorders of Cannabis sativa. Applied Sciences, 9(20), 4432.
- Kalaitzoglou, P., van Ieperen, W., Harbinson, J., van der Meer, M., Martinakos, S., Weerheim, K., Nicole, C. C. S., & Marcelis, L. F. M. (2019). Effects of continuous or end-of-day far-red light and high PPFD on growth and stress diagnostics in indoor crops. Frontiers in Plant Science, 10, 322.
- Cavins, T. J., Whipker, B. E., & Fonteno, W. C. (2008). PourThru: A method for monitoring nutrition in the greenhouse. Acta Horticulturae, 779, 289-297.
- Marschner, P. (2012). Marschner’s Mineral Nutrition of Higher Plants (3rd ed., Chapter 2: Ion Uptake Mechanisms of Individual Cells and Roots). Academic Press.
Share this article
A quick overview of the topics covered in this article.
Follow us
Latest articles
November 7, 2026
November 7, 2026
November 7, 2026

November 7, 2026