
Cannabis Grow Light Buying Guide: Marketing Claims, Specifications, Warranty, and Lifespan
A grow light can look convincing on a product page long before you know whether it is a good fixture. High wattage, “full spectrum,” premium diode names, huge center PPFD numbers, long lifespan claims, and generous-looking warranties can all sound useful while leaving the most important buying questions unanswered.
The practical way to choose a cannabis grow light is to move from claims to evidence. First define the canopy and electrical limits. Then compare verified input power, PPF, PPE, spectral data, PPFD distribution, dimming, environmental ratings, safety certification, long-term photon maintenance, driver information, serviceability, and the actual warranty terms. No single specification proves that a fixture is good. The useful decision comes from whether the specifications describe a complete system that fits your canopy and can still be supported years after purchase.
This resource focuses on buying and evaluating a fixture. For broader explanations of lighting biology, PPFD, DLI, spectrum, and fixture placement, use the complete cannabis grow-light guide. If your enclosure, electrical route, ventilation, and equipment layout are not settled yet, the grow-room setup guide should come first.
The Buying Principle: Evidence Before Marketing
The strongest grow-light buying process starts before you open a product page. A fixture is not good because it has a familiar diode, a fashionable form factor, a high wattage number, or an impressive photograph of a flowering room. It is good only if its tested performance, distribution, thermal design, controls, mechanical design, electrical compatibility, long-term support, and price match the grow you are actually building.
That sounds obvious, but lighting marketing often reverses the order. The product is presented first, then the buyer is encouraged to imagine a canopy that fits it. A better process begins with the canopy and asks the fixture to prove that it belongs there.
Remember: A grow light is a system. Diodes create photons, the driver powers them, the thermal design controls operating temperature, the frame and optics influence distribution, and the warranty determines what happens if one part of that system fails.
Start with four questions
Before comparing models, write down four constraints: the productive canopy dimensions, the maximum workable fixture height, the electrical capacity available for lighting, and the room’s ability to remove heat. Those limits immediately remove fixtures that cannot fit physically or electrically even if their specifications look impressive.
Then decide what evidence you need. For most home growers, the core evidence is actual input power, tested PPF, PPE, spectral distribution, a credible PPFD map at a stated hanging height, dimming behavior, dimensions, weight, environmental rating, safety certification, warranty terms, and enough lifetime information to understand what the manufacturer is actually promising.
Do not confuse a component brand with fixture performance
A specification sheet may advertise the manufacturer or family of the LED packages used in the fixture. That can be useful information, but the diode name is not a substitute for a fixture test. The same LED package can be driven at different currents, operated at different temperatures, combined with different drivers, mounted to different thermal structures, and used in different spectral mixes.
Two fixtures using the same diode family can therefore have different PPF, PPE, distribution, operating temperature, lifetime behavior, and reliability. Component identity is one piece of evidence. Whole-fixture performance is the buying decision.
Specification, test result, and marketing claim are not the same thing
A specification is a stated product characteristic. A test result is a measured value produced under defined conditions. A marketing claim is promotional language that may summarize, simplify, or selectively present those characteristics. Strong buying decisions trace important claims back to a measurable specification or recognized test method.
Use independent or standardized testing where possible
Horticultural lighting has developed its own measurement standards because human-lighting metrics such as lumens do not answer all plant-light questions. ANSI/ASABE S640 defines radiation quantities used for plants, while standards and qualification programs reference methods such as LM-79 for whole-fixture electrical and optical measurements.
For North American professional horticultural products, the DesignLights Consortium Horticultural Qualified Products List is one useful verification route. Under its current V4.0 requirements, qualifying LED horticultural fixtures must meet defined testing, efficacy, long-term performance, power-quality, warranty, and safety requirements. A DLC listing is not a guarantee that the fixture is right for your canopy, but it provides a stronger evidence trail than an unsupported product-page claim.
| Claim or Number | What It Can Tell You | What It Cannot Prove Alone |
|---|---|---|
| Input watts | Electrical power consumed at the stated operating condition. | Photon output, distribution, spectrum, yield, or efficiency. |
| PPF | Total photosynthetic photon output in the stated waveband. | Where those photons land on your canopy. |
| PPE | Photon output per joule of electrical energy. | Coverage, uniformity, thermal fit, or plant response by itself. |
| Maximum PPFD | The strongest reported point on a measurement plane. | Average canopy intensity or edge performance. |
| Diode brand or model | Identifies part of the light engine. | Whole-fixture efficacy, lifetime, or reliability. |
| “50,000 hours” | May refer to a component lifetime, maintenance projection, or manufacturer claim. | Automatic survival of the complete fixture for 50,000 hours. |
| Five-year warranty | Defines a period in which specific failures may be covered. | Five years of unchanged output or free replacement under every condition. |
How to Read a Horticultural Lighting Specification Sheet
A useful specification sheet lets you reconstruct how the fixture behaves. You should be able to identify what it consumes, what it emits, how that output is distributed, what electrical system it requires, how it is controlled, what environment it tolerates, and what the manufacturer says about long-term performance.
If the page gives only wattage, a maximum PPFD number, spectrum buzzwords, and a tent-size recommendation, there is not enough information for a serious comparison.
Actual input power
Input power is the real electrical power the fixture draws at a defined setting. It belongs in your electricity, circuit-loading, and heat calculations. Ignore “equivalent wattage” when comparing modern horticultural fixtures. The actual wattage versus equivalent wattage guide explains this distinction in detail.
For dimmable fixtures, ask whether the specification reports maximum, default, and minimum power states. A dimmer percentage printed on a knob does not necessarily equal the same percentage of PPF or input power. If accurate low-output operation matters, data at more than one operating state is useful.
PPF: total photon output
Photosynthetic photon flux is the rate at which the fixture emits photons in the conventional 400 to 700 nm photosynthetic band. It is expressed in micromoles per second. PPF is the starting point for understanding how much usable photosynthetic output the fixture produces in total.
Do not use PPF as a coverage number. Two fixtures can emit similar PPF and create very different PPFD maps because the light engines, optics, dimensions, and mounting heights differ.
PPE: electrical efficiency expressed in plant-light terms
Photosynthetic photon efficacy is commonly expressed in micromoles per joule. It compares PPF with electrical input and is therefore one of the best first filters for fixture efficiency. It still needs context, especially spectrum and tested operating state.
As of the current DLC Horticultural V4.0 requirements, qualifying LED horticultural fixtures must reach at least 2.5 µmol/J PPE. Treat that as a current qualification threshold for that program, not a universal definition of a “good cannabis light.” A fixture may exceed the threshold and still be the wrong size, distribution, control system, or price for your grow.
Important: Compare PPE only when the products are being described in compatible wavebands and operating states. A spectrally tunable fixture can produce different efficacy at different channel settings.
PPFD map: where the photons arrive
A PPFD map is most useful when the test footprint, hanging height, fixture setting, grid density, wall conditions, and measurement method are stated. The center number alone is not a map. You need the center, intermediate points, edges, and corners to judge whether the fixture produces a useful canopy field.
Compare maps only when the conditions are reasonably similar. A fixture mapped at a greater hanging height may appear more uniform but can have a lower average PPFD. Reflective walls can also influence an enclosed tent map. Open-room and tent maps are not automatically comparable.
Spectrum and spectral quantum distribution
Terms such as “full spectrum,” “sunlike,” “veg spectrum,” and “flower spectrum” are broad descriptions. They do not replace the spectral chart. If spectrum matters to your decision, look for the distribution across wavelength rather than relying on color names or correlated color temperature alone.
The grow-light spectrum guide covers plant responses and the limits of common spectrum claims. For buying purposes, the main point is simpler: verify what wavelengths the fixture actually emits and whether additional UV or far-red channels are controlled and documented.
Fixture dimensions, weight, and hanging hardware
The physical drawing can be as important as the photon data. Record fixture length, width, thickness, weight, hanging-point positions, folding dimensions if applicable, driver location, cable exits, and required clearance. A light that technically fits inside a tent can still be difficult to raise, service, or remove once filters, ducting, fans, and plants are installed.
If the fixture uses a remote-capable driver, verify that remote mounting is actually supported by the manufacturer and determine the permitted cable, connector, and environmental conditions. Do not improvise electrical modifications to move heat outside the room.
Dimming and controls
Dimming is valuable because young plants, recently transplanted plants, stressed plants, and lower-light stages may not need the fixture’s maximum output. A well-documented dimmer can also help you keep a fixture at a workable height while changing canopy intensity.
Check whether dimming is manual, analog, digital, networked, or controller-based. If several fixtures will be linked, confirm the maximum number of units, cable requirements, failure behavior, addressing method, and whether a controller is proprietary. A control feature that cannot be serviced later can become a lock-in cost.
Electrical characteristics and power quality
Voltage range, frequency, current draw, power factor, total harmonic distortion, connector type, and inrush behavior can matter as systems get larger. A single home fixture may not require the same planning as dozens of fixtures on one facility circuit, but the principle is the same: the electrical system must be designed around actual equipment data.
DLC V4.0 includes requirements for power factor and current harmonic distortion in qualifying products. For a home grow, this does not replace a qualified electrician where circuit loading, permanent wiring, wet locations, or code compliance are involved.
Environmental and safety ratings
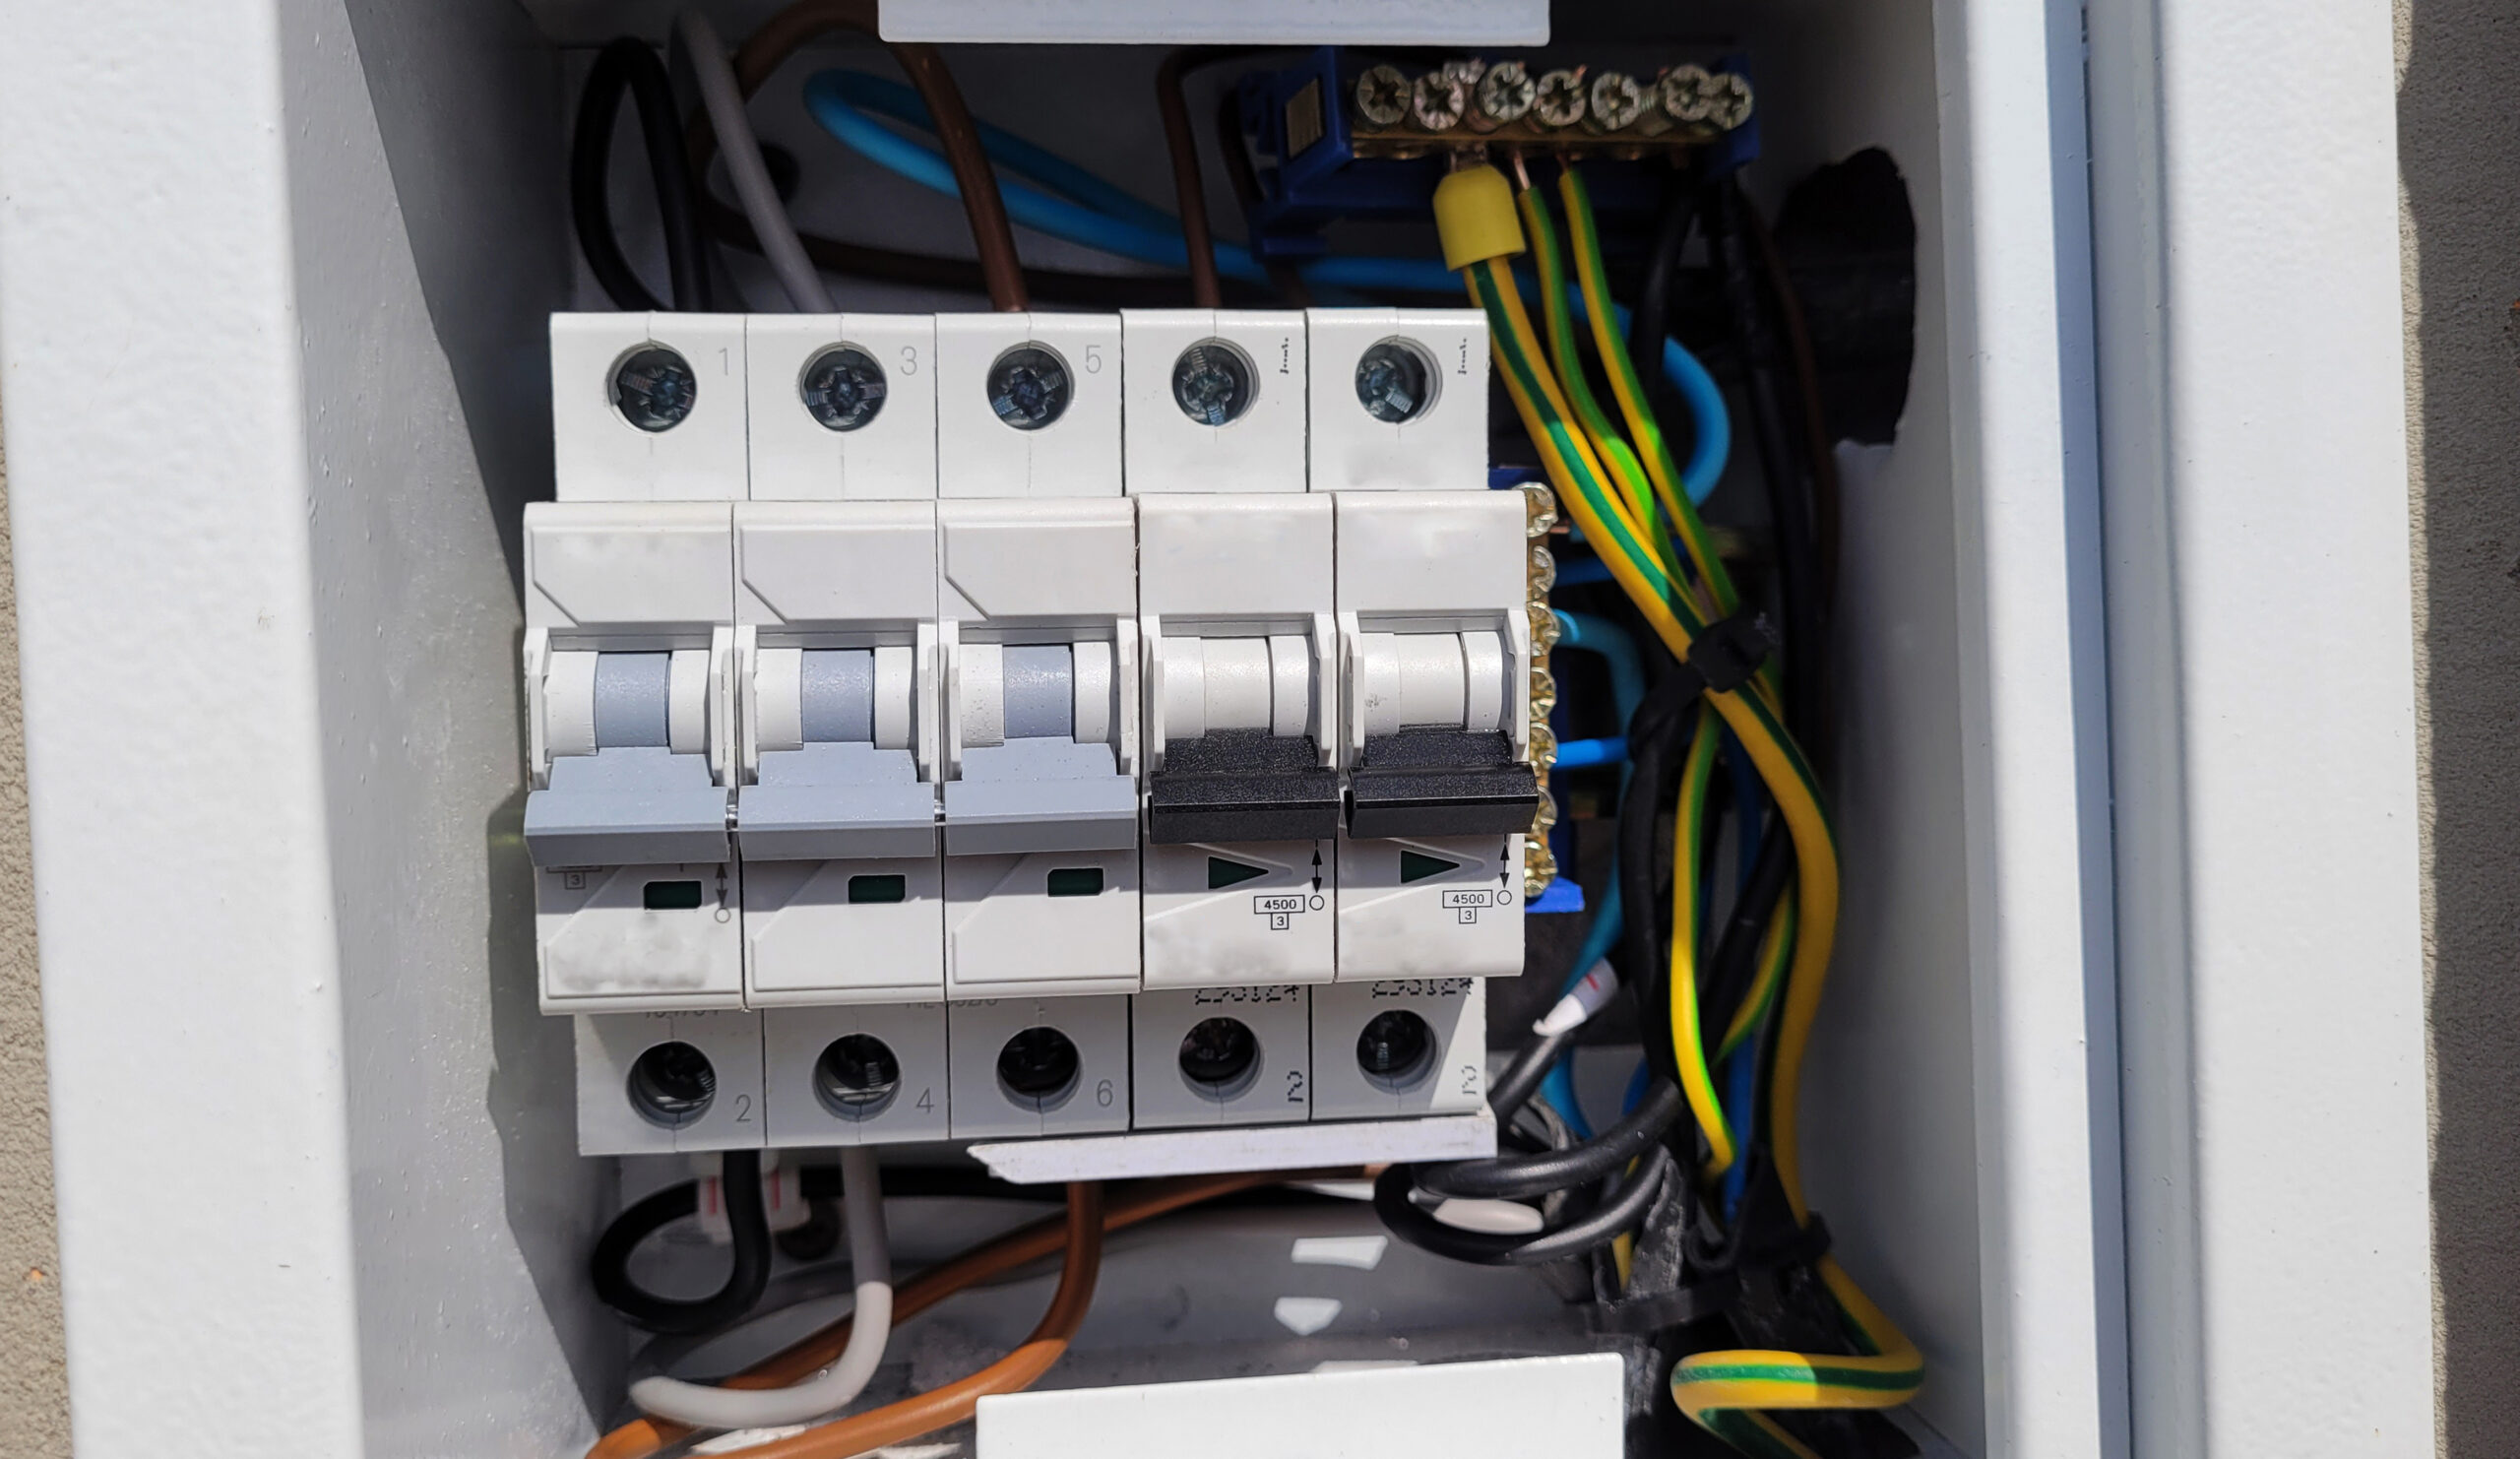
Indoor horticulture exposes equipment to elevated humidity, irrigation water, dust, fertilizers, sprays, and warmer ambient temperatures. Check the rated ambient temperature and whether the fixture is listed for damp or wet conditions appropriate to its intended installation.
In North America, UL 8800 specifically addresses horticultural lighting equipment and includes considerations such as environmental conditions, wiring, ingress protection, and photobiological safety. Other regions use their own applicable safety schemes. The buying principle is international: use equipment carrying recognized certification appropriate to the jurisdiction and installation environment rather than relying on a generic “CE-style” logo or an unexplained safety badge.
Do not treat a specification logo as proof until you can verify it
Safety marks, laboratory logos, and qualification badges can be copied into product images. Where the purchase is significant, verify the model in the relevant certification or qualified-product database and confirm that the exact catalog number matches.
Marketing Claims That Need Verification
Marketing is not automatically dishonest. It is simply written to sell the product, so claims are often compressed into the strongest possible wording. Your job is to expand those claims back into measurable questions.
“Replaces a 1000 W HPS”
A replacement claim is incomplete unless it identifies what is being replaced and by which performance criterion. Is the claim comparing input power, total PPF, average PPFD over the same area, plant yield, or operating cost? Those are different comparisons.
If the manufacturer means photon performance, compare the new fixture’s PPF and PPFD distribution with the HID system at the same target canopy. If the claim means energy savings, compare actual wall power plus changes in cooling load and maintenance. Do not accept an equivalence label as a unit of light.
“Full spectrum”
Full spectrum has no single horticultural meaning that guarantees a particular spectral distribution. Many modern white LED fixtures provide broad visible output, while some add deep red, far-red, ultraviolet, or separate control channels. Others use the same phrase for a very different spectral mix.
Use the spectral chart. If the product advertises UV or far-red as a major benefit, confirm the actual wavelength band and output. A colored line on a marketing graphic without scale or measurement information is weak evidence.
“Commercial grade” or “professional grade”
These phrases are useful only when backed by measurable construction, testing, service, and certification. Ask which safety standard applies, what ambient conditions are rated, whether the driver is replaceable, how the fixture is supported after the warranty period, and whether performance data comes from a recognized test method.
“Premium diodes”
High-quality LED packages can contribute to a strong fixture, but they do not remove the need to evaluate drive current, thermal design, spectral mix, driver quality, optical losses, and whole-fixture testing. A respected diode operated aggressively in a hot system can age differently from the same family run under lower thermal and electrical stress.
“No heat” or “runs cool”
LED fixtures can deliver more photons per unit of electrical input than older lighting technologies, which can reduce the electricity required for a given photon target. They still consume electrical power and still contribute heat to an indoor room. A cool-to-touch frame can indicate good heat spreading, but it does not mean the room receives no thermal load.
Heat planning should use actual input power, fixture location, driver location, airflow, room volume, ambient conditions, and the cooling or ventilation system. The cannabis ventilation guide covers the room-air side of this decision.
Translate every claim into a measurement
“Efficient” becomes PPE. “Powerful” becomes PPF and PPFD. “Long-lasting” becomes photon maintenance, driver lifetime, serviceability, and warranty terms.
Do not compare slogans against slogans
Two manufacturers can use the same phrase for different test conditions. Compare the underlying measurements and documents instead of deciding which advertisement sounds stronger.
“50,000-hour lifespan”
This is one of the most misunderstood lighting claims. It may refer to a projected maintenance point for the LED packages, a driver specification, a fan rating, a whole-luminaire test, or a general manufacturer design target. Those are not interchangeable.
IES guidance is explicit that LED component maintenance projections should not be used by themselves as the lifetime of an entire luminaire. The complete fixture includes driver electronics, connectors, solder joints, optics, controls, cables, seals, fans where present, and mechanical parts. Any of them can degrade or fail before the LED packages reach their projected maintenance point.
“If a light says 100,000 hours, does that mean I should never need another fixture?”
No. First identify what the 100,000-hour number describes and which test or projection supports it. LED-package flux maintenance is not the same as complete-fixture survival. Driver electronics, thermal conditions, connectors, controls, optics, and the actual warranty may impose shorter practical limits.
Question sent by: Ethan Brooks, via email.
“Highest PPFD”
A maximum center PPFD number can be made larger by reducing hanging height or concentrating the beam. That does not necessarily improve a flowering canopy. A useful fixture should deliver the intensity you need over the productive area without forcing the center into excessive intensity while the edges remain weak.
Always ask for the full map and its conditions. The number that matters is not the most dramatic point on the graphic, but how the distribution matches your canopy after installation.
Match the Fixture to Your Canopy, Room, and Electrical Limits
Specification reading becomes useful only when it is connected to the grow. A high-performance fixture can still be a poor purchase if it requires a hanging height you do not have, spreads photons outside the productive canopy, blocks airflow, overloads the planned circuit, or creates a heat load the room cannot remove.
Measure the productive canopy instead of trusting a tent-size label
Record the actual length and width occupied by productive plant tops. Do not automatically use the external tent dimensions. Fans, humidifiers, dehumidifiers, filters, access paths, irrigation lines, and training structures can reduce the real canopy.
A “4 x 4 flowering” recommendation is marketing shorthand. The evidence is the fixture’s PPFD distribution across a 4 x 4 ft measurement plane at a stated height and power setting. If those conditions do not fit your room, the label has little value.
Check hanging height and total vertical stack
Add the height of the container, mature plant, support system, safe working gap, fixture thickness, hanging hardware, and any equipment above the light. A light that needs more blending distance than your room can provide may create a center peak or striping even when its total PPF is adequate.
Conversely, choosing a fixture only because it can hang very close can reduce access and increase sensitivity to an uneven canopy. Leave enough mechanical space to raise, lower, clean, inspect, and remove the fixture.
Size the electrical plan from real watts
Use measured or specified input power rather than equivalent wattage. Include the driver, controllers, pumps, fans, dehumidification, heating, cooling, and other equipment that may operate on the same electrical system. When the required load or circuit work exceeds your competence, use a qualified electrician.
For multiple fixtures, consider inrush current and control strategy in addition to steady-state watts. Large banks of drivers can behave differently at switch-on than one small fixture.
Use PPE to compare operating efficiency, then use PPFD to compare delivery
PPE answers how efficiently the fixture creates photosynthetic photons. The PPFD map answers how those photons are distributed at the canopy. You need both. A highly efficient fixture that wastes photons outside a narrow canopy may not be the best system-level choice. A less efficient fixture with perfect geometry may still cost more to operate than necessary.
The best comparison therefore moves in this order: confirm enough PPF for the target area, check PPE, inspect the distribution, then decide whether height and dimming can put the map where you want it.
Consider the room’s climate response
Lighting changes the room as well as the plant. Higher photon delivery increases the potential for photosynthesis and transpiration, which can increase water demand and humidity load. The fixture itself adds electrical heat. The plant may also experience different leaf temperatures under different spectra and radiative conditions.
Do not buy the maximum light your budget allows and assume the rest of the room will adapt. Buy a photon system that the climate, root zone, irrigation, and canopy can support.
Field Advice: If two fixtures both meet your canopy target, the easier one to dim, cool, clean, service, and replace may be the better long-term purchase even if its headline specification is slightly less dramatic.
Warranty, Drivers, Diodes, and Replaceable Parts
A warranty is not a lifespan test. It is a legal promise describing which failures the seller or manufacturer will address for a defined period under defined conditions. The number of years matters, but the exclusions and remedy matter just as much.
Read the legal warranty, not the product-page badge
Before buying, locate the full warranty document and check when coverage begins, whether registration is required, who qualifies as the original purchaser, whether the warranty transfers, what proof of purchase is required, and what the manufacturer considers normal use.
Then look for exclusions involving commercial use, humidity, ambient temperature, water exposure, modified cables, third-party controllers, improper mounting, voltage conditions, cleaning chemicals, unauthorized repairs, and shipping damage. Some exclusions may be reasonable, but you need to know them before the fixture is installed.
Ask what the remedy actually is
A five-year warranty can mean different things. The company may repair the fixture, send a replacement part, replace the entire unit, provide a refurbished unit, offer a prorated credit, or require the buyer to ship the fixture to a service location first.
For a grower with one fixture, losing the light during flowering can be more damaging than the cost of the repair itself. Service logistics therefore belong in the buying decision. Ask whether advance replacement is available, whether cross-shipping exists, and who pays freight.
| Warranty Question | Why It Matters | What to Record Before Buying |
|---|---|---|
| Who provides coverage? | Marketplace sellers can disappear while the manufacturer remains, or the reverse. | Legal company name, support channel, and region served. |
| What is covered? | A warranty may treat driver, diodes, fan, connectors, and controls differently. | Parts, labor, shipping, and exclusions. |
| What counts as failure? | Complete failure is easier to define than gradual output loss. | Whether reduced output or failed diode sections are covered. |
| What is the remedy? | Repair, replacement, or store credit have different downtime risks. | Expected process and who pays transport. |
| What voids coverage? | Environment, wiring changes, controller use, and mounting can matter. | Temperature, humidity, installation, and modification limits. |
The driver deserves as much attention as the diodes
The driver regulates power to the LED system and contains multiple electronic components. DOE reliability guidance notes that driver electronics can become a significant system reliability concern and that operating temperature strongly affects electronic reliability.
Look for a clearly identified driver specification, rated temperature information, electrical efficiency where available, and whether the driver can be replaced without destroying the fixture. A replaceable driver can turn a major failure into a service event rather than a complete fixture replacement.
Replaceable parts change the economics of ownership
Ask whether drivers, dimmers, control boards, fans, power cords, connectors, and LED boards or bars are field-replaceable or factory-serviceable. Also ask whether the parts are proprietary and whether replacements are sold directly.
Modularity is not automatically better. More connectors and removable parts can add cost and additional interfaces. The useful question is whether the parts most likely to require service can be replaced safely and realistically during the fixture’s expected ownership period.
“Should I avoid a fixture if the driver is not a famous brand?”
Brand recognition can help with traceability, but it is not enough by itself. Look for the driver’s electrical ratings, thermal limits, safety approvals, warranty path, and whether the fixture manufacturer will support a replacement. An unidentified component with no documentation is a larger concern than a less familiar component with strong documentation.
Question sent by: Julia Schneider, via contact form.
Diode replacement is different from driver replacement
Replacing a driver may be straightforward on a modular fixture. Replacing individual LED packages usually requires electronics repair, soldering equipment, thermal management knowledge, and access to matched components. Many growers should treat diode-board failure as a module or manufacturer-service issue rather than a home repair.
Before assuming a modular fixture is endlessly repairable, verify which modules are actually sold as replacement parts and whether opening the light affects safety certification or warranty coverage.
DLC requirements provide a useful benchmark, not a universal shopping law
Current DLC Horticultural V4.0 requirements include at least a five-year fixture warranty, a driver lifetime threshold of at least 50,000 hours, photosynthetic photon maintenance of Q90 at or beyond 36,000 hours, and recognized safety certification for listed products. Those requirements are designed for its qualified-product program and North American professional markets.
A fixture that is not DLC listed is not automatically poor. Many home-grow products are sold outside that program. The value of the benchmark is that it shows what a serious qualification system asks manufacturers to document: performance, long-term maintenance, driver life, warranty, power quality, controls, and safety.
How Fast Do LED Grow Lights Lose Output?
LED grow lights usually do not move directly from full output to darkness. The LEDs can continue operating while photon output slowly declines. At the same time, spectrum can shift, driver performance can change, optics can discolor, seals can age, connectors can corrode, and electronics can fail abruptly.
This is why “lifespan” needs to be broken into flux maintenance and system reliability.
Q90 describes photon-flux maintenance, not complete fixture survival
In horticultural lighting, Q90 is used to describe the operating time at which photosynthetic photon flux is projected or measured to remain at 90% of its initial value under the applicable method and conditions. It does not mean that every complete fixture will operate without any other failure until that hour.
LM-80 measures maintenance at the LED-source level
ANSI/IES LM-80 provides methods for measuring light-output maintenance characteristics of solid-state light sources such as LED packages, arrays, and modules. The current method can address photon flux maintenance as well as luminous and radiant output. Test conditions include drive level and temperature because both influence degradation.
Those data are valuable, but they describe the tested LED light source under defined conditions. They do not, by themselves, prove the lifetime of the complete horticultural fixture.
TM-21 projects long-term maintenance from LM-80 data
ANSI/IES TM-21 provides a method for projecting long-term luminous, photon, and radiant flux maintenance from LM-80 data. It includes limits on how far measured data can be extrapolated. A very large projected hour number is therefore not automatically credible simply because it appears next to “LM-80” or “TM-21.”
IES has specifically warned against using unsupported extrapolation or presenting LED-component maintenance as the lifetime of the complete luminaire. When a product page gives a very long life claim, ask for the maintenance notation, the test basis, and whether the value applies to LED packages, a light engine, or the whole fixture.
LM-84 and whole-luminaire maintenance
IES LM-84 addresses maintenance measurements for LED lamps, light engines, and luminaires. Whole-fixture maintenance data can reduce some of the uncertainty that exists when component data are applied to a fixture, but it still does not turn one optical-maintenance metric into a complete prediction of every possible failure mode.
A fixture can maintain photon output well until a driver, fan, connector, control board, or other component fails. Reliability is a system property.
Temperature and drive conditions affect degradation
LED-source maintenance depends on operating temperature, drive current, construction, and materials. Driver reliability is also temperature-sensitive. A fixture operated in a hot room with restricted airflow may therefore age differently from the same model used within its intended thermal environment.
This is one reason maximum rated ambient temperature belongs on the buying checklist. Do not assume that a fixture tested or rated for one thermal condition will deliver the same maintenance behavior in an enclosure that regularly exceeds it.
Dust, moisture, sprays, and contamination matter
Indoor gardens contain particles and chemicals that ordinary office lighting rarely sees. Dust can reduce cooling. Moisture can reach connectors. Foliar sprays, sulfur products, cleaning chemicals, fertilizers, and high humidity can attack surfaces or electronics if the fixture is not designed for that exposure.
Follow the fixture’s cleaning instructions and environmental rating. Do not pressure-wash or spray a light because it appears sealed unless the manufacturer explicitly permits that method.
Measure your own baseline after installation
A home grower cannot reproduce a laboratory maintenance test, but you can create a useful operating baseline. Once the fixture is installed and thermally stable, record input power, dimmer position, hanging height, canopy grid locations, and PPFD readings with the same meter and method you plan to use later.
Repeat the map periodically under the same conditions. A change in readings can come from meter drift, dirty optics, changed wall reflectance, fixture height, ambient temperature, voltage, or actual fixture degradation. The baseline does not diagnose the cause by itself, but it tells you that something changed.
Pro Tip: Photograph the fixture label, serial number, driver label, wiring arrangement, receipt, and original PPFD baseline before the canopy becomes difficult to access. Those records can make later troubleshooting and warranty claims much easier.
“All the diodes still light up. How would I know the fixture has lost output?”
Visual brightness is not a reliable detector of gradual photon loss. Recreate your original measurement conditions: same meter, same grid, same hanging height, same dimmer setting, and a clean fixture. Compare the new map and input power with the baseline. If output has changed materially, investigate contamination, measurement error, driver behavior, thermal conditions, and fixture aging before assuming the LEDs alone are responsible.
Question sent by: MapleGrower, via Facebook page.
Cannabis Grow Light Buying Guide for Beginners
Beginners often receive two opposite kinds of advice: buy the cheapest light and learn later, or buy the most powerful fixture you can afford so you never need to upgrade. Both can waste money. The first can leave you with weak coverage and poor documentation. The second can create an oversized electrical and climate problem.
A better beginner purchase is measurable, dimmable, correctly sized, electrically safe, and supported. You should be able to understand what it does without becoming a lighting engineer.
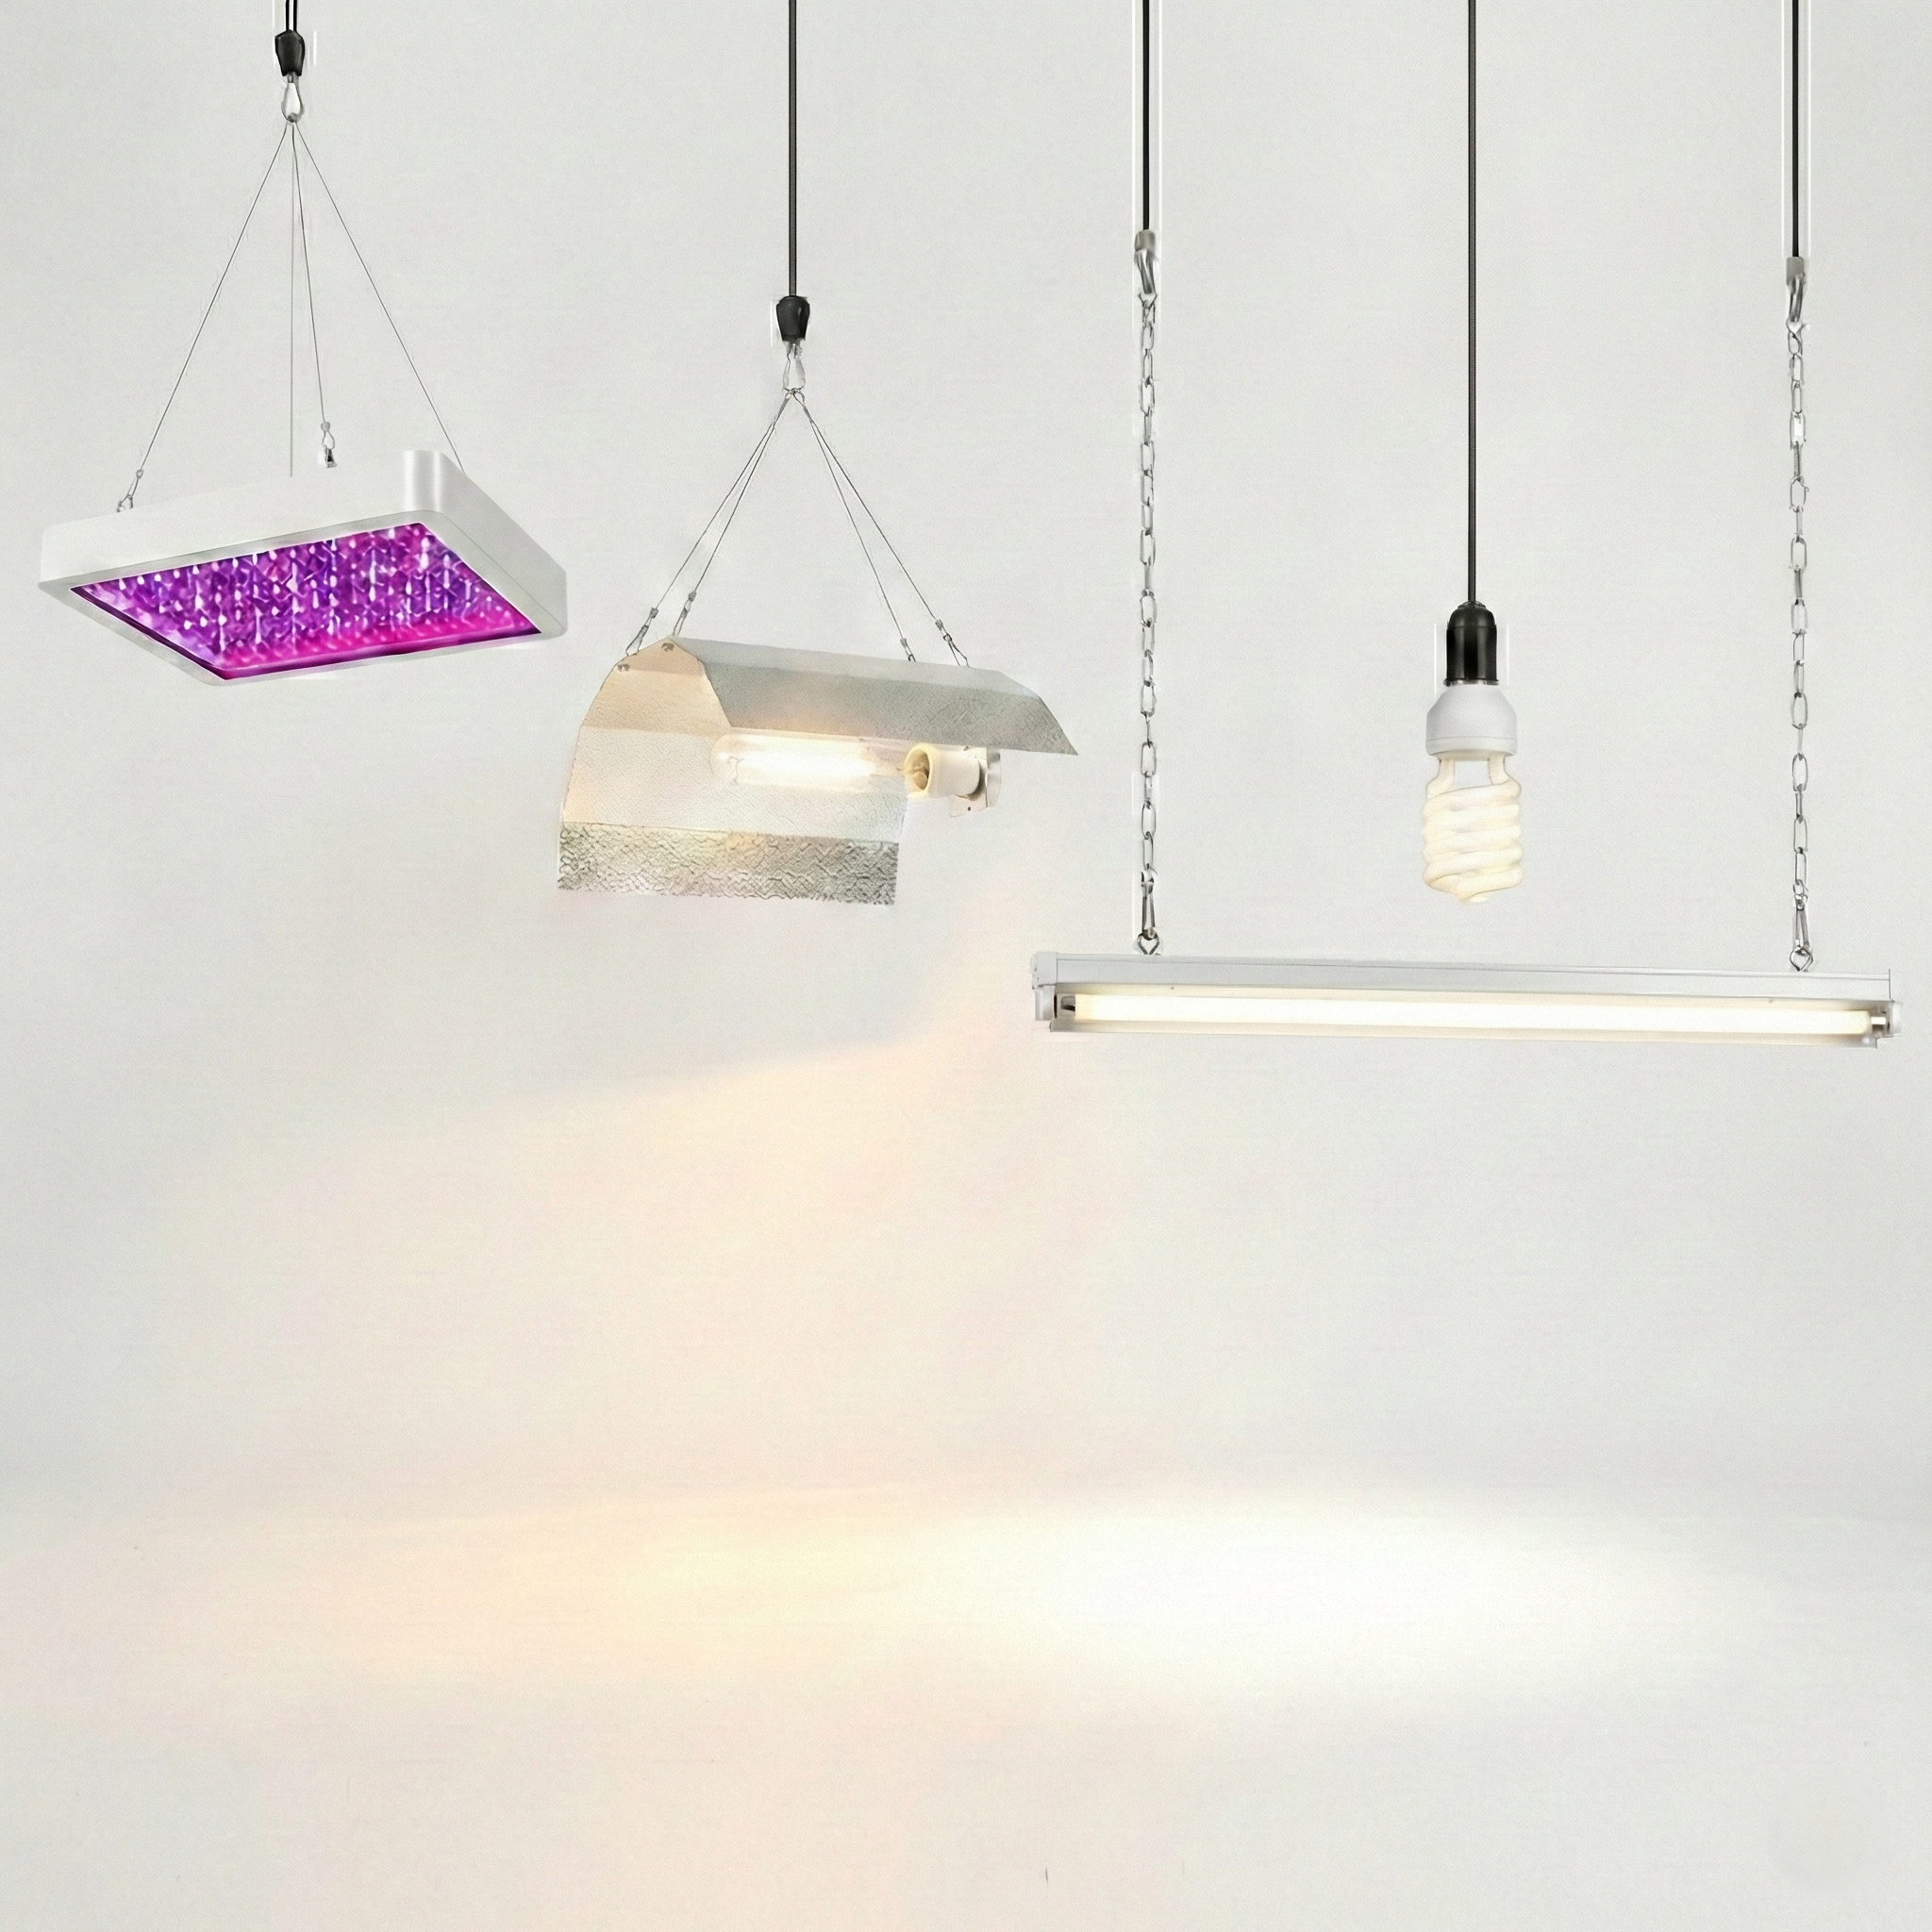
Prioritize these specifications first
For a first serious LED fixture, find actual input power, PPF, PPE, a PPFD map with test conditions, spectrum, dimensions, rated voltage, dimming information, rated ambient environment, safety certification, warranty, and support contact. If several of these are missing, treat the product as difficult to verify rather than assuming the missing numbers are favorable.
Do not overspend on features before the basics are solved
Separate spectrum channels, wireless control, sunrise simulations, app dashboards, integrated sensors, and network features can be useful, but they do not correct weak photon output, poor distribution, unreliable electronics, or a bad room layout.
Start with the light field and electrical system. Add advanced control only when it solves a real workflow problem.
Allow room for dimming
A dimmable fixture gives a beginner more operating range. You can start plants under lower intensity, acclimate gradually, respond to environmental stress, and use the same fixture through several stages without changing the physical light.
This does not mean buying a fixture several times larger than necessary. Excess capacity costs money and can create a larger, heavier fixture. The useful goal is moderate control headroom, not maximum unused power.
Buy support as well as hardware
Before purchase, test the support path. Can you find the manual? Is the warranty document public? Are replacement drivers or cables listed? Is there a real support email or service portal? Does the company publish firmware or controller documentation if the product depends on software?
Products with strong support are easier to own because a failed part does not force you to reverse-engineer the fixture during a crop.
A Repeatable Grow-Light Comparison Workflow
The easiest way to resist marketing noise is to force every candidate through the same sequence. Do not change the criteria after seeing which product has the biggest number. Build the comparison sheet first.
Step 1: Define the canopy and room constraints
Record productive canopy dimensions, maximum fixture dimensions, usable hanging height, available voltage, circuit limits, acceptable heat load, climate-control capacity, and whether the driver can remain in the room.
Step 2: Record only comparable performance data
For each fixture, record maximum input power, tested PPF, PPE, spectrum, PPFD map conditions, dimensions, weight, dimming method, control compatibility, rated ambient temperature, and safety certification. Mark any missing field instead of filling it with a guess.
Step 3: Normalize PPFD-map comparisons
Use maps with the same or similar footprint and hanging height when possible. Record whether the test was performed in an open room or reflective enclosure. Compare average and minimum PPFD as well as the maximum. Inspect the shape of the light field, not only one uniformity ratio.
Step 4: Check efficiency and electrical impact
Compare PPE and actual input power. Estimate how many fixtures are required to cover the canopy, because a very efficient small fixture may still require several units. Include total power, controllers, drivers, and climate equipment in the room plan.
Step 5: Read the full warranty
Do not score a product by warranty length until you know the remedy, exclusions, shipping policy, regional service, proof requirements, and whether gradual output loss is addressed. Save a copy of the warranty that applied on the purchase date.
Step 6: Examine long-term support
Look for driver identification, replacement parts, downloadable manuals, serial-number support, parts diagrams where available, firmware policy for connected products, and a service route that still makes sense if the product line changes.
Step 7: Verify the purchase after installation
Once installed, do not assume the product-page map describes your room. Measure the actual canopy grid, record input power and dimmer setting, check edge behavior, observe leaf temperature and environment, then adjust height or dimming. Re-measure after each significant change.
| Stage | Decision | Evidence to Keep |
|---|---|---|
| Before shopping | Define canopy, height, power, and climate limits. | Room dimensions and electrical plan. |
| Shortlist | Remove fixtures missing essential data or physical fit. | Specification sheets and test reports. |
| Comparison | Compare PPF, PPE, maps, controls, warranty, and service. | One normalized comparison sheet. |
| Purchase | Confirm exact model, voltage, accessories, and warranty. | Receipt, serial number, warranty PDF, and manual. |
| Installation | Set height and dimming from the real canopy. | Baseline PPFD grid, power draw, and photos. |
| Later verification | Check for output, distribution, or reliability changes. | Repeat measurements using the same method. |
Master Advice: The best grow-light comparison is boring on purpose. The same fields, the same units, the same canopy assumptions, and the same questions make exaggerated claims much easier to see.
Common Buying Mistakes That Make Specifications Misleading
Most specification errors are not advanced lighting problems. They come from comparing unlike conditions or letting one attractive number replace the rest of the system.
Comparing PPF from one fixture with PPFD from another
PPF and PPFD answer different questions. PPF is total emitted photon flux. PPFD is photon density at a surface. You cannot rank two fixtures by placing those numbers in the same column.
Comparing maps at different hanging heights
Height changes intensity and distribution. A map at 30 cm and a map at 60 cm are not equivalent tests even if the footprint is the same. Normalize height or use the map that matches your actual installation.
Using one center value as coverage
A strong center can hide weak edges. Flowering canopies are areas, not points. Record average, minimum, maximum, edge behavior, and the location of those values.
Assuming the higher wattage fixture is stronger
Watts measure electrical input. A higher wattage fixture can produce more total photons, but fixture efficacy determines how efficiently electrical energy becomes photosynthetic photons. Distribution then determines whether those photons reach the canopy usefully.
Assuming a long warranty proves low degradation
Warranty length does not state how much photon output the fixture will retain. Likewise, Q90 does not explain whether every driver will survive. Treat warranty, photon maintenance, driver lifetime, and serviceability as separate evidence.
Ignoring the exact catalog number
Manufacturers often sell families that share a housing while using different drivers, voltages, spectra, or power settings. Test reports and certifications may apply to specific models or family relationships. Match the exact catalog number you are buying to the documentation you are reading.
Do not use counterfeit certification or test documents as purchase evidence
If a seller provides a certificate screenshot or laboratory logo but no traceable model record, verify it independently. Electrical and photobiological safety are not areas where an unverified image should be accepted as proof.
Final Buying Checklist
A good buying decision should still make sense after the marketing language is removed. You should know what the fixture consumes, what it emits, where those photons land, how the system is protected, how long its output is expected to be maintained, and what happens if something fails.
Use the checklist below before payment, then save the same information with your purchase records. That turns the fixture from an advertisement into a documented piece of grow-room equipment.
Verify these items before you buy
- Measure the real productive canopy and usable hanging height.
- Record maximum and default input power in watts.
- Confirm tested PPF rather than equivalent-wattage claims.
- Compare PPE using compatible operating states and wavebands.
- Inspect a full PPFD map with stated height, footprint, and power setting.
- Check spectrum from measured data rather than “full-spectrum” wording alone.
- Confirm fixture dimensions, weight, hanger positions, and driver location.
- Check dimming range and controller compatibility.
- Verify voltage, current, power factor, connectors, and electrical requirements.
- Confirm the rated ambient temperature and environmental suitability.
- Verify recognized safety certification for your jurisdiction.
- Read the complete warranty terms, exclusions, remedy, and shipping process.
- Identify whether the driver and other service parts can be replaced.
- Separate Q90 or other flux-maintenance claims from complete-fixture lifetime claims.
- Save the receipt, warranty PDF, manual, serial number, and specification sheet.
- After installation, record a baseline PPFD map and input-power condition.
If two fixtures remain after this process, the decision is no longer about which brand sounds more advanced. It is about which documented system fits the canopy with less wasted light, acceptable operating cost, safe electrical integration, realistic service support, and enough performance margin to remain useful as the grow changes.
Share this article
A quick overview of the topics covered in this article.
- The Buying Principle: Evidence Before Marketing
- How to Read a Horticultural Lighting Specification Sheet
- Marketing Claims That Need Verification
- Match the Fixture to Your Canopy, Room, and Electrical Limits
- Warranty, Drivers, Diodes, and Replaceable Parts
- How Fast Do LED Grow Lights Lose Output?
- Cannabis Grow Light Buying Guide for Beginners
- A Repeatable Grow-Light Comparison Workflow
- Common Buying Mistakes That Make Specifications Misleading
- Final Buying Checklist
Follow us
Latest articles
September 30, 2026
September 30, 2026
