Cannabis Grow Light Distance and Hanging Height: Too Close, Too Far, and How to Adjust
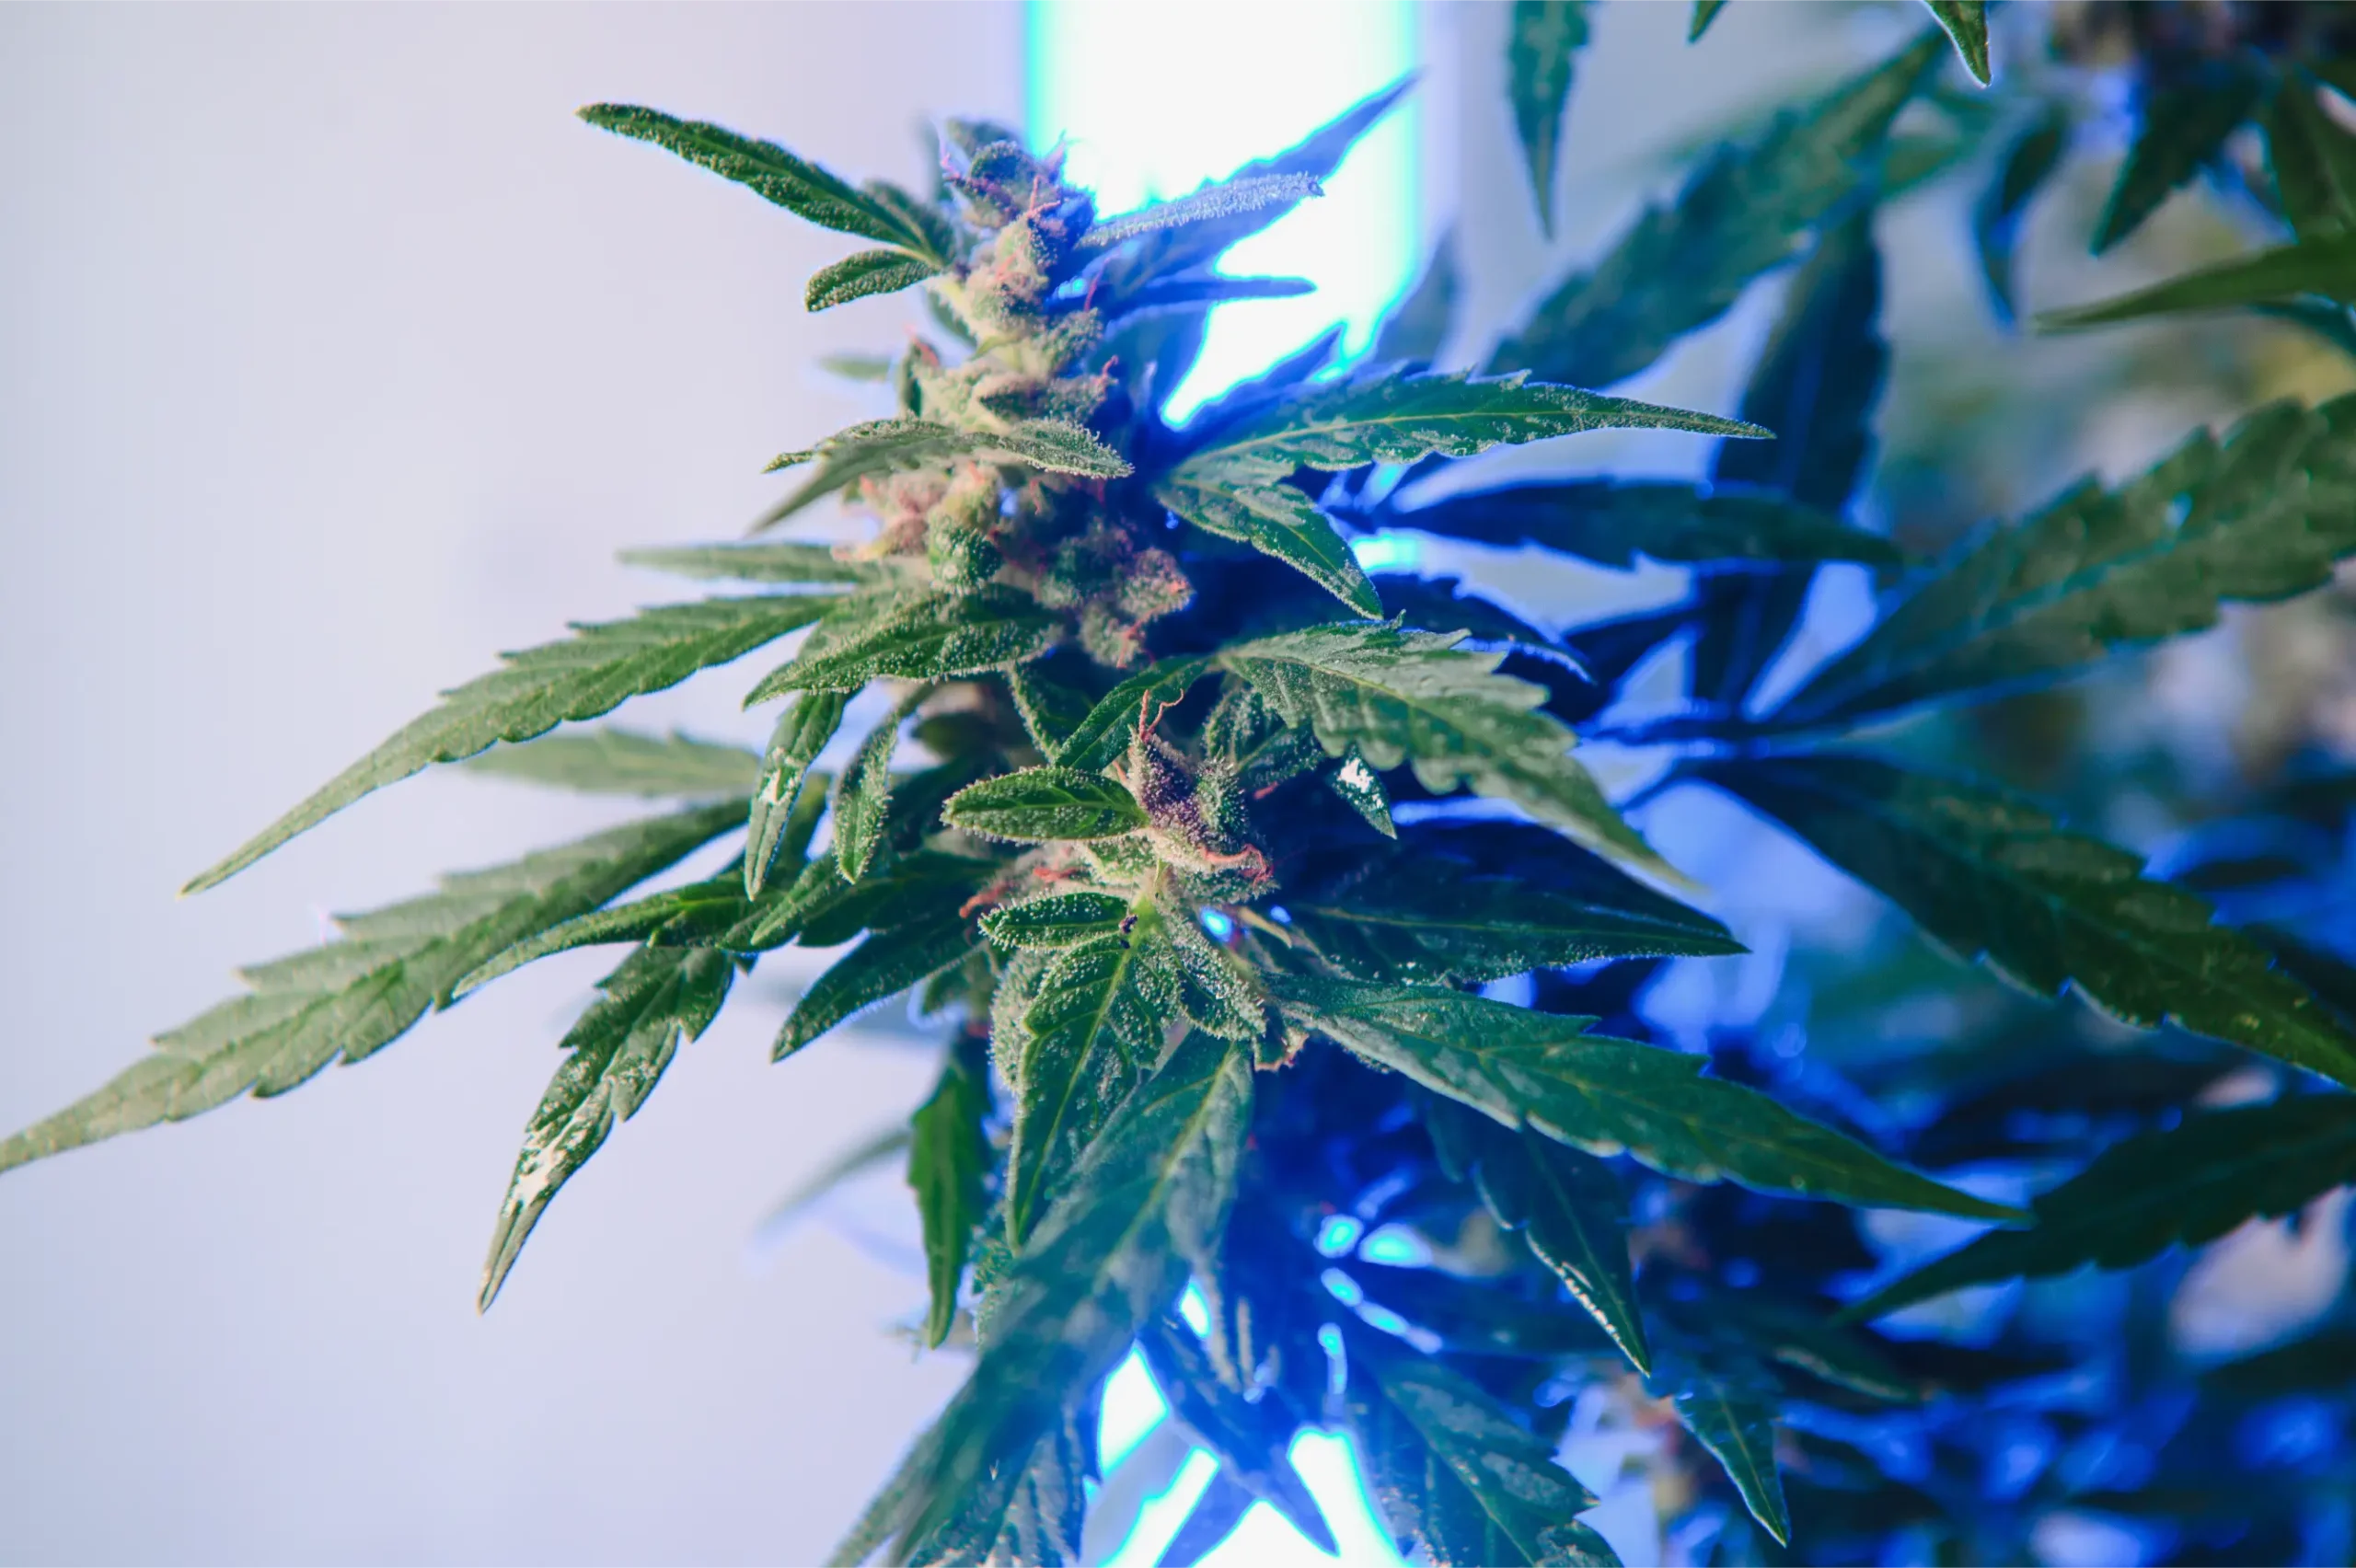
Hanging height is the primary mechanical throttle governing how horticultural photons interact with a living cannabis canopy. While luminaire manufacturers publish simplified distance charts recommending generic hanging clearances, relying on rigid tape-measure distances without measuring actual Photosynthetic Photon Flux Density (PPFD) and leaf surface temperature leads to recurring operational failure. Suspending fixtures too close bombards apical crowns with excessive radiation, causing photoinhibition, chlorophyll bleaching, and volatile terpene evaporation. Conversely, hanging fixtures too far away severely dilutes photon density across square area, triggering excessive internodal stretch, loose understory buds, and wasted electricity. Establishing an objective, measurement-based hanging protocol aligns fixture optics with plant photobiology across every stage of cultivation.
- What Hanging Height Changes: PPFD, Coverage, Uniformity, and Leaf Temperature
- Signs Your Grow Light Is Too Close: Bleaching, Tacoing, and Stalled Tops
- Signs Your Grow Light Is Too Far Away: Etiolation, Spindly Stems, and Loose Buds
- Comprehensive Distance Framework: Absorbed Search Intents
- Stage-by-Stage Calibration: Seedlings, Vegetative, and Flowering PPFD Windows
- Hanging Height vs Digital Dimming: Energy Efficiency and Thermal Management
- Final Decision Checklist and Companion Weedth Resources
What Hanging Height Changes: PPFD, Coverage, Uniformity, and Leaf Temperature
To adjust luminaire elevation with scientific accuracy, cultivators must understand the optical physics governing photon dispersal between the diode array and the plant canopy.
The Inverse Square Law vs Distributed Planar Optics
In traditional indoor horticulture utilizing High-Pressure Sodium (HPS) or Ceramic Metal Halide (CMH) lamps, light emanates from a concentrated point source (an arc tube). Point-source radiation obeys the classical Inverse Square Law ($E = I / d^2$): doubling the distance between the arc tube and the canopy reduces photon intensity to one-fourth ($25\%$) of its original value.
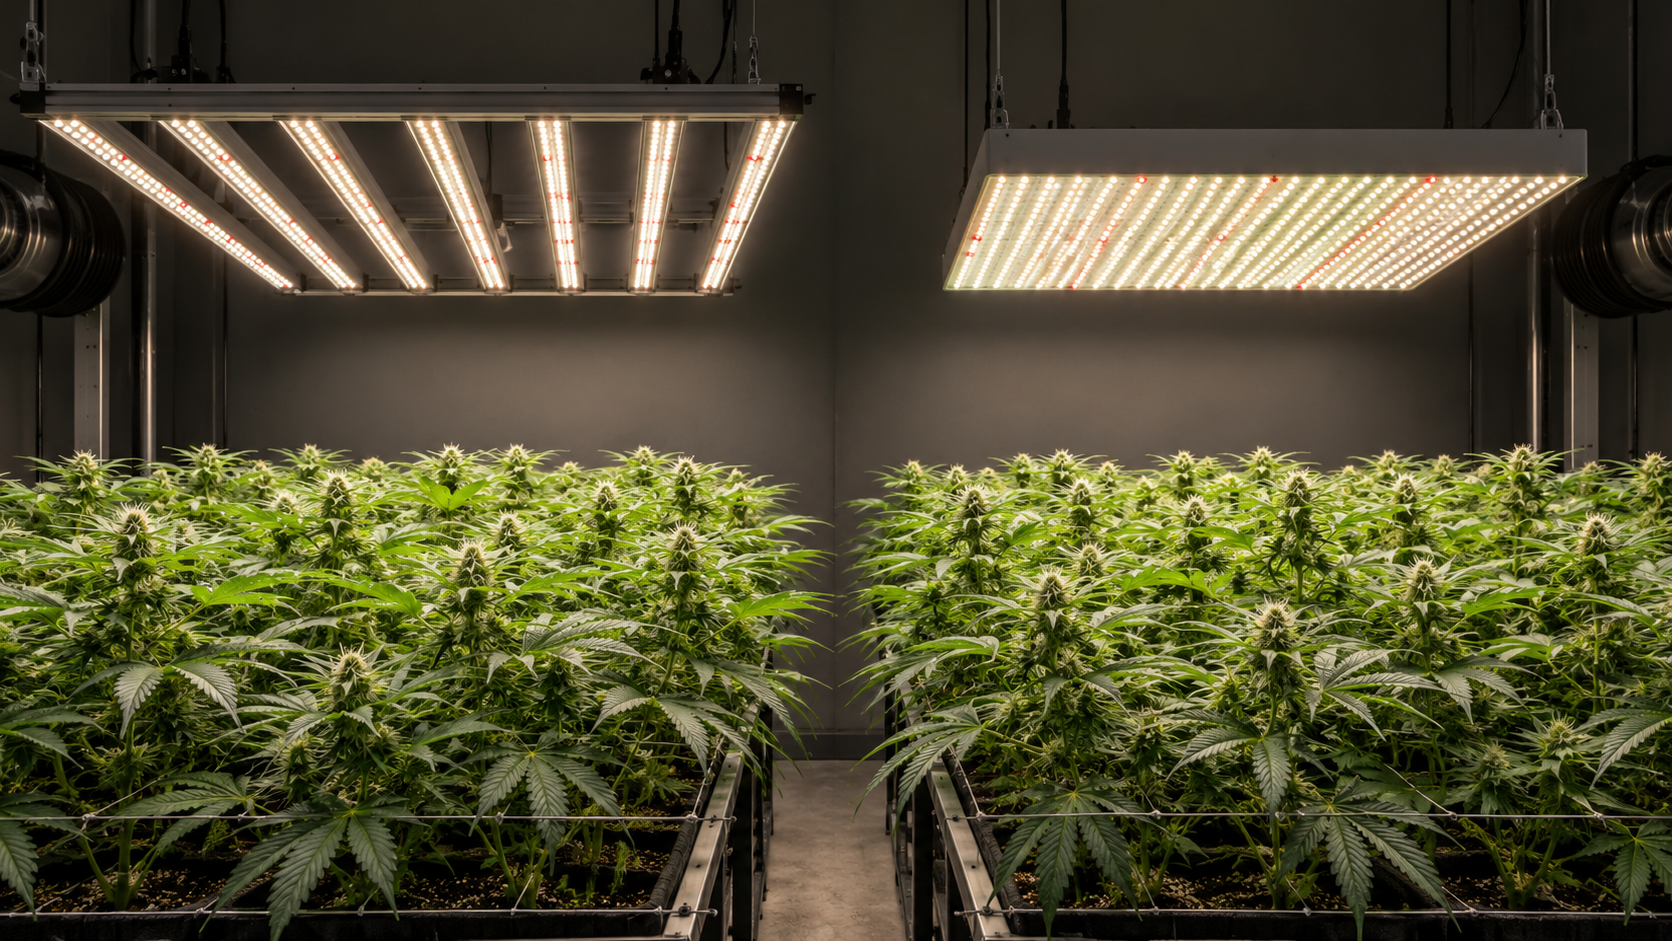
Modern multi-bar horticultural LED luminaires function fundamentally differently: they operate as distributed planar light sources. Photons are emitted by thousands of mid-power diodes spaced evenly along multiple parallel aluminum bars. While the inverse square law strictly governs each individual diode, the overlapping beam angles (typically 120-degree lambertian radiation patterns) create a collimated planar photon field. Consequently, moving an LED fixture closer or farther causes a more gradual change in average PPFD, but dramatically alters canopy uniformity and beam crossover.
Lambertian Radiant Intensity and Angular Beam Distribution
Bare surface-mount diodes (SMDs) utilized in modern LED bars emit light in an uncollimated hemispherical pattern governed by Lambert’s Cosine Law: the luminous intensity ($I_\theta$) observed at any angle $\theta$ relative to the normal axis equals the peak normal intensity multiplied by the cosine of the angle ($I_\theta = I_0 \cos\theta$). At an angle of 60 degrees off-center, photon intensity drops to exactly 50% of the normal center value.
Because of this wide 120-degree beam spread, photons from Bar 1 intersect with photons from Bar 2 only after traveling a specific minimum vertical distance downward. In a typical 8-bar fixture with 6-inch bar spacing, the optical beam cones require a vertical clearance of at least 12 to 14 inches (30 to 35 cm) to achieve full optical blending. Operating the fixture closer than 12 inches causes the plant canopy to experience alternating bands of high-intensity hotspots (directly beneath diode strips) and low-intensity shadow troughs (between bars), leading to striped foliar growth and uneven photosynthetic rates.
The Uniformity and Hotspot Trade-Off
Every fixture adjustment involves a fundamental compromise between peak center intensity and footprint uniformity:
- Lowering the Fixture (Closer to Canopy): Increases peak center PPFD, enhances deep canopy penetration directly below bars, and reduces photon bounce off reflective tent walls. However, it severely shrinks the effective coverage footprint, creates extreme center hotspots, and starves bench perimeters.
- Raising the Fixture (Farther from Canopy): Allows overlapping beams from adjacent bars to blend smoothly, achieving a high Uniformity Ratio ($> 0.88:1$) and spreading light across outer edges. However, it lowers average PPFD, increases optical bounce losses against room walls, and reduces vertical canopy penetration into secondary bud sites.
Optical Crossover and Leaf-to-Air Temperature Depression ($\Delta T$)
Optical Crossover is the focal distance below a multi-bar fixture where light cones from neighboring diode bars intersect to form an unbroken, uniform photon field. Operating above the crossover point produces striped hot-and-cold PPFD bands on foliage. Leaf-to-Air Temperature Depression ($\Delta T$) is the thermal difference between leaf surface temperature and room air temperature ($T_{leaf} – T_{air}$). Healthy transpiring foliage under LEDs maintains a $\Delta T$ of -1.5°F to -3.5°F; an excessively close fixture turns $\Delta T$ positive.
Fundamental Optical Principle: Hanging height dictates uniformity; digital dimming dictates intensity. Set the fixture hanging height to achieve optical crossover and uniform beam blending across the entire table, then use the dimmer knob to dial the precise PPFD target for the crop growth stage.
Signs Your Grow Light Is Too Close: Bleaching, Tacoing, and Stalled Tops
When luminaires are suspended too close to the canopy, the crop displays distinct physiological stress symptoms that indicate photo-thermal overload.
Photobleaching (Solar Chlorosis)
Photobleaching occurs when incoming photon flux exceeds the cellular capacity of Non-Photochemical Quenching (NPQ) and D1 repair cycles. Singlet oxygen ($^1O_2$) dismantles chlorophyll molecules, causing the uppermost leaves and calyx crowns directly beneath the diodes to turn stark, ghostly white. Unlike nitrogen or iron deficiency, which follow vascular patterns, photobleaching whitens both veins and blade tissue indiscriminately while lower foliage just 6 inches below remains dark emerald green.
Cellular Thylakoid Photo-Oxidation and Anthocyanin Masking
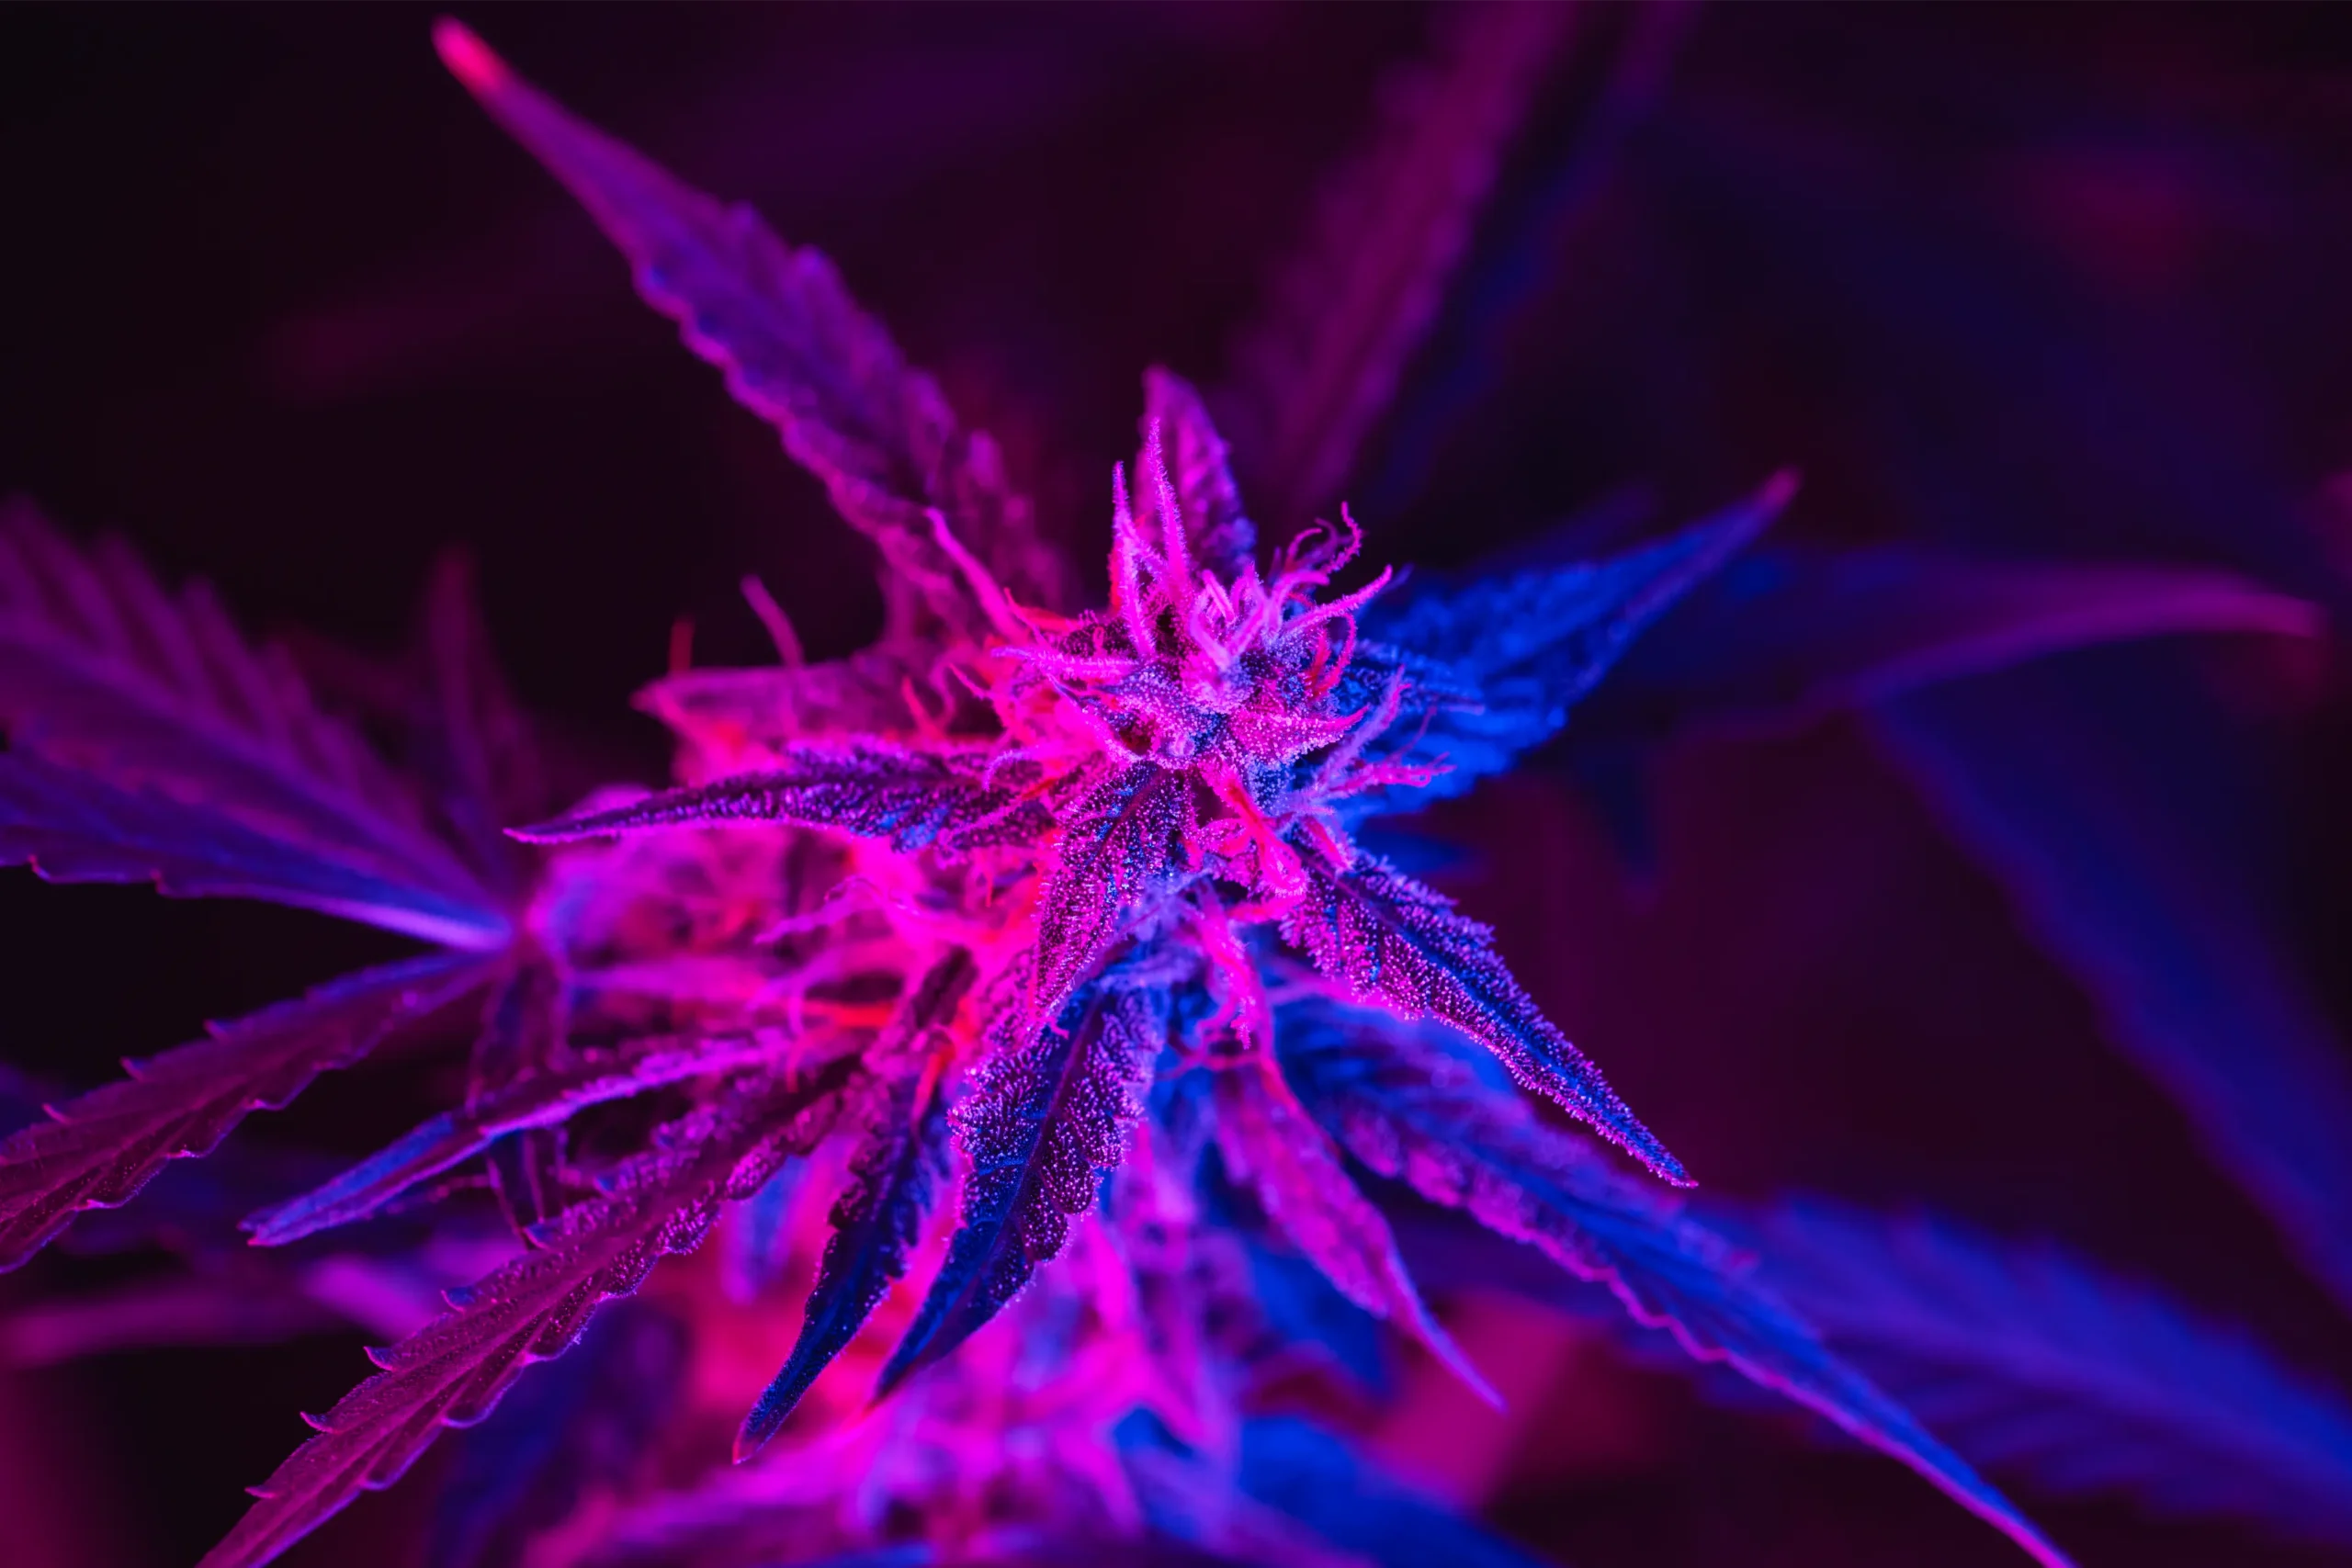
In many modern hybrid cultivars, early light proximity stress does not manifest immediately as white bleaching; instead, the plant initiates a rapid secondary metabolic defense through anthocyanin pigment synthesis. High-energy blue and UVA photons stimulate the phenylpropanoid pathway, causing upper leaf petioles, main stem ribs, and exposed calyx edges to turn intense violet or deep red.
Anthocyanins act as an optical solar shield, filtering excess radiation to protect thylakoid membranes from photo-oxidation. Novice growers frequently misdiagnose this protective purpling as a phosphorus deficiency or cold night stress, erroneously adding acidic bloom boosters. If leaf purpling occurs strictly on the upper, light-exposed surfaces while underside petioles remain green, the luminaire is too close and must be raised or dimmed immediately.
Leaf Tacoing and Canoeing
To reduce the surface area exposed to intense radiation, upper fan leaves curl their margins upward along the central petiole axis, forming a distinct “taco” or “canoe” shape. This morphological curling is an emergency mechanical defense: by orienting the leaf blade vertically, the plant reflects incoming photons and reduces radiant solar heat absorption. Tacoing leaves feel brittle, papery, and warm to the touch.
Apical Meristem Stalling and Second-Flush Foxtailing
Under chronic radiative stress, developing apical buds cease normal calyx swelling. The apical meristem stalls, producing stunted, hardened floral clusters. In late flowering (Weeks 7 to 9), excessive photon bombardment and surface heat trigger emergency second-flush vegetative branching, resulting in thin, airy foxtails that ruin bud density and commercial appeal.
| Fixture Architecture | Typical Wattage | Optimal Veg Distance | Optimal Bloom Distance | Optical Characteristics |
|---|---|---|---|---|
| Multi-Bar Commercial LED | 640W – 800W | 20 – 26 inches (50 – 65 cm) | 12 – 18 inches (30 – 45 cm) | Planar distribution; excellent uniformity; low radiant heat |
| Compact Quantum Board LED | 240W – 480W | 24 – 30 inches (60 – 75 cm) | 16 – 20 inches (40 – 50 cm) | Semi-point source; pronounced center hotspot; requires clearance |
| Double-Ended HPS (DE-HPS) | 1,000W | 36 – 44 inches (90 – 110 cm) | 28 – 36 inches (70 – 90 cm) | Intense point source; severe infrared radiant heat; large clearance |
| Ceramic Metal Halide (CMH) | 315W – 630W | 24 – 30 inches (60 – 75 cm) | 18 – 24 inches (45 – 60 cm) | High UV/Blue content; moderate radiant heat; smooth spectrum |
Signs Your Grow Light Is Too Far Away: Etiolation, Spindly Stems, and Loose Buds
When fixtures are hung too high above the canopy, the biological consequences are equally detrimental to commercial yield.
Hypocotyl and Internodal Etiolation
When incident light falls below the plant photosynthetic saturation threshold, photoreceptors perceive deep shade. Auxin and gibberellin synthesis surge, triggering rapid axial cell wall extension. Stems stretch upward with excessive internodal spacing (3 to 6 inches between nodes). Instead of developing thick, self-supporting vascular stalks, the plant produces thin, spindly branches that bend and collapse under minimal lateral force.
Whole-Canopy Light Extinction and Leaf Area Index (LAI)
Canopy photon absorption follows the Beer-Lambert Extinction Law ($I = I_0 e^{-k \cdot \text{LAI}}$), where light intensity ($I$) decays exponentially as it penetrates through successive foliage layers characterized by Leaf Area Index (LAI) and canopy extinction coefficient ($k$). In cannabis, top sun leaves absorb up to 85% to 90% of incident red and blue photons within the upper 4 to 6 inches of canopy foliage.
When a fixture is suspended excessively high (e.g., 36 inches above the canopy), initial incident intensity ($I_0$) is already dilute (barely 400 μmol/m²/s). After penetrating through the first leaf tier, understory irradiance plummets below 40 μmol/m²/s: falling far beneath the Light Compensation Point ($LCP$). The shaded lower leaves enter negative carbon balance, respiring more sugars than they fix. The plant responds by senescing and shedding lower foliage prematurely, leaving bare, spindly branches that cannot support floral bulking.
Perimeter Canopy Starvation
Because light spreads outward as hanging height increases, an excessively high fixture causes photons to escape outside the canopy perimeter, striking walls and walkways. Plants positioned along bench edges receive sub-compensation PPFD levels (under 300 μmol/m²/s), resulting in stunted lateral branching, delayed floral initiation, and sparse flower formation.
Loose, Larfy Floral Architecture
Floral calyx bulking depends directly on continuous daily carbohydrate delivery from adjacent sun leaves. Under sub-saturating light, developing calyxes cannot produce dense bract clusters. Harvested buds are loose, airy, and leafy (“larf”), testing significantly lower in cannabinoid concentration and commanding discounted wholesale pricing.
Comprehensive Distance Framework: Absorbed Search Intents
To provide commercial growers with an actionable operational reference, this section consolidates and directly resolves the core questions surrounding grow light distance.
Grow Light Hanging Height: A Measurement-Based Method
Discard static manufacturer distance cards and implement an empirical, measurement-driven calibration protocol:
- Step 1: Set Suspension Height for Beam Crossover: For multi-bar LEDs, establish a fixed mechanical height between 14 and 18 inches (35 to 45 cm) above the target canopy plane. This distance guarantees that overlapping diode cones blend completely without creating localized hot-striping.
- Step 2: Position Quantum Sensor at Upper Crown: Place a calibrated full-spectrum quantum PAR meter (Apogee SQ-500) directly on top of the tallest canopy sun leaves. If using smartphone PAR sensor applications (such as Photone), ensure you deploy an approved 22-pound paper diffuser ring calibrated against a reference quantum sensor to prevent severe measurement underestimation.
- Step 3: Dial Digital Dimmer: Adjust the fixture dimmer knob until the meter reads the exact target PPFD for your developmental stage (e.g., 600 PPFD in late veg; 950 PPFD in bloom).
- Step 4: Verify Thermal Differential: Aim an infrared spot thermometer at the upper leaf surface to confirm that leaf temperature ($T_{leaf}$) remains 1.5°F to 3.0°F cooler than ambient air temperature ($T_{air}$).
Grow Light Hanging Distance Guide
For growers operating fixtures without digital dimmers, physical hanging height must be used as the primary intensity throttle:
- Clones & Seedlings (150 – 250 PPFD): 30 to 36 inches (75 to 90 cm) for high-output fixtures; 18 to 24 inches for dedicated low-wattage propagation fixtures.
- Early Vegetative (350 – 500 PPFD): 24 to 30 inches (60 to 75 cm).
- Late Vegetative (550 – 700 PPFD): 18 to 24 inches (45 to 60 cm).
- Flowering Transition & Stretch (700 – 850 PPFD): 16 to 20 inches (40 to 50 cm).
- Peak Flowering Bulking (900 – 1,200 PPFD): 12 to 16 inches (30 to 40 cm) with supplemental CO2.
How Far Should a Grow Light Be from Cannabis?
The definitive answer is that a grow light should be positioned as close to the canopy as optically possible without exceeding the light saturation threshold, creating non-uniform center hotspots, or elevating leaf temperature above ambient air. In modern multi-bar LED setups, this biological sweet spot sits between 12 and 16 inches (30 to 40 cm) during peak bloom.
Signs Your Grow Light Is Too Far Away
Key diagnostic indicators that fixtures require lowering include: seedlings tipping over on elongated stems, internodal spacing exceeding 3.5 inches, pale translucent foliage, lower understory leaves dropping prematurely, and slow vegetative growth rates.
Signs Your Grow Light Is Too Close
Key diagnostic indicators that fixtures require raising include: bleached white cola crowns directly beneath diodes, upward-curling leaf margins (tacoing), crispy yellow leaf serrations with green centers, stalled apical growth, and positive leaf-to-air temperature differentials ($T_{leaf} > T_{air}$). Thermal imaging cameras reveal localized hotspots exceeding 88°F directly beneath fixture center bars while surrounding room air sits at 78°F.

Stage-by-Stage Calibration: Seedlings, Vegetative, and Flowering PPFD Windows
Plant photobiology changes fundamentally across developmental stages. Cultivators must calibrate photon intensity to match the vascular capacity and carbohydrate processing velocity of each lifecycle phase.
| Lifecycle Phase | Target PPFD (μmol/m²/s) | Target DLI (mol/m²/d) | LED Hanging Height | Photoperiod & Dimmer % |
|---|---|---|---|---|
| Clones / Seedlings | 150 – 250 | 10 – 16 | 24 – 30 inches (60 – 75 cm) | 18 – 24 hrs @ 25% – 35% power |
| Early Vegetative | 350 – 500 | 23 – 32 | 20 – 24 inches (50 – 60 cm) | 18 hrs @ 45% – 60% power |
| Late Vegetative | 550 – 700 | 36 – 45 | 18 – 22 inches (45 – 55 cm) | 18 hrs @ 70% – 85% power |
| Bloom Stretch (W1 – W3) | 700 – 850 | 30 – 37 | 16 – 20 inches (40 – 50 cm) | 12 hrs @ 80% – 90% power |
| Peak Bulking (W4 – W7) | 900 – 1,200 | 39 – 52 | 12 – 16 inches (30 – 40 cm) | 12 hrs @ 100% power (with CO2) |
| Late Ripening (Final 14d) | 650 – 750 | 28 – 32 | 16 – 20 inches (40 – 50 cm) | 12 hrs @ 65% – 75% power |
Autoflower Canopy Distance and Photoperiod Flexibility
Because autoflowering cultivars are genetically day-neutral, growers frequently operate luminaires on 18-hour, 20-hour, or continuous 24-hour photoperiod schedules throughout both vegetative and flowering phases. This extended photoperiod significantly alters the mathematical relationship between fixture hanging height and Daily Light Integral ($DLI$).
Under a 20-hour photoperiod, delivering a target flowering DLI of $45\text{ mol/m}^2/d$ requires a moderate PPFD of only 625 μmol/m²/s. Consequently, autoflower growers can suspend fixtures 18 to 22 inches above the canopy: significantly higher than the 12 to 14 inches required in a 12-hour photoperiod room. This increased physical clearance dramatically improves footprint uniformity, reduces heat load on apical flowers, and provides a broader safety buffer against accidental stretch scorch without sacrificing cumulative photosynthetic energy.
Hanging Height vs Digital Dimming: Energy Efficiency and Thermal Management
A common debate in modern facility engineering centers on whether it is superior to hang fixtures high and run them at 100% power, or hang them close and dim them to 65% power.
The Electrical Efficiency of Dimmable LEDs
From an electrical engineering perspective, hanging fixtures lower and dimming power is vastly superior to hanging fixtures high at 100% power. Light-emitting diodes operate with higher luminous efficacy (micromoles per joule, μmol/J) when under-driven. When an LED diode is driven at 60% of its rated current, junction temperature ($T_j$) remains remarkably cool, diode forward voltage ($V_f$) drops, and photon conversion efficiency climbs by 8% to 12% compared to running at 100% capacity.
Furthermore, running fixtures at 100% power suspended 36 inches above the canopy wastes substantial electricity. Approximately 20% to 30% of emitted photons strike tent fabric, aisle floors, or walls, dissipating as waste heat rather than driving carbon fixation in leaf tissue. Operating fixtures 14 inches above the canopy dimmed to 70% power delivers identical canopy PPFD while slashing lighting electrical bills by 30% and reducing HVAC sensible cooling loads.
Managing Driver Heat Dissipation
When fixtures are hung close to the canopy, the physical location of the LED driver (the power supply) becomes a critical variable. Mounting heavy Mean Well or Inventronics drivers directly on the fixture chassis radiates significant convective heat downward onto the canopy. In sealed commercial rooms, mounting drivers remotely on centralized unistrut racks outside the cultivation space removes 15% to 20% of fixture heat load, allowing cultivators to suspend multi-bar arrays just 12 inches above flowering colas without radiant thermal buildup.
Sensor Cosine Response and Leveling Mechanics
When using a quantum PAR sensor to calibrate luminaire height, measurement precision depends entirely on sensor head leveling. Commercial quantum meters feature an acrylic diffuser head engineered with a cosine-corrected response: accurately capturing photons striking at oblique angles up to 80 degrees off-center.
If the sensor head is held by hand with even a slight 10-degree tilt, the recorded PPFD drops by 8% to 12% due to geometric cosine error, leading the grower to believe the light is too dim and erroneously lowering the fixture closer than safe. Always mount the quantum sensor head on a rigid leveling base equipped with a bubble spirit level when executing canopy height calibration.
How Lowering Fixtures and Dimming Saved \$3,400 Monthly While Eliminating Bleached Tops
A licensed commercial facility in Massachusetts operated forty-eight 800W multi-bar LED fixtures suspended 32 inches above rolling tables at 100% power. The master grower believed that hanging fixtures high was the only way to spread light across bench edges. However, the upper colas were bleached white in the center, edge plants were lagging, and monthly electrical costs were astronomical.
The audit: Our technical audit showed that the center tops received 1,280 μmol/m²/s PPFD with excessive radiant heating (87°F leaf temp), while perimeter plants received only 490 PPFD (a poor 0.38:1 uniformity ratio). Over 25% of fixture light was bouncing off concrete walkways.
The turnaround: We lowered the fixtures from 32 inches down to 16 inches above the canopy and connected digital 0-10V multi-zone controllers, dimming fixtures to 70% power (560W draw per fixture). The results were immediate: average canopy PPFD stabilized at a uniform 880 μmol/m²/s across all tables, bleached crowns vanished, floral density increased on perimeter plants, and facility electrical draw dropped by 11.5 kW: saving \$3,420 every month in electricity while improving finished flower grade.
When evaluating fixture hanging mechanics, commercial agronomists must inspect the physical suspension hardware. Utilizing cheap rope ratchet hangers with frayed polypropylene cords introduces catastrophic failure risks. In commercial operations, luminaires should be suspended using aircraft-grade stainless steel cables or rigid unistrut trapeze hangers attached directly to ceiling purlins. Rigid trapeze mounting ensures that fixtures remain level across both horizontal axes, preventing accidental angular tilts that cast uneven photon cones across the crop.
In addition, vertical growth velocity during the first three weeks of 12/12 flowering requires daily suspension adjustments. A vigorous hybrid canopy can easily expand 1.5 to 2.5 inches vertically in a single 24-hour cycle. If the cultivator fails to raise the fixtures daily during this active stretch window, the distance between top colas and diodes shrinks rapidly, turning a safe 14-inch clearance into a dangerous 6-inch clearance within 72 hours. This rapid proximity shift causes acute solar scorch before visual symptoms are detected.
Furthermore, canopy boundary layer aerodynamics interact intimately with fixture suspension clearance. When multi-bar fixtures are mounted very close to the canopy (10 to 12 inches), the physical presence of the fixture frame can obstruct vertical convective airflow, trapping a warm, humid microclimate directly above top colas. To counteract this stagnation, facilities must position oscillating or horizontal circulation fans (providing 0.3 to 0.5 m/s airspeed) to blow through the clearance gap between the fixture underside and the canopy crown, sweeping away accumulated heat and boundary-layer moisture.
Do
Measure PPFD with a Quantum Sensor at Crown Height
Use a full-spectrum PAR meter to adjust hanging height and dimmers based on measured photon density rather than guessing with a tape measure.
Avoid
Hang Lights High at 100% Power in Empty Tents
Never run fixtures at maximum wattage suspended 36+ inches high; it wastes power, bounces photons into walls, and starves crop edges.
Can I use the “hand test” to determine if my LED grow light is at the right height?
Question sent by: Brad Sullivan, via email.
No. The legacy “hand test” (holding the back of your hand at canopy level for 30 seconds to feel if it burns) was developed decades ago for High-Pressure Sodium (HPS) lamps, which emit intense infrared radiation. Modern LED fixtures emit virtually zero radiant infrared heat; an LED canopy can experience extreme, photo-destructive irradiance (1,500+ PPFD) while feeling completely cool to human skin. Relying on the hand test with LEDs leads directly to catastrophic photobleaching. Always verify intensity with a calibrated quantum PAR meter and track leaf surface temperature using an infrared thermometer.
Final Decision Checklist and Companion Weedth Resources
Before altering fixture suspension height or commissioning new lighting layouts, verify your facility parameters against this operational checklist:
Grow Light Distance and Hanging Height Checklist
- Set multi-bar LED suspension height between 14 and 18 inches above canopy to ensure optical beam crossover.
- Measure canopy PPFD using a full-spectrum quantum PAR sensor; never rely on static tape-measure distance charts.
- Target 150-250 PPFD for seedlings, 400-600 PPFD for veg, and 850-1,050 PPFD for bloom (up to 1,300 with CO2).
- Use digital dimmers to dial photon intensity rather than raising fixtures high into empty headspace.
- Check leaf surface temperature with an infrared thermometer; confirm leaf temperature is 1.5°F-3.0°F cooler than air.
- Monitor upper sun leaves daily for early photo-stress signals: margin tacoing, yellow serrations, or bleached crowns.
- Adjust fixture height daily during Weeks 1 to 3 of 12/12 to match rapid transitional stem elongation.
- Maintain horizontal airflow (0.3 to 0.5 m/s) through the clearance gap between fixture bars and canopy tops.
Mastering grow light distance and hanging height transforms horticultural lighting from an unpredictable hazard into a precision cultivation asset. By pairing optical physics with empirical quantum measurements and thermal tracking, growers protect delicate terpene profiles, eliminate photobleaching, and achieve exceptional electrical efficiency and harvest yields across every square foot of canopy space.
Final Verdict: Height creates the pattern, but the meter reveals the truth. Lock in your optical crossover clearance, dim for exact stage-specific PPFD, and let biological precision drive your harvest results.
To expand your technical cultivation foundation with our companion foundational guides, explore Weedth resources below.
Share this article
A quick overview of the topics covered in this article.
Follow us
Latest articles
October 29, 2026

October 29, 2026