
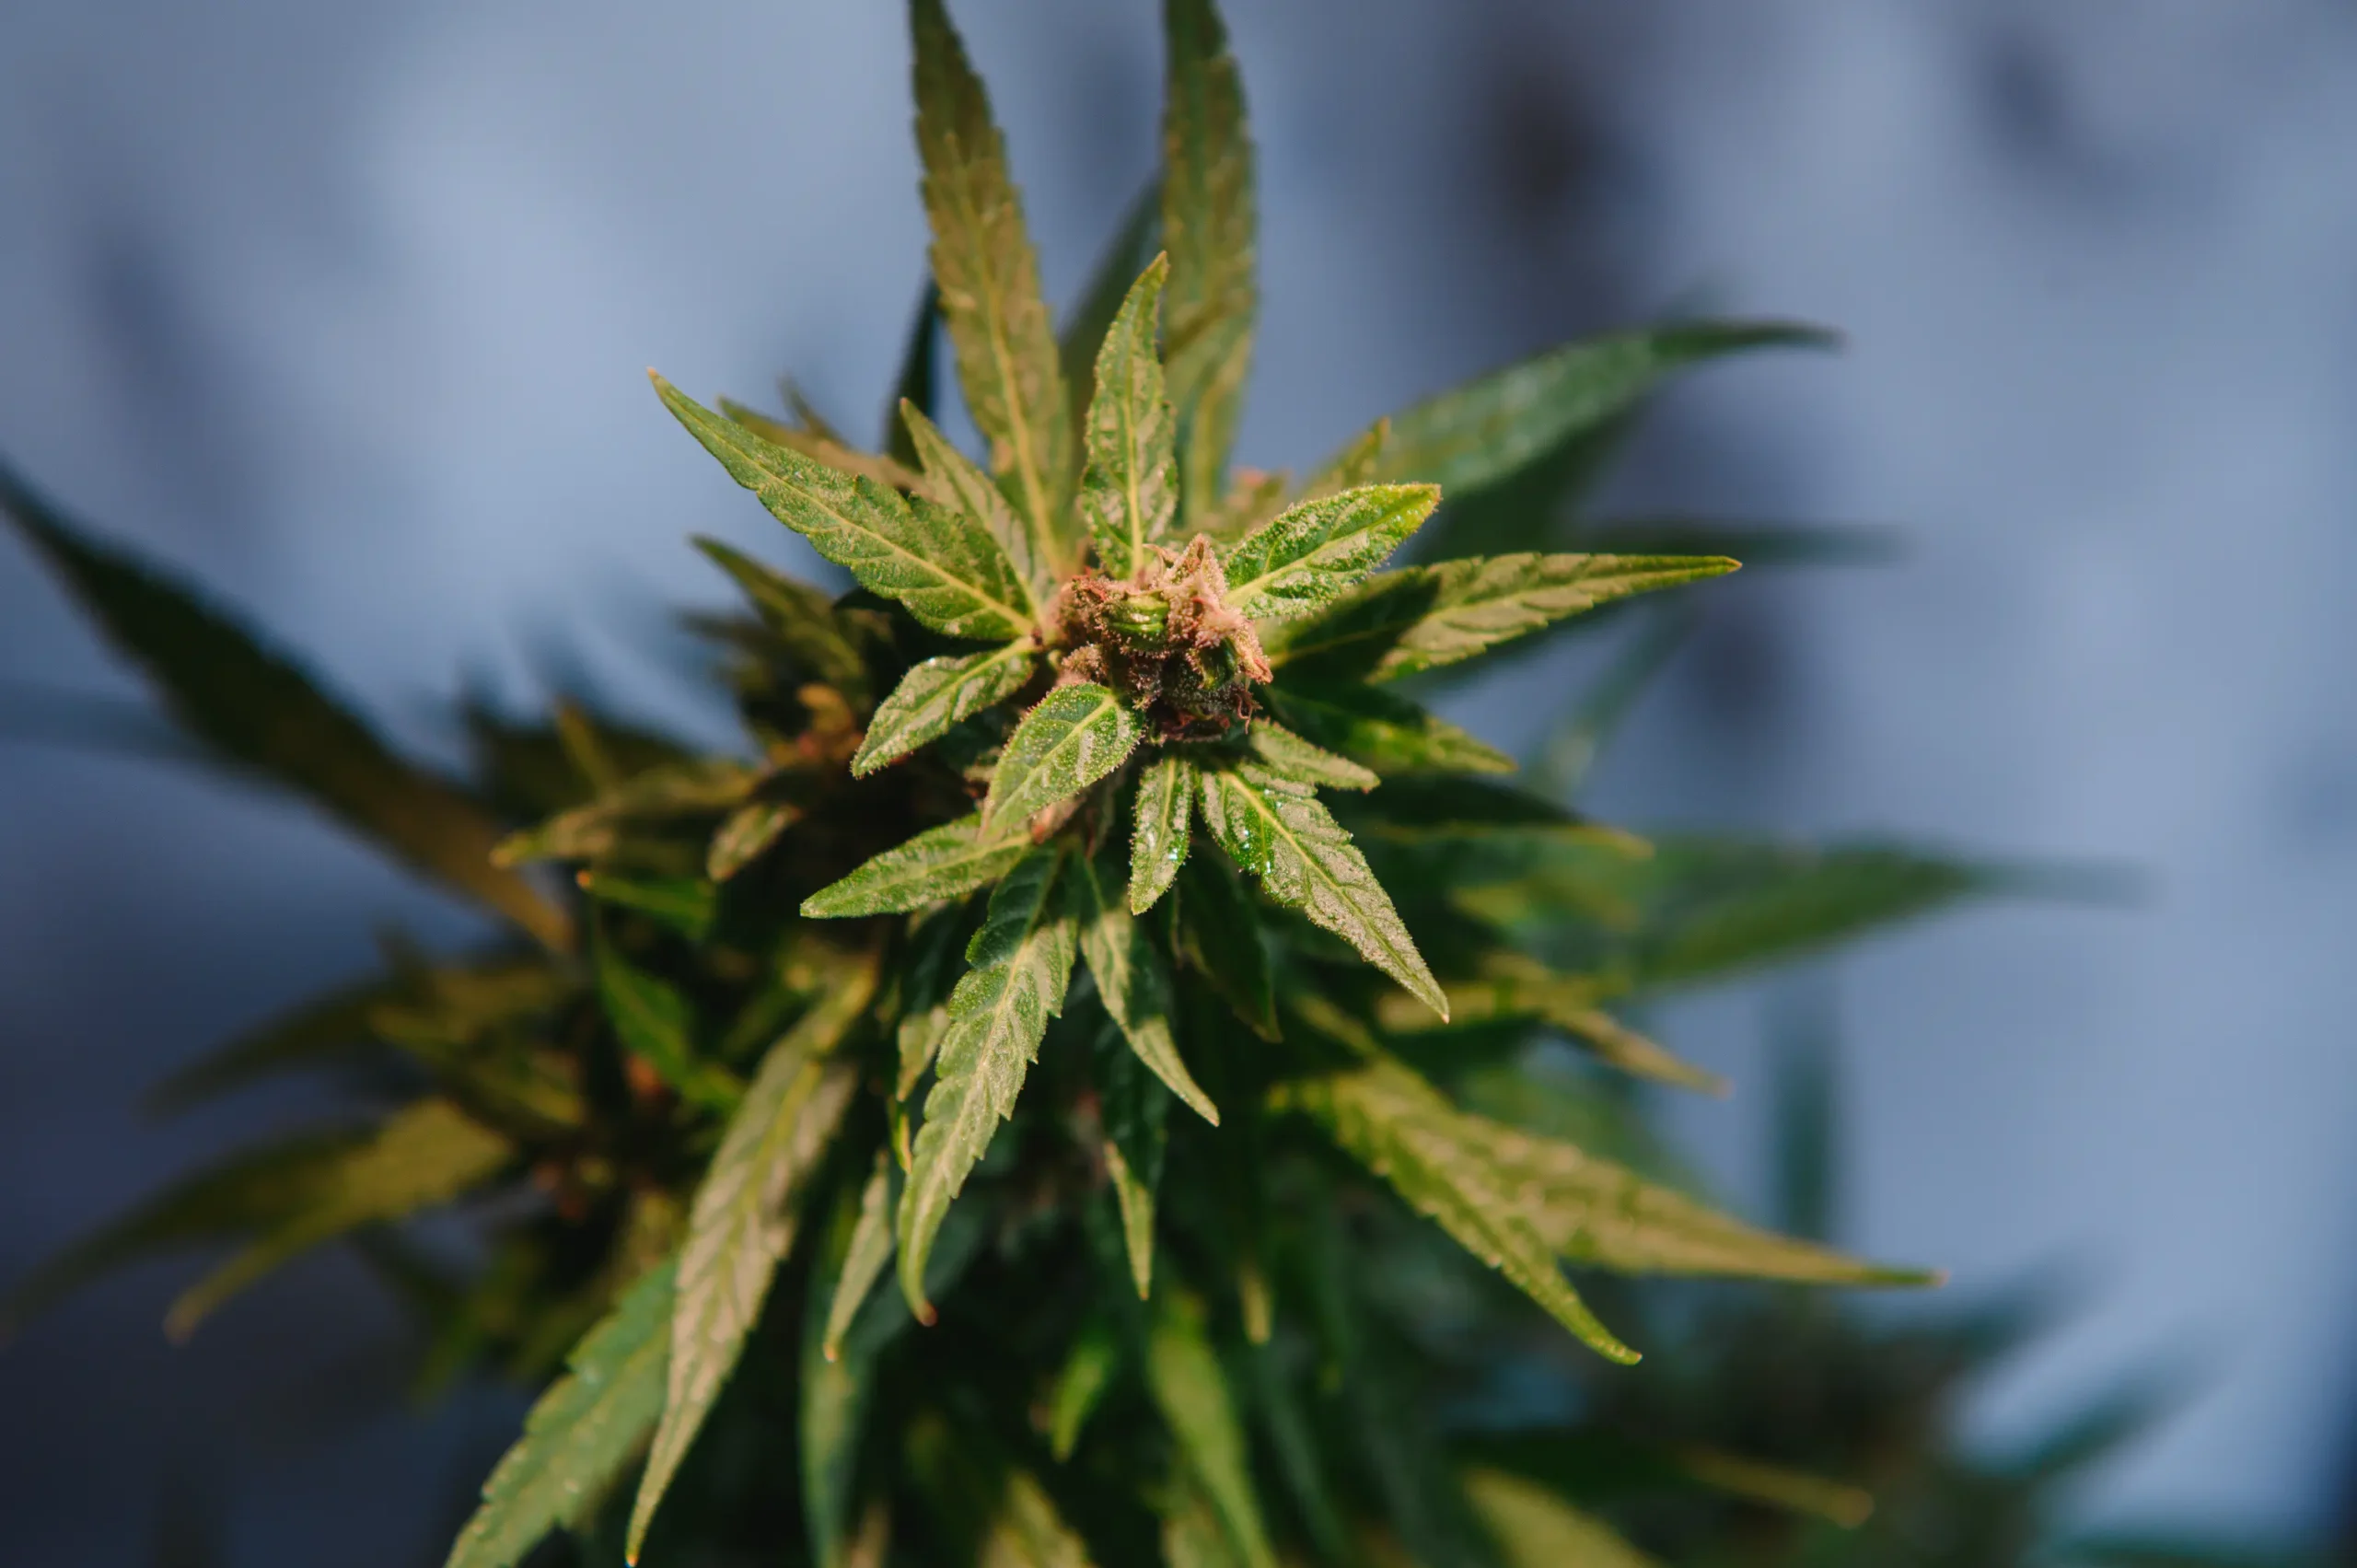
One-Plant Indoor Cannabis Setup
Cultivating a single cannabis plant indoors offers the ultimate balance of simplicity, legal discretion, and minimal financial investment. Rather than juggling multiple containers with varying water demands, focusing on one plant allows growers to master environmental controls and plant training intimately.
A well-managed single plant in a compact 2×2 foot or 2.5×2.5 foot enclosure can produce remarkable yields comparable to multiple crowded plants. This guide covers equipment selection, pot sizing, canopy manipulation techniques, and simplified daily routines tailored specifically for a one-plant indoor ecosystem.
Space Allocation and Equipment Sizing for a Single Plant
Matching tent dimensions, light output, and ventilation to a single canopy optimizes energy consumption and prevents thermal stress.
Tent Dimensions and Ceiling Clearance Considerations
A 2×2 foot (60×60 cm) tent with a height of 48 to 72 inches provides the ideal physical envelope for one plant. Tents measuring 60 to 72 inches tall provide valuable vertical buffer space for hanging carbon filters and maintaining proper LED distance above the canopy.
Tents shorter than 48 inches require intensive horizontal training and compact LED fixtures to prevent apical colas from encroaching into excessive light intensity zones.
Lighting Selection and True Wall Wattage Requirements
A modern full-spectrum LED drawing 100 to 150 true watts from the wall perfectly illuminates a 2×2 foot canopy, delivering 600 to 800 umol/m2/s PPFD across the floor space. Fixtures featuring high-efficiency diodes and passive aluminum heat sinks eliminate excess heat inside compact enclosures.
Selecting a light fixture with an onboard dimming dial allows the grower to deliver 25 percent power to young seedlings and gradually scale up to 100 percent during peak flowering without moving light hangers.
Single-Plant Micro-Canopy: An indoor cultivation system engineered to fill an isolated four-square-foot footprint completely using one container, maximizing light interception from a single central fixture.
Practical questions from home cultivators often center on how these thresholds behave in real-world tents and small rooms.
“How much dry flower can I realistically harvest from a single plant in a 2×2 foot indoor tent?”
Question sent by: Mackenzie Simard, via contact form.
A well-trained single plant under a modern 100 to 150-watt LED in a 2×2 tent typically yields between 3 and 6 ounces (85 to 170 grams) of high-grade dried flower. Achieving 1 gram per watt (around 4 to 5 ounces) is standard when the canopy is trained flat and environmental conditions remain stable throughout flowering.
Focusing on even canopy coverage with a trellis net is the primary factor driving yield efficiency.
Container Selection and Root-Zone Volume Dynamics
Container size dictates irrigation dry-back frequency, buffering capacity, and the vegetative timeline required to fill the tent footprint.
Why 5-Gallon Fabric Containers Are Optimal
A 5-gallon fabric container holds sufficient medium volume to buffer moisture and mineral salts effectively while drying back smoothly every two to three days. This buffer protects the single plant against rapid pH swings or accidental over-fertilization.
Breathable fabric air-prunes outer root tips, preventing root-bound spirals and creating a dense, fibrous root ball that exploits the entire container substrate.
Runoff Management in Confined Spaces
In a compact 2×2 tent, removing heavy containers to drain runoff saucers becomes difficult once branches are tied down or trellised. Elevating the pot on a heavy-duty plastic plant elevator inside a deep drainage saucer solves this operational bottleneck.
Cultivators can use a simple manual siphon bulb or small wet-dry vacuum to extract runoff liquid directly from the saucer within minutes without disturbing trained stems.
| Container Size | Material Type | Veg Time to Fill 2×2 | Watering Frequency | Buffering Stability |
|---|---|---|---|---|
| 3 Gallon (11 L) | Fabric Aeration | 4 to 5 weeks | Every 1 to 2 days | Moderate |
| 5 Gallon (19 L) | Fabric Aeration | 5 to 6 weeks | Every 2 to 3 days | High (Recommended) |
| 7 Gallon (26 L) | Fabric Aeration | 6 to 8 weeks | Every 3 to 4 days | Very High |
| 3.5 Gal DWC Bucket | Rigid Food-Grade Plastic | 3 to 4 weeks | Daily reservoir check | Low (Demands precision) |
Thoughtful drainage mechanics keep root maintenance effortless in tight quarters.
Training Architecture: Screen of Green for a Single Plant
Filling a four-square-foot canopy with one plant requires deliberate apical topping and horizontal branch guiding.
Early Topping and Quad-Branch Structure
Top the plant above the fourth node once six nodes have developed, removing apical dominance and redirecting hormonal energy into the four primary lateral branches below. Remove lower spindly growth from the first node to channel vascular strength into the main limbs.
As these four structural branches lengthen, pin them outward toward the four corners of the container using plastic-coated garden wire, creating an open symmetrical framework.
Weaving into a Single-Layer Trellis Net
Install a trellis net with 3.5 to 4-inch square mesh approximately 8 to 10 inches above the pot rim. As branches reach through the screen, gently tuck them beneath adjacent squares rather than allowing them to grow straight upward.
Continue tucking new growth outward until 75 percent of the horizontal screen squares contain an active growing tip, then trigger flowering by switching lights to 12/12.
Do
- Use a 5-gallon breathable fabric container to provide ample root buffer and steady dry-backs.
- Top the main stem above the fourth node to establish four balanced primary horizontal branches.
- Elevate the pot on a drainage riser to easily remove runoff without disturbing the trellis screen.
- Convert the empty tent into a dark, odor-filtered drying chamber immediately after harvest.
Avoid
- Crowding multiple small pots into a 2×2 tent when one trained plant can fill the entire canopy.
- Buying an oversized 300W light fixture that generates unmanageable heat in compact enclosures.
- Watering in small daily sips rather than saturating the container and waiting for proper dry-back.
- Directing circulation fans straight at hanging buds during the post-harvest drying phase.
Level horizontal training ensures every developing bud site receives equal photon flux.
“Is it better to grow one photoperiod plant or one autoflower in a small one-plant tent setup?”
Question sent by: Madeline Underwood, via contact form.
Photoperiod genetics are strongly recommended for single-plant setups because you control the vegetative timeline. If a mistake occurs or training takes longer to fill the 2×2 screen, you simply extend vegetative 18/6 lighting until the canopy is ready. Autoflowers bloom on an internal genetic clock regardless of canopy coverage.
Having complete control over the flowering flip date ensures your four-square-foot footprint is 100 percent utilized.
Compact Ventilation and Odor Control Integration
Even a single flowering cannabis plant produces strong aromatic volatile terpenes that demand reliable carbon filtration.
Mounting Fan and Filter Inside Minimal Ceiling Space
In a 2×2 tent, hanging an inline fan and carbon filter side by side occupies substantial ceiling area. Using high-tensile fabric straps to hang the filter horizontally against the back ceiling corner and mounting the fan directly to its exhaust collar saves critical vertical headroom.
Alternatively, growers with short tents can position the inline exhaust fan outside the tent roof, pulling air through the internal filter via a short straight duct run.
Managing Canopy Heat and Air Recirculation
A single 6-inch oscillating fan clipped to a vertical corner pole provides ample air circulation for a 2×2 tent. Direct the airflow across the canopy surface rather than blowing downward onto the pot, preventing premature drying of topsoil.
Gentle continuous breeze breaks leaf boundary layers, refreshing carbon dioxide levels and discouraging fungal spores from settling on dense floral clusters.
| Ventilation Component | Recommended Spec | Mounting Location | Operational Purpose |
|---|---|---|---|
| Inline Exhaust Fan | 4-inch EC motor (150 CFM) | Interior tent ceiling | Evacuates heat and moisture |
| Activated Carbon Filter | 4×12 inch virgin RC412 | Interior tent ceiling | Neutralizes aromatic terpenes |
| Oscillating Fan | 6-inch pole-mount clip | Upper corner tent pole | Circulates canopy air |
| Passive Intake Vent | Bottom mesh screen flap | Bottom opposite corner | Introduces cool, fresh air |
Proper ventilation geometry keeps compact tents quiet, odor-free, and thermally stable.
Cultivation Warning
Routing 4-inch flexible ducting with sharp kinks inside a 2×2 tent creates excessive static resistance, reducing fan CFM output by up to 50 percent and causing heat buildup.
Practical questions from home cultivators often center on how these thresholds behave in real-world tents and small rooms.
“Can I mount my inline exhaust fan on the outside of the tent to save vertical space inside?”
Question sent by: Madeline Lombardi, via email.
Yes, mounting the fan on the exterior roof or placing it on a nearby shelf works exceptionally well for short tents. Connect ducting from the interior carbon filter through the tent ceiling ventilation port directly into the fan intake. This frees up 10 to 12 inches of valuable vertical canopy space inside.
Ensure all duct clamps are tightened securely to maintain complete airtight negative pressure.
Simplified Irrigation, Feeding, and Daily Monitoring
Managing one container eliminates variability, allowing growers to maintain meticulous feeding and dry-back logs.
Establishing a Predictable Lift-Weight Routine
Get accustomed to the weight of your 5-gallon container when completely saturated and when dry. Water thoroughly until 10 to 15 percent runoff emerges, then leave the pot undisturbed until lifting reveals it has returned to roughly a third of its saturated weight.
This disciplined lift-check cycle guarantees root hairs receive cyclic pulses of oxygenated air, fostering accelerated root respiration and robust plant vigor.
Streamlined Two-Part Nutrient Management
A single plant requires very small volumes of water per irrigation (typically 0.75 to 1.25 gallons). Using a complete two-part base fertilizer simplifies mixing, eliminates shelf clutter, and reduces dosing measurement errors.
Check and adjust solution pH to 6.3 to 6.7 for soil (or 5.8 to 6.2 for coco) after adding all nutrients, verifying calibration with a reliable two-point digital pH pen.
Cultivators growing a single plant often over-pamper their garden with excessive watering and frequent additive cocktails. Allowing soil to dry back naturally produces faster growth than daily attention.
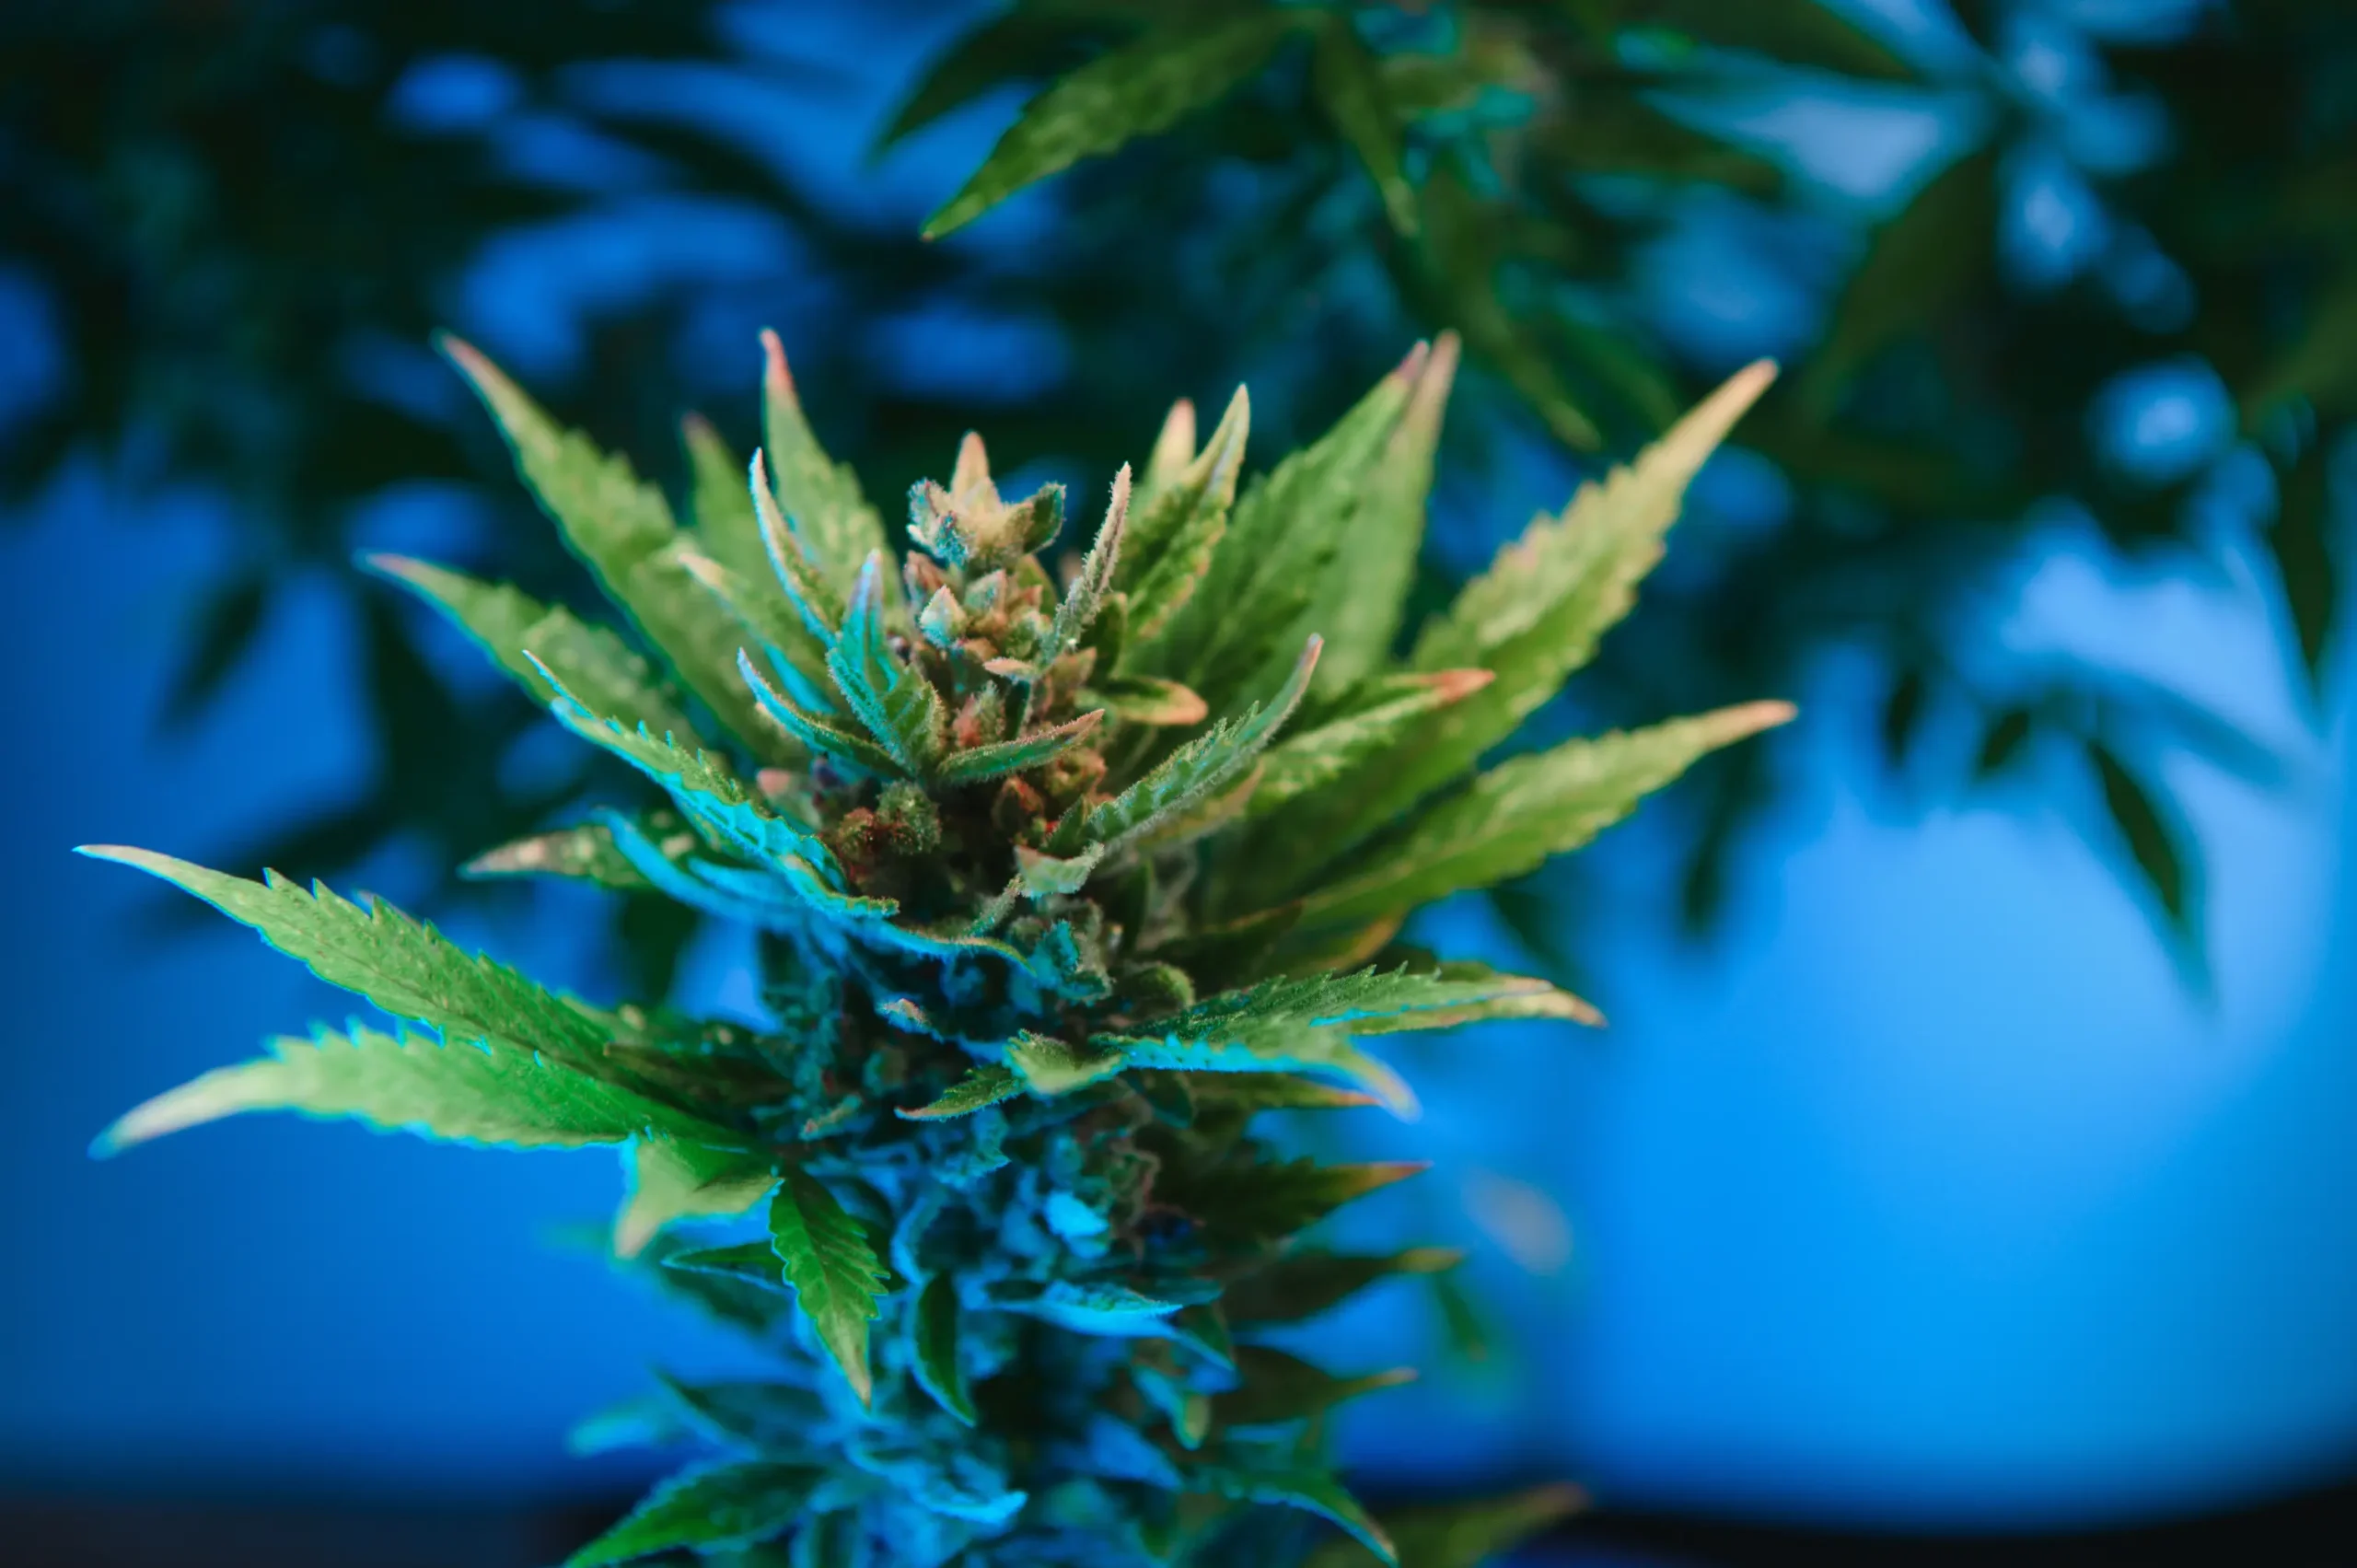
Simple, repeatable nutrient habits eliminate chemical imbalances across the entire cycle.
Harvesting and Drying Within the Same Compact Footprint
A dedicated one-plant tent can convert into a self-contained drying enclosure immediately following harvest.
Using the Grow Tent as an All-in-One Drying Chamber
Once the single plant is harvested, the grow tent becomes an ideal drying room with built-in carbon filtration, exhaust control, and complete light exclusion. Turn off the LED grow light, sweep the floor clean, and hang whole branches from the upper ceiling frame.
Run the inline exhaust fan on its lowest speed setting to maintain continuous odor extraction and gentle air exchange without desiccating the drying flowers.
Managing Drying Parameters Without Dedicated Secondary Tents
Place an oscillating fan on the floor pointing at a tent wall (never directly at hanging branches) to keep air circulating gently. Monitor temperature and relative humidity with a wireless sensor, targeting 60 F and 60 percent RH.
After 10 to 14 days of slow drying, trim the colas and transfer them into glass curing jars, completing the entire cultivation and drying process inside a single 4-square-foot footprint.
Field Verification Checklist
- Verify LED light fixture fits comfortably with at least 4 inches of perimeter wall clearance.
- Ensure carbon filter and inline fan hang securely without sagging from ceiling tent poles.
- Confirm drainage saucer has adequate capacity to hold 20 percent container runoff volume.
- Check that horizontal trellis net sits tightly stretched 8 to 10 inches above the pot rim.
- Inspect inline fan speed controller to confirm silent, vibration-free operation at low settings.
Utilizing the tent for both growing and drying maximizes personal convenience and discretion.
“How long should I keep my single plant in the vegetative stage before flipping to flower?”
Question sent by: Madeline Johansen, via reader Q&A form.
Plan for 4 to 6 weeks of vegetative growth when starting from seed in a 5-gallon pot. Use this time to top the plant, pin branches down, and weave shoots through your trellis net until roughly 70 to 75 percent of the screen is filled. The subsequent flowering stretch will fill the remaining space cleanly.
Flipping before the screen is fully filled prevents overcrowding during weeks one through three of 12/12.
Scientific References
- Bugbee, B. (2016). Toward an optimal spectral quality for plant growth and development: The importance of radiation capture. Acta Horticulturae, 1134, 1-12.
- Nelson, P. V. (2012). Greenhouse Operation and Management (7th ed.). Prentice Hall.
- Taiz, L., Zeiger, E., Moller, I. M., & Murphy, A. (2015). Plant Physiology and Development (6th ed.). Sinauer Associates.
- Zheng, Y. (2021). Handbook of Cannabis Production in Controlled Environments. CRC Press.
Share this article
A quick overview of the topics covered in this article.
Follow us
Latest articles
November 9, 2026
November 9, 2026
November 9, 2026
November 9, 2026