
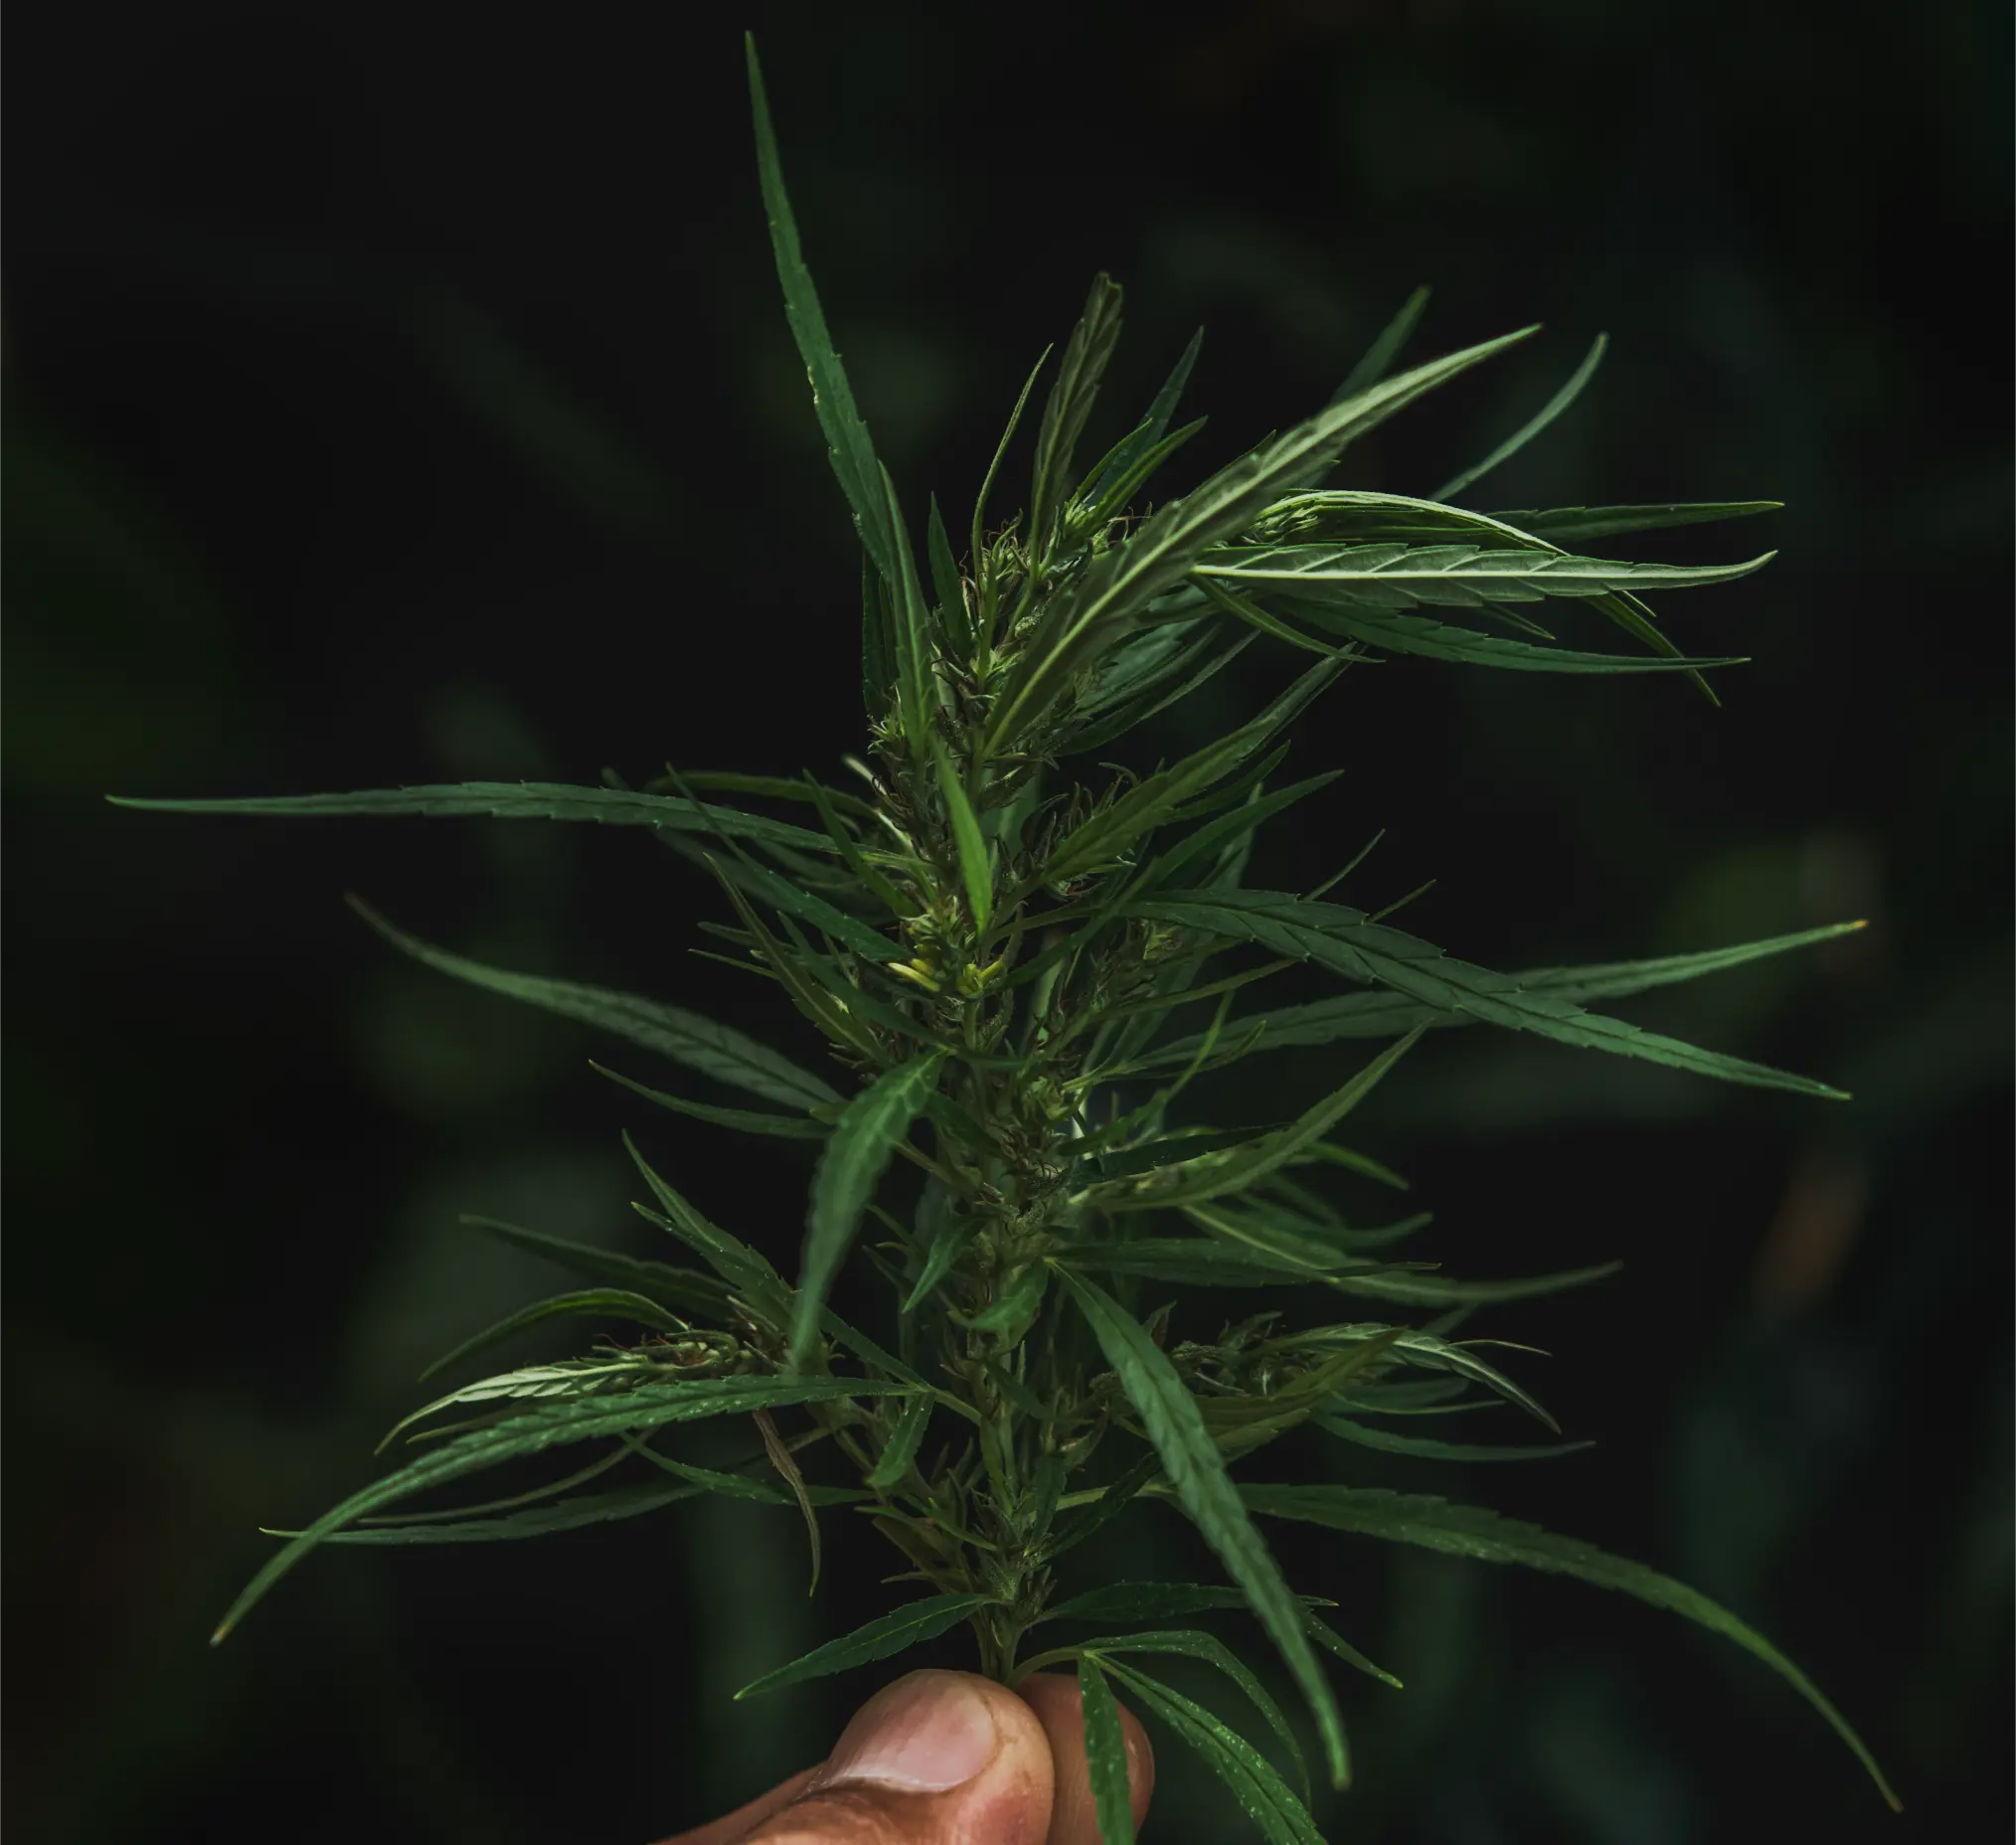
Clean Pruning Cuts and Tool Hygiene
A clean pruning cut starts before the blades touch a cannabis plant. First identify why the tissue needs removing, then choose a cut that preserves the structure you want to keep. Support the branch, make the cut without crushing or tearing its attachment, move the waste away, and clean the tool before it carries sap to another plant. Finally, return to the same wound and the growth above it to confirm that the plant is stable rather than assuming a neat-looking cut means the job is finished.
There are two different standards here. Cut quality concerns where and how plant tissue is removed. Tool hygiene concerns the material that may be carried on blades, handles, hands, and removed branches. Sharp tools can create clean-looking wounds while transferring infectious sap. Conversely, carefully disinfected but dull or oversized blades can crush a stem and tear the tissue that remains. Good pruning requires both standards at once.
This resource covers practical cuts made during lawful outdoor cannabis cultivation, including selective branch removal, leaf and petiole removal, training-related heading cuts, and removal of mechanically damaged tissue. It is not a complete topping, defoliation, viroid-disinfection, or disease-treatment guide. The decision is simple to state but worth checking carefully: is there a justified cut, can it be made cleanly, and can the resulting wound be monitored safely?
Decide Whether a Pruning Cut Is Necessary
A pruning cut should solve a named problem, not merely follow a calendar. Before touching the plant, identify the precise organ and the outcome you expect: remove a broken branch that keeps tearing, clear a dead petiole obstructing an inspection, remove a competing shoot as part of an existing structure plan, or take off a confirmed diseased unit while preventing debris from contacting neighboring plants. If you cannot explain what will improve, the first action is observation rather than cutting.
Separate routine architecture from emergency removal
Routine pruning changes plant form. It may remove a shoot to open a narrow access path or preserve a planned canopy, but it also sacrifices functioning leaves and creates fresh tissue exposure. Emergency removal is different. A branch hanging by damaged tissue, an unstable section that repeatedly strikes neighboring flowers, or clearly deteriorating material may require attention even when new training would be inappropriate. Decide which task you are performing because the timing, waste handling, and tolerance for delay are different.
Keep technique-specific decisions where they belong. Topping changes the apical growing point; defoliation changes leaf area; low-stress training may not require cutting at all. This page explains how to execute a justified cut without turning every visit into another training session. For the full seasonal context, use the outdoor cultivation guide.
Check whether the plant can afford a discretionary wound
Inspect new growth, leaf posture, stem integrity, root-zone moisture and drainage, and the next weather exposure. A wilted plant with a saturated root zone may not need fewer leaves: it may need root-zone investigation. Likewise, a limp branch during intense drought does not automatically become a pruning candidate. Distinguish the cause of stress before removing healthy tissue. Normal turgor and resumed growth offer better conditions for planned pruning than ongoing root trouble or severe environmental stress.
For outdoor work, weather is part of the cutting decision. If avoidable cutting would leave an exposed stem immediately before prolonged wet weather or a severe wind event, postponing the cosmetic intervention may be the lower-risk option. This is a management principle, not a cannabis-specific number of hours for which every cut must stay dry.
Define a stopping rule before the first cut
Choose the minimum set of cuts needed for the stated goal and photograph the starting canopy. Stop when access is restored, the dangerous branch is removed, or the intended growing point has been addressed. Do not keep removing healthy branches because each previous cut made the plant look more open. Each extra wound brings an additional decision about plant stress and sanitation.
Heading cut versus thinning cut
A heading cut shortens a shoot and leaves an existing lower portion to continue growing. A thinning cut removes an entire branch or shoot at its point of origin. They change architecture differently and therefore call for different cutting points; neither requires an arbitrary removal percentage.
Use a three-way decision before cutting
| Decision | What the observation means |
|---|---|
| Proceed with a planned cut | The target and purpose are clear; the plant is functioning normally; a safe cut point and clean tool are available; weather and support conditions are manageable. |
| Pause and correct conditions | The plant is stressed, the target tissue is not clearly identified, the blade is dull, heavy tissue is unsupported, or the weather makes a nonurgent wound avoidable. |
| Isolate and assess first | Discoloration or dieback may reflect infection, vascular injury, root disease, or mechanical damage. Record the pattern and plan containment before working across other plants. |
Field Advice: The most useful pruning plan is often the shortest one. Mark the branches that must go, make only those cuts, and inspect the result before deciding whether another wound is necessary.
What a Clean Cut Changes and What It Cannot Prevent
A clean cut is a controlled separation of tissue with minimal unnecessary crushing, tearing, or damage to adjacent stems and growing points. A properly sized, sharp bypass cutting tool generally helps create that separation. A dull blade can compress soft stems before it severs them; pulling a partly detached branch can peel tissue below the intended cut. The unwanted injury may be larger than the selected branch itself.
Wound geometry determines what remains exposed
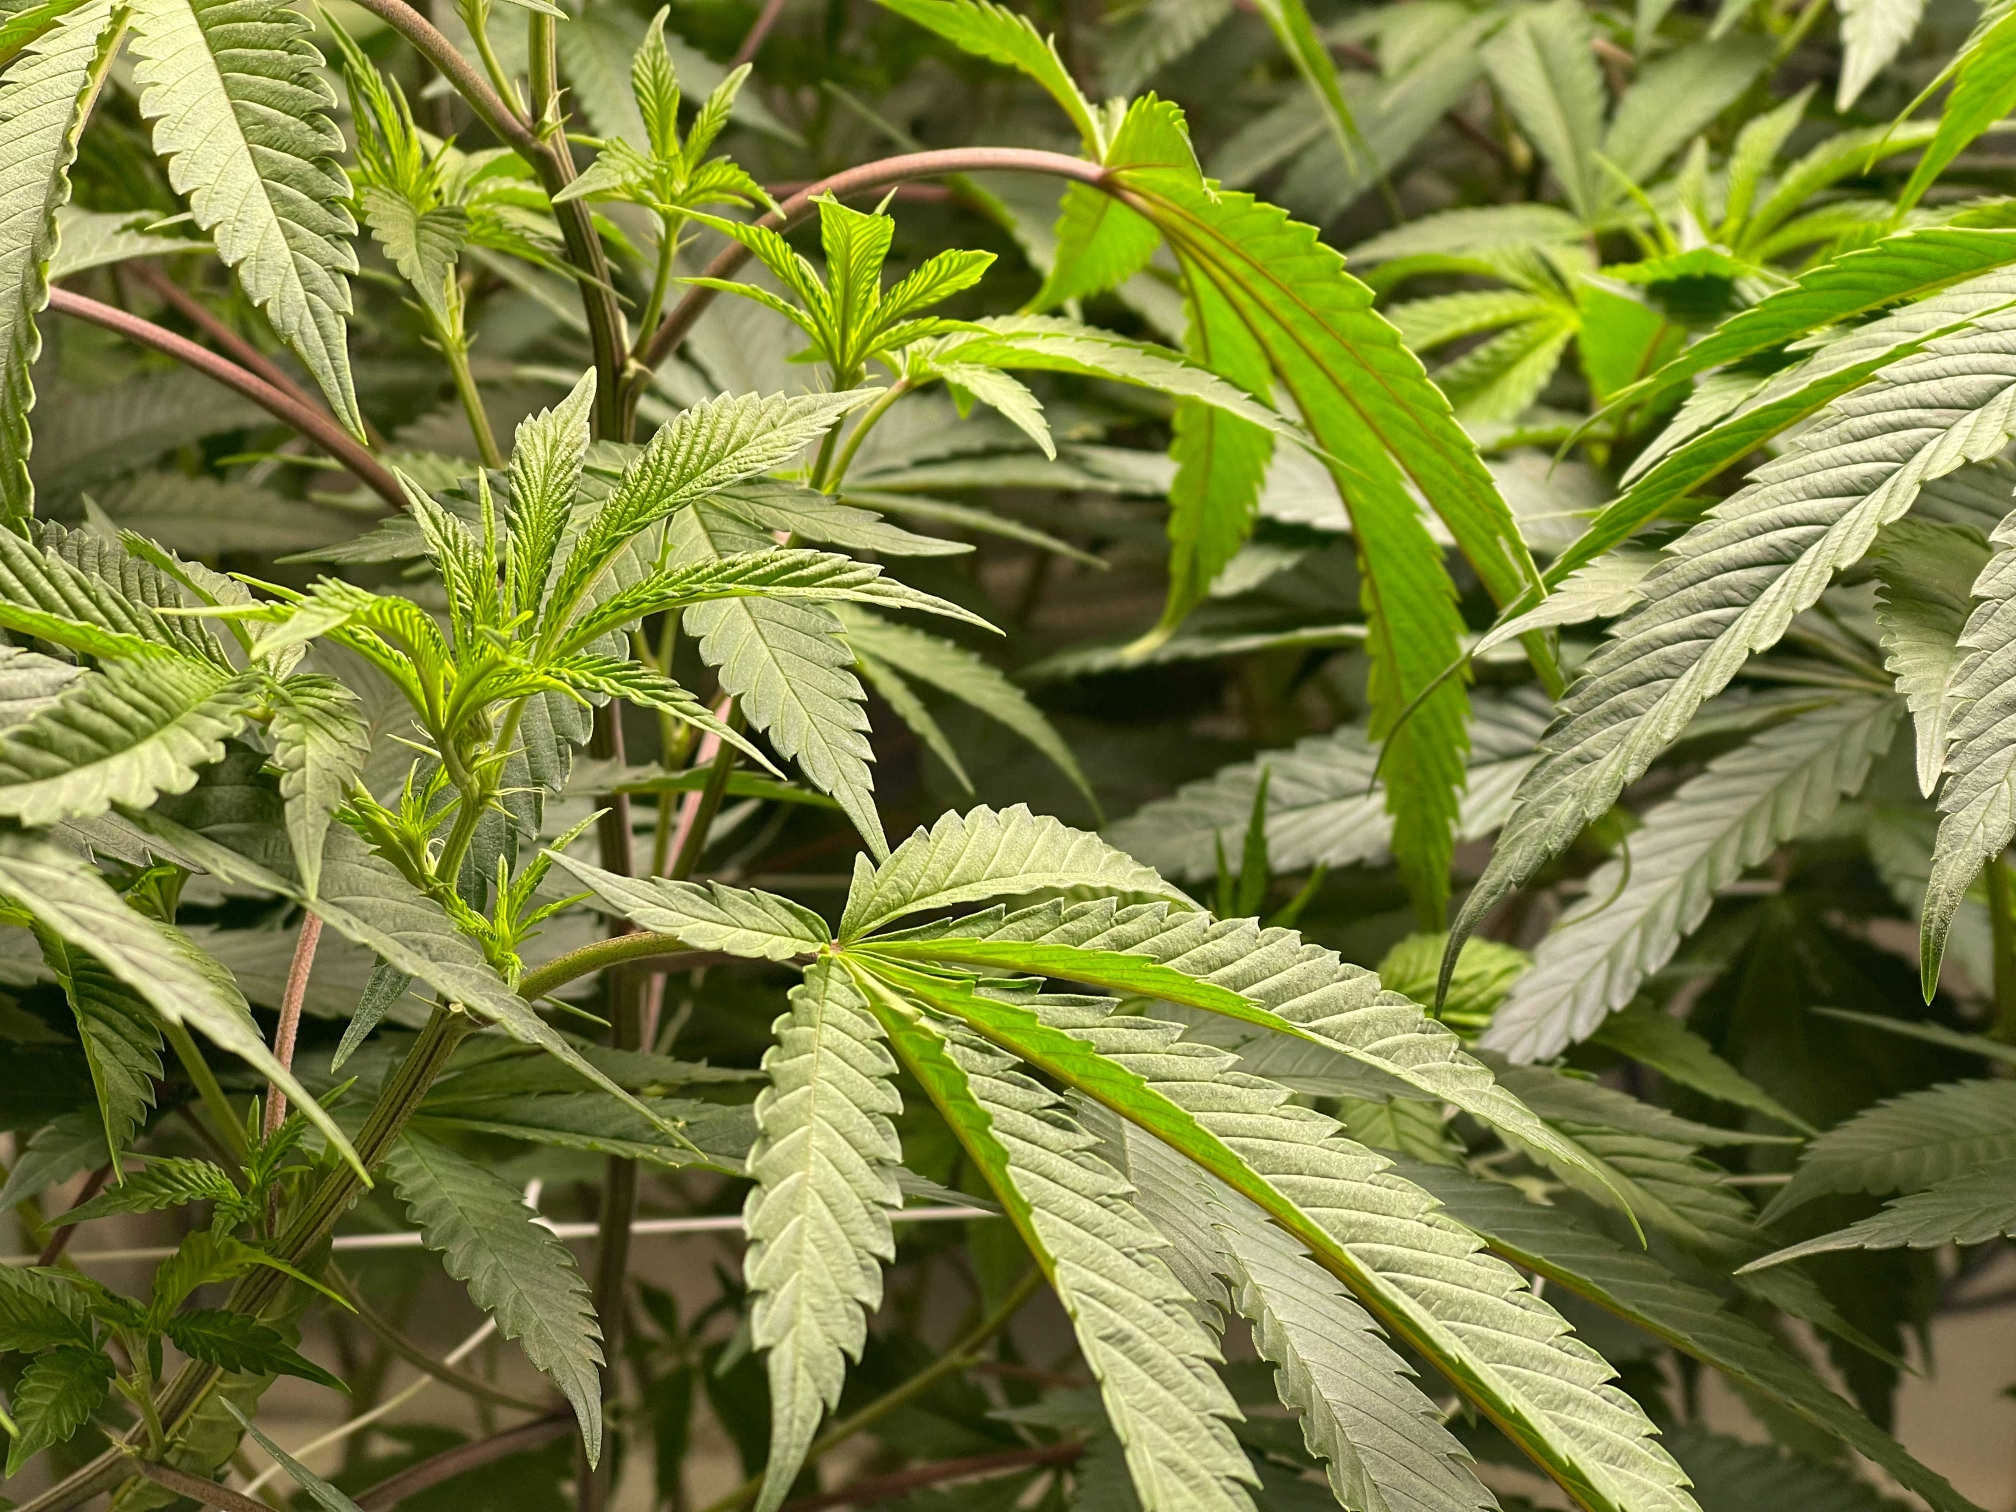
For an ordinary branch removal, locate where the branch attaches to the main stem and distinguish the tissue you intend to remove from the stem you intend to retain. Cut on the removable branch side of the junction, without gouging the main stem or leaving a long damaged hanger. On small herbaceous shoots, the junction may be less distinct than a woody tree branch collar; use visible anatomy and a clear blade path rather than pretending every cannabis node has a recognizable arboricultural collar.
For a heading cut, identify the living node or growing tissue you intend to retain before positioning the blades. Avoid cutting directly through that node or leaving an unnecessarily long segment that was never intended to remain. The useful placement depends on the specific training objective and stem geometry. A universal angle, fraction of an inch, or node number is not established for every cannabis pruning cut.
Support changes the wound even when the blade is sharp
A heavy branch can tear away under its own weight as the cut nears completion. Hold or support the removable portion so the final fibers are severed by the blade instead of by gravity. For a genuinely large, woody limb, horticultural guidance uses staged weight-reduction cuts to avoid bark tearing. That principle can be adapted to a substantial outdoor cannabis branch, but the familiar tree three-cut diagram and branch-collar dimensions are not automatic instructions for a small green stem.
Move the removed piece into a clean, controlled area. Do not drag it across nearby flowers or leave the cut end swinging through foliage. Handling is part of cutting quality: a perfect wound on one stem does not compensate for tearing three neighboring branches during removal.
A wound is an opening, not a diagnosis
Cannabis-specific pathogen work shows that experimentally exposed stem surfaces can be colonized by several fungi when inoculum is applied. Research on hop latent viroid also demonstrates a mechanical transmission route when infectious sap reaches wounded cannabis stem tissue. These findings justify careful handling, but they do not mean that every fresh cut becomes infected or that any visible darkening proves a particular pathogen. Infection needs a capable agent and conditions that allow establishment.
Clean appearance is not pathogen clearance
A smooth cut does not prove that the tool, plant, or sap is free of infectious material. If stock is suspect for HLVd or another transmissible disease, use a pathogen-appropriate hygiene and diagnostic protocol rather than relying on blade sharpness or the absence of visible symptoms.
Do not transfer woody-tree healing claims wholesale
University Extension pruning resources explain how woody tree branch collars and woundwood help compartmentalize injuries. Those concepts support preserving junction tissue and avoiding flush cuts, but cannabis is often managed as a relatively short-lived herbaceous crop. There is no basis to promise that a cannabis cutting will seal on the same schedule as an orchard tree or that a specific callus shape confirms vascular recovery. Judge the remaining plant by function and progression.
“The cut looks perfectly smooth. Can I use the same scissors on the next plant?”
Question sent by: Ethan Brooks, via email.
Not on appearance alone. Visible cleanliness concerns the wound; transmission risk concerns sap and debris on the cutting surfaces. Remove contamination and apply the sanitation procedure appropriate to the known or suspected pathogen before crossing plants. If the stock is suspect, set aside tools or the plant rather than treating a cosmetic wipe as proof of viroid inactivation.
Prepare the Plant, Tools, and Hygiene Route
Prepare a small, controlled work area before starting. The practical kit is a clean, correctly sized cutting tool; a second clean tool if sanitation contact conditions prevent immediate reuse; a means of supporting removable branches; suitable waste containment; plant labels; and a way to record the cut. Keep disinfectants separate from exposed flowers and follow the selected product instructions and local rules. The goal is to avoid improvising while a branch is half severed.
Choose a cutting edge that fits the tissue
Fine clean scissors can be appropriate for small petioles and delicate soft shoots when the blades can reach the target without pinching the adjacent node. A sharp bypass pruner is often better for a thicker stem that would be crushed or twisted by undersized scissors. A proper saw or staged removal may be safer for an unusually woody, weight-bearing limb. Do not squeeze a stem repeatedly with a tool that is too small or make a rough cut just because a larger tool is nearby.
Inspect the tool closed and open: the edges should meet properly, the pivot should not wobble, and the surfaces should not contain trapped sap, fragments, corrosion pits, or sticky residue. If a tool cannot be cleaned or its edge is chipped, retire it from healthy plant work until repaired or replaced. A blade that pinches rather than separates tissue is not made safe by applying more force.
Clean first, then disinfect for the relevant hazard
Physical cleaning removes sap, dirt, tissue fragments, and residues that can shield contamination or interfere with a disinfectant. Disinfection is a separate step and must be compatible with the target organism, material, concentration, surface wetness, and required contact conditions. A quick dip followed by immediate wiping may not reproduce the protocol used in a viroid experiment. For pathogen-specific options and evidence boundaries, continue with Tool Disinfection Between Cannabis Plants.
General Extension guidance often recommends alcohol for routine pruning-equipment sanitation, but the cannabis-specific HLVd research does not validate a brief alcohol wipe as a universal viroid kill step. Sodium-hypochlorite results also depend on stock strength and experimental design. Do not substitute an unverified kitchen bleach dilution or a single universal soak time for a lab-supported, label-compatible procedure.
Never mix cleaning chemicals
Bleach must not be mixed with acids, ammonia, alcohol, or other cleaners. Prepare and use disinfectants according to their labels and the relevant plant-health protocol, protect skin and eyes, and keep liquids off cannabis flowers and growing media. Some products corrode blades and require rinsing, drying, or maintenance after their specified contact process.
Plan the order: lower-risk plants before suspect plants
Work on inspected, apparently healthy plants first and move to uncertain or symptomatic material last. This reduces unnecessary movement from higher-risk tissue back into plants whose status is not known to be compromised. It does not turn apparently healthy plants into certified clean stock: HLVd can be present without obvious symptoms. Where the risk is meaningful, testing and dedicated equipment are more informative than a visual label of “healthy.”
If you discover suspicious tissue halfway through a round, stop the normal sequence. Mark the plant, document symptoms and affected branches, manage waste separately, and decide whether the available tools and procedures are sufficient before continuing. Avoid taking cuttings for propagation from plants whose disease status requires confirmation.
Make disposal and hand hygiene part of the route
Put removed ordinary vegetation in the designated waste area without brushing it against other plants. For suspect infected tissue, prepare containment before removal and follow the relevant local disposal requirements. Do not shake fungal material or carry open decayed flowers through a clean canopy. Change or clean gloves when moving from contaminated waste back to healthy tissue; gloves are a contact surface, not a substitute for hand and tool hygiene.
Set the clean route before you start
Assign tools, support, waste container, plant order, and a clear path out of the canopy before making the first cut.
Move back and forth between suspect and healthy tissue
A contaminated blade, glove, or loose branch can defeat an otherwise careful cutting technique.
A Repeatable Clean-Cut Procedure
Use the same procedure each time so a skipped step is visible. It works for deliberate training cuts and routine removals, with extra precautions when the target tissue may be diseased. Think in stages: identify, stabilize, cut, contain, sanitize, record, and verify. The exact blade and cutting point change with the organ; the sequence does not need to change.
Step 1: Identify the exact tissue and its attachment
Stand where you can see both the removable portion and the structure that must remain. Trace the petiole or branch back to its origin. Make sure a visually similar nearby shoot is not the intended leader or a structural connection needed for support. If the base is hidden by flowers, gently move unobstructed healthy foliage aside without opening a suspect flower or pulling on fragile tissue.
Take a before photograph of the whole plant and a second image of the target junction. Add a plant ID and date. The images establish which tissue was deliberately removed and prevent a new natural scar elsewhere from being mistaken for the intervention.
Step 2: Stabilize the plant and removable branch
Support a larger branch with the free hand or with independent support that does not squeeze or crush flowering tissue. If the branch pulls on the main stem, reduce its supported weight before making the final attachment cut. In a container, confirm the pot and root ball do not twist as you move the branch. A cut should not inadvertently become a supercropping injury at a different junction.
Step 3: Select the cut geometry
For a small leaf, trace the petiole to its origin and sever it cleanly without gouging the node or scraping nearby bark. For a thinning cut, remove branch tissue at the attachment while preserving the main stem and adjacent growing points. For a heading cut, locate the viable lower node or growth axis intended to remain; position the cut so this target is undamaged. Do not copy an “always 45 degrees” or “always leave exactly X millimeters” claim without a demonstrated reason for that tissue and operation.
Where an entire heavy limb must be removed, separate the weight-reduction task from the finish cut. Support or shorten the removable outer portion as needed so the last attachment does not rip free. Use an appropriate tool; an awkward saw cut within dense flowers may be more damaging than a carefully supported alternative. Keep fingers away from the cutting path.
Step 4: Complete one controlled cut and inspect it immediately
Open the blades enough to seat the target without trapping neighboring foliage. Cut decisively rather than twisting, sawing with blunt scissors, or pulling fibers apart. After removal, look for torn strips, compression, exposed neighboring nodes, or a partial hanger. If a small loose fragment remains and can be removed cleanly without enlarging the wound, tidy only that fragment. Repeatedly shaving a sound cut to achieve a perfect cosmetic circle adds unnecessary injury.
Tip: Before closing the blades, imagine the removed branch falling free. If its weight would tear the attachment or strike nearby flowers, support it first.
Step 5: Contain the removed material without a second injury
Carry the piece away by a sturdy portion of the branch. Keep the exposed cut end, diseased surfaces, and loose debris away from adjacent plants. Do not leave damp cut leaves in a tight canopy or place suspect materials on a shared workbench. For an infected or potentially moldy flower, stop using this routine workflow and follow a specific low-disturbance removal and disposal process.
Step 6: Reset hygiene before crossing a plant boundary
Inspect blades, pivot, handles, gloves, and any tool rest for sap or tissue. Physically clean contaminated surfaces and follow the selected disinfection protocol before making a cut on another plant. If proper contact conditions cannot be met at that moment, switch to a verified clean spare tool or suspend the pruning round. A tool reserved for suspect stock should not return to healthy stock merely because its blade looks dry.
For repeated cuts within the same plant, risk changes with disease status and tissue type. When a suspected transmissible pathogen is present, a between-cuts protocol or single-use/dedicated approach may be necessary. Do not promise a universal rule that one sanitation event per plant is sufficient for every organism.
Step 7: Record the wound and stop at the planned endpoint
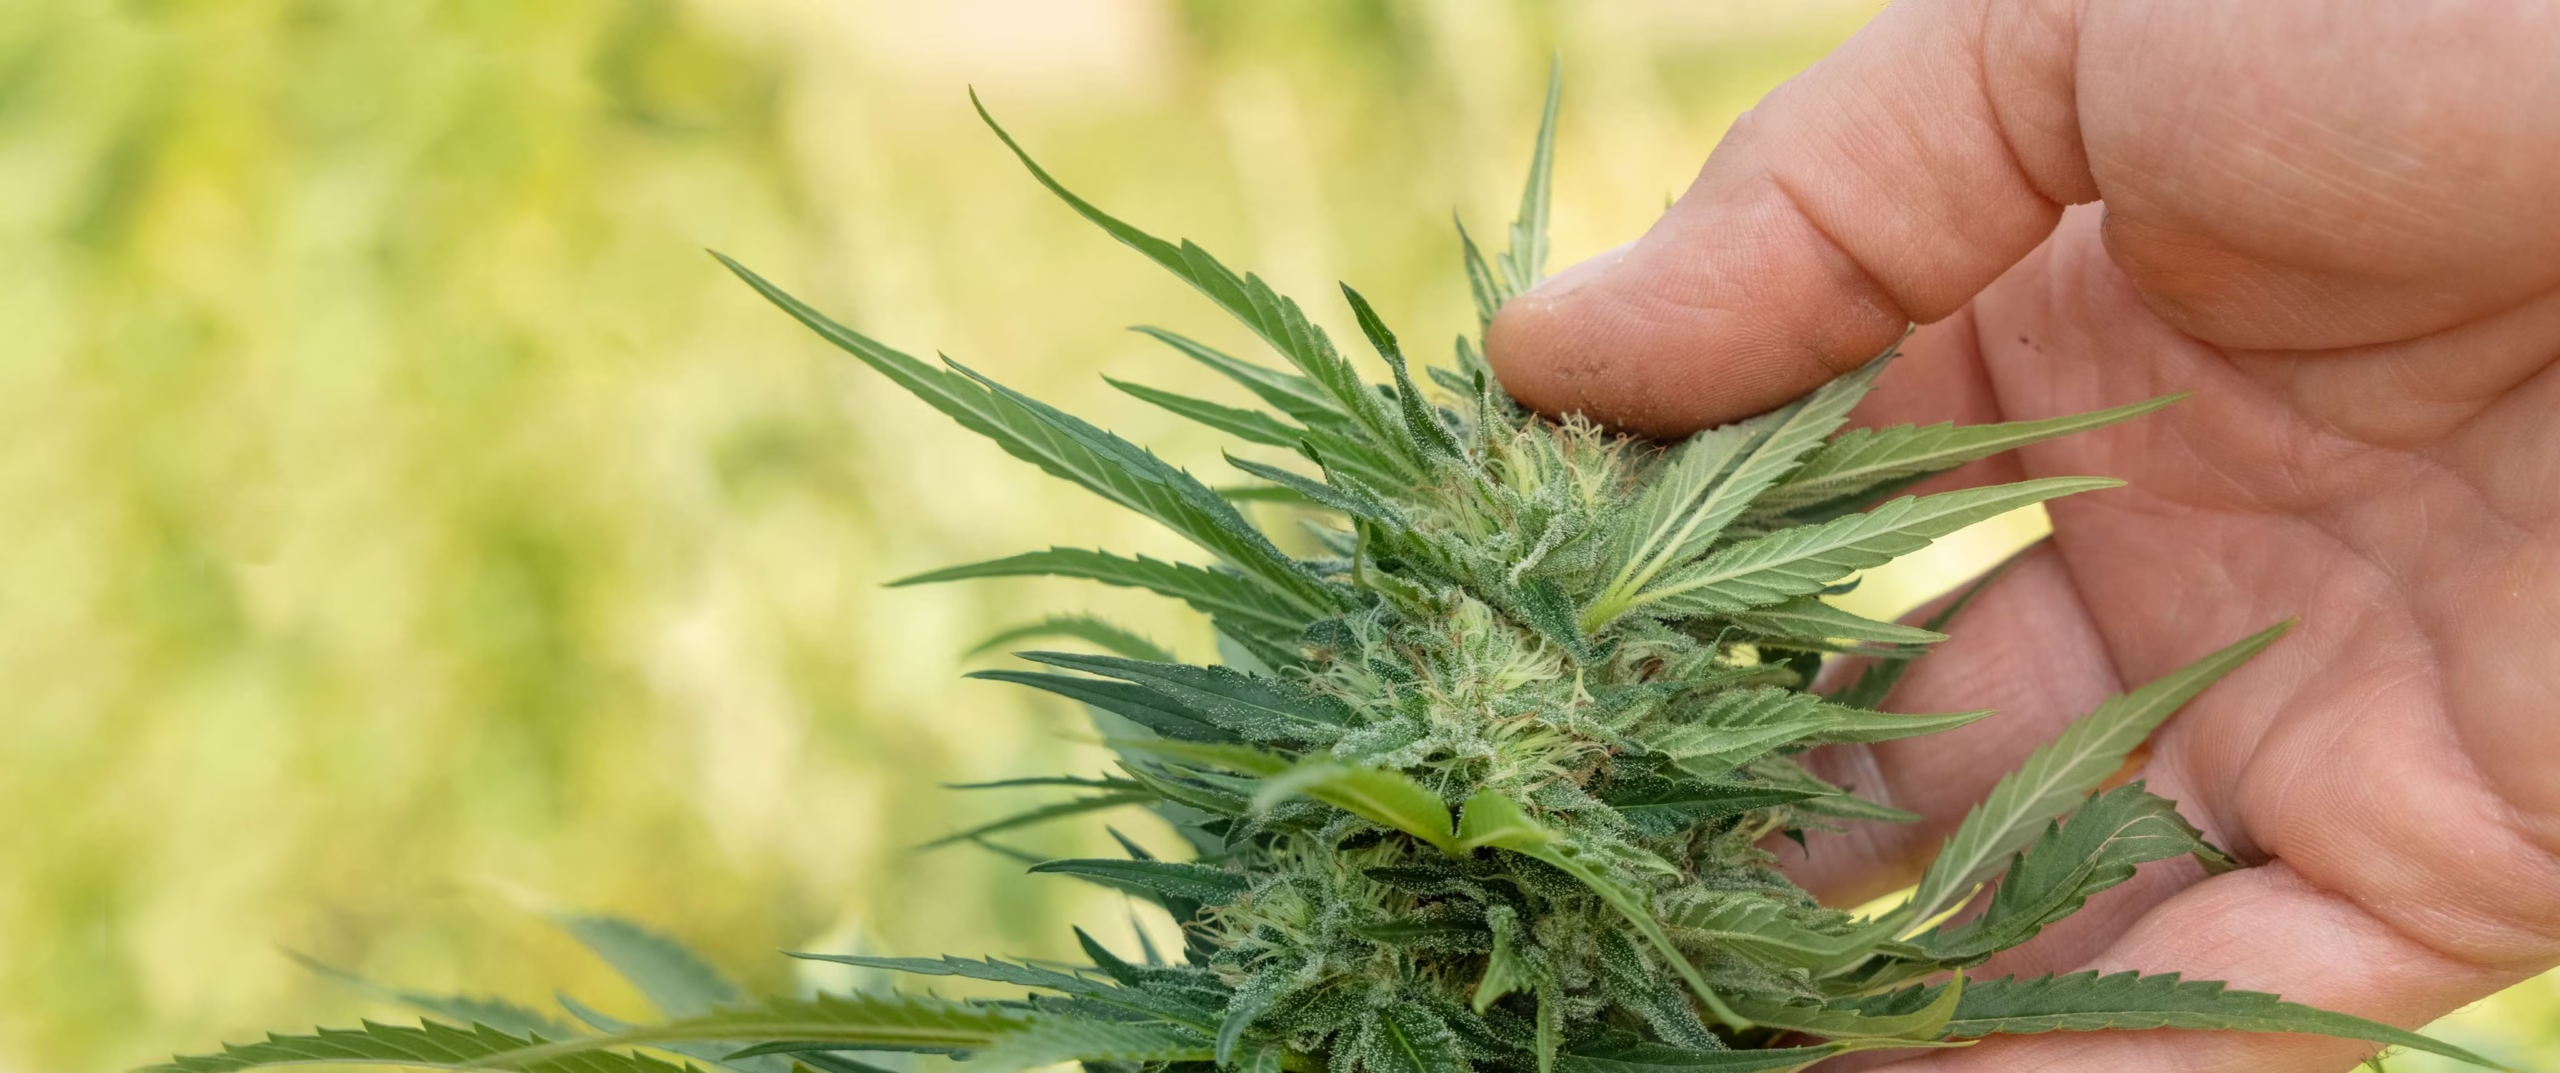
Note the plant, branch, reason, cut type, tool status, and anything unusual: sap accumulation, crushed tissue, hidden discoloration, or a newly unsupported load. Photograph the resulting wound without scraping or probing it. Finish the planned set of cuts and leave the plant alone unless a genuine hazard remains. Record the expected observation, such as intact tissue beside the cut and continued normal growth on the retained branch.
“I nicked the node next to a leaf I removed. Should I keep trimming until it looks neat?”
Question sent by: Julia Schneider, via contact form.
Usually not. First stop and examine whether the growing point or adjacent stem is actually damaged and whether a loose strip is continuing to tear. Remove only a fragment that can be tidied without a larger wound. Mark the site, avoid piling another discretionary cut on top of the injury, and check whether discoloration, wilting, or structural damage progresses.
| Cut type or situation | Placement and immediate verification |
|---|---|
| Petiole or small leaf removal | Trace the petiole to its attachment. Sever the petiole without gouging the node. Confirm no neighboring shoot was clipped or leaf base left hanging and tearing. |
| Heading or training cut | Identify the intended retained node or shoot. Cut above the intended living structure without cutting through it. Verify that adjacent growing points remain intact. |
| Thinning cut at branch junction | Separate branch tissue from the main stem without tearing or making a deep flush gouge. Inspect the junction for peeled tissue or an unstable neighboring branch. |
| Heavy branch removal | Support or progressively reduce removable weight before the final cut. Check that the remaining stem did not split as the branch came free. |
| Suspicious or infected tissue | Stop ordinary pruning, plan containment, and use a pathogen-appropriate hygiene route. Never treat a neat cut as evidence that infected material is safe. |
Common Cut Mistakes and Misleading Wound Signs
A fresh wound can change appearance during drying and tissue response. Not every brown edge signals infection, and not every clean-looking wound is harmless. The practical task is to distinguish the original cut and expected localized change from expanding injury, unstable structure, or signs that need a different diagnosis. One photograph or one afternoon of observation seldom resolves every possibility.
A ragged edge is not the same as normal drying
A small exposed cut surface may darken or dry locally without new damage spreading into the retained stem. A wound that was visibly crushed, peeled below the planned junction, or surrounded by progressively soft tissue is a different observation. Take a dated photograph and compare the same boundary later. Do not rub or slice the wound repeatedly to determine whether it is “healing.” The intervention itself can create more misleading evidence.

A brown stem does not identify Botrytis, Fusarium, or HLVd
Internal browning, wilt, stem collapse, cankers, root-zone disorders, cold injury, and mechanical splits may overlap in appearance. Cannabis research identifies multiple fungi in stem, root, and flower disease, while HLVd may be present without obvious symptoms. A symptom is a clue, not a species identification or proof that the cut caused disease. Inspect the distribution: only at the cut, moving down the branch, appearing on multiple plants, or associated with wet roots and failed irrigation.
If the cause will change propagation, plant movement, sanitation policy, or disposal, ask a qualified diagnostic laboratory which tissue and method it accepts before collecting a destructive sample. Do not send an arbitrary leaf or infer that a single negative result clears the crop.
Do not close every wound with a homemade dressing
General horticultural guidance does not support routine paint or wound sealant on ordinary pruning wounds. There is no strong cannabis-specific evidence that honey, wax, glue, cinnamon, or improvised pastes reliably prevent disease in fresh stem cuts. Some coatings can hide a lesion or trap moisture, and substances applied near developing flowers raise additional contamination questions. Leave ordinary clean wounds accessible for inspection unless a specific validated protocol says otherwise.
Sanitized does not mean universally viroid-free
The sanitation language in tree and shrub extension guides can be appropriate for routine fungal or bacterial risk, but a viroid requires its own evidence. Cannabis HLVd experiments distinguish different materials, disinfectant conditions, and testing endpoints. Do not equate detection of damaged RNA with a demonstrated zero-transmission result for every real blade. Equally, do not assume a general-purpose household surface disinfectant is legal, compatible, or efficacious for this crop and organism.
Do not spray a pruning wound by reflex
A wound is not a pesticide-use authorization. Avoid homemade disinfectant sprays or unregistered pesticide applications to exposed cannabis tissue. If treatment is contemplated, confirm the actual pathogen, jurisdiction, exact product label, crop/use site, growth stage, worker protection, and residue implications first.
Overpruning can imitate a wound problem
Droop or stalled extension after extensive canopy removal can reflect plant stress, weather, root conditions, or loss of leaf area rather than local wound infection. Review how much tissue was removed, the cut timing, water status, and whether the whole plant or one branch is affected. A localized cut-site lesion that expands is a different pattern from an entire garden wilting after a hot dry day.
“A stem end went dark after pruning. Does that mean the scissors infected my plant?”
Question sent by: MapleGrower, via Facebook page.
Not necessarily. A localized dark, dry edge without expansion is not the same as progressive tissue decay. Compare a dated close-up with the healthy tissue directly below it and check whether the supported branch stays turgid. If discoloration spreads, tissue becomes soft, odor develops, or multiple plants show a linked pattern, stop further cutting and seek an appropriate diagnosis rather than naming the pathogen from color alone.
Compare the same wound and remaining branch
Document the original cut boundary, track new changes, inspect the retained growth, and investigate linked root or disease signs.
Diagnose from one photograph or dark edge
An isolated discoloration cannot identify a pathogen, prove contamination by the blades, or establish that a wound has failed.
How to Verify Recovery and Escalate a Problem
Verification has two layers. First confirm the intervention itself: the planned tissue was removed, no unintended stem or node was damaged, the branch is structurally stable, and the hygiene route was followed. Then confirm biological response: the area around the wound remains stable and retained growth functions normally. An old scar remaining visible is not automatically failure; the relevant result is whether fresh deterioration develops.
Make a simple baseline you can revisit
At the end of the cutting round, photograph the wound, its junction, the retained branch, and the whole plant from known angles. Record any already-dark tissue separately so it is not counted as new decay at the next visit. Plant ID, date, cut reason, and approximate location are enough to prevent many memory-based errors. Where size of a lesion matters, include a scale reference without touching contaminated tissue.
Check the mechanical result before expecting growth
Confirm no partially severed branch is pulling on the stem, no sharp stub scrapes a neighboring branch, and no support has become loose. Following storms, look for new splitting at the same attachment. An initially sound cut can be followed by failure elsewhere if removal changed the load path. Move a tie or add support where necessary rather than cutting additional healthy tissue by default.
Track functional recovery, not a fixed cannabis day count
Look for retained branches that remain normally hydrated for the prevailing conditions, new tips that continue developing, and a wound margin that does not expand into soft, discolored, or collapsing tissue. The time needed depends on cultivar, plant size, branch age, cut severity, root function, environment, and stage. No peer-reviewed universal number of recovery days or millimeters of callus growth can clear every outdoor cannabis pruning cut.
A cut made near flowering may show little further shoot extension for developmental reasons. That alone is not proof of infection. Instead, compare the remaining organs with similar undamaged branches and assess new tissue changes, flower contact, stability, and weather history.
Use a decision ladder when something changes
| Observed follow-up | Next decision |
|---|---|
| Boundary stays localized; retained shoot normal | Record stability and continue ordinary inspection. Avoid extra cutting for cosmetic reasons. |
| Cut edge is ragged but no progressive damage | Prevent rubbing or tearing; tidy only an actively loose fragment when a clean minimal cut is possible. Recheck the same site. |
| New split or unsupported branch | Stabilize the load and inspect the attachment. If the connection cannot be retained safely, decide on controlled removal rather than repeated force. |
| Expanding soft/dark lesion, odor, wilt, or linked cases | Pause further pruning; segregate suspect material and tools; document the pattern and consult a qualified plant diagnostic service. |
| Unexpected plant-wide droop with moist substrate | Inspect roots, drainage, water delivery, weather, and other non-wound causes before assuming cut infection. |
Escalate when a result changes the whole hygiene plan
A suspected systemic pathogen, repeated linked symptoms after a shared cutting round, or a lesion spreading beyond the original wound can change whether plants should be propagated, moved, or worked with shared tools. At that point, visual inspection cannot provide a definitive clearance decision. Seek validated sampling and testing where available, and follow the receiving laboratory rather than arbitrary tissue choices or universal retest intervals.
Remember: The correct success measure is stable retained tissue and no new disease or mechanical damage, not disappearance of the original cut. A fresh wound is supposed to remain visible at first.
The Final Clean-Cut and Hygiene Checklist
Use this checklist at the plant, not only while planning the article. The order matters because deciding to cut after a problem has already been created is harder than making a deliberate decision before opening the tool. A “no” at a hygiene or stability checkpoint means pause, correct, or escalate.
Clean-cut decision and verification
- State exactly why the target tissue needs removal and whether a non-cutting correction is possible.
- Inspect plant condition, growth stage, root-zone function, and near-term weather.
- Identify the retained node, branch junction, or main stem before positioning the blades.
- Choose a sharp, correctly sized and physically clean cutting tool.
- Confirm the disinfection approach matches the known or suspected pathogen and required contact conditions.
- Arrange plant order, branch support, waste containment, and hand/glove hygiene.
- Support removable weight and make one controlled cut without twisting or tearing nearby tissue.
- Inspect the wound, the retained growing point, and the branch support before leaving the plant.
- Contain removed tissue and reset tool hygiene before crossing to the next plant.
- Label and photograph the cut, record any existing discoloration, and stop when the original goal is achieved.
- Revisit the same site to confirm stable tissue, normal retained growth, and no new damage.
- Pause and seek diagnosis if lesions expand, multiple plants develop linked symptoms, or systemic infection is suspected.
The resulting decision is not “prune everything cleanly.” It is remove only justified tissue, minimize unintended injury, control cross-plant contamination, and check whether the plant remains functional. When those conditions cannot be met, postponing a discretionary cut is an active plant-health decision, not neglect.
Share this article
A quick overview of the topics covered in this article.
Follow us
Latest articles
September 26, 2026
September 26, 2026
September 26, 2026
September 26, 2026
