
How to Start Cannabis Indoors and Move It Outdoors
Starting cannabis indoors four to six weeks before your last spring frost gives plants a substantial structural advantage, allowing you to move established, well-rooted vegetative starts outdoors as soon as seasonal weather stabilizes. However, moving plants from a controlled indoor tent to open sunlight introduces three immediate physiological hazards: photoperiod shock that triggers premature spring flowering, ultraviolet leaf bleaching, and root-zone thermal arrest.
A successful indoor-to-outdoor transition depends on aligning your indoor timer schedule with natural spring daylength, executing a progressive seven-to-ten-day hardening-off protocol, and verifying soil temperatures before final installation. This guide covers exact lighting schedules, UV-B cuticle adaptation steps, wind conditioning, and container staging so your transplants establish rapidly without stalling.
Matching Indoor Photoperiods to Natural Spring Daylength
The single most common mistake when moving indoor starts outside in May or early June is dropping plants from an 18-hour indoor light cycle into a 14-to-15-hour natural spring daylength.
Why Abrupt Daylength Drops Trigger Premature Flowering
Photoperiodic cannabis cultivars measure night length through phytochrome photoreceptor conversion rather than total daylight hours. When a vegetative plant raised under 18 hours of light and 6 hours of darkness is suddenly placed outdoors where natural daylength is 14.5 hours (leaving 9.5 hours of darkness), the abrupt 3.5-hour increase in uninterrupted night signals autumn arrival to mature nodes.
Older clones and sexually mature seedlings (those showing alternating phyllotaxy and pre-flowers at the fourth to sixth internode) are far more sensitive to this shift than two-week-old seedlings. Once floral hormonally induced meristems initiate pistil clusters in late May, the increasing June solstice daylength forces the plant into a three-to-four-week revegetation stall featuring twisted, single-bladed leaves and weak lateral branching.
Stepping Down Indoor Timers Before the Move
To prevent early flowering, check your local sunrise-to-sunset duration plus civil twilight (roughly 30 minutes before sunrise and 30 minutes after sunset) for your target transplant date. At 40 degrees North latitude, mid-May offers roughly 14.5 hours of direct daylight and 15.2 hours of biologically active twilight.
Begin starting seeds or rooting clones at 15.5/8.5 or 16/8 rather than 18/6 if those plants are destined for outdoor beds. If your plants are already running on an 18/6 schedule, reduce the indoor light timer by 30 minutes every three days during the final two weeks indoors until the indoor photoperiod sits within 30 to 45 minutes of your outdoor civil daylength.
Clone vs Seedling Sensitivity to Spring Photoperiods
Seedlings retain juvenile hormone balances for their first three to four weeks of growth, making them noticeably more forgiving of minor daylength drops than rooted cuttings taken from mature mother stock. A clone carries the chronological age and mature florigen sensitivity of its donor plant from day one.
If you are moving rooted clones outdoors in mid-spring, hold them indoors until natural daylength reaches at least 14.75 hours, or hang a low-wattage outdoor string light (10 to 15 watts LED per plant) on a timer to interrupt the night cycle for one hour at midnight until June 1.
Spring Revegetation Stall: A three-to-five-week growth pause caused by moving 18/6 indoor cannabis starts outdoors into short spring days, triggering early flowering followed by hormonal reversion to vegetative growth as June days lengthen.
Practical questions from home cultivators often center on how these thresholds behave in real-world tents and small rooms.
“My indoor plants started growing single-bladed twisted leaves three weeks after I moved them outside in May. Did they catch a virus?”
Question sent by: Delilah Beaulieu, via reader Q&A form.
Twisted, smooth-edged, single-fingered leaves appearing three to four weeks after a May move-out are the classic hallmark of revegetation, not a viral infection. Moving from an 18/6 indoor cycle into 14-hour May days triggered early flowering, and the lengthening June days are now forcing the plant back into vegetative growth. Leave the plant alone, maintain balanced vegetative nutrition (EC 1.2 to 1.4 mS/cm), and normal serrated 5-to-7-bladed leaves will resume within three weeks.
Once normal palmate foliage returns in late June, prune away the congested lower revegetated shoots to open airflow through the interior canopy.
The 7-to-10-Day UV-B and Wind Hardening-Off Schedule
Leaves grown under indoor LEDs develop a thin epicuticular wax layer and low concentrations of UV-absorbing flavonoid pigments because most horticultural diodes emit almost zero ultraviolet-B radiation (280 to 315 nm).
Building Cuticle Thickness Without Bleaching Leaves
Direct midday sunlight delivers 1,500 to 2,000 umol/m2/s of photosynthetic photon flux density alongside high UV-A and UV-B irradiance. Placing an unconditioned indoor plant directly into four hours of noon sun destroys palisade mesophyll chlorophyll within a single afternoon, turning upper fan leaves papery white and necrotic.
Hardening off works by exposing foliage to dappled morning light (below 400 umol/m2/s) when ultraviolet angles are low and ambient vapor pressure deficit is gentle. Over seven to ten days, epidermal cells synthesize protective anthocyanins and thicken cuticle waxes while guard cells calibrate stomatal closure speed to fluctuating outdoor breeze.
Progressive Daily Sun and Breeze Exposure Protocol
Start the transition on a mild, overcast or lightly breezy morning when outdoor temperatures sit above 15 degrees Celsius (59 degrees Fahrenheit). Place containers on the east side of a structure or under 50 percent shade cloth so they receive early morning rays and full afternoon shade.
Increase direct morning sun exposure by 60 to 90 minutes each day while monitoring leaf turgor every two hours. If petiole angles droop or leaf margins curl upward, return the containers to open shade immediately and mist the surrounding ground to lower localized evaporative demand before resuming the same duration the following day.
| Hardening Day | Sun Exposure Window | Target Light Intensity | Night Placement & Wind Level |
|---|---|---|---|
| Days 1 – 2 | 100% open shade or 50% shade cloth | 250 – 400 umol/m2/s | Bring indoors at night; sheltered from gusts above 10 km/h |
| Days 3 – 4 | 2 hours direct morning sun (07:30 – 09:30) | 450 – 700 umol/m2/s | Bring indoors if night drops below 12 C; light open breeze |
| Days 5 – 6 | 4 hours morning sun (07:30 – 11:30) | 700 – 1,100 umol/m2/s | Leave outdoors on covered porch if night stays above 12 C |
| Days 7 – 8 | 6 hours sun including early afternoon | 1,100 – 1,500 umol/m2/s | Full outdoor night exposure; full ambient garden breeze |
| Days 9 – 10 | Full-day unobstructed sunlight | 1,500 – 2,000+ umol/m2/s | Ready for in-ground or final container transplanting |
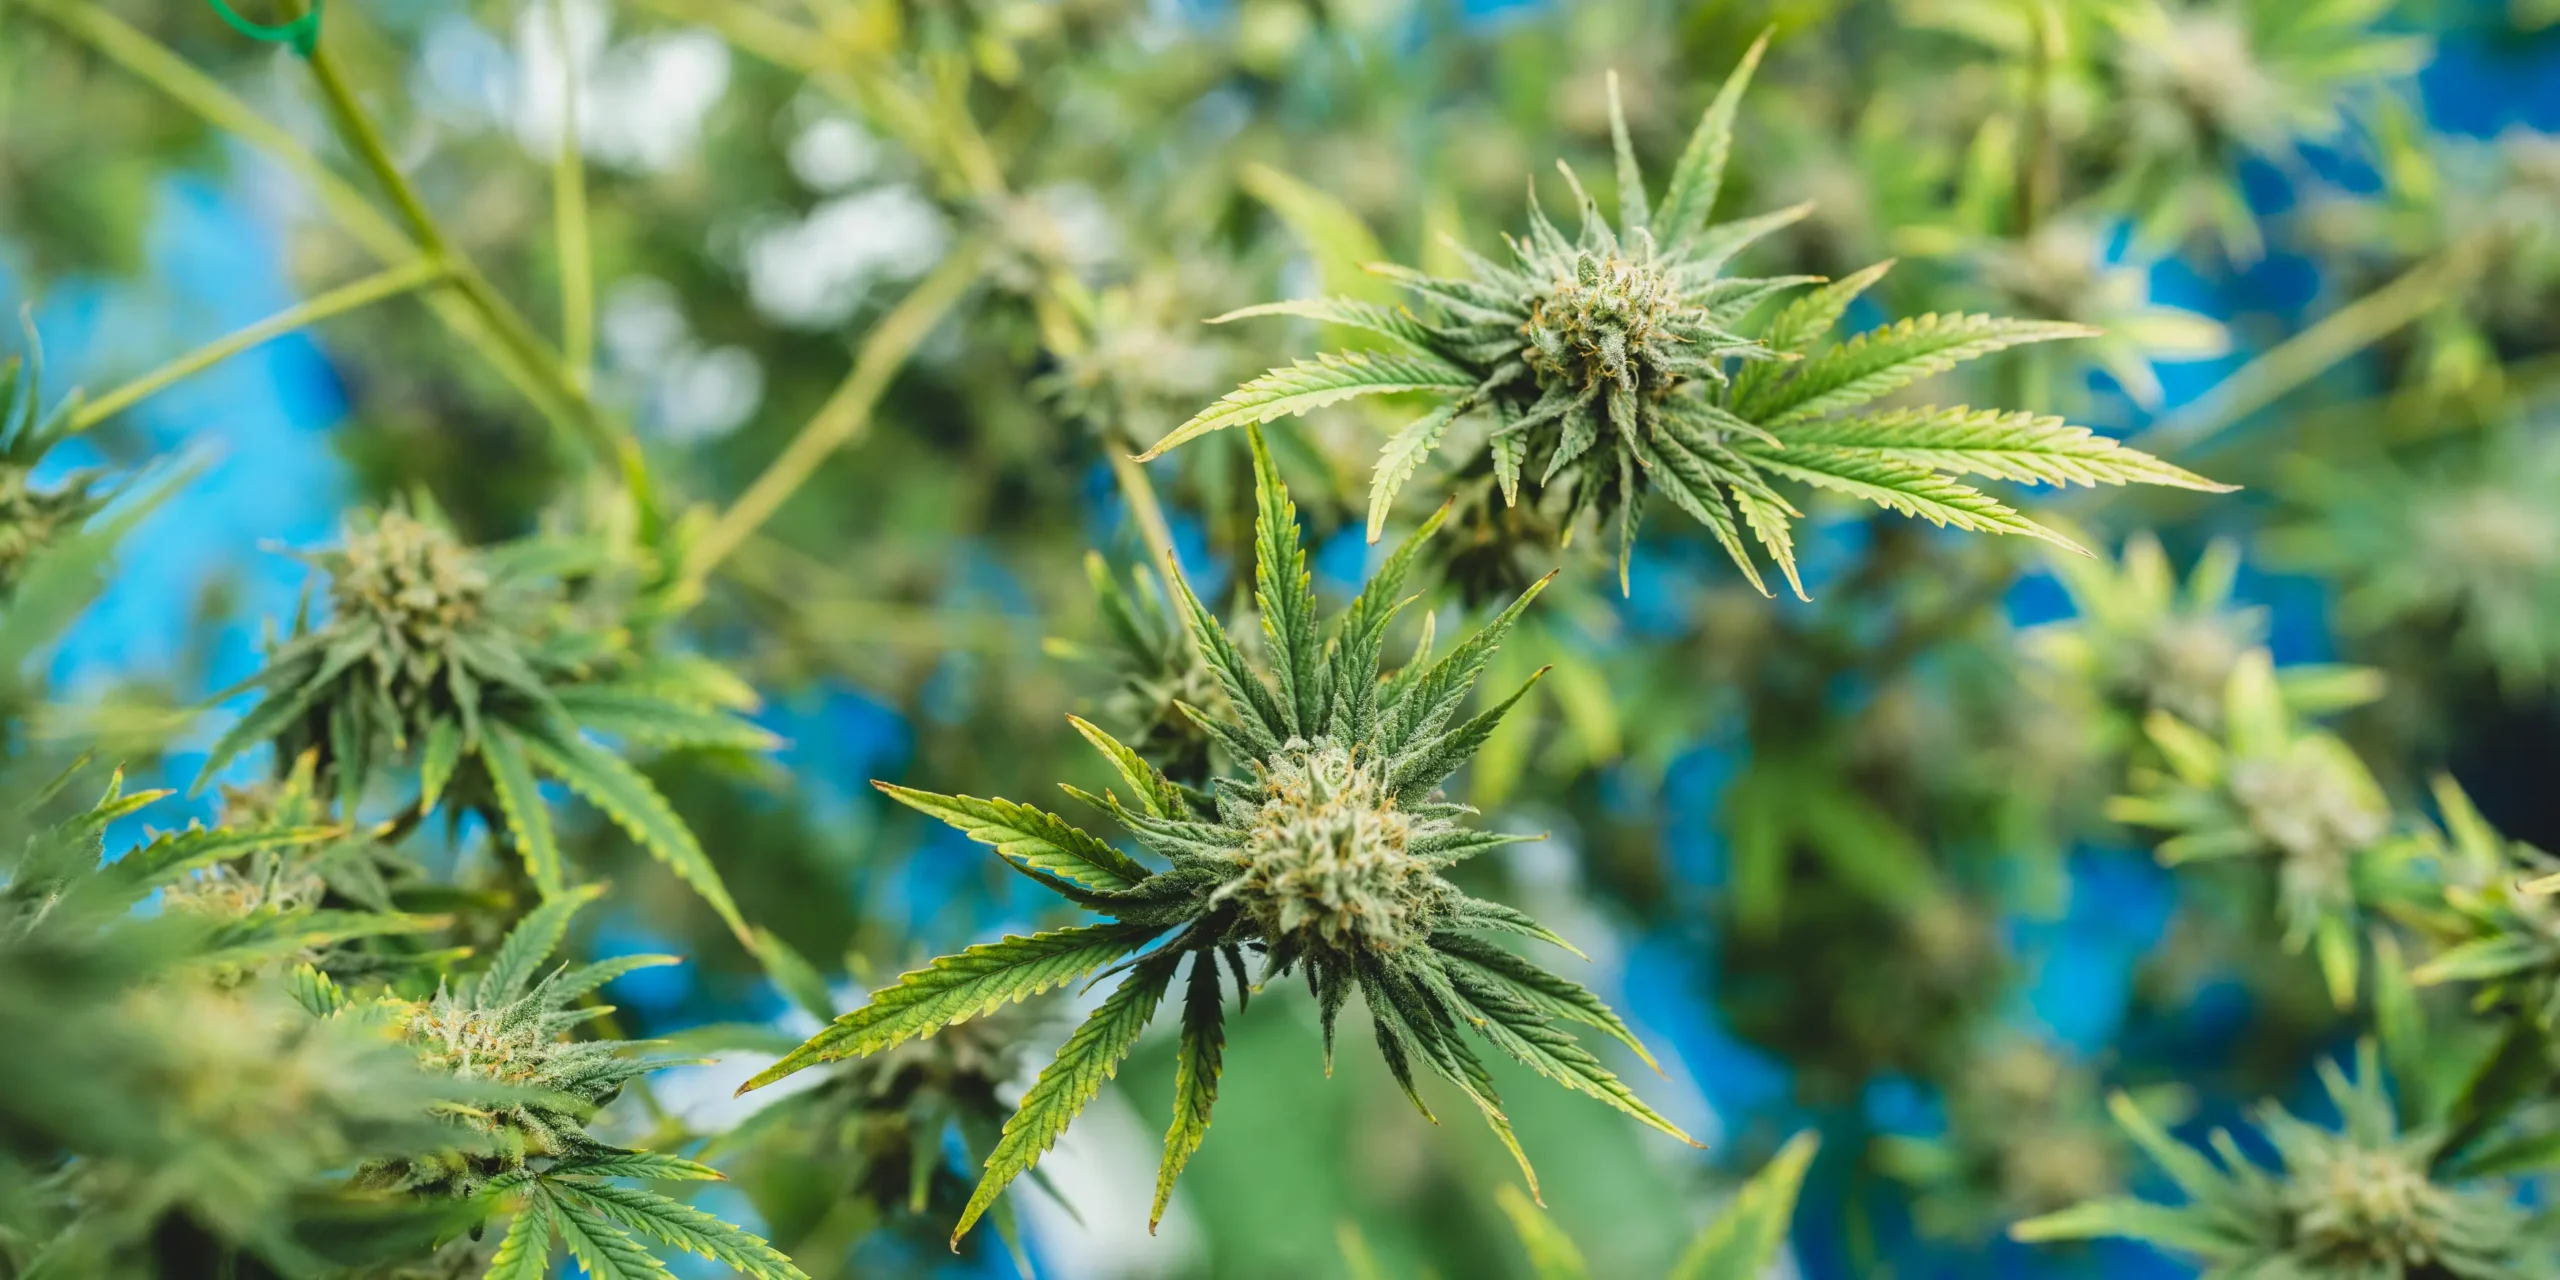
Following this progressive exposure table ensures leaves retain deep green pigmentation and strong stomatal control when transplanted into permanent beds.
Conditioning Stems and Root Zones Before Transplanting
While outdoor sunlight challenges the upper canopy, outdoor wind loading and nighttime soil cooling place entirely new mechanical and metabolic demands on stems and roots.
Thigmomorphogenesis and Indoor Fan Preparation
Plants grown in still indoor air allocate carbon toward vertical internode elongation rather than radial stem thickening. Through thigmomorphogenesis, mechanical flexing triggers ethylene and calcium signaling that deposits lignin and cellulose in outer vascular bundles.
Begin strengthening stems three weeks before outdoor move-out by running oscillating canopy fans that create a gentle, continuous leaf rustle across all tops. Gently brushing the upper canopy with a clean wooden dowel for 60 seconds daily during late indoor veg measurably increases basal stem caliper and prevents stem snapping during spring thunderstorms.
Container Sizing for a 4-to-6-Week Indoor Start
Avoid keeping a four-week-old indoor start in a 500 mL solo cup until transplant day. Root-bound plants with circling taproots struggle to penetrate native outdoor soil profiles and dry out within hours when exposed to outdoor wind.
Up-pot indoor seedlings into 1-gallon (3.8 L) or 2-gallon (7.5 L) fabric or slotted nursery containers two weeks before hardening off begins. This gives the root mass fresh aerated substrate to colonize indoors so the plant hits outdoor soil with active white lateral root tips.
Do
- Step down your indoor light timer over 10 to 14 days so indoor daylength sits within 45 minutes of outdoor sunrise-to-sunset plus twilight.
- Harden off plants progressively over 7 to 10 days starting in full open shade and adding 60 to 90 minutes of morning sun daily.
- Verify that outdoor soil temperature at a 10-centimeter depth holds at or above 15 degrees Celsius before planting in-ground.
- Transplant during late afternoon or overcast weather and water in with a mild settling drench before applying surface straw mulch.
Avoid
- Moving mature clones directly from an 18/6 indoor light schedule into 14-hour May sunlight without supplemental night-interruption lighting.
- Setting unconditioned indoor plants directly into midday full sun, which bleaches chlorophyll and destroys upper fan leaves in hours.
- Bringing outdoor hardening-off containers back inside an active indoor grow tent where they can introduce aphids, thrips, and mites.
- Planting into cold, waterlogged spring ground below 13 degrees Celsius, which stalls phosphorus uptake and triggers root rot.
Combining mechanical stem conditioning with an active, uncoiled root ball sets up a seamless physical transfer into outdoor soil.
“Can I skip hardening off if I transplant on a cloudy, rainy week when UV index readings are low?”
Question sent by: Delilah Dube, via grow journal submission.
Starting hardening off during three to four overcast days is an excellent shortcut because diffuse cloud cover naturally filters intense solar radiation down to 300 to 600 umol/m2/s. However, you still need two to three days of stepped direct sun exposure once the clouds clear, because even on overcast days the leaf cuticle does not receive enough UV-B to finish synthesizing protective epidermal waxes for a sudden 1,800 umol/m2/s blue-sky afternoon.
Keep a piece of 40 to 50 percent shade cloth clipped over tomato cages for the first two sunny afternoons after a cloudy transplant week.
Soil Temperature Thresholds and Frost Calendar Timing
Air temperature forecasts only tell half the story in spring; cold soil locks up phosphorus, slows water uptake, and invites Pythium root rot even on sunny afternoons.
Measuring Root-Zone Thermal Minimums at Depth
Cannabis root metabolic respiration and active mineral transport slow sharply when substrate temperatures drop below 15 degrees Celsius (59 degrees Fahrenheit), and practically halt below 10 degrees Celsius (50 degrees Fahrenheit). When warm spring sunshine heats leaves to 24 degrees Celsius while roots sit in 11-degree ground soil, foliar transpiration outpaces root water absorption, causing severe midday wilting.
Insert a long-stem compost or kitchen probe thermometer 10 to 15 centimeters (4 to 6 inches) into your outdoor bed or container at 08:00 AM for three consecutive mornings. Wait to transplant in-ground until morning soil readings consistently hold at or above 15 degrees Celsius.
Using Raised Beds and Fabric Pots to Warm Spring Roots
Native in-ground clay or silt-loam beds warm up two to three weeks slower than above-ground containers because deep subsoil acts as a thermal sink. If your growing season is short, planting into 30-to-45-centimeter raised beds or 20-to-50-gallon tan fabric pots elevates the root zone into warm ambient air.
Covering prepared outdoor beds with clear or black agricultural plastic tarp two weeks prior to planting traps solar infrared radiation and raises top-20-centimeter soil temperatures by 3 to 5 degrees Celsius before transplant day.
| Root-Zone Temperature | Physiological Root Response | Visual Canopy Symptom | Recommended Action |
|---|---|---|---|
| Below 10 C (50 F) | Metabolic arrest; membrane leakage | Severe droop, purple stems, necrotic lower edges | Keep plants indoors or under heated cold frame |
| 10 C – 14 C (50 – 57 F) | Minimal P and Mg uptake; slow water transport | Reddish petioles, pale interveinal chlorosis, zero growth | Delay in-ground planting; use black mulch or row covers |
| 15 C – 18 C (59 – 64 F) | Steady root hair elongation and nutrient flow | Normal turgor and steady daily leaf expansion | Safe minimum window for spring transplanting |
| 19 C – 24 C (66 – 75 F) | Peak enzymatic activity and dissolved oxygen balance | Vigorous vertical and lateral shoot growth | Optimal root-zone thermal band for rapid establishment |
Once morning soil temperatures stay safely above 15 degrees Celsius and hardening off is complete, you can execute the physical transplant with minimal stress.
Cultivation Warning
While dark pots help warm cool roots in May, direct afternoon sun hitting thin black plastic nursery pots in June can spike outer root-zone temperatures above 38 degrees Celsius, cooking fine feeder roots on the southwest side of the pot.
Practical questions from home cultivators often center on how these thresholds behave in real-world tents and small rooms.
“What is the best date to move cannabis outdoors in northern latitudes between 40 and 45 degrees North?”
Question sent by: Delilah Greenwood, via email.
Between 40 and 45 degrees North, the sweet spot for moving photoperiod seedlings outdoors is May 25 to June 7, and for mature clones it is June 1 to June 10. By the first week of June, night temperatures reliably hold above 12 degrees Celsius, soil temperatures surpass 15 degrees Celsius, and natural daylength plus civil twilight exceeds 15.5 hours, eliminating premature spring flowering.
If you want to put plants in the ground earlier in mid-May, use a cold frame for warmth and hang a 10-watt LED bulb on a timer from 23:30 to 00:30 nightly until June 5.
Executing the Outdoor Transplant and First-Week Care
The physical transfer from indoor container to outdoor bed should happen during low-transpiration hours so disturbed root hairs can re-establish capillary contact with surrounding soil moisture.
Late-Afternoon Planting and Root-Ball Scoring
Schedule your transplant for late afternoon (after 16:00) or on a calm, overcast day so the plant has 12 to 14 hours of cool, humid darkness before facing full solar load. Water the indoor container thoroughly two hours before transplanting so the root ball holds together cleanly when slipped from its pot.
Inspect the outer perimeter of the root mass. If white roots are gently kissing the wall, place the ball directly into the pre-dug hole at the exact same soil line height. If roots have begun spiraling around the bottom edge, gently score the bottom quarter-inch in four vertical lines with sterilized fingers to encourage outward lateral exploration.
Settling Drenches, Mulching, and Temporary Wind Screens
Backfill around the root ball with native amended soil tamped lightly to eliminate hollow air pockets, then water in slowly with a low-strength settling drench (EC 0.6 to 0.8 mS/cm with kelp extract or beneficial mycorrhizal inoculant at pH 6.3 to 6.5). Avoid heavy nitrogen salts during the first five days while torn root hairs seal.
Apply a 5-centimeter (2-inch) layer of clean barley straw or shredded hardwood mulch over the soil surface, keeping mulch pulled back 5 centimeters from the main stem collar to prevent crown rot. This mulch blanket insulates surface feeder roots against daytime evaporative crusting and nighttime radiative heat loss.
Drive your primary bamboo or T-post support stakes into the planting hole at transplant time rather than waiting until mid-summer; driving stakes later pierces established lateral roots and leaves fresh wounds open to soil pathogens.
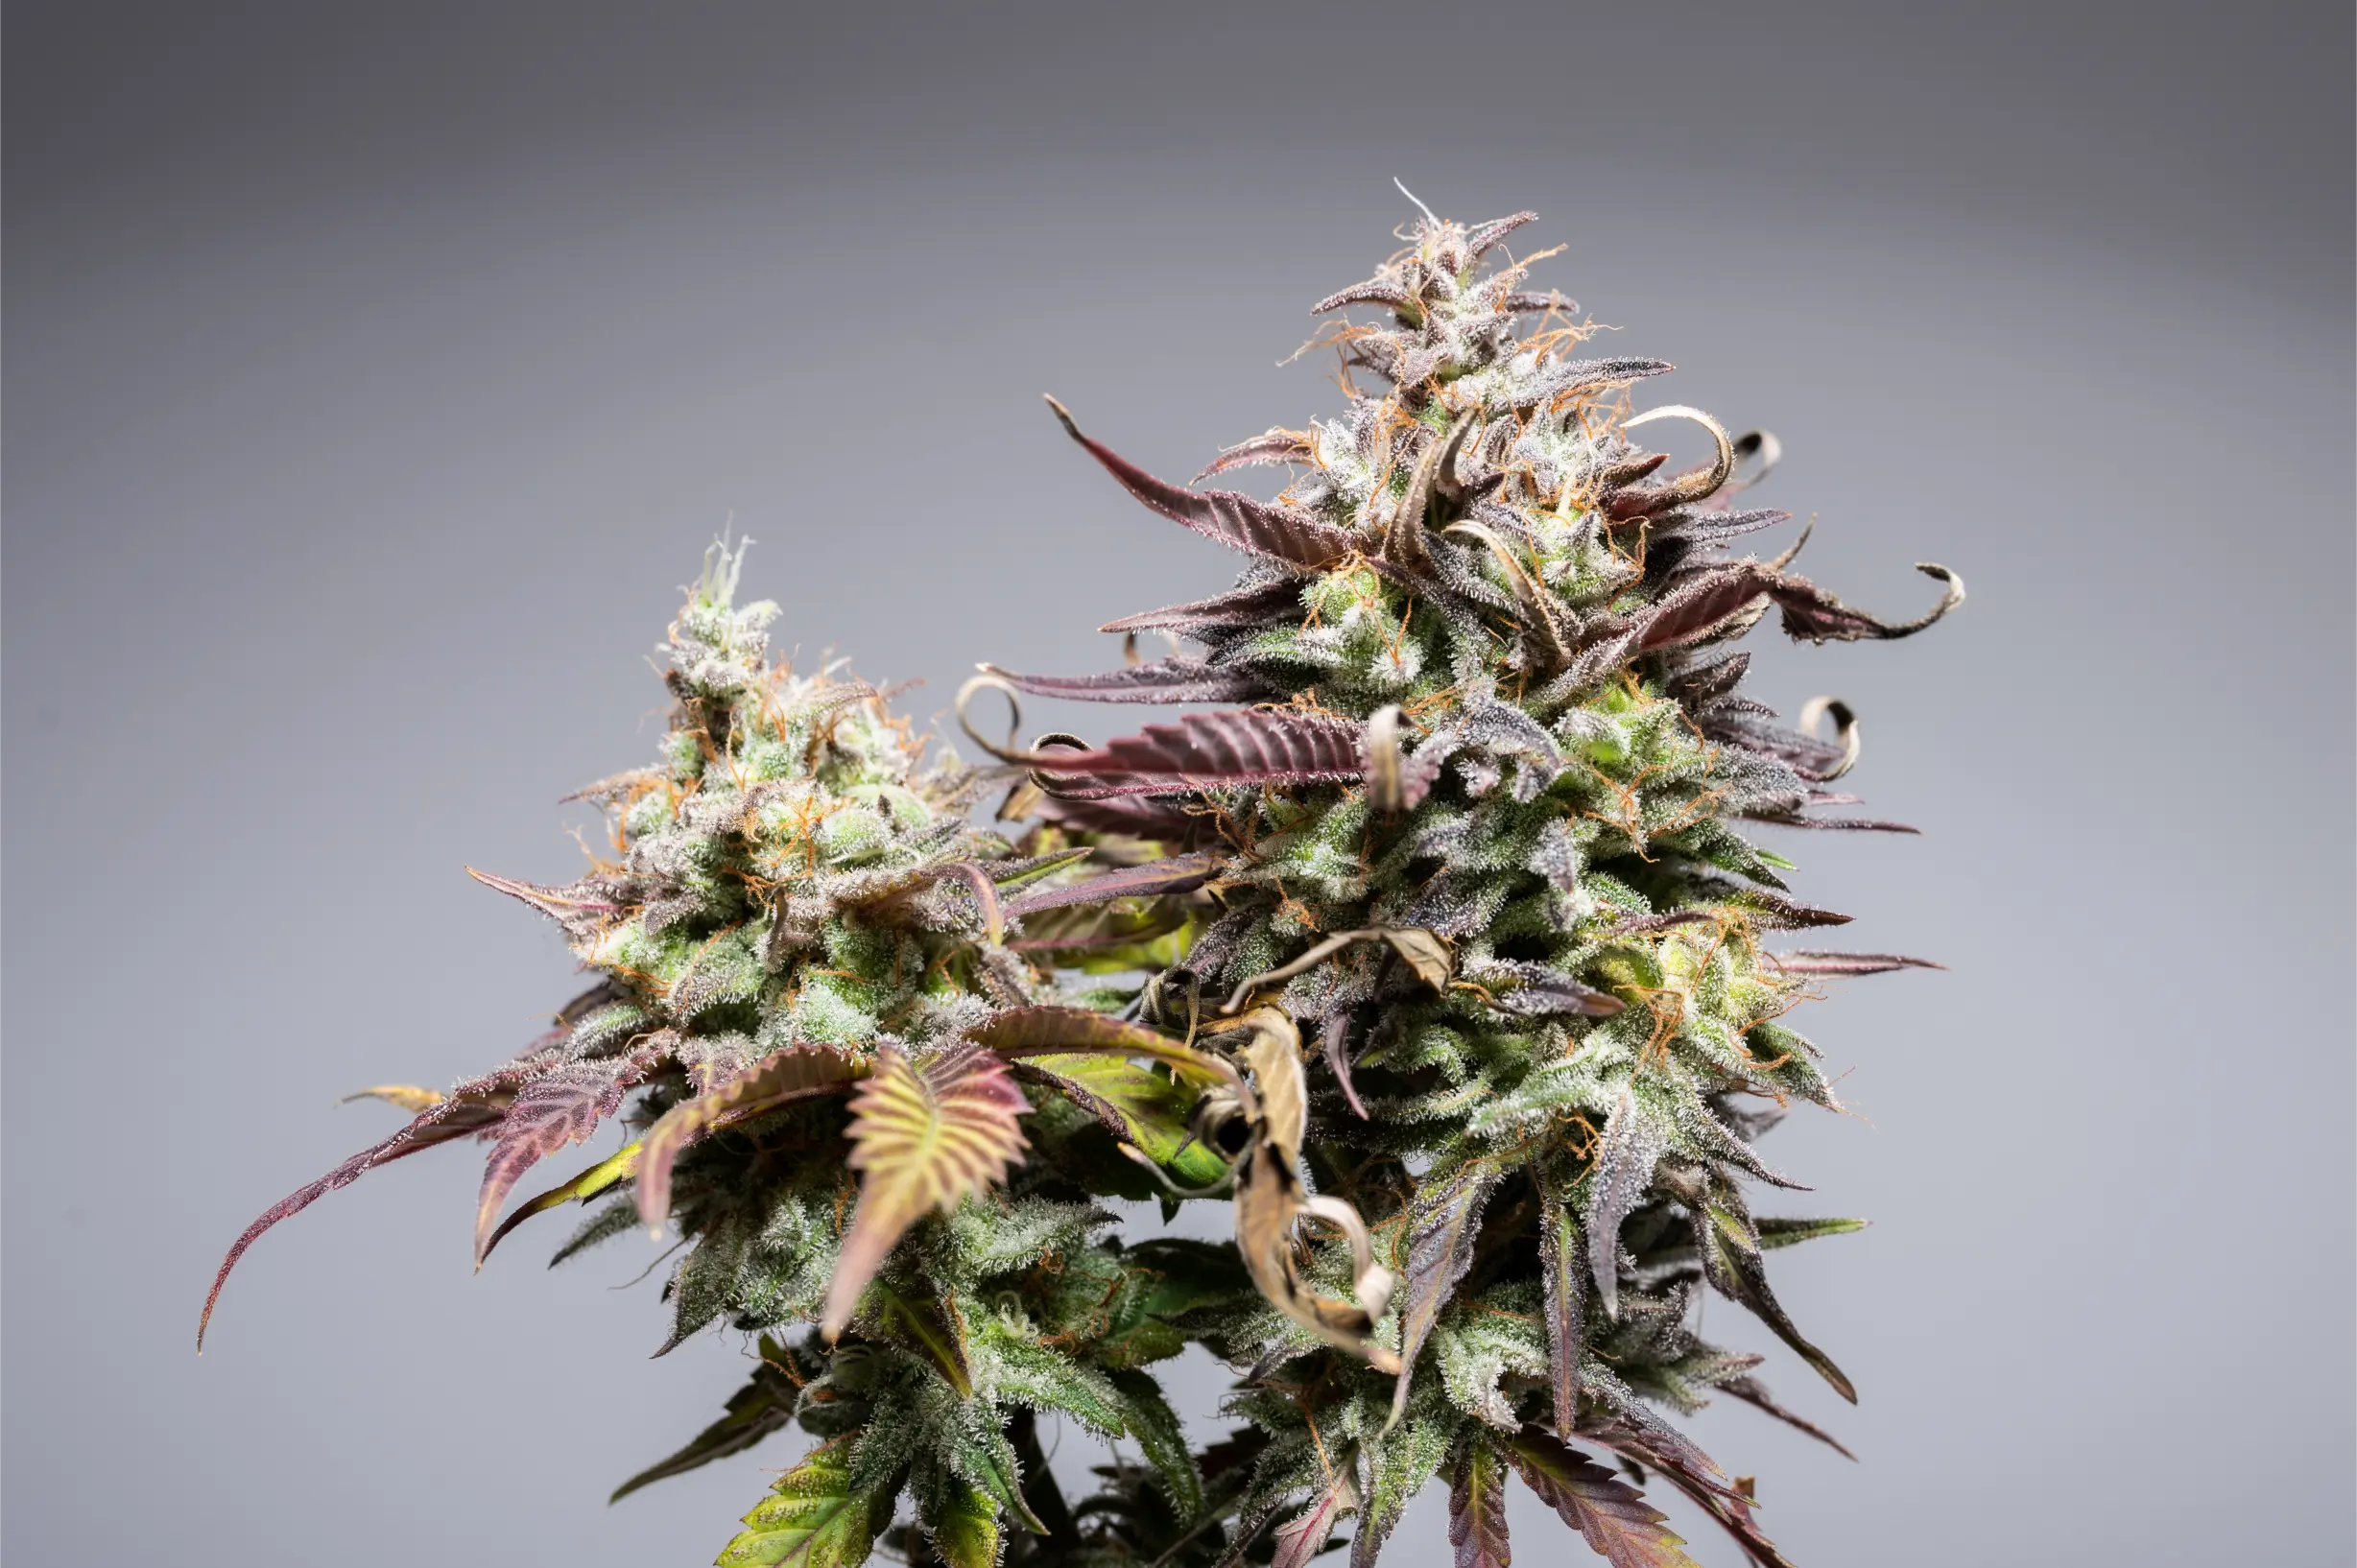
With the root ball settled and mulched, the final step is protecting newly moved indoor foliage from opportunistic outdoor pests.
Integrated Pest Prevention During the Indoor-to-Outdoor Move
Indoor starts lack natural predator communities on their leaves, making tender, nitrogen-rich indoor foliage an immediate magnet for aphids, leafhoppers, flea beetles, and caterpillars.
Quarantine and Pre-Release Beneficial Practices
Before moving indoor starts outside, inspect leaf undersides with a 30x jeweler’s loupe to ensure you are not exporting indoor two-spotted spider mites or thrips into your outdoor garden. Conversely, never bring an outdoor hardening-off plant back inside the same tent that houses perpetual indoor mothers or flowering crops.
Designate a clean garage table or separate entryway tote for overnight storage during Days 1 through 4 of hardening off. This strict one-way biosecurity boundary keeps winged outdoor aphids and fungus gnats from colonizing your indoor propagation space.
Floating Row Covers and Early Foliar Barriers
Covering newly transplanted outdoor starts with lightweight agricultural insect netting or spunbond floating row cover (85 percent light transmission) for the first seven days accomplishes two goals at once: it buffers peak midday UV and wind while physically blocking migrating flea beetles and leafminers.
Once row covers come off, apply a preventative evening foliar spray of potassium silicate or cold-pressed neem/karanja oil (only during early vegetative growth) to strengthen leaf cuticles and deter chewing insects while native ladybugs, lacewings, and parasitic wasps patrol the garden.
Field Verification Checklist
- Look up local civil daylength for your transplant week and adjust indoor timers to 15.5/8.5 or 16/8 two weeks prior.
- Run oscillating indoor fans across the canopy for 14 to 21 days before move-out to thicken stem vascular walls.
- Complete the 7-to-10-day shade-to-sun hardening schedule while checking leaf turgor every two hours during sun exposure.
- Measure morning soil temperature at 10 centimeters depth for three consecutive days to confirm readings of 15 degrees Celsius or higher.
- Transplant after 16:00, install support stakes immediately, apply a 5-centimeter mulch layer, and inspect leaf undersides for pests.
Following a structured transition checklist guarantees your indoor head start translates into deep root establishment and uninterrupted summer growth.
“Should I top or heavily defoliate my indoor starts right before transplanting them outdoors?”
Question sent by: Isla Conti, via contact form.
Avoid topping or stripping fan leaves within five days of moving plants outdoors. Structural pruning forces the plant to redirect carbohydrates toward wound callusing and auxin redistribution at the exact moment it needs maximum root sugar reserves to survive outdoor wind and UV acclimation. Perform your primary apical topping either 10 days before hardening off begins indoors or wait until 7 to 10 days after outdoor establishment when vigorous new top growth appears.
Giving the plant one full week of undisturbed root exploration after transplanting ensures lateral branches explode evenly once you pinch the main apex.
Scientific References
- Chandra, S., Lata, H., Khan, I. A., & ElSohly, M. A. (2008). Photosynthetic response of Cannabis sativa L. to variations in photosynthetic photon flux densities, temperature and CO2 conditions. Physiology and Molecular Biology of Plants, 14(4), 299-306.
- Moher, M., Jones, M., & Zheng, Y. (2021). Photoperiodic response of in vitro Cannabis sativa plants. HortScience, 56(1), 108-113.
- Robson, T. M., Klem, K., Urban, O., &ansen, M. A. K. (2015). Re-interpreting plant morphological responses to UV-B radiation. Plant, Cell & Environment, 38(5), 853-866.
- Telewski, F. W. (2006). A unified hypothesis of mechanoperception in plants. American Journal of Botany, 93(10), 1466-1476.
Share this article
A quick overview of the topics covered in this article.
Follow us
Latest articles
November 9, 2026
November 9, 2026
November 9, 2026
November 9, 2026