
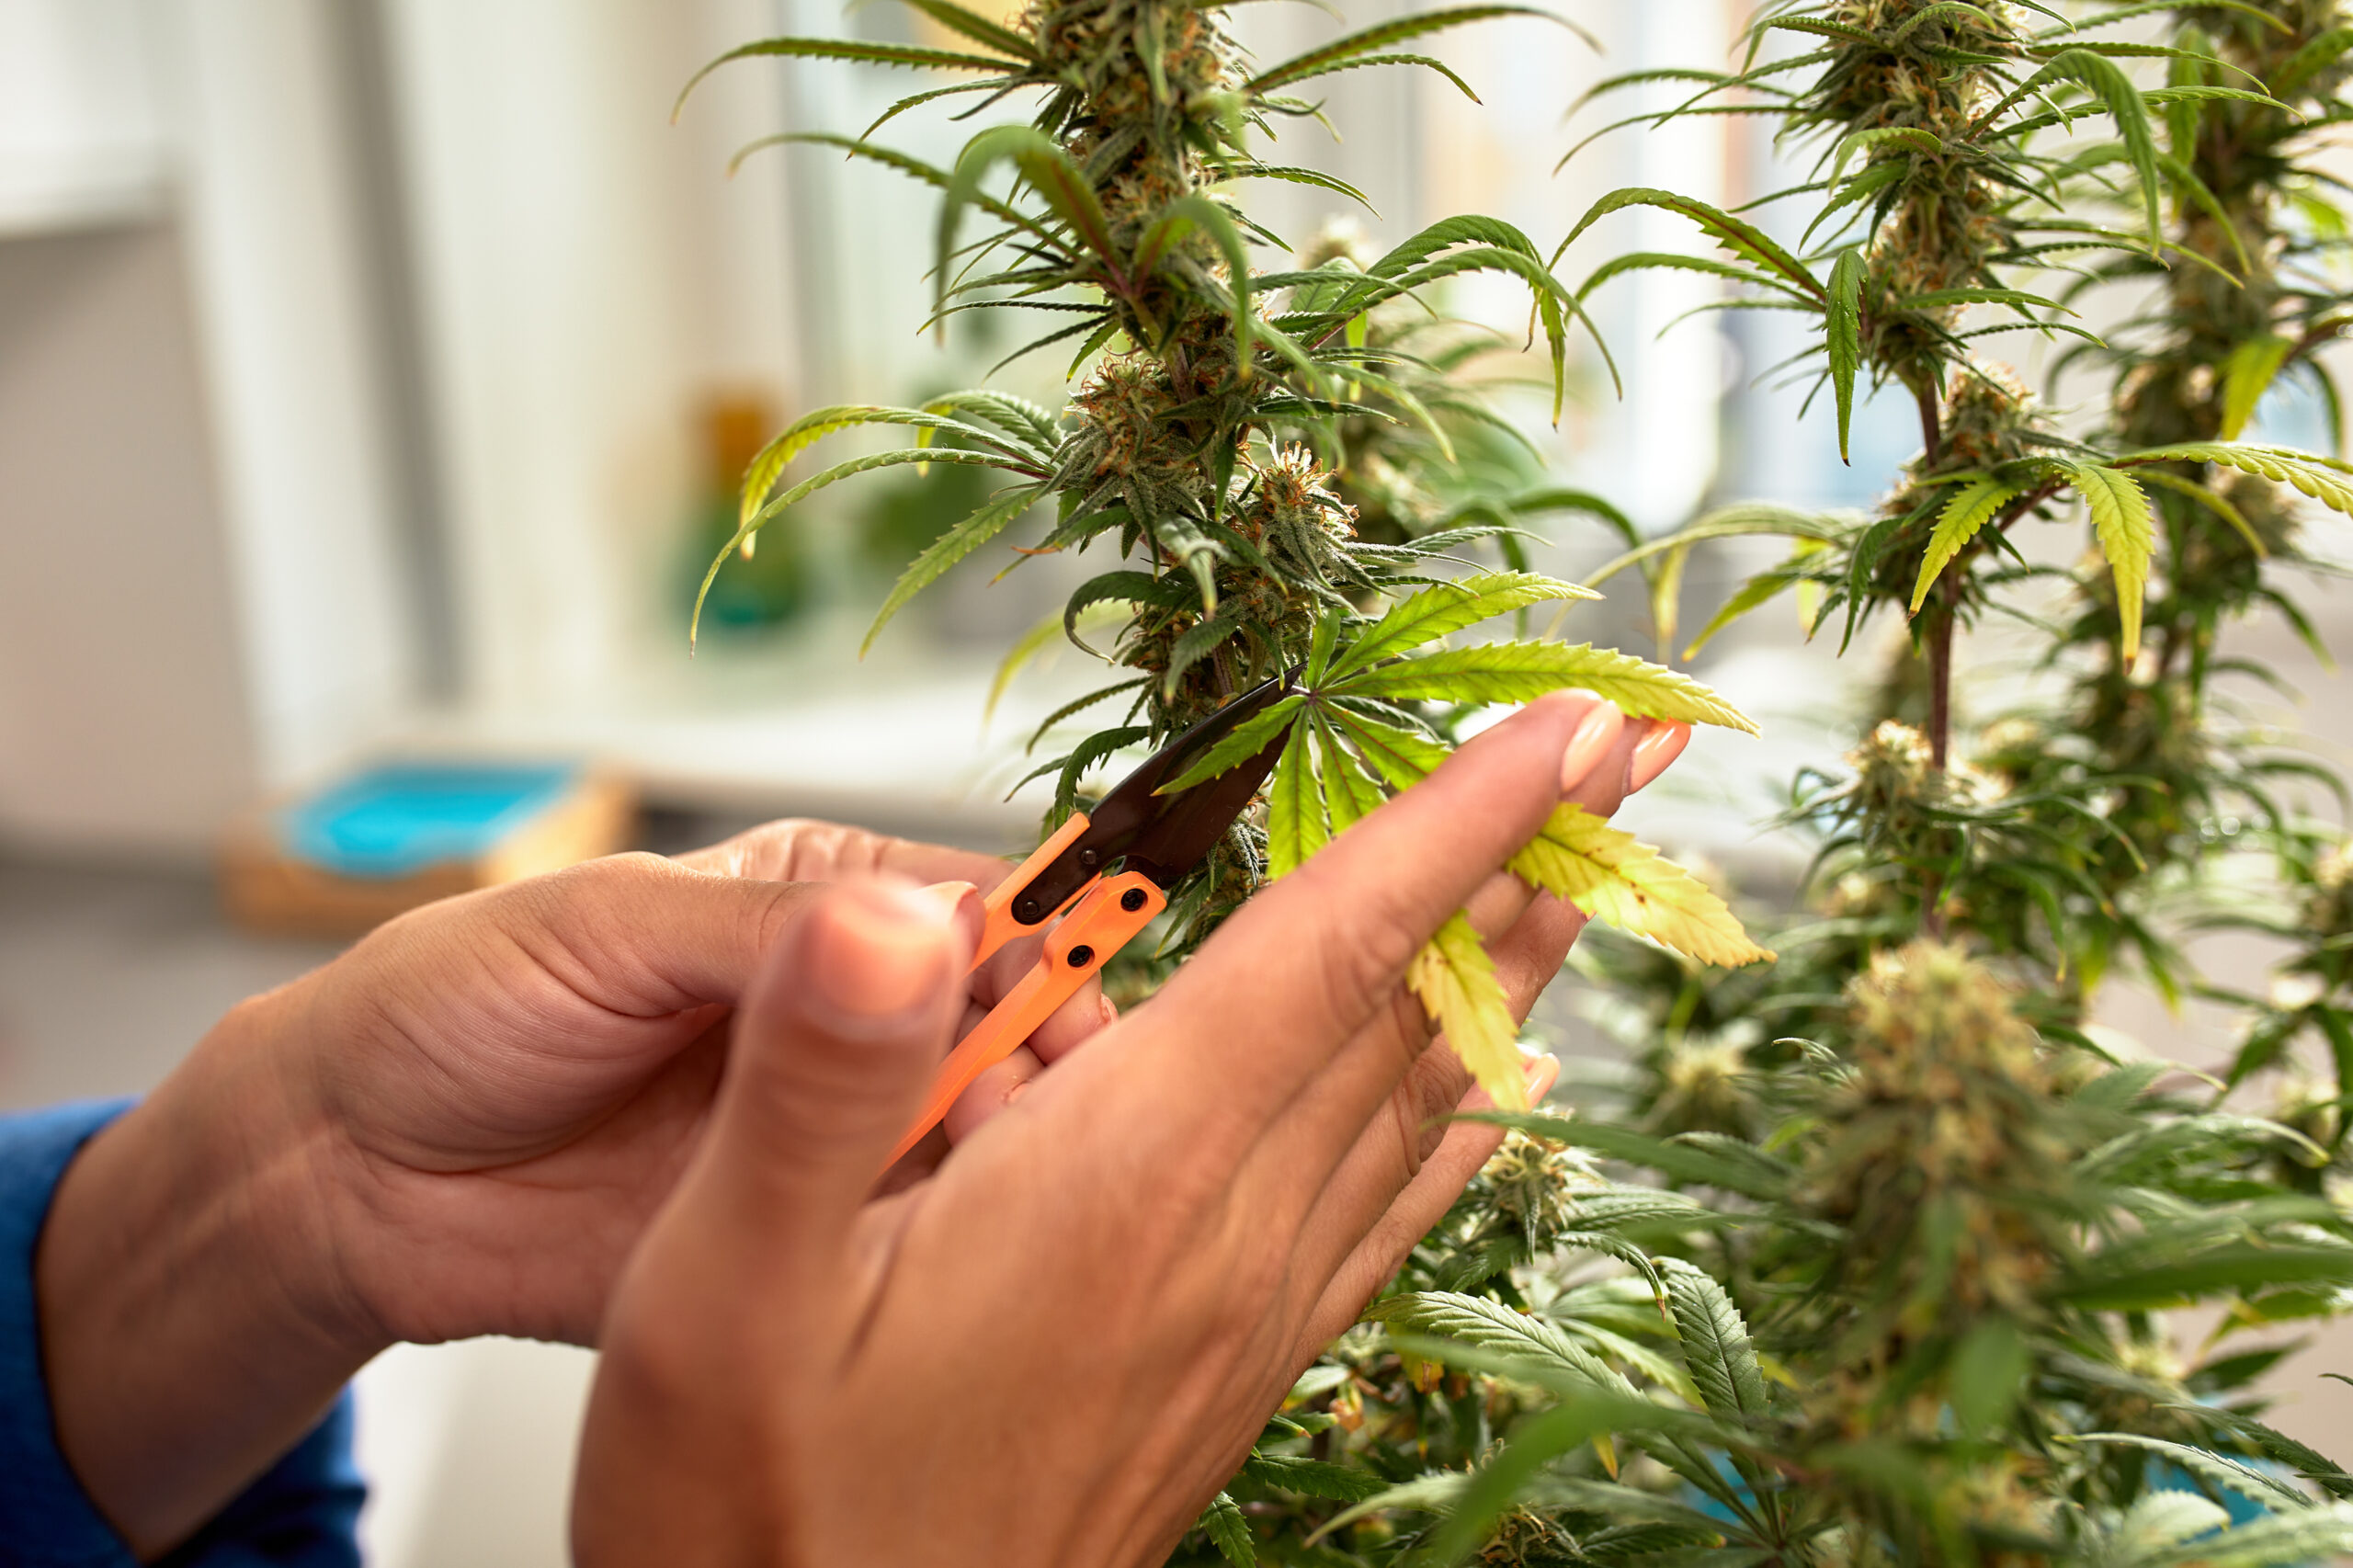
When Should You Ask for Help With a Sick Cannabis Plant?
Every indoor cannabis plant accumulates minor cosmetic flaws over a three-to-four-month life cycle: an oldest bottom leaflet yellows in deep shade, a petiole gets creased against a tent pole, or a single splash of nutrient solution burns a pale spot onto a lower fan leaf. When first-time growers panic over isolated blemishes and immediately post blurry purple-light photos to online forums, they often receive five contradictory diagnoses and ruin a healthy crop by over-correcting.
Conversely, waiting ten days to seek guidance when root rot, russet mites, or severe pH lockout is actively advancing across the canopy can cost you the entire harvest. This guide establishes clear triage thresholds separating benign cosmetic noise from genuine systemic emergencies, lists the exact diagnostic data and photographs you must collect before asking for help, and explains how to evaluate outside advice without compounding plant stress.
Triage: Cosmetic Blemishes Versus Progressive Systemic Problems
Before reaching for nutrient bottles or posting an emergency thread, determine whether the symptom is static and localized or actively spreading across nodes and vascular pathways.
Benign Single-Leaf Anomalies You Can Safely Observe for 48 Hours
Plants do not repair damaged leaf cells once a necrotic spot or mechanical tear forms, meaning old scars remain visible permanently even when the plant is in peak physiological health. If you spot one or two yellow or torn leaves at the very bottom of a dense canopy that receives less than 100 umol/m2/s of light, the plant is simply senescing shaded foliage that costs more carbohydrate energy to maintain than it produces.
Similarly, random asymmetrical spots on one lower leaf where nutrient water splashed during hand-watering, minor genetic variegation on a single leaflet, or slight tip paint (1 to 2 millimeters of pale yellow at the very point of upper serrations) on a fast-growing plant are not emergencies. Mark or photograph the affected leaf under white light and wait 48 hours: if zero neighboring leaves develop the symptom and apical growth continues at its normal pace, no intervention is required.
Progressive Symptoms That Demand Immediate Investigation
You should seek diagnostic help or execute a structured troubleshooting audit immediately whenever a symptom crosses three red-flag thresholds: (1) velocity (the affected area doubles or spreads to two or more new nodes within 24 to 48 hours); (2) apical or vascular involvement (newest growing tips twist, turn necrotic, or halt expansion, or the entire plant wilts despite moist substrate); or (3) biological reproduction (visible insects, webbing, powdery white mycelia, or slimy brown roots).
Whole-plant turgor collapse when the pot is heavy indicates acute root hypoxia or Pythium root rot that can kill fine feeder roots in 48 hours. Likewise, sudden interveinal chlorosis or rust-brown necrotic spotting racing across mid-and-upper fan leaves during weeks three through five of flower signals an acute root-zone pH crash or salt buildup that will permanently cap calyx swell if left uncorrected for a week.
Symptom Progression Velocity: Progression velocity measures how rapidly a visual abnormality moves from leaf to leaf or node to node over a 24-to-72-hour window; static marks reflect past or localized events, whereas expanding symmetrical patterns indicate an active root-zone, environmental, or biological stressor.
Practical questions from home cultivators often center on how these thresholds behave in real-world tents and small rooms.
“The bottom two single-fingered and three-fingered leaves from when my plant was a seedling are turning yellow and dying in week four of veg. Is my plant sick?”
Question sent by: Annabelle Caldwell, via email.
No, that is completely normal developmental senescence and does not indicate a sick plant. Once a cannabis plant builds four to six upper tiers of large five- and seven-fingered fan leaves, the embryonic cotyledons and earliest juvenile leaves at the bottom of the main stem sit in deep shade and are naturally reabsorbed by the plant. As long as mid- and upper-canopy leaves remain uniform green and upright, simply remove the withered juvenile leaves once they pull free easily.
Only investigate nitrogen nutrition if the yellowing begins marching steadily upward into the full-sized five-fingered fan leaves on nodes three and four over a 72-hour period.
The Diagnostic Intake Sheet: Data to Gather Before Asking Anyone
Ten different cultivation problems produce nearly identical yellow or brown leaves, making it impossible for even a master agronomist to diagnose a plant from a single photo without root-zone and climate numbers.
Root-Zone, Irrigation, and Nutrition Metrics to Measure First
Before asking another grower, hydro-shop tech, or online community for advice, write down the exact physical specifications of your root zone: substrate composition and brand (for example, 70/30 buffered coco-perlite vs peat-based potting soil vs recirculating DWC), container volume and material (3-gallon fabric pot vs 5-gallon plastic bucket), water source (tap water starting EC/ppm and whether chloramine is present vs RO water), and every fertilizer or additive currently in your mix with exact milliliter-per-gallon rates.
Most importantly, measure and include fresh numbers from a newly calibrated meter for both your input nutrient solution (pH and EC/ppm) and your latest 15% to 20% runoff sample (runoff pH and EC/ppm), alongside how much volume you pour per watering and how many days elapse between irrigations. Roughly 70% of ‘nutrient deficiency’ inquiries are solved the moment the grower shares that runoff pH has drifted to 5.0 in soil or runoff EC has climbed to 3.8 mS/cm in coco.
Environmental, Lighting, and Timeline Context
Pair your root-zone numbers with four atmospheric and chronological data points: (1) cultivar type (photoperiod vs autoflower) and exact age in days plus days since flipping to 12/12; (2) LED fixture model, actual wattage, dimmer percentage, hanging height above the top cola in inches, and measured or estimated canopy PPFD; (3) lights-on and lights-off temperature and relative humidity ranges at canopy level; and (4) any changes, foliar sprays, transplants, or defoliation performed in the last 10 days.
Providing recent operational history is critical because plants express root-zone or foliar trauma with a 3-to-7-day lag time. If you sprayed an oil-based miticide with the lights at 100% power four days ago, or transplanted into a hot amended soil mix last weekend, that timeline immediately explains necrotic leaf blotches or clawed tips without anyone guessing at exotic micronutrient lockouts.
Taking Diagnostic Photos That Actually Show the Problem
Never submit diagnostic photos taken under full-power purple, red-heavy, or glaring quantum-board LEDs, which distort leaf color and hide subtle interveinal gradients. Dim your grow light to 10% or move the plant briefly to doorway daylight, and illuminate the foliage with a neutral 4000K-5000K white light source so the camera captures true chlorophyll hues, necrotic borders, and petiole pigmentation.
Always provide a three-photo diagnostic triad: (1) a full-plant wide shot showing the pot size, overall plant posture, and whether symptoms sit at the bottom, middle, or top of the canopy; (2) a clear close-up of the upper (adaxial) surface of a symptomatic leaf still attached to the branch; and (3) a focused macro shot of the lower (abaxial) surface of that same leaf to rule out mites, thrips, or eggs.
| Diagnostic Category | Exact Details to Provide When Asking for Help | Why Experienced Growers Need This Number | What Happens If You Omit It |
|---|---|---|---|
| Substrate & Container | Exact medium (Coco, Peat, Living Soil, DWC) & pot size (e.g., 3-gal fabric) | Target pH and watering frequency differ completely between coco (5.8) and soil (6.5) | Advisors give soil watering advice for coco, causing salt buildup and dry-back stress |
| Input vs Runoff pH & EC | Calibrated input pH/EC and 15-20% runoff pH/EC (in mS/cm or 500-scale ppm) | Separates true underfeeding (low runoff EC) from salt lockout/pH drift (high runoff EC) | Advisors tell you to add more fertilizer into an already locked-out 3.5 mS/cm root zone |
| Watering Cadence | Volume per watering (liters/gallons) and hours/days between irrigations | Identifies chronic overwatering (root hypoxia) vs chronic underwatering | Drooping leaves get misdiagnosed as nitrogen or potassium issues |
| Light & Climate | LED wattage/dimmer %, distance to canopy, Day/Night Temp & RH | Reveals high-PPFD light stress, cold root zones, or extreme VPD transpiration strain | Upper leaf bleaching or tacoing gets misdiagnosed as iron or calcium deficiency |
| 3-Photo White-Light Set | Whole-plant shot + attached affected leaf top + leaf underside in 5000K light | Shows whether mobile (lower) or immobile (upper) nutrients or pests are involved | A zoomed-in photo of one plucked leaf hides whether the issue is top-down or bottom-up |
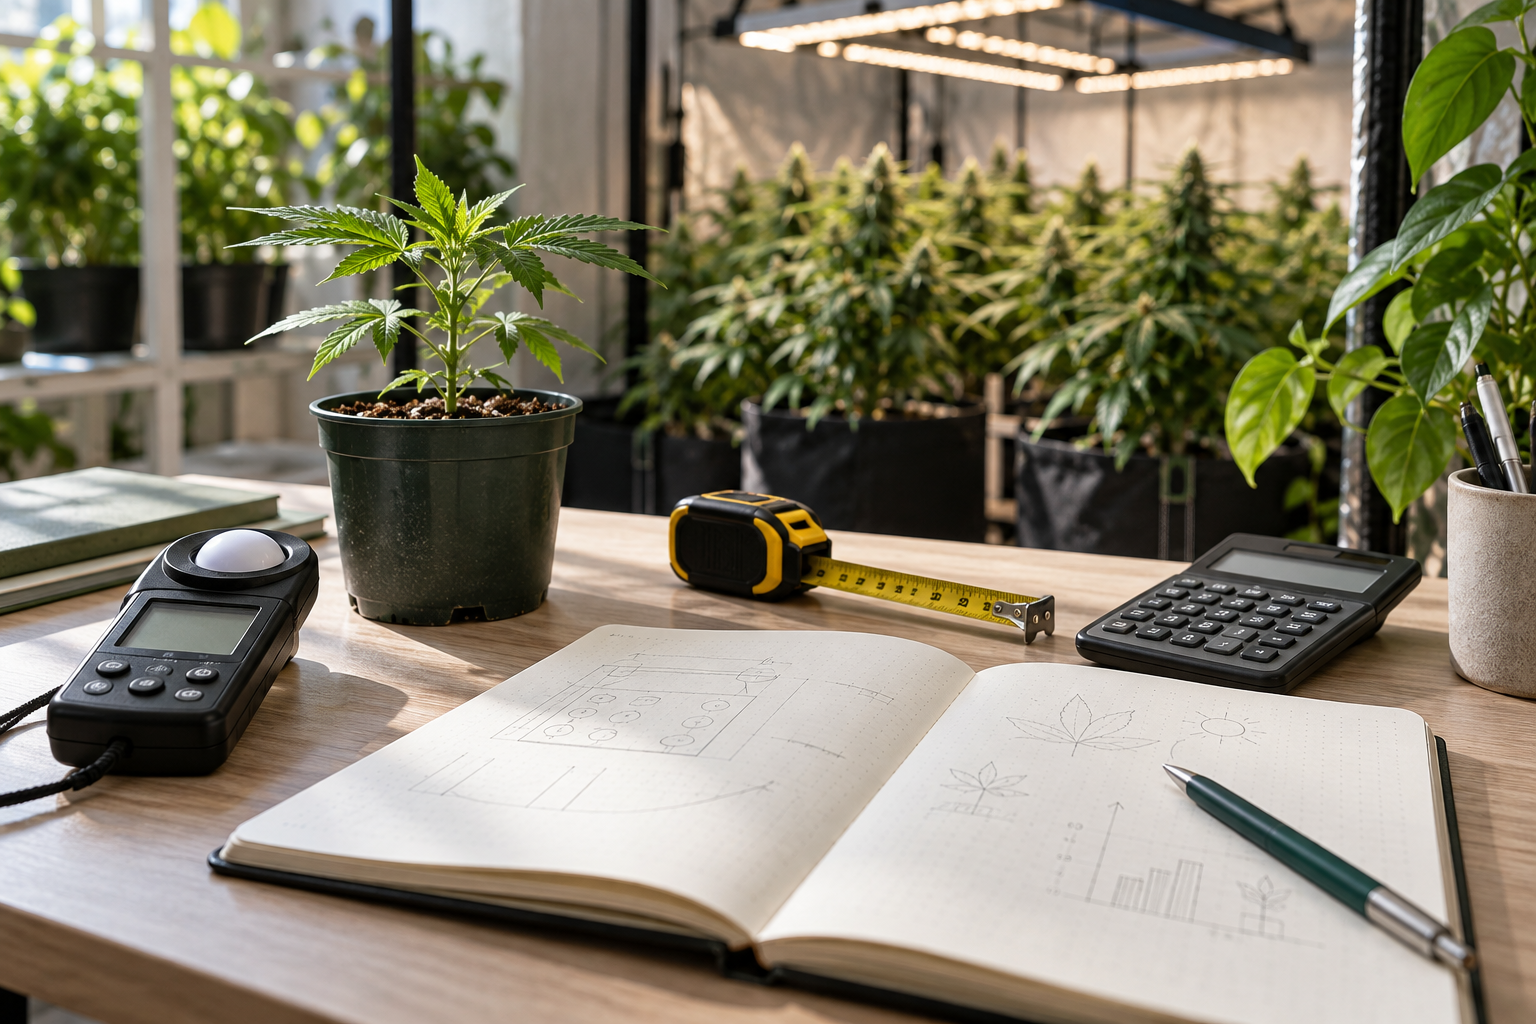
Many growers discover that simply collecting these five rows of data reveals the culprit on the spot, before they even need to post their question.
Recognizing Urgent Red Flags That Cannot Wait
While mild nutritional imbalances develop slowly over a week or two, four specific indoor emergencies require same-day action and immediate expert confirmation.
Contagious Arthropod Outbreaks and Systemic Pathogens
If your 40x-60x loupe inspection reveals fine silk webbing spanning between bracts, dozens of moving amber or translucent mites on leaf undersides, or wedge-shaped microscopic russet mites packed into yellowing apical tips, you are facing an exponential pest curve. At 80 degrees Fahrenheit, spider mites complete a full egg-to-adult generation in less than seven days, meaning a 72-hour delay can allow webbing to envelop an entire flowering tent.
Equally urgent are powdery white fungal colonies rubbing off upper fan leaves (Golovinomyces powdery mildew) or gray-brown fuzzy decay inside a main cola (Botrytis cinerea). Isolate the affected plant immediately if possible, turn off oscillating fans briefly before bagging and cutting away rotted colas to prevent spore dispersal, and seek targeted stage-safe treatment advice based on whether you are in vegetative growth or flowering.
Acute Root-Zone Crises and Hermaphroditic Pollen Sacs
In hydroponic reservoirs (DWC/RDWC) or heavily irrigated containers, if the entire plant droops limply within 12 hours while reservoir odors turn sour and root masses turn tan and slimy, dissolved oxygen has collapsed and Pythium is colonizing the root cortex. Likewise, if an automated drip timer sticks open or a pH dosing pump malfunctions and drops reservoir pH below 4.2, immediate reservoir replacement or flushing is required to prevent necrotic root sloughing.
A fourth time-sensitive scenario is discovering smooth, banana-shaped yellow anthers (‘nanners’) protruding directly from late-flower buds or clusters of oval pollen sacs at lower internodes. Because a single dehisced anther dispersed by clip fans can seed every plant in a tent within minutes, take a clear macro photo immediately to confirm whether the structure is a swollen female calyx with pistils or a true staminate flower.
Do
- Wait 48 hours and monitor progression velocity when you spot a minor, isolated blemish on a single older lower fan leaf.
- Calibrate your pH and EC meters in fresh buffer solution and measure both input and 15%-20% runoff before asking anyone for a diagnosis.
- Provide a three-photo set taken under neutral 4000K-5000K white light showing the whole plant, the attached affected leaf top, and the leaf underside.
- Apply only one primary corrective change at a time and evaluate new apical growth over 72 to 120 hours rather than watching old dead spots.
Avoid
- Posting photos taken under purple or full-power grow lights, or showing only a single plucked leaf sitting on a kitchen counter without context.
- Following generic forum commands to ‘add double Cal-Mag’ or ‘flush with 15 gallons of water’ from commenters who never asked for your medium or pH.
- Expecting brown necrotic spots, burned leaf tips, or torn margins to turn green again after you fix a root-zone or environmental issue.
- Delaying action when you see fine webbing, moving mites under 40x magnification, white powdery mildew colonies, or slimy brown hydro roots.
When you do reach out to experienced growers or online communities with your data and photos in hand, knowing how to filter the replies protects your crop from well-meaning bad advice.
“Why do people online get annoyed when someone posts a close-up photo of a single plucked leaf on a table and asks ‘What deficiency is this?”
Question sent by: Annabelle Sanderson, via contact form.
A single detached leaf strips away the most critical diagnostic clue in plant physiology: nutrient mobility and canopy position. Mobile nutrients (nitrogen, phosphorus, potassium, magnesium) translocate from older lower leaves to support new top growth when scarce, whereas immobile nutrients (calcium, iron, sulfur, boron) and light stress show up exclusively on upper or newest growth. Without seeing the whole plant and knowing your medium pH and EC, a yellow or spotted leaf could have six opposite causes.
Always leave the symptomatic leaf attached to the plant when taking your wide whole-plant photo and close-up photo so advisors can see its exact vertical tier and surrounding posture.
How to Filter Conflicting Forum Advice and Avoid Panic Fixes
Post a photo of a yellowing cannabis leaf in any large online group and within ten minutes you will be told to add Cal-Mag, flush with three times the pot volume, defoliate, and change brands.
Spotting Generic Catch-All Myths (‘Needs Cal-Mag’ and ‘Flush Immediately’)
In online cannabis forums, ‘add more Cal-Mag’ has become a knee-jerk reflex for any brown spot on a leaf, even when the grower is already feeding 5 mL/gal of calcium-magnesium in hard tap water. In reality, adding extra calcium and magnesium into a medium where runoff EC is already 2.8 mS/cm or pH has dropped to 5.2 only worsens osmotic stress and competitively blocks potassium uptake through Mulder’s chart antagonism.
The opposite reflex – flushing 10 to 15 gallons of plain water through an organic soil pot at the first sign of pale leaves – is equally destructive if the plant was actually underfed or overwatered, as it suffocates roots and strips remaining soluble nitrogen. Immediately disregard any commenter who prescribes a drastic chemical or flushing intervention without first reading your medium type, input/runoff pH, and runoff EC.
Evaluating the Credibility of Diagnostic Feedback
Trustworthy diagnostic responses share three hallmarks: they reference your specific medium and measurements, they explain the physiological mechanism connecting the cause to the visual symptom (for example, explaining how high PPFD combined with low VPD limits calcium transport to upper leaves), and they recommend a proportional, verifiable adjustment with a clear timeline for what to expect.
If two experienced growers offer plausible hypotheses, compare their reasoning against your grow log trends over the past two weeks. Prioritize the explanation that accounts for both your visual leaf placement (old growth vs new growth) and your measured runoff delta rather than chasing rare micronutrient deficiencies like molybdenum or chlorine that almost never occur in commercial base fertilizers.
| Symptom Pattern | Immediate Self-Check Before Posting | Low-Quality Forum Reflex to Ignore | Evidence-Based Diagnostic Path |
|---|---|---|---|
| Uniform yellowing of lowest fan leaves in mid-veg or early flower | Check runoff EC and input nitrogen rate; check if leaves are in deep shade | ‘Flush your pots with 10 gallons of pH water right now’ | Mobile N translocation; increase base feed EC by 0.2-0.3 mS/cm if runoff EC is low |
| Rust-brown spots on upper/mid leaves sitting directly under the LED | Check runoff pH/EC, light hanging height, and VPD in coco/peat | ‘Just dump double-strength Cal-Mag in every watering’ | Verify root-zone pH (5.8-6.2 coco / 6.3-6.7 soil) and dim/raise LED if PPFD >900 without CO2 |
| Whole plant drooping with heavy pot and stiff, curved petioles | Lift pot to check weight; check hours between waterings and root temp | ‘Your plant is starving, give it a heavy compost tea drench’ | Overwatering / root hypoxia; stop watering until pot loses 50% weight and boost airflow |
| Upward canoeing / tacoing serrated leaf margins on top colas | Measure canopy PPFD, leaf surface temp with IR gun, and 60x loupe check | ‘Looks like magnesium deficiency, foliar spray Epsom salts with lights on’ | High radiant heat/PPFD or russet mites; raise/dim light and verify abaxial tips at 60x |
Once you identify the single most likely root cause from your data and trusted feedback, discipline during the recovery window determines how quickly the plant rebounds.
Cultivation Warning
More indoor harvests are ruined by stacking three aggressive ‘fixes’ inside 48 hours – such as flushing, spiking PK booster, and spraying neem oil on a stressed plant – than by the original mild pH or watering mistake that prompted the grower to ask for help.
Practical questions from home cultivators often center on how these thresholds behave in real-world tents and small rooms.
“I corrected my coco runoff pH from 5.1 back up to 5.9 three days ago, but the rust spots on my middle fan leaves are still brown. Did the fix fail?”
Question sent by: Annabelle Ingraham, via contact form.
Your fix did not fail; necrotic (brown, crispy) plant cells are permanently dead and cannot regenerate chlorophyll or turn green again under any circumstance. The true test of a successful root-zone correction is whether those brown spots have stopped expanding outward on partially affected leaves and whether the newest shoots emerging at the top of the canopy are growing out flat, green, and blemish-free.
Leave the spotted mid-tier leaves on the plant for at least a week as visual markers so you can confirm that zero new rust lesions appear after your pH reset.
Executing a Controlled Single-Variable Recovery Plan
Correcting a cannabis health issue is an exercise in controlled experimentation: adjust one primary constraint, log the exact timestamp, and give the plant 72 to 120 hours to respond.
Why You Must Change Only One Primary Variable at a Time
Unless a plant is simultaneously suffering from two verified emergencies (for example, an active pH crash alongside confirmed spider mites), always correct the foundational constraint first according to the hierarchy of limiting factors: Environment and Lighting first, Root-Zone Moisture and Oxygen second, Root-Zone pH and Total EC third, and Individual Nutrient Ratios last.
If you simultaneously lower your LED by 6 inches, switch nutrient brands, and alter your watering schedule on Tuesday, and the plant looks worse on Friday, you have zero way to know which change caused the decline. Adjusting one primary lever – such as resetting coco root-zone pH to 5.9 and EC to 1.5 mS/cm via a gentle 25%-runoff reset feed – isolates the variable and builds genuine cultivation intuition.
Where to Look to Confirm Recovery Over 3 to 7 Days
The most common mistake after applying a proper correction is staring at the damaged, necrotic leaves waiting for brown tissue to turn green again. Necrotic spots, burned tips, and severely bleached or bronze margins are dead plant tissue and will never recover their chlorophyll; leaving them on the plant (unless >50% necrotic or mold-prone) simply provides a visual baseline to confirm the damage is no longer expanding.
Instead, evaluate recovery by inspecting two areas over the next 72 to 120 hours: (1) the posture and color of newly emerging apical shoots and upper leaves, which should emerge turgid, flat, and vibrant green; and (2) the boundary around existing blemishes on mid-tier leaves, which should stop advancing outward. Capture a follow-up white-light photo at 72 hours and 7 days to verify stabilization.
When you are unsure whether leaf spotting has stopped spreading after a pH or EC correction, place two tiny black permanent-marker dots right at the outer border of a spot on one reference leaf; checking 48 hours later instantly tells you if necrosis has crossed the line.
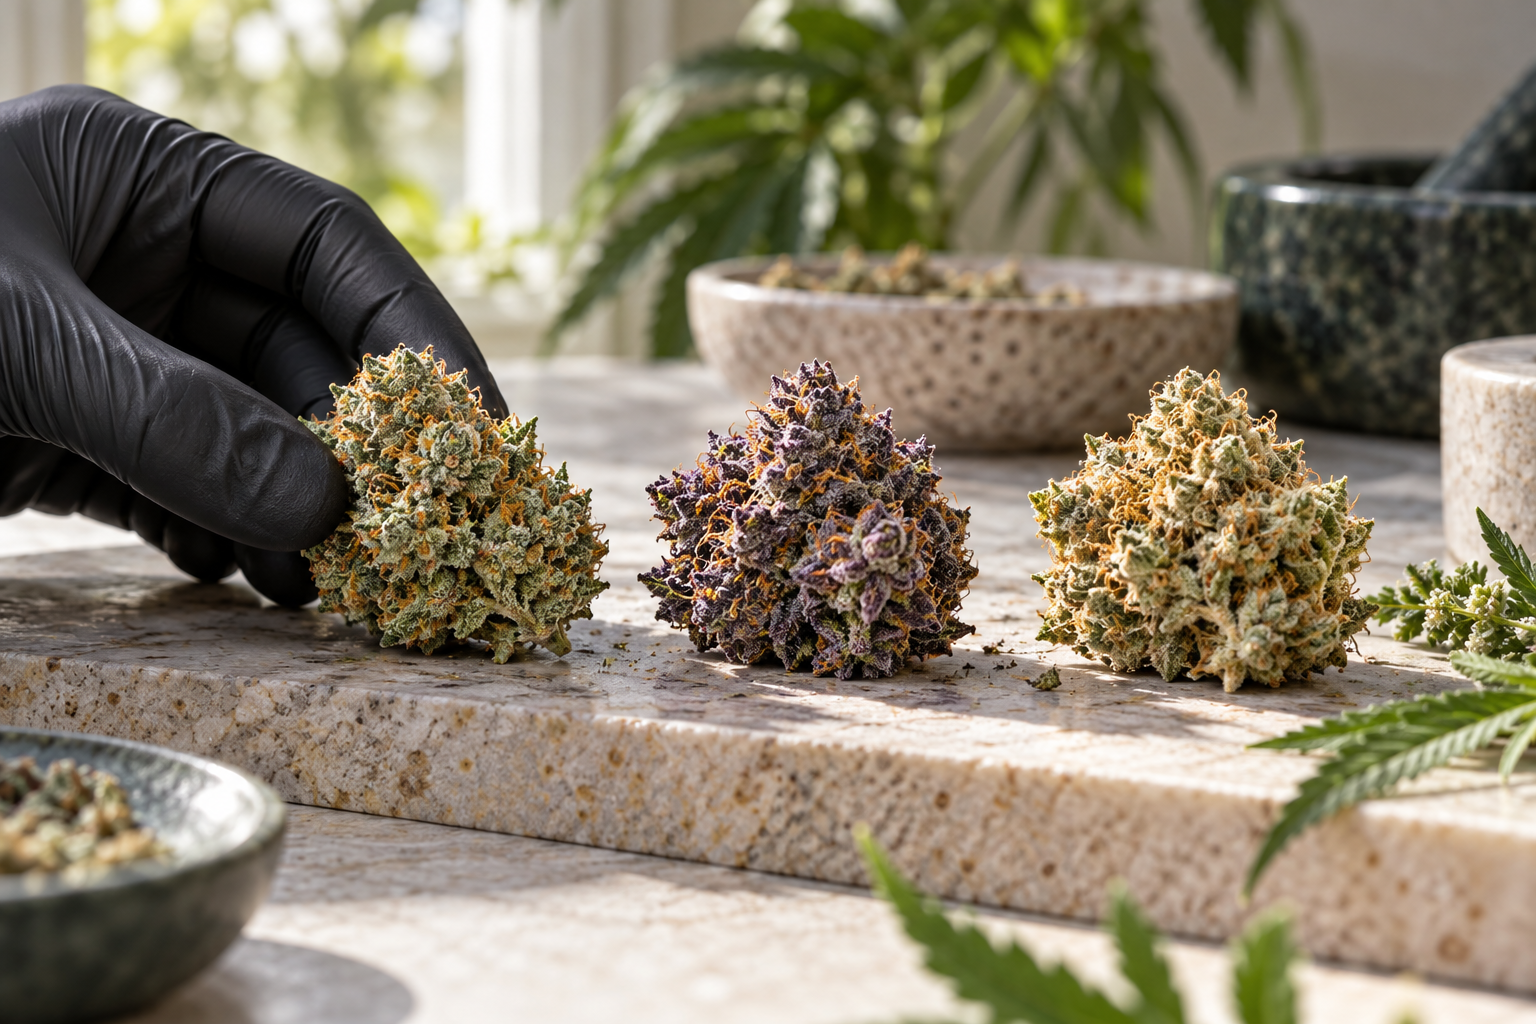
Turning every diagnostic inquiry into a closed-loop learning record ensures you never have to ask for help twice for the same underlying symptom.
Documenting the Resolution to Build Autonomous Diagnostic Skill
Closing the loop in your grow log after a plant recovers transforms a stressful mid-cycle hiccup into permanent reference knowledge for your specific room and water profile.
Creating Before-and-After Case Notes in Your Grow Log
Once new growth confirms that your single-variable correction resolved the issue, attach your diagnostic intake numbers, the white-light ‘before’ photo, the exact corrective step taken, and the 7-day ‘after’ photo into a dedicated troubleshooting page in your grow log. Note the misleading advice you filtered out alongside the root-cause metric that actually solved the problem.
Within two to three indoor harvests, this personal case archive becomes far more accurate than any generic deficiency poster on the internet because it is calibrated to your exact tap water alkalinity, LED fixture spectrum, tent airflow, and preferred substrate.
Pre-Flight Verification Checklist Before Submitting a Help Request
Whenever a new, unfamiliar symptom crosses the velocity or apical-involvement threshold on a future run, run through the five-step pre-flight checklist below before reaching out to a mentor or cultivation forum. In more than half of all cases, completing steps two and three will reveal an uncalibrated meter, a dry pocket, or a high runoff EC that you can fix immediately on your own.
When the checklist still leaves a genuine puzzle, pasting the completed numbers and three white-light photos into your post guarantees fast, high-level diagnostic answers from experienced cultivators.
Field Verification Checklist
- Verify whether the symptom is static on 1-2 old lower leaves or actively spreading across multiple nodes within a 24-to-48-hour window.
- Calibrate your pH and EC pens and record exact input pH/EC alongside 15%-20% runoff pH/EC, container size, and medium type.
- Measure canopy PPFD (or LED wattage, dimmer %, and hanging height) plus 24-hour min/max temperature and relative humidity.
- Inspect the abaxial (underside) surface of affected leaves with a 30x-60x loupe to confirm whether mites, thrips, or eggs are present.
- Take three focused white-light photos (whole plant in pot, upper leaf surface, lower leaf surface) to attach to your written diagnostic summary.
Walking through these five steps before asking for help saves days of back-and-forth questions and protects your canopy from impulsive, unverified treatments.
“How do I know if a swollen pod at the node of my flowering plant is a normal female calyx or a hermaphrodite pollen sac before I panic and chop the plant?”
Question sent by: CascadeGrower_p2_79_4, via email.
Examine the structure closely with a 10x-30x loupe under white light and look at its attachment point and shape. A normal solitary female bract (calyx) at the node is teardrop-shaped, sits directly tight against the stem axil without a stalk, and almost always has one or two hair-like stigmas (pistils) emerging from its pointed tip. A male or intersex pollen sac is oval or football-shaped, hangs from a tiny visible stem (pedicel), has five longitudinal seams, and never produces stigmas.
If you find only two or three isolated pollen sacs on the lower shaded nodes during weeks two or three of flower and zero sacs inside upper buds, you can lightly mist them with water to immobilize any pollen, pinch them off with tweezers, and monitor the plant closely rather than culling it immediately.
Scientific References
- Cockson, P., Landis, H., Smith, T., Hicks, K., & Whipker, B. E. (2019). Characterization of nutrient disorders of Cannabis sativa. Applied Sciences, 9(20), 4432.
- Marschner, P. (2012). Marschner’s Mineral Nutrition of Higher Plants (3rd ed., Chapter 11: Diagnosis of Deficiency and Toxicity of Mineral Nutrients). Academic Press.
- Whipker, B. E., Henry, J., & Owen, W. G. (2019). Essential diagnostic steps for greenhouse and indoor crop nutritional troubleshooting. e-GRO Alert, 8(14), 1-8.
- Punja, Z. K., Rodriguez, G., & Chen, S. (2017). Assessing root and foliar symptom progression in hydroponic and substrate-grown Cannabis sativa. Canadian Journal of Plant Pathology, 39(4), 490-502.
Share this article
A quick overview of the topics covered in this article.
Follow us
Latest articles
November 9, 2026
November 9, 2026
November 9, 2026
November 9, 2026