
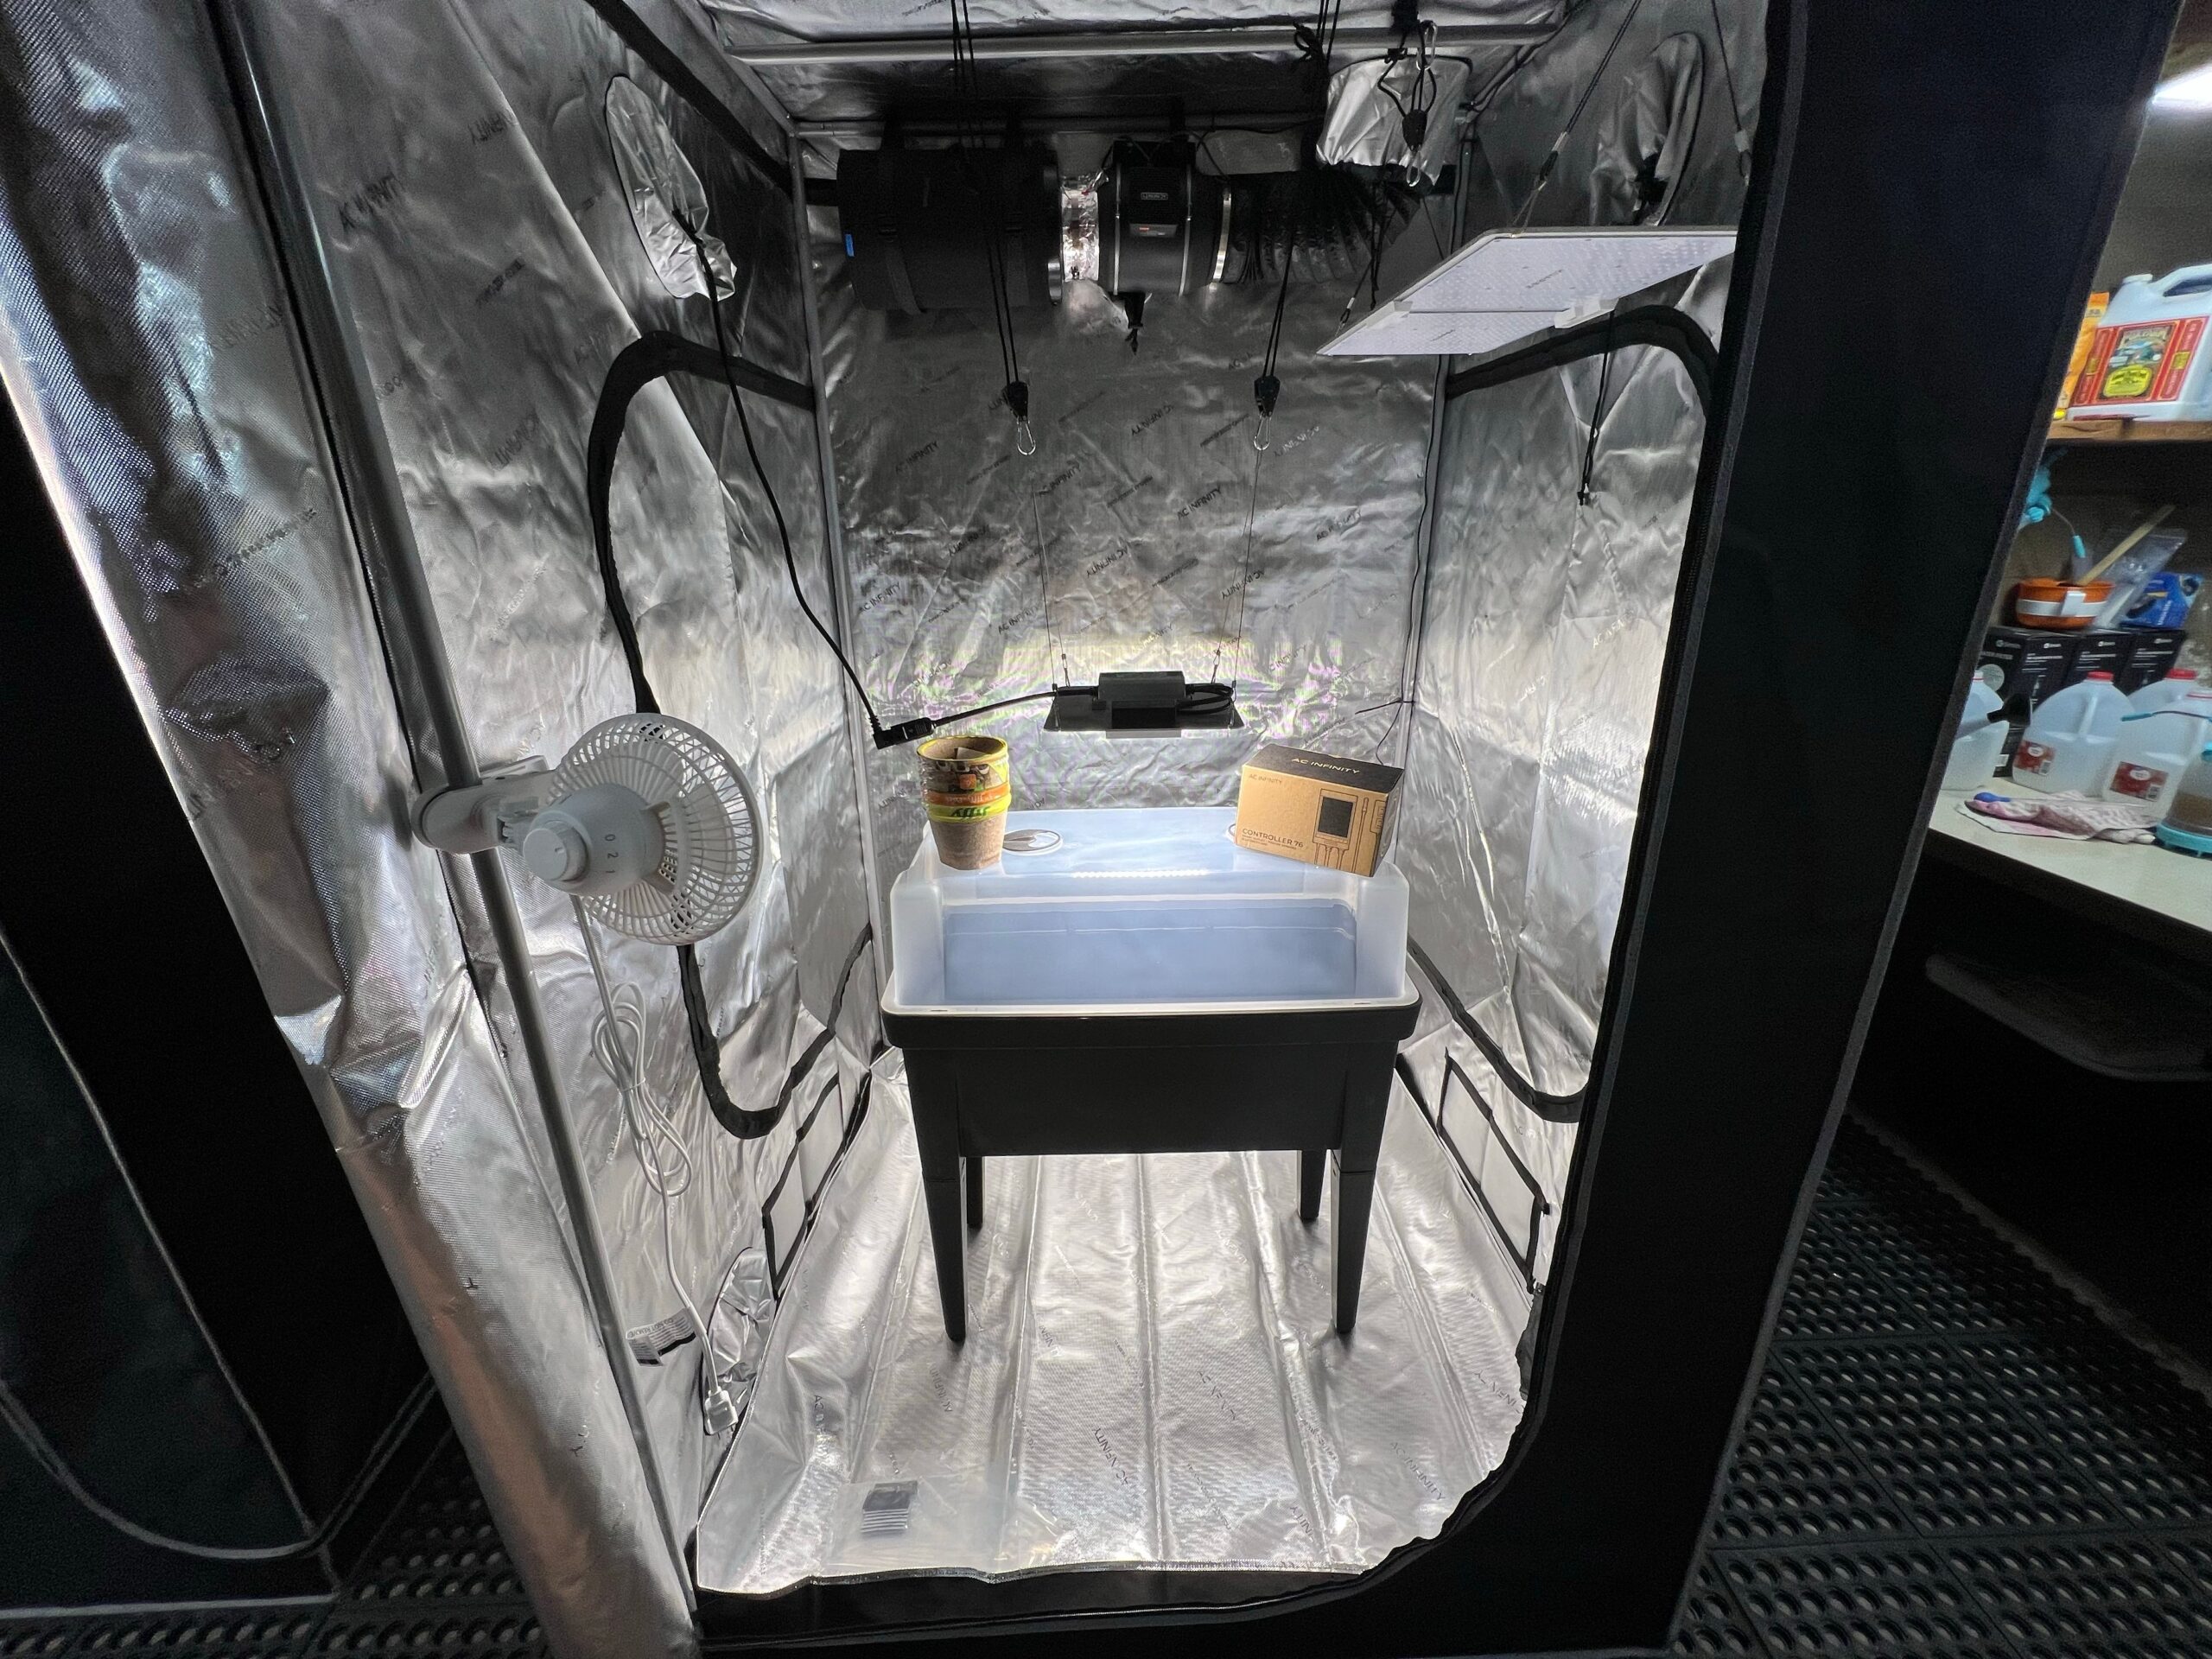
When to Use a Plant Diagnostic Laboratory
Most common home cultivation problems, spider mites under a 30x loupe, obvious pH lockout confirmed by slurry EC/pH meters, or straightforward temperature stress, do not require laboratory analysis. A plant diagnostic laboratory becomes essential the moment two or more destructive possibilities look visually identical and the wrong guess risks wiping out valuable mother genetics, contaminating an entire indoor cycle, or misdiagnosing regulated quarantine pathogens such as Hop Latent Viroid (HLVd), Fusarium vascular wilt, Pythium species, or Beet Curly Top Virus.
Sending in dead brown scraps or shipping whole flowering colas across state lines without confirming a lab’s intake rules either wastes money on inconclusive reports or gets samples rejected at reception. This guide explains exactly when laboratory confirmation pays for itself, which assays (RT-PCR, ELISA, moist-chamber plating, nematode extraction) match specific symptoms, how to sample live disease borders cleanly, and how to interpret results responsibly.
Scenarios Where Visual Inspection Fails and Lab Diagnostics Pay Off
Hand lenses reveal spores and mites, but molecular pathogens, systemic vascular wilts, and latent viroids require laboratory amplification or culturing.
Suspected Hop Latent Viroid (HLVd) and Viral Stunting
Plants infected with Hop Latent Viroid or Beet Curly Top Virus can display horizontal brittle branching, dwarfed flower clusters, low trichome oil (‘dudding’), or mosaic mottling that mimics poor light, root rot, or zinc deficiency, or remain completely asymptomatic in veg while spreading silently across pruning shears. Only RT-PCR or quantitative qPCR nucleic-acid assays confirm viroid presence reliably before clones enter production.
Single-Branch Vascular Wilt vs Crown Rot vs Root Suffocation
When one side branch collapses permanently while soil moisture and EC look textbook, internal brown vascular streaking points toward fungal vascular pathogens such as Fusarium oxysporum or Verticillium dahliae. Because vascular wilts look virtually identical to mechanical stem fracture or localized Pythium crown collapse, culture plating or PCR on lower stem vascular tissue decides whether you fix drainage or quarantine and cull the genetic line.
High-Value Mother Stock, Clone Acquisitions, and Repeated Cycle Crashes
If identical mortality hits a second consecutive crop after cleaning tanks and buying fresh medium, guessing again costs far more than diagnostic confirmation. Testing mother plants or newly quarantined clones protects entire rooms from chronic yield loss.
Diagnostic Margin Sampling
The standard plant-pathology practice of collecting living plant tissue right along the active border between healthy green cells and advancing chlorotic or necrotic lesions, where primary pathogens remain viable without being masked by secondary saprophytic decay fungi.
Matching each biological suspicion to the correct laboratory assay avoids paying for tests that cannot detect your actual culprit.
Growers experiencing mysterious stunted mother plants often debate spending money on molecular PCR tests versus just adjusting feed.
“Can I send a crisp dried bud or dead brown leaf to a plant pathology clinic to find out what killed my plant?”
Question sent by: Kellan DeLuca, via email.
Dead brown tissue rarely yields useful fungal or bacterial cultures because harmless secondary decomposers quickly overgrow the original pathogen. Always submit fresh living tissue harvested directly from the boundary between green healthy cells and advancing yellow or discolored lesions.
Evaluating plant response calmly after addressing the primary mechanism protects when to use a plant diagnostic laboratory outcomes over the days ahead.
Choosing the Right Assay: Culture, Microscopy, ELISA, PCR, and Tissue Chemistry
Plant pathology clinics, agricultural extension labs, and specialized cannabis molecular labs do very different tests.
Microscopy and Agar Culture Plating vs Molecular PCR
Traditional university Plant Diagnostic Clinics start with stereomicroscopy, moist chambers, and selective agar plating to confirm fungal and oomycete spore structures (Fusarium, Pythium, Golovinomyces powdery mildew, Septoria, or Botrytis). Turnaround takes 3 to 10 days because living organisms must grow out on media. Conversely, rapid molecular qPCR/RT-PCR panels target specific DNA or RNA sequences for viruses, viroids, and cryptic pathogens in 24 to 72 hours, even when organisms do not grow cleanly on petri plates.
Pathogen Clinics vs Nutrient Petiole/Soil Labs
Keep disease laboratories distinct from fertility laboratories. If plants show uniform yellowing across beds with strong root vigor, send soil and dried upper mature fan leaves to an agronomic nutrient/tissue lab (CEC, Mehlich-3, heavy metals, %N-P-K). Submit live symptomatic roots, stems, and leaf margins to a plant pathology lab only when infectious disease, nematodes, or viroids are suspected.
| Suspected Problem | Best Laboratory Assay | Sample Tissue Needed | What a Negative Result Proves |
|---|---|---|---|
| Hop Latent Viroid (HLVd) or Cannabis Cryptic Virus | Quantitative RT-PCR (viroid/virus RNA) | Fresh young leaves, petioles, and root tips (where permitted) | Viral/viroid RNA below detection threshold in sampled zone; repeat if newly exposed |
| Crown collapse or dark mushy roots (Pythium / Phytophthora) | Oomycete selective media + immunostrip / PCR | Symptomatic white-to-brown root transition + crown cortex + moist soil | Pathogenic oomycetes absent in sample; shifts focus to waterlogging hypoxia |
| Sudden one-sided wilting with brown stem pith streak | Vascular agar culture + morphological / PCR ID | Lower woody stem section split cleanly above soil collar | Rules out systemic Fusarium/Verticillium in tested stem section |
| Leaf spot outbreaks (Septoria vs Cercospora vs bacterial) | Moist chamber sporulation + light microscopy | 4-6 freshly infected leaves showing young margin halos (not crispy dead) | Suggests abiotic spray burn, ozone stipple, or nutrient necrosis |
| Chronic multi-element deficiency or salt imbalance | Dry-matter ICP-OES foliar tissue + saturated soil paste | 30g healthy mature uppermost recently expanded fan leaves + root soil core | Quantifies exact elemental deficiency/antagonism vs pathogen disruption |
Confirming legal jurisdiction and clean packaging protocols before cutting stems prevents wasted submissions.
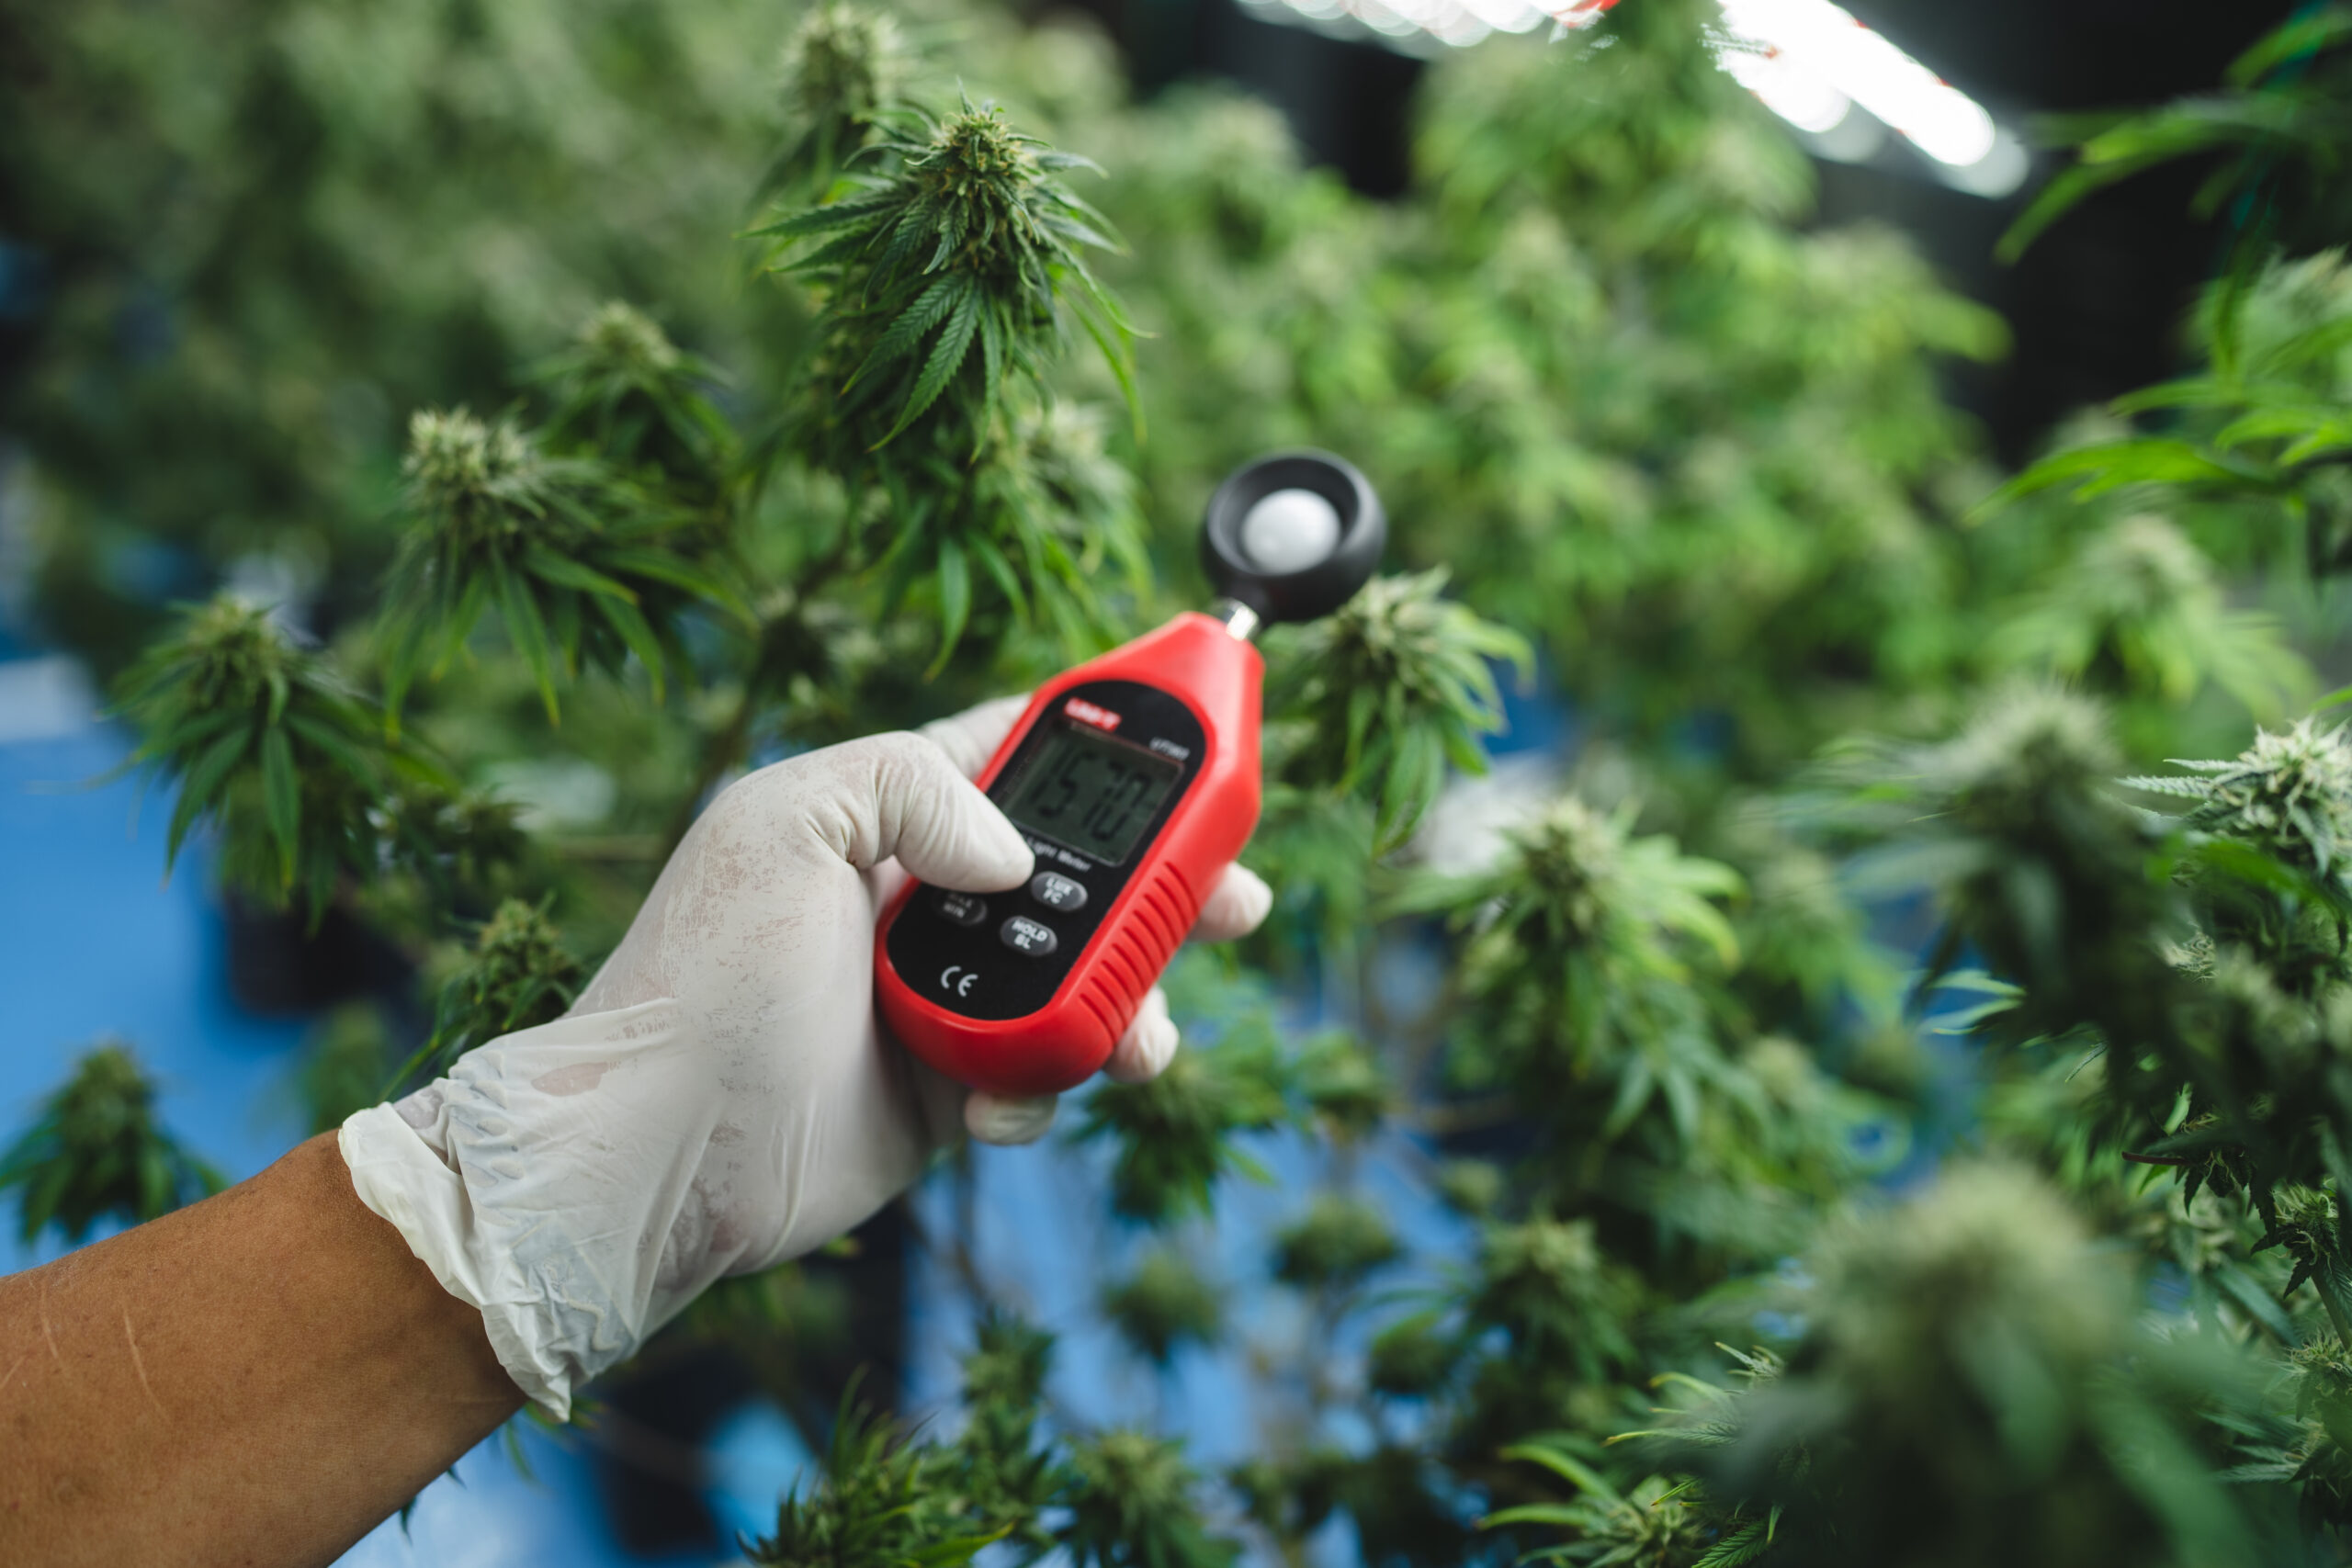
Combining structured field cues with clean environmental benchmarks separates primary triggers from harmless look-alikes.
Legal Intake Rules, Clean Sampling, and Cold-Chain Shipping
Over half of inconclusive plant clinic returns fail not because the lab erred, but because samples baked in transit or shipped illegally.
Checking Federal, State, and Hemp/Cannabis Clinic Acceptance
In the United States and Canada, interstate or provincial shipment of THC-bearing cannabis tissue above legal hemp thresholds is heavily restricted even for academic diagnostics. Always telephone or read the lab’s submission instructions first to confirm whether your state Department of Agriculture, state land-grant university clinic, or licensed private cannabis testing lab accepts in-state cannabis foliage, root-only tissues, or certified hemp samples, and whether an intake permit or chain-of-custody form is mandatory.
How to Collect, Label, and Dry-Wrap Samples Without Rotting
Sanitize shears with 70 percent isopropyl alcohol or fresh bleach/peroxide between plants before cutting. Collect live transitioning tissue, leaves showing fresh halos around spots, crown stems with active vascular discoloration, or firm transitioning feeder roots rather than dry crispy dust or slimy black mush.
Never add wet paper towels inside sealed plastic zip bags with foliage! Wet wraps foster explosive bacterial slime and secondary Trichoderma/Aspergillus mold overgrowth during 48-hour courier delays. Wrap leaves gently in dry paper towel inside a labeled plastic bag, place roots separately in a second bag with a small pinch of damp surrounding soil so moisture stays out of leaves, pad in a sturdy crush-proof box, include insulated cold-pack protection (never touching tissue directly) in summer, and ship overnight Monday through Wednesday so samples never cook in weekend warehouse sorting.
Field Advice: Never drop sopping wet paper towels inside a zipped sample bag with cannabis leaves. Excess humidity in a warm courier truck grows secondary opportunistic fungi within 24 hours that completely obscure the real pathogen.
Comparing cost, turnaround, and immediate containment actions while waiting for lab results keeps the rest of the room protected.
Reviewing connected site and crop factors helps lock in consistent results across harvests.
Shipping dried-out or rotten leaf fragments frequently wastes a lab fee when secondary decomposers overrun the sample.
“Do I need a moist paper towel inside the zip bag so my leaves do not wilt on the way to the lab?”
Question sent by: TahoePathogenLab, via X.
Never seal damp or wet paper towels inside bags with leaves. Moisture trapped inside warm courier trucks causes bacterial rot and surface molds within 24 hours that destroy the sample. Wrap leaves gently inside a dry paper towel and keep a separate sealed cool pack buffered outside the bags.
Verifying environmental and physical checkpoints before layering a second intervention avoids compounding preventable crop stress.
Practical Decision Framework: When to Test vs Quarantine and Cull
Molecular diagnostics are an investment tool, use them selectively when the answer alters propagation or room hygiene decisions.
Cost-Benefit Triage for Home Growers vs Mother Repositories
If a single disposable seed plant in a hobby 3×3 tent shows bizarre terminal decline near Week 6 of flower while three neighbors thrive cleanly, spending $80 to $150 on multi-pathogen PCR rarely outperforms bagging that plant safely and finishing clean sisters. Conversely, if a prized keeper mother plant or incoming batch of rooted clones drives your next 6 months of cycles, screening root-and-leaf composite samples for HLVd and Fusarium saves entire crops.
Actions to Take While Results Are Pending
Treat suspected plants as infectious the moment you ship the sample: isolate them onto separate runoff trays, assign dedicated clippers and gloves, halt clone taking, and always inspect/water clean rooms first before tending quarantined stock.
| Crop Situation | Recommended Action | Sampling Timing | While Waiting for Results |
|---|---|---|---|
| Incoming clone batch entering quarantine | Submit composite root/petiole swab for HLVd qPCR on Days 3-7 | Fresh active root tips + lower petiole | Keep 100% isolated from clean moms; dedicated tools and trays |
| Single hobby seed plant wilting unevenly | Isolate & inspect root collar/vascular streak locally first | Sample only if multi-plant spread appears | Bag suspected debris; sanitize tools with Virkon/bleach |
| Repeated unexplained stunting across consecutive runs | Full pathology panel + water/media EC/pH lab check | Early symptomatic transition stage | Pause new transplants; review mother lineage and clone source |
| Suspected powdery mildew on precious mother stock | Confirm under 20x-40x lens; culture/PCR only if legal or resistance tracking | Fresh leaf patches dry-wrapped | Quarantine away from airflow currents; stop cloning off stock |
Properly interpreting lab reports, especially knowing the limits of a single swab, prevents both false security and panic.
Remember: For Hop Latent Viroid (HLVd) screening, root tips and lower mature petioles accumulate viral titers earlier and more consistently than brand-new upper canopy shoot tips.
Keeping clear operational boundaries prevents well-intentioned shortcuts from compounding small mistakes.
Understanding what legal restrictions apply to interstate sample transport keeps both growers and diagnostic clinics protected.
“My clone passed an HLVd PCR test using top leaves last month, yet it now looks stunted and brittle. Could the lab have missed it?”
Question sent by: Reid Esposito, via contact form.
Yes. HLVd titers distribute unevenly through vascular tissue and frequently build up in roots and lower stems weeks before reaching high levels in new apical shoots. Re-test using a composite sample combining active root tips and older lower petioles, and maintain tool sterilization between cuts.
Keeping clear field measurements across consecutive checks ensures adjustments track the real root cause accurately.
Common Diagnostic Lab Mistakes and False Negative Traps
A ‘Negative’ lab result does not prove a crop is sterile if sampling technique missed uneven pathogen distribution.
Incomplete Pathogen Distribution and HLVd Sampling Blind Spots
Hop Latent Viroid concentrates unevenly across plant organs: a newly infected plant often tests negative in young upper fan leaves for weeks while already testing strongly positive in root tips and lower older petioles. Reputable labs specify multi-site composite sampling (e.g., 2 to 4 petioles plus root tips per plant) specifically to minimize false negatives.
Submitting Already-Sprayed Leaves or Post-Harvest Dried Scrap
Applying fungicides, sulfur, or alcohol right before pulling a pathology culture sample suppresses pathogen recovery on agar plates, yielding misleading negative cultures. Similarly, never pull samples after baking heat stress without documenting prior sprays on the submission sheet.
Confusing Secondary Saprophytes With Primary Killers
Dead stems sitting outdoors for two weeks attract dozens of harmless opportunistic decomposers (Alternaria, Penicillium, Rhizopus). When labs report ‘secondary saprophytes isolated from necrotic tissue,’ it usually means the submitted sample was already too decayed to find the original killer.
Clean Lab Submission Habits
Verify state or provincial cannabis/hemp acceptance laws before shipping; sample living transition tissue along lesion borders; wrap leaves in dry paper towels inside double-labeled bags; ship overnight early in the week (Mon-Wed) with photographs attached.
Sample Errors That Ruin Results
Avoid sealing wet paper towels into foliage bags; avoid shipping strictly crispy dead brown leaves; avoid cross-contaminating scissors between healthy and sick plants during collection; avoid mixing soil cores loose inside leaf sample bags.
Treating lab confirmation as one structured diagnostic step alongside on-site observation produces clear crop recovery plans.
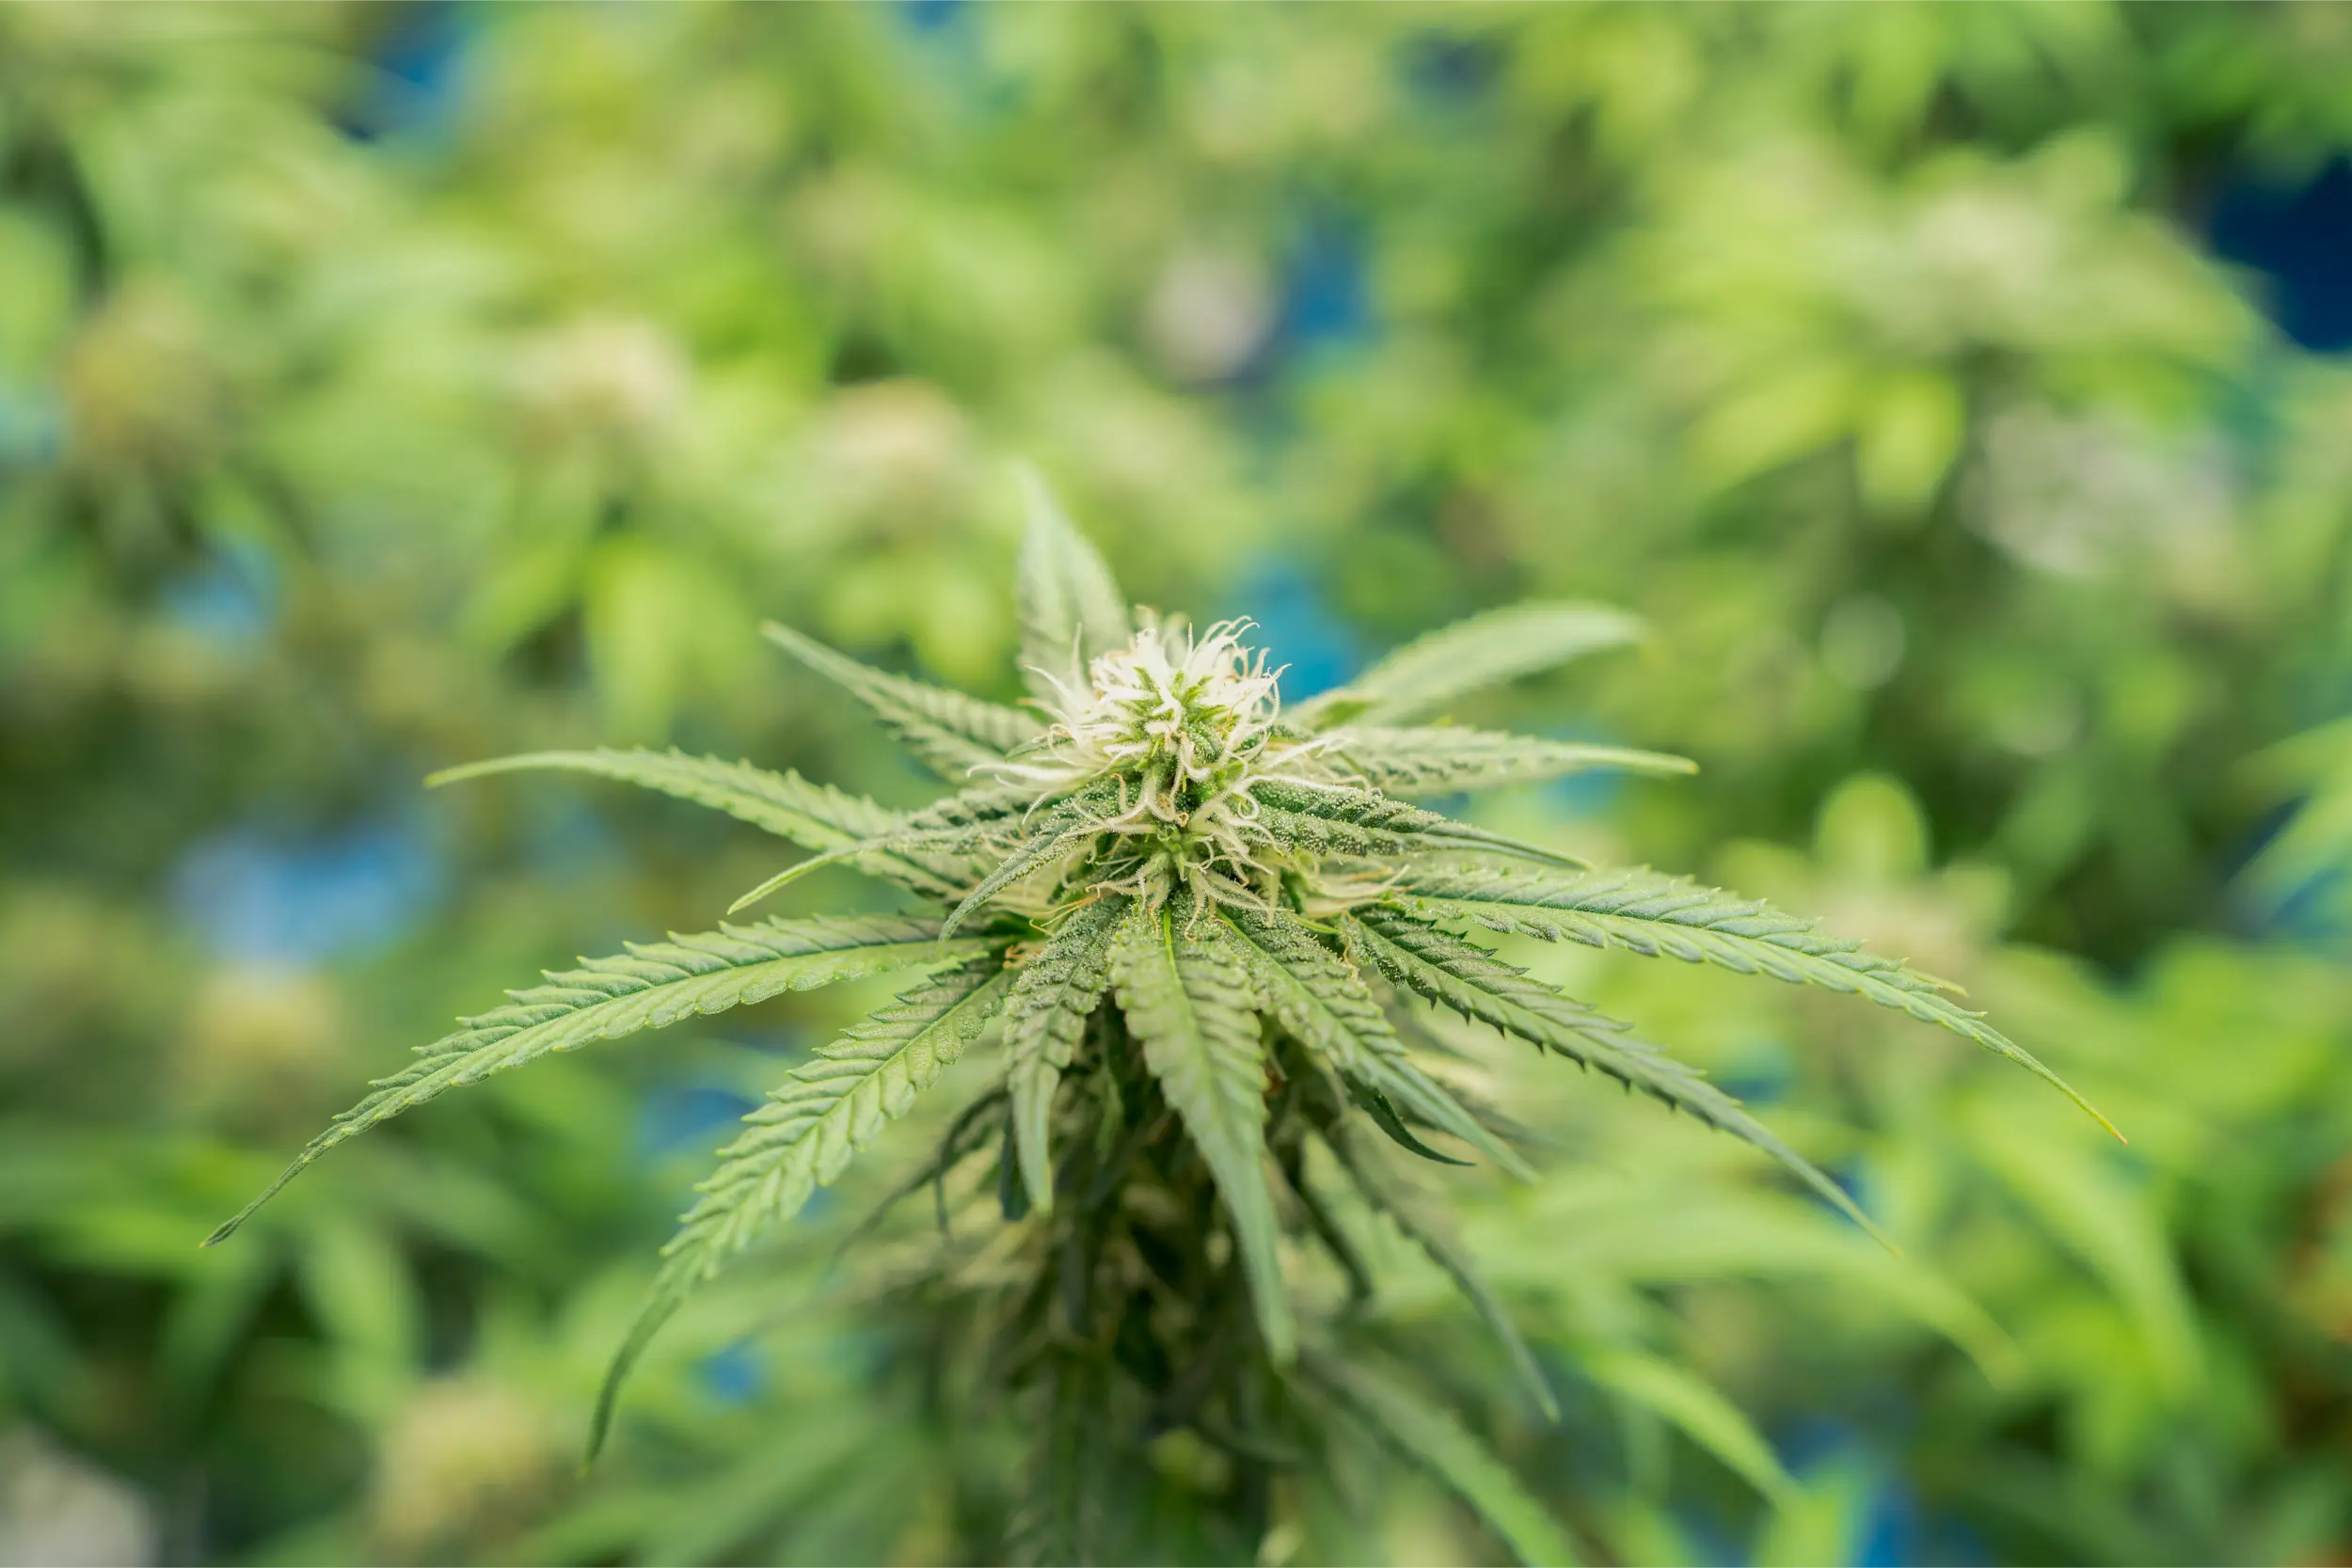
Documented canopy checkpoints and baseline equipment readings make follow-up evaluation fast and objective.
Step-by-Step Sample Preparation Checklist and Report Follow-Up
Standardize collection hygiene, form metadata, and quarantine protocols before sending tissue off-site.
Attach Clear Context Metadata Alongside Tissue
Every professional plant clinic asks for cultivar age, recent pesticides or fertilizers, soil vs hydro medium, indoor temp/RH history, and crisp macro photos of both whole plants and single lesions. Context turns a raw Latin fungus name into actionable field guidance.
Closing the Loop on Positive Reports
When a lab confirms an aggressive systemic pathogen such as HLVd or Fusarium oxysporum f. sp. cannabis, resist half-measures: dispose of infected plant biomass cleanly in sealed bags, sterilize non-porous benches and shears with virucidal disinfectants (such as 10 percent household bleach soaked >= 1 to 2 minutes or labeled Virkon/peracetic products), discard porous rockwool/soil/hemp pots, and verify replacement stock clean.
Plant Diagnostic Lab Sample Submission Checklist
- Confirm legal jurisdiction and lab acceptance policy for cannabis, hemp, root-only, or foliar samples prior to cutting.
- Photograph whole plant posture, branching pattern, and close-up transition lesions under bright neutral light first.
- Sterilize shears with 70% alcohol or fresh bleach solution between each individual sampled plant.
- Cut living symptomatic border tissue (roots kept separate from foliar stems/leaves) rather than dried or rotten mush.
- Wrap foliar pieces gently in dry unbleached paper towel (never sopping wet) and pack roots separately in labeled zip bags.
- Fill out the lab intake form completely with cultivar stage, substrate, irrigation water, and any recent spray history.
- Ship overnight Monday through Wednesday with insulated ice pack separation and keep the source plant strictly quarantined.
Clean submission discipline gives you definitive answers in days instead of guessing across months of damaged harvests.
Acting cleanly while awaiting results prevents spreading hidden viroids or root pathogens across propagation trays.
“What kind of lab test do I order if I suspect root-knot nematodes or Pythium vs simple fertilizer burn?”
Question sent by: VictoriaPCRCheck, via Facebook page.
First order a media/water EC and pH test or local saturated-paste check to catch basic salt burn quickly. If root discoloration persists with normal EC/pH, submit a pint of feeder roots plus adhering moist root-zone soil to an agricultural plant diagnostic clinic requesting oomycete plating/PCR and nematode extraction.
Consistent routine tracking keeps long-term crop hygiene and quality repeatable from harvest to harvest.
Scientific References
- Punja, Z. K. (2021). Emerging diseases of Cannabis sativa and sustainable management. Pest Management Science.
- Warren, J. G., Mercado, J., & Grace, D. (2019). Occurrence of Hop Latent Viroid causing disease in Cannabis sativa in California. Plant Disease.
- Cornell University Plant Disease Diagnostic Clinic & National Plant Diagnostic Network (NPDN). Standard guidelines for plant sample collection, dry wrapping, and shipping.
- Adhikary, D., et al. (2021). Molecular diagnostics and RT-PCR distribution bias in viroid-infected hemp and cannabis tissues. Frontiers in Plant Science.
Share this article
A quick overview of the topics covered in this article.
Follow us
Latest articles
November 17, 2026
November 17, 2026
November 17, 2026
November 17, 2026