
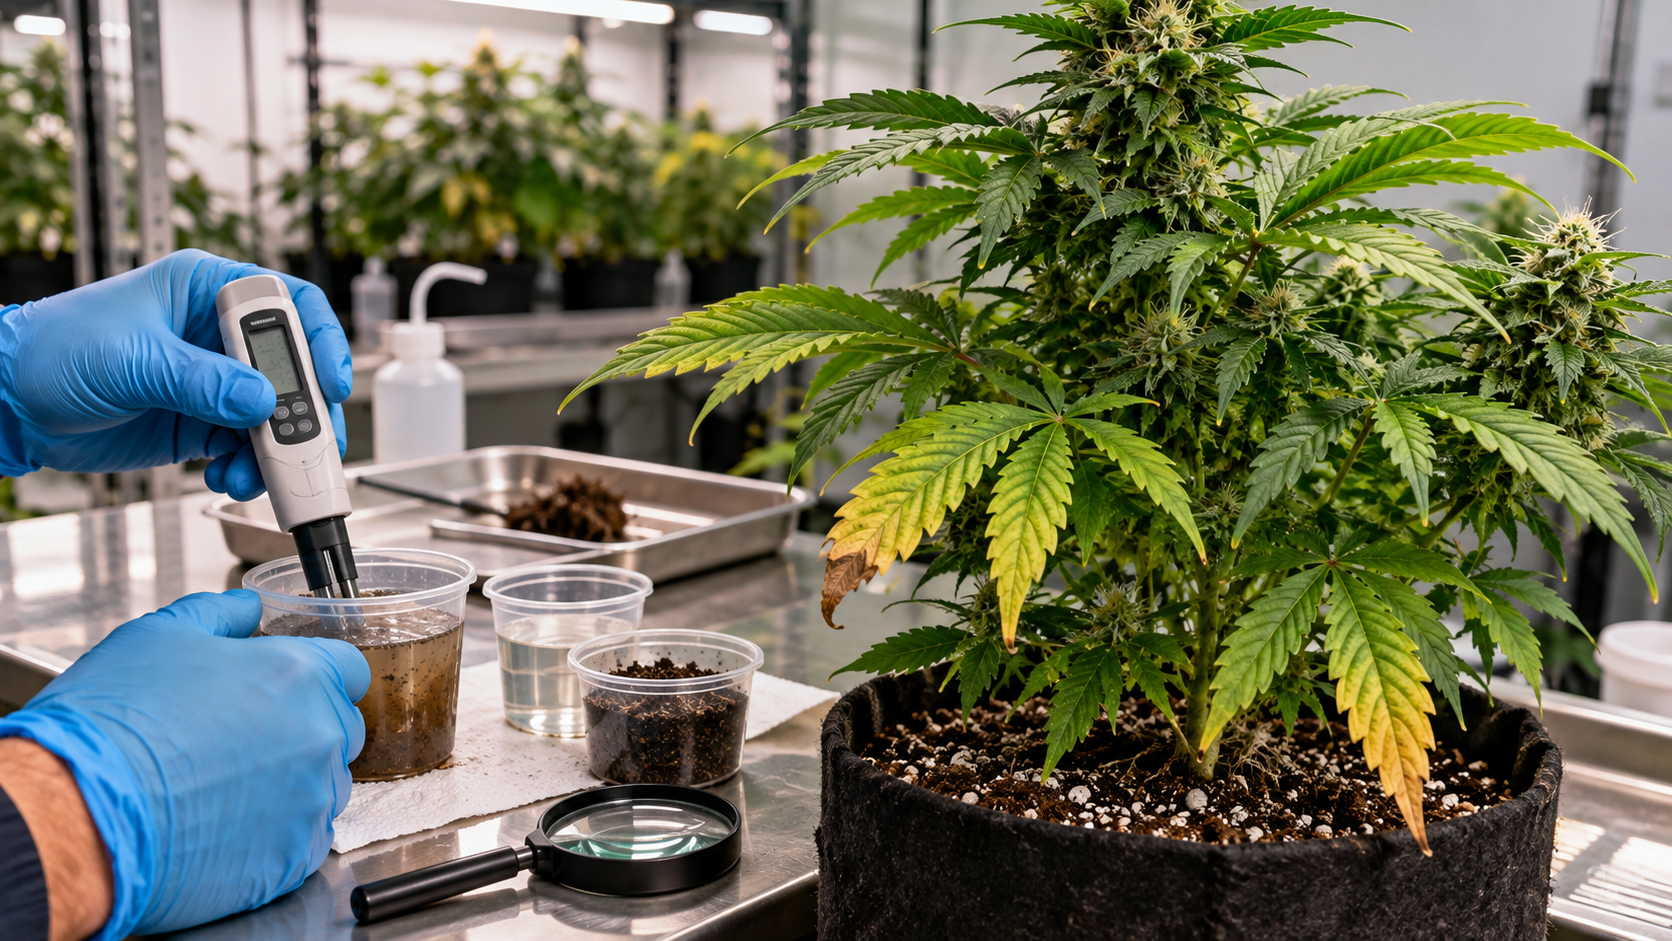
Cannabis Damping-Off: Seedling and Cutting Collapse
A cannabis seedling that pinches at the soil line and falls over may have damping-off. So may a seed that decays before it emerges or a freshly rooted cutting that develops a dark, girdling lesion and collapses in its plug. These outcomes look simple, but the cause is not.
Damping-off is a disease pattern, not the name of one organism. Pythium, Fusarium, Rhizoctonia, and other pathogens can attack young cannabis tissue. Poor seed quality, planting errors, dry or saturated media, fertilizer injury, heat, cold, weak light, physical damage, and fungus gnat feeding can produce some of the same early failures.
The practical job is to separate failure before emergence from collapse after emergence, examine the root and stem-base tissue, map the affected tray or source line, stop movement through water and tools, and preserve a useful sample before the evidence disappears.
What Damping-Off Means in Cannabis Propagation
Damping-off describes lethal disease in germinating seeds, seedlings, young transplants, or vulnerable cuttings. Infection may destroy the seed or shoot before it appears above the medium, attack the root system during emergence, or girdle the lower stem after the plant is visible. The affected plant often has too little intact tissue to recover.
Damping-off
Seed decay, failure before emergence, or collapse of a young seedling or cutting after pathogenic attack at the roots, crown, or stem base. Appearance alone cannot identify the responsible organism.
Cannabis and hemp references associate damping-off with several fungi and oomycetes. Reported possibilities include Fusarium oxysporum, members of the Fusarium solani species complex, Pythium species, Rhizoctonia solani, Macrophomina phaseolina, and, in some references, Botrytis cinerea. Not every organism has the same infection biology, preferred conditions, or control response.
That difference matters. A treatment directed at an oomycete is not automatically effective against a true fungus. A laboratory detection also needs interpretation because a recovered organism must fit the affected tissue and disease pattern.
Important: Damping-off is the visible outcome. It does not identify Pythium, Fusarium, Rhizoctonia, or any other cause from the shape or color of one collapsed stem.
Pre-emergence damping-off
Pre-emergence damping-off occurs when a seed rots, a germinating root is destroyed, or the shoot dies before reaching the surface. The tray may show empty cells, delayed emergence, or irregular gaps. Because no collapsed seedling is visible, the loss is easily blamed on seed viability.
Excavate representative failed cells carefully. An intact firm seed that never germinated creates a different investigation from a soft, dark, decomposing seed or a germinated seed with a rotted radicle. Planting depth, moisture distribution, medium temperature, salinity, and seed-lot history must be considered alongside disease.
Post-emergence damping-off
Post-emergence disease attacks tissue after the seedling appears. A water-soaked, brown, dark, or constricted lesion may develop at or just below the medium line. As the stem loses strength, the seedling bends or falls while the upper leaves may still look green. Roots may be reduced, discolored, soft, or decayed.
In young cannabis cuttings, the equivalent pattern may involve poor rooting, crown or stem-base discoloration, a girdling lesion, internal browning, wilt, and collapse. Cannabis research has recovered Fusarium from diseased cuttings in rockwool and has traced propagation-stage Fusarium disease back to infected stock plants in commercial facilities.
A failed cutting is not automatically damping-off
Unrooted cuttings depend on stored water, a functional stem, and suitable propagation conditions while new roots form. They can wilt or die from desiccation, heat, poor stem contact, damaged tissue, excessive leaf area, unsuitable light, or physiological weakness without a confirmed pathogen. Damping-off becomes more plausible when there is progressive root or stem-base necrosis, a repeated tray pattern, source-line association, or diagnostic evidence.
How to Identify Pre- and Post-Emergence Patterns
Inspect the propagation group before removing plants. Record whether losses follow one seed lot, mother plant, tray, plug type, bench, mist zone, water source, tool sequence, or transplant date. A defined pattern can reveal the pathway and tells the laboratory which plants should be compared.
Start with the stage of failure
Separate cells into four groups: no emergence, emerged but stalled, visibly diseased, and apparently healthy. For cuttings, distinguish unrooted material, callused material, newly rooted material, and established transplants. The same symptom means something different at each stage.
Do not calculate a single failure percentage and stop there. Map where each group sits in the tray. Edge cells may dry or overheat differently from the center. Cells directly under a mist nozzle may remain wet. A source-line pattern can be hidden when several mothers are mixed in one tray.
Examine the seed, root, crown, and stem base
Use a clean tool to lift the entire plug or a small section of surrounding medium. Look for a germinated seed, root tips, fine-root loss, soft tissue, discoloration, a distinct lesion, and the boundary between healthy and damaged tissue. Compare a newly affected plant with a healthy plant from the same batch.
A stem narrowed to a thin thread at the medium line is strongly compatible with post-emergence damping-off, but the organism still requires diagnosis. A dry stem that is uniformly thin from weak light or a plant bent by handling does not provide the same evidence.
Texture and progression matter more than color
Propagation media, nutrients, rooting compounds, seed coats, algae, and organic inputs can stain tissue. Disease concern rises when roots or the stem base become water-soaked, soft, sunken, constricted, easily separated, or progressively necrotic. Firm tissue with stable discoloration carries less weight than an expanding lesion.
Photograph the plant before and after lifting it. Include the full tray, the affected cell, the lower stem, roots, medium moisture, and a healthy comparison. A close-up without the tray pattern loses important diagnostic context.
Warning: Do not mound extra wet medium around a pinched or rotting stem to hold the plant upright. Support cannot restore girdled tissue, and burying the lesion can obscure evidence or extend the wet contact zone.
Grower question: My seedling fell over at the soil line. Can I stand it up and add more soil?
First inspect the stem base. A healthy but stretched seedling may need better light and temporary support, while a constricted, soft, or expanding lesion suggests lost tissue integrity. Isolate the cell, preserve a representative sample, and avoid adding wet medium over a suspect lesion.
Question sent by: MikeH_78, via email.
Laboratory diagnosis becomes more valuable in repeated losses
Contact a plant diagnostic laboratory before collecting. Submit plants at the advancing stage of disease, not only dry seedlings that have been dead for days. The laboratory may request intact plugs, roots, crown and stem-base tissue, seeds from failed cells, water, or several symptom stages.
Isolation, microscopy, and molecular identification can help distinguish fungi from oomycetes and separate species. Pathogenicity information and the crop pattern remain important because a microbe recovered from dead tissue is not automatically the primary cause.
Field Advice: Preserve untreated plants from the leading edge of the problem before applying a drench, oxidizer, biological product, or disinfectant. Dead tissue is quickly colonized by secondary organisms.
Damping-Off Look-Alikes
Several common propagation failures can mimic part of the damping-off pattern. Use the next observation that separates them rather than diagnosing from a photograph of a fallen plant.
| What you find | Possible explanation | Best next check |
|---|---|---|
| Empty cells with intact, firm seeds | Low viability, dormancy, planting depth, temperature, or uneven moisture | Compare the seed lot, sowing record, failed seeds, and germination under a documented method |
| Soft or decomposing seed before emergence | Pre-emergence damping-off or seed decay | Submit representative seeds and surrounding medium before secondary decay dominates |
| Long, pale, uniformly thin stem without a necrotic lesion | Insufficient light or crowded growth | Verify light distribution and compare stem tissue at the medium line |
| Pinched, water-soaked, brown, or dark lesion at the medium line | Post-emergence damping-off | Inspect roots and lesion margin; obtain organism-level diagnosis when losses repeat |
| Dry plug, brittle roots, and wilt without progressive rot | Desiccation or uneven irrigation | Check plug moisture throughout the tray and emitter or mist coverage |
| Saturated plug, stalled growth, firm tissue, no expanding lesion | Low oxygen or overwatering without confirmed infection | Correct the physical water problem and track whether tissue remains intact |
| Burned root tips or seedling margins after feeding | High soluble salts or fertilizer injury | Verify the input and root-zone conductivity with a stage-appropriate method |
| Stem bruised or bent at a handling point | Mechanical injury | Trace the damage to transplanting, a dome, a label, a tool, or handling event |
| Larvae, feeding scars, and persistently wet organic media | Fungus gnat injury, possibly with root disease | Identify larvae and inspect roots for both feeding damage and decay |
| Cuttings from one source root poorly without clear rot | Stock-plant health, cutting quality, cultivar response, or HLVd | Compare source plants, cutting position, rooting records, and appropriate testing |
Stretching causes lodging, not a rotted collar
A light-starved seedling may develop a long, weak stem and lean or fall. Its stem is usually continuous and firm rather than water-soaked or pinched at one necrotic point. Correct light and spacing gradually, support the plant if needed, and avoid burying a damaged section before it is inspected.
Overwatering and infection can coexist
A saturated plug loses air and can slow rooting without a pathogen. The same wet environment can increase susceptibility and support pathogen movement when inoculum is present. Improvement after irrigation correction supports an important abiotic component, but progressive tissue decay or new cases in connected cells deserves containment and testing.
Use Root Rot vs. Overwatering when the first question is physical saturation versus tissue decay. Use the Pythium Root Rot guide when soft roots and shared water are central, and the Fusarium on Cannabis guide when source stock, crown discoloration, vascular tissue, or stem lesions are involved.
Cutting wilt has several noninfectious routes
A cutting can lose water faster than it can replace it before roots form. A poor stem cut, air gap in the plug, excessive leaf temperature, low humidity, excessive airflow, or damaged mother material can cause wilt. Raising humidity without examining the plug and stem can increase wetness while missing the original problem.
Do: Combine failure stage, tray pattern, tissue integrity, medium history, source records, and an appropriate diagnostic test.
Avoid: Naming the pathogen from one pinched stem or assuming every failed seed was nonviable.
How Pathogens Enter and Move Through Propagation
Propagation concentrates young susceptible plants, moisture, repeated handling, and shared tools in a small area. A pathogen introduced in one source plant, plug batch, tray, water line, or dirty surface can therefore reach many plants before symptoms become obvious.
Mother plants can connect generations
Research in commercial cannabis facilities has shown that Fusarium oxysporum can colonize stock plants and that damping-off in cuttings can be traced back to diseased source plants. Some visually asymptomatic cuttings from infected stock also yielded the organism under the study conditions. Appearance alone therefore cannot qualify replacement stock as clean.
Every tray should retain its source identity. Record the mother, cultivar, cutting date, propagation station, worker or tool sequence, plug batch, and destination. Mixing several mothers in one unlabeled tray destroys the evidence needed to define an exposure boundary.
Seeds and media can introduce risk
Seed lots differ in vigor, cleanliness, storage history, and surface contamination. Growing media may carry soilborne organisms if production, storage, transport, or handling is compromised. Even a commercially prepared substrate can be contaminated after the bag is opened or when scoops and trays touch floors or reused debris.
Store seed and media dry under appropriate conditions, keep lots identifiable, and prevent clean material from contacting used benches, tools, water, or containers. Do not combine leftover moist media from a suspect batch with new material.
Water connects cells and trays
Mist, splash, runoff, flood tables, shared reservoirs, hoses, and standing water can move inoculum. Some Pythium species produce motile zoospores that move in water. Fusarium propagules have also been recovered from drainage and production water in cannabis facilities.
Map the full water path, including source, treatment, tank, hose, nozzle, tray, drain, return line, filter, and any place where roots or debris enter. A clear-looking reservoir or mist line is not proof that the path is biologically clean.
Tools, hands, pests, and surfaces bridge clean and dirty zones
Cutting blades, dibbles, humidity domes, labels, hands, gloves, carts, meters, and phones can move wet debris between plants. Fungus gnats and shore flies can carry propagules within greenhouse environments and also create root injury. Their presence does not identify the damping-off organism, but it belongs in the movement investigation.
The environment changes susceptibility
Persistent saturation, poor drainage, low oxygen, prolonged leaf or stem wetness, crowding, weak light, temperature stress, excessive fertility, and slow rooting can extend the window in which young tissue is vulnerable. Different pathogens can be favored by different temperature and moisture combinations, so there is no single cannabis damping-off threshold.
What to Do When Seedlings or Cuttings Collapse
The first response should stop movement and protect evidence. Do not drench the entire propagation room before determining which tray, source line, or water path is involved.
1. Isolate the affected propagation unit
Separate the tray or defined group without carrying runoff or loose media across clean benches. Stop distributing plants from the affected batch and stop taking cuttings from a source plant linked to repeated losses. Work clean trays before suspect trays.
Do not place a diseased cell into a healthy tray to fill a gap. Keep apparently healthy exposed plants identifiable and separate until the boundary is understood.
2. Map and photograph the pattern
Mark no-emergence cells, collapsed seedlings, stalled plants, and healthy comparisons. Record seed lot or mother, tray and plug batch, sowing or cutting date, irrigation or mist zone, rooting input, recent environmental events, and product applications.
Photograph the full tray before removing anything. Then photograph the intact plug, roots, stem base, lesion margin, and seed where relevant. Note whether the problem follows edges, wet centers, one source line, or a drainage path.
3. Preserve representative material
Select plants at the leading edge of decline. Keep the root system, plug, crown, and lower stem together unless the laboratory gives different instructions. Include failed seeds or intact cells for a pre-emergence case and a healthy comparison from the same batch.
A tray of dried remains is less useful than several stages of active disease. Label every sample so laboratory results can be connected back to the source and location.
4. Correct verified physical failures
Stop standing water, clear blocked drainage, repair mist or irrigation coverage, and correct unsafe heat, cold, light, or airflow conditions. Use the normal operating procedure for the propagation system rather than forcing plugs to dry rapidly.
These corrections reduce ongoing stress. They do not disinfect an infected plug, repair a girdled stem, or prove that connected plants are clean.
5. Remove unrecoverable tissue carefully
Contain collapsed plants, seeds, roots, plugs, and loose debris before carrying them out. Do not compost or reuse suspect propagation material inside the grow. Clean the removal path and keep discarded tissue away from water sources and clean media.
Warning: Do not reuse a plug, cell, or wet medium from a collapsed seedling or cutting. The plant is not the only material that may carry inoculum.
Grower question: Is high humidity under the dome enough to prove it caused damping-off?
No. Prolonged condensation and wet tissue can increase risk and slow drying, but humidity does not identify the organism or prove infection. Check the stem base, roots, plug moisture, mist coverage, airflow, source stock, and distribution across the tray.
Question sent by: GrowinWithDan, via contact form.
Seed, Clone, Plug, and Field Response
The diagnostic principle is the same across propagation systems, but the unit of concern and first useful check change. A direct-seeded field row, a humidity dome, and an aeroponic cloner do not share the same water or handling pathways.
| Propagation system | Inspect first | Containment priority | Common mistake |
|---|---|---|---|
| Seeds in cells or plugs | Seed condition, depth, emergence map, plug moisture, stem base, roots, seed-lot record | Keep lots and trays separate; remove failed cells without spilling wet media | Blaming low viability without examining failed seeds |
| Vegetative cuttings | Mother line, cutting quality, stem contact, callus and roots, crown lesion, dome and mist pattern | Stop distribution and additional cuts from linked stock | Keeping a clean-looking cutting from a suspect mother as replacement stock |
| Rockwool, foam, peat, or coco plugs | Moisture distribution, drainage, salinity, plug batch, tray contact, root penetration | Separate exposed trays and trace water, tools, and plug handling | Squeezing or repeatedly opening plugs and damaging new roots |
| Aeroponic or recirculating cloner | Stem collars, spray coverage, reservoir, temperature, biofilm, roots, pump and filter path | Treat the connected water loop as one exposure unit | Replacing one cutting while leaving the reservoir and hardware unexamined |
| Direct-seeded field or bed | Stand gaps, seed decay, soil moisture, crusting, drainage, residue, row and low-area pattern | Limit movement of wet soil and equipment between affected and clean areas | Reseeding immediately without investigating the failed seed zone |
Seed lots need retained identity
Keep enough information to compare emergence and disease among lots without treating a home germination test as proof of field performance or freedom from pathogens. A disease laboratory may need both failed and unused seed. Do not mix lots or discard packaging before the cause is understood.
Mother plants require a stricter decision
A mother plant distributes risk to many trays. Repeated failure linked to one source, crown or vascular symptoms in the mother, or confirmed Fusarium in its cuttings justifies stopping propagation while the stock line is assessed. The value of the genotype does not reduce the exposure it creates.
Grower question: One cutting in the affected tray still looks healthy. Can I use it to replace the mother?
Not without separation and a defined health-assurance process. A clean appearance does not exclude early or latent colonization, and the cutting shares a tray, source, or water history with diseased material. Preserve its identity, quarantine it from clean stock, and let diagnostic evidence guide the decision.
Question sent by: Canuck420, via Facebook page.
Recirculating cloners expand the exposure boundary
When every cutting receives the same solution, the reservoir, pump, nozzles, collars, lid, return path, and biofilm belong in the investigation. Removing visible casualties without addressing connected components can allow new cases to appear.
Do not improvise strong oxidizer doses around unrooted tissue. Water treatment must be compatible with the equipment, water chemistry, crop stage, worker safety, and any biological program.
Control Options and Their Limits
A collapsed seedling with a girdled stem rarely has meaningful recovery capacity. The control objective is to protect unaffected plants, remove inoculum sources, correct the propagation environment, and prevent the next batch from repeating the same pattern.
Sanitation begins with cleaning
Remove roots, plugs, algae, media, and organic debris before disinfecting compatible hard surfaces. Debris can shield organisms and consume disinfectant activity. Follow the label for concentration, contact time, surface compatibility, ventilation, personal protection, rinsing, and storage.
Discard or replace porous, cracked, or inaccessible components that cannot be cleaned reliably. Include trays, domes, benches, cutting tools, dibbles, collars, reservoirs, lines, nozzles, filters, carts, drains, and measuring equipment as relevant.
Fungicide decisions require organism and label alignment
A product active against Pythium may not control Rhizoctonia or Fusarium. Laboratory sensitivity, a result in another crop, or a greenhouse recommendation does not establish that a product is registered, effective, or safe for cannabis in the user’s jurisdiction and production stage.
Use only products permitted for the crop, site, disease, and location, exactly as the label directs. Seed treatment, propagation treatment, root drench, and surface disinfection are not interchangeable uses. Consider residue, worker exposure, rooting inhibition, resistance management, and disposal requirements.
Biological control is not a universal rescue
Cannabis research has evaluated biological agents against Fusarium damping-off and Pythium root and crown rot, with some preventive applications reducing disease under defined experimental conditions. Performance depends on the strain, formulation, timing, pathogen, substrate, environment, and compatibility with other inputs.
A biological product does not reconnect a girdled stem. If a permitted product is used, apply it within a documented integrated program and judge it by reduced new disease and healthy new roots, not by whether dead tissue changes color.
Home remedies can destroy evidence or tissue
Strong peroxide, bleach, concentrated essential oils, spices, teas, and improvised drenches can injure seeds and emerging roots or alter the organisms available for diagnosis. A remedy that appears to reduce surface growth does not establish control inside the plug, root, or stem.
Do: Match sanitation and any legal crop treatment to the confirmed or strongly supported organism, production stage, surface, and system.
Avoid: Treating every tray with several products after the first seedling falls, then losing the chance to identify the pathway.
Prevention and Verification
Damping-off prevention is a chain of small barriers. Clean stock and seed, protected media, clean water, intact tools, suitable moisture, rapid healthy rooting, traceable batches, and disciplined movement each reduce the opportunity for a disease complex to establish.
Start clean and keep lots separate
Use seed, cuttings, plugs, media, trays, and water with a known handling history. Store unused material away from floors, runoff, used containers, and open drains. Label seed lots and mother lines before propagation begins.
Quarantine incoming plants and prevent them from sharing water or tools with established clean stock. Inspect mother plants, roots, crowns, and pruning sites. Repeated propagation failure is itself a stock-health signal even when the mother canopy looks acceptable.
Manage moisture for the stage and system
Moisture should support germination or rooting without leaving roots and stem bases continuously saturated. Verify plug moisture across the tray rather than judging the top surface or following a fixed clock. Adjust irrigation, mist, dome use, airflow, and spacing as roots develop and plant water use changes.
Avoid universal temperature and humidity targets. Cultivar, cutting size, propagation medium, room design, pathogen, and rooting stage all change the useful range. Measure the actual environment and compare healthy and failing batches.
Verify the next batch, not only the cleaned room
| Checkpoint | What to record | Evidence that supports progress | Reason to escalate |
|---|---|---|---|
| Initial finding | Tray map, seed lot or mother, symptom stage, stem and root condition, water and tool paths | A defined exposure boundary and representative untreated samples | Multiple source lines, connected water, rapid spread, or an unclear boundary |
| Early recheck | New failures, lesion expansion, plug moisture, irrigation correction, exposed healthy plants | No new cases outside the defined group and no expansion in isolated damage | Additional collapse, spread along a water path, or disease in another tray |
| Rooting or establishment period | Emergence, root initiation, stem integrity, water use, laboratory findings | Uniform establishment, firm new roots, intact collars, and stable source lines | Recurring gaps, stalled rooting, crown lesions, or repeated mother-line failure |
| Next propagation cycle | Lot-to-lot results, sanitation record, water checks, recurring bench or tool pattern | A healthy batch after the pathway and process were corrected | The same spatial or source pattern returns despite cleanup |
No fixed number of symptom-free days proves that a propagator, tray, or stock line is free of every pathogen. Verification should reflect the organism, diagnostic method, crop stage, production system, and consequence of redistributing exposed plants.
Damping-off prevention checklist
- Keep seed lots, mother plants, cutting batches, trays, and plug lots traceable.
- Separate incoming material from established clean stock and shared water.
- Protect unused media, plugs, trays, domes, tools, and labels from floors and runoff.
- Clean cutting tools between plants and propagation groups.
- Verify moisture across the tray instead of watering by surface appearance alone.
- Adjust mist, dome use, airflow, and irrigation as roots develop.
- Map empty cells, stalled plants, and collapsed stems before removing material.
- Preserve intact untreated samples from the active edge of the problem.
- Remove failed plants, roots, plugs, and debris without crossing clean areas.
- Use only crop- and jurisdiction-appropriate products according to the label.
- Confirm that sanitation includes reservoirs, nozzles, drains, benches, and reusable hardware.
- Review the next propagation batch for recurrence in the same source or location.
The practical decision rule
Treat a collapsed seedling or cutting as evidence of tissue failure, not immediate proof of one pathogen. Damping-off becomes a useful diagnosis when the failure stage, lesion pattern, roots, propagation history, crop distribution, and appropriate laboratory evidence support infectious disease.
When the cause remains uncertain, protect the next plants first: isolate the batch, stop distribution, preserve samples, correct verified moisture and environmental failures, trace mother and water connections, and watch whether the same pattern appears again.
Share this article
A quick overview of the topics covered in this article.
- What Damping-Off Means in Cannabis Propagation
- How to Identify Pre- and Post-Emergence Patterns
- Damping-Off Look-Alikes
- How Pathogens Enter and Move Through Propagation
- What to Do When Seedlings or Cuttings Collapse
- Seed, Clone, Plug, and Field Response
- Control Options and Their Limits
- Prevention and Verification
Follow us
Latest articles
October 19, 2026
October 19, 2026
October 19, 2026
October 19, 2026