Reusing Soil Safely After an Outdoor Cannabis Season
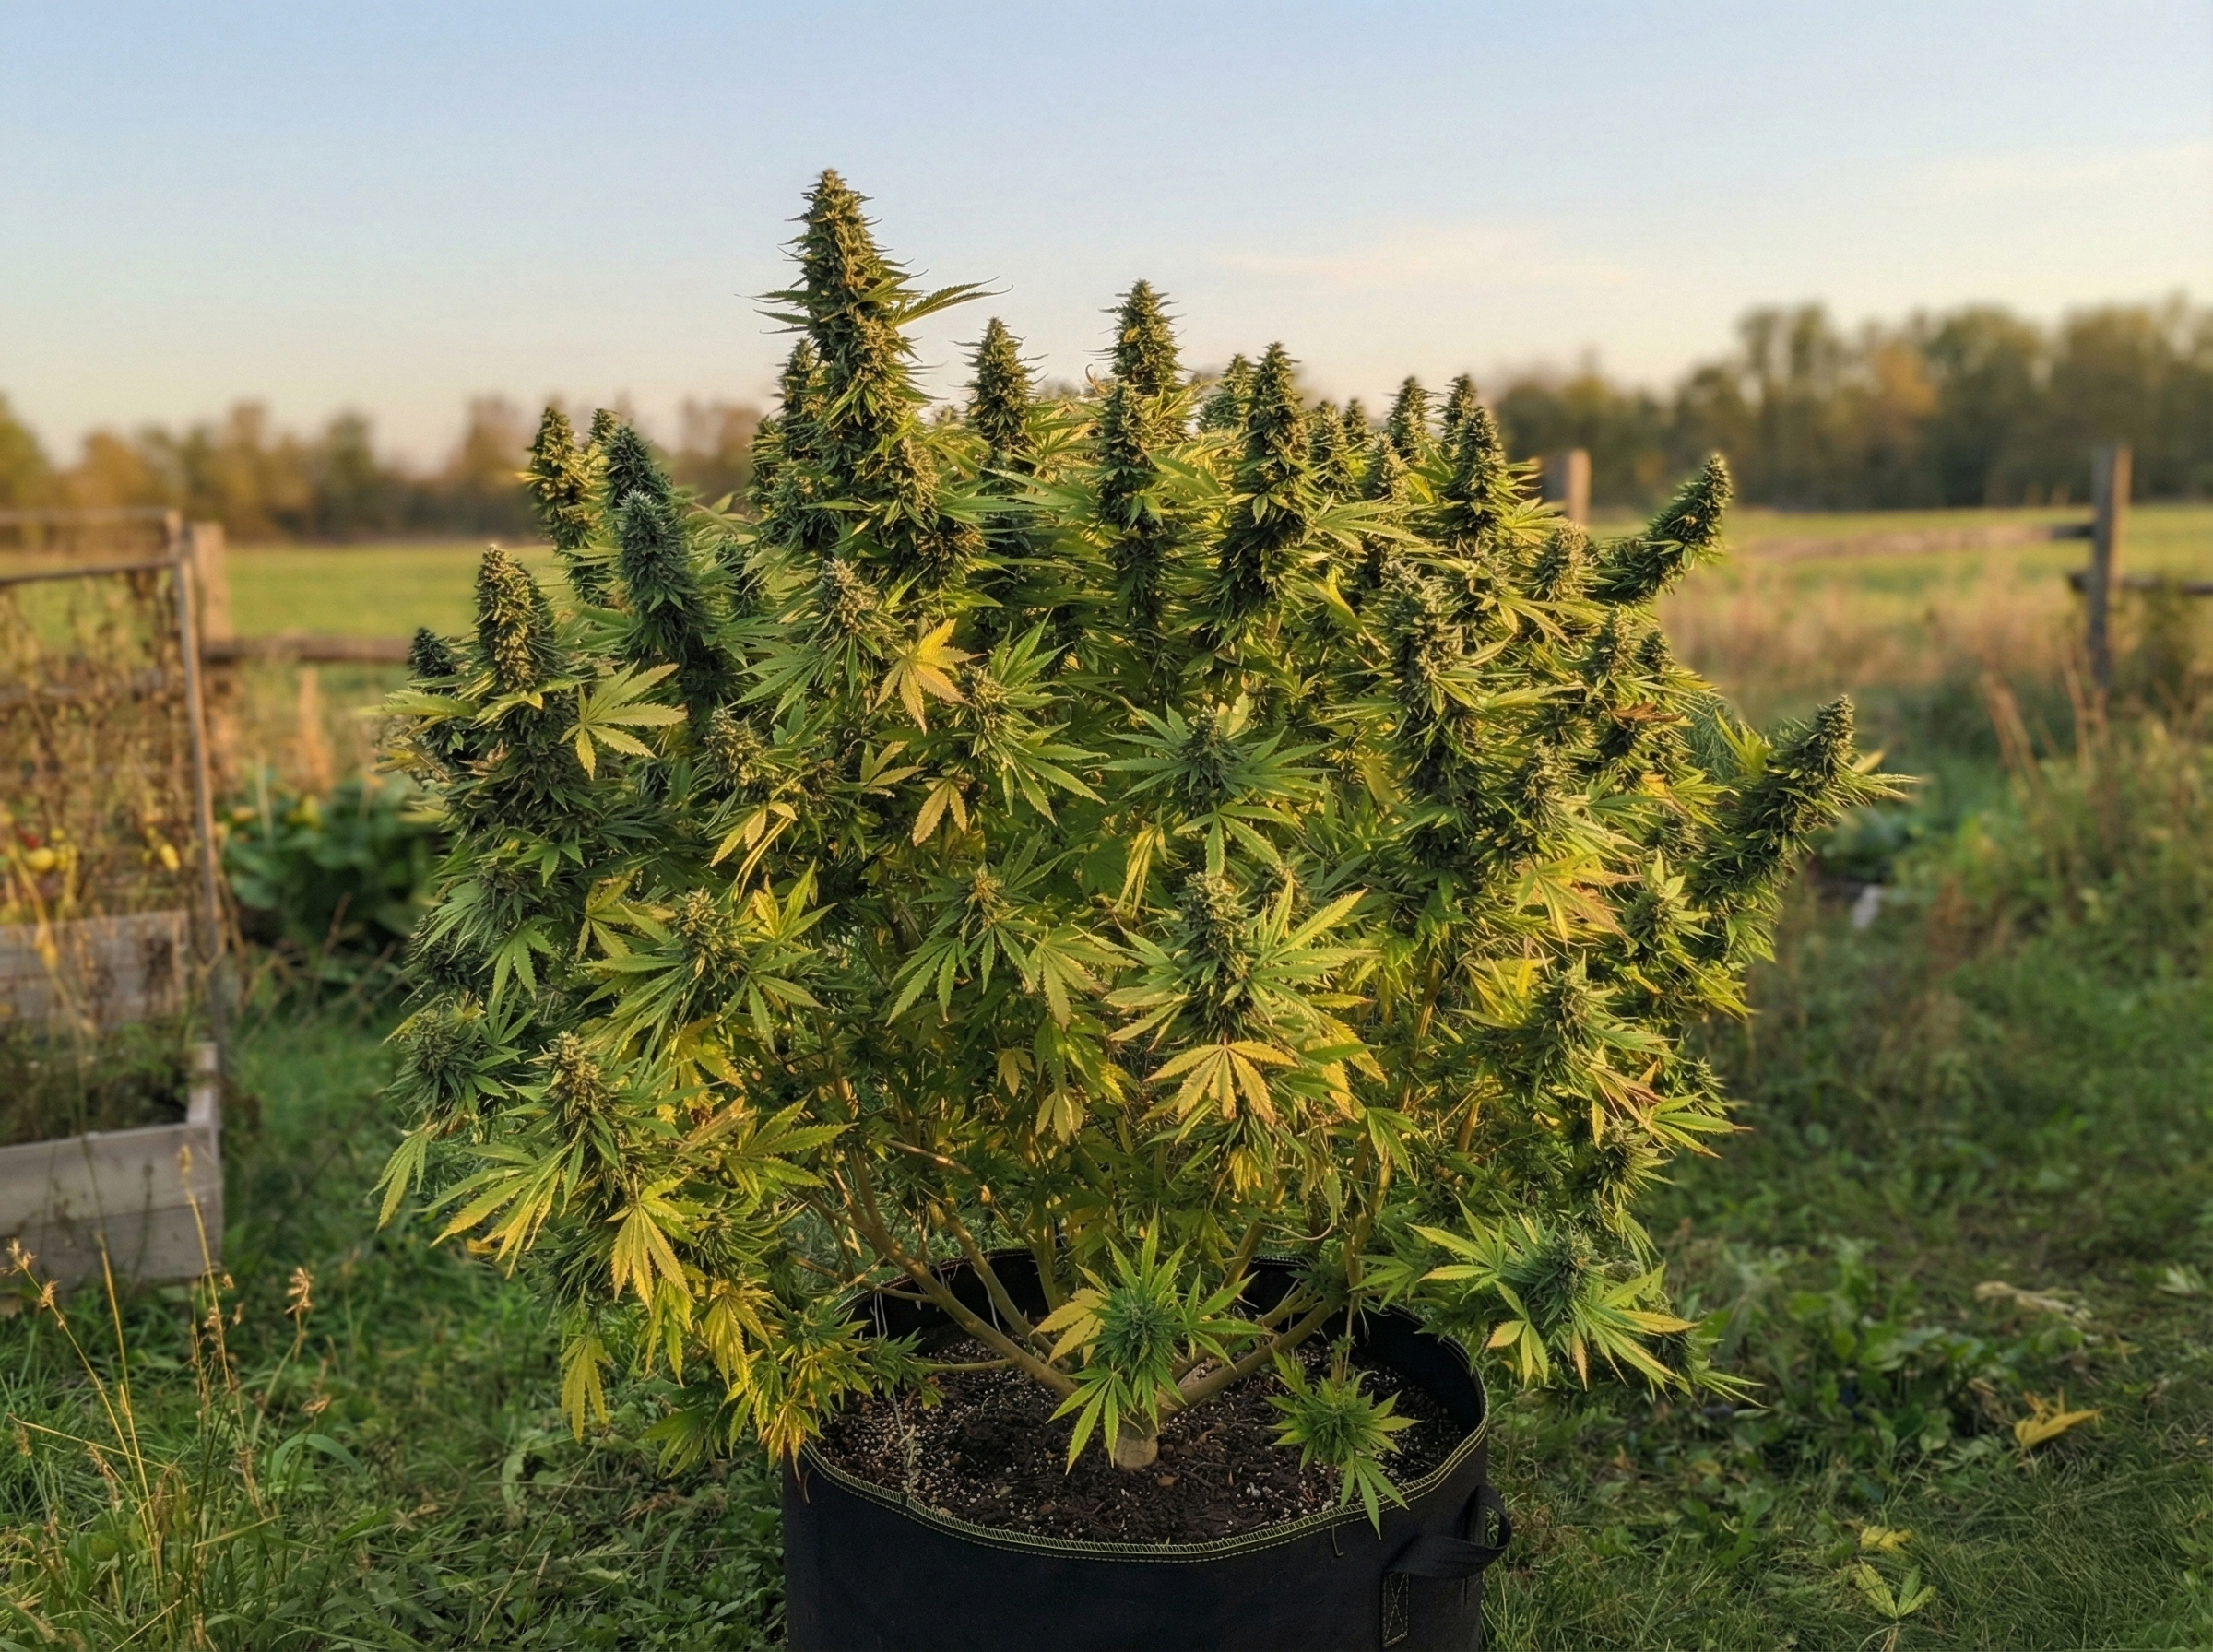
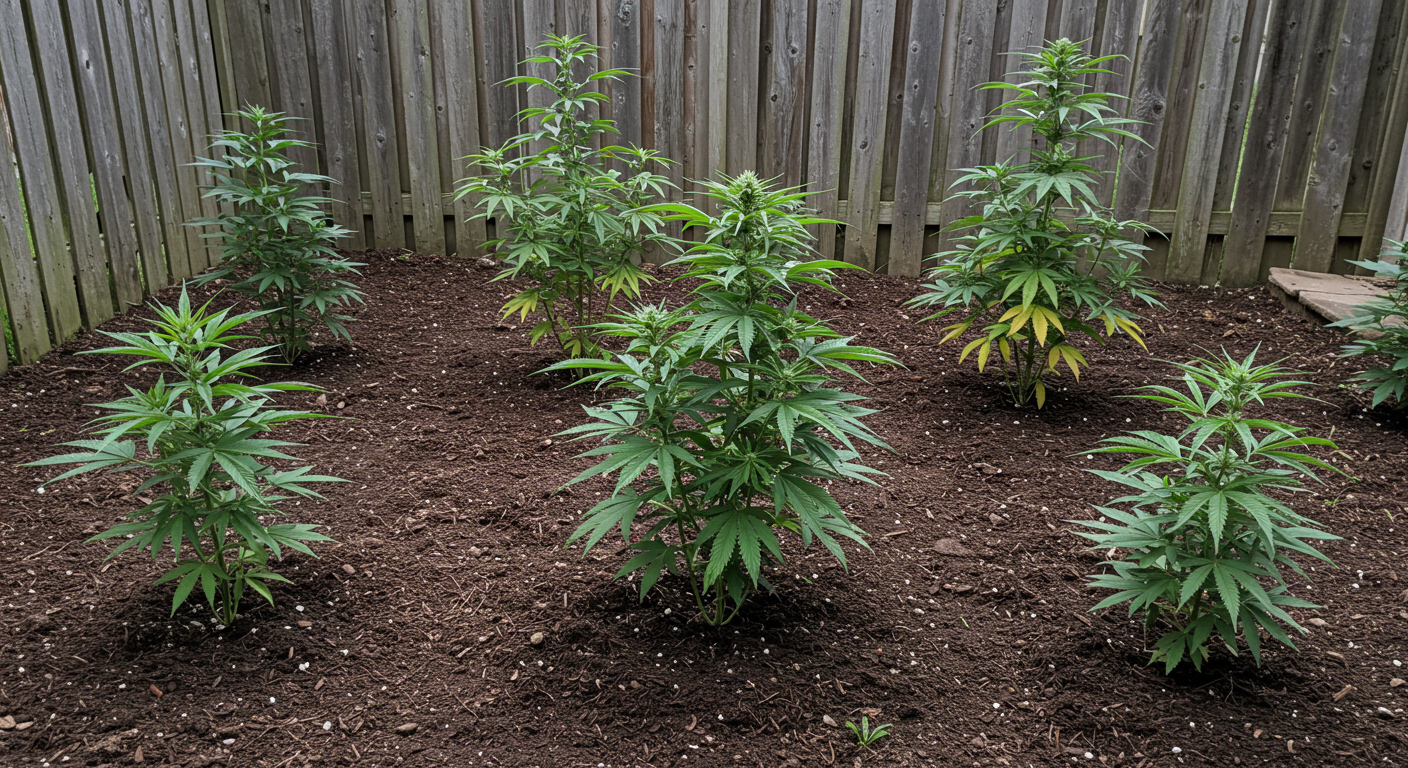
At harvest, an outdoor cannabis bed or container still contains more than the remains of the last crop. It contains a record of irrigation, fertilizer, root growth, weather, pests and every amendment added during the season. Some of those changes make a second crop easier. Others can leave a healthy-looking surface above a root zone that drains poorly, contains excessive salts or carries an unresolved disease problem.
Reuse healthy soil when its history is credible and its physical and chemical condition can support another crop. Hold questionable soil separately while you investigate. Do not put material with confirmed serious root disease or unresolved contamination back into a cannabis root zone simply because it looks dark and fertile. The relevant decision is not whether all used soil is good or bad. It is whether a specific bed or batch has earned another season, needs a measured correction, or must leave the production plan.
This guide follows that decision from the previous crop to the next planting. It distinguishes native ground from raised beds and fabricated container mixes, explains what testing can actually prove, and provides a repeatable inspection and verification sequence. The wider principles of soil composition and root-zone design belong in the cannabis soil and growing media guide. Here, every check serves the narrower question of reuse.
Can Last Season’s Outdoor Cannabis Soil Be Reused?
Usually, a healthy outdoor bed can remain in production. Mineral soil is not a disposable growing medium, and a functioning bed can retain useful root channels, aggregates, organic matter and biological activity after the annual crop is removed. Healthy container media can sometimes be used again, but their smaller volume and manufactured ingredients make changes in structure and nutrient concentration more consequential. A container with a long history of fertigation deserves closer inspection than an established garden bed with dependable drainage.
The previous crop is the first evidence. If growth was reasonably consistent, roots and crowns remained sound and no questionable inputs entered the soil, proceed to assessment. If plants collapsed while the soil remained wet, several neighboring plants developed similar root damage, or a serious soilborne pathogen was identified, stop the normal reuse workflow. Diagnosis and separation come before rebuilding. An unexplained problem is not automatically infectious, but it is not evidence of safety either.
Use four decisions rather than a universal yes or no
Reuse as-is applies only when a well-characterized bed remains physically functional and testing or reliable records show that no significant correction is needed. Even this decision includes removing problematic debris, protecting the surface and checking the root zone again before planting. It does not mean skipping inspection because last year’s flowers looked good.
Conditionally reuse means the soil appears biologically suitable but needs a limited change: a container has settled, a bed needs an evidence-based nutrient adjustment, or an otherwise usable mix rewets unevenly. The correction must be followed by a test that demonstrates it worked. Hold for investigation applies to unexplained wilt, suspect irrigation water, unexpected leaf distortion after manure, pest recurrence or conflicting test results. Exclude from cannabis production applies when serious contamination is confirmed or the physical and biological risk cannot be controlled reliably for the intended crop.
| Previous season and root zone | Provisional decision | First evidence to gather | Do not assume |
|---|---|---|---|
| Healthy plants in established mineral ground | Assess for continued use | Season records, soil test, infiltration, erosion and compaction | Normal harvest proves every nutrient remains balanced |
| Healthy plants in raised-bed soil | Assess and restore selectively | Settling, imported components, drainage, fertility and edge zones | Adding a fixed compost layer corrects every deficit |
| Healthy plants in peat-heavy or living-soil pots | Test batch before reuse | Root volume, fine-particle buildup, rewetting, media pH and EC | One pot represents every pot in a mixed batch |
| Wet pot with wilt and dark roots | Isolate pending diagnosis | Root firmness, crown tissue, water history and plant-pathology support | Every brown root proves infection, or every wet root is harmless |
| Unknown fill, spill, herbicide or heavy-metal concern | Hold until targeted assessment | Source history, appropriate contaminant analysis and specialist advice | Healthy plants or a standard fertility test prove safety |
Record the last crop before the evidence disappears
Make a simple map of each bed or label each container before you pull stems. Identify the plant or cultivar, growing medium, harvest date, fertilizer and amendment history, water source, notable weather events and any treatments. Record whether the plant finished normally or showed progressive yellowing, wilt, stem lesions or reduced water uptake while the root zone remained wet. Photograph the plant base, root condition and the area surrounding any abnormal patch.
Separate what you observed from what you suspected. “Plant wilted every afternoon during heat, recovered overnight, roots firm at harvest” is stronger evidence than “probably root rot.” Likewise, “irrigation water changed from municipal supply to an untested well in midsummer” is more useful than a guess about nutrient lockout. A concise history tells you which tests are warranted and which expensive analyses would not answer the problem.
Define the reusable unit before mixing anything
A single garden may contain several distinct populations: native loam, a compost-heavy raised bed, a group of fabric pots fed with one program, and a wet corner that received runoff from a slope. They should not become one anonymous soil pile. If one container had confirmed crown disease, mixing its contents with ten healthy pots destroys traceability and makes the whole new batch harder to evaluate.
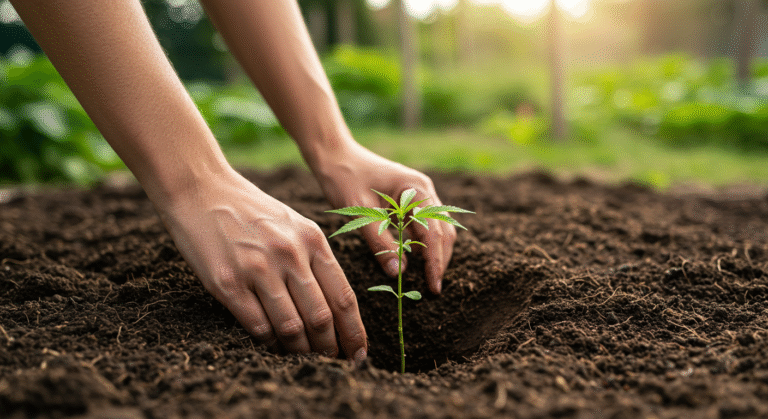
Keep a labeled clean reference batch when possible. It provides something to compare against during amendment trials and early planting. Keeping a little sound media aside is particularly valuable when a new compost, fertilizer or aeration component might cause an unexpected response.
Reuse eligibility is not the same as soil fertility
Eligibility asks whether a particular root-zone material is appropriate for another cannabis crop after disease, contamination, structural and management risks are considered. Fertility testing describes only part of that decision. A fertile soil can still be pathogen-affected, compacted or contaminated; a relatively nutrient-poor but clean soil may be straightforward to manage.
Field Advice: Decide which soil is trustworthy before deciding how much amendment it needs. Nutrition cannot correct a contaminated site, and a well-drained pot cannot cure an infected root system.
What One Outdoor Season Changes in the Root Zone
Roots need a continuous combination of liquid water, oxygen and accessible nutrients. They obtain those resources through a pore network that changes through the season. Irrigation and rainfall wet the profile, roots grow into and around particles, fine components break down, and temperature shifts alter biological activity. Harvest removes biomass and some nutrients, but not all resources are removed in the same proportion. The next crop encounters the condition left behind, not the original recipe printed on the bag.
Pore space determines the balance between water storage and oxygen
Large, connected pores tend to drain under gravity and admit air after watering. Smaller pores retain more water. Roots respire, and oxygen must move back into the root zone as water drains or is used. When a formerly porous mix settles into fine particles, it may hold water too long, reduce gas exchange and slow root growth. In mineral soil, heavy traffic, repeated work when wet and weak aggregate stability can squeeze pores closed or create a restrictive layer.
Soil texture and soil structure are different. Texture describes sand, silt and clay proportions and usually changes little in established ground. Structure describes how particles assemble into aggregates and pores; it can improve or deteriorate with management. The distinction prevents a familiar mistake: treating compacted clay as if adding a handful of sand will transform its underlying texture. Improving a mineral bed may require surface protection, fewer traffic passes, root growth and targeted correction of a diagnosed restrictive layer rather than wholesale excavation.
Drainage, infiltration and percolation diagnose different problems
Infiltration describes entry through the soil surface. Percolation describes movement through the profile. Drainage describes excess water leaving the relevant root zone or container. Water disappearing quickly from the surface does not prove that the root zone has drained. It may have run down a crack or around a shrunken container mix while the center stayed dry. Conversely, water can enter a bed normally but collect above a compacted horizon deeper down.
After a representative irrigation or rain, look at the entire pathway: surface intake, moisture at the former active root depth, lower-profile wetness and the outlet for excess water. A pot draining immediately into a saucer is not a success if the saucer keeps the base submerged. A raised bed is not truly well drained merely because it stands above the adjacent path when it has no effective outlet below.
Container height and geometry affect retained water
A used peat-based mix can appear open when dry but behave differently once fully wetted. Containers retain a lower zone of water after free drainage; the depth and distribution depend on substrate properties and container geometry. A shallow, wide pot and a tall pot filled with the same medium can have different fractions of their volume near saturation. Fabric sidewalls, plastic sidewalls, pot placement and contact with the ground add further variation. Reuse assessment must consider the original mix and its actual container, not only an ingredient ratio.
Do not add a thick layer of rocks or clay pebbles at the bottom as a routine fix. Changing the bottom layer does not rebuild a collapsed matrix above it and can reduce the usable depth of the primary mix. Check that drainage openings are unobstructed, the pot is not standing in water and the entire media volume has suitable pores. If the mix has disintegrated or is almost entirely occupied by old roots, replacement or blending with a suitable fresh medium may be more dependable than another season of improvised repairs.
Organic media change faster than native mineral soil
Peat, bark, compost, rice hulls and other organic components gradually decompose or fragment, at different rates. Some durable mineral ingredients, such as pumice, may persist longer, while lightweight perlite can fracture with repeated handling. Roots themselves occupy space and leave residues. A pot may settle markedly without losing an equivalent mass of mineral material. Adding exactly the original amount of every amendment is therefore not justified by the visible drop in fill level.
Compare a wet handful of old mix with an unused reference. Look at particle size, firmness after compression, how readily it crumbles, and whether fresh water passes into its center. If a container has become excessively fine, dense or uneven, the issue is not simply low fertilizer. If it dries too quickly, blindly increasing aeration particles can make a useful medium worse by lowering water storage further.
Drying and seasonal temperature can make water movement less predictable
Peat-heavy mixes that become extremely dry can repel water. A quick watering then follows container walls or isolated channels. The grower may see runoff and assume the pot is wet, yet a core remains dry. The reverse problem occurs when material stays soaked during cool or rainy weather: oxygen supply can become limiting even though the same medium performed well in warmer conditions. Root-zone temperature changes water use and decomposition, but there is no one cannabis-specific temperature at which all reused soils suddenly become unusable.
Before adjusting composition, make a rewetting test on a representative sample. Add clean water gradually and check the interior rather than judging by the first runoff. Allow excess water to leave, then inspect how evenly the material holds moisture and regains air. For a difficult but otherwise clean batch, premoistening in a separate mixing area may be a reasonable correction. A recurring hydrophobic core or stagnant lower layer signals that the physical system still needs work.
Weather can change chemistry without making every bed uniform
Heavy rainfall may remove some soluble salts and mobile nitrogen from freely draining soil, but it does not necessarily remove accumulated phosphorus, repair sodicity or wash contaminants out of the site. Dry periods can concentrate dissolved salts where evaporation occurs. Irrigation water adds its own minerals; compost, manure and fertilizers add different ions. In a large bed, these effects can vary between the wetted zone, bed edge and shaded corner. A single topsoil scoop cannot describe them all.
Remember: A dark color, earthy smell or active earthworm population can support a favorable first impression. None measures air-filled porosity, soluble salts, persistent herbicides or an individual pathogen.
Sample and Test the Soil Before You Re-Amend It
Testing is valuable only when the sampled material represents the decision you will make. A lab cannot rescue a poor sampling design. A clean sunny bed mixed with a wet diseased corner can produce an average number that describes neither. A surface-only scoop can exaggerate surface fertilizer residues while missing conditions deeper in a pot. And a routine fertility report cannot certify that soil is free of lead, herbicides or root pathogens.
Start with a zone map and a specific test question
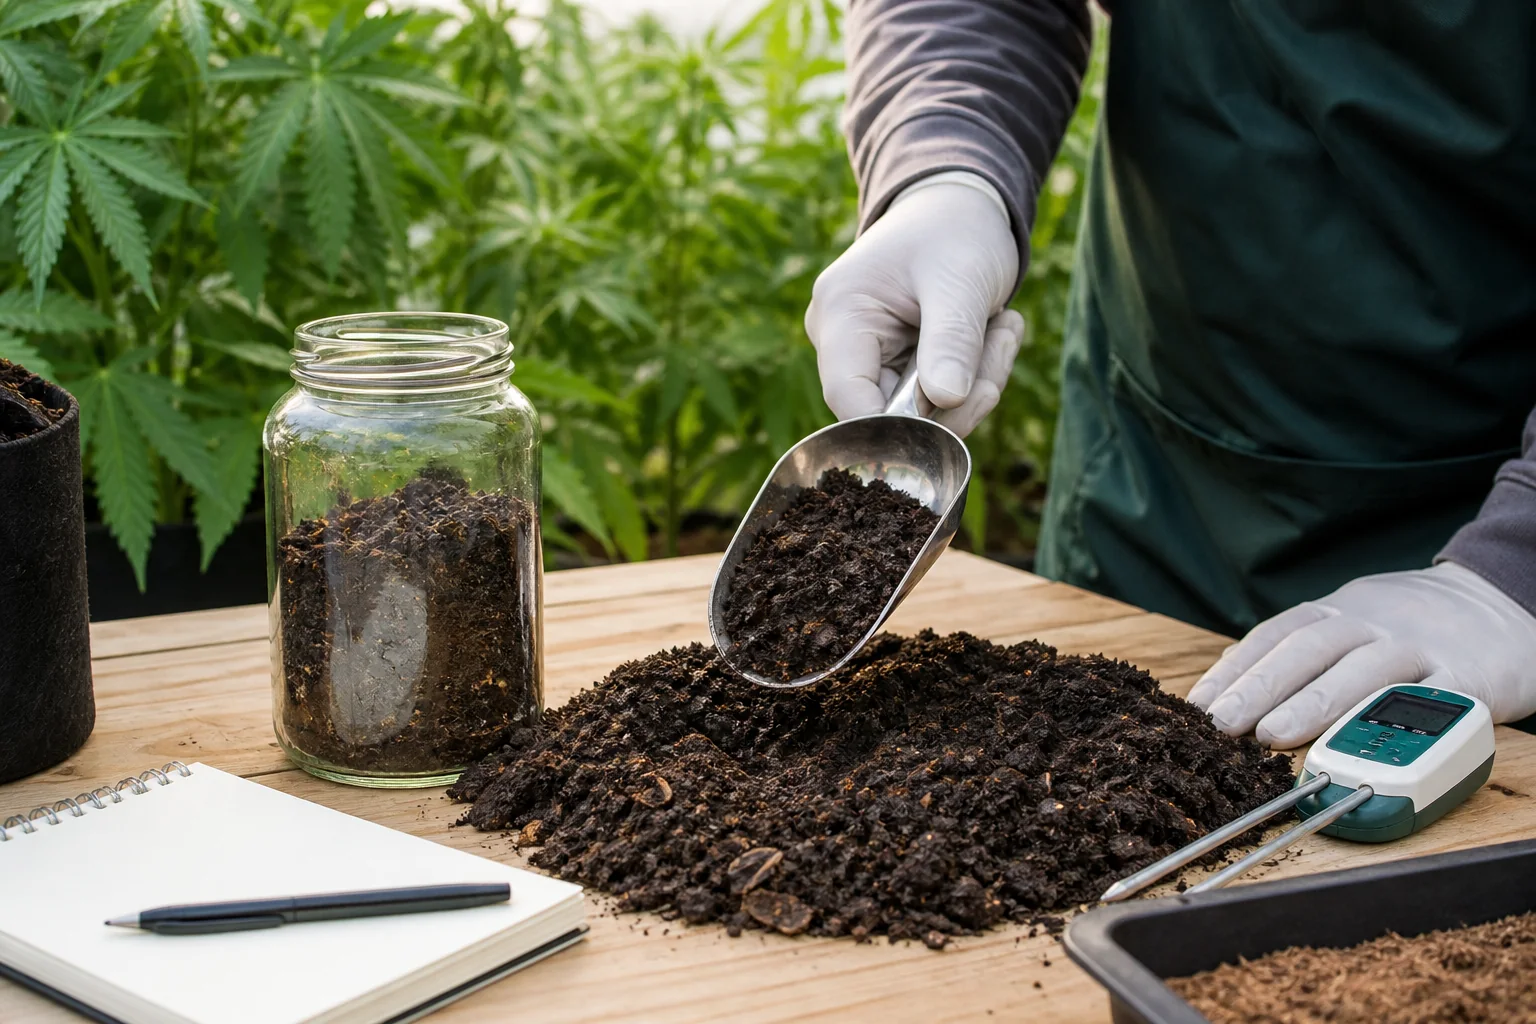
Divide the site by material and management history: mineral soil versus raised-bed blend; compost-heavy bed versus unfertilized bed; drip-irrigated center versus an area watered differently; containers with normal plants versus those that declined. Label each area and record the approximate rooting depth, sample date and recent irrigation or fertilization. Within a reasonably uniform zone, collect multiple small subsamples at the depth specified by the laboratory and combine them in a clean container. Do not blend distinct trouble spots into the composite; send a separate diagnostic sample when appropriate.

Sampling recommendations differ among institutions, bed sizes and analyses. Some garden laboratories suggest a dozen or more cores for a representative zone, while media laboratories specify how many pots to sample and from which depth. Those counts reflect their protocols, not a universal cannabis rule. Request the laboratory’s current instructions before sampling, especially for pathogen diagnostics and contaminant investigations where sample location, containers and storage conditions may differ from routine fertility testing.
Choose a field-soil panel for native beds and a media test for manufactured mixes
Mineral-soil analysis commonly reports pH, available nutrients, organic matter and locally relevant variables using extraction procedures calibrated to field soils. This can help evaluate a bed that remained in the ground. A peat-heavy or coir-based container may need a soilless-media panel, commonly using a saturated media extract or another validated procedure. Ask the laboratory to report its method and to explain the crop and substrate limitations of its interpretation. A laboratory may provide general horticultural context without claiming a cannabis-specific fertilizer target.
The two soil types cannot automatically share one pH or EC correction formula. A field lime recommendation assumes a defined mass and incorporation depth, while a potting medium has a different volume, buffering behavior and testing procedure. If a pH correction is justified, follow the laboratory’s recommendation for that material and the real amendment product. The soil pH and lime-requirement resource covers the full calculation without forcing it into this reuse decision.
EC is method-specific and does not identify the salt
Electrical conductivity reflects dissolved ionic strength in the extracted solution. It does not say whether the ions come from fertilizer, the irrigation source, manure, sodium chloride or several inputs together. The same substrate can produce different EC values when measured with saturated media extract, a 1:2 dilution, a 1:5 dilution or a casual runoff sample. University media-testing guidance documents that these methods can give materially different readings; use only the reference range associated with the actual extraction procedure.
A runoff number is particularly easy to misread. Water may channel down the pot wall and leave before wetting the interior. Recently applied fertilizer, water volume, drainage timing and concentrated surface deposits can change the result. A consistent pour-through procedure can be useful for trends, but a random handful of runoff is not a substitute for root-zone sampling. For a high EC result, determine likely contributing ions and whether a functioning drainage pathway exists before trying to leach the medium. See the focused guide to soluble salts and EC in outdoor soil for detailed diagnosis.
Field fertility test, media extract and contaminant test answer different questions
A fertility test evaluates available nutrients through a method calibrated for a soil type. A media extract characterizes the chemistry of a manufactured rooting substrate under a specified extraction procedure. A targeted contaminant test looks for named hazards such as lead or a particular pesticide residue. None can be substituted for the others merely because all are performed on a soil sample.
Run a wetting and drainage inspection as a separate physical test
Take a representative clean container or undisturbed location and apply water in a way that resembles future irrigation. Record the input, whether the surface accepted it, when drainage began and where water traveled. Then open a small inspection hole or examine a sample at several depths. Was the interior wet, was the bottom stagnant, or did a dry core remain? Check again after free drainage and during the next dry-back period. Use comparable initial moisture and similar watering procedures if comparing two mixes; otherwise a drier starting sample may look more absorbent or slower merely because it began from a different state.
For native ground, an infiltration test at the surface can screen for a problem, but inspect subsurface layers and the site’s outlet as well. In areas prone to flooding or perched groundwater, post-rain observation can reveal more than a short artificial test. Do not prescribe a universal minutes-per-inch infiltration threshold for cannabis from an unrelated landscape or septic-system chart. Local soil, bed geometry and the depth of the active roots determine how a given result should be interpreted.
Compare chemistry, water behavior and history in one decision record
| Question | Evidence to collect | What it can tell you | What it cannot establish |
|---|---|---|---|
| Did fertility drift? | Representative lab analysis and prior fertilizer record | Test-specific nutrient surplus or deficit | Pathogen freedom or a universal cannabis feed rate |
| Are soluble salts accumulating? | Media-appropriate EC with method and irrigation-water history | Overall salt burden and change over time | Which ion is responsible without further analysis |
| Does the root zone exchange air and water? | Depth checks, wetting, drainage and dry-back observations | Structural and irrigation-pattern concerns | That a diseased root system is healthy |
| Was a root pathogen present? | Crop history plus diagnostic root, crown or media samples | Potentially identifies the cause if sampled correctly | That one negative sample proves all material pathogen-free |
| Could the site be chemically contaminated? | Source history and targeted contaminant testing | Presence of tested substances under the lab method | Absence of every contaminant not included in the panel |
| Is a new amendment suitable? | Lot information, analysis, maturity and specific bioassay if indicated | Input quality and possible phytotoxicity | Safety at every rate or proof of disease control |
“My old potting mix reads high on an EC pen. Should I flush every pot before spring?”
Question sent by: Ethan Caldwell, via contact form.
First identify what was measured. A quick drainage sample and a laboratory saturated-media extract are not interchangeable. Check irrigation-water chemistry, fertilizer history, actual media moisture and whether excess water can leave safely. If a validated test confirms problematic salts, develop a correction appropriate to the mix and site, prevent nutrient-rich runoff from entering waterways and retest with the same method. Do not flood a poorly drained bed in the hope that the number will fall.
Disease, Pest and Contamination Risks That Change the Reuse Decision
Soil that passes an EC test may still carry an organism capable of infecting the next crop. Conversely, a plant that declined in wet soil may have suffered oxygen stress rather than an infectious disease. Both errors create problems. Treating all brown roots as pathogen-positive wastes usable media; dismissing progressive crown decay as ordinary overwatering risks carrying inoculum into another planting. Reuse decisions need a distinct biological and contamination gate, not an assumption buried inside fertility management.
Separate root and crown disease from ordinary senescence and water stress
At harvest, inspect a representative healthy plant and any plant that behaved abnormally. Note whether the crown is firm, whether roots retain their outer tissue and whether discoloration follows wounds or progresses through the root system. Late-season fading without root decay is not diagnostic of a soil pathogen. Persistent wilt despite adequate moisture, progressive stem lesions, soft tissue or a cluster of failing plants warrants greater concern. Roots that are dark because of media staining can also be mistaken for decay; look at tissue integrity and progression, not color alone.
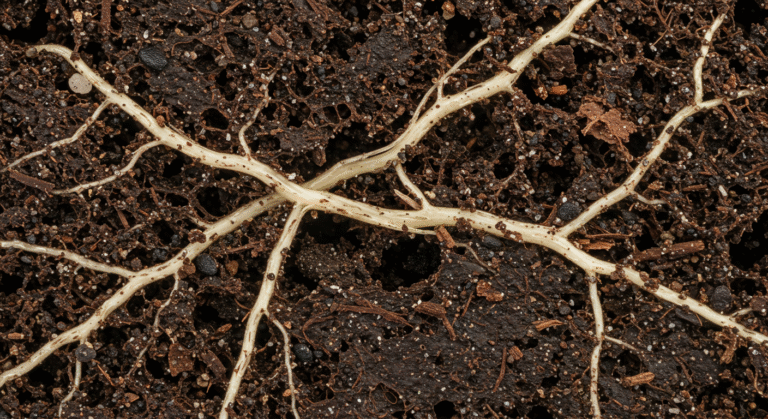
Peer-reviewed research has isolated Fusarium and Globisporangium from root and crown rot complexes affecting outdoor-grown cannabis. The observation supports investigating these groups when symptoms fit, but it does not prove that every wilted plant has the same organism or that every outdoor bed contains infectious levels. Pythium-like water molds, Phytophthora and other pathogens can create overlapping patterns in horticulture. Disease management depends on the actual organism and local conditions, as well as the susceptible host and the time available for infection.
If a serious problem remains unexplained, submit appropriate tissue or soil to a plant diagnostic laboratory and ask which specimen and handling protocol it needs. A generic nutrient test will not identify a pathogen. Nor will a single negative result necessarily clear an entire bed when sampling was poorly targeted or infection is patchy. For the narrower diagnosis, use Root Rot vs Simple Overwatering rather than duplicating its full differential here.
Keep suspect roots and soil out of clean batches
Healthy fine roots in an established, disease-free bed may decompose in place and contribute to soil structure. Dense woody crowns are often removed to make room for planting and to inspect the tissue beneath. If disease is suspected or confirmed, however, roots and attached soil are possible carriers. Do not shake them over unaffected beds, run suspect medium through shared equipment or mix it into a clean compost batch. Bag or contain material according to the disease and local legal waste requirements while the next step is determined.
Removing visible roots alone does not establish that the remaining medium is clear of a pathogen. Some organisms persist in fine residues, surviving structures or the surrounding matrix. Survival and host range differ by species. Crop rotation may reduce pressure for some organisms when a genuine non-host is used long enough, but another cannabis crop in the same bed is not rotation, and broad-host-range pathogens may survive alternate plantings. Avoid treating one general disease-management tactic as a guaranteed soil reset.
Distinguish canopy disease from soilborne disease
A flower affected by Botrytis or a leaf with powdery mildew does not automatically prove that every liter of soil beneath it is infected with a dangerous root pathogen. It does mean that diseased debris should be handled carefully and that environmental conditions need review. If the same plant also developed soft roots or crown symptoms, assess those separately rather than assuming all symptoms came from one cause.
Likewise, a clean-looking canopy does not rule out asymptomatic pests or infections in the root zone. Inspect the crown, surviving roots, drainage openings, old mulch and nearby volunteer plants. Where pests are suspected, preserve a specimen and seek identification. Ordinary soil organisms, decomposers and predators should not be indiscriminately killed as a response to one unfamiliar larva.
Do not treat solarization, heating or chemical drenches as a universal reset
Soil solarization uses trapped solar heat under suitable conditions and can suppress many organisms and weed seeds. University IPM guidance describes significant limitations: effectiveness depends on season, moisture, solar radiation, depth and the organism; some nematodes can move below the heated zone, while certain perennial weeds and heat-tolerant pathogens are difficult to control. It is not a universal method for disinfecting a deep cannabis bed in every climate. Cold-season tarping is not the same as effective solarization.
Heating or steam treatment of potting media requires controlled process conditions, equipment and validation. Its effect also depends on substrate composition. A scientific model that includes steam treatment as an environmental scenario does not demonstrate that an improvised home process makes infected cannabis soil safe. Do not pour bleach, peroxide, fungicide or household disinfectant into garden soil as a reuse shortcut. Soil is not a clean hard surface, and chemical use must follow an authorized crop label and jurisdiction-specific requirements.
Do not transfer an unresolved pathogen problem into a clean grow
Quarantine suspect material before using shared tools, buckets or potting stations. Clean visible soil from reusable equipment, then follow a surface-appropriate, pathogen-relevant disinfection procedure where required. Do not use a generic soil drench to claim that the medium is disease-free. The lower-risk decision after confirmed serious root disease in a removable container is often replacement, while permanent ground requires a pathogen-specific site plan.
Trace chemical contamination by source, not plant appearance
Unknown fill, former industrial use, painted structures, road deposition, old orchard residues, burn debris, treated wood and imported amendments can raise contamination questions. Soil may look rich and support vigorous plants while containing lead or another element that needs targeted analysis. Recent cannabis and hemp studies show that metal uptake differs by element, tissue, cultivar and exposure, so general statements that a healthy plant cannot accumulate a harmful substance are unsound. A conventional pH and fertility panel does not screen every contaminant.
Persistent herbicides are a separate risk. Certain products used on hay, pasture or turf may move into manure, straw or compost and damage sensitive plants after the material has decomposed. Distorted new growth after an unfamiliar compost application is a reason to investigate the source, not proof that one specific herbicide is present. For an ingredient of concern, a controlled sensitive-plant bioassay with an uncontaminated comparison can be useful, while targeted laboratory testing and local extension advice may be needed. A negative short bioassay does not certify every hazard is absent.
Contaminated soil should not be diluted into clean soil, donated, moved into indoor pots or placed in a community compost stream as a way to make the problem disappear. Follow local public-health and waste guidance for containment, use and disposal. Adding organic matter or adjusting pH may alter the availability of certain metals, but it does not remove those metals or guarantee the safety of an inhaled product.
Outdoor-to-indoor transfer adds a separate exposure pathway
Soil that has been used outdoors can carry insects, eggs, soilborne organisms and weed seeds even when it was a functional outdoor root zone. Bringing it into a contained indoor production area changes the exposure environment and may introduce problems to clean media and plants. Do not recommend moving unknown outdoor soil, roadside stones, garden stones, old mulch or unverified plant material into indoor containers. Keep the outdoor material outdoors unless there is a deliberate, validated reason and an appropriate biosecurity plan.
Use a source-specific risk gate
Review symptoms, location, inputs and diagnostic evidence. Separate suspect batches and choose the correct test or specialist before reuse.
Mix first and investigate later
Do not blend diseased, pesticide-suspect or unknown-fill material into apparently healthy soil just to simplify storage or lower a measured concentration.
Restore Water and Oxygen Behavior for the Actual Growing System
Once a soil population passes the biological and contamination gate, correct its physical behavior before planning fertilizer. A nutrient-rich material with inadequate air space is not ready for roots. Equally, a container that dries unevenly and channels irrigation cannot deliver a carefully designed nutrient program to its center. The corrective method must match where the soil lives: native ground, a raised bed, a large living-soil container or a manufactured potting mix.
Native ground: preserve functioning structure rather than rebuilding the field
An established mineral bed normally stays where it is. Remove infected residues when indicated, inspect the surface and root-zone profile, then determine whether compaction or a drainage restriction is actually present. If the bed drains well, maintains aggregate structure and supports normal root development, aggressive digging can do more harm than good by breaking pores, exposing organic matter and bringing buried weed seeds to the surface.
Where compaction is localized, identify the depth and cause. A hard surface from repeated foot traffic deserves permanent access paths and mulching; a subsurface layer may need a targeted intervention when its moisture condition and site hydrology allow. Avoid working clay when it is plastic and wet, because the tool may smear the sides of a hole rather than create lasting pores. If the underlying site receives persistent groundwater or uphill runoff, loosening one planting hole may simply create a basin that fills. Resolve the water destination before considering the soil rebuilt.
Cover crops or suitable ground cover can protect a healthy bed during the off-season, maintain living roots and reduce erosion. They are a site-management choice, not a sanitation treatment. Choose a species with a known termination method, adequate seasonal fit and no conflict with any diagnosed pathogen host range. The broader discussion of sandy and clay soil design belongs in the corresponding soil guides; the reuse question is whether this particular existing bed still functions.
Raised beds: investigate settling and the boundary below
Raised beds often lose visible height as organic components decompose, loose particles settle and roots are removed. Measure the lost volume before ordering material. A settled surface does not establish that every nutrient is depleted. Inspect the upper root-zone mix and the interface with the native ground. A bed can look high and dry while water stalls at an impermeable base or while roots remain confined above compacted subsoil.
When the existing blend remains sound, a modest top-up with compatible tested material may restore planting depth. If the whole profile has become too fine, merely covering it with fluffy compost does not fix the lower layer. Identify whether blending, a redesigned base or partial replacement is necessary. Do not fill a bed with unknown rubble, painted wood debris or roadside topsoil to restore height. Source control matters more than an attractive appearance.
Fabric and plastic pots: empty, inspect and reblend only eligible media
Containers are easier to inspect but also easier to damage through careless processing. Empty a representative healthy pot onto a clean surface. Check for root binding, woody crowns, decomposed fines and pockets of material that never became wet. Remove obstructive large roots and damaged hardware. Healthy fine roots can be handled according to the reuse system, but a small pot that is almost entirely old root ball may need substantial rebuilding or replacement. Protect clean batches from contact with soil taken from suspect containers.
If the mix has lost its aeration, use a compatible fresh component selected by particle size and function rather than an automatic percentage. Pumice may persist through more cycles than rapidly degrading organic ingredients, while perlite, rice hulls and bark contribute differently to air and water behavior. Adding too much coarse material can reduce moisture storage and create a new irrigation burden. Make a small test blend and compare it with the original material after wetting and free drainage. The technical comparisons of aeration amendments cover component-specific design.
A fresh commercial mix can be blended with eligible used material if the blend has suitable physical properties and test results. University container guidance gives equal-volume old and new mixes as a practical example for some general-purpose gardening systems. That example is not a universal cannabis recipe, nor a justification for adding equal-volume compost to every container regardless of salinity or fines. Use the blend ratio as a trial variable and validate it in the finished pot.
Large living-soil containers: retain continuity without idealizing it
A large, healthy living-soil container may benefit from preserving aggregates, fine-root channels and an established microbial environment. Removing every fine root and baking the whole medium defeats that approach. Yet “living” does not mean permanently balanced. These containers can accumulate fertilizer residues, become dense with repeated fine compost additions, host recurring pests or develop dry pockets near the wall. Inspect and test before adding another top-dress.
Leave healthy fine roots only when the previous crop and root zone were sound and their decomposition will not obstruct the next planting. Remove thick crowns when needed for space and diagnosis. Maintain sufficient off-season moisture for microbial activity without creating a sealed, saturated environment. If a severe root disease is confirmed, the desire to preserve a mature microbiome should not override the risk of carrying it forward.
Use one simple physical acceptance trial
Put an eligible representative sample into the intended pot or inspect an undisturbed bed. Record the starting moisture and apply clean water gradually using the intended delivery pattern. Verify that the wetted zone is continuous rather than a narrow wall channel. Allow gravity drainage, inspect the lower zone, then check a second time after a normal interval for that season. The exact interval depends on the medium, container size, weather and intended crop, so the test should describe behavior rather than pass or fail against an invented cannabis timer.
Do not accept a blend solely because the first watering drained fast. Inspect the center and bottom. A mixture that drains before wetting its center is not equivalent to a functioning porous medium; a mixture that stays saturated long after an appropriate irrigation may lack sufficient air exchange or an outlet. If the result fails, alter only the suspected component or delivery pattern and run the same test again. Rebuilding soil is an experiment with a measurable result, not a sequence of purchases.
Restore the whole root-zone pathway
Check surface entry, center wetting, drainage below the former roots, container outlets and dry-back before choosing a physical correction.
Use gravel or amendment percentages as a diagnosis
A bottom layer cannot make compacted media porous, and adding more aeration material can overshoot in a mix already drying too rapidly.
Rebalance Fertility and Biology Without Repeating the Original Recipe
A mature plant may remove substantial nutrients, but its spent root zone is not automatically empty. Some nutrients remain dissolved, some are held on exchange sites, some become available as organic materials decompose, and others may have been lost through drainage or harvest. The relative amounts depend on inputs, substrate, irrigation and the previous crop. Reapplying the first-season recipe at full strength can compound a surplus that is already present.
Read the test as a set of relationships, not independent targets
Review pH, electrical conductivity, macro- and micronutrients, organic matter and the original management record together. Ask whether a reported nutrient is genuinely deficient under the laboratory method, whether uptake could instead have been limited by water and oxygen, and whether additional fertilizer would worsen salinity. A low end-of-season leaf concentration or naturally fading leaves are not enough to diagnose a soil-wide deficit. If roots were damaged, nutrient uptake may have fallen even when the soil retained adequate reserves.
Field soils can buffer changes through clay and organic matter. Soilless mixes can be more responsive to irrigation-water alkalinity and recent feeding. A modest measured correction may be appropriate for one medium and unsuitable for the other. Work from soil and water data, crop history and product analysis. When a lab cannot provide a validated cannabis recommendation, treat its general horticultural values as context rather than a guaranteed cultivar-specific prescription.
Compost is a multi-property input, not nutrient-free filler
Mature compost can contribute organic matter and nutrients, but also fine particles, soluble salts, phosphorus, potassium and potentially unwanted contaminants depending on source and processing. One batch may improve a depleted mineral bed while another makes a small peat-heavy container too wet or concentrated. Review feedstocks, age, stability, visible contaminants and any available laboratory analysis before use. For a questionable batch, the compost quality and maturity guide provides a dedicated acceptance procedure.
A seven-year garden experiment found that higher compost inputs built up plant-available phosphorus and increased leachate phosphate in the studied system. That is not a direct cannabis dosing trial, but it demonstrates why repeated compost application can create long-lived fertility and runoff problems. If an existing bed tests high in phosphorus, more manure-based compost may be the wrong way to solve low nitrogen or poor structure. In some situations, an alternative organic material with a different nutrient profile, reduced input or a physical rather than nutritional correction is more appropriate.
Match nitrogen timing to when plants will use it
Organic nitrogen is released through biological processes that respond to moisture, temperature, aeration and the carbon-to-nitrogen ratio of the material. Fresh or poorly processed carbon-rich inputs can temporarily immobilize available nitrogen; unstable manure can introduce salts and microbial hazards. A large soluble application after harvest may be vulnerable to leaching through a wet off-season, while a cool dry bed may release organic nutrients slowly. The correct correction depends on the next crop date and local weather rather than a claim that soil needs feeding immediately after every harvest.
Keep a record of what is incorporated, where it is placed and when. Retest after meaningful changes and before planting if the amendment has had time to react or weather has altered the original baseline. Do not compare the new reading against a different lab method and declare a trend. A measurable change is meaningful only if sampling and testing remain reasonably comparable.
Do not confuse high EC with a requirement for gypsum
Salinity means elevated soluble salts, while sodicity concerns the effect of excessive exchangeable sodium on soil structure and permeability. These conditions can coexist, but are not interchangeable. A high EC reading does not establish sodium as the cause. Gypsum may have a role in some sodic mineral soils where chemistry and drainage justify replacing sodium with calcium and then moving sodium out of the root zone. It is not a universal treatment for fertilizer residues or every container mix.
Likewise, flushing with large amounts of water without confirming a drainage outlet may replace salt stress with oxygen stress, produce nutrient-rich runoff or move contaminants into unsuitable areas. Diagnose the water source and salt chemistry first. Where leaching is warranted, choose lawful discharge or capture conditions and verify the result with the same relevant test. Low measured runoff EC after one event does not prove the whole root ball was evenly wetted or that deep salts were removed.
Choose amendments by the deficit they correct
| Finding | Potential correction to evaluate | Reason to stop or test further |
|---|---|---|
| Mineral bed has low organic matter and stable fertility | Known clean organic input at a soil-test-informed rate | Unknown feedstock, high phosphorus or contaminant concern |
| Container mix has collapsed into fine particles | Partial replacement or a tested fresh structural component | Root disease, incompatible component or already fast dry-back |
| Peat-heavy medium has poor rewetting | Controlled premoistening, even mixing and repeat wetting trial | Persistent dry channels or stagnant lower zone |
| Soil pH is outside the selected target | Lab-calibrated lime or acidification plan for that material | No buffering or lime-requirement information |
| EC is elevated in a validated method | Investigate input ions, drainage and a controlled salt plan | Unidentified sodium chemistry, poor outlet or runoff risk |
| Bed already has excess phosphorus | Omit unneeded P inputs; choose a different way to meet other needs | More routine manure, compost or booster stacking |
| Confirmed root-pathogen or heavy-metal concern | Specialist diagnosis, containment or alternative clean rooting material | Any nutritional amendment presented as sanitation or decontamination |
“My living soil produced a healthy harvest. Should I add the same complete dry-amendment mix and two bags of compost again?”
Question sent by: Rachel Morgan, via Facebook page.
Not without checking what remains. Determine the current media volume and original inputs, review feeding and irrigation records, inspect physical structure, and request appropriate testing when the stakes justify it. Nutrients do not all leave in equal amounts at harvest. Repeating the first charge can accumulate salts or phosphorus, and another large fine-compost addition may reduce air space. Correct identified gaps, preserve a clean reference and retest the finished mix.
Microbial diversity is not a substitute for measurable performance
Soil biology matters because microbes participate in decomposition, nutrient cycling and soil aggregation. But a product labeled microbial, living or biologically active cannot establish that the root zone is free of a pathogen or chemically balanced. Earthworms and fungal threads can be favorable observations in healthy soil; their presence does not replace a diagnostic assay when the previous crop failed. Likewise, indiscriminate sterilization can damage useful biology without ensuring the treated material stays pathogen-free.
Maintain biological conditions by avoiding unnecessary saturation, protecting the surface and using appropriate organic inputs when the system benefits. Do not invent a standard microbial count that every reused cannabis soil must reach. Biological assays may be relevant in specialized programs, but the next practical question remains whether roots can access air, water and nutrients safely in the actual medium.
Master Advice: An amendment is justified by a diagnosed constraint and a testable expected change. If its purpose is simply to make the soil feel refreshed, its rate and consequences are probably not understood.
Protect Reused Soil During the Off-Season and Verify It Before Planting
A favorable post-harvest inspection is provisional. Winter rain can move mobile nutrients, exposed pots can dry into water-repellent blocks, freeze-thaw can damage container components, and new debris or pests can enter a clean bed. The objective during storage is to preserve a known soil population while avoiding contamination, erosion, saturation and unnecessary disturbance. Immediately before planting, verify that the conditions you approved after harvest still exist.
Adapt off-season protection to climate and container
For a cold climate, protect the soil surface and avoid moving or working containers when saturated or frozen. Ensure pots can drain and are stable against wind. In a wet winter, prevent water from pooling in trays, under fabric pots or at a raised-bed base. Shelter exposed media from relentless rain without sealing wet material into an airtight environment. In a hot dry climate, reduce erosion and extreme drying with clean mulch or suitable shade while occasionally checking deeper moisture. Climate changes the monitoring plan; it does not supply a universal watering interval for empty containers.
In native ground, clean mulch or an appropriate cover crop can protect soil aggregates and help retain nutrients. Cover crops require a suitable host and termination plan when disease history is relevant. An aggressive species that cannot be removed before cannabis planting can create a new weed problem. Avoid interpreting a green cover as proof that the soil below is healthy. Inspect underneath for wet pockets, rodents, pest hosts and drainage issues.
Store container batches with labels and an exit path for water
Keep eligible used media in a clean covered container or in its original pot if that suits the climate and does not trap water. Record which plant or batch it came from and whether it has already been tested or amended. Protect it from unknown soil, used tools, animal waste and runoff from suspect areas. Do not stack unlabelled sacks in a damp corner and rely on memory next spring.
Before storage, remove problematic aboveground residues and inspect roots according to the earlier decision. A batch held for diagnosis should be secured separately rather than placed beside open clean media. If it is eventually rejected, choose a lawful destination appropriate to the reason, particularly for diseased or contaminated material. Do not assume a municipal compost facility accepts cannabis or infected growing medium without checking its requirements.
Repeat the same wetting test after substantial weather or amendment changes
In spring or before the next lawful planting, inspect the entire profile rather than only the surface. Compare the wetting pattern with the post-harvest baseline. Does the water still enter evenly? Are drainage openings clear? Does the lower zone return to a suitable air-water balance? Has the fill level fallen enough to reduce root volume? Has storage produced an unusual anaerobic odor or fresh pest problem?
Re-test chemistry when winter leaching, major amendments, a new water source or the original uncertainty could change your decision. Use the same sampling zone, depth and extraction procedure when comparing results across dates. Do not keep re-amending because a number moves slightly; consider laboratory uncertainty, sampling variability and whether the value changes the actual planting decision.
A pilot is a verification step, not a contamination certificate
For otherwise eligible but substantially reconditioned media, test a small portion before committing a valuable crop. A clean comparative control helps distinguish a problem with the soil from temperature, light or irrigation errors affecting all young plants. Observe emergence or transplant establishment, initial root growth, even moisture use, leaf development and any recurring symptoms. Use a crop-appropriate indicator and lawful growing conditions. A bioassay can reveal phytotoxicity in the tested batch, but normal growth over a short period cannot prove absence of pathogens, metals or every persistent herbicide.
If the pilot develops unusual growth, isolate the symptom and compare the clean control. A distorted plant in both treatments points toward a shared environmental or management issue; abnormalities limited to the suspect material warrant further investigation. Do not add fertilizer blindly to a seedling already injured by a salty amendment, or add chemical treatment to a wilted plant without distinguishing oxygen stress from infection.
Verify the correction against its original hypothesis
If you corrected poor structure, verify more even wetting and improved drainage at the same relevant depths. If you addressed a nutrient concern, compare the same laboratory method after the reaction period and then follow new plant growth. If you isolated a possible pathogen, confirmation depends on diagnosis and the control strategy, not on an earthy smell or one symptom-free week. If the problem involved contaminants, only appropriate analyses and professional interpretation can inform the safety decision.
Keep older damaged leaves separate from evidence of recovery. Existing root tissue damaged by decay does not magically become healthy, and old leaf lesions may persist after an abiotic problem has been fixed. What matters is whether new roots and new growth develop normally and the original stress stops progressing. In a healthy reuse program, the next cycle begins with a documented baseline instead of an unexplained collection of supplements.
Tip: Photograph the same bed and a marked profile location after the test irrigation. Repeating the view at the next inspection makes settling, new wet patches, runoff routes and surface deterioration easier to recognize.
Make the Final Reuse Decision Before the Next Outdoor Planting
A reusable soil is a documented root zone, not an old bag with new fertilizer in it. Approve it only when the relevant risks have been assessed and the corrections have passed a comparable follow-up test. The decision can differ within one garden: native ground may remain in place, one raised bed may need drainage work, a healthy potting-mix batch may be blended with fresh material, and a container with confirmed root disease may be excluded.
When is complete replacement the more defensible decision?
For a removable container, replacement is often the lower-risk route after serious confirmed root disease, a persistent pest infestation, unexplained injury in the same batch across multiple attempts, or severe physical degradation that would be costly to rebuild. Do not automatically transfer the discarded material into food beds, communal compost or another person’s garden. Its destination must fit the reason for rejection and local cannabis and waste requirements.
Native ground cannot always be replaced easily. If a field location has confirmed contamination or a persistent pathogen, the response may involve restricting the site, choosing another clean location, professional diagnosis or a validated local management program. Adding new media on top of contaminated ground does not automatically eliminate contact or uptake risks. Do not imply that harvesting one healthy-looking plant establishes the safety of the rest of the site.
Frequently asked questions about outdoor soil reuse
Can I reuse soil when the flowers had bud rot but the roots looked healthy?
Bud rot affecting flowers does not, by itself, establish that the soil contains a root pathogen. Keep infected flowers and debris from spreading during removal, review the humid or wet conditions that favored disease, and inspect the roots and crown independently. If a separate root or site contamination concern exists, hold the soil for its own assessment. Do not use affected flowers as a salvage product merely because the soil may be reused.
Should I remove every root before planting again?
No, not in a healthy established bed where fine roots can decompose without obstructing the next plant. Remove large crowns if they occupy the planting position or require inspection. In small pots, dense old roots can leave too little usable volume and justify more thorough removal or replacement. If infectious disease was suspected, do not use healthy-soil root-retention advice as a reason to leave affected debris behind.
Can I add compost instead of buying fresh soil?
Possibly, if the original medium is eligible, its structure remains useful, and the compost’s chemistry and particle size match a diagnosed need. Compost cannot replace every lost property. High-rate additions may worsen EC, phosphorus accumulation or air space. A clean finished blend should be tested and observed in the intended container or bed rather than approved solely from the appearance of the compost itself.
Can I reuse fabric-pot soil after a very rainy winter?
Sometimes. Check whether the pots drained, whether water was trapped beneath them, whether the media settled or developed a stagnant odor, and whether pests or root problems appeared during storage. Retest fertility if extensive leaching or nutrient additions make the old data obsolete. A fabric wall that lets water escape is not proof that the entire center stayed oxygenated or that its chemistry remains balanced.
Does a successful seedling bioassay make the soil safe?
No. A controlled trial can identify growth inhibition or phytotoxicity under its specific conditions and is helpful when evaluating a proposed blend or herbicide-suspect amendment. It is not a substitute for targeted pathogen and contaminant testing. Some hazards may be patchy, affect later growth or be absent from the portion sampled. If source history raises a serious safety concern, resolve it through appropriate testing and expert interpretation before reuse.
Before allowing another crop into the root zone
- Identify each bed or container batch and recover the previous crop’s disease, fertilizer, irrigation and amendment history.
- Separate apparently healthy material from unexplained decline, confirmed root disease, pests or potential chemical contamination.
- Confirm that the proposed material belongs in its intended system: native ground, raised bed, living-soil container or manufactured potting mix.
- Inspect root and crown tissue, document unusual symptoms and seek a diagnostic laboratory when the cause could change the reuse decision.
- Order representative fertility, media, pathogen or contaminant tests according to the actual question; use the laboratory’s sampling protocol.
- Record the method and units beside every pH and EC number and avoid comparing incompatible extraction results.
- Test water entry, center wetting, lower-zone drainage and dry-back using the intended irrigation arrangement.
- Correct only the confirmed physical and chemical problems; document each material, rate, product lot and application date.
- Keep untreated or clean comparison material available for a small blend trial or pilot where useful.
- Protect the soil through the off-season without sealing it wet, blocking drainage or allowing runoff from suspect zones.
- Repeat relevant checks after winter, a major amendment or a water-source change; compare the same sampled zones and laboratory methods.
- Approve reuse only when the history, risk assessment, structure, chemistry and follow-up observations support the intended crop.
- If the material fails, stop the planting plan and select an appropriate clean alternative or a lawful, risk-specific disposal route.
The point of keeping records is to make the next season simpler. If you know which beds stayed wet, which pots needed rewetting and which test changed after the last amendment, the next planting begins with fewer unknowns. A repeatable reuse decision preserves usable soil without asking a new cannabis crop to absorb an unresolved problem.
Share this article
A quick overview of the topics covered in this article.
- Can Last Season’s Outdoor Cannabis Soil Be Reused?
- What One Outdoor Season Changes in the Root Zone
- Sample and Test the Soil Before You Re-Amend It
- Disease, Pest and Contamination Risks That Change the Reuse Decision
- Restore Water and Oxygen Behavior for the Actual Growing System
- Rebalance Fertility and Biology Without Repeating the Original Recipe
- Protect Reused Soil During the Off-Season and Verify It Before Planting
- Make the Final Reuse Decision Before the Next Outdoor Planting
Follow us
Latest articles
October 25, 2026
October 25, 2026
October 25, 2026